A Personal Tale: The Taste of Tradition
There’s something about deviled eggs that instantly transports me back to childhood gatherings. Every Easter, summer picnic, or holiday party, a beautifully arranged platter of these creamy, tangy bites would appear, always disappearing faster than any other dish on the table. My grandmother had a way of making them just right—rich yet light, with a perfect balance of tang and creaminess.
I remember sitting on a high kitchen stool, watching her methodically peel eggs with a patience I admired but never quite mastered. She would mash the yolks with just the right amount of mayonnaise, mustard, and a splash of something mysterious that made her version unforgettable. When I finally got to help fill the egg whites, I felt like I was part of something important, something passed down.
As I grew older, I tried different variations—some with bold spices, others with unique mix-ins—but I always found myself returning to the classic. There’s a reason deviled eggs have remained a beloved staple for generations. They are simple yet sophisticated, humble yet indulgent. Today, I share a version inspired by those family gatherings, a recipe that balances nostalgia with a touch of modern flair.
Why Deviled Eggs are the Ultimate Crowd-Pleaser
Deviled eggs are a time-honored appetizer with a universal appeal. Their creamy texture, slight tang, and savory richness make them irresistible. But beyond their flavor, deviled eggs hold a special place at gatherings because they are:
- Versatile: Easily customizable with different ingredients and toppings.
- Make-Ahead Friendly: Perfect for prepping before a party.
- Nutrient-Dense: Packed with protein, healthy fats, and essential vitamins.
- Aesthetically Pleasing: Their elegant presentation makes them a star on any appetizer spread.
Whether you’re hosting a family brunch, a holiday dinner, or a casual get-together, deviled eggs fit right in. They can be dressed up for a formal occasion or kept simple for an afternoon snack.
The Secret to Perfect Deviled Eggs
While deviled eggs seem simple, a few key techniques can elevate them from good to unforgettable.
1. The Perfect Hard-Boiled Egg
Overcooked eggs lead to rubbery whites and green-tinged yolks, while undercooked ones make peeling a nightmare. The trick? An ice bath. Boiling the eggs for precisely 11 minutes, then plunging them into ice water, ensures easy peeling and a bright yellow yolk.
2. The Right Balance of Ingredients
Deviled eggs should be creamy, tangy, and well-seasoned. A mix of mayonnaise, mustard, and vinegar creates that perfect blend, while the addition of dill relish and fresh herbs enhances the depth of flavor.
3. Texture Matters
A smooth, airy filling is key. Mashing yolks thoroughly and using a ziplock bag (or piping bag) ensures even, beautiful filling placement. If you want a restaurant-quality texture, consider blending the mixture for extra silkiness.
4. A Touch of Creativity
Classic deviled eggs are delicious, but experimenting with flavors can add a fun twist. Try:
- Smoky Heat: Add a pinch of smoked paprika and cayenne.
- Herbaceous Freshness: Mix in extra chives, tarragon, or basil.
- Savory Indulgence: Crisped bacon bits or crumbled feta add depth.
Ingredients: A Flavor-Packed Lineup
- 12 eggs
- 2 tbsp celery stalk, minced (about 1 stalk)
- 2 tbsp mayo (Homemade or Primal Kitchen’s recommended)
- 1 tsp yellow mustard
- 1 tbsp dill relish, drained
- 1 tbsp fresh dill, finely chopped
- 1 tsp parsley, finely chopped
- 2 cloves garlic, minced
- 1/2 tsp kosher salt
- 1/4 tsp black pepper
- 1 tbsp distilled white vinegar
- Paprika, for garnish
Directions: Crafting the Perfect Bite
- Boil the Eggs:
- Fill a large pot halfway with water and bring to a boil.
- Carefully lower the eggs into the water and boil for 11 minutes.
- Prepare an ice bath (a large bowl filled with ice water).
- After boiling, transfer eggs into the ice bath and let them cool for 10 minutes.
- Prepare the Filling:
- In a bowl, mix together celery, mayo, mustard, dill relish, dill, parsley, garlic, salt, pepper, and vinegar until well combined.
- Assemble the Deviled Eggs:
- Peel the cooled eggs and slice them lengthwise.
- Carefully scoop out the yolks and add them to the prepared filling mixture.
- Using a fork, mash the yolks and stir until the mixture is smooth.
- Pipe & Garnish:
- Transfer the filling into a sandwich-sized ziplock bag and snip a small corner off the bottom.
- Gently squeeze the filling into each egg white cavity.
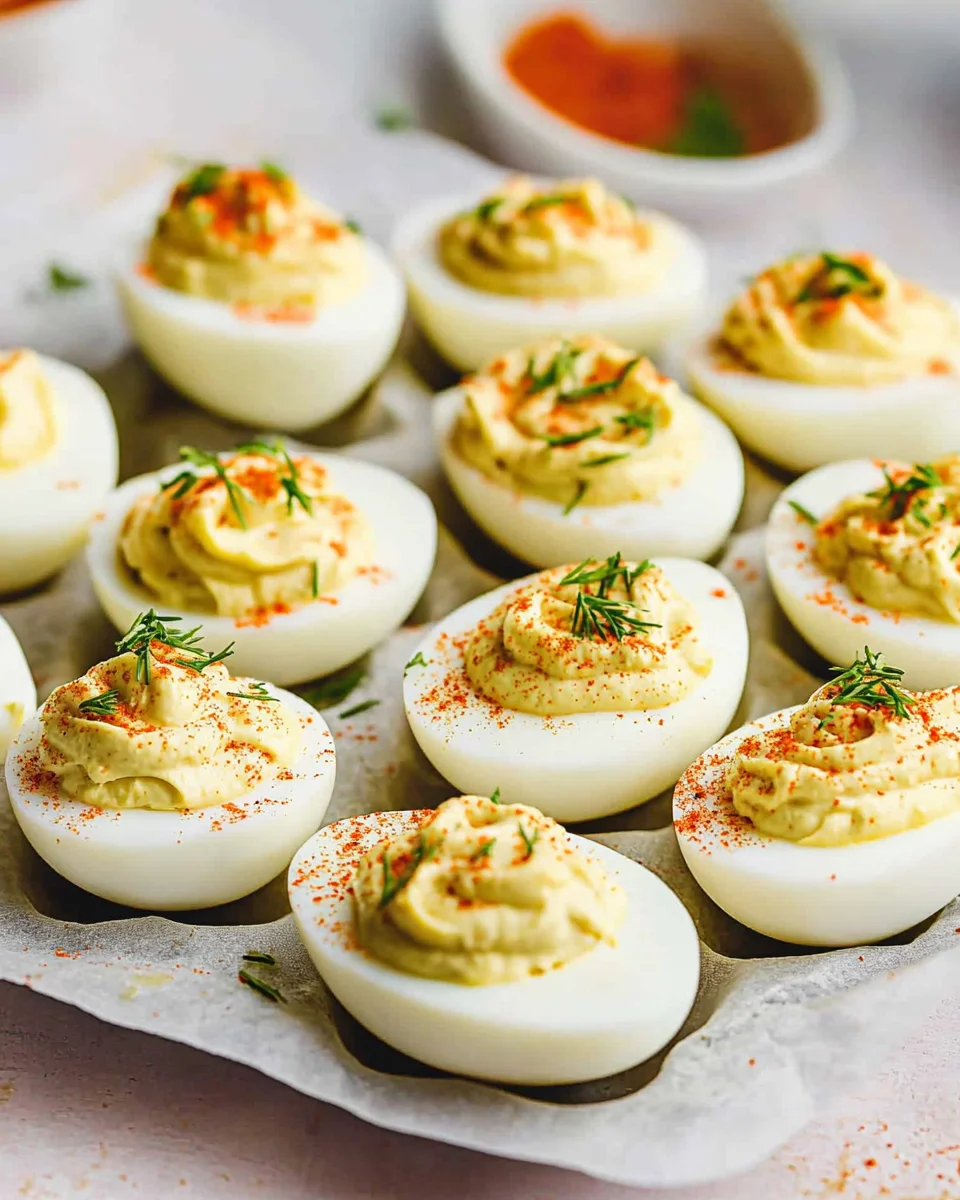
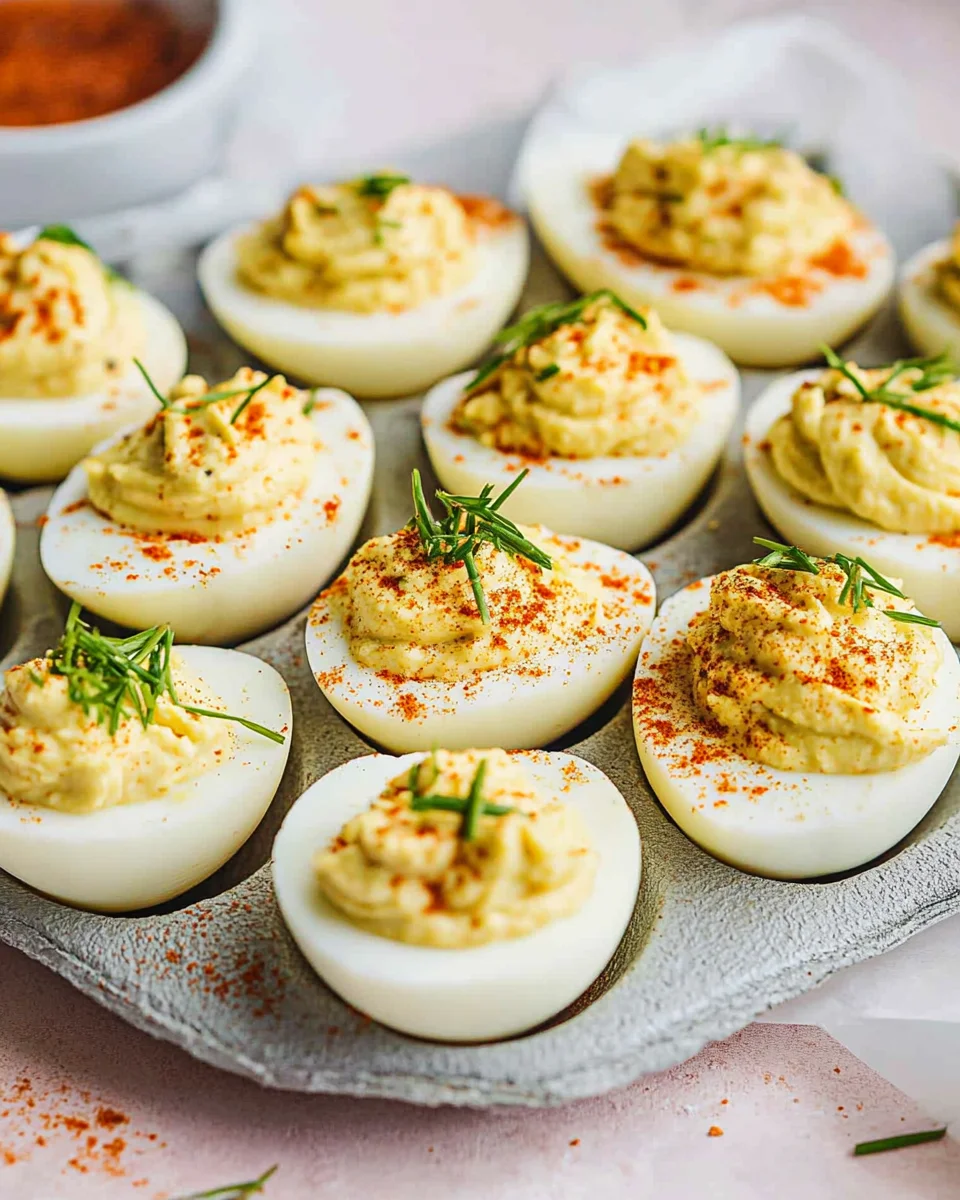
- Sprinkle with paprika for a finishing touch.
- Serve & Enjoy!
- These can be made ahead and stored in an airtight container in the fridge for up to 3-4 days.
Nutritional Snapshot (Approximate per Egg)
- Calories: ~70
- Protein: ~6g
- Fat: ~5g
- Carbohydrates: ~1g
- Sodium: Varies based on salt and relish
Enjoy these creamy, tangy, and utterly delicious deviled eggs at your next gathering!
Common FAQs About Deviled Eggs
1. Can I Make Deviled Eggs Ahead of Time?
Absolutely! Deviled eggs can be made a day in advance and stored in an airtight container in the refrigerator. However, for the freshest taste and texture, it’s best to keep the filling separate and pipe it into the egg whites just before serving.
2. How Long Do Deviled Eggs Last?
Properly stored, deviled eggs remain fresh for 3-4 days in the refrigerator. However, since they contain mayonnaise and eggs, they should not sit out at room temperature for more than 2 hours.
3. What’s the Best Way to Peel Hard-Boiled Eggs?
Peeling eggs can be frustrating, but these tips help:
- Use older eggs (7-10 days old) as fresh eggs are harder to peel.
- After boiling, transfer eggs immediately to an ice bath for at least 10 minutes.
- Gently tap the egg on a hard surface, then roll it to loosen the shell.
- Peel under running water to help slide off stubborn bits.
4. Can I Use Greek Yogurt Instead of Mayonnaise?
Yes! If you want a lighter version, substituting Greek yogurt for mayo works well. It adds a tangy twist while keeping the creamy consistency.
5. How Do I Prevent Deviled Eggs from Tasting Too Dry?
If the filling seems dry, add a splash more mayonnaise or a tiny bit of pickle juice. This restores creaminess without making the mixture too heavy.
6. Why Are They Called “Deviled” Eggs?
The term “deviled” dates back to the 18th century, referring to foods that were heavily spiced. While today’s deviled eggs are not necessarily spicy, the name stuck due to their seasoned filling.
Ways to Elevate Your Deviled Eggs Presentation
Since deviled eggs are often served at gatherings, a little extra effort in presentation can make them stand out.
- Garnish Creatively: A sprinkle of paprika, fresh herbs, or microgreens adds a pop of color.
- Use a Decorative Piping Tip: Instead of spooning the filling, use a star-shaped tip to create an elegant swirl.
- Add a Crunch: A tiny slice of radish, crispy bacon bits, or toasted breadcrumbs adds texture.
- Serve on a Unique Platter: A deviled egg tray or a bed of greens can make them even more visually appealing.
The Deviled Egg Legacy: A Dish That Brings People Together
Deviled eggs aren’t just an appetizer; they’re a conversation starter. They evoke nostalgia, bring families together, and fit seamlessly into any occasion. Whether it’s a backyard barbecue, an Easter brunch, or a holiday dinner, deviled eggs are a dish that never goes out of style.
Food has the power to connect us—to past memories, to traditions, and to loved ones. Every time I make deviled eggs, I think of my grandmother’s careful hands, the laughter around the dinner table, and the joy of sharing something made with love.
So next time you make a batch, take a moment to appreciate their simplicity, their history, and the people you’re sharing them with. Because the best recipes aren’t just about flavor—they’re about the memories they create.
Deviled Eggs: A Classic Bite of Nostalgia and Flavor
Ingredients
Method
- Step 1: Boil the Eggs
- Fill a large pot halfway with water and bring to a boil.
- Carefully lower the eggs into the water and boil for 11 minutes.
- Prepare an ice bath (a large bowl filled with ice water).
- After boiling, transfer eggs into the ice bath and let them cool for 10 minutes.
- In a bowl, mix together celery, mayo, mustard, dill relish, dill, parsley, garlic, salt, pepper, and vinegar until well combined.
- Peel the cooled eggs and slice them lengthwise.
- Carefully scoop out the yolks and add them to the prepared filling mixture.
- Using a fork, mash the yolks and stir until the mixture is smooth.
- Transfer the filling into a sandwich-sized ziplock bag and snip a small corner off the bottom.
- Gently squeeze the filling into each egg white cavity.
- Sprinkle with paprika for a finishing touch.
- These can be made ahead and stored in an airtight container in the fridge for up to 3-4 days.
Notes
- Want extra tang? Add 1 tsp Dijon mustard for an extra punch of flavor.
- For a spicy kick, mix in a dash of cayenne pepper or hot sauce to the filling.
- Make it extra creamy! Substitute half of the mayo with Greek yogurt for a lighter version.
- Serving Tip: Arrange on a platter with fresh herbs or microgreens for a decorative touch.