

As the aroma of chocolate fills the air, I can’t help but smile at the memories that a slice of Black Forest Cake evokes. This classic dessert is not just a treat; it’s an experience, beautifully layered with rich chocolate, fluffy whipped cream, and bright, tart cherries. The combination of flavors is a true celebration on any occasion, whether it’s a festive gathering or simply an indulgent night in. What I love most about this cake is how it impresses without requiring hours in the kitchen—perfect for both seasoned bakers and those just starting their culinary journey. Plus, it’s a showstopper that’s guaranteed to delight friends and family alike. Ready to dive into this delightful recipe that will undoubtedly elevate your dessert game? Let’s create some sweet magic together!
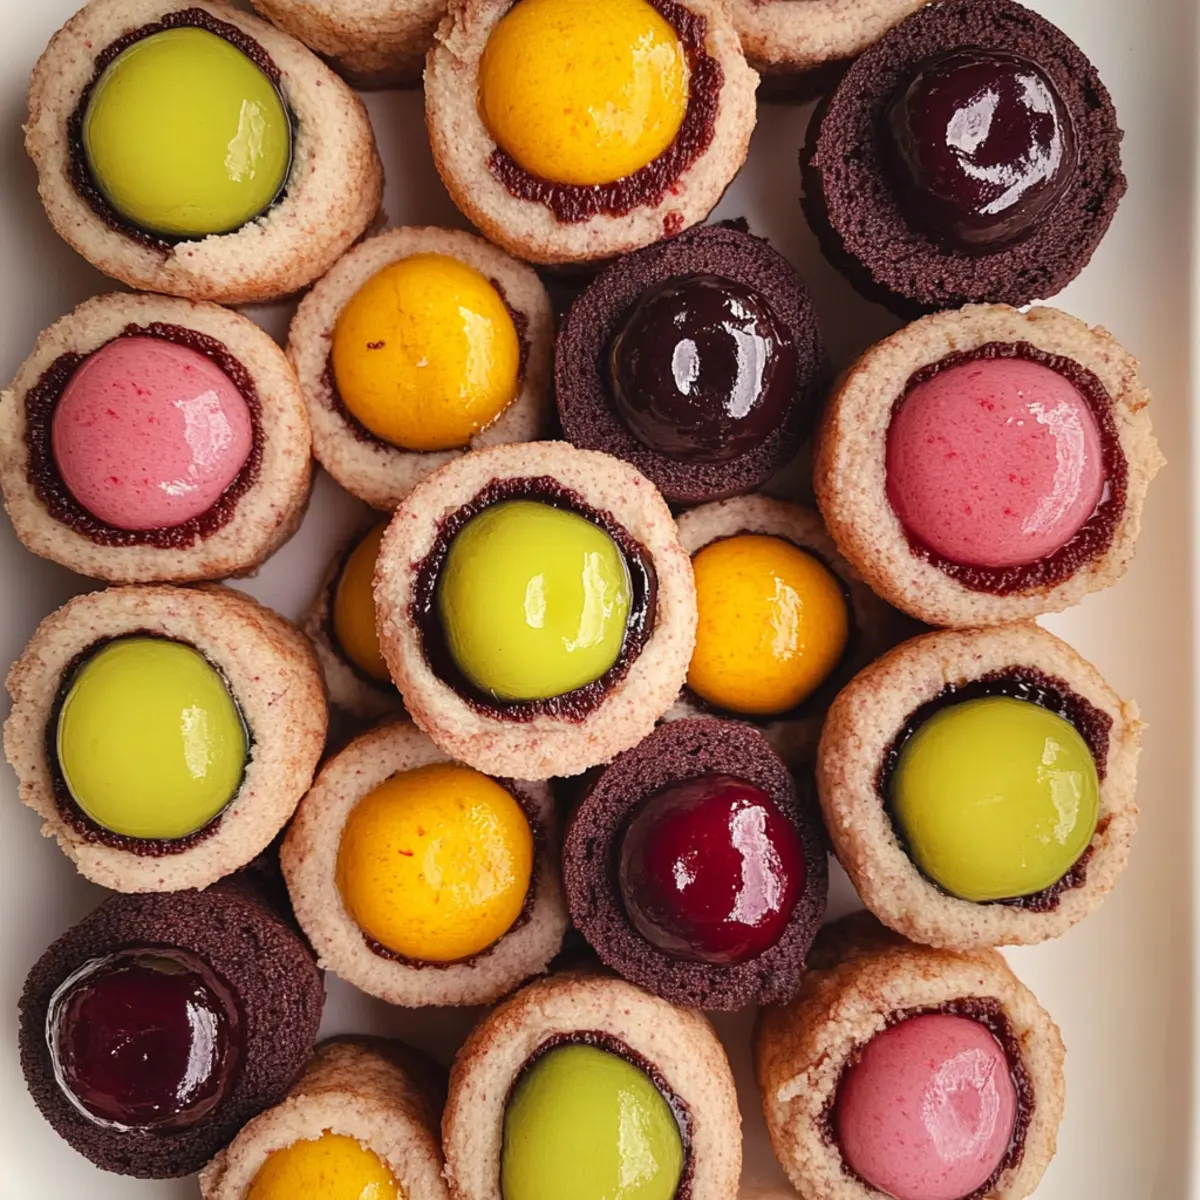
Why is Black Forest Cake a must-try?
Decadent layers: The combination of rich chocolate cake and fluffy whipped cream creates a heavenly taste that melts in your mouth.
Bursting with flavor: Each bite is elevated by the tart cherries, providing a delightful contrast to the sweet creaminess.
Easy to make: Don’t worry if you’re a novice baker; this recipe is straightforward and forgiving, allowing you to impress effortlessly!
Beautiful presentation: The striking layers and glossy cherry topping make it a stunning centerpiece for any gathering—perfect for celebrations or casual treat nights.
Customizable options: Feel free to experiment by adding liqueur-soaked cherries or a sprinkle of seasonal fruits, just like in our Nutty Apricot Cookies or Wholesome Oatmeal Fruit.
Crowd pleaser: Whether for a birthday, holiday, or simple family dinner, this cake is sure to please everyone at the table!
Black Forest Cake Ingredients
For the Chocolate Cake Layers
• All-purpose flour – a key ingredient for structure and texture to keep your cake fluffy and light.
• Granulated sugar – sweetens the cake for a perfect balance against chocolate and cherries.
• Unsweetened cocoa powder – enhances the rich chocolate flavor; ensure it’s high quality for best results.
• Baking powder – helps the cake rise, creating that light, airy feel everyone loves.
• Salt – boosts the overall flavor profile, balancing sweetness beautifully.
• Eggs – provide moisture and richness, ensuring a decadent cake.
• Milk – keeps the batter smooth and adds moisture, making it easier to incorporate dry ingredients.
• Vegetable oil – keeps the cake moist and tender; feel free to substitute with melted butter for a richer taste.
For the Whipped Cream
• Heavy cream – the star for creating luscious whipped cream; make sure it’s cold for easy whipping.
• Powdered sugar – sweetens the cream and stabilizes it for perfect peaks.
• Vanilla extract – adds depth and flavor, enhancing the whipped cream’s sweetness.
For the Cherry Filling
• Tart cherries – essential for that signature flavor; fresh or canned, they offer the perfect tartness.
• Cherry syrup – adds moisture to the cake layers, creating a lovely soaked flavor that enhances every bite.
This Black Forest Cake is sure to be a hit—don’t hold back on trying it out for your next gathering!
Step‑by‑Step Instructions for Decadent Black Forest Cake with Cherry and Whipped Cream
Step 1: Bake the Chocolate Cake Layers
Preheat your oven to 350°F (175°C) and prepare two 9-inch round cake pans by greasing and lining them with parchment paper. In a large bowl, mix the dry ingredients: flour, sugar, cocoa powder, baking powder, and salt. Whisk together the wet ingredients: eggs, milk, and oil in another bowl, then combine with the dry mixture. Pour the batter evenly into the prepared pans and bake for 25-30 minutes, or until a toothpick inserted into the center comes out clean. Allow the cakes to cool in the pans for 10 minutes before transferring them to a wire rack.
Step 2: Soak the Cake Layers
Once the cake layers have cooled slightly, drain your tart cherries and reserve the syrup for soaking. Place the first cake layer on a serving plate and generously brush it with the cherry syrup, letting it soak in for about 10-15 minutes to enhance moisture and flavor. Repeat this process with the second cake layer. For the best results, cover and refrigerate the soaked layers for a few hours or overnight, allowing the flavors to meld beautifully.
Step 3: Whip the Cream
In a stand mixer fitted with the whisk attachment, pour in the cold heavy cream. Beat on medium speed until soft peaks start to form, which usually takes about 3-4 minutes. Then, add the vanilla extract and a pinch of salt, continuing to whip as you gradually sprinkle in the powdered sugar. Keep mixing until you achieve stiff peaks, ensuring the whipped cream holds its shape firmly for assembling your Black Forest Cake.
Step 4: Assemble the Cake
Place the first soaked cake layer on your cake stand or serving plate. Spread half of the whipped cream evenly over the top of the cake, creating a smooth layer. Scatter half of the cherry filling over the whipped cream, ensuring even distribution for delightful bursts of flavor in every bite. Gently press down to secure the cherries.
Step 5: Complete the Cake
Carefully position the second soaked cake layer on top of the first, pressing gently to secure. Use the remaining whipped cream to cover the top and sides of the cake, smoothing it out to create a beautiful presentation. Finally, adorn the cake with the remaining cherries on top, and feel free to use any extra whipped cream for decoration.
Step 6: Chill and Serve
Place the assembled cake in the refrigerator for at least 30 minutes, allowing it to set and develop flavors further. This chilling step is crucial for achieving a neatly sliced cake when serving. When ready, slice the Decadent Black Forest Cake and serve it with additional whipped cream on the side for an indulgent experience everyone will love!
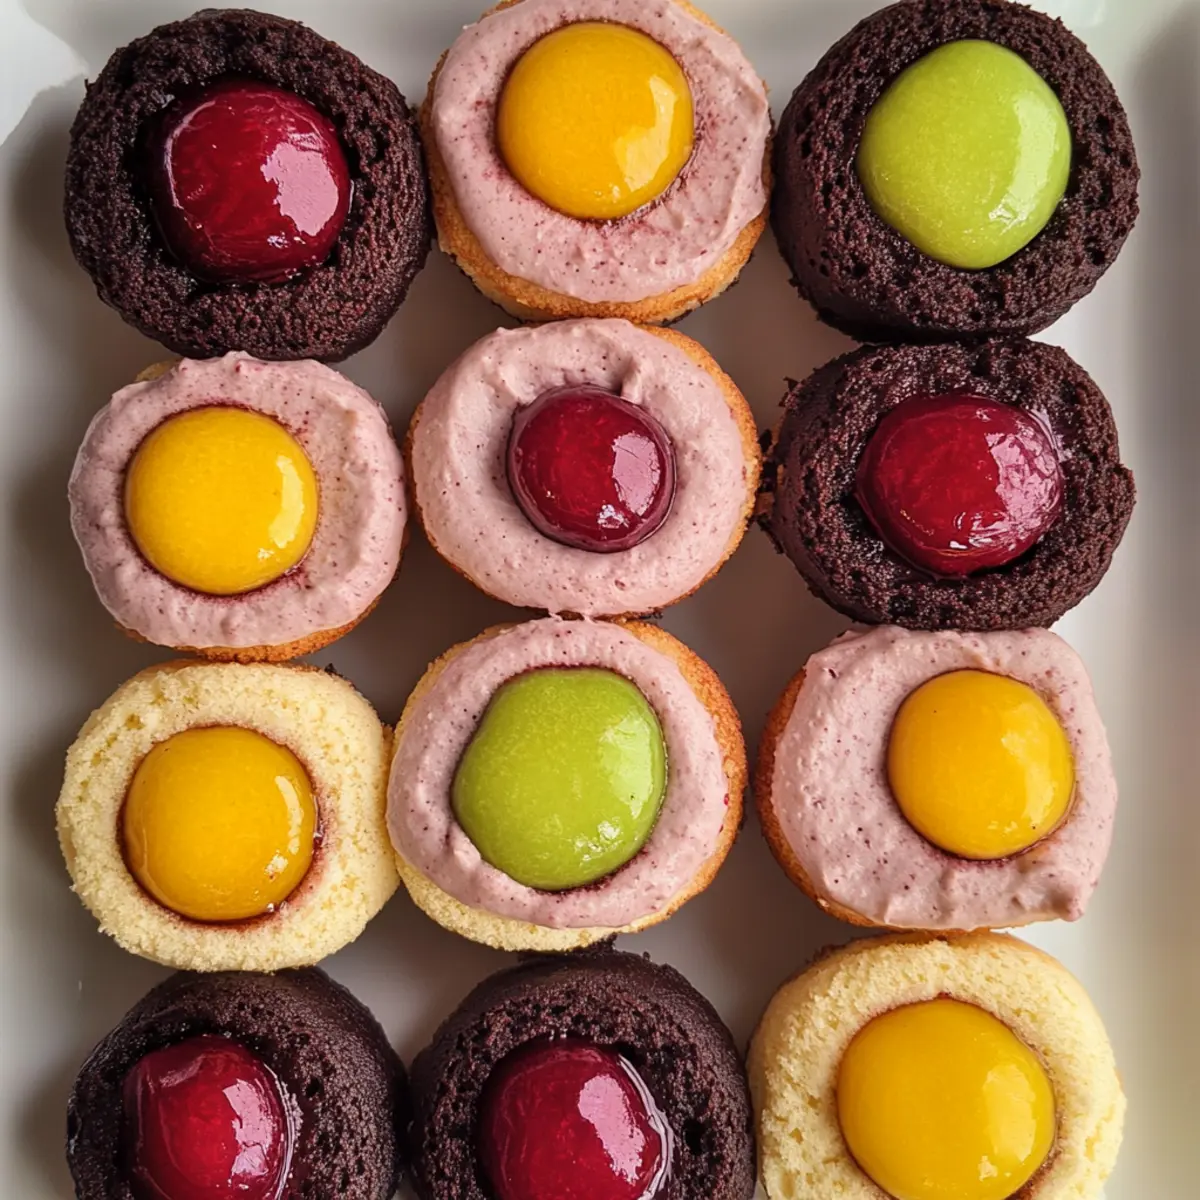
Variations & Substitutions for Black Forest Cake
Feel free to get creative with your Black Forest Cake; the possibilities are as delightful as the cake itself!
-
Fruit Alternatives: Try raspberries or strawberries instead of cherries for a fresh twist; their sweetness will blend beautifully with the chocolate.
-
Dairy-Free: Substitute whipped coconut cream for heavy cream; it offers similar creaminess and pairs wonderfully with chocolate and fruit.
-
Richness Boost: Add a splash of rum or cherry liqueur to the cherries for adult gatherings; it elevates flavor and adds a touch of sophistication.
-
Gluten-Free: Use a gluten-free flour blend in place of all-purpose flour; this way, everyone can enjoy a slice of your delicious creation.
-
Chocolate Variation: Incorporate dark chocolate in the cake layers for a deeper, more intense flavor; it pairs perfectly with the tart cherries.
-
Nutty Surprise: Add crushed hazelnuts or almonds as a layer between the cake and whipped cream; it adds a lovely crunch and flavor contrast.
-
Extra Whipped Cream: If you love creamy layers, increase the whipped cream quantity for a more decadent finish; who could resist more fluffiness?
-
Seasonal Fruits: Depending on the season, consider adding peaches or apricots for a twist reminiscent of my Nutty Apricot Cookies; they’ll add a delightful flavor.
Don’t shy away from experimenting and making this classic dessert your own! Each variation is a chance to create new memories with friends and family while savoring a slice of heaven.
Expert Tips for the Best Black Forest Cake
Soak Carefully: Avoid soggy layers by soaking the cake with cherry syrup just enough to enhance flavor without making it too wet.
Choose Quality Ingredients: Use high-quality cocoa powder and fresh or premium canned cherries for a richer taste in your Black Forest Cake.
Whip to Perfection: Beat the cream until stiff peaks form, but be cautious—overwhipped cream can turn grainy and lose its velvety texture.
Chill is Key: Chill the assembled cake before serving. This setting time helps flavors meld and allows for cleaner, neater slices.
Flavor Variations: Experiment with liqueur-soaked cherries for a sophisticated twist or combine in-season fruits for a unique spin on tradition.
What to Serve with Black Forest Cake
Indulging in a slice of this delightful dessert deserves the perfect accompaniment to create a memorable meal experience.
-
Fresh Berries: The tartness of raspberries or strawberries harmonizes beautifully with the chocolate and cherries, adding a fresh twist.
-
Vanilla Ice Cream: A scoop of creamy vanilla ice cream adds a luscious creaminess, balancing the rich chocolate cake with its cool texture.
-
Coffee or Espresso: The robust flavors of coffee enhance the chocolate while providing a comforting complement that awakens the palate.
-
Chocolate-Covered Almonds: These crunchy treats add delightful texture and a nutty richness, making each bite feel like a mini celebration.
-
Poached Pears: The tender sweetness of poached pears adds elegance, creating a unique contrast that elevates the dessert experience.
-
Mint Leaves: Garnishing the cake with fresh mint not only looks stunning but also brings a refreshing burst of flavor that brightens each forkful.
-
Cherry Compote: For an extra layer of cherry goodness, serve with a warm cherry compote that echoes the cake’s filling—simply heavenly!
-
Sparkling Wine: A glass of bubbly complements the sweetness and adds a festive touch, perfect for celebrations or romantic dinners.
Make Ahead Options
These Decadent Black Forest Cakes are perfect for meal prep enthusiasts! You can bake the chocolate cake layers up to 24 hours in advance, allowing them to cool completely before wrapping them tightly in plastic wrap and refrigerating. Additionally, the cherry syrup can be prepared ahead of time and stored in an airtight container in the fridge for up to 3 days. When you’re ready to assemble, simply brush the syrup onto the cake layers, whip the cream, and layer it with the cherries. This method ensures that your cake remains moist and flavorful—just as delightful as when made fresh. Enjoy the time-saving benefits and let your Black Forest Cake shine at your next gathering!
How to Store and Freeze Black Forest Cake
Fridge: Store leftover cake in an airtight container in the fridge for up to 3 days. This keeps the whipped cream fresh and the cake moist.
Freezer: For longer storage, wrap individual slices in plastic wrap and then in aluminum foil. They can be frozen for up to 2 months.
Reheating: Thaw the frozen slices in the refrigerator overnight before serving. If desired, add fresh whipped cream and cherries for a delightful finish.
Assembling: You can also freeze the cake before assembly. Simply wrap the cooled cake layers tightly and freeze for up to 3 months. Once thawed, soak them with cherry syrup, assemble, and enjoy your homemade Black Forest Cake!
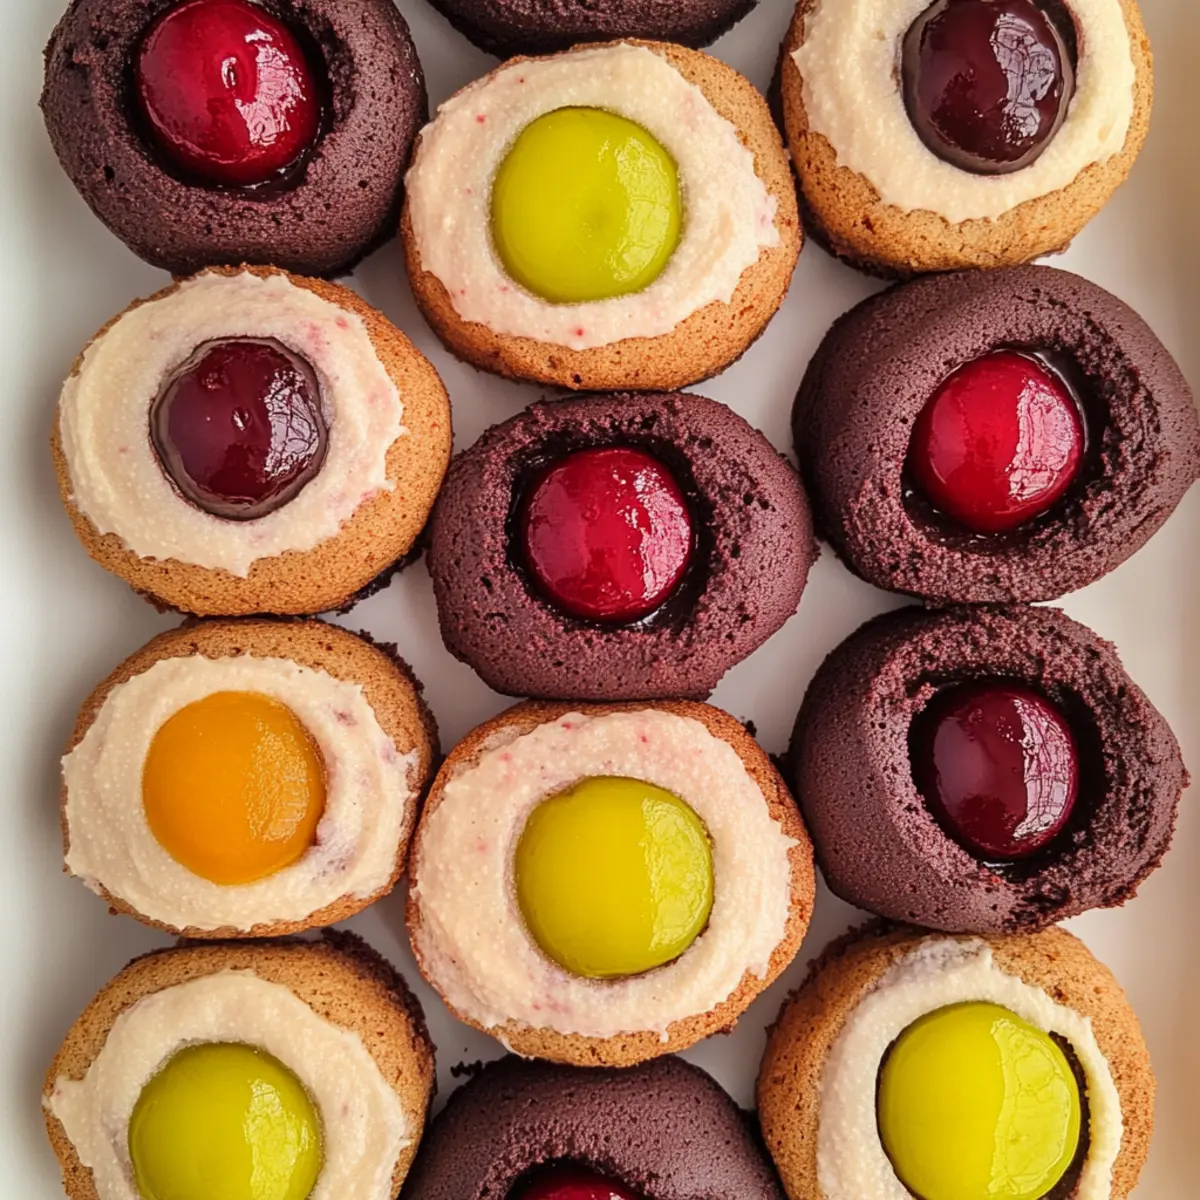
Black Forest Cake Recipe FAQs
What cherries should I use for the Black Forest Cake?
Absolutely! Tart cherries are essential for that signature flavor. You can use fresh cherries when in season for the best taste, but high-quality canned cherries work wonderfully if you need a shortcut.
How should I store leftover Black Forest Cake?
To keep your cake fresh, store it in an airtight container in the refrigerator for up to 3 days. This helps maintain the moisture of the cake and the creaminess of the whipped cream. Make sure to cover it well to avoid absorbing other fridge odors!
Can I freeze Black Forest Cake?
Very! You can freeze the assembled cake or individual slices. Wrap them tightly in plastic wrap, then in aluminum foil. They’ll stay fresh for up to 2 months. When you’re ready to enjoy, thaw your slices in the refrigerator overnight for the best results.
What if my whipped cream is too runny?
If your whipped cream isn’t thickening, make sure your heavy cream is cold—this is crucial for achieving that fluffy texture. Whip it slowly at first, and then increase the speed. You can also try adding a bit more powdered sugar gradually, as it helps stabilize the cream.
Can I make substitutions for dietary restrictions?
Absolutely! For a gluten-free version, substitute all-purpose flour with a gluten-free blend. If you’re avoiding dairy, consider using coconut cream whipped into soft peaks as an alternative. Just keep in mind that the flavor profile may slightly change.
How do I prevent my cake from becoming soggy?
To avoid soggy layers, soak the cake with cherry syrup just enough to flavor without overdoing it. Monitor the soaking time—about 10-15 minutes per layer usually does the trick, but you can also refrigerate the layers after soaking for a couple of hours to let the flavors meld beautifully!
Enjoy making your Black Forest Cake, and don’t hesitate to ask if you have more questions!
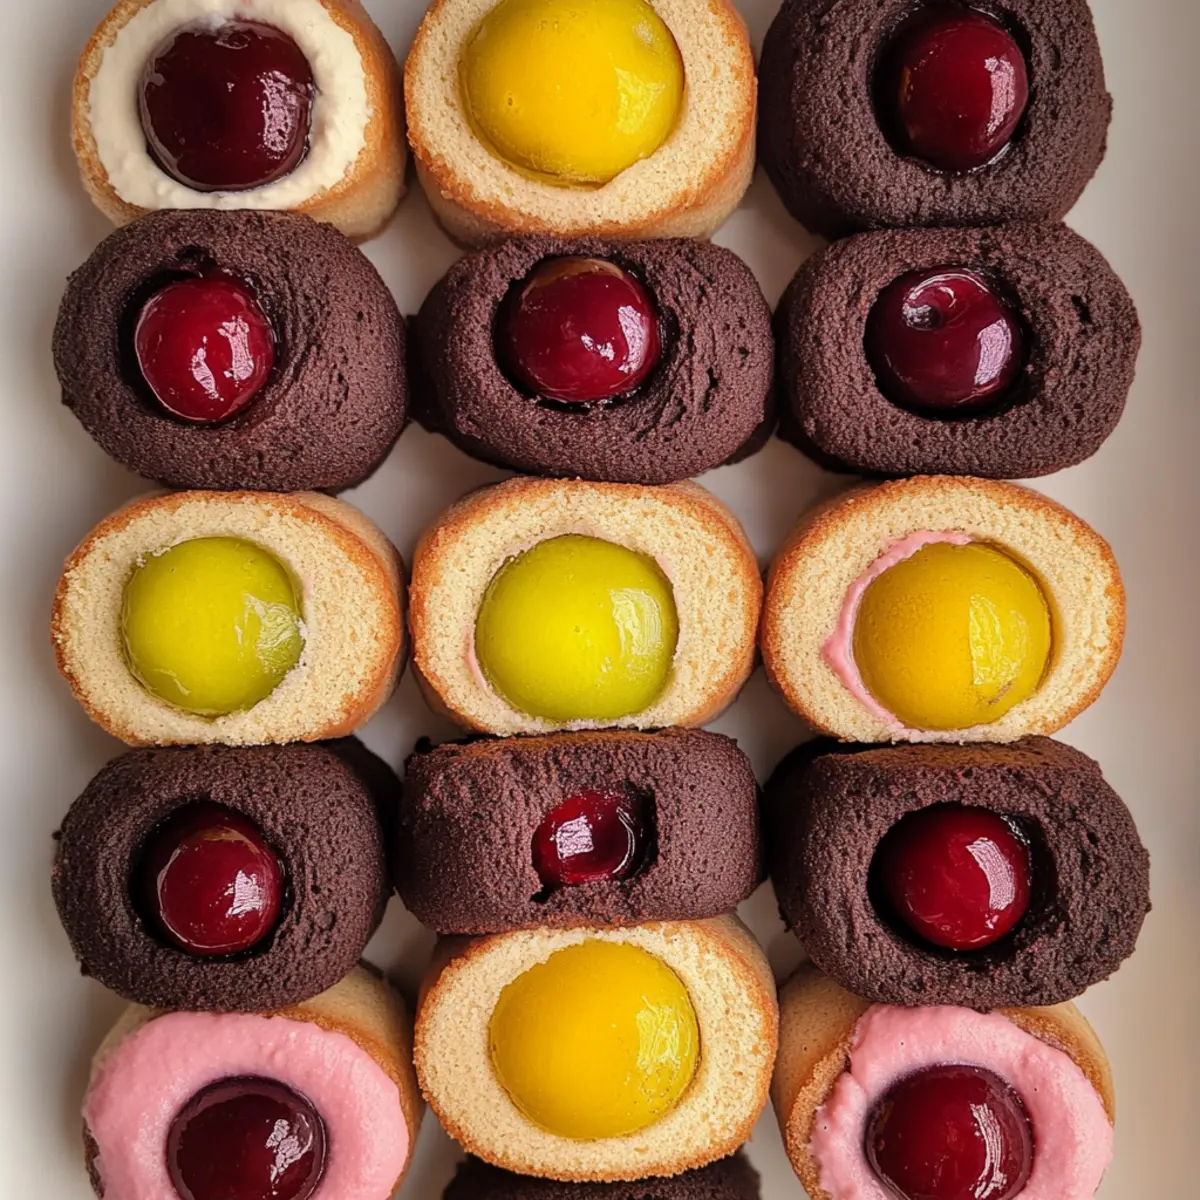
Delicious Fruit Filled Thumbprint Cookies for Sweet Moments
Ingredients
Equipment
Method
- Preheat your oven to 350°F (175°C). Line a baking sheet with parchment paper.
- In a mixing bowl, cream together the softened butter, granulated sugar, and brown sugar until fluffy.
- Beat in the egg and vanilla extract until well combined.
- In another bowl, whisk together the flour, salt, and baking powder.
- Gradually add the dry ingredients to the wet ingredients, mixing until just combined.
- Chill the dough in the refrigerator for about 30 minutes.
- Scoop tablespoon-sized amounts of dough and roll into balls.
- Place the balls onto the prepared baking sheet, spacing them apart.
- Using your thumb, create an indentation in the center of each ball.
- Fill each indentation with your preferred fruit preserves.
- Bake for 12-15 minutes until the edges are lightly golden.
- Allow cooling on a wire rack before serving.