

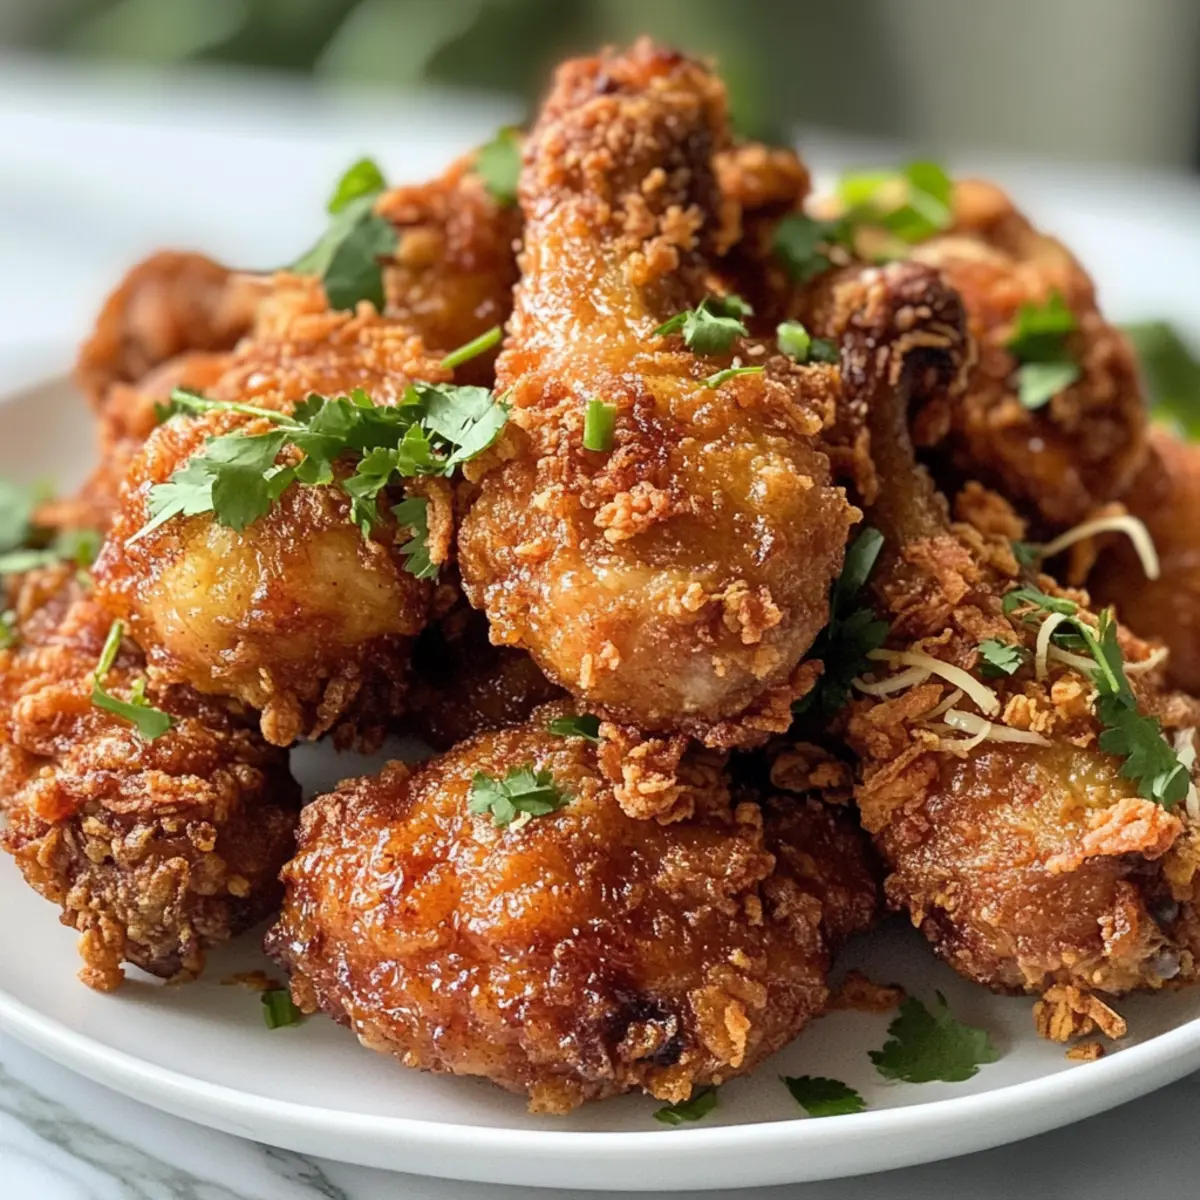
As I wandered through the bustling streets of Southern Thailand, the aroma of sizzling fried chicken drew me in like a moth to a flame. This isn’t just any fried chicken; it’s Hat Yai Fried Chicken, renowned for its crispy exterior and mouth-watering marinated meat. With its blend of authentic Thai spices, palm sugar, and fish sauce, this recipe transforms a simple meal into a memorable feast. Not only is it incredibly satisfying to make, but it’s also a quick crowd-pleaser, perfect as an appetizer or a hearty main dish alongside sticky rice. If you’ve been searching for a flavorful alternative to fast food, get ready to bring the street food experience right into your kitchen! Are you curious to see how easy it is to achieve that tantalizing crunch? Let’s dive into this delicious recipe!
Why Is Hat Yai Fried Chicken Special?
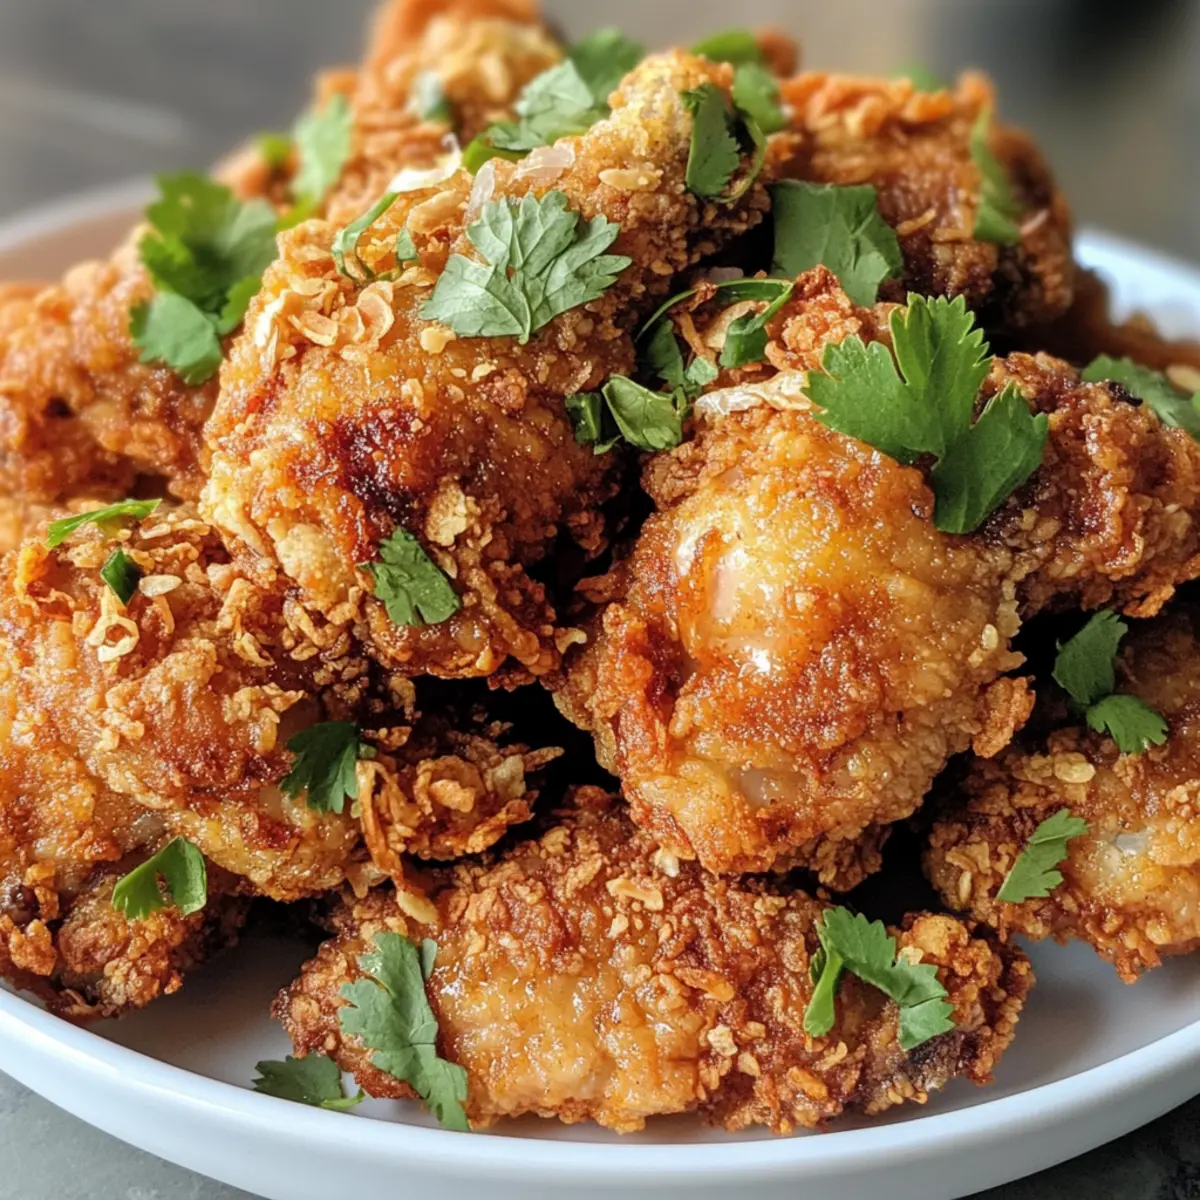
Crispy Perfection: The delightful crunch of this fried chicken is unmatched, creating a satisfying texture that keeps you reaching for more.
Authentic Thai Flavors: Each bite bursts with a unique blend of spices, palm sugar, and fish sauce that brings the taste of Southern Thailand to your table.
Easy to Prepare: With straightforward steps and minimal fuss, this recipe is perfect for home cooks looking to impress without a culinary degree.
Crowd-Pleaser: Whether it’s for a family dinner or a gathering with friends, this dish is sure to be a hit, especially when paired with sticky rice and your favorite dipping sauce.
Versatile Options: You can mix and match chicken pieces, and even create unique dipping sauces to suit your taste, just like with our Honey Chili Chicken or Savory Chicken Cheesy.
Quick Alternative: Forget fast food! In about an hour, you can whip up a homemade meal that’s not only more nutritious but far more flavorful.
Hat Yai Fried Chicken Ingredients
• Get ready to create crispy, Southern Thai goodness!
For the Marinade
- Thai Shallots – Provides a slight sweetness and aromatic flavor; substitute with regular onions if needed.
- Cumin Seeds – Adds warmth and earthiness; roasting enhances the flavor further.
- Coriander Seeds – Contributes citrus and herbaceous notes; roast for added depth.
- Black Peppercorns – Provides heat and pungency; roasting will intensify the flavor.
- Coriander Root – Essential in Thai cooking, adding fresh herbal notes; substitute with fresh cilantro stems if necessary.
- Garlic (4 cloves) – Imparts robust flavor; it can be used fresh or roasted for sweetness.
- Palm Sugar (1/2 tbsp) – Balances savory and sweet flavors in the marinade; brown sugar works as a substitute.
- Fish Sauce (1 tbsp) – Adds umami and salinity; soy sauce can be a vegetarian alternative.
- Salt (1 tsp) – Enhances all flavors; adjust based on preference.
- Ice-Cold Water (1 cup) – Used to make the marinade; helps tenderize the chicken for a crispy crust.
For the Coating
- Tempura Flour (6 tbsp) – Coating for the chicken to create that epic crunch; use gluten-free flour for a gluten-free version.
For Frying
- Oil – Essential for deep-frying to achieve a crispy texture; opt for oils like peanut or canola with a high smoke point.
For Serving
- Sticky Rice – Perfect accompaniment that balances the flavors of the chicken.
- Dipping Sauces – Enhance your meal with options like Thai sweet chili sauce for a zesty kick.
Prepare these ingredients and get ready for an adventure in making Hat Yai Fried Chicken that will make you feel like you’re savoring street food right in your kitchen!
Step‑by‑Step Instructions for Hat Yai Fried Chicken
Step 1: Prepare Fried Shallots
Begin by thinly slicing the Thai shallots and sprinkling them with salt. Allow them to rest for about 10 minutes; this draws out moisture. Pat them dry with a paper towel, then heat oil in a small pan over medium heat. Fry the shallots until they turn golden brown, which should take about 3–5 minutes. Once crispy, remove and set aside on paper towels to drain excess oil.
Step 2: Toast Spices
In a dry skillet over medium heat, toast the cumin seeds, coriander seeds, and black peppercorns for about 20 seconds, just until they become aromatic. Be careful not to burn them; you want a delightful fragrance to fill your kitchen. Once toasted, let them cool slightly, then grind them into a fine powder using a mortar and pestle or spice grinder.
Step 3: Make Marinade
In a mixing bowl, combine the ground spices with the garlic cloves, pounding them into a fine paste. Next, mix in the palm sugar, fish sauce, and salt until well combined. Gradually add the tempura flour and incorporate 1 cup of ice-cold water, stirring until you achieve a smooth marinade. This mixture will be the flavorful base for your Hat Yai Fried Chicken.
Step 4: Marinate Chicken
Prepare your chicken pieces by making two cuts in each drumstick to allow the marinade to penetrate better. Coat the chicken generously with the marinade, ensuring every piece is well-covered. Place the marinated chicken in the refrigerator and let it rest for at least 4 hours; for the best flavor, marinate it overnight. This step is essential for infusing the chicken with the authentic Thai flavors.
Step 5: Fry Chicken
When you’re ready to fry, heat a deep pot or pan with oil to 350°F – 375°F (175°C – 190°C) for perfect frying. Carefully add the marinated chicken in small batches to avoid overcrowding. Fry each piece for about 8–10 minutes, or until golden brown and cooked through, flipping them as needed for even cooking. Use a meat thermometer; the internal temperature should reach 165°F (74°C) for safety. Once done, drain the fried chicken on a wire rack or paper towels to absorb any excess oil.
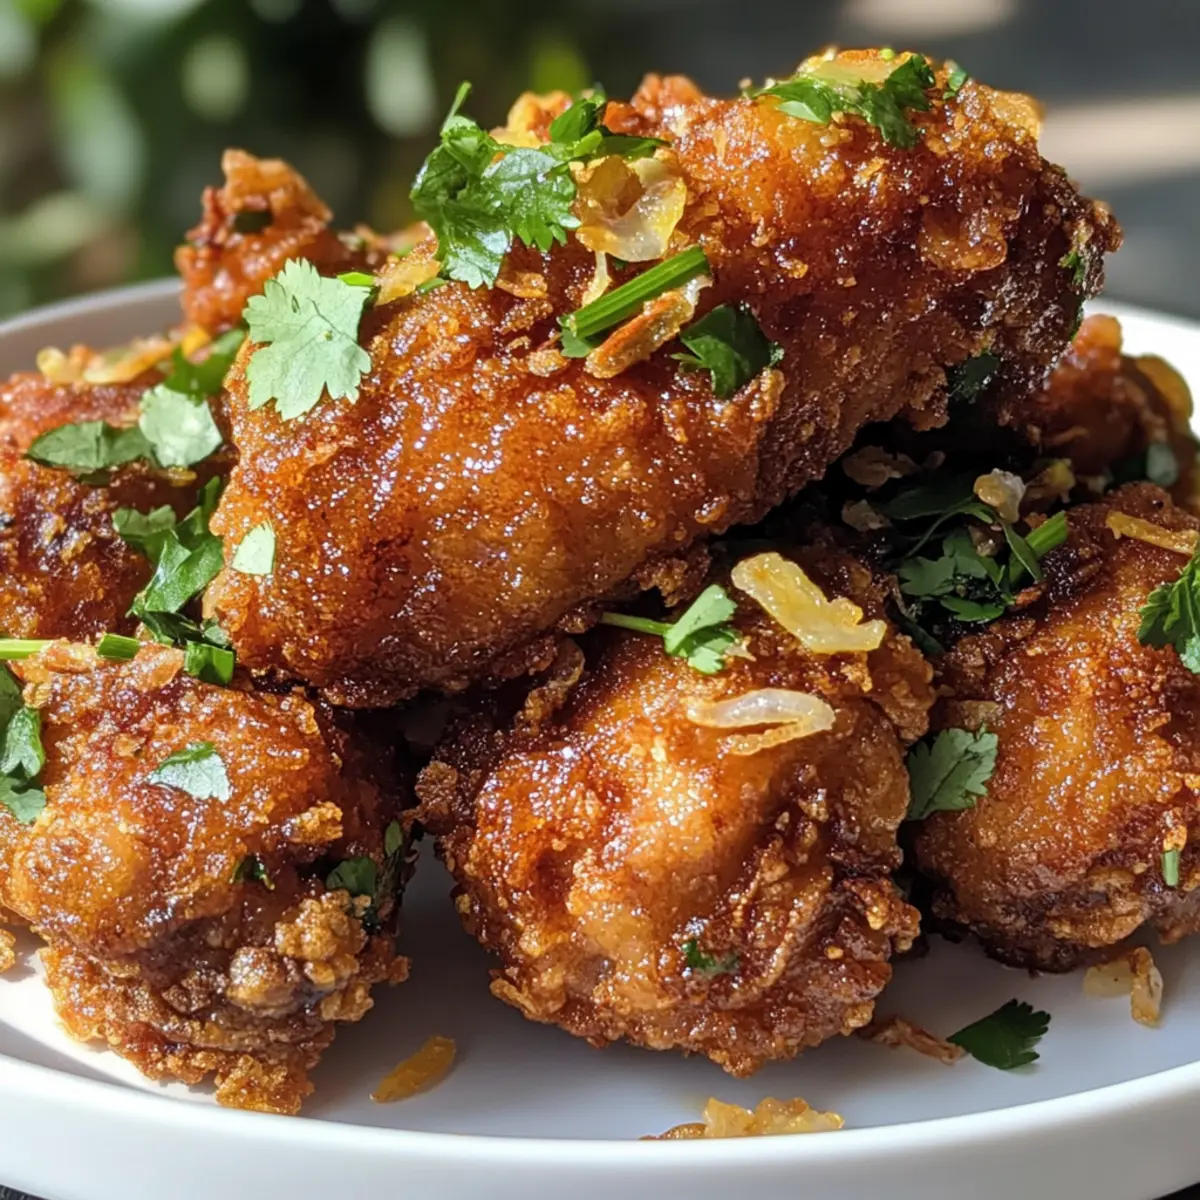
Step 6: Serve and Enjoy
Once your Hat Yai Fried Chicken is perfectly crisp and golden, serve it warm alongside sticky rice and your favorite dipping sauces. Garnish with the fried shallots for that added crunchy texture. This delightful dish, filled with authentic Thai flavors, is sure to impress your family and friends, making it a perfect alternative to fast food!
Make Ahead Options
These Hat Yai Fried Chicken preparations are fantastic for busy home cooks looking to save time! You can marinate the chicken up to 24 hours in advance, allowing the flavors to deeply infuse. Simply follow the marinade steps, coat the chicken, and refrigerate it until you’re ready to fry. To ensure the crust stays crispy, coat the chicken in tempura flour right before frying, rather than in advance. This way, it maintains its delightful crunch. When you’re ready to serve, heat the oil and fry the chicken until it’s golden brown and cooked through—making meal prep a breeze while still delivering restaurant-quality results!
Storage Tips for Hat Yai Fried Chicken
-
Room Temperature: Fried chicken is best enjoyed fresh, but if left out, consume within 2 hours to ensure food safety.
-
Fridge: Store leftover Hat Yai Fried Chicken in an airtight container for up to 3 days. This keeps the flavors intact while preventing moisture loss.
-
Freezer: For longer storage, freeze the fried chicken in a single layer on a baking sheet. Once frozen solid, transfer to an airtight freezer bag. It can be kept for up to 3 months.
-
Reheating: To re-crisp the chicken, preheat your oven to 375°F (190°C) and bake for about 15–20 minutes until heated through and crispy. Avoid microwaving, which can make the coating soggy.
Expert Tips for Hat Yai Fried Chicken
-
Marination Magic: Allow the chicken to marinate for at least 4 hours, preferably overnight, to fully absorb the authentic Thai flavors.
-
Frying Temperature: Keep the oil temperature steady between 350°F and 375°F. This ensures a crispy exterior without undercooking the chicken inside.
-
Batch Frying: Avoid overcrowding when frying. Cooking in small batches helps maintain the oil’s temperature, resulting in perfectly fried, crisp Hat Yai Fried Chicken.
-
Resting Period: Let the chicken rest for a few minutes after frying. This helps retain juiciness and crispiness, ensuring your guests are delighted with every bite.
-
Creative Dipping Sauces: Pair your chicken with Thai sweet chili sauce or a homemade dipping sauce to elevate the flavors even further.
What to Serve with Crispy Hat Yai Fried Chicken
Elevate your Hat Yai Fried Chicken experience with these delightful pairings that beautifully enhance the vibrant flavors and succulent textures of this dish.
-
Steamed Sticky Rice: This classic Thai side is a must. The soft, luscious rice perfectly contrasts the crunchy chicken, soaking up delicious juices.
-
Thai Sweet Chili Sauce: A zesty dipping companion, this sauce provides a lovely sweet heat that complements the savory richness of the fried chicken.
-
Fresh Thai Salad: Crisp veggies like cucumber, carrot, and mint come together in a refreshing salad, balancing the richness of the fried chicken with vibrant flavors.
-
Pickled Vegetables: Tangy and slightly sweet, pickled vegetables cut through the oiliness of fried chicken, providing a delightful crunch and burst of flavor.
-
Cold Beer: A light lager or pale ale makes for an ideal pairing. The carbonation refreshes the palate and enhances the crispy goodness of the chicken.
-
Mango Sticky Rice: For a sweet finish, serve this iconic dessert. The creamy coconut milk and ripe mango create a beautiful contrast with the savory chicken.
-
Coconut Water: Stay hydrated and add an exotic touch with chilled coconut water, perfectly balancing the flavors of your meal while providing a refreshing sip.
-
Spicy Dipping Sauces: Experiment with homemade spicy sauces to really amp up the heat factor, perfect for those who enjoy a fiery kick alongside their chicken.
These pairings not only amplify the flavors of your Hat Yai Fried Chicken but transform your meal into a culinary escape to the bustling streets of Thailand.
Hat Yai Fried Chicken Variations & Substitutions
Feel free to get creative with this recipe and make it your own with these delightful twists!
-
Spicy Upgrade: Add chopped fresh Thai chilies or a sprinkle of cayenne pepper to the marinade for an extra kick.
-
Herb Infusion: Swap in fresh basil or Thai mint for a unique flavor profile, adding freshness to each bite.
-
Baking Option: Instead of frying, coat and bake the chicken at 400°F (200°C) for about 30-35 minutes for a healthier version.
-
Gluten-Free: Use a gluten-free flour blend instead of tempura flour to accommodate dietary needs while keeping that crunch.
-
Citrus Twist: Incorporate lime zest into the marinade for a fragrant, zesty experience reminiscent of sunny Thai markets.
-
Sweet Addition: Mix in a tablespoon of honey or maple syrup to the marinade for a hint of sweetness that pairs beautifully with the spices.
-
Try Different Proteins: Experiment with tofu or tempeh for a vegetarian twist that still delivers on flavor, perfect for meatless meals.
These variations let you play with flavors, just as you might enjoy with our Pure Nourishing Chicken Broth or Homemade Chicken Rolls and Fresh Salad! So have fun mixing and matching to create your perfect Hat Yai Fried Chicken experience!
Hat Yai Fried Chicken Recipe FAQs
What kind of chicken works best for Hat Yai Fried Chicken?
Absolutely! Drumsticks are traditionally used for this recipe due to their tender meat, which absorbs the marinade beautifully. However, you can also use thighs or wings if you prefer. Each part will provide a slightly different texture, so choose what you enjoy most!
How should I store leftover Hat Yai Fried Chicken?
For sure! Store leftover fried chicken in an airtight container in the fridge for up to 3 days. This helps maintain its flavor while preventing it from becoming dry. To ensure the best taste, make sure it’s completely cooled before sealing.
Can I freeze Hat Yai Fried Chicken?
Yes, indeed! To freeze, place the fried chicken in a single layer on a baking sheet and freeze until solid. Then, transfer the pieces to an airtight freezer bag and store for up to 3 months. When you’re ready to enjoy it, simply reheat in an oven at 375°F (190°C) for about 15-20 minutes to restore that delicious crispiness!
How can I prevent my Hat Yai Fried Chicken from getting soggy?
Great question! To keep your chicken from becoming soggy, ensure the oil is at the right temperature (between 350°F – 375°F) before adding your chicken. Fry in small batches to avoid overcrowding, which can lower the oil temperature. After frying, let the chicken drain on a wire rack instead of paper towels to maintain that glorious crunch.
Are there any common allergies to consider with this dish?
Very important! This recipe contains key ingredients such as fish sauce, which is not suitable for vegetarians or people with fish allergies. For a vegetarian substitute, use soy sauce or a plant-based fish sauce alternative. Additionally, if you’re concerned about gluten, opt for gluten-free tempura flour. Always check labels for any allergens prior to preparation, especially if serving guests.
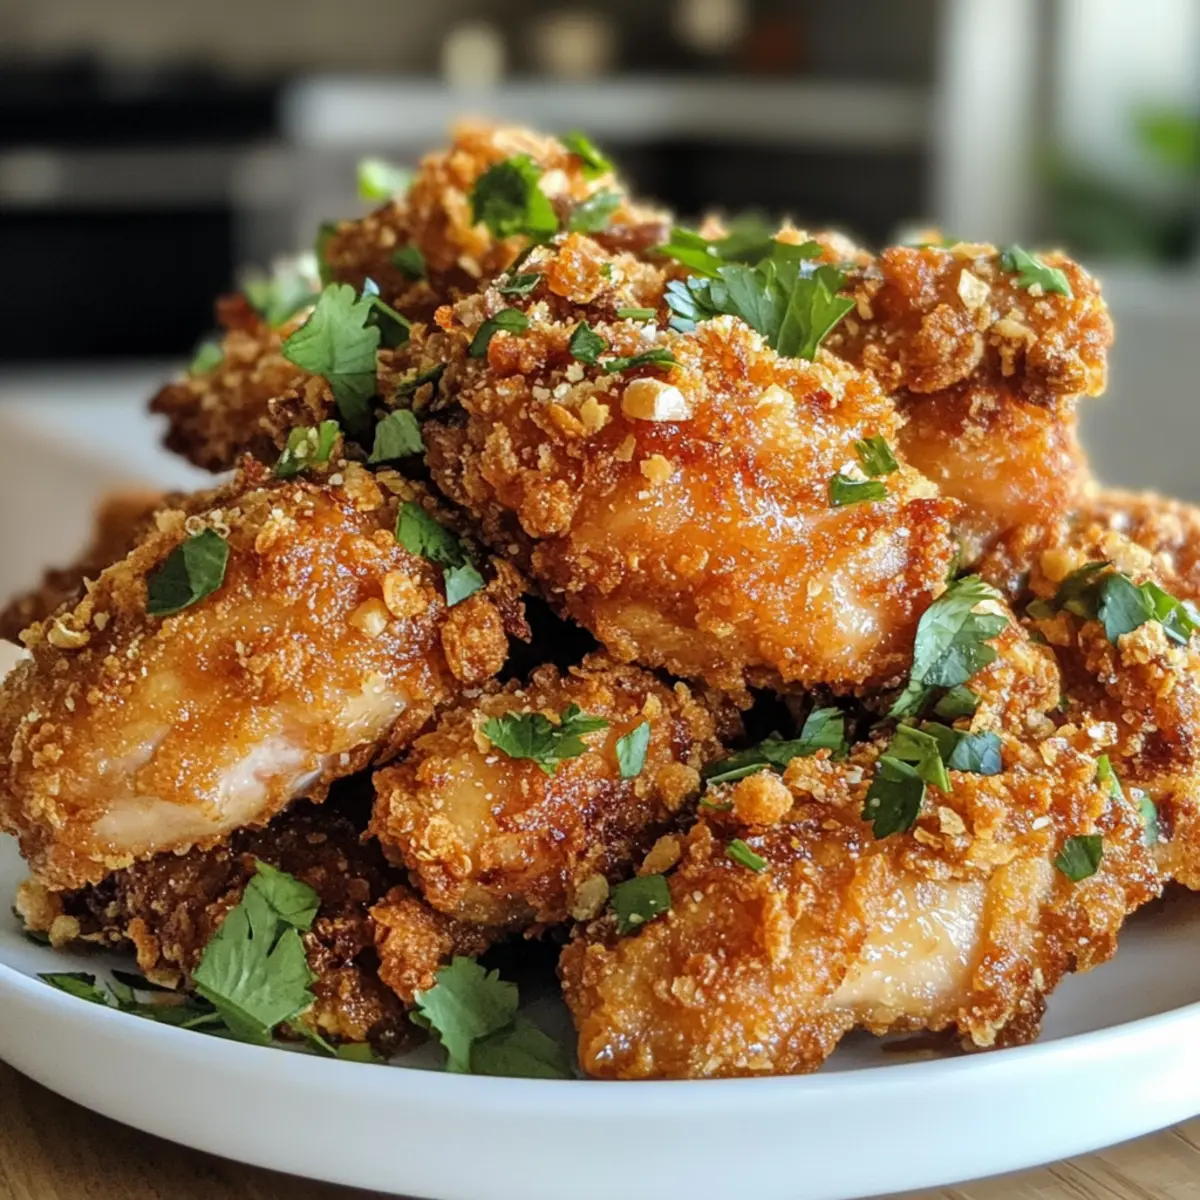
Crispy Hat Yai Fried Chicken: A Flavorful Thai Delight
Ingredients
Equipment
Method
- Prepare Fried Shallots: Thinly slice the Thai shallots and sprinkle with salt. Rest for 10 minutes, pat dry, and fry in oil until golden brown, about 3-5 minutes.
- Toast Spices: Toast cumin seeds, coriander seeds, and black peppercorns in a dry skillet over medium heat for 20 seconds until aromatic.
- Make Marinade: Mix ground spices with garlic to form a paste, then add palm sugar, fish sauce, and salt. Incorporate tempura flour and ice-cold water.
- Marinate Chicken: Prepare chicken by cutting into drumsticks, coat with marinade, and refrigerate for at least 4 hours or overnight.
- Fry Chicken: Heat oil to 350°F - 375°F and fry marinated chicken in batches for 8-10 minutes until golden brown.
- Serve and Enjoy: Serve crispy chicken warm with sticky rice, dipping sauces, and garnished with fried shallots.