

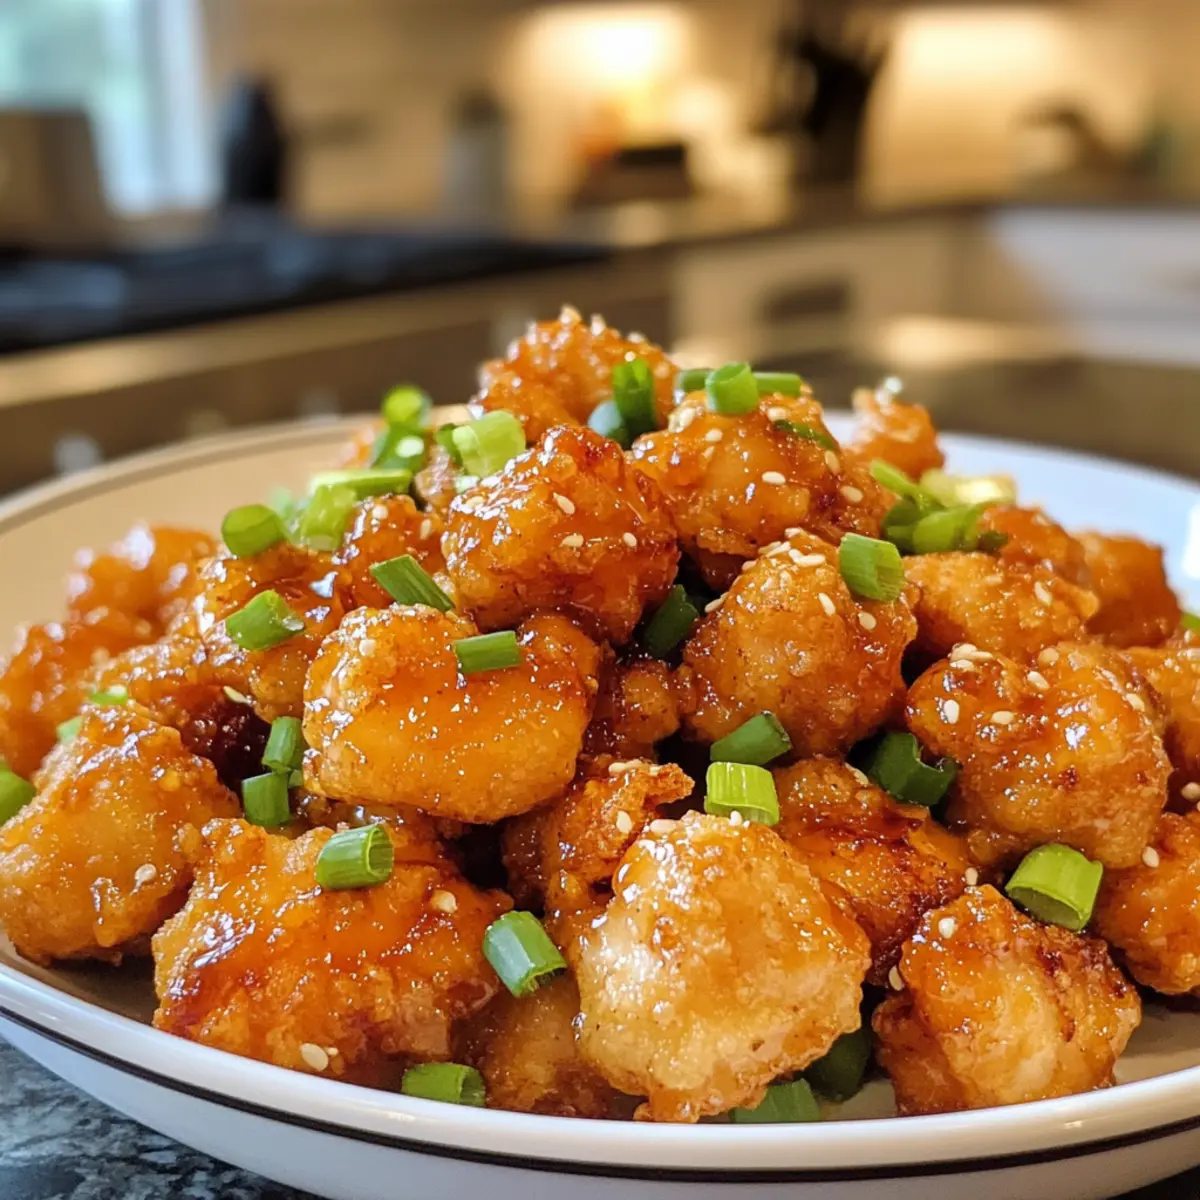
The tantalizing aroma of sizzling garlic is something I can never resist, especially when preparing a dish as delightful as Crispy Hawaiian Fried Garlic Chicken. This easy recipe, ready in just 30 minutes, showcases the rich flavors of Hawaiian cuisine that elevate a simple family dinner into a festive feast! With a perfect crunch and a sweet, sticky garlic sauce, it’s a true crowd-pleaser for gatherings or a casual lunch. What’s even better? It brings the taste of the islands straight to your kitchen, allowing you to indulge in that tropical vibe without the travel hassle. Are you ready to create a dish that will leave everyone asking for seconds?
Why is Hawaiian Fried Garlic Chicken a Must-try?
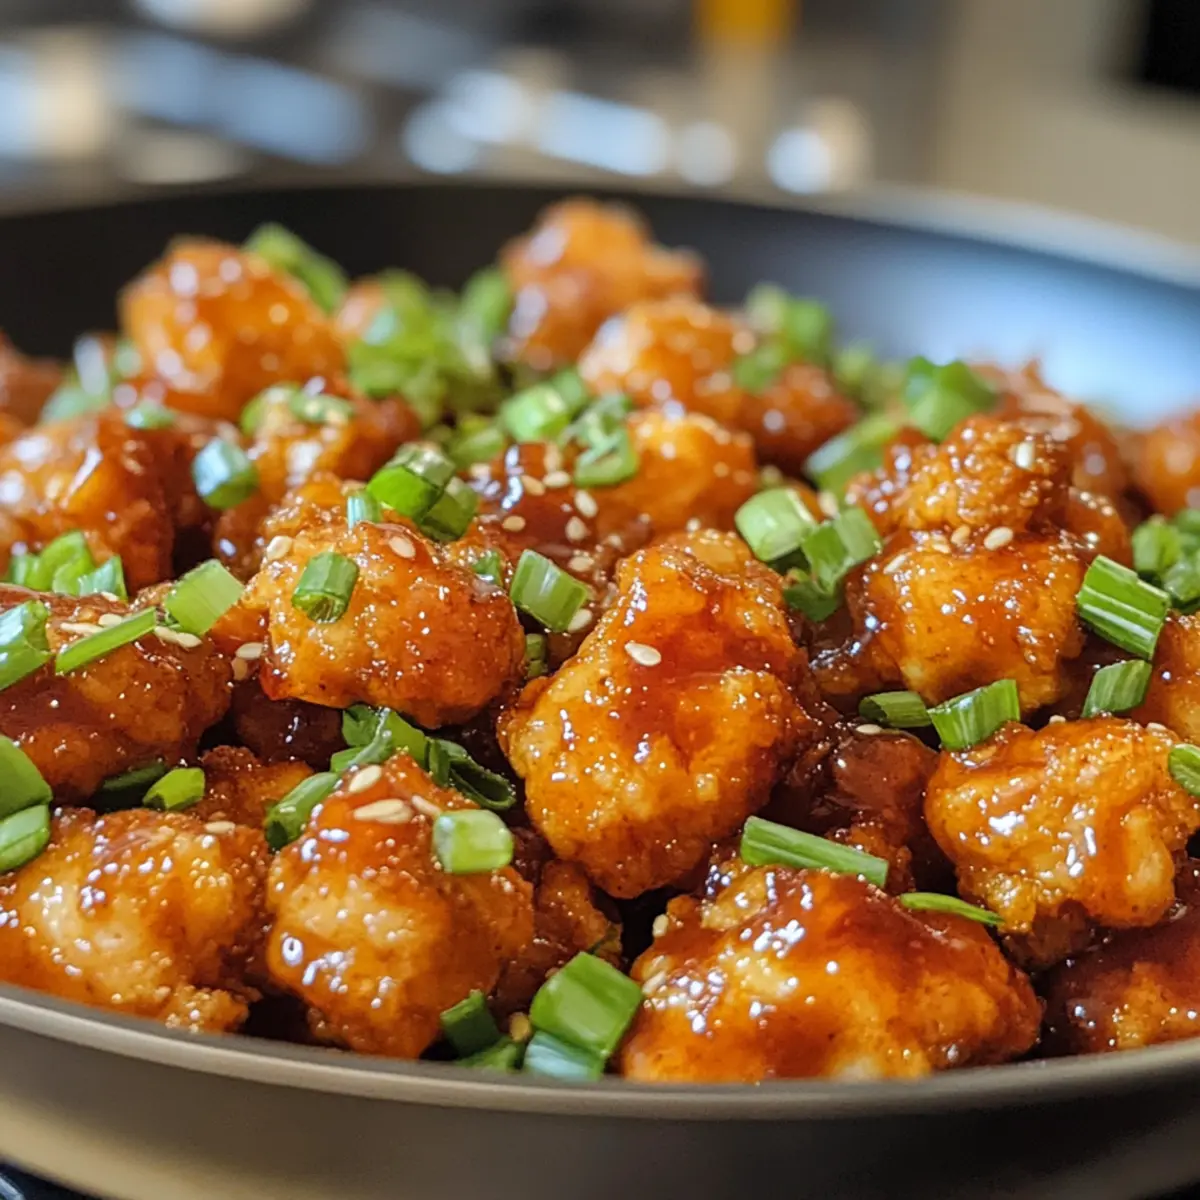
Irresistible Flavor: This dish effortlessly combines sweet and savory, making every bite unforgettable.
Quick Prep Time: Ready in just 30 minutes, it’s perfect for busy weeknights or spontaneous gatherings.
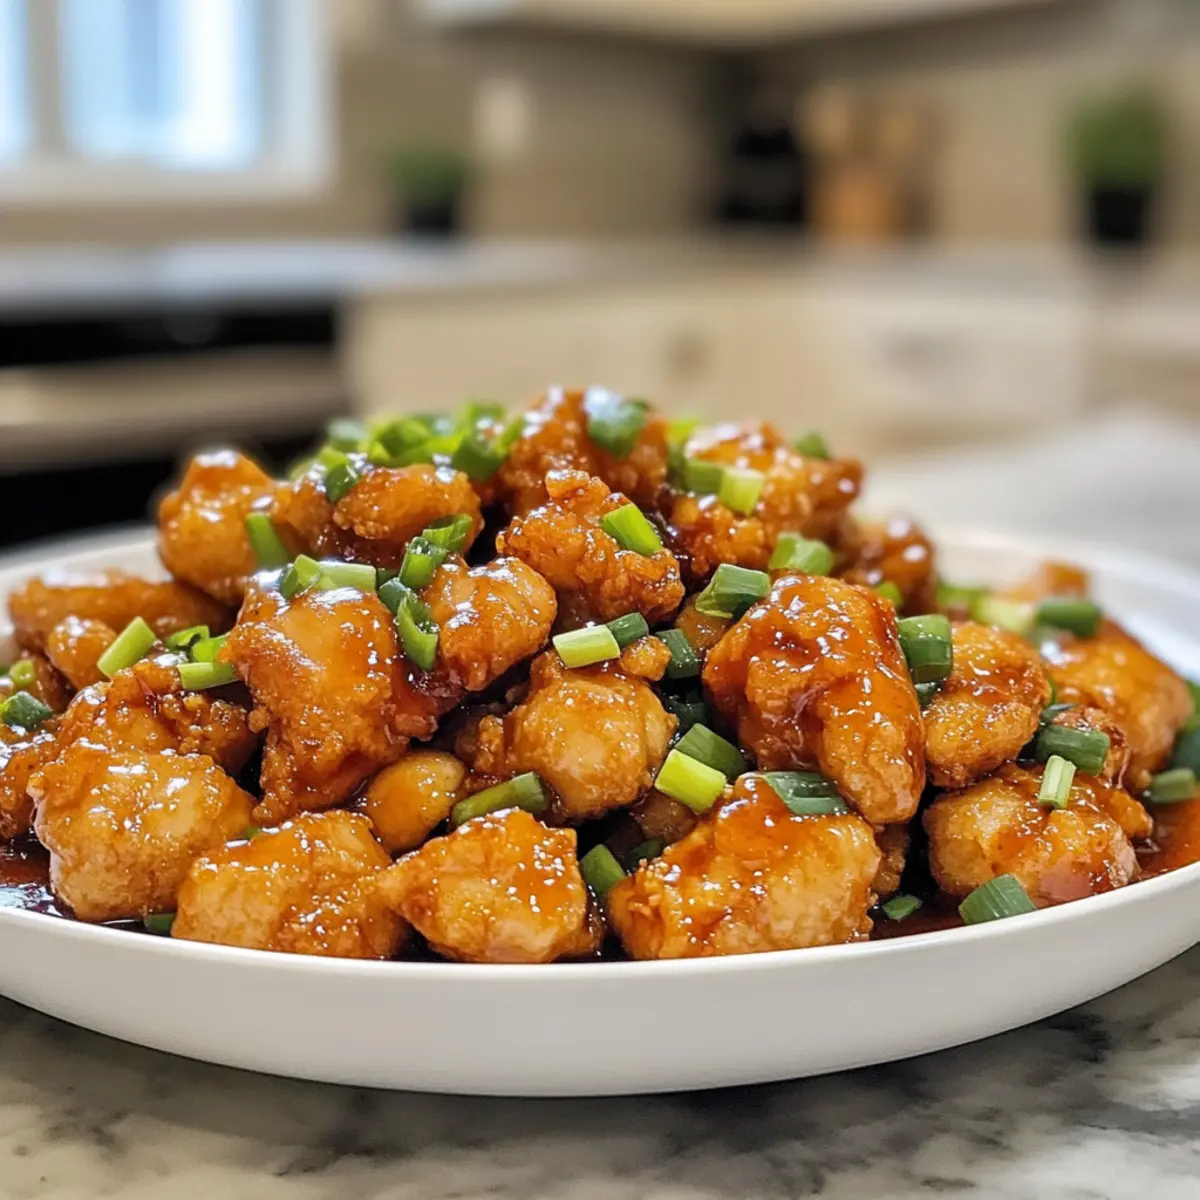
Crowd-Pleasing Appeal: With its crunchy texture and sticky garlic sauce, it’s sure to impress family and friends at your next dinner.
Versatile Options: Feel free to swap chicken for shrimp or tofu, tailoring it to your family’s preferences.
Cultural Delight: Enjoy a taste of Hawaii in your home that brings everyone together, just like our Homemade Chicken Pot or Tropical Chicken Pineapple recipes.
Hawaiian Fried Garlic Chicken Ingredients
For the Chicken
- Chicken – 2 pounds/1 kg, sliced into cubes; this is the main protein source that keeps the dish juicy.
- Cornstarch – 1 tablespoon (for marinating) & 1/2 cup (for batter); it helps tenderize the chicken and create that crispy coating.
- Vegetable Oil – 1 tablespoon (for marinating) & additional for frying; choose canola or peanut oil for best results.
For the Sauce
- Soy Sauce – 3/4 cup; delivers umami flavor—opt for low-sodium for a healthier choice.
- Sugar – 3/4 cup; balances the salty and savory notes; brown sugar adds a richer taste.
- Garlic – 1/2 cup, crushed or finely chopped; this is the star ingredient for the ultimate garlic explosion.
- Green Onion – 1/4 cup, chopped; brings in freshness—chives work well as a substitute.
- Sesame Oil – 1 tablespoon; deepens the flavor profile; olive oil can be a lighter swap.
- Red Chili Flakes – 1 teaspoon; adds a touch of heat, perfect for those who like a spicy kick.
- White Pepper – 1/2 teaspoon; provides subtle spice; black pepper also works well here.
For the Coating
- Flour – 1 1/2 cups; essential for that golden, crispy coating; substitute with gluten-free flour for dietary needs.
- Salt – 1/2 teaspoon; helps enhance all flavors—do adjust according to taste.
Elevate your family dinners or casual lunches with this delightful Hawaiian Fried Garlic Chicken that packs flavor and crunch in every bite!
Step‑by‑Step Instructions for Hawaiian Fried Garlic Chicken
Step 1: Prepare Garlic Sauce
In a saucepan, combine 3/4 cup soy sauce and 3/4 cup sugar over medium heat. Stir until the mixture comes to a boil, then reduce to a simmer for 2-3 minutes until slightly thickened. Add 1/2 cup crushed garlic, 1/4 cup chopped green onion, 1 tablespoon sesame oil, 1 teaspoon red chili flakes, and 1/2 teaspoon white pepper; simmer for another minute before setting aside.
Step 2: Marinate Chicken
In a large mixing bowl, combine 2 pounds of cubed chicken with 4-5 tablespoons of the prepared garlic sauce, 1 tablespoon of cornstarch, and 1 tablespoon of vegetable oil. Toss everything together until the chicken is well coated, then cover the bowl and let it marinate for 30 minutes at room temperature or refrigerate it for up to overnight for deeper flavor absorption.
Step 3: Prepare Coating
While the chicken marinates, take a separate bowl and whisk together 1 1/2 cups of flour, 1/2 cup of cornstarch, and 1/2 teaspoon of salt. To create small clumps, mix in 3 tablespoons of the garlic sauce. This dry mix will help achieve a crispy coating when frying the chicken later, so ensure it’s well combined and set aside.
Step 4: Fry Chicken
Heat about 2 inches of vegetable oil in a large frying pan over medium-high heat until shimmering; this should take about 5-7 minutes. Dredge the marinated chicken cubes in the flour-cornstarch mixture, ensuring they are well coated. Fry the chicken in batches for 4-5 minutes, turning occasionally until golden brown and crispy. Drain the fried chicken on paper towels to remove excess oil.
Step 5: Serve
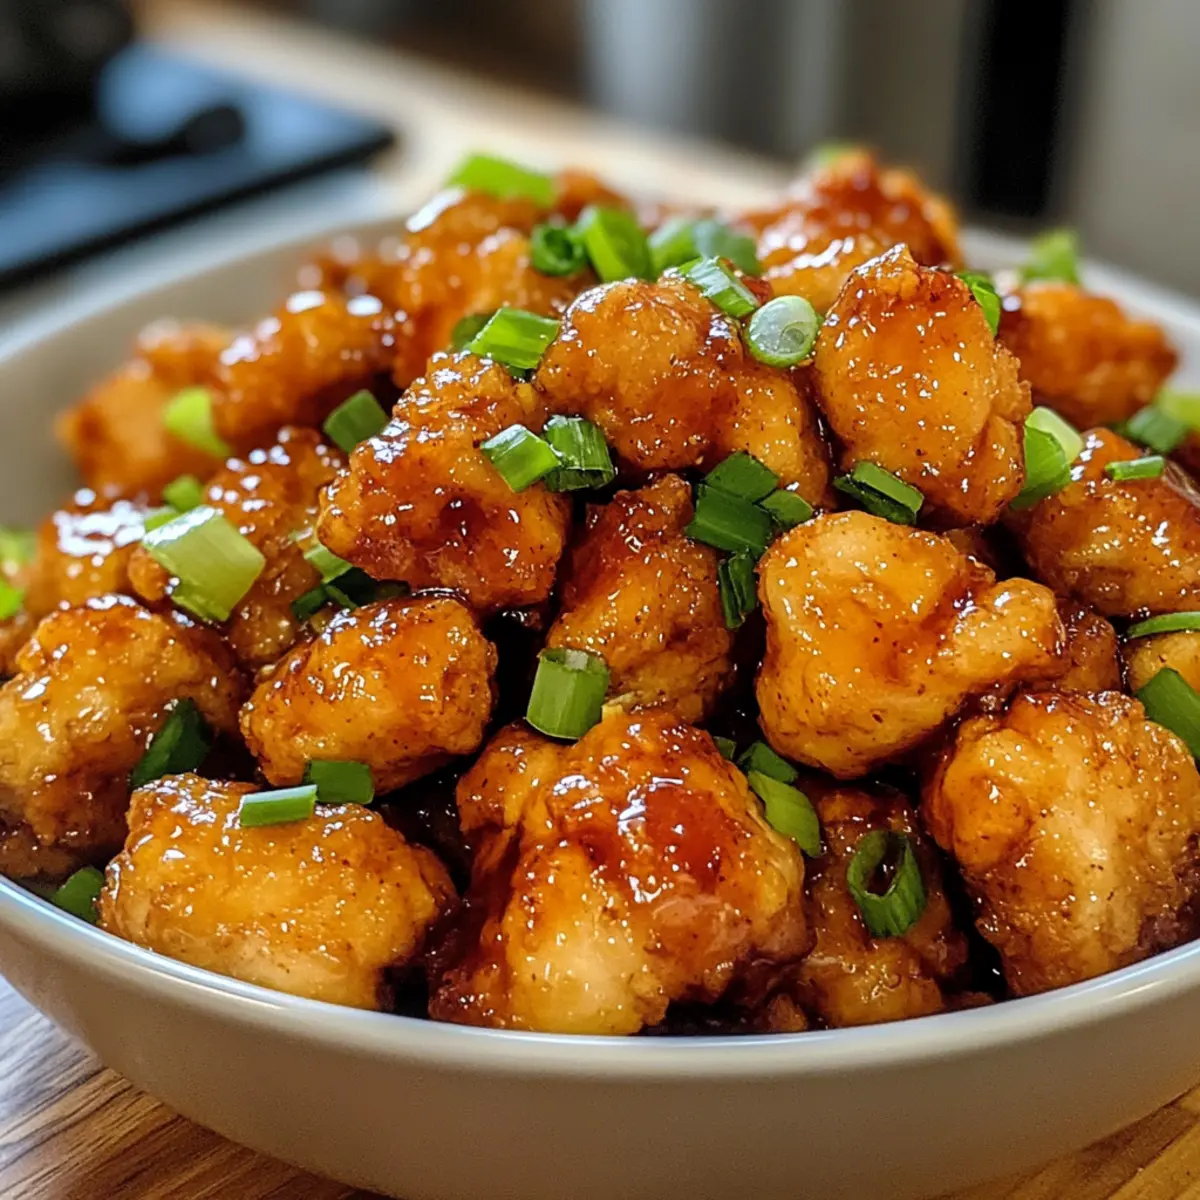
To finish, gently heat the remaining garlic sauce in a small saucepan until warm. Toss the crispy fried chicken in the heated sauce to coat thoroughly. Serve the Hawaiian Fried Garlic Chicken warm over a bed of jasmine rice or alongside the sauce for dipping, bringing a touch of the islands to your dining table.
What to Serve with Crispy Hawaiian Fried Garlic Chicken
Indulge in a sensory journey by pairing your dish with delightful sides and drinks that enhance its flavors.
- Jasmine Rice: A perfect canvas for the garlic sauce, fluffy jasmine rice balances the sweetness and adds a delightful texture.
- Fried Rice: This vibrant option, tossed with veggies and garnished with furikake, brings a savory flavor complementing the chicken’s sweetness.
- Coleslaw: A crunchy, fresh slaw provides a refreshing contrast to the rich garlic chicken—add a touch of pineapple for a tropical flair!
- Pineapple Chunks: Juicy and sweet, fresh pineapple chunks echo the Hawaiian theme while cutting through the richness of the fried chicken.
- Soggy-Free Beer or Light Ale: A crisp, cold beer offers a refreshing contrast to the savory flavor of the dish, making each bite a joy!
- Coconut Water: This refreshing drink not only hydrates but also complements the tropical notes of the dish, cooling down the garlic intensity.
- Chocolate Lava Cake: End your meal on a sweet note with a decadent dessert that offers a rich contrast to the garlic-forward chicken, making it a delightful finish!
Hawaiian Fried Garlic Chicken Variations
Feel free to explore these delicious twists on this classic recipe that capture the spirit of Hawaiian cuisine!
-
Seafood Swap: Use shrimp instead of chicken for a delightful twist; adjust cooking time as shrimp cooks quickly.
-
Tofu Delight: Substitute cubed firm tofu for a vegetarian option; make sure to press the tofu first to remove excess moisture.
-
Pineapple Splash: Adding a splash of pineapple juice to your marinade brings a sweet, tropical kick that complements the garlic beautifully.
-
Gluten-Free Version: Swap regular flour with almond flour or a gluten-free flour blend to accommodate dietary needs without sacrificing flavor.
-
Spicy Kick: Increase the red chili flakes to 2 teaspoons for a spicier dish; this adds an exciting heat that chili lovers will enjoy.
-
Savory Herbs: Incorporate fresh herbs like cilantro or basil for a fresh flavor boost; toss them into your garlic sauce before coating the chicken.
-
Nutty Crunch: Add crushed macadamia nuts to your flour coating for extra crunch and a nutty flavor that pairs perfectly with Hawaiian dishes.
-
Crispy Air Frying: For a lighter cooking method, prepare your chicken in an air fryer; this achieves that coveted crunch with less oil—perfect for a healthier option!
Each of these variations can make your Hawaiian Fried Garlic Chicken experience uniquely yours. Pair it with a side of jasmine rice or even a refreshing salad and enjoy the taste of the islands right at home. If you’re craving more chicken recipes, check out Homemade Chicken Pot and Honey Chili Chicken for more inspiration!
Expert Tips for Hawaiian Fried Garlic Chicken
-
Use Fresh Garlic: Freshly crushed garlic will elevate your dish with powerful flavor. Avoid pre-minced garlic to maintain that authentic taste.
-
Hot Oil is Key: Make sure the oil is hot enough before adding chicken. If it’s not, the chicken may become soggy rather than crispy, ruining your Hawaiian Fried Garlic Chicken.
-
Don’t Overcrowd: Fry in small batches to prevent crowding. Overloading the frying pan lowers the oil temperature, leading to greasy, unappetizing chicken rather than a crunchy texture.
-
Perfecting the Coating: Ensure your flour mixture clings well by pressing it onto the marinated chicken firmly. This step is crucial for achieving that irresistible crispy exterior.
-
Serve Immediately: For the best taste and texture, serve the chicken right after frying. The longer it sits, the less crispy it will become!
Make Ahead Options
These Crispy Hawaiian Fried Garlic Chicken bites are perfect for meal prep enthusiasts! You can marinate the chicken up to 24 hours in advance, allowing the flavors to deepen. Simply combine the cubed chicken with garlic sauce, cornstarch, and vegetable oil, then refrigerate it. Additionally, prepare the garlic sauce and coating mixture on the same day, storing them separately in the fridge for up to 3 days. When you’re ready to serve, just heat the oil and fry the marinated chicken until golden and crispy. This approach not only saves time but also guarantees that your dish is just as delicious, ensuring that family dinners can be quick and enjoyable!
Storage Tips for Hawaiian Fried Garlic Chicken
-
Fridge: Store leftover Hawaiian Fried Garlic Chicken in an airtight container for up to 3 days. Make sure it’s completely cooled before sealing to maintain quality.
-
Freezer: For longer storage, freeze the chicken in a freezer-safe container for up to 2 months. It’s best to separate pieces with parchment paper to prevent sticking.
-
Reheating: When ready to eat, reheat the chicken in the oven at 350°F (175°C) for about 15-20 minutes to restore crispiness. Microwaving is quicker but may leave it soggy, so take care.
-
Serving Tips: To revive the sticky garlic sauce, gently heat it on the stove and toss the reheated chicken before serving. It’ll taste just as delicious as freshly made!
Hawaiian Fried Garlic Chicken Recipe FAQs
How do I select the right chicken for this recipe?
Absolutely! Choose skinless, boneless chicken thighs or breasts for juicy results. Thighs tend to be more forgiving and moist, but breast meat can also work well if cooked properly. Look for pieces that are pink and firm, avoiding any that have dark spots or an off smell.
How should I store leftover Hawaiian Fried Garlic Chicken?
It’s easy! Once cooled, store your leftover chicken in an airtight container in the fridge for up to 3 days to maintain its best quality. Cool it completely before sealing to prevent condensation and sogginess. If you want to keep it longer, you can freeze the chicken in a freezer-safe container for up to 2 months.
Can I freeze Hawaiian Fried Garlic Chicken? How?
Yes, you can! To freeze your chicken, first, ensure it’s completely cooled. Then, place the pieces in a single layer on a parchment-lined baking sheet to freeze individually for about 1-2 hours. Afterward, transfer the frozen chicken to a freezer-safe bag or container, separating pieces with parchment paper to prevent sticking. Label with the date for best practices and enjoy within 2 months.
What should I do if my chicken isn’t getting crispy?
Very! If your chicken isn’t crispy, check a few things. First, ensure your oil is hot enough—about 350°F (175°C) before adding the chicken. This usually takes about 5-7 minutes when heating. Also, avoid overcrowding the pan, as that lowers the oil temperature. Remember, frying in batches is key to keeping that delightful crunch!
Is Hawaiian Fried Garlic Chicken suitable for anyone with common allergies?
I recommend caution! This recipe contains soy sauce, which often has gluten, and can be an allergen for some. To make it gluten-free, simply use a gluten-free soy sauce substitute. Additionally, be mindful of the garlic, which can cause digestive issues for some individuals. Always double-check ingredients based on dietary restrictions when serving guests.
Crispy Hawaiian Fried Garlic Chicken You'll Crave in 30 Minutes
Ingredients
Equipment
Method
- Prepare Garlic Sauce: In a saucepan, combine soy sauce and sugar over medium heat. Stir until boiling, then simmer for 2-3 minutes. Add crushed garlic, chopped green onion, sesame oil, red chili flakes, and white pepper; simmer for another minute.
- Marinate Chicken: In a bowl, combine cubed chicken, 4-5 tablespoons of garlic sauce, cornstarch, and vegetable oil. Toss until well coated, cover, and let marinate for 30 minutes.
- Prepare Coating: In a separate bowl, whisk together flour, cornstarch, and salt. Mix in 3 tablespoons of garlic sauce to create clumps. Set aside.
- Fry Chicken: Heat vegetable oil in a frying pan over medium-high heat until shimmering. Dredge marinated chicken in the flour mixture and fry in batches for 4-5 minutes until golden and crispy.
- Serve: Gently heat remaining garlic sauce, then toss the fried chicken to coat. Serve warm over jasmine rice or with sauce for dipping.