

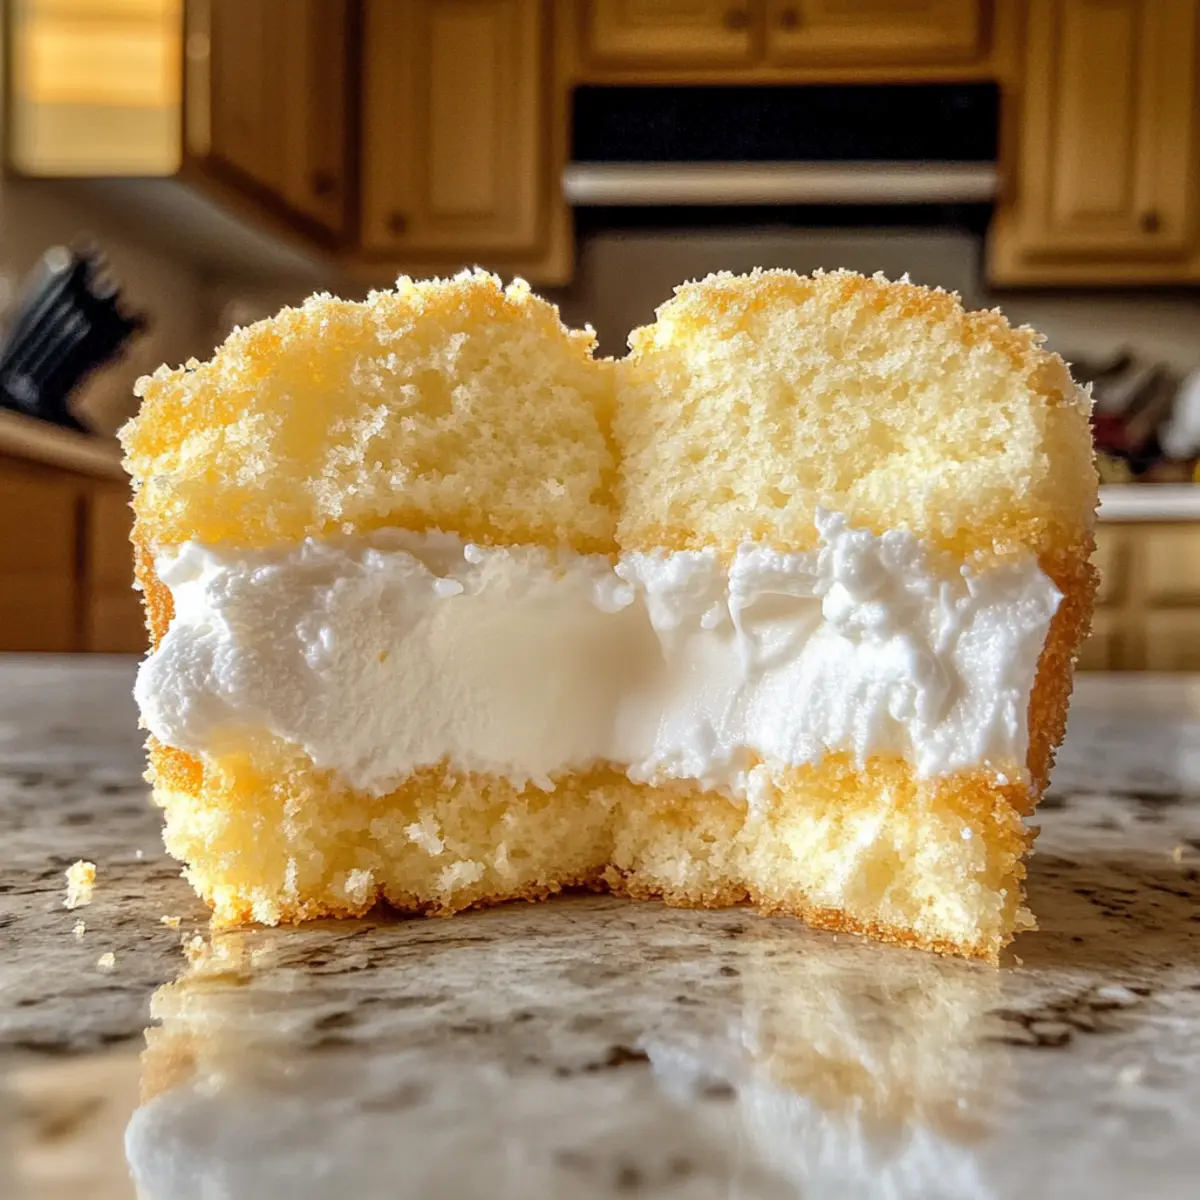
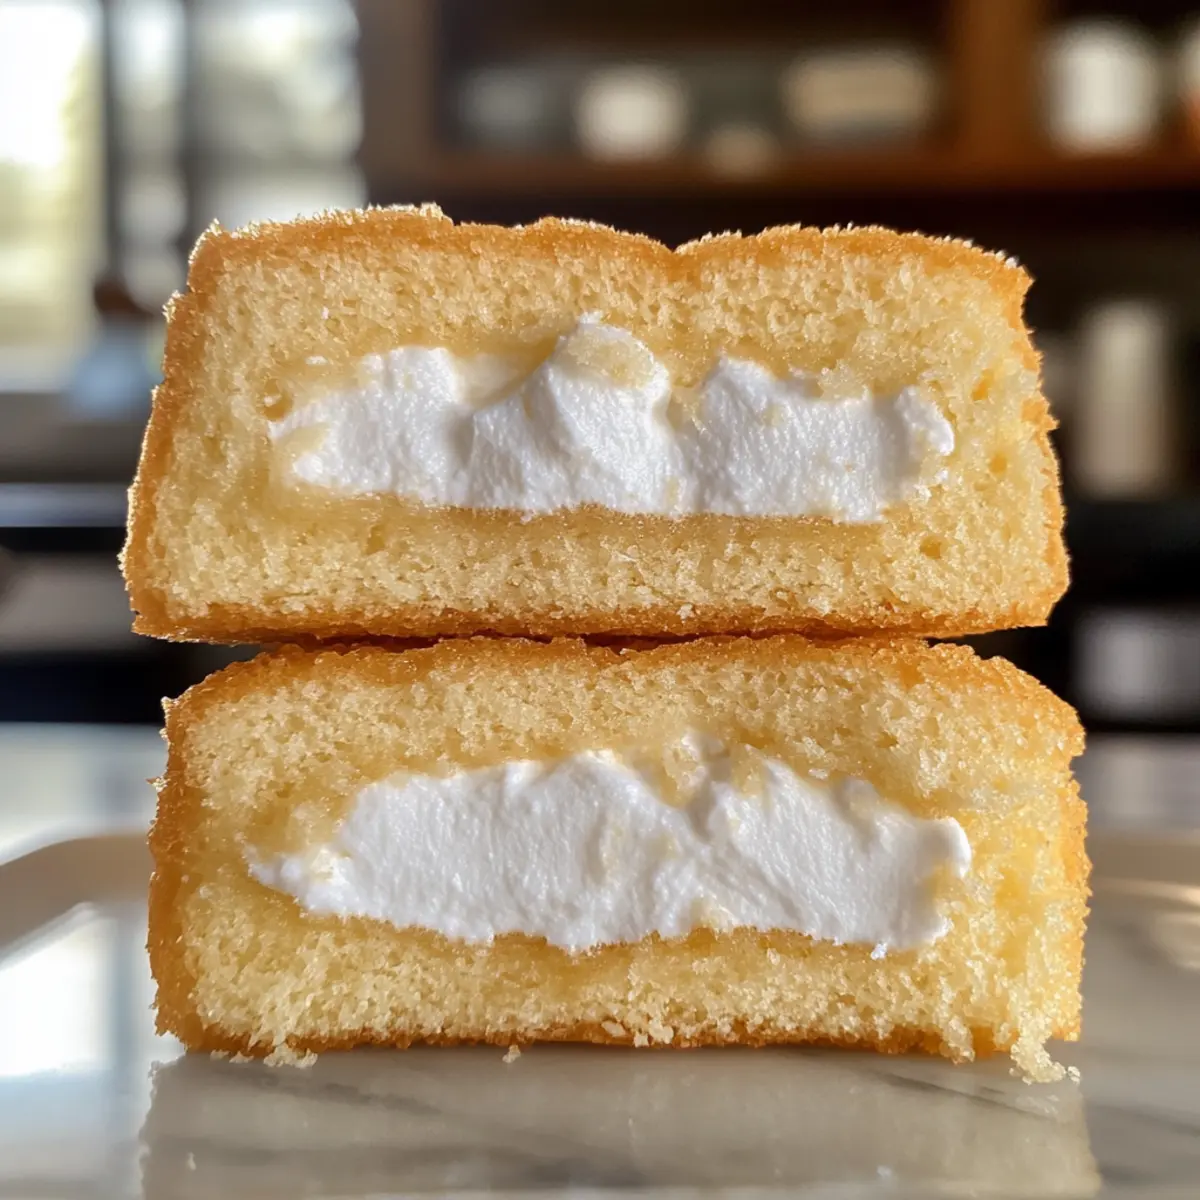
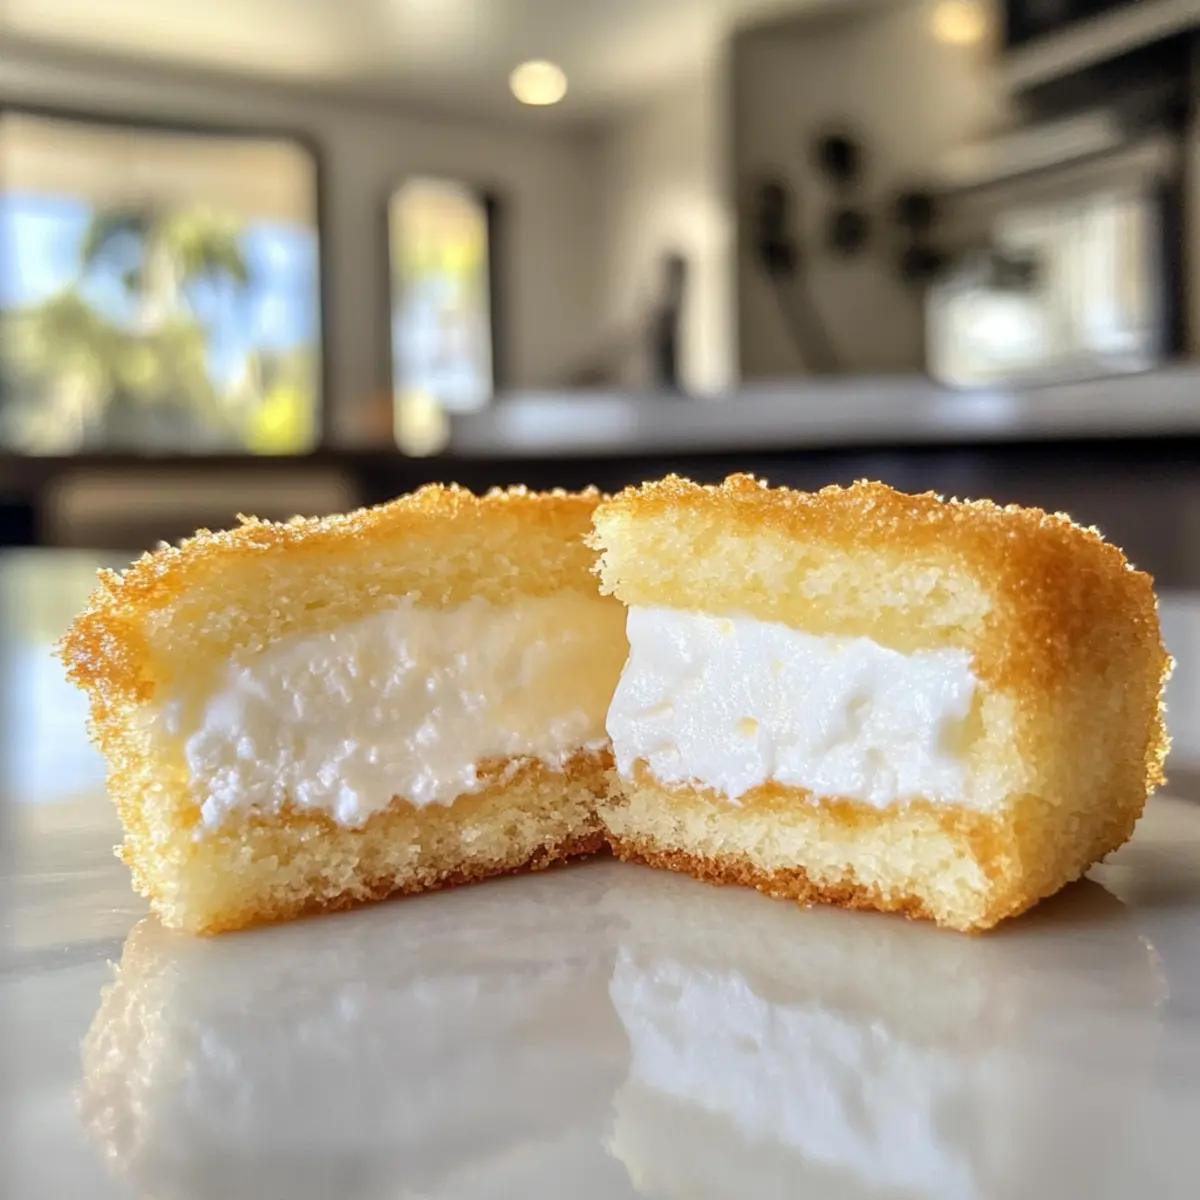
As I stood in my kitchen, the sweet aroma of baking sponge cake whisked me back to my childhood, where store-bought treats were an after-school delight. But today, I’m excited to share my twist on this nostalgic classic: Homemade Twinkies! These delightful snacks are filled with creamy marshmallow goodness, made from real ingredients, and devoid of any preservatives. Not only do they evoke fond memories, but they’re also incredibly customizable, making them perfect for all ages and occasions. Whether it’s a birthday party or a simple afternoon indulgence, these Homemade Twinkies will surely steal the spotlight. Ready to relive some sweet memories together? Let’s dive into the recipe!
Why Choose Homemade Twinkies?
Nostalgic Treat: Homemade Twinkies bring back cherished memories, allowing you to recreate the magic of your childhood with fresh ingredients you can trust.
Customizable Goodness: Whether you prefer a classic marshmallow filling or adventurous flavors like chocolate or fruit compotes, these Twinkies cater to every taste.
Simple Technique: The straightforward steps make baking accessible, allowing bakers of all skill levels to whip up these delicious snacks in no time.
Perfect for Any Occasion: From birthday parties to casual brunches, these delightful treats are sure to impress your family and friends—ideal alongside a steaming cup of coffee or served with Homemade Chicken Pot for a unique pairing!
No Preservatives: Skip the store-bought version and enjoy a healthier option that doesn’t compromise on taste or quality.
A Showstopper: With their light, airy texture and creamy filling, these treats are bound to steal the spotlight no matter where you serve them—making every bite a delightful experience!
Homemade Twinkie Ingredients
For the Cake
• All-Purpose Flour – Provides the structure for the cake; substitute with gluten-free flour if needed.
• Baking Powder – Essential for helping the cake rise; make sure it’s fresh for optimal results.
• Salt – Enhances flavor; just a pinch balances the sweetness perfectly.
• Large Eggs (4) – Adds moisture and fluffiness; room temperature eggs yield the best volume.
• Granulated Sugar (2/3 cup) – Sweetens the cake and contributes to its structure; can use coconut sugar for a healthier alternative.
• Vanilla Extract (1/2 tsp) – Adds depth of flavor; almond extract makes a lovely variation.
• Milk (2 tbsp) – Provides moisture; any milk variation will work, including almond or oat milk.
• Unsalted Butter (1 tbsp, melted) – Adds richness to the batter; employs coconut oil for a dairy-free option.
For the Filling
• Unsalted Butter (1/2 cup, softened) – Creates a creamy texture for the filling; vegan butter can be used for a dairy-free version.
• Marshmallow Creme (1/2 cup) – The star of the classic filling; consider homemade marshmallow fluff for a personal touch.
• Powdered Sugar (1 cup) – Adds sweetness and thickens the filling; try erythritol for a low-carb option.
• Vanilla Extract (1 tsp) – Elevates the filling flavor significantly.
• Heavy Cream (1 tbsp) – Contributes to the creaminess; substitute with coconut cream for a dairy-free twist.
Step‑by‑Step Instructions for Homemade Twinkies
Step 1: Preheat and Prepare
Begin by preheating your oven to 350°F (175°C). Grease your Twinkie or mini loaf pan generously with butter or spray; this will help ensure your cakes come out easily. While the oven heats, gather your ingredients and tools, creating an organized workspace that invites you into the nostalgic activity of baking delicious homemade Twinkies.
Step 2: Sift Dry Ingredients
In a small mixing bowl, sift together the all-purpose flour, baking powder, and salt. This step aerates the flour, ensuring a light and fluffy texture in your Twinkies. Set this mixture aside as you prepare the batter; you’ll gently incorporate it into the wet ingredients later for that perfect sponge cake base.
Step 3: Beat Eggs and Sugar
In a large mixing bowl, use an electric mixer to beat the large eggs and granulated sugar on medium speed until the mixture becomes thick, pale, and doubles in volume—about 6 to 8 minutes. This crucial step introduces air into your mixture, resulting in a tender sponge for your homemade Twinkies. The mixture should be ribbon-like when drizzled from the beater.
Step 4: Fold in Vanilla and Dry Ingredients
Gently fold in the vanilla extract into the egg and sugar mixture, ensuring it’s well combined. Gradually incorporate the sifted flour mixture, taking care not to overmix. The goal is to maintain as much air as possible, which creates that delightful texture. Using a spatula, employ a gentle folding motion to keep the batter light and airy.
Step 5: Mix Wet Ingredients
Combine the warm milk and melted butter in a separate bowl, mixing until well combined. Take your time with this, ensuring the butter doesn’t solidify in the milk. Slowly fold this mixture into the batter until just combined, which helps keep your homemade Twinkies moist and delicious. Be cautious not to overwork the batter.
Step 6: Fill Molds and Bake
Carefully spoon the batter into your prepared molds, filling them about three-quarters full. This allows room for the cakes to rise beautifully. Bake in the preheated oven for 12 to 15 minutes, or until the Twinkies are golden brown and a toothpick inserted in the center comes out clean. The tops should spring back gently when touched.
Step 7: Cool the Cakes
Once baked, remove them from the oven and allow your homemade Twinkies to cool in the pan for about 5 minutes. Then, transfer them to a wire rack to cool completely. This step is essential as it prevents the marshmallow filling from melting and keeps your cakes light and fluffy, ready to be filled with creamy goodness.
Step 8: Prepare the Filling
While your cakes cool, beat the softened unsalted butter in a mixing bowl until fluffy. Gradually mix in the marshmallow creme, powdered sugar, vanilla extract, and heavy cream. Beat until the filling is smooth and creamy. This luscious filling will elevate your homemade Twinkies, giving them that dreamy texture everyone loves.
Step 9: Fill the Twinkies
Using a piping bag fitted with a small round tip, fill each cooled Twinkie through three small holes in the bottom of each cake. Fill until you see the cakes puff slightly; this means they’re perfectly filled with that delightful marshmallow goodness. Don’t worry if it’s a bit messy; that’s part of the fun of homemade baking!
Step 10: Store and Serve
Once filled, your homemade Twinkies are ready to be enjoyed! If you’re not serving them right away, store them in an airtight container in the fridge for up to 4-5 days. Enjoy these nostalgic treats on their own or alongside your favorite beverages for a sweet escape that brings joy to any occasion.
Homemade Twinkies – Creative Twists
You can make these delightful homemade Twinkies uniquely yours with just a few simple changes that will enhance their flavor and fun!
- Gluten-Free: Swap all-purpose flour with a 1:1 gluten-free flour mix to accommodate dietary needs without sacrificing taste.
- Dairy-Free Delight: Use coconut oil instead of butter in the cake batter and vegan butter for the filling to enjoy a dairy-free treat.
- Chocolate Twinkies: Incorporate cocoa powder into the batter for a rich chocolate sponge that will delight any chocoholic!
- Fruity Filling: Add a splash of fruit puree or zest to the marshmallow filling, infusing fresh flavors such as lemon or raspberry for a delightful twist.
- Nutty Crunch: Mix in mini chocolate chips or crushed nuts for texture, adding a fun crunch to your satisfying snack. Imagine biting into a creamy Twinkie, revealing delicious surprises inside!
- Layered Twinkies: Create a layered effect by alternating flavors in each cake, like chocolate and vanilla—perfect for impressing guests at gatherings!
- Spicy Kick: A dash of cinnamon or even cayenne pepper can elevate the filling, adding an unexpected twist that awakens the taste buds.
Feel free to explore these suggestions and make your Homemade Twinkies a personal masterpiece! A warm cup of coffee or a side of Homemade Sweet Orange jam pairs beautifully with these treats for a truly nostalgic experience.
Expert Tips for Homemade Twinkies
-
Room Temperature Eggs: Ensure your eggs are at room temperature for the best volume; this will make your batter light and fluffy.
-
Don’t Overmix: Mix your batter gently; overmixing can lead to denser Twinkies. Keep the aeration intact for that perfect texture!
-
Cool Completely: Allow the cakes to cool entirely before filling; this prevents your marshmallow creme from melting and maintains that creamy texture.
-
Piping Tools: A piping bag is ideal for filling, but if you don’t have one, a zip-top bag with the corner snipped off works perfectly, too!
-
Creative Fillings: Feel free to experiment! Add different extracts or mix-ins like chocolate chips for a fun twist on your homemade Twinkies.
Make Ahead Options
These delicious Homemade Twinkies are perfect for meal prep enthusiasts! You can bake the sponge cakes up to 24 hours in advance and store them in an airtight container at room temperature to maintain their soft texture. Additionally, you can whip up the marshmallow filling and refrigerate it for up to 3 days; just remember to give it a quick stir before using to restore its creamy consistency. When you’re ready to serve, simply fill each cooled cake with the prepared filling using a piping bag, and you’ll have a nostalgic treat that’s just as delightful as when freshly made—ideal for busy weeknights or special occasions!
What to Serve with Homemade Twinkies?
Create the perfect spread to accompany these delightful treats that will delight guests of all ages.
-
Fresh Berries: A side of mixed berries adds a vibrant burst of flavor and complements the sweetness of the Twinkies beautifully. The tartness of strawberries and blueberries can balance the sweetness.
-
Whipped Cream: Light and airy whipped cream is an inviting accompaniment, enhancing the creamy marshmallow filling while offering a touch of indulgence. Consider adding a sprinkle of vanilla for added richness!
-
Ice Cold Milk: There’s nothing like pairing your Twinkies with a glass of milk—it’s a nostalgic combination that makes each bite even more enjoyable, evoking childhood memories vividly.
-
Chocolate Sauce: Drizzling warm chocolate sauce over your Twinkies can add a decadent twist. This chocolatey richness plays harmoniously with the fluffy sponge and creamy filling, perfect for chocolate lovers!
-
Coffee or Tea: A warm cup of coffee or tea invites a moment of relaxation. The bitterness of coffee complements the sweetness of the Twinkies, while tea offers a gentle contrast that highlights their flavors.
-
Chocolate Ice Cream: For an indulgent dessert experience, serve your Twinkies alongside scoops of chocolate ice cream. The cold creaminess pairs perfectly with the warm sponge, creating a delightful texture contrast.
-
Fruit Salad: A refreshing fruit salad adds brightness and freshness to the table. Seasonal fruits can elevate the flavor combination, creating a well-rounded meal that’s pleasing to the palate.
How to Store and Freeze Homemade Twinkies
Fridge: Store your homemade Twinkies in an airtight container in the refrigerator for up to 4-5 days to keep them fresh and moist.
Freezer: For longer storage, wrap each Twinkie individually in plastic wrap and then place them in a freezer bag. They can be frozen for up to 3 months—perfect for a sweet treat whenever you need!
Thawing: When ready to enjoy, simply remove the Twinkies from the freezer and let them thaw in the fridge overnight, or at room temperature for about an hour.
Reheating: If you prefer a warm treat, pop a filled Twinkie in the microwave for about 10-15 seconds. Enjoy the delightful, gooey marshmallow filling that makes homemade Twinkies extra special!

Homemade Twinkies Recipe FAQs
How do I choose the right eggs for my Homemade Twinkies?
Choose large eggs that are at room temperature for the best results. Eggs that are at room temperature will whip up to a greater volume, contributing to the light and airy texture of your Twinkies. If you’re in a hurry, simply place cold eggs in a bowl of warm water for about 10-15 minutes to quickly bring them up to temperature!
What’s the best way to store my Homemade Twinkies?
Store your homemade Twinkies in an airtight container in the refrigerator for up to 4-5 days. This keeps them fresh and moist, so they’re ready to enjoy whenever a craving strikes. If they’re not all eaten right away, you might want to place parchment paper between them to prevent sticking!
Can I freeze Homemade Twinkies?
Absolutely! To freeze your homemade Twinkies, wrap each one tightly in plastic wrap, then place them in a freezer-safe bag or container. They will keep well for up to 3 months. When you’re ready to enjoy, just remove them from the freezer and let them thaw in the fridge overnight or at room temperature for about an hour.
What if my batter is too thick or too runny?
If your batter feels too thick, consider adding a tablespoon of milk at a time until it reaches a pourable consistency. On the other hand, if it’s too runny, you may need to combine a little more flour with your dry ingredients next time. Remember, the goal is a smooth batter that still holds some air for that fluffy texture!
Are these Homemade Twinkies safe for kids with allergies?
While this recipe contains common allergens like eggs and dairy, it can be modified for various dietary needs! Substitute egg replacers for a vegan version, use gluten-free flour for those with gluten sensitivities, and choose dairy alternatives like coconut cream or almond milk. Always double-check individual ingredient labels for allergens before serving.
How can I tell when the Twinkies are baked properly?
Your homemade Twinkies are done when they are golden brown on top, and a toothpick inserted into the center comes out clean. They should also spring back slightly when you press them gently. If they’re still wet on the toothpick, give them a few more minutes in the oven.
Delicious Homemade Twinkies – A Nostalgic Delight Everyone Loves
Ingredients
Equipment
Method
- Preheat your oven to 350°F (175°C) and grease your Twinkie or mini loaf pan.
- Sift together the all-purpose flour, baking powder, and salt in a mixing bowl.
- Beat the eggs and granulated sugar until thick and pale, about 6 to 8 minutes.
- Fold in the vanilla extract, then gently incorporate the sifted flour mixture.
- Combine warm milk and melted butter, then fold it into the batter.
- Spoon the batter into molds, filling about three-quarters full. Bake for 12 to 15 minutes.
- Cool the cakes in the pan for about 5 minutes, then transfer to a wire rack to cool completely.
- Beat together the filling ingredients until smooth and creamy.
- Fill each cooled Twinkie with the prepared filling using a piping bag through small holes.
- Store in an airtight container in the fridge for up to 4-5 days before serving.