

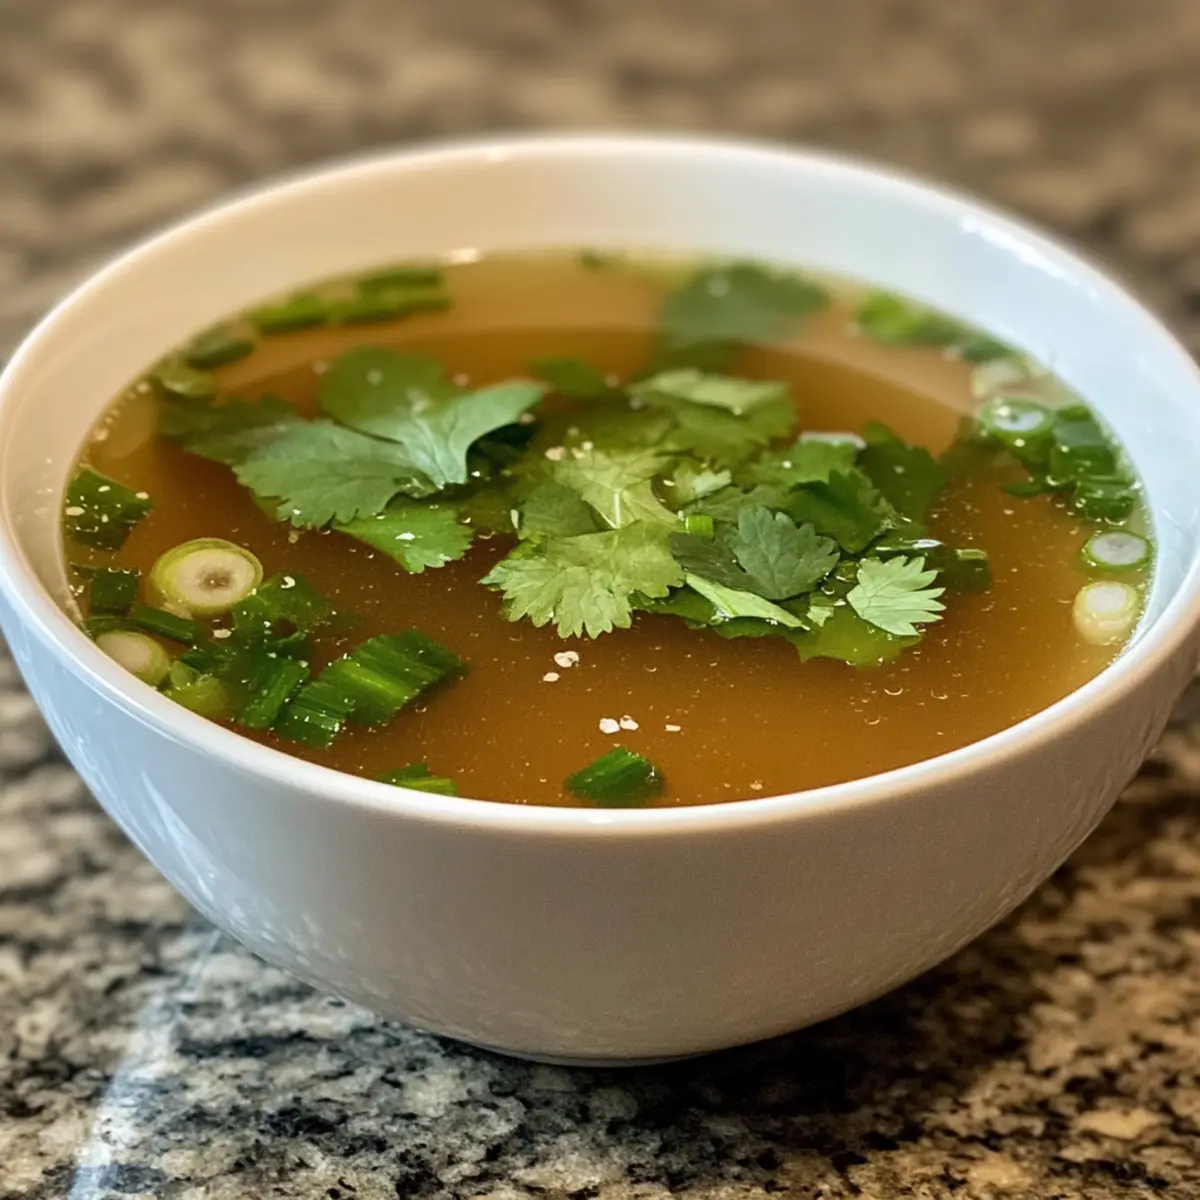
The aroma of simmering garlic and cilantro wafting through the kitchen is a perfect reminder of the warmth of comforting homemade meals. Today, I’m excited to share my recipe for Thai Broth, a nourishing base that can effortlessly elevate your soups, noodle dishes, and even serve as a soothing sip on chilly nights. This clear broth is not only low in calories but also wonderfully versatile. Whether you prefer the traditional chicken version or a rich vegetarian twist, this recipe allows you to personalize each bowl according to your taste and dietary needs. Packed with depth and flavor, this homemade broth is a delightful way to embrace authentic Thai cuisine without the fuss of fast food. So, are you ready to discover how to create your own pot of happiness? Let’s dive in!

Why is Thai Broth a Must-Try?
Comforting warmth fills your kitchen as you simmer this broth, making it the perfect cozy meal addition. Endless variations allow you to enjoy different flavors year-round, whether you’re craving chicken or a vegetarian option. Low in calories, this nourishing broth is a guilt-free delight for health-conscious food lovers. Plus, it’s a fantastic time-saver—prep it ahead and stash it in your freezer for later use! Finally, its crowd-pleasing appeal makes it an impeccable choice for family dinners or entertaining friends. Want more delicious homemade options? Check out our Nourishing Chicken Broth for another comforting recipe!
Thai Broth Ingredients
Get ready to make a comforting, homemade Thai broth!
For the Broth
- Chicken Bones – Provides richness and natural collagen for a silky texture; can substitute with pork bones for a deeper flavor.
- Water – The base of your broth; using cold water ensures a clearer result.
- Garlic (6-8 cloves) – Infuses depth and warmth; crush lightly before adding to enhance flavor extraction.
- Cilantro Roots (or stems) – Adds an earthy aroma typical of Thai broth; if roots aren’t available, stems work perfectly too.
- Ground White Pepper – Offers a subtle kick; feel free to use black pepper as a suitable alternative.
- Thin Soy Sauce (2 tablespoons) – Provides color and mild savoriness; tamari is a great gluten-free substitute.
- Fish Sauce (1 tablespoon or more) – Gives an authentic salty depth; adjust based on taste preference for optimal flavor.
For Flavor Enhancements
- Sugar – A pinch can help balance the salty notes from soy and fish sauce, enriching the broth’s overall taste.
- Lemongrass, Galangal, or Kaffir Lime Leaves – These aromatics can be added for an extra layer of fragrance and flavor; perfect for Thai-inspired variations!
This delicious Thai broth is low in calories and serves as a fantastic base for countless dishes!
Step‑by‑Step Instructions for Thai Broth
Step 1: Prepare Ingredients
Begin by rinsing the chicken bones under cool running water to eliminate any impurities, ensuring a clean broth. While the bones are draining, take 6-8 cloves of garlic and lightly crush them using the flat side of a knife. This crushing action will release the aromatic oils, enhancing the overall flavor of your homemade Thai Broth.
Step 2: Simmer Components
In a large pot, combine the prepared chicken bones with about 4 quarts of cold water. Add the crushed garlic and roughly chopped cilantro roots or stems to the pot. Place it over medium heat and bring the mixture to a gentle simmer. Avoid boiling, as you want to achieve a clear broth, allowing flavors to infuse for about 10 minutes.
Step 3: Skim Surface
For the first 30 minutes of simmering, use a ladle or fine mesh skimmer to carefully remove any floating impurities or foam that collects on the surface. This step is essential for ensuring that your Thai Broth remains clear and visually appealing. Keep the simmer low, adjusting the heat as needed, to maintain consistency without boiling.
Step 4: Adjust Flavor
After simmering for one hour, taste the broth carefully to assess the flavor. At this point, add 1 tablespoon of fish sauce and 2 tablespoons of thin soy sauce for a touch of savory depth. If you prefer a sweeter broth, sprinkle in a pinch of sugar. Stir well, allowing the seasonings to dissolve and infuse into the broth.
Step 5: Continue Simmering
Allow the broth to continue simmering for an additional hour. This extended cooking time melds the flavors beautifully, resulting in a rich yet light broth that embodies the essence of Thai cuisine. Check back occasionally, ensuring it maintains a gentle simmer and the aroma fills your kitchen with comfort.
Step 6: Strain Broth
Once two hours have passed, turn off the heat and carefully strain the broth through a fine-mesh sieve into another pot or bowl. Discard the solids, including bones, garlic, and cilantro remnants. The result should be a clear, golden liquid that is light but full of flavor, perfect as a base for your favorite dishes.
Step 7: Cool and Store
Let the strained Thai Broth cool to room temperature. Once cooled, transfer it into airtight containers for storage. You can keep it in the refrigerator for up to four days or freeze it in ice cube trays for longer-term use, providing you with easy access to a comforting broth whenever you desire a warm, homemade soup.
Make Ahead Options
These Thai Broth preparations are a game changer for busy home cooks! You can prepare the broth up to 24 hours in advance by following the initial simmering process and then cooling it before storing in airtight containers. Ensure you refrigerate it to maintain its delicate flavors. For longer-term storage, freeze the broth in ice cube trays, where it will last for up to 3 months. When you’re ready to enjoy your broth, simply reheat it on the stove, adjusting seasoning as necessary. This way, you’ll have a comforting homemade Thai Broth ready to elevate your meals without any last-minute fuss!
Thai Broth Variations & Substitutions
Feel free to make this Thai Broth your own with these fun and flavorful twists that cater to your cravings!
-
Vegetarian Option: Replace chicken bones with a variety of mushrooms, seaweed, and herbs for a delicious plant-based broth.
-
Richer Broth: Opt for roasted chicken or pork bones to create a heartier, more robust flavor that warms the soul.
-
Additional Aromatics: Introduce fresh lemongrass, galangal, or kaffir lime leaves during simmering for a fragrant aromatic boost.
-
Spicy Kick: Add fresh sliced Thai chilies or a dash of chili oil to ignite a pleasant heat that tickles your palate.
-
Coconut Cream: Stir in coconut cream at the end for a creamy, decadent twist that adds richness without overpowering the broth.
-
Citrusy Zing: A squeeze of fresh lime juice just before serving brightens the flavors, making your broth refreshing and uplifting.
-
Herbal Infusion: Experiment by adding fresh basil and mint while simmering for a captivating herbal flavor that’s traditional in Thai cooking.
-
Quick Stock Base: If you’re short on time, combine store-bought vegetable broth with fresh garlic, cilantro, and lime to whip up a quick and satisfying alternative!
Exploring these variations allows you to embrace creativity in the kitchen. For even more nourishing additions, consider using my Nourishing Chicken Broth as a foundation for soups or savoring alone!
Helpful Tricks for Thai Broth
-
Cold Water Start: Always begin with cold water for a clearer broth; it helps extract flavors without cloudiness.
-
Gentle Simmering: Keep the heat low during cooking. Boiling can cause impurities to mix, resulting in a murky broth—aim for a soft simmer.
-
Season Towards the End: Flavors intensify as the broth cooks, so wait until the last hour to taste and adjust seasonings with fish sauce and soy sauce.
-
Consider Blanching: Blanching chicken bones beforehand can significantly enhance clarity; it’s a simple step for a more polished final product.
-
Variations Matter: Don’t hesitate to experiment with herbs like lemongrass or adjust ingredients for a richer broth—embrace the versatility of Thai Broth!
What to Serve with Homemade Thai Broth?
The gentle warmth and aromatic notes of homemade Thai Broth create an inviting backdrop for a delightful meal filled with fresh flavors and comforting textures.
- Fresh Spring Rolls: These light and crisp rolls filled with shrimp and herbs offer a fun, vibrant contrast to the warm broth.
- Coconut Rice: The creamy sweetness of coconut rice pairs beautifully, creating a harmonious balance with the savory broth.
- Any Stir-Fried Vegetables: Crisp, sautéed vegetables like bok choy or snap peas provide a satisfying crunch, enhancing the wholesome experience of your broth.
- Classic Pad Thai: A plate of this popular dish topped with crunchy peanuts and fresh lime complements the broth’s rich flavors perfectly.
Feel free to serve the broth on its own for a soothing sip, or create a noodle bowl with additions of your choice. For something sweeter to finish, consider enjoying a slice of coconut cake—its light, fluffy texture offers a delicious contrast to the savory notes of the meal!
Storage Tips for Thai Broth
- Fridge: Store your Thai Broth in sealed containers for up to 4 days. If you prefer a less fatty broth, you can skim off the fat before sealing.
- Freezer: Pour the cooled broth into ice cube trays for convenient portions. Once frozen, transfer the cubes to freezer bags and use within 3 months for optimal freshness.
- Reheating: To enjoy, simply reheat the broth on the stove over medium heat until warmed through. You can also microwave in a covered container; stir midway for even warming.
Thai Broth Recipe FAQs
What type of chicken bones should I use for the best flavor?
I recommend using raw chicken bones, such as carcasses or wings, for the richest and silkiest broth. You can also mix in some necks or backs for added depth. If you prefer a deeper flavor, pork bones can be substituted.
How should I store leftover Thai broth?
Store your Thai Broth in airtight containers in the refrigerator for up to 4 days. To reduce fat content, consider skimming off the top layer before storing. Always allow the broth to cool to room temperature before sealing to avoid condensation build-up.
Can I freeze Thai broth, and how should I do it?
Absolutely! Pour your cooled broth into ice cube trays for easy portion control. Once frozen, transfer the cubes to freezer bags, making sure to label them with the date. Properly stored, it will last up to 3 months in the freezer.
Why is my broth cloudy, and how can I fix it?
Cloudiness commonly occurs if the broth is boiled instead of gently simmered. To avoid this, always start with cold water and keep the heat low. If your broth is already cloudy, straining it through a fine mesh sieve can help improve clarity—unfortunately, you may not achieve complete transparency after boiling.
Is there a vegetarian option for Thai broth?
Yes! For a comforting vegetarian version, substitute the chicken bones with a combination of mushrooms, seaweed, radish, and fresh herbs like cilantro and basil. This gives you a rich, umami flavor that is just as satisfying without meat.
Can I give Thai broth to my pets?
While homemade broth can be a tasty treat for pets, ensure it’s free of seasonings like garlic and onion, which can be harmful. Plain chicken broth without additives is safe for dogs, while cats may enjoy it as a special treat—just ensure it’s cooled down before serving!
Comforting Thai Broth Recipe to Warm Your Soul
Ingredients
Equipment
Method
- Begin by rinsing the chicken bones under cool running water to eliminate any impurities.
- Combine chicken bones with cold water in a large pot, add crushed garlic and cilantro roots or stems, and bring to a gentle simmer for about 10 minutes.
- Skim any floating impurities or foam for the first 30 minutes to keep the broth clear.
- After one hour, taste the broth and add fish sauce and soy sauce; adjust sweetness with sugar if desired.
- Continue simmering for an additional hour, ensuring a gentle simmer throughout.
- Turn off the heat and strain the broth through a fine-mesh sieve into another pot or bowl.
- Let the broth cool to room temperature before storing in airtight containers.