

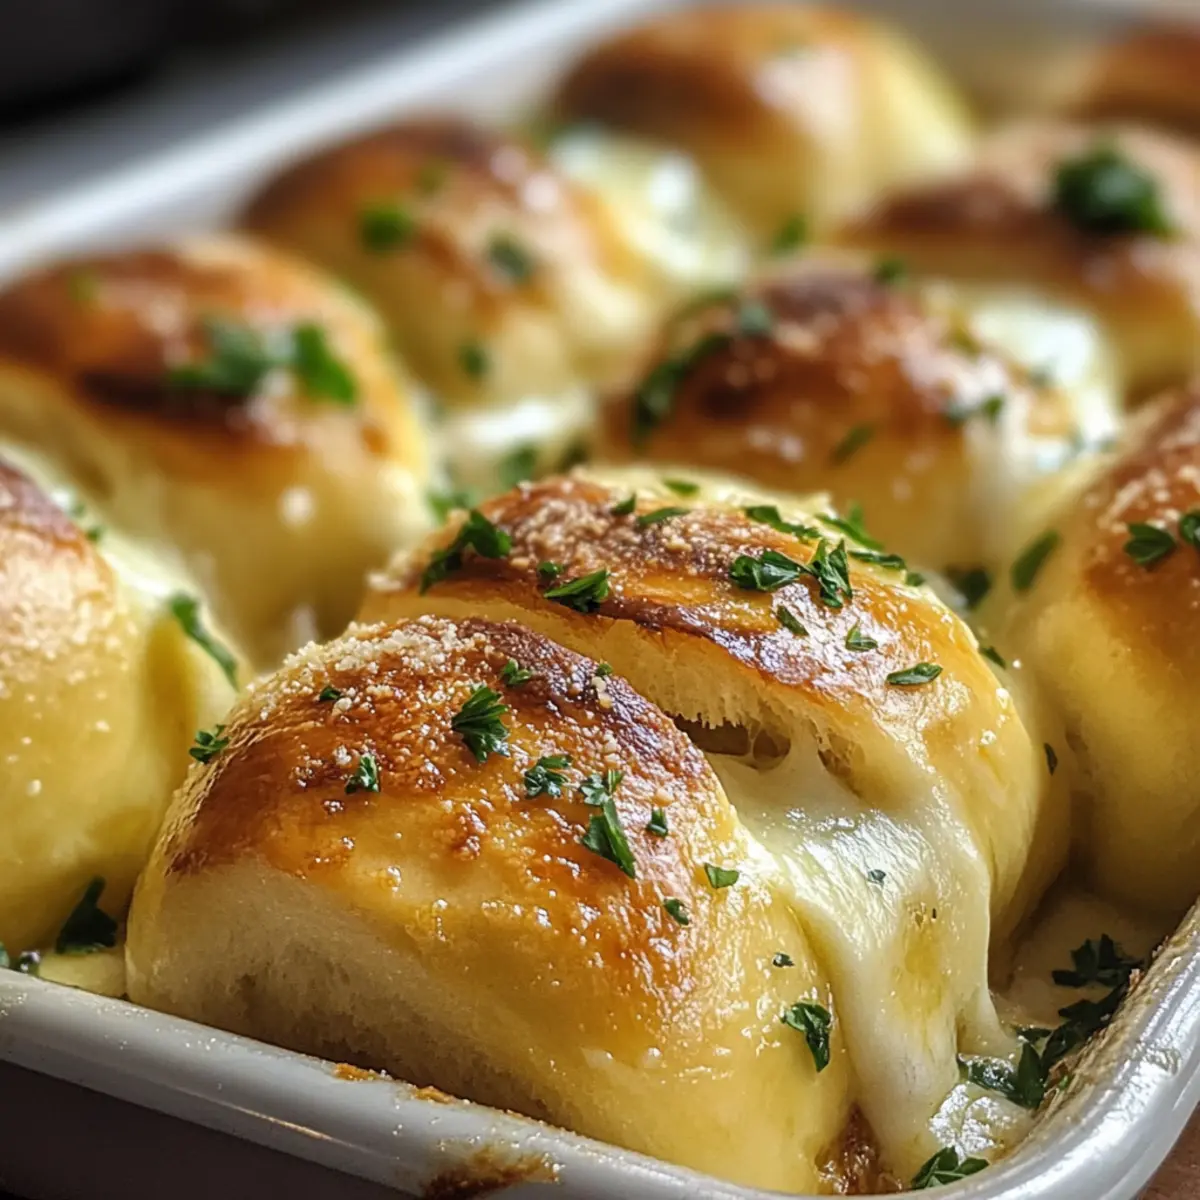
The aroma of roasted garlic and melted cheese fills the air as I pull a tray of Homemade Hawaiian Roll Garlic Bread from the oven. It’s incredible how quickly these soft, sweet rolls transform into a savory, cheesy delight that brings smiles all around. Perfect for game day, family dinners, or just an indulgent snack, this recipe is not only quick and easy, but it also strikes a comforting chord that takes you back to those cherished kitchen moments. With gooey mozzarella and a buttery herb blend, each bite is a delicious surprise waiting to happen. Ready to elevate your bread game with this effortless twist? Let’s get started!
Why is Hawaiian Roll Garlic Bread a Must-Try?
Irresistible Flavor: The marriage of sweet Hawaiian rolls and savory garlic transforms basic bread into a gourmet experience.
Quick & Easy: With minimal prep time, you can have this savory delight on the table in under 20 minutes, making it perfect for those busy weeknights.
Crowd-Pleasing Appeal: It’s hard to resist the gooey, cheesy goodness that everyone loves, whether it’s for a family meal or a party appetizer like Homemade Chicken Rolls.
Versatile Options: Feel free to mix things up—try different cheeses or herbs to suit your taste. Pair this recipe with refreshing sides like Herb Garlic Bread for a complete meal.
Comforting Aroma: The scent of melted garlic butter and herbs wafting through your kitchen will bring back nostalgic memories and make your space feel like home.
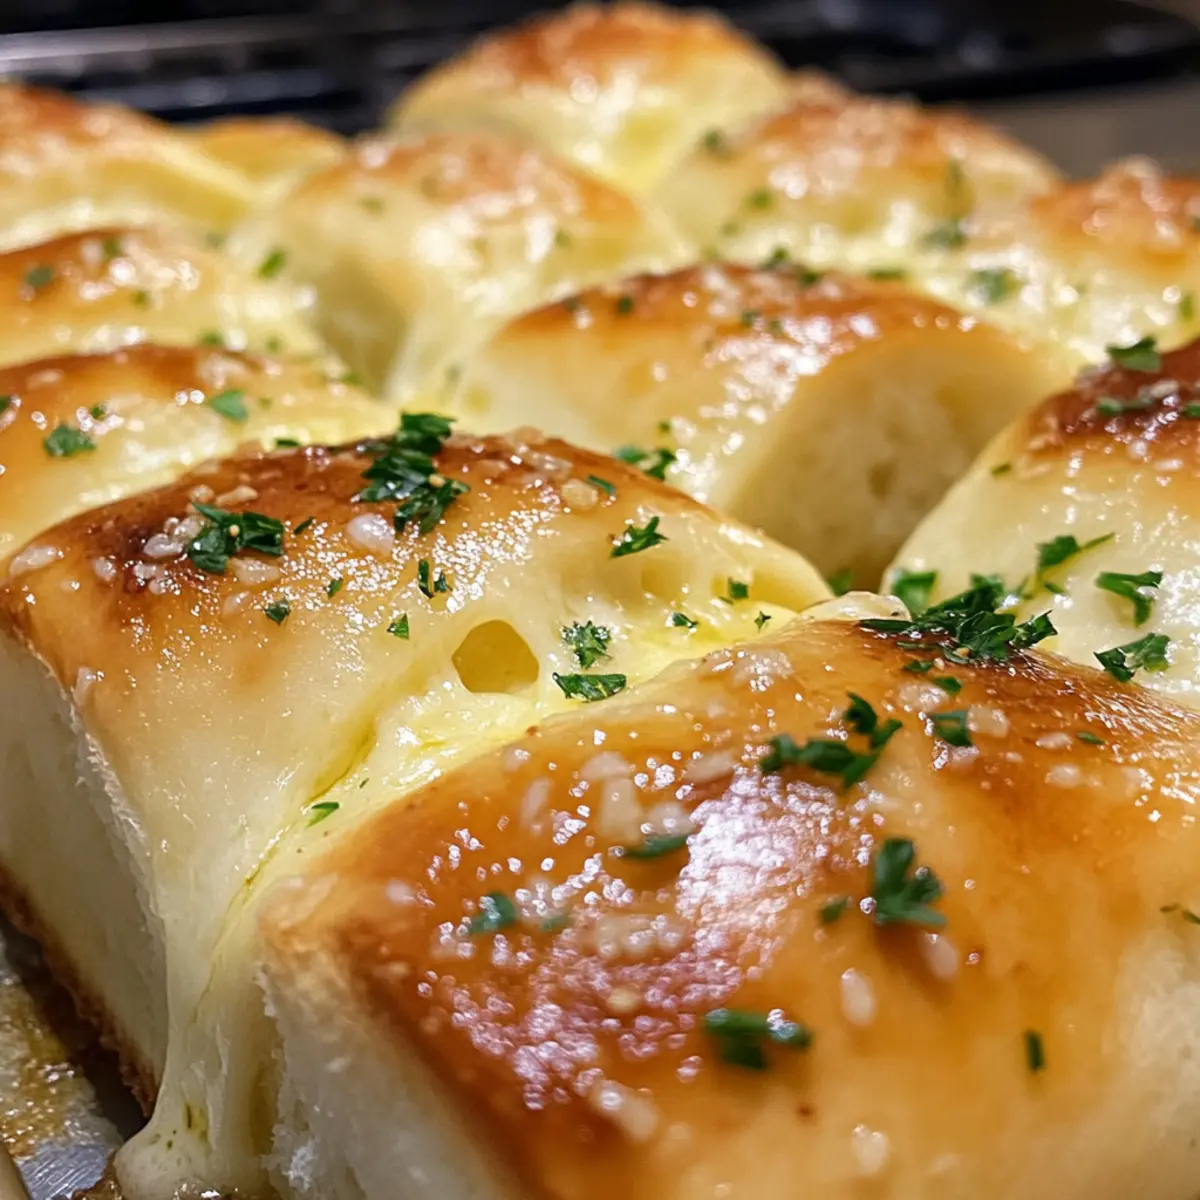
Perfect Texture: Enjoy the contrast of fluffy rolls and crispy edges with gooey cheese that pulls apart beautifully, resembling a delectable pull-apart bread.
Homemade Hawaiian Roll Garlic Bread Ingredients
• Get ready to whip up a dreamy loaf!
For the Garlic Butter Mixture
- Unsalted Butter – Melted to provide richness and enhance flavors when combined with garlic.
- Extra Virgin Olive Oil – Adds depth of flavor to the garlic butter.
- Fresh Garlic (4 cloves) – Always use freshly minced for the best aromatic impact.
- Italian Seasoning – Offers a blend of herbs that pair beautifully with the garlic and rolls.
- Honey (1/2 teaspoon) – Brings a hint of sweetness to balance the savory flavors.
- Red Pepper Flakes (optional) – Adds a gentle heat; omit for a milder garlic bread flavor.
For the Rolls
- Hawaiian Rolls – The delightful base that provides sweetness and a soft texture; look for connected rolls for effortless slicing.
For the Cheesy Filling
- Shredded Mozzarella Cheese – Essential for that gooey, creamy consistency; freshly grated is best for melt quality.
- Grated Parmesan Cheese – Adds a savory, umami kick; can be swapped with pecorino for a sharper taste.
For Garnishing
- Fresh Parsley – Adds a burst of color and freshness to the finished garlic bread.
- Kosher Salt – Balances flavors and enhances the overall taste of the ingredients.
Once you have all your ingredients ready, get excited for what’s just around the corner: a deliciously cheesy Homemade Hawaiian Roll Garlic Bread that will impress everyone at your table!
Step‑by‑Step Instructions for Homemade Hawaiian Roll Garlic Bread
Step 1: Prepare Garlic Butter Mixture
In a medium bowl, melt unsalted butter and combine it with extra virgin olive oil, minced garlic, Italian seasoning, chopped fresh parsley, grated Parmesan cheese, kosher salt, honey, and optional red pepper flakes. Mix well to ensure all flavors meld together beautifully. Let it sit for a few minutes while you prepare the rolls, allowing the garlic to infuse into the butter.
Step 2: Preheat Oven
Set your oven to 350°F (175°C) to preheat. This temperature will enable the buttery goodness of your Homemade Hawaiian Roll Garlic Bread to bake evenly, creating that golden brown crust we all love. It’s essential to preheat the oven so the rolls bake perfectly while remaining soft on the inside.
Step 3: Arrange Rolls
Take a 9×13-inch baking dish and gently place the connected Hawaiian rolls inside, slightly pulling them apart to give them space to expand. Ensure they fit snugly in the dish; this will help hold in moisture while baking, leading to that deliciously soft, pillowy texture we desire in this garlic bread.
Step 4: Slice Rolls
With a sharp knife, carefully cut a shallow X shape on the top of each Hawaiian roll, taking care not to separate them completely. This technique allows the garlic butter mixture and cheese to seep into the rolls, creating a more flavorful and cheesy result. Visualize deep enough cuts to create delicious pockets for stuffing!
Step 5: Stuff Cheese
Grab your shredded mozzarella cheese and distribute it evenly among the sliced rolls, pushing some into the cuts you just made. Aim for generous portions, letting the cheese melt and create gooey, stretchy bites when it bakes. The combination of soft Hawaiian rolls and melty cheese is an irresistible highlight!
Step 6: Pour Garlic Butter
Drizzle the aromatic garlic butter mixture generously over the rolls, making sure it seeps into every nook and cranny. This step is crucial for flavor—allow that rich garlic butter to work its magic on the Hawaiian rolls. You can also brush some butter in-between the rolls for extra flavor infusion!
Step 7: Bake
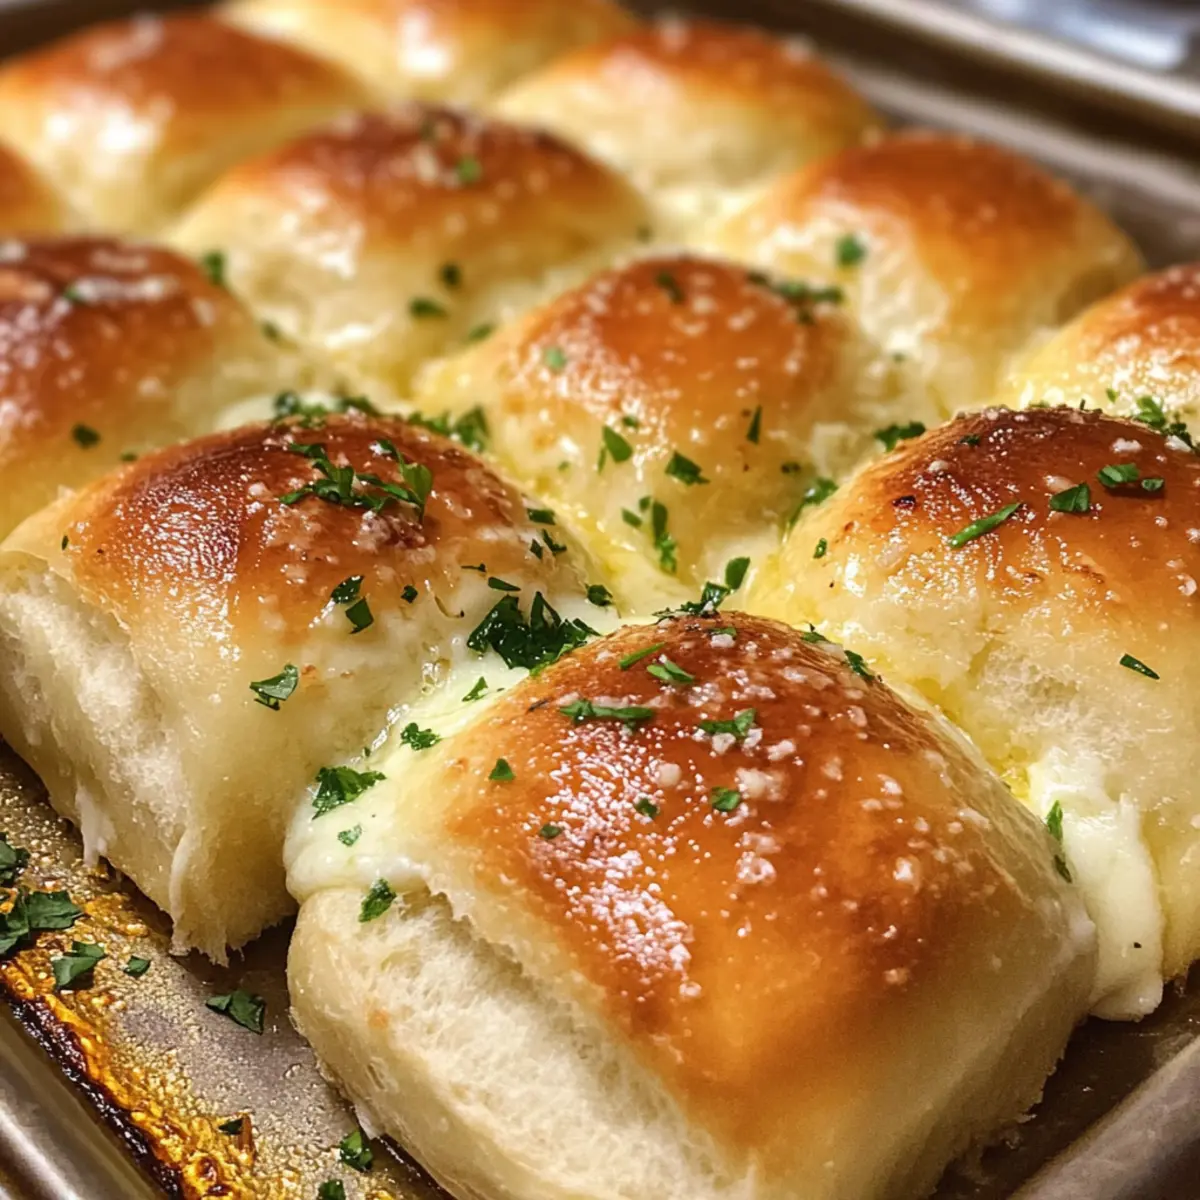
Place your prepared baking dish in the preheated oven and bake for 7-8 minutes. Keep a close eye on your Homemade Hawaiian Roll Garlic Bread as it cooks; it’s done when the rolls are golden brown, and the cheese is bubbly. Start checking around the 6-minute mark to avoid burning since the sugar in the rolls can caramelize quickly.
Step 8: Cool & Serve
Once baking is complete, remove the dish from the oven and let it cool for 1-2 minutes. This short cooling period allows the cheese to set slightly, making it easier to pull apart while serving. Serve warm and watch everyone dive into this cheesy, buttery delight that’s sure to be a hit!
Expert Tips for Homemade Hawaiian Roll Garlic Bread
-
Keep Rolls Intact: Avoid cutting the rolls completely; this ensures they stay together and makes for easy serving and pulling apart.
-
Moderate Butter Heat: Let your melted butter cool slightly before mixing in the garlic to prevent bitterness and ensure a harmonious flavor in your Homemade Hawaiian Roll Garlic Bread.
-
Monitor Baking Time: Start checking on your garlic bread at the 6-minute mark; the sugar in the rolls can caramelize quickly, and you want that perfect golden crust!
-
Flavor Infusion: Brush some garlic butter mixture in between the rolls before baking for an even more flavorful experience, allowing the buttery goodness to seep through.
-
Cheese Choices: Feel free to play around with different cheeses like gouda or cheddar for unique twists on this classic recipe—you can make it as gourmet as you desire!
Make Ahead Options
Preparing Homemade Hawaiian Roll Garlic Bread in advance is a fantastic way to simplify your meal prep! You can prepare the garlic butter mixture and slice the rolls up to 24 hours ahead. Simply store the butter mixture in an airtight container in the fridge and keep the sliced rolls covered to prevent drying. When you’re ready to bake, stuff the rolls with mozzarella cheese and drizzle with the garlic butter. Bake straight from the refrigerator, adding an extra minute or two to baking time if needed. This method ensures that your garlic bread remains just as delicious and gooey for game night or family gatherings, saving you valuable time and effort!
Storage Tips for Homemade Hawaiian Roll Garlic Bread
Fridge: Store any leftovers in an airtight container in the refrigerator for up to 3 days to maintain freshness.
Freezer: For longer storage, freeze unbaked or baked rolls in a well-sealed freezer bag for up to 2 months. Thaw in the fridge before reheating.
Reheating: To enjoy your homemade Hawaiian roll garlic bread again, reheat in a 350°F oven for 5-7 minutes or warm in a microwave for 20-30 seconds until heated through.
Refreshing Flavor: Drizzle a bit of olive oil or additional garlic butter over the bread before reheating to revitalize its delicious flavor and texture!
Homemade Hawaiian Roll Garlic Bread Variations
Customize your Homemade Hawaiian Roll Garlic Bread to explore exciting flavors that entice your taste buds!
-
Cheese Swap: Use different types of cheese like gouda or cheddar for a unique taste that surprises every bite. The melty texture remains, but the flavor is uniquely yours.
-
Savory Buns: Substitute Hawaiian rolls with savory bread rolls for a less sweet base, inviting a delightful new taste profile. This twist makes it great for those looking for something a bit bolder.
-
Herb Variation: Swap fresh parsley with aromatic herbs like basil or chives to give your garlic bread a fresh twist. Each herb offers its aromatic magic!
-
Spice it Up: For a punch of flavor, toss in crushed red pepper flakes or even a drizzle of spicy chili oil. Bring the heat to balance the sweetness of the rolls and keep taste buds dancing.
-
Garlic Galore: Increase the amount of fresh garlic for a more robust flavor. If you’re a garlic lover, this is the perfect enhancement to satisfy that craving.
-
Season with Style: Introduce a blend of spices such as smoked paprika or even Italian seasoning variations for a unique flavor. A dash of creativity can take your garlic bread to gourmet heights.
-
Sourdough Switch: Try using sourdough rolls for a tangy, chewy twist! This variation pairs perfectly with the cheesy goodness, creating a texture that’s truly heavenly.
-
Add Vegetables: For added nutrition, feel free to throw in some sautéed spinach or sun-dried tomatoes between the rolls. They not only enhance the flavor but also packs in some wholesome goodness.
As you dive into these options, be sure to check out the delightful pairing with a comforting bowl of Homemade Chicken Pot Pie Soup or a slice of Herb Garlic Bread!
What to Serve with Homemade Hawaiian Roll Garlic Bread
There’s nothing quite like a warm, cheesy loaf to inspire perfect pairings that tantalize the taste buds.
- Creamy Pasta: A rich fettuccine alfredo brings a silky contrast to the cheesy bread, elevating your dining experience to Italian heaven.
- Garden Salad: A refreshing side salad with crisp greens and a light vinaigrette offers a bright counterbalance to the rich flavors of the garlic bread.
- Marinara Sauce: Serve warm marinara on the side for dipping, adding a zesty, tangy kick that pairs beautifully with the buttery garlic flavors.
- Grilled Vegetables: Roasted seasonal vegetables provide a smokey flavor, adding a delightful crunch and fresh element to your meal.
- Soup: A warm, hearty tomato basil soup can turn your garlic bread into a cozy meal that’s perfect for any chilly evening.
- Sparkling Wine: A light, bubbly wine complements the rich flavors of the garlic bread while enhancing the overall dining experience.
- Savory Meatballs: Juicy meatballs simmered in a robust sauce create a satisfying combination alongside each cheesy morsel.
- Chocolate Mousse: For dessert, serve a light chocolate mousse to wrap up your meal with a creamy, sweet note that delights the senses.
Homemade Hawaiian Roll Garlic Bread Recipe FAQs
What should I look for when selecting Hawaiian rolls?
Absolutely! When choosing Hawaiian rolls, I recommend opting for a brand like King’s Hawaiian or a similar variety. Look for rolls that are soft and have a golden color without any dark spots or visible preservatives. Connected rolls make slicing and serving much easier, providing that delightful pull-apart experience we’re after.
How should I store leftovers of the garlic bread?
You can store any leftovers in an airtight container in the refrigerator for up to 3 days. It’s important to keep the container sealed to prevent the rolls from becoming dry. Alternatively, if you have more than you can finish, consider freezing them for longer storage.
Can I freeze the Homemade Hawaiian Roll Garlic Bread?
Yes, indeed! You have two options for freezing: If you want to freeze the unbaked rolls, prepare them up to stuffing the cheese and pouring the garlic butter, then wrap tightly in plastic wrap or foil and place in a freezer bag for up to 2 months. When ready to bake, thaw them in the fridge overnight before continuing with the baking instructions. For baked rolls, simply wrap and freeze them once cooled, and re-bake from frozen at 350°F for about 10-15 minutes for the best results.
What if my garlic bread turns out too greasy?
Very common! If you find that your garlic bread is greasier than desired, consider reducing the amount of butter or oil next time. Start with half the amount and adjust according to your preference. It’s also beneficial to let the garlic butter mixture cool slightly before pouring over the rolls; this helps it adhere better without excess pooling. If you are serving the rolls directly out of the oven, place them on a cooling rack for a minute to let any excess oil drain before serving.
Are there any dietary considerations for making this recipe?
Yes! If you or your guests have dietary restrictions, there are several alternatives you can explore. For dairy-free versions, try using vegan butter and a dairy-free cheese substitute. If you’re concerned about gluten, you can seek out gluten-free Hawaiian rolls, though they might not provide the same sweetness. Always double-check ingredient labels for allergens like nuts or gluten. Also, steer clear of using honey if serving to pets, especially dogs, as it’s generally not recommended for them.
Homemade Hawaiian Roll Garlic Bread That's Irresistibly Cheesy
Ingredients
Equipment
Method
- In a medium bowl, melt unsalted butter and combine it with extra virgin olive oil, minced garlic, Italian seasoning, chopped fresh parsley, grated Parmesan cheese, kosher salt, honey, and optional red pepper flakes. Mix well.
- Set your oven to 350°F (175°C) to preheat.
- Take a 9x13-inch baking dish and gently place the connected Hawaiian rolls inside.
- Carefully cut a shallow X shape on the top of each Hawaiian roll.
- Distribute shredded mozzarella cheese evenly among the sliced rolls.
- Drizzle the garlic butter mixture generously over the rolls.
- Place your prepared baking dish in the preheated oven and bake for 7-8 minutes.
- Remove the dish from the oven and let it cool for 1-2 minutes before serving.