

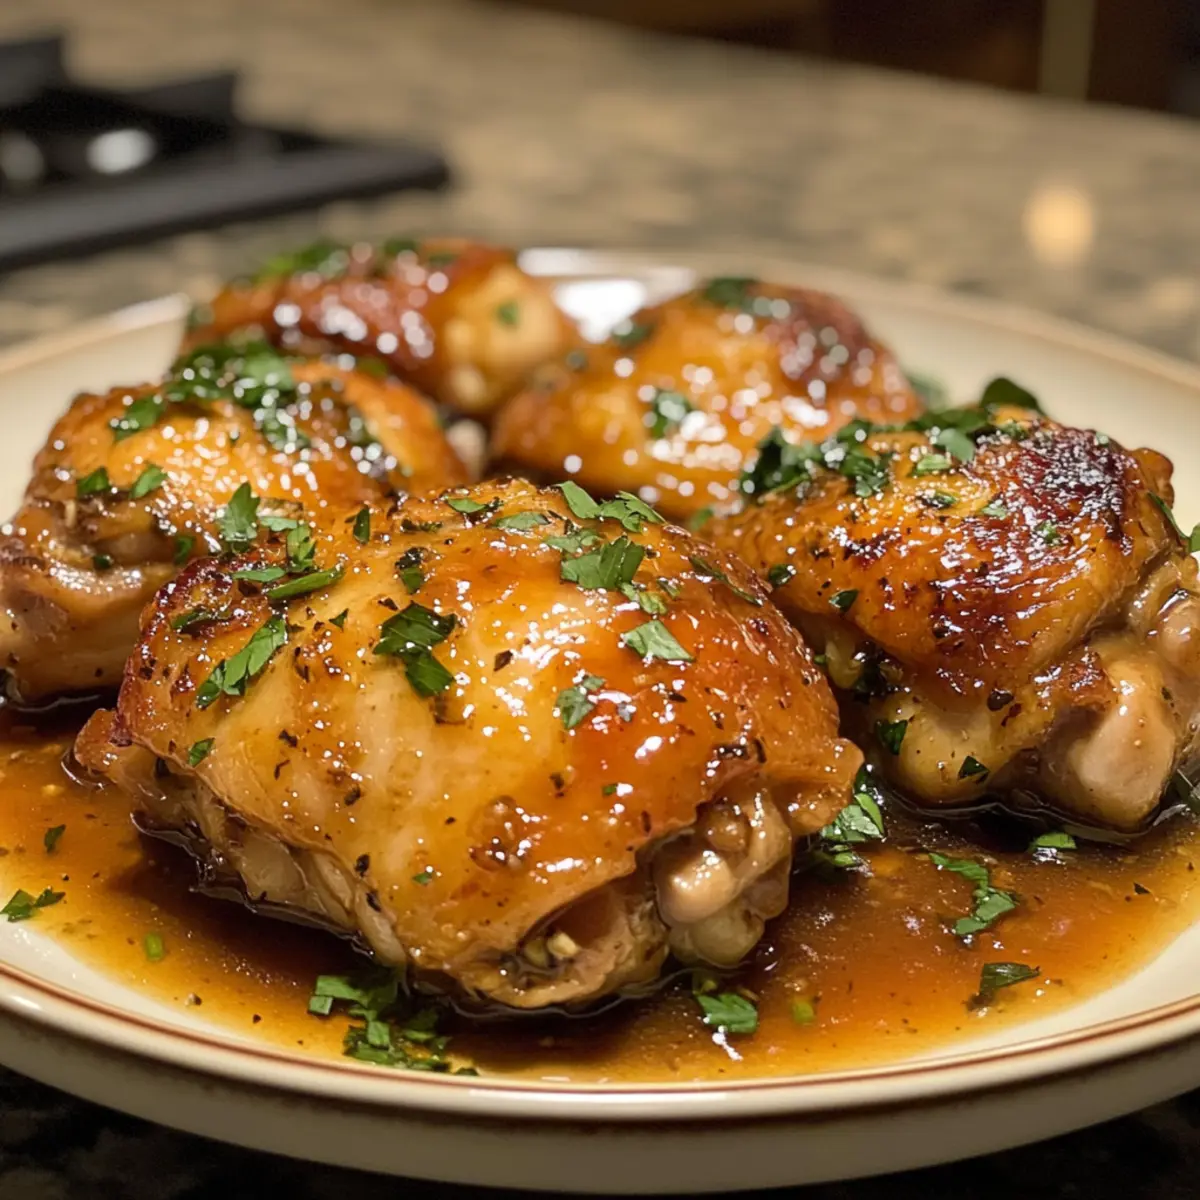
“Can you believe they actually served this at family dinners?” I overheard my friend remark as he savored a bite of the homemade Braised Catalina Chicken I had just prepared. This dish is a delightful throwback to the 70s and 80s, yet it feels perfectly at home in today’s kitchen with a cozy spin on a classic recipe. Featuring tender chicken thighs simmered in a sweet-and-savory homemade Catalina sauce, it’s the ultimate comfort food that balances nostalgia with a modern twist. Not only is it an easy weeknight dinner, but it’s also sure to impress anyone gathered around your table. Ready to elevate your cooking with a taste of history? Let’s dive into this heartwarming recipe!
Why is Braised Catalina Chicken so special?
Nostalgic Flavors: This dish brings back memories of family gatherings, evoking heartwarming sentiments from the past.
Homemade Goodness: The sweet-and-savory Catalina sauce is made from scratch, ensuring each bite bursts with flavor.
Easy Preparation: Even novice cooks will find this recipe simple, making it perfect for busy weeknights.
Versatile Pairing: Serve alongside roasted vegetables, rice, or a fresh salad for a complete meal.
Crowd-Pleasing: Whether hosting friends or a quiet family dinner, this dish is bound to impress with its comforting taste.
Elevate your meals with this classic while exploring other comforting options, like Homemade Chicken Pot or Savory Chicken Cheesy.
Braised Catalina Chicken Ingredients
• To create this nostalgic comfort dish, gather these essentials!
For the Chicken
- Chicken Thighs – The star of the dish; use bone-in for a richer flavor or boneless for quicker cooking.
- Olive Oil – Ideal for searing to lock in the chicken juices; swap with vegetable oil if needed.
- Salt and Pepper – Vital to enhance the dish’s flavors; adjust to fit your taste preferences.
For the Catalina Sauce
- Ketchup – The sweet base providing that classic flavor; essential for Braised Catalina Chicken.
- Vinegar – Adds a tangy note; feel free to adjust based on your acidity preference.
- Honey or Sugar – Sweetens the sauce; maple syrup is a great alternative for a unique twist.
- Worcestershire Sauce – Contributes depth and umami; can be omitted if you don’t have it handy.
- Garlic Powder – Elevates the aroma and taste of the sauce; fresh garlic is a good substitute as well.
- Onion Powder – Complements the garlic and balances the flavors; use fresh onion if you prefer a more intense flavor.
With these ingredients prepped, you’re one step closer to a memorable meal filled with warmth and flavor!
Step‑by‑Step Instructions for Braised Catalina Chicken
Step 1: Preheat the Oven
Begin by preheating your oven to 350°F (175°C). This temperature will ensure that your Braised Catalina Chicken cooks evenly, allowing the flavors to meld beautifully. While the oven heats, you can focus on preparing the chicken to be perfectly seared and seasoned.
Step 2: Prepare the Chicken
Pat the chicken thighs dry with paper towels to promote even browning. Generously season both sides with salt and pepper, enhancing their natural flavor. This step is crucial for ensuring that the chicken thighs emerge juicy and delicious after baking, securing rich taste in every bite.
Step 3: Sear the Chicken
In a large Dutch oven, heat 2 tablespoons of olive oil over medium heat. Once shimmering, carefully place the seasoned chicken thighs skin-side down and sear for 4-5 minutes until golden brown. Flip and sear the other side for an additional 2 minutes. Once browned, transfer the chicken to a plate, leaving behind the flavorful drippings.
Step 4: Create the Catalina Sauce
In a mixing bowl, whisk together the ketchup, vinegar, honey or sugar, Worcestershire sauce, garlic powder, and onion powder until smooth. Make sure to taste and adjust the sweetness or tanginess according to your preference. This homemade sauce will infuse your Braised Catalina Chicken with a delightful sweet-and-savory flavor profile.
Step 5: Assemble in the Dutch Oven
Pour half of the prepared Catalina sauce into the now-empty Dutch oven and swirl it around to coat the bottom. Place the seared chicken thighs back in, ensuring they remain skin-side up. Pour the remaining sauce over the chicken, making sure each piece is well-covered in the sweet-and-sour mixture.
Step 6: Bake the Chicken
Cover the Dutch oven with a lid or aluminum foil and place it in the preheated oven. Bake for 45 minutes, allowing the chicken to become tender and soak up all the delicious flavors from the sauce. The steam created inside will ensure that the chicken stays juicy as it cooks.
Step 7: Uncover and Finish Baking
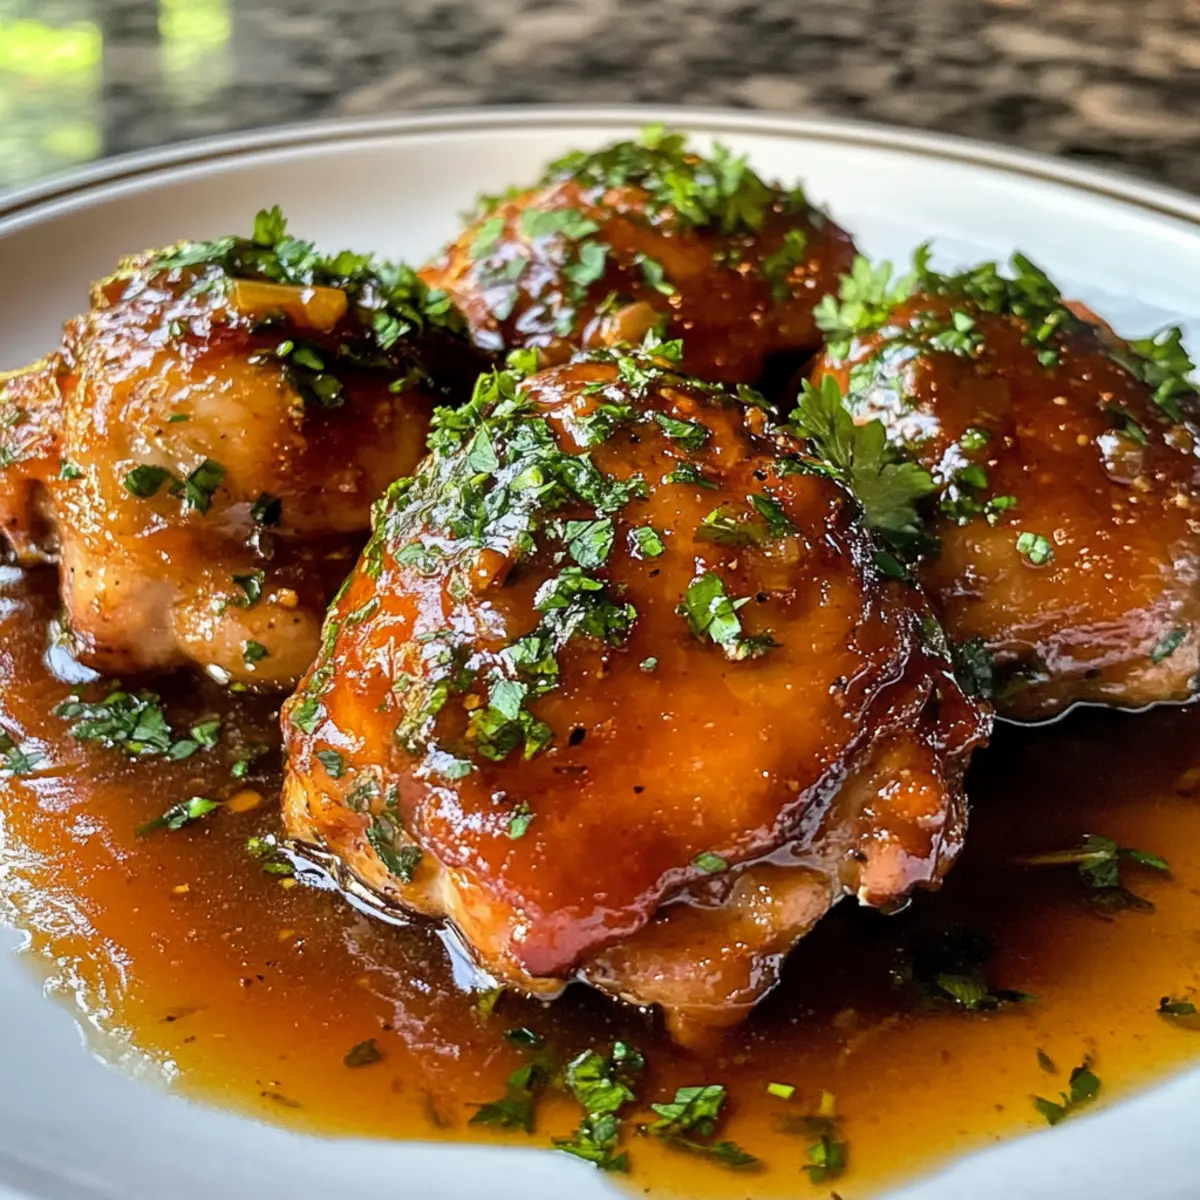
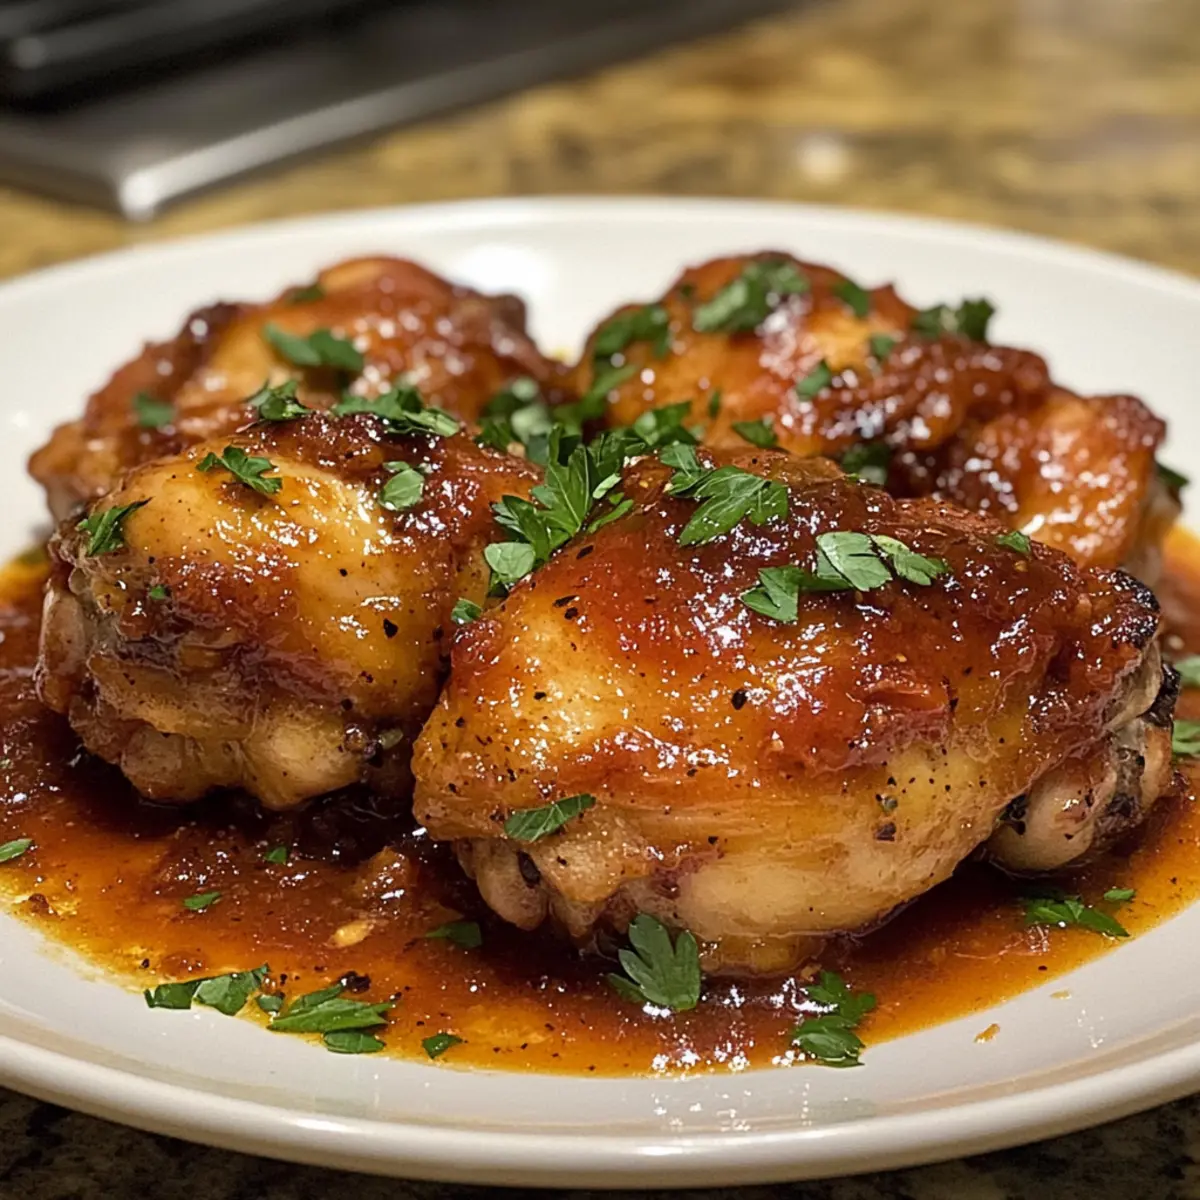
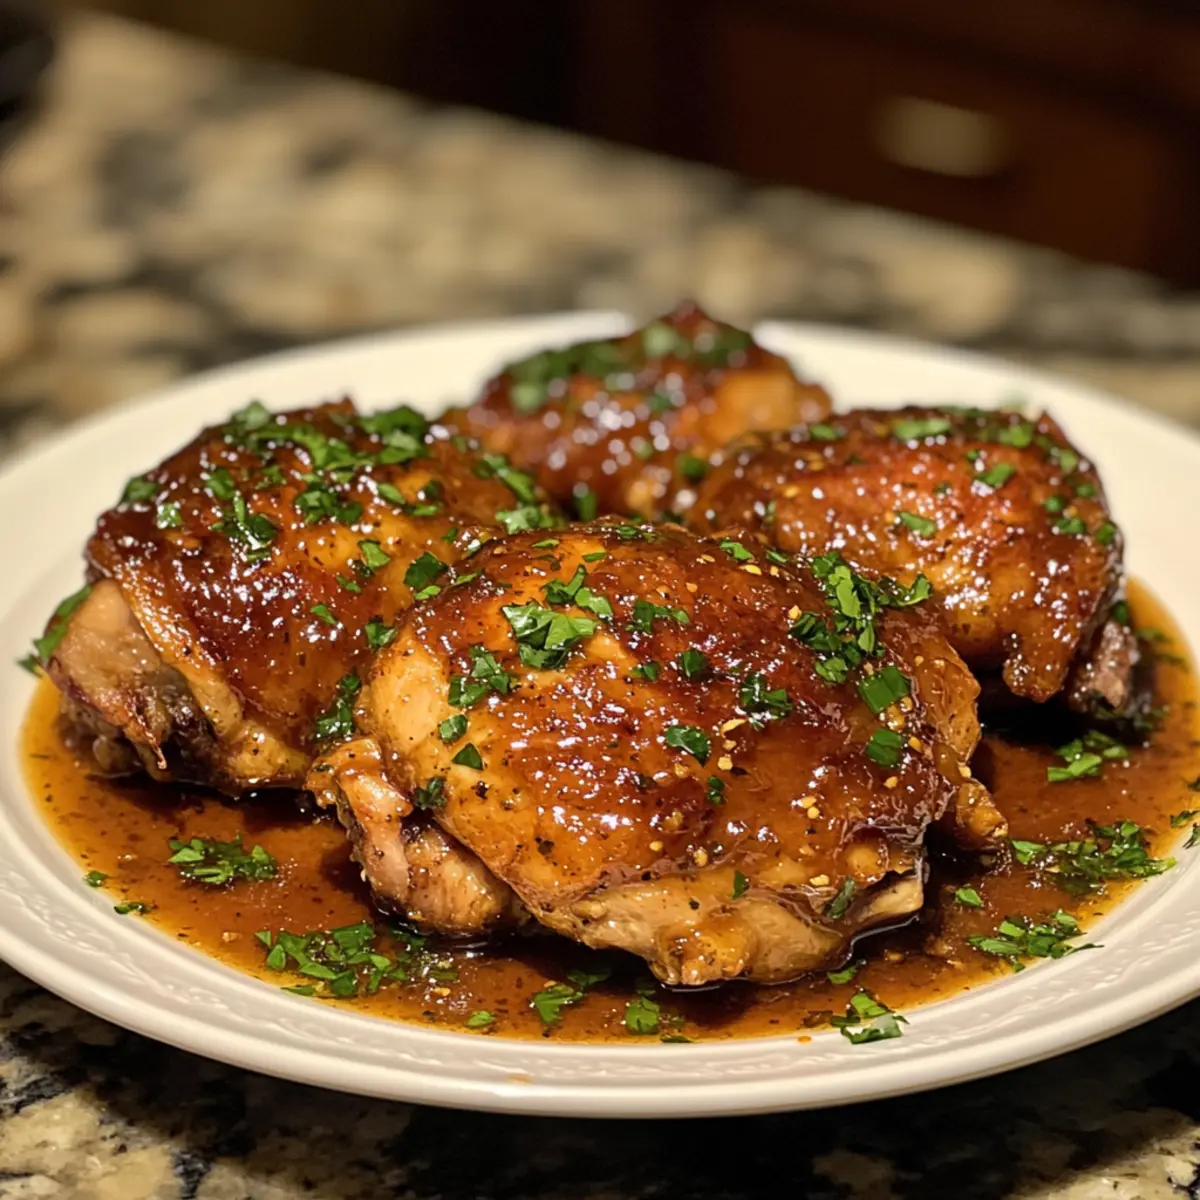
After 45 minutes, carefully remove the lid or foil, allowing the chicken to brown further. Bake uncovered for an additional 20-25 minutes, until the sauce thickens and caramelizes, creating a beautiful glaze. Watch closely during this stage, as you want that enticing golden hue on your Braised Catalina Chicken.
Step 8: Serve and Enjoy
Once done, remove the Braised Catalina Chicken from the oven and let it rest briefly. Serve hot, garnished with freshly chopped parsley if desired. Pair it with roasted vegetables, rice, or a salad to create a comforting meal full of nostalgia, warmth, and flavor.
Make Ahead Options
These Braised Catalina Chicken thighs are perfect for meal prep! You can prepare the homemade Catalina sauce up to 3 days in advance and refrigerate it in an airtight container to lock in those delicious flavors. Additionally, season and sear the chicken thighs up to 24 hours ahead; just keep them covered in the fridge until you’re ready to bake. When you’re set to serve, simply assemble everything in the Dutch oven, cover, and bake as instructed. This step guarantees that your meal is just as flavorful while saving you precious time on busy weeknights! Remember, reheating the chicken can be done gently in the oven to ensure it remains juicy and tender for that comforting home-cooked experience.
How to Store and Freeze Braised Catalina Chicken
Fridge: Keep leftovers in an airtight container for up to 4 days. This will preserve the sweetness of the homemade Catalina sauce and the tenderness of the chicken.
Freezer: You can freeze Braised Catalina Chicken for up to 2 months. Ensure it’s in a freezer-safe container or heavy-duty freezer bag.
Reheating: When ready to serve, reheat gently on the stovetop or in an oven set to 325°F (160°C) until warmed through, ensuring the chicken stays juicy.
Thawing: For best results, thaw overnight in the fridge before reheating. This method helps maintain the texture and flavor of the dish.
What to Serve with Braised Catalina Chicken
The perfect sides and drinks can elevate your nostalgia-filled dinner into something truly memorable.
-
Creamy Mashed Potatoes: Their velvety texture soaks up the sweet-and-savory Catalina sauce beautifully, making every bite a comforting delight. A dollop of butter on top adds an irresistible richness.
-
Garlic Roasted Broccoli: The slight crunch and vibrant green of roasted broccoli balance the dish’s richness, offering a fresh contrast. The garlic adds warm, inviting flavors that echo those in the chicken.
-
Wild Rice Pilaf: This earthy, nutty side complements the chicken’s sweetness, adding depth and texture to your plate. It’s also a hearty addition that your guests will love.
-
Simple Green Salad: Crisp greens with a tangy vinaigrette provide a refreshing crunch that cuts through the dish’s richness, keeping the meal light and vibrant. A sprinkle of nuts would enhance both flavor and texture.
-
Warm Crusty Bread: Perfect for mopping up the delicious sauce, crusty bread enhances the entire dining experience and invites everyone to linger at the table a little longer.
-
Red Wine: A glass of medium-bodied red wine, such as Merlot, harmonizes wonderfully with the sweet and tangy flavors of the chicken, adding sophistication to your meal.
-
Homemade Apple Crisp: For dessert, this warm, comforting treat pairs well with the nostalgic vibes of the dinner. It’s a delightful way to end the meal with a sweet crunch topped with vanilla ice cream.
-
Herbal Iced Tea: A cool, refreshing iced tea with hints of mint or lemon serves as a delightful palate cleanser and encourages lively conversation around the table.
Exploring these tasty pairings will enhance your Braised Catalina Chicken experience and bring warmth to every gathering.
Expert Tips for Braised Catalina Chicken
-
Choosing Chicken: Opt for bone-in chicken thighs for maximum flavor. Boneless options will cook faster but may lack the richness of the bone.
-
Searing Technique: Ensure the oil is hot before adding the chicken. This helps achieve golden, crispy skin and enhances the overall flavor of your Braised Catalina Chicken.
-
Adjusting Sauce Flavor: Don’t hesitate to tweak the sweetness or acidity of the Catalina sauce to suit your palette. A dash more honey can balance tanginess if you prefer a sweeter taste.
-
Using Leftovers: If you have leftover chicken, consider shredding it for salads or sandwiches. The flavorful sauce makes for a delicious addition to various dishes.
-
Cover or Uncover: Cover the Dutch oven initially to retain moisture, then uncover it towards the end to allow the sauce to thicken and caramelize perfectly.
-
Preventing Overcooking: Keep an eye on the baking time in the final stages. Chicken can dry out quickly, so it’s best to check for doneness a few minutes early.
Braised Catalina Chicken Variations
Feel free to tweak this recipe to make it your own, celebrating the flavors and preferences that fill your kitchen with warmth!
-
Boneless Chicken: Use boneless thighs or breasts, reducing cooking time by 15-20 minutes for a quicker meal. This swap has the added benefit of yielding tender chicken that soaks up every drop of delicious sauce.
-
Ketchup Alternative: Replace the ketchup with pureed tomatoes for a tangier, less sweet sauce. This is an excellent option for those who love that fresh tomato essence, allowing the dish to shine with robust flavors.
-
Spiced Up: Add a teaspoon of smoked paprika or cayenne to the sauce for an intriguing twist that brings heat and depth. Such a spice addition creates a delightful contrast with the sweetness of the sauce, giving your taste buds a surprise.
-
Herbed Delight: Include fresh herbs like rosemary or thyme, which can elevate the aroma and create a richer flavor profile. A sprinkle of fresh herbs before serving adds both vibrancy and brightness to each bite!
-
Veggie Boost: Toss in seasonal veggies like bell peppers or zucchini during the last 30 minutes of cooking. They’ll absorb the sauce, adding texture and a healthy touch to your dish!
-
Sweet Twist: Swap honey with maple syrup for a unique sweetness that complements the savory notes beautifully. This variation can yield a fun, rustic flavor that pairs nicely with the dish’s nostalgic background.
-
Zesty Flavor: Incorporate a splash of citrus juice, like orange or lemon, into the sauce to brighten the dish. This zing enhances the overall taste, making each bite refreshingly delightful!
While you explore these variations, consider serving your Braised Catalina Chicken alongside a vibrant salad or aromatic roasted vegetables to create a complete and satisfying meal. You might even find inspiration in other comforting dishes like Honey Chili Chicken or the savory goodness of Homemade Chicken Rolls!
Braised Catalina Chicken Recipe FAQs
What type of chicken should I use for Braised Catalina Chicken?
Absolutely! For the best results, I recommend using bone-in chicken thighs. They provide richer flavor and remain moist during the braising process. If you’re short on time, boneless thighs or breasts can be used, but be sure to reduce the cooking time by 15-20 minutes to avoid dryness.
How do I store leftovers from Braised Catalina Chicken?
Very! Store any leftovers in an airtight container in the refrigerator for up to 4 days. This will keep your chicken moist and the delicious Catalina sauce fresh. Make sure to let it cool before sealing; this helps prevent condensation and maintains flavor.
Can I freeze Braised Catalina Chicken?
Absolutely! You can freeze your Braised Catalina Chicken for up to 2 months. To do this, place it in a freezer-safe container or heavy-duty freezer bag. Take care to remove as much air as possible to prevent freezer burn. When you’re ready to enjoy it again, thaw it in the refrigerator overnight before reheating.
What should I do if my chicken is dry after baking?
Ah, that’s a common concern! If your chicken turns out dry, the likely culprits are overcooking or too high of an oven temperature. Always use a meat thermometer to check for doneness; chicken should reach an internal temperature of 165°F (74°C). In the future, consider covering your dish more tightly at first and uncovering it later, which helps retain moisture while allowing caramelization at the end.
Does the recipe accommodate dietary restrictions?
Definitely! If you or someone at your dinner table has allergies or dietary restrictions, this recipe can be adjusted. Use allergy-friendly substitutes for ketchup (like homemade tomato sauce) and avoid Worcestershire sauce if there’s a fish allergy. For those watching their sugar intake, feel free to replace honey with a sugar-free alternative.
How can I enhance the flavor of the Catalina sauce?
Absolutely! For a more personalized touch, consider adding spices like smoked paprika or cayenne pepper to give your sauce an extra kick. I often enjoy a hint of heat! Also, taking a moment to taste and adjust the sweetness or acidity of the sauce ensures it meets your exact preferences before you pour it over the chicken.
Delicious Braised Catalina Chicken for Heartwarming Dinners
Ingredients
Equipment
Method
- Preheat your oven to 350°F (175°C).
- Pat the chicken thighs dry with paper towels, then season with salt and pepper.
- Heat the olive oil in a Dutch oven over medium heat, sear chicken thighs for 4-5 minutes on one side and 2 minutes on the other.
- In a bowl, mix ketchup, vinegar, honey or sugar, Worcestershire sauce, garlic powder, and onion powder until smooth.
- Pour half of the sauce into the Dutch oven, add the chicken, and pour remaining sauce over the chicken.
- Cover and bake in the oven for 45 minutes.
- Uncover and bake for an additional 20-25 minutes until sauce thickens and chicken is golden brown.
- Let the chicken rest briefly before serving. Garnish with parsley and serve with sides.