

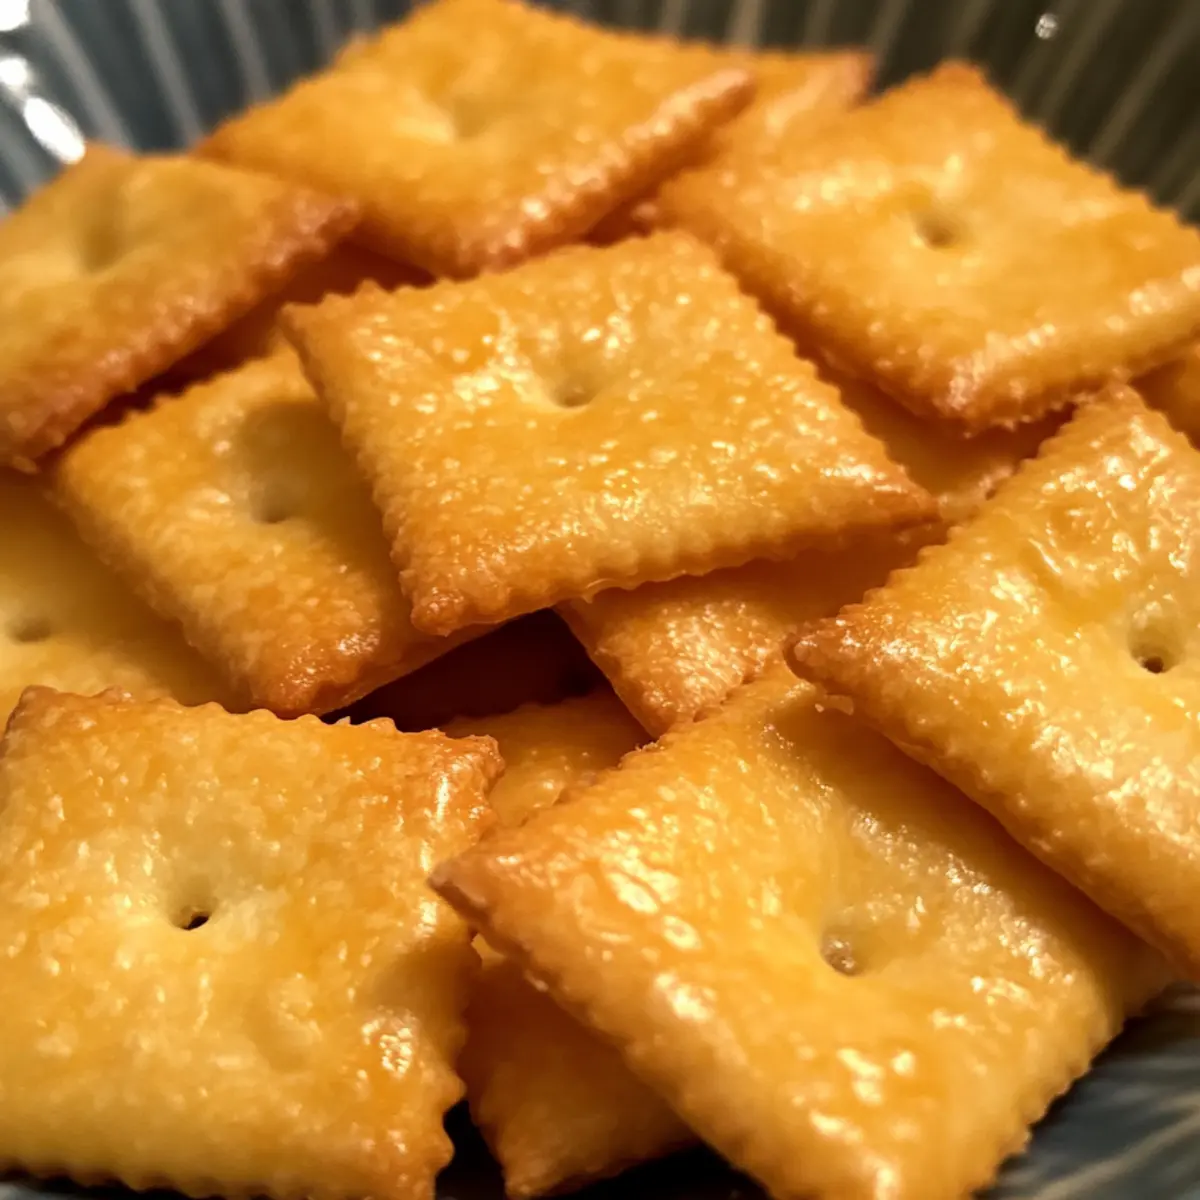
As the scent of melted cheddar fills the air, nostalgia washes over me, reminding me of carefree childhood days spent snacking on store-bought cheese crackers. But why settle for pre-packaged when you can make your own irresistibly crunchy Homemade Cheez-Its? With just a handful of pantry staples, this budget-friendly recipe allows for endless customization—from a classic cheesy flavor to zesty hints of paprika or garlic powder. These delightful bites are not only easy to whip up, but they’re also free of preservatives, making them a healthier option for you and your family. Imagine sharing a warm batch with loved ones, each crispy square sparking joy and comfort. Ready to take your snacking game to the next level? Let’s dive into this cheesy adventure together!
Why make your own Cheez-Its?
Unique and Customizable: Each bite of these Homemade Cheez-Its bursts with tailored flavors that cater to your personal taste—add spices like paprika or garlic powder for a fun twist!
Quick and Easy: With just a few simple ingredients and minimal prep time, you’ll have tasty snacks ready to enjoy in no time.
Budget-Friendly: Save money while savoring the cheesy goodness; making these snacks at home is kinder to your wallet than store-bought options.
Healthier Choice: Skip the preservatives! Control the ingredients and make a wholesome treat that you can feel good about serving.
A Crowd-Pleaser: Perfect for gatherings or quiet family nights, these crackers are sure to impress and bring smiles all around. Plus, they pair beautifully with your favorite dips or soups, making them a versatile addition to your snack lineup. For more delightful homemade treats, consider trying Homemade Chicken Pot or Homemade Sweet Orange Jam.
Homemade Cheez-Its Ingredients
For the Dough
• Sharp Cheddar Cheese – Freshly shredded cheese is recommended for the best melting and flavor; avoid pre-shredded for optimal results.
• All-Purpose Flour – Provides the structure for the crackers; can be substituted with a gluten-free flour blend for those with dietary restrictions.
• Cold Butter – Adds a rich texture and flavor to your Homemade Cheez-Its.
• Salt – Essential for enhancing the overall flavor of the crackers.
• Cold Water – Helps bind the dough together for easy handling.
For the Flavor Enhancements
• Paprika or Garlic Powder (optional) – Add a sprinkle of these spices for a delightful twist to your Homemade Cheez-Its!
Step‑by‑Step Instructions for Homemade Cheez-Its
Step 1: Mix the Dry Ingredients
In a mixing bowl, combine 1 cup of freshly shredded sharp cheddar cheese, 1 cup of all-purpose flour, and 1/2 teaspoon of salt. Use a fork or pastry cutter to blend these ingredients together until they become crumbly and resemble coarse meal. This step is crucial for achieving the right texture in your Homemade Cheez-Its.
Step 2: Incorporate the Cold Butter
Add 1/4 cup of cold, cubed butter to the flour and cheese mixture. Using your fingers or a pastry cutter, work the butter into the dry ingredients until the mixture is crumbly and resembles small peas. This will ensure that your crackers are rich and flavorful, setting the base for delicious Homemade Cheez-Its.
Step 3: Form the Dough
Gradually add cold water, one tablespoon at a time, mixing until the dough comes together. You might need 3-4 tablespoons in total. Once the dough is cohesive and slightly sticky, shape it into a ball. This step is important, as a well-formed dough will yield nicely textured Cheez-Its.
Step 4: Chill the Dough
Wrap the formed dough ball in plastic wrap and refrigerate it for 20–30 minutes. Chilling helps the butter firm up and makes the dough easier to roll out later. While you wait, the crispy perfection of Homemade Cheez-Its becomes even more promising!
Step 5: Preheat the Oven
While the dough is chilling, preheat your oven to 350°F (175°C). Ensuring the oven reaches the right temperature is key to achieving evenly baked Cheez-Its that are deliciously crunchy.
Step 6: Roll Out the Dough
After chilling, dust a clean surface with flour and roll out the dough to approximately 1/8 inch thick. Use a rolling pin for even thickness. This thickness will result in delightful, crispy Homemade Cheez-Its that are just the right size for snack-time enjoyment.
Step 7: Cut the Crackers
Using a knife or pizza cutter, cut the rolled dough into small squares, about 1 inch each. Poke a tiny hole in the center of each square using a fork. This allows steam to escape during baking, ensuring your Homemade Cheez-Its come out crisp!
Step 8: Bake the Crackers
Transfer the cut squares to a parchment-lined baking sheet, spacing them slightly apart. Bake in the preheated oven for 12–15 minutes, or until the edges are lightly golden. Keep a close eye on them, as you want that perfect crunch without burning.
Step 9: Cool Before Serving
Once baked, remove the tray from the oven and allow the Homemade Cheez-Its to cool on the baking sheet for 10 minutes. This will enhance their crunchiness. After cooling, serve them up with your favorite dip, or simply enjoy them on their own!
Homemade Cheez-Its Variations & Substitutions
Feel free to get creative and explore delicious twists for your Homemade Cheez-Its!
-
Gluten-Free: Substitute the all-purpose flour with a gluten-free blend to make these crackers suitable for a gluten-free diet. It’s an easy switch that doesn’t compromise taste!
-
Different Cheeses: Experiment with various cheeses like Monterey Jack, Gouda, or Pepper Jack for captivating flavors. Each cheese brings its unique richness to your cheez-it experience.
-
Spicy: Add a pinch of cayenne pepper or red pepper flakes to the dough for a delightful kick. Not for the faint of heart, this twist elevates your snacking adventure!
-
Herby: Incorporate finely chopped fresh herbs such as rosemary or thyme for an aromatic touch. This variation introduces a savory elegance that pairs beautifully with soups.
-
Sweet and Savory: Try adding a sprinkle of sugar or a touch of honey to the dough for a sweet contrast to the cheesy flavor. It’s a surprising blend that might just become your new favorite.
-
Seasoned Salt: Swap regular salt with garlic salt or onion powder to infuse a deeper flavor profile. These subtle enhancements can make your Homemade Cheez-Its even more addictive!
-
Dipping Delight: Serve with homemade dips like guacamole or hummus for an extraordinary snack experience. These flavorful combinations make great party platters or fun family snacks!
-
Classic Variations: For an easy, nostalgic twist, sprinkle a bit of paprika on top before baking. This classic addition is a flavorful nod to the traditional cheese cracker flavor you grew up loving.
These delightful tweaks allow you to embrace your inner chef while keeping the essence of those beloved Homemade Cheez-Its alive. To enjoy even more homemade delights, check out my recipes for Hearty Spaghetti Homemade or explore the creamy goodness of Homemade Chicken Pot. Happy snacking!
How to Store and Freeze Homemade Cheez-Its
Room Temperature: Store your Homemade Cheez-Its in an airtight container at room temperature for up to 1 week to maintain their irresistible crunch.
Fridge: If you live in a humid climate, consider refrigerating the crackers for optimal freshness, but be aware that they may lose some crunch.
Freezer: For longer storage, freeze your Homemade Cheez-Its for up to 3 months. Place them in a freezer bag or airtight container to prevent freezer burn.
Reheating: To revive the crispiness, simply reheat the frozen crackers in the oven at 350°F (175°C) for about 5 minutes before serving.
What to Serve with Homemade Cheez-Its?
As you savor the crispy, cheesy bites of homemade goodness, consider these delightful pairings that elevate your snack experience.
- Spicy Salsa: Fresh salsa adds a tangy kick that complements the savory cheese, making each bite a flavor explosion.
- Guacamole: The creaminess of guacamole perfectly balances the crunch of the Cheez-Its while providing a rich, buttery flavor.
- Creamy Spinach Dip: This rich dip offers a velvety texture that pairs marvelously with the crunchy crackers, creating a delightful contrast.
- Carrot and Celery Sticks: Crisp veggies add a fresh crunch and a burst of color to your snack, making it a healthier delight.
For beverages, consider these complementary sips:
- Iced Tea: A refreshing and light drink that pairs well with the salty flavor of the Cheez-Its, keeping your palate cool.
- Red Wine: A medium-bodied red wine enhances the richness of the cheese while making the snack feel decadent and elegant.
- Sparkling Water: A bubbly option provides a refreshing cleanse between bites, making each cracker even more enjoyable.
With these savory options, your homemade Cheez-Its transform into a deliciously complete snacking experience!
Expert Tips for Homemade Cheez-Its
- Fresh Cheese is Key: Always use freshly shredded sharp cheddar cheese for the best flavor and texture; pre-shredded options can lead to disappointing results.
- Chill for Best Texture: Don’t skip the chilling step! This helps the dough hold together better and results in a crispier cracker.
- Don’t Overbake: Keep an eye on your Cheez-Its while baking; overbaking can lead to browning that affects taste and texture.
- Customization is Fun: Feel free to experiment with seasonings and cheese varieties to create your perfect Homemade Cheez-Its; it’s all about your taste!
- Store Correctly: Allow the crackers to cool completely before storing them in an airtight container to maintain their delightful crunch.
Make Ahead Options
Homemade Cheez-Its are an excellent choice for meal prep, saving you time during busy weeks! You can prepare the dough up to 24 hours in advance; simply wrap it tightly in plastic wrap and refrigerate. Additionally, you can cut the squares and pre-bake them for up to 3 days before you plan to serve. To maintain their crunchy texture, store the baked crackers in an airtight container at room temperature. When you’re ready to enjoy, just pop them in a 350°F (175°C) oven for about 5 minutes to revive the crunch. This way, you’ll have delicious snacks ready to go with minimal effort, perfect for easy entertaining or a quick nibble!
Homemade Cheez-Its Recipe FAQs
How do you select the best cheddar cheese for this recipe?
Absolutely! When choosing cheddar cheese for your Homemade Cheez-Its, opt for freshly shredded sharp cheddar. This not only enhances the flavor but also ensures better melting and texture. Avoid pre-shredded cheese, as it often contains anti-caking agents that can affect the final result. Look for cheese that is bright in color and has a rich, sharp aroma.
How should I store my Homemade Cheez-Its?
You can store your Homemade Cheez-Its in an airtight container at room temperature for up to one week. This helps maintain their crispy texture. If you live in a humid area, refrigeration can help keep them fresher, although they may lose some crunch. Make sure they are completely cool before sealing them in the container.
Can I freeze my Homemade Cheez-Its for later use?
Yes! For longer storage, you can absolutely freeze your Homemade Cheez-Its. Place them in a freezer-safe bag or airtight container, and they will last for up to three months. To serve, simply reheat them in the oven at 350°F (175°C) for about 5 minutes to revive their crispiness—you’re in for a treat!
What should I do if my dough is too sticky?
If your dough is too sticky, don’t worry! You can add a little extra flour, one tablespoon at a time, while mixing until it becomes manageable. Remember, the dough should be cohesive and slightly tacky but not overly sticky. You can also chill the dough a bit longer, which can help make it easier to handle.
Are there any dietary considerations for Homemade Cheez-Its?
Very! For those with gluten sensitivities, you can easily replace regular all-purpose flour with a gluten-free flour blend—just make sure it measures one-for-one with regular flour. Additionally, always double-check your cheese and any added spices for any allergens to customize these delicious snacks according to your needs.
Can I add different flavors to my Cheez-Its?
Absolutely! You can personalize your Homemade Cheez-Its by incorporating spices like paprika or garlic powder directly into the dough. Experimenting with different cheeses, such as Monterey Jack or Gouda, can also lead to delightful flavor variations—get creative and enjoy the journey!
Homemade Cheez-Its: Crunchy Cheese Crackers You’ll Love
Ingredients
Equipment
Method
- In a mixing bowl, combine 1 cup of freshly shredded sharp cheddar cheese, 1 cup of all-purpose flour, and 1/2 teaspoon of salt. Blend until crumbly.
- Add 1/4 cup of cold, cubed butter to the mixture. Work it in until the mixture resembles small peas.
- Gradually add cold water, one tablespoon at a time, mixing until the dough comes together and is slightly sticky. Shape into a ball.
- Wrap the dough ball in plastic wrap and refrigerate for 20–30 minutes.
- Preheat your oven to 350°F (175°C).
- Dust a clean surface with flour and roll out the dough to about 1/8 inch thick.
- Cut the dough into small squares, about 1 inch each, and poke a hole in the center of each square.
- Transfer the squares to a parchment-lined baking sheet and bake for 12–15 minutes until edges are lightly golden.
- Remove from oven, allow to cool on the baking sheet for 10 minutes before serving.