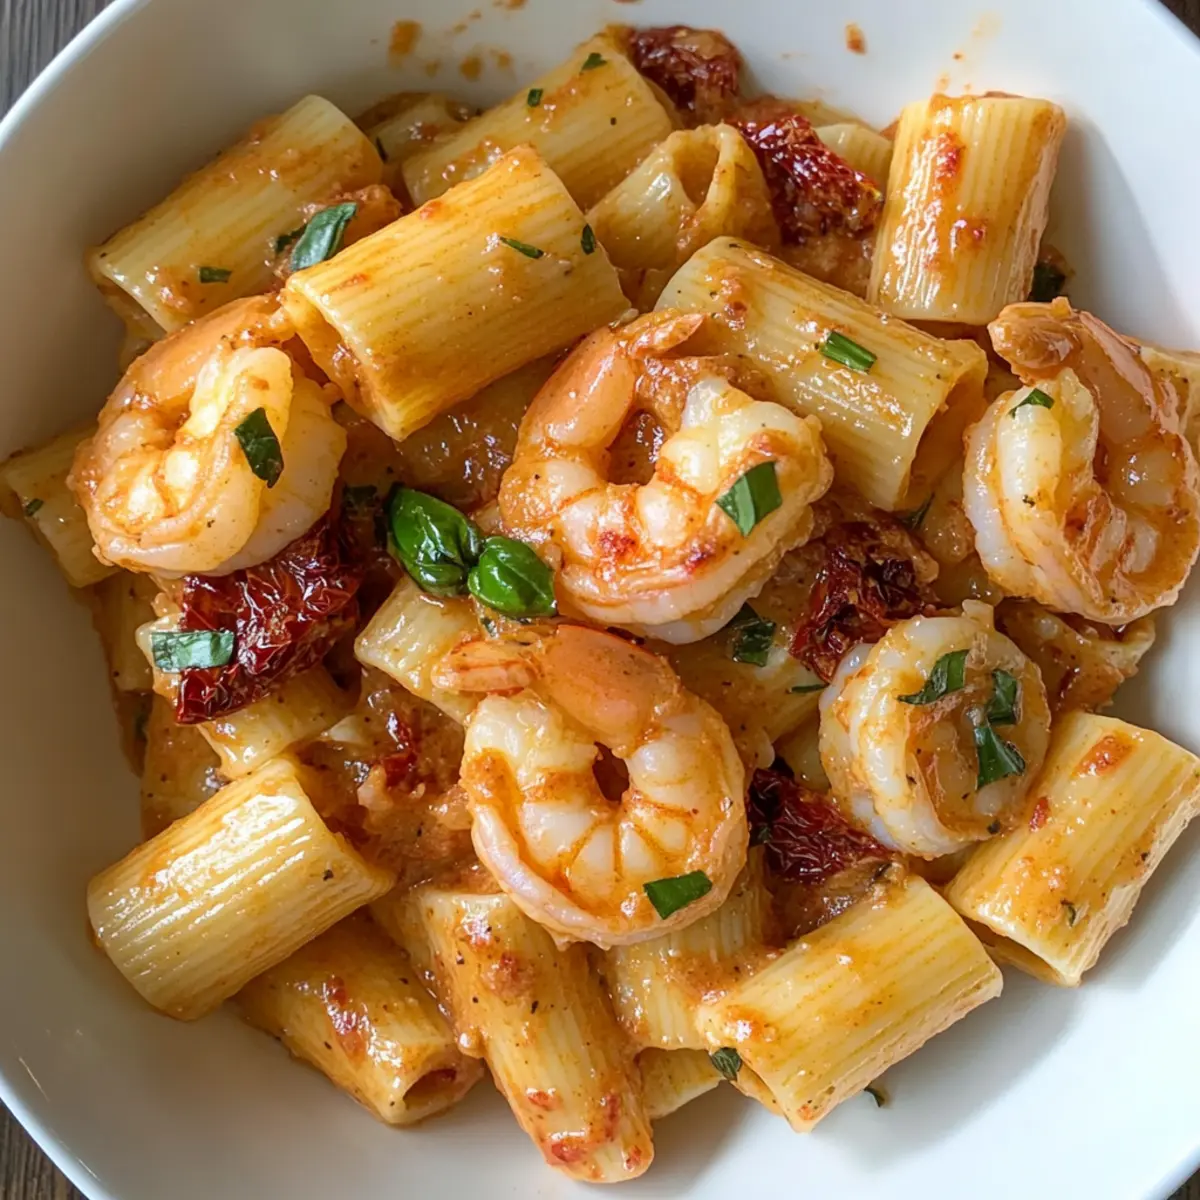
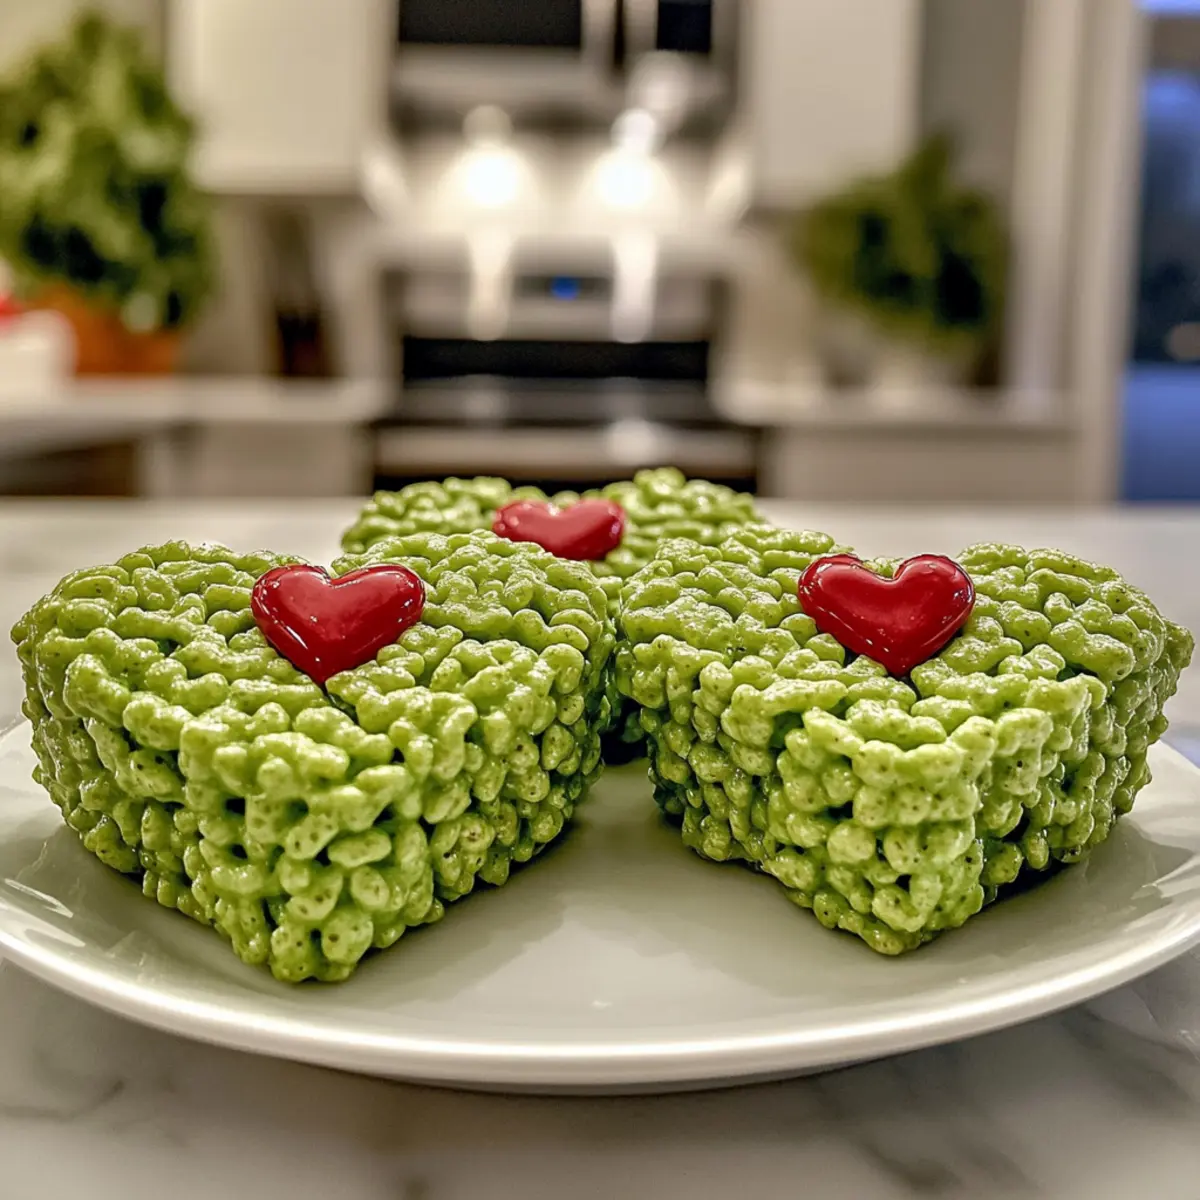
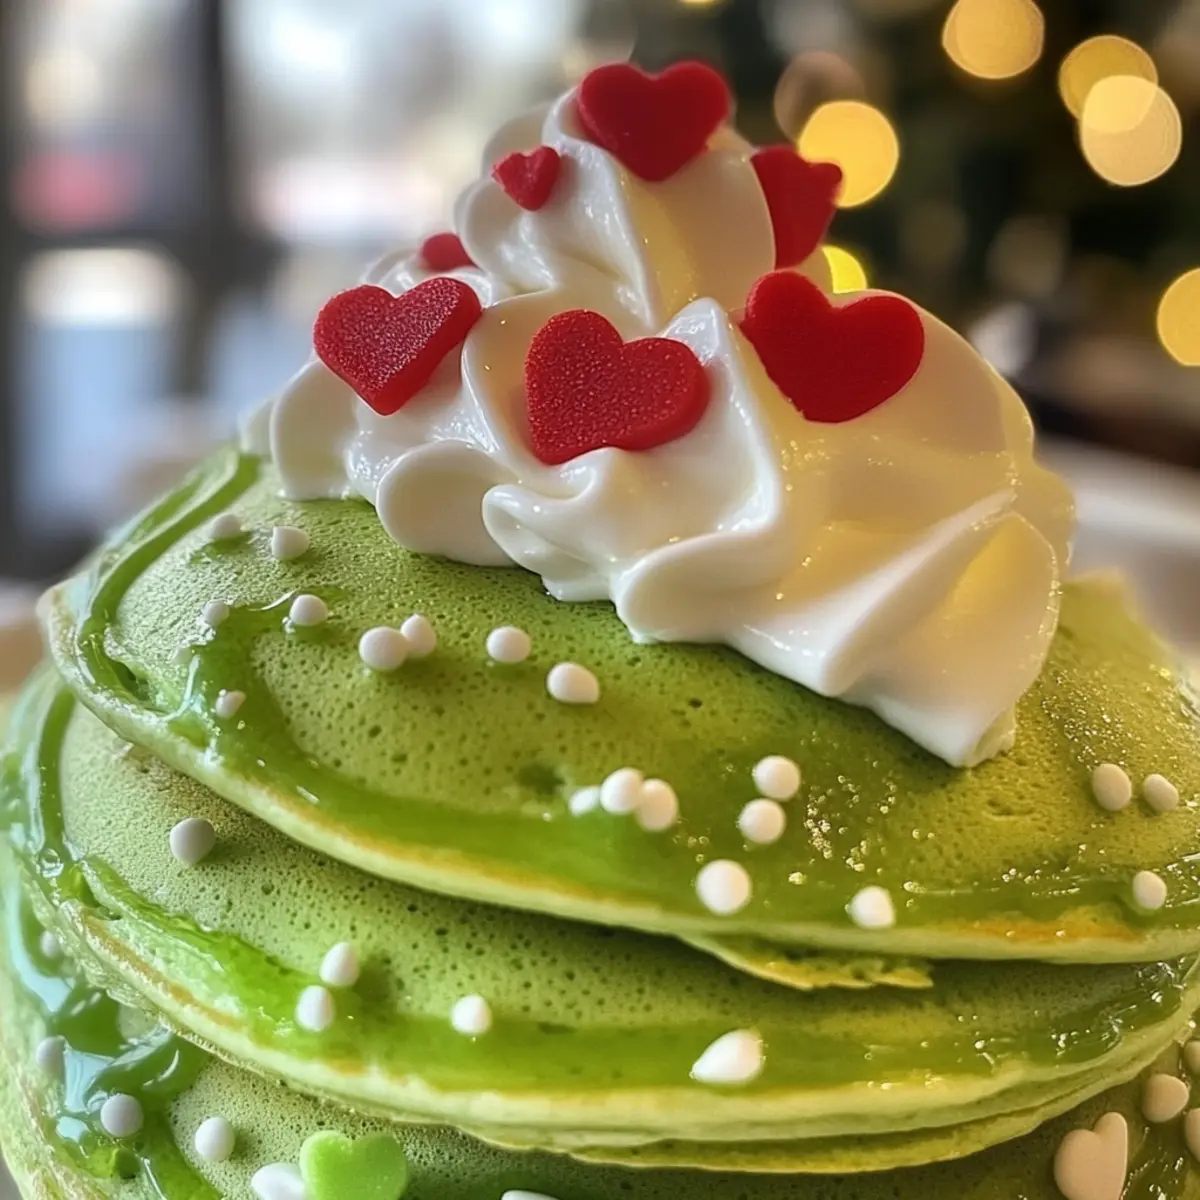
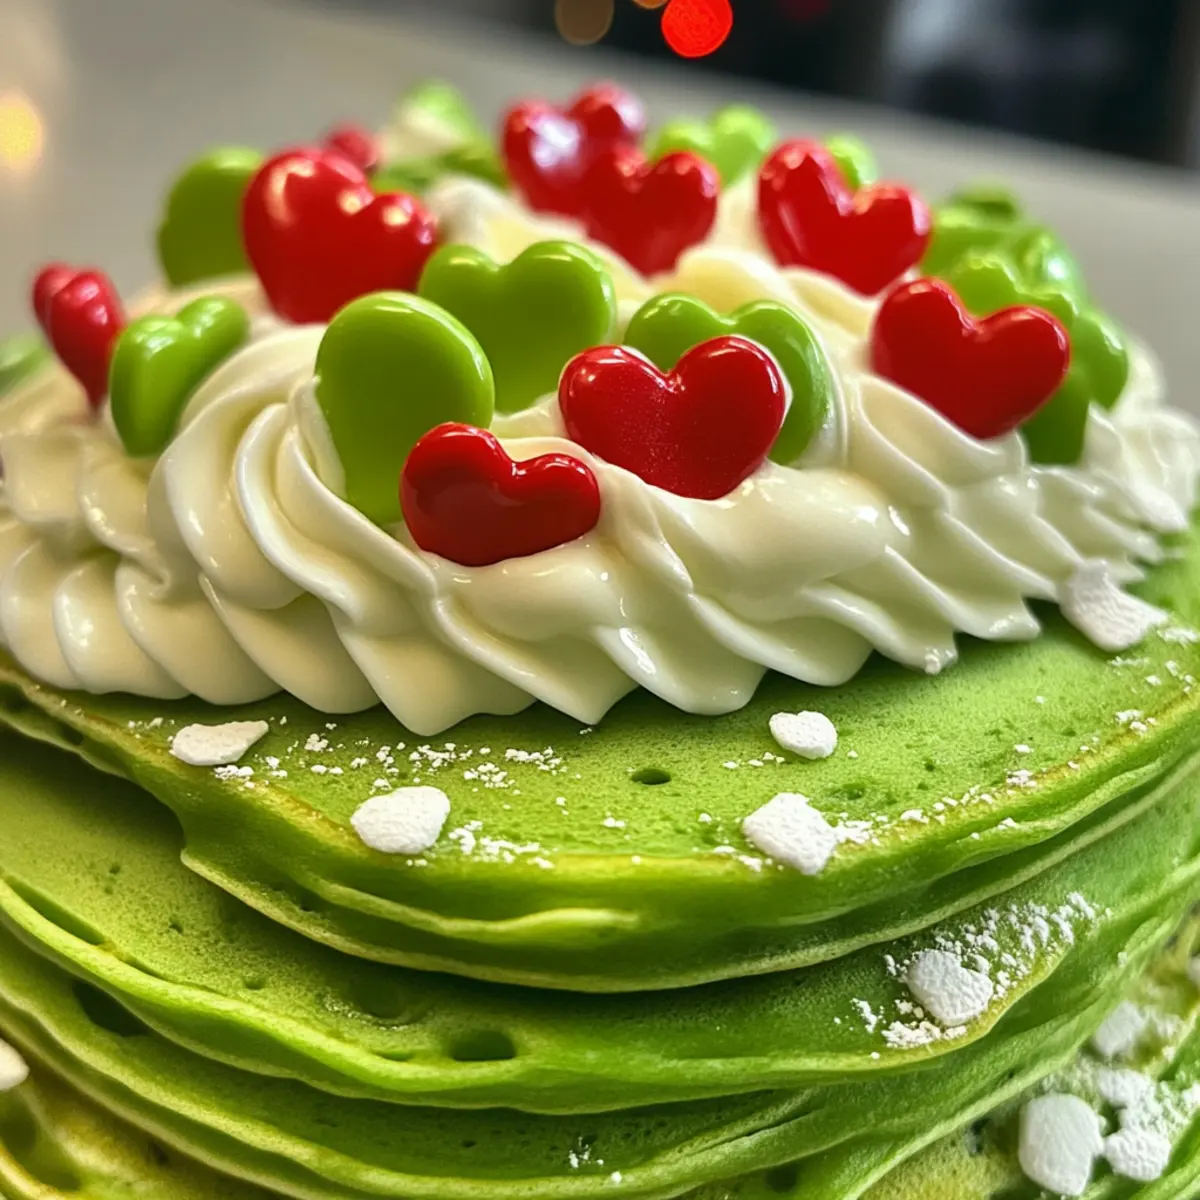
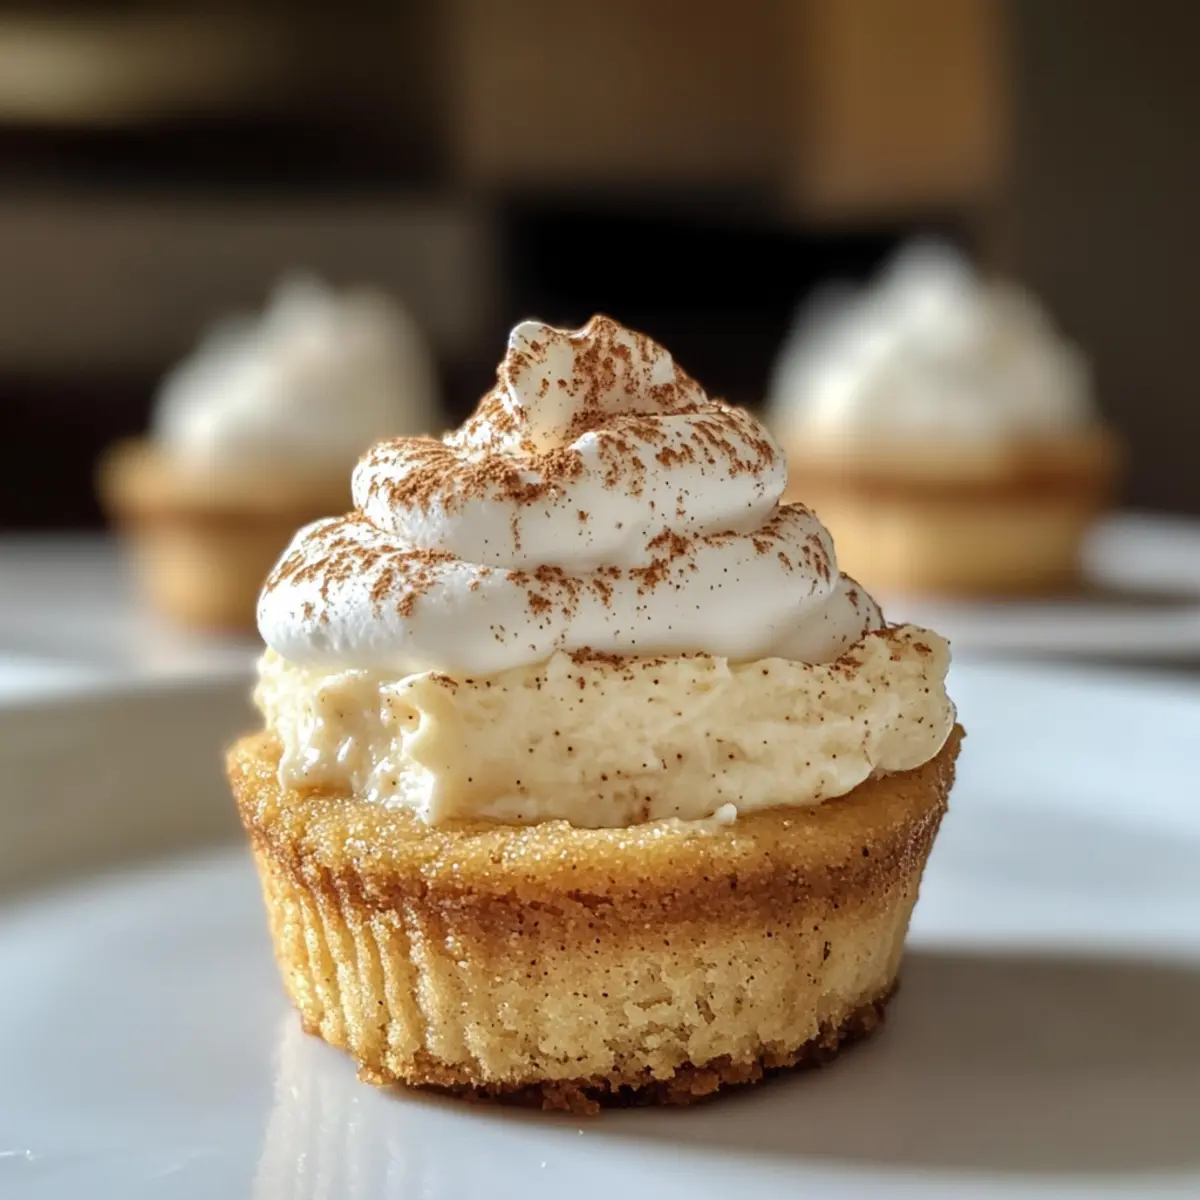
As I stood in my kitchen, the fragrant aroma of gingerbread began to swirl around me, instantly transporting me to a cozy holiday gathering with friends and family. Today, I’m excited to share my Chewy Eggnog Cheesecake Cookie Cups, a delightful fusion of soft gingerbread cookie cups filled with a creamy eggnog cheesecake that’s just too good to resist. These no-bake treats not only capture the essence of festive cheer but are also a breeze to whip up, making them the perfect crowd-pleasers for any gathering. Plus, they can be frozen for last-minute indulgence, ensuring you always have a sweet surprise on hand. Intrigued? Let’s dive into this delightful recipe!
Why You’ll Crave These Cookie Cups?
Irresistible Flavor: These Eggnog Cheesecake Cookie Cups combine the holiday warmth of gingerbread with a luscious, creamy filling that’s simply addictive.
No-Bake Ease: Creating a festive dessert doesn’t need to be time-consuming – this no-bake cheesecake is effortlessly quick and convenient!
Freezable Goodness: Make ahead and freeze for spontaneous celebrations; you’ll always have a delicious treat ready when friends drop by!
Crowd-Pleasing Delight: Dazzle your guests at holiday gatherings with a unique and delightful dessert that gets everyone talking!
Ultimate Comfort: Embrace the cozy, seasonal vibes that will remind you of warm gatherings, festive celebrations, and sweet nostalgia.
Eggnog Cheesecake Cookie Cups Ingredients
Unlock the secret to these festive delights with the perfect ingredients!
For the Gingerbread Cookie Cups
• All-Purpose Flour – Provides structure to your cookie cups; remember to sift for a lighter texture.
• Baking Soda – Ensures a soft and chewy cookie; don’t skip this for the right lift!
• Ground Cinnamon – Infuses warm, holiday flavors that evoke cozy memories.
• Ground Ginger – Enhances the classic gingerbread taste; feel free to adjust according to your spice preference.
• Ground Cloves – Offers depth; use sparingly, as a little goes a long way.
• Salt – Balances sweetness, enhancing the overall flavor profile.
• Unsalted Butter – Adds richness and moisture; allow it to reach room temperature for easy mixing.
• Light Brown Sugar – Sweetens and imparts a hint of caramel flavor perfect for gingerbread.
• Fancy Molasses – A must for authentic gingerbread flavor; avoid blackstrap for a milder note.
• Egg – Binds the ingredients and adds moisture; use room temperature for smoother blending.
For the Eggnog Cheesecake Filling
• Heavy Whipping Cream – Creates a luscious, fluffy texture; make sure it’s chilled for optimal whipping.
• Cream Cheese – The base of your cheesecake filling; soften it to avoid lumps for a silky consistency.
• Granulated Sugar – Sweetens the filling; adjust to suit your taste preference.
• Eggnog – Infuses your filling with that quintessential holiday flavor; feel free to swap in alternatives if needed.
• Ground Nutmeg – Adds an aromatic touch; just a pinch is all you need to enhance your eggnog.
• Ground Cinnamon – Complements the filling’s spice profile; adjust to your liking.
With these ingredients, your Eggnog Cheesecake Cookie Cups are sure to become a holiday favorite! Enjoy creating these memorable treats that will fill your home with warmth and festive cheer.
Step‑by‑Step Instructions for Eggnog Cheesecake Cookie Cups
Step 1: Prepare Cookie Cups
Preheat your oven to 350°F (175°C) and grease 2 muffin tins to prevent sticking. In a mixing bowl, whisk together all-purpose flour, baking soda, ground cinnamon, ground ginger, ground cloves, and salt until well combined. In a separate mixer, cream together softened unsalted butter, fancy molasses, and light brown sugar until the mixture is light and fluffy. Add in one room-temperature egg and blend until well incorporated.
Step 2: Combine Ingredients
Gradually add the dry ingredient mixture into the wet ingredients, mixing gently until just combined. Avoid overmixing to ensure your cookie cups remain chewy. Scoop the dough evenly into the prepared muffin tins, flattening it slightly with your fingers. Bake in the preheated oven for 9-10 minutes, watching closely until they are mostly set but still soft in the center to retain that delightful chewiness.
Step 3: Create Wells and Cool
Once baked, immediately use a small jar or the handle of a wooden spoon to press lightly in the middle of each cookie to create wells for the cheesecake filling. Allow the cookie cups to cool in the pan for 10 minutes before transferring them to wire racks to cool completely. As they cool, the cookie cups will set up nicely, forming the perfect base for your luscious eggnog cheesecake filling.
Step 4: Make Cheesecake Filling
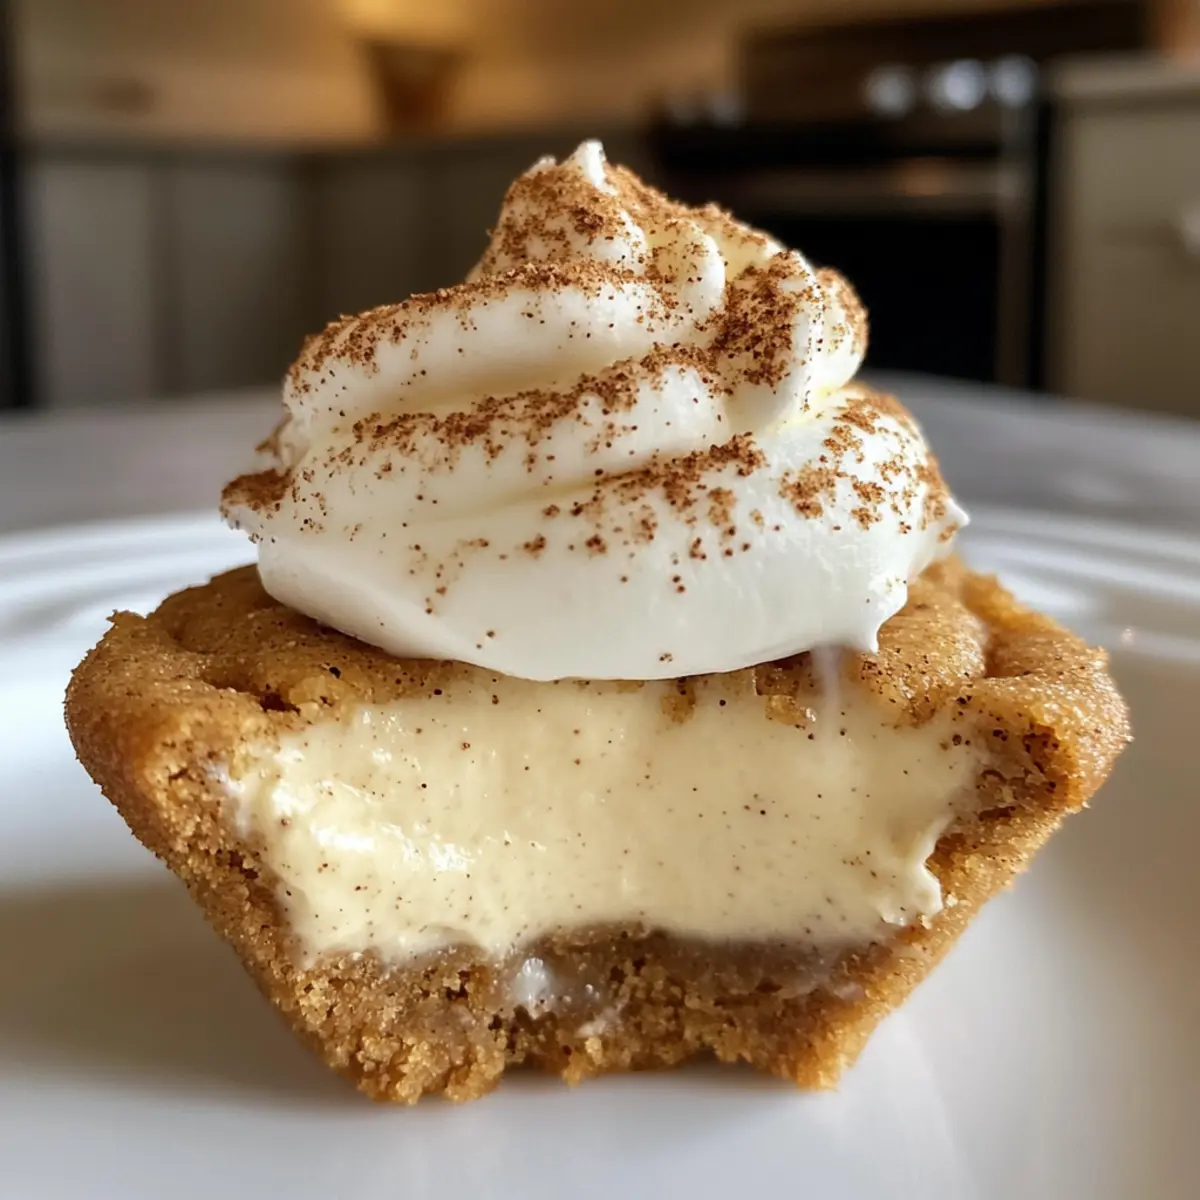
While your cookie cups cool, prepare the eggnog cheesecake filling. In a cold mixing bowl, whip heavy whipping cream until stiff peaks form, and set aside. In another bowl, beat softened cream cheese with granulated sugar until smooth and creamy. Slowly incorporate the eggnog along with a pinch of ground nutmeg and ground cinnamon, blending until all ingredients are well mixed and smooth.
Step 5: Fold in Whipped Cream
Gently fold the whipped cream into the cream cheese mixture using a spatula, ensuring to keep the light and airy texture. This step is crucial for achieving that perfect, fluffy cheesecake filling that will complement the chewy gingerbread cookie cups beautifully. Be cautious not to overmix; fold until just combined for the best results.
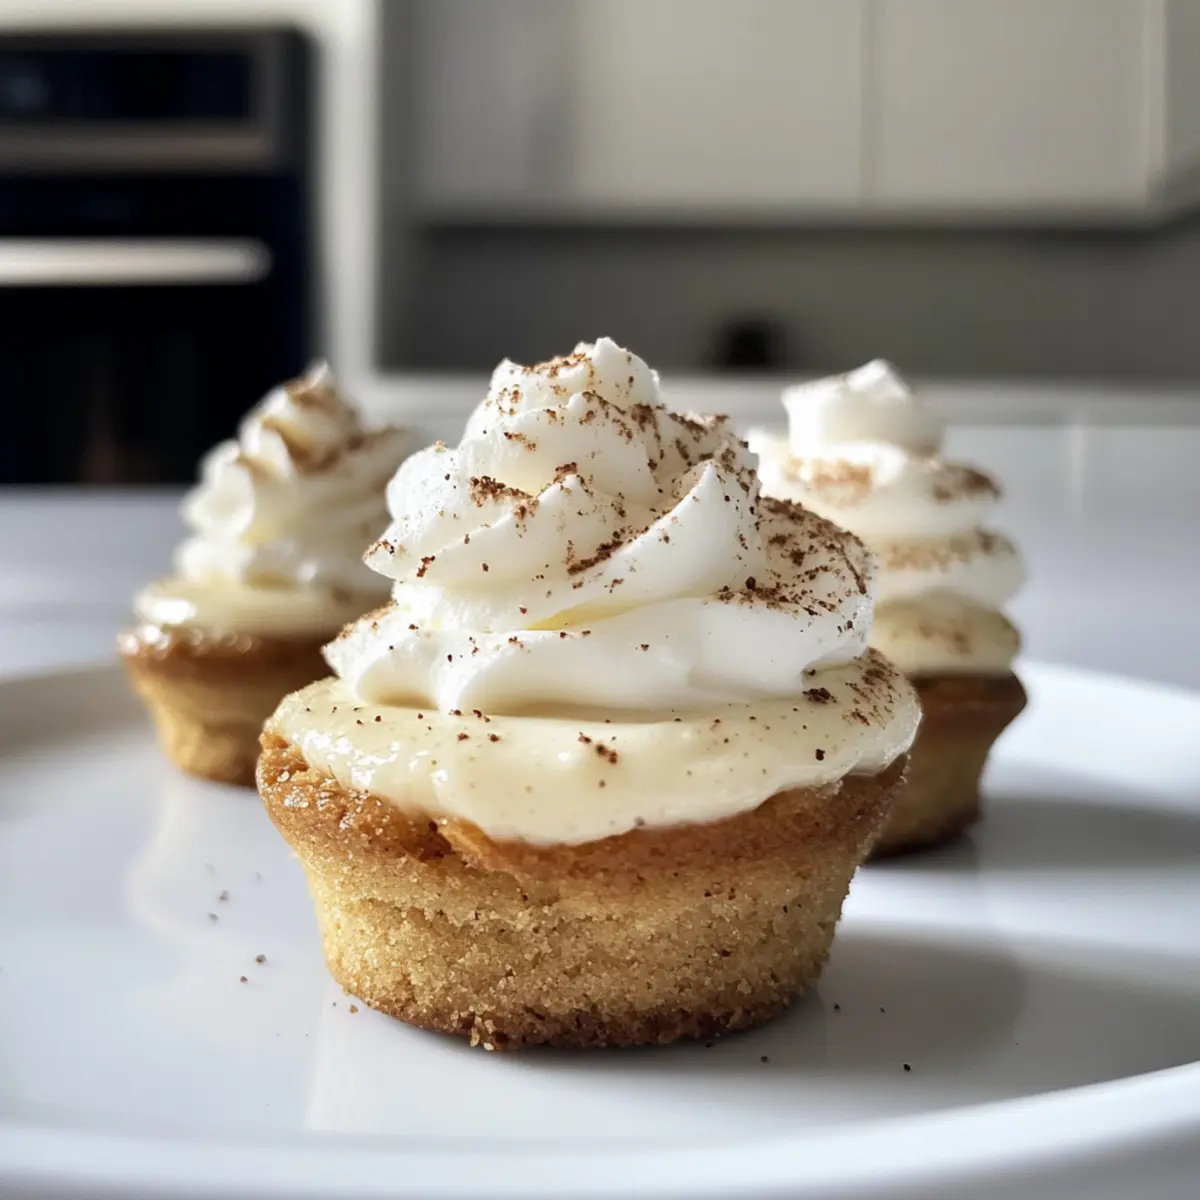
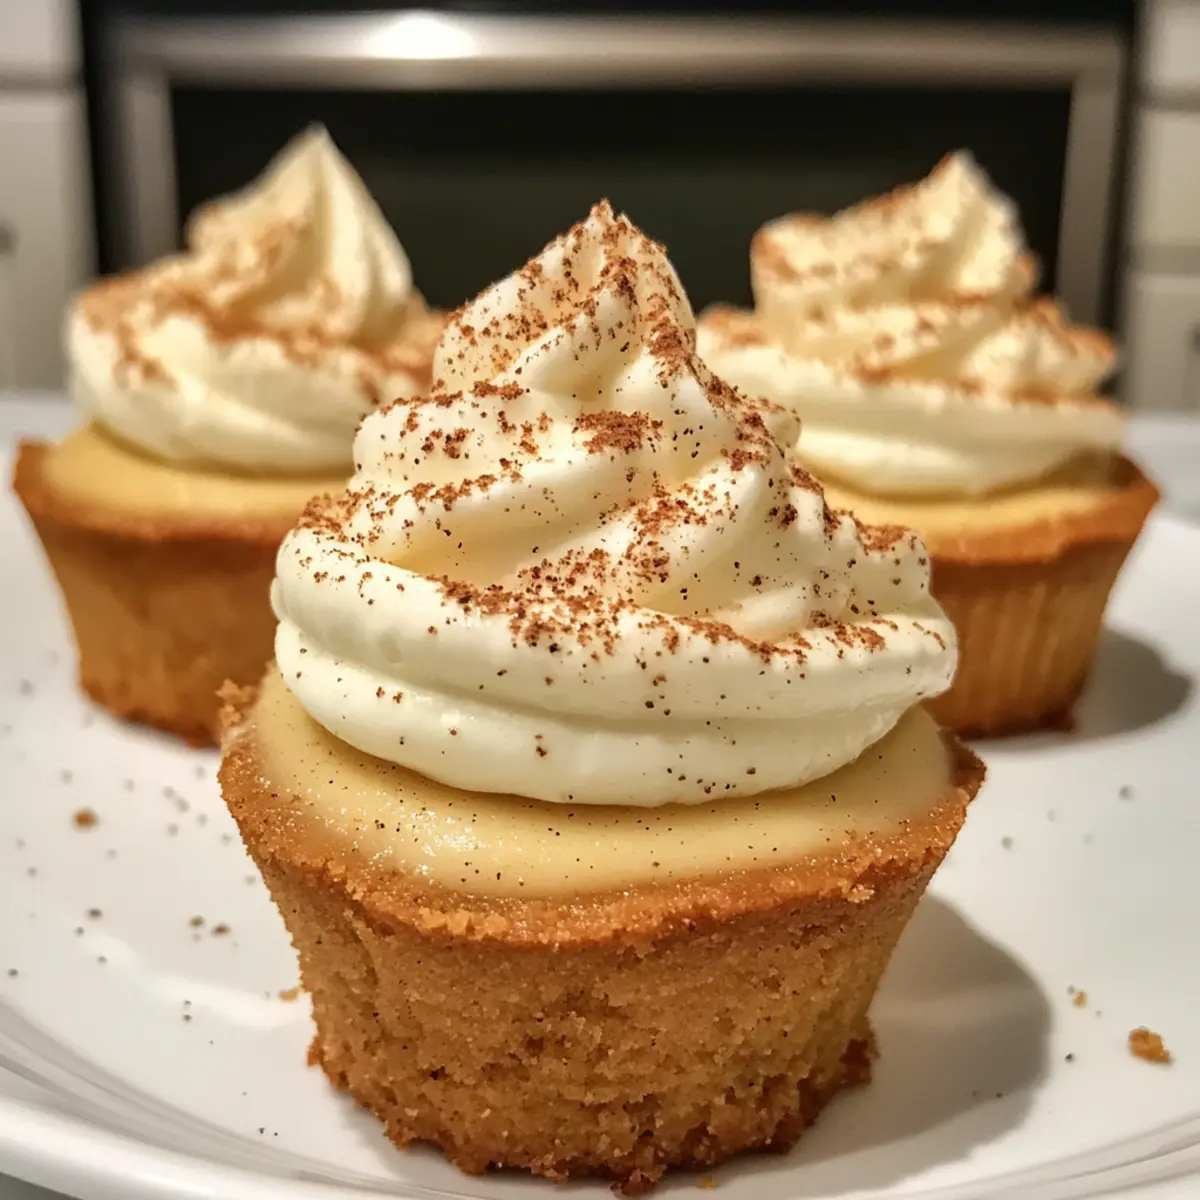
Step 6: Assemble and Chill
Now it’s time to assemble your Eggnog Cheesecake Cookie Cups! Pipe or scoop the creamy cheesecake filling into each cooled cookie cup, generously filling the wells. Once filled, cover the cookie cups with plastic wrap and chill in the refrigerator for at least 2 hours to allow the cheesecake to set properly. This chilling step helps the flavors meld beautifully, ensuring a delightful bite every time.
Eggnog Cheesecake Cookie Cups Variations
Get ready to transform your Eggnog Cheesecake Cookie Cups with these delightful twists that will keep your taste buds dancing!
-
Gluten-Free: Use a gluten-free flour blend instead of all-purpose flour for an equally delicious version.
-
Chocolate Delight: Mix in cocoa powder to the gingerbread dough for a rich, chocolatey flavor that pairs beautifully with the cheesecake filling.
-
Spice It Up: Add a hint of cayenne pepper to your gingerbread cookie batter for a surprising, warm kick that ignites the flavor!
-
Fruit-Filled: Fold in dried cranberries or chopped apples into the cheesecake filling for a pop of tartness amidst the creamy goodness.
-
Nutty Crunch: Incorporate chopped walnuts or pecans into the cookie base for added texture and a nutty flavor that complements the holiday spices.
-
Cream Cheese Swirl: Swirl in a flavored cream cheese (like vanilla or pumpkin spice) into the cheesecake filling for a delightful twist that makes each bite unique.
-
Mini-Bites: Opt for smaller muffin tins to create mini cookie cups. Perfect for party platters or quick snacking!
-
Dairy-Free: Substitute cream cheese with cashew cream and heavy whipping cream with coconut whipped cream for a delightful dairy-free version.
These variations not only add a personal touch but also invite creativity in your holiday baking. If you’re looking for more sweet treats, consider trying my Nutty Chocolate Date Cookies or indulge in a silky Strawberry Cheesecake Dump that will make your gatherings even sweeter!
Make Ahead Options
These Eggnog Cheesecake Cookie Cups are perfect for meal prep, making your busy holiday season a little easier! You can prepare the gingerbread cookie cups up to 24 hours in advance; simply bake them, create the wells, and store in an airtight container at room temperature. The cheesecake filling can be made up to 3 days ahead; just refrigerate it in a covered bowl to keep it fresh. When you’re ready to serve, fill the cookie cups with the chilled cheesecake filling and let them sit for about 30 minutes before serving to enhance the flavors. This way, you’ll enjoy the same delightful taste while saving time for other holiday festivities!
Expert Tips for Eggnog Cheesecake Cookie Cups
-
Perfect Measurements: Always measure your dry ingredients correctly, especially flour, to ensure your Eggnog Cheesecake Cookie Cups have the right texture.
-
Room Temperature Ingredients: Use room temperature butter and egg for smooth mixing; this helps create a light, fluffy texture in both the cookie cups and cheesecake filling.
-
Avoid Overbaking: Keep an eye on the cookie cups while baking; they should be soft in the center. Overbaking will lead to a hard texture instead of the desired chewiness.
-
Whip Cream Correctly: For the best cheesecake filling, make sure your heavy whipping cream is cold and whip it until stiff peaks form; this ensures a light and airy filling.
-
Chill Before Serving: Allow the filled cookie cups to chill in the refrigerator for at least 2 hours. This allows the flavors to meld and ensures a structured filling that’s easy to serve.
-
Storage Tips: Keep any leftovers stored in an airtight container in the fridge for 2-3 days, or freeze them for up to 2 months to enjoy later.
How to Store and Freeze Eggnog Cheesecake Cookie Cups
Fridge: Keep your Eggnog Cheesecake Cookie Cups in an airtight container for up to 3 days to maintain their freshness and flavor.
Freezer: For longer storage, freeze the filled cookie cups for up to 2 months. To prevent freezer burn, wrap each one individually in plastic wrap before placing them in a freezer-safe container.
Thawing: When ready to enjoy, thaw in the refrigerator for a few hours or overnight, allowing the flavors to revive beautifully.
Reheating: These treats are best enjoyed cold. However, if you prefer a warm treat, gently heat the cookie cups in the oven at a low temperature for a few minutes before serving.
What to Serve with Chewy Eggnog Cheesecake Cookie Cups
Looking to enhance your holiday dessert spread? Pairing your delightful treats with complementary sides can elevate your celebratory mood even more!
- Creamy Mashed Potatoes: Their velvety texture provides a comforting contrast to the delicate cheesecake filling while balancing out the flavors.
- Spiced Apple Cider: A warm cup of homemade cider infused with cinnamon and cloves harmonizes beautifully with the spices in the cookie cups—perfect as a festive drink!
- Roasted Brussels Sprouts: Crispy, caramelized brussels sprouts add a savory crunch that offsets the sweetness of the eggnog filling, making each bite more exciting.
- Chocolate Dipped Fruit: Bright, juicy strawberries or bananas drizzled in chocolate offer a refreshing bite that cleanses the palate between the rich cookie and cheesecake.
- Festive Cheese Board: A selection of cheeses, nuts, and dried fruits sets a casual but elegant vibe, creating a beautiful contrast to the dessert.
- Gingerbread Lattes: This cozy, spiced coffee will have everyone feeling festive and can easily complement the ginger flavor in your cookie cups.
- Whipped Cream Topping: Adding more whipped cream with a sprinkle of nutmeg on top enhances the presentation while echoing the creamy cheesecake filling.
- Caramel Sauce: A drizzle of homemade caramel can add richness and a decadent touch, making it an indulgent treat for every holiday gathering.
Eggnog Cheesecake Cookie Cups Recipe FAQs
What should I look for when selecting the eggs for this recipe?
Absolutely! When selecting eggs, choose ones that are fresh and have clean, intact shells. Look for eggs with a “best by” date that is as far away as possible. Room temperature eggs work best for this recipe, as they blend more smoothly into the batter, creating a better texture for your cookie cups.
How should I store the Eggnog Cheesecake Cookie Cups?
Very important! Store your filled Eggnog Cheesecake Cookie Cups in an airtight container in the refrigerator, where they’ll stay fresh for about 2-3 days. This keeps the flavors intact and ensures that your treats remain delightfully creamy!
Can I freeze the Eggnog Cheesecake Cookie Cups?
Absolutely! To freeze, wrap each filled cookie cup individually in plastic wrap to prevent freezer burn. Place them in a freezer-safe container or bag. They can be frozen for up to 2 months. When ready to enjoy, simply thaw them in the refrigerator for a few hours or overnight to revive their delicious flavor and texture!
I noticed my cookie cups became hard after baking. What did I do wrong?
Ah, that’s a common concern! If your Eggnog Cheesecake Cookie Cups are hard, it might be due to overbaking. Make sure to check them at the 9-minute mark; they should look soft in the center when you take them out. They’ll continue to firm up a bit as they cool. Also, ensure your oven is properly calibrated to prevent cooking them longer than necessary.
Are there any allergy considerations with this recipe?
Absolutely! This recipe contains common allergens such as eggs, dairy, and gluten due to the all-purpose flour. If you have allergies, consider using gluten-free all-purpose flour and dairy-free cream cheese alternatives to enjoy these delicious treats safely. Always check labels for potential cross-contamination if severe allergies are a concern.
Irresistible Eggnog Cheesecake Cookie Cups for Holiday Bliss
Ingredients
Equipment
Method
- Preheat your oven to 350°F (175°C) and grease 2 muffin tins to prevent sticking.
- Whisk together all-purpose flour, baking soda, ground cinnamon, ground ginger, ground cloves, and salt until well combined.
- Cream together softened unsalted butter, fancy molasses, and light brown sugar until light and fluffy.
- Add in the room-temperature egg and blend until well incorporated.
- Gradually add the dry mixture into the wet ingredients, mixing gently until just combined. Avoid overmixing.
- Scoop the dough evenly into the prepared muffin tins and flatten it slightly.
- Bake for 9-10 minutes until mostly set but still soft in the center.
- Immediately press lightly in the middle of each cookie to create wells for the cheesecake filling.
- Cool the cookie cups in the pan for 10 minutes before transferring them to wire racks.
- For the filling, whip heavy cream until stiff peaks form and set aside.
- Beat softened cream cheese with granulated sugar until smooth and creamy.
- Incorporate eggnog along with ground nutmeg and ground cinnamon until well mixed.
- Gently fold in the whipped cream into the cream cheese mixture.
- Pipe or scoop the cheesecake filling into each cooled cookie cup generously filling the wells.
- Cover with plastic wrap and chill in the refrigerator for at least 2 hours.