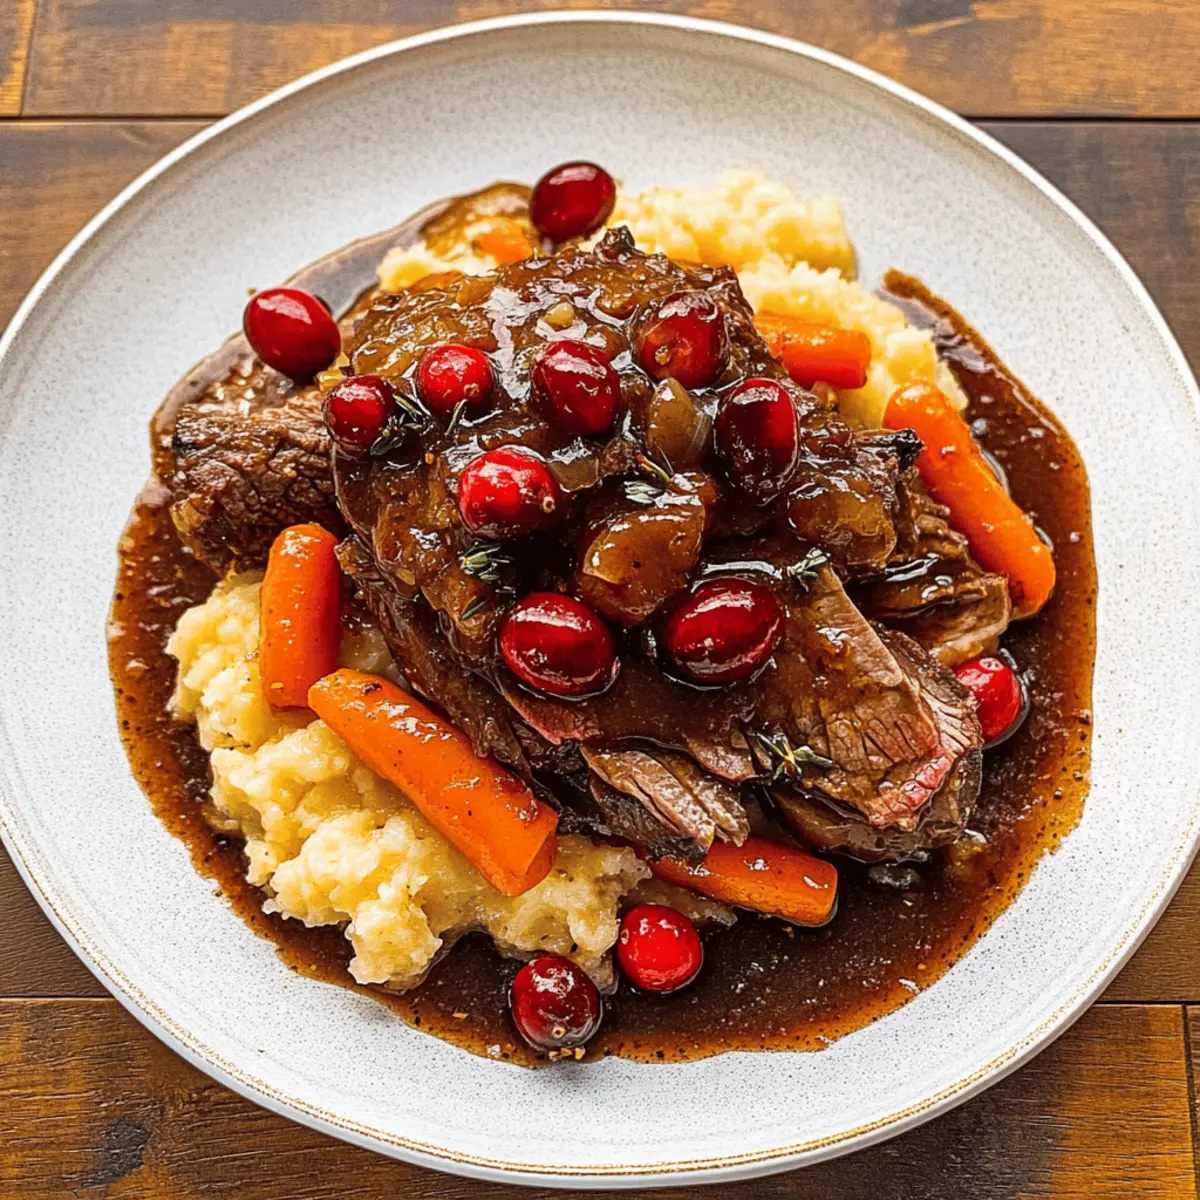
Cozy winter evenings call for something hearty and delicious, and that’s exactly what you’ll find with this Cranberry Balsamic Roast Beef. There’s something magical about succulent beef slowly braised in a tangy balsamic cranberry sauce, infused with aromatic herbs that fill your kitchen with warmth. No matter if you choose the slow cooker, stovetop, or oven method, this recipe offers an effortless way to whip up a comforting meal that’s sure to impress family and friends. Plus, it’s gluten-free and delivers maximum flavor without the fuss, making it perfect for busy weeknights or special gatherings. So why not dive deeper and discover how this delightful dish can turn your winter dining into a festive feast?
Why is this roast beef irresistible?
Irresistible flavor: The blend of balsamic vinegar and cranberry sauce creates a unique sweet-and-tangy profile that enhances the beef beautifully.
Effortless cooking: Whether you prefer a slow cooker, stovetop, or oven method, this recipe offers flexibility, making it perfect for any schedule.
Crowd-pleaser: Serve this comforting dish at your next gathering, and watch it disappear! It pairs wonderfully with mashed potatoes or crusty bread.
Healthy options: With simple substitutions, this gluten-free roast caters to various dietary needs without compromising flavor. For a fantastic side, consider Savory Beef Bacon or Heirloom Beef Pancakes alongside it.
Leftover magic: Enjoy the convenience of leftovers that taste even better the next day, making meal prep a breeze!
Cranberry Balsamic Roast Beef Ingredients
Discover the delightful elements that make your Cranberry Balsamic Roast Beef shine!
For the Roast
- Olive Oil – Adds richness and aids in browning the beef; can use vegetable oil as a substitute.
- Beef Roast (2-3 pounds) – The main protein source for this hearty dish; chuck, round, or brisket is ideal, while pork can be an alternative with broth adjustments.
- Onion (1 large, sliced) – Provides depth and sweetness; shallots work well for a milder taste.
- Tomato Paste (2 tablespoons) – Enhances the savory flavor of the sauce; substitute with blended ripe tomatoes if needed.
- Garlic (4 cloves, chopped) – Infuses aromatic flavor into the dish; fresh or powdered garlic can be used.
Herbs & Spices
- Thyme (1 teaspoon, chopped) – Adds an earthy aroma and flavor; oregano or Italian seasoning can substitute in a pinch.
- Rosemary (1 teaspoon, chopped) – Provides a fragrant herbaceous note; dried rosemary is also suitable as a substitution.
- Red Pepper Flakes (1/2 teaspoon, optional) – Adds a touch of heat to balance the sweetness; omit if not desired.
For the Sauce
- Beef Broth (2 cups) – The liquid base for braising that enhances flavor; chicken broth can be used as a substitution.
- Balsamic Vinegar (1/4 cup) – Adds acidity and depth to the sauce; mix red wine vinegar with a bit of honey as a substitute.
- Cranberry Sauce (1/2 cup, optional) – Provides sweetness and complements the tartness; homemade or store-bought works well.
- Soy Sauce (2 tablespoons) – Adds umami depth; opt for tamari for a gluten-free choice.
- Maple Syrup (4 tablespoons) – Balances tartness with sweetness; brown sugar is a good alternative.
- Worcestershire Sauce (1 tablespoon) – Deepens the flavor profile; for gluten-free, use liquid aminos instead.
- Cranberries (1 cup, fresh or frozen) – Adds texture and tartness; fresh cranberries enhance visual appeal, but can be omitted if unavailable.
- Carrots (1 pound, peeled and sliced) – Contributes natural sweetness and texture; use whole baby carrots for convenience.
- Cornstarch + Water (2 tablespoons each, optional) – To thicken the sauce if desired.
Now you’re all set to embark on your culinary journey with this irresistible Cranberry Balsamic Roast Beef!
Step‑by‑Step Instructions for Cranberry Balsamic Roast Beef
Step 1: Preheat Your Oven
Begin by preheating your oven to a cozy 275°F (140°C). This low temperature will ensure your Cranberry Balsamic Roast Beef becomes incredibly tender as it braises. While the oven heats up, gather your ingredients and prepare to bring rich flavors to life in your kitchen.
Step 2: Sear the Beef
In a large, oven-safe pan, heat a splash of olive oil over medium-high heat. Once shimmering, add the beef roast and sear it for about 4-5 minutes on each side or until a deep, brown crust forms. This step enhances flavor and adds a beautiful presentation to your final dish.
Step 3: Sauté the Aromatics
Remove the browned beef from the pan and set it aside on a plate. In the same pan, add the sliced onion and sauté for about 5 minutes until tender and translucent. Scrape any flavorful bits stuck to the bottom of the pan, which will enrich your sauce.
Step 4: Create the Flavor Base
Stir in the tomato paste and chopped garlic into the pan with the onions. Add thyme, rosemary, and optional red pepper flakes; cook for about 1 minute until fragrant. This will create a delightful aroma and form the base of the savory sauce for your Cranberry Balsamic Roast Beef.
Step 5: Combine the Braising Liquid
Pour in the beef broth, balsamic vinegar, and mix in cranberry sauce, soy sauce, maple syrup, and Worcestershire sauce. Stir well, allowing the mixture to meld for about 2-3 minutes. You will notice the sauce thicken slightly and become aromatic, preparing for the infusion of flavors.
Step 6: Add the Vegetables and Beef
Fold in the sliced carrots and cranberries into the sauce, then carefully return the browned beef to the pan. Make sure the beef is surrounded by the vibrant sauce and aromatics; this will ensure even cooking.
Step 7: Braise in the Oven
Cover the pan tightly with a lid or aluminum foil. Place it in the preheated oven and braise for 3-4 hours. At this stage, your kitchen will be filled with irresistible aromas, and the beef will become fork-tender as it absorbs the flavors of the cranberry balsamic sauce.
Step 8: Shred or Slice the Beef
After braising, remove the beef from the oven and carefully take it out of the sauce. Allow it to rest for a few minutes before shredding or slicing. If you prefer a thicker sauce, skim the fat from the surface and mix a cornstarch slurry into the sauce, simmering for a couple of minutes until desired consistency is reached.
Step 9: Serve and Savor
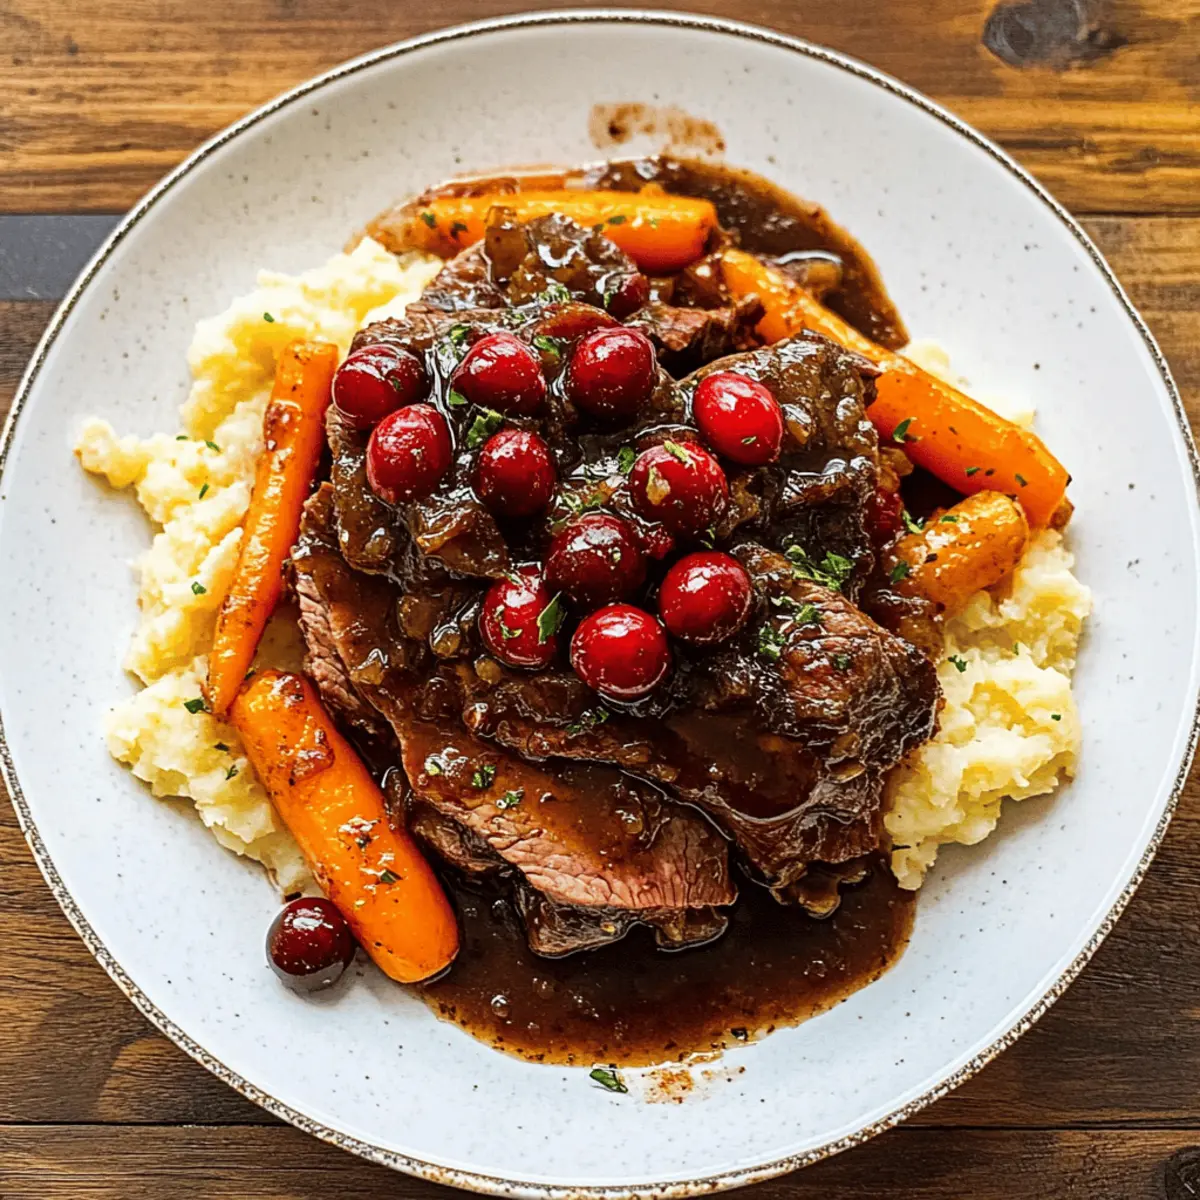
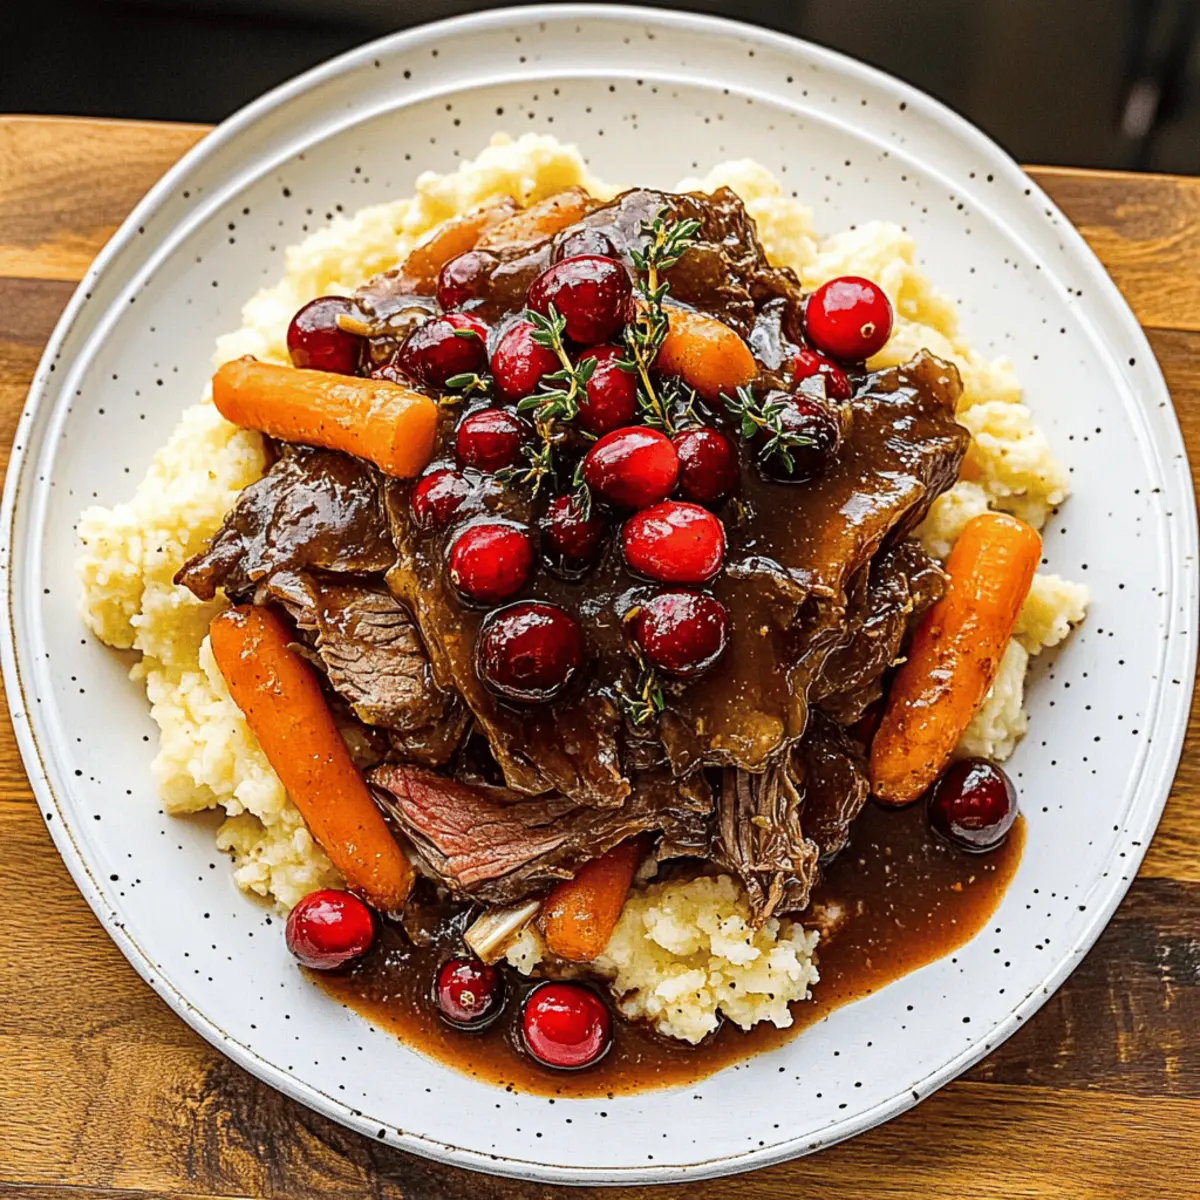
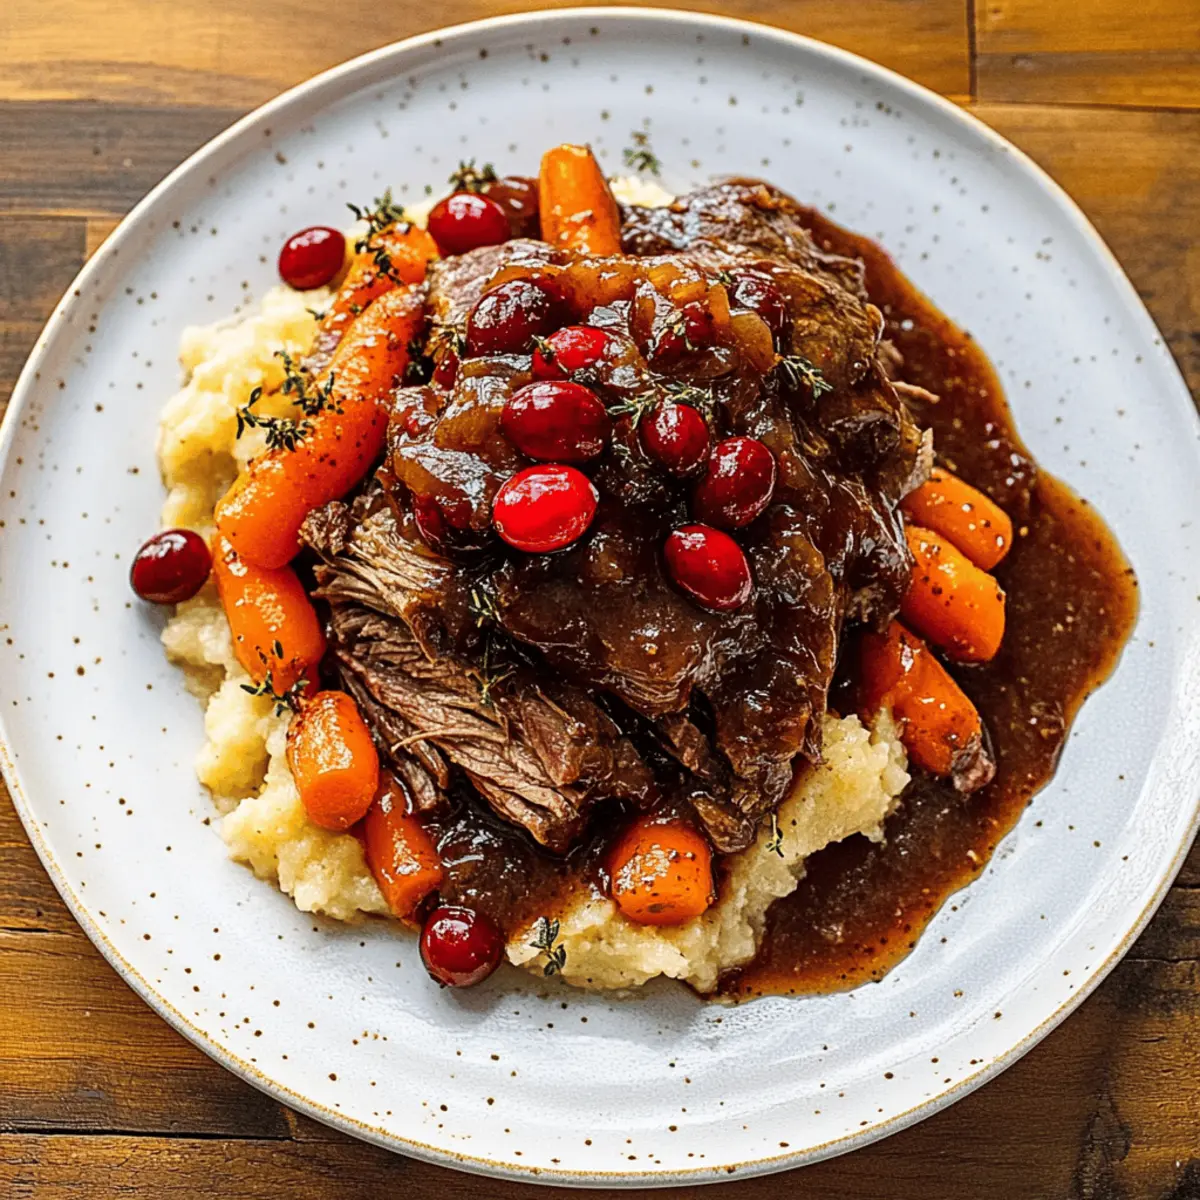
Serve your Cranberry Balsamic Roast Beef on a platter, generously drizzled with the sauce and accompanied by the colorful carrots and cranberries. This hearty dish pairs beautifully with creamy mashed potatoes or crusty bread to soak up all the delicious sauce. Enjoy your comforting creation!
Make Ahead Options
These Cranberry Balsamic Roast Beef preparations are perfect for meal prep enthusiasts! You can sear the beef and prepare the sauce up to 24 hours in advance, allowing the flavors to meld beautifully. Simply cool the beef and sauce, then refrigerate them in separate airtight containers. The next day, just combine the beef with the sauce, add the carrots and cranberries, and pop it in the oven for a cozy meal. Alternatively, you can also fully cook the roast in advance and refrigerate it for up to 3 days, reheating gently on the stovetop or in the oven. This way, you’ll have a comforting, homemade dish ready to enjoy effortlessly on a busy weeknight!
Cranberry Balsamic Roast Beef Variations
Feel free to get creative with your Cranberry Balsamic Roast Beef, making it your own with these delightful twists!
-
Gluten-Free Options: Use tamari instead of soy sauce for a gluten-free alternative, ensuring everyone can enjoy this dish without worry.
-
Add More Veggies: Toss in potatoes or parsnips during braising for a heartier meal; they’ll absorb the rich flavors and add delightful texture.
-
Tender Chicken Twist: Swap out beef for chicken thighs to create a lighter version, still succulent and filled with that wonderful balsamic cranberry sauce.
-
Spicy Kick: Introduce warmth with a few dashes of chipotle powder or diced jalapeños for a spicy flavor that keeps things exciting.
-
Savory Herb Boost: Fresh herbs like parsley or sage can enhance the dish’s flavor profile, adding aromatic depth that family and friends will love.
-
Zesty Citrus Addition: A splash of orange juice or zest will brighten the dish, perfectly complementing the sweet and tart notes of the cranberry sauce.
-
Fruity Enhancements: Consider adding sliced apples or pears for added sweetness and texture; this twist makes for an extra festive feast.
-
Slow Cooker Simplicity: Enjoy the convenience of the slow cooker by using it for all variations—just set it and forget it while the flavors meld for hours!
For more inspiration, check out our delicious Chili Chicken Roasted recipe or explore the hearty flavors in Mini Beef Pies!
Expert Tips for Cranberry Balsamic Roast Beef
-
Choose the Right Cut: Opt for chuck or brisket for better tenderness; avoid lean cuts as they may dry out during braising.
-
Sear for Flavor: Don’t skip the searing step! Browning the beef enhances flavor and adds depth to your Cranberry Balsamic Roast Beef.
-
Adjust Sweetness: Be mindful of the balance between sweet and tart in the sauce; taste towards the end and adjust with maple syrup or vinegar as needed.
-
Don’t Rush the Braise: Low and slow is key! Allow sufficient time for both oven and slow cooker methods to ensure melt-in-your-mouth tenderness.
-
Customize Veggies: Feel free to add potatoes or parsnips for extra heartiness; make this dish your own while ensuring it remains gluten-free.
What to Serve with Winter Pot Roast with Balsamic Cranberry Sauce
Create a delightful winter feast around your savory pot roast, ensuring every bite is a comforting experience.
-
Creamy Mashed Potatoes: The velvety texture of mashed potatoes perfectly soaks up the rich balsamic cranberry sauce, enhancing each bite of roast beef.
-
Garlic Butter Green Beans: Crisp and tender green beans doused in garlic butter add a fresh, vibrant contrast to the rich flavors of the pot roast.
-
Honey-Glazed Carrots: Sweet caramelized carrots complement the savory notes of the pot roast while providing a delightful pop of color on your plate. A beautiful side to elevate the meal.
-
Crusty Bread: A warm, crusty loaf is ideal for mopping up the luscious sauce, turning your meal into a heartwarming experience full of satisfying textures.
-
Autumn Salad: A mix of mixed greens, apples, and walnuts drizzled with a light vinaigrette adds a refreshing crunch and balance to the savory meat dish.
-
Mulled Wine: A glass of warm, spiced mulled wine harmonizes beautifully with the flavors of your winter pot roast, offering a festive touch to your evening.
Storage Tips for Cranberry Balsamic Roast Beef
-
Room Temperature: Serve leftovers at room temperature for no more than 2 hours to ensure food safety.
-
Fridge: Store leftovers in an airtight container in the refrigerator for up to 3 days. This ensures your delicious Cranberry Balsamic Roast Beef stays fresh for quick meals.
-
Freezer: Freeze portions in airtight containers or heavy-duty freezer bags for up to 3 months. Label with the date to keep track of freshness.
-
Reheating: Reheat in the oven at 350°F (175°C) until warmed through or in a microwave, adding a splash of broth to maintain moisture.
Cranberry Balsamic Roast Beef Recipe FAQs
What is the best way to select a beef roast for this recipe?
Absolutely! Look for a beef roast that has good marbling, which will help keep the meat tender and flavorful during the long cooking process. Cuts like chuck, round, or brisket are ideal choices. If you see any visible sinew or excessive fat, you can trim that off to ensure a better texture. Freshness is key; avoid any roasts with dark spots or an off smell.
How should I store leftover Cranberry Balsamic Roast Beef?
Definitely! Store your leftovers in an airtight container in the refrigerator for up to 3 days for maximum freshness. I usually recommend letting it cool to room temperature before sealing it up to prevent condensation. This not only keeps the beef delicious but also protects the flavors from other fridge odors.
Can I freeze the Cranberry Balsamic Roast Beef?
Very! This recipe freezes beautifully. Once cooled, portion the roast in airtight containers or heavy-duty freezer bags, removing as much air as possible. It will maintain optimal quality for up to 3 months. When you’re ready to enjoy it again, simply thaw it in the refrigerator overnight and reheat it gently to keep it juicy.
What should I do if the sauce is too thin?
No worries! If your sauce ends up thinner than desired, you can easily thicken it. First, skim off any excess fat. Then, in a bowl, whisk together 2 tablespoons of cornstarch with 2 tablespoons of cold water until smooth. Stir this mixture into the simmering sauce on the stovetop, cooking for a few minutes until it thickens. Keep whisking to achieve that lovely glossy texture!
Is this recipe suitable for those with gluten sensitivities?
Absolutely! This Cranberry Balsamic Roast Beef can easily be made gluten-free. Just be sure to use tamari in place of soy sauce and double-check your Worcestershire sauce for gluten-containing ingredients. Additionally, all the other ingredients are naturally gluten-free, allowing everyone to enjoy this hearty dish!
Cranberry Balsamic Roast Beef That Melts in Your Mouth
Ingredients
Equipment
Method
- Preheat your oven to 275°F (140°C).
- In a large, oven-safe pan, heat olive oil over medium-high heat and sear the beef roast for 4-5 minutes on each side.
- Remove the beef from the pan and sauté sliced onion for about 5 minutes until tender and translucent.
- Stir in tomato paste and chopped garlic, then add thyme, rosemary, and red pepper flakes; cook for 1 minute until fragrant.
- Pour in beef broth, balsamic vinegar, cranberry sauce, soy sauce, maple syrup, and Worcestershire sauce. Stir for 2-3 minutes.
- Fold in sliced carrots and cranberries, then return the beef to the pan, ensuring it is surrounded by sauce.
- Cover the pan tightly and braise in the oven for 3-4 hours.
- After braising, remove the beef and let it rest before shredding or slicing. Adjust sauce thickness if desired.
- Serve the beef drizzled with sauce, alongside carrots and cranberries.