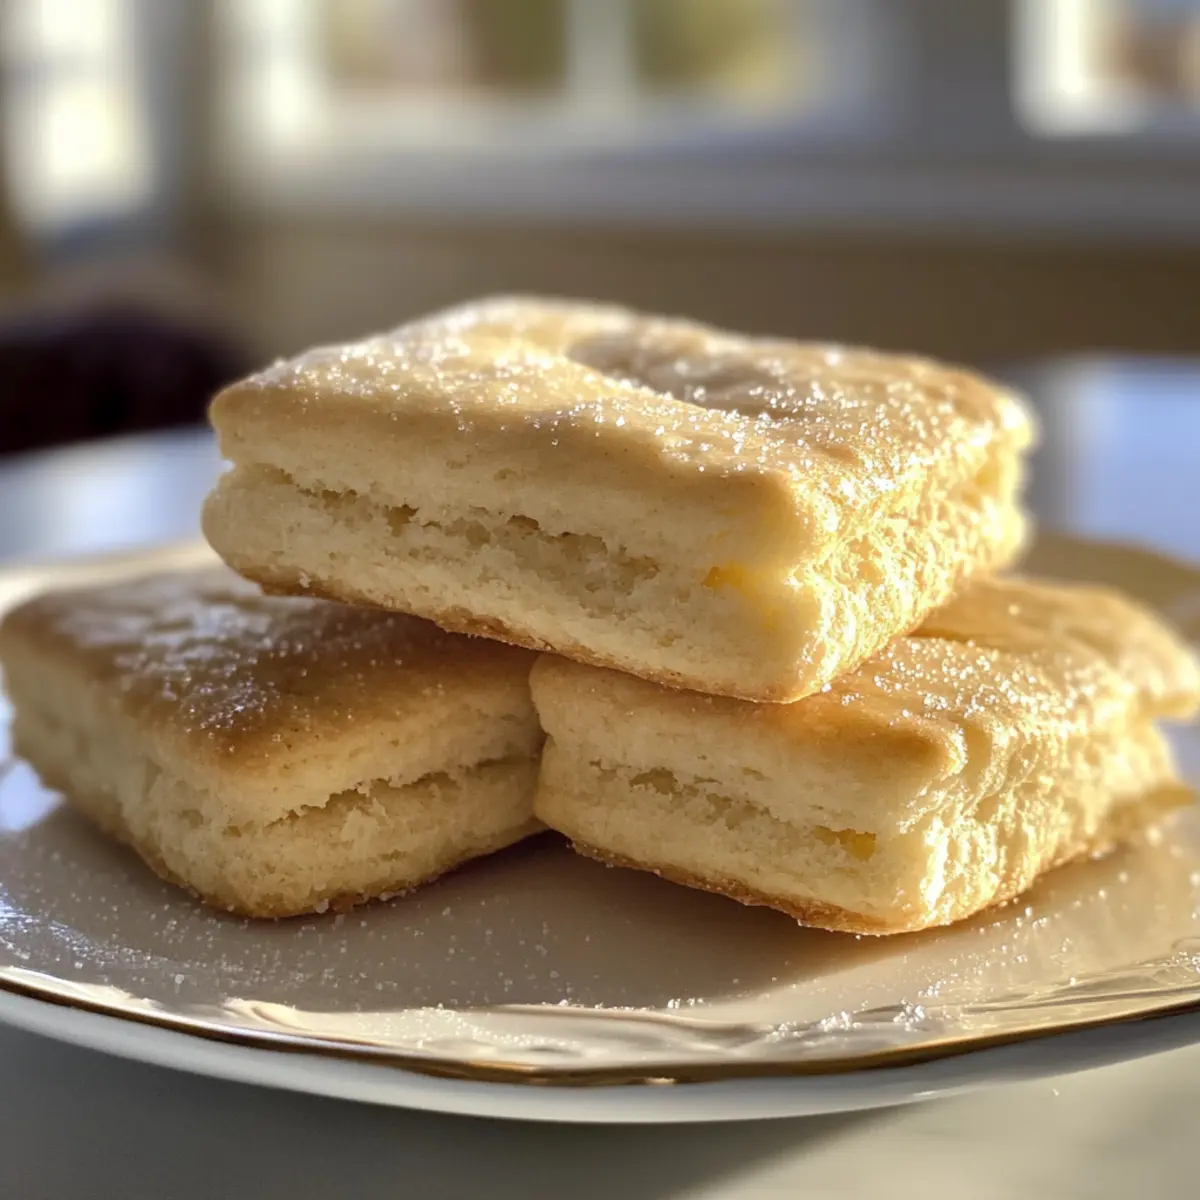
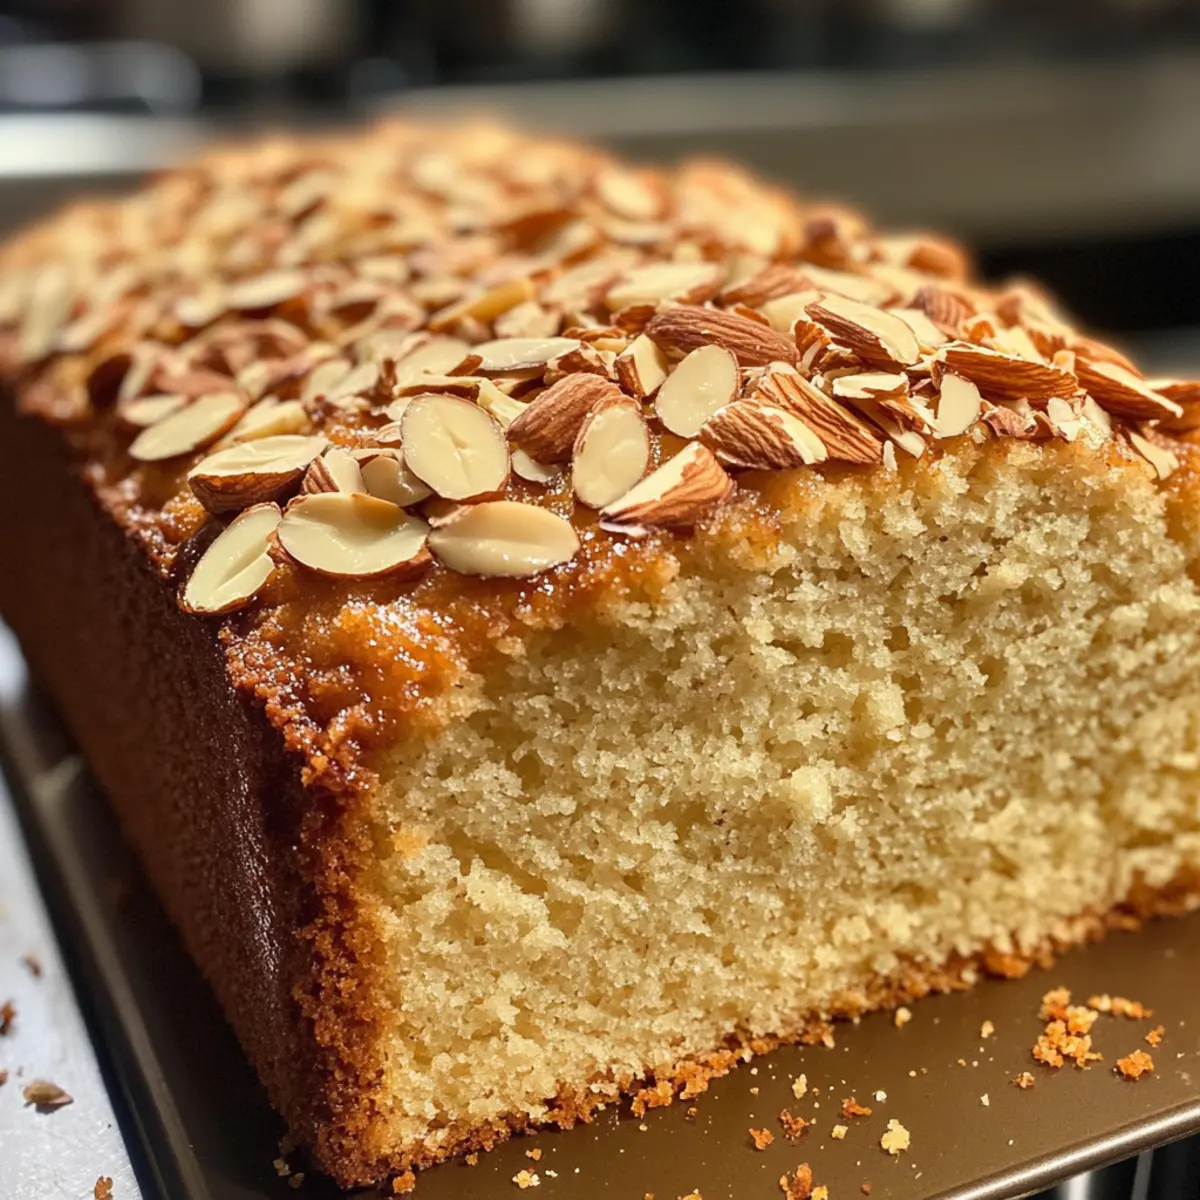
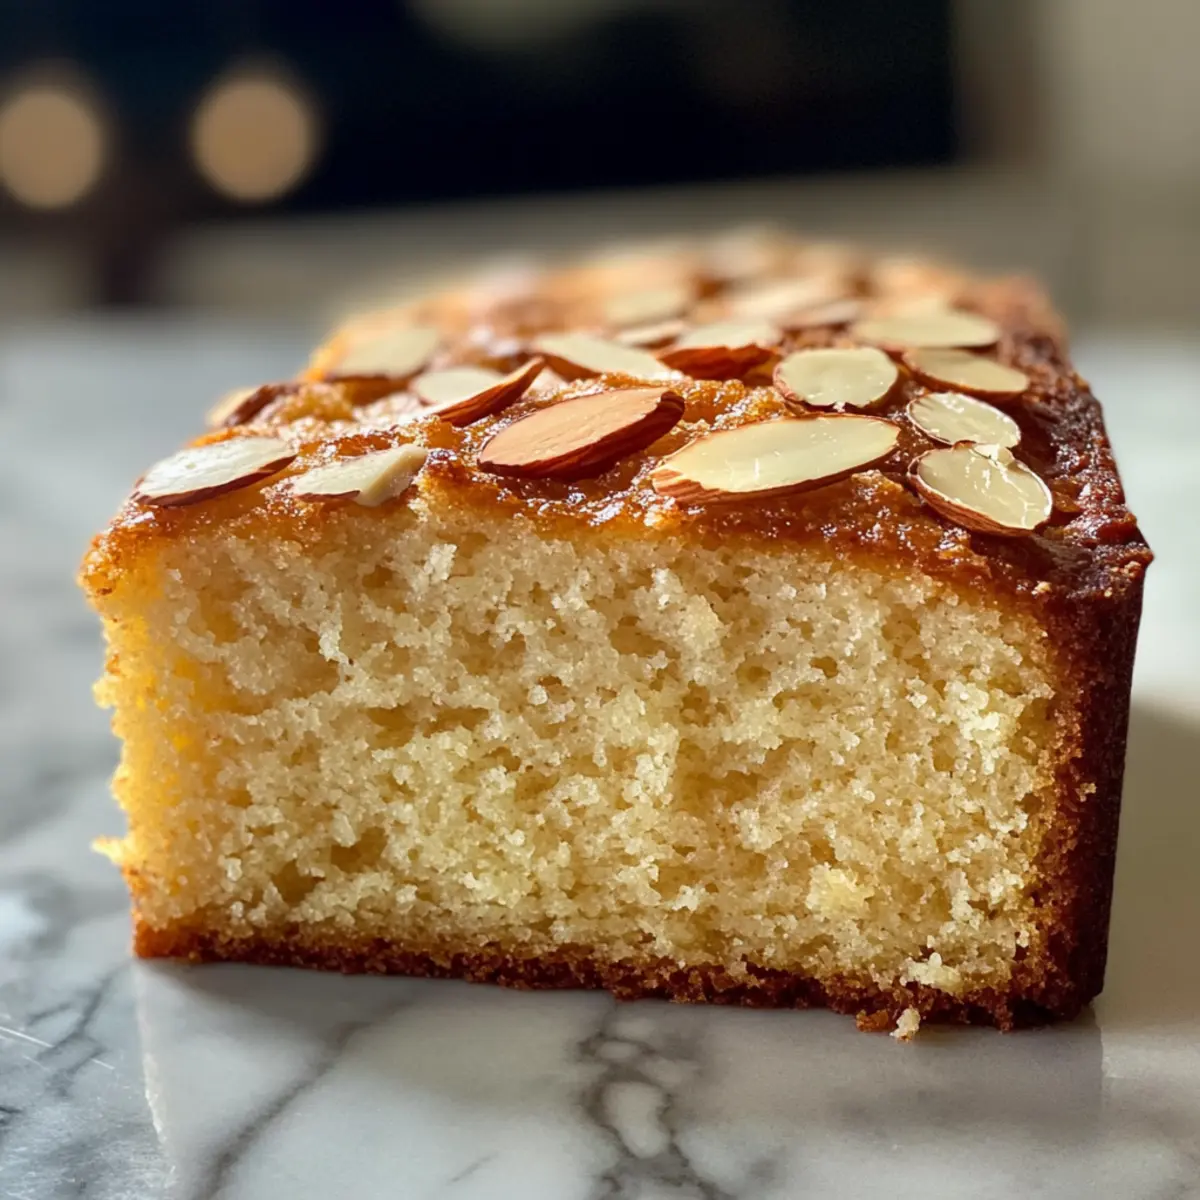
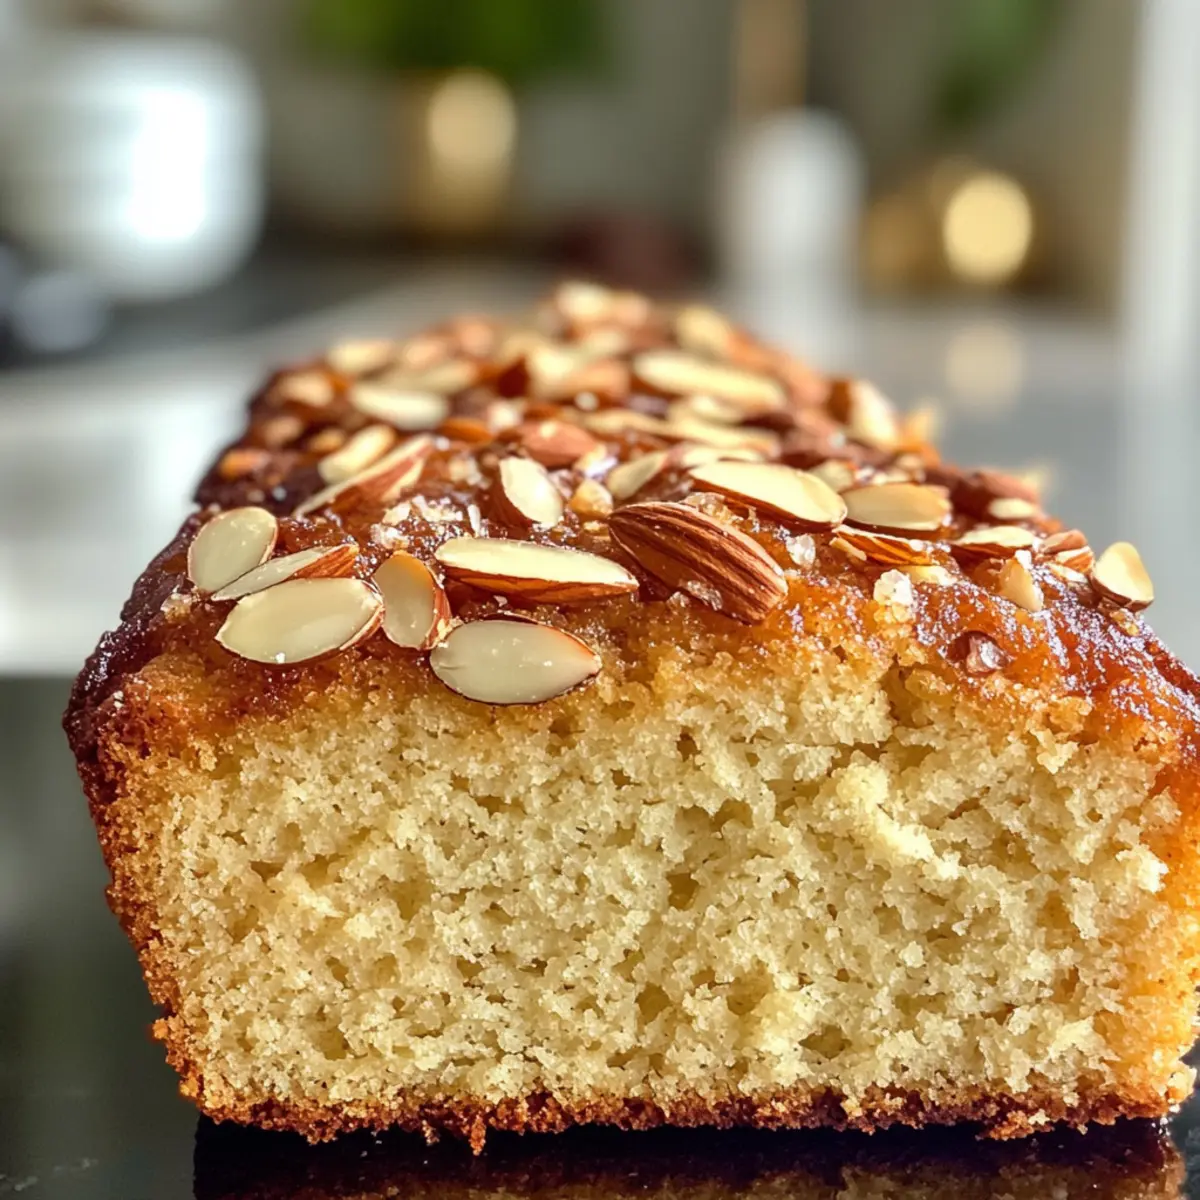
As I sifted through my collection of holiday recipes, a savory scent wafted through my mind, bringing back fond memories of festive gatherings filled with laughter and joy. These Pistachio Cranberry Wreath Cookies perfectly capture that spirit, showcasing a delightful blend of buttery goodness, nutty pistachios, and tangy cranberries. Beyond their charming wreath shape that adds a touch of whimsy to any dessert tray, these cookies are a breeze to whip up, making them ideal even for beginner bakers. Whether you’re looking to impress guests or simply treat yourself, these cozy cookies are a fantastic way to elevate your holiday festivities. Curious to see how easy it is to make them yourself? Let’s dive in!
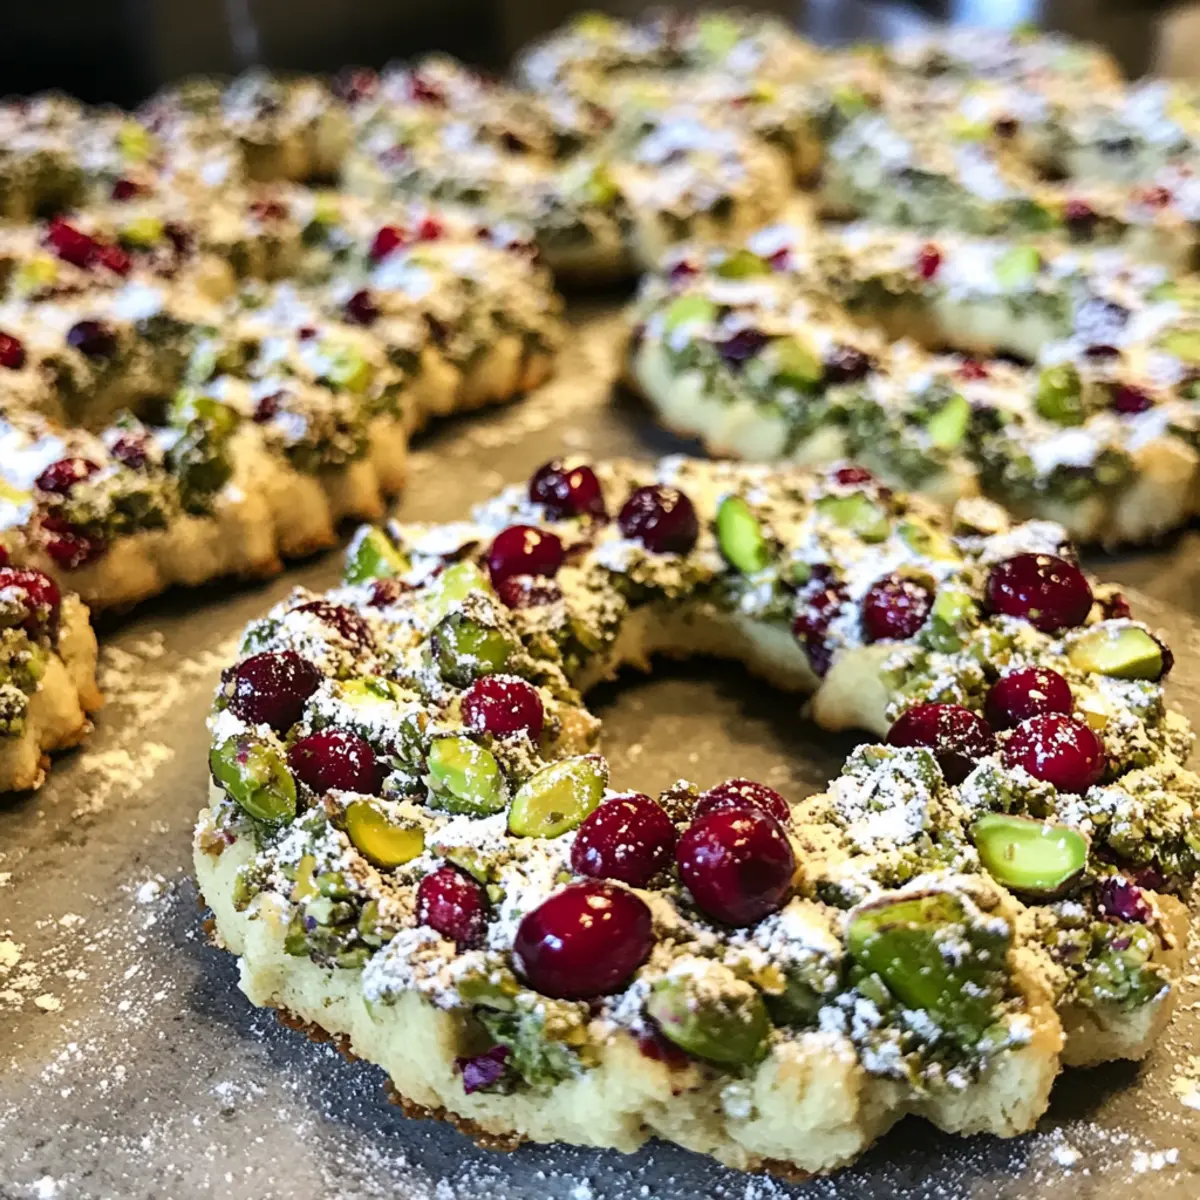
Why Make Pistachio Cranberry Wreath Cookies?
Simplicity at Its Best: These cookies require just basic mixing skills, making them perfect for beginners and seasoned bakers alike.
Festive Flair: Their beautiful wreath shape and vibrant colors make them a standout addition to any holiday spread.
Crowd-Pleasing Treat: With the delightful combination of nutty pistachios and tart cranberries, they’re bound to impress guests of all ages!
Versatile Options: Try swapping nuts or adding a drizzle of chocolate for a fun twist. Looking for more easy recipes? Check out these delightful Nutty Apricot Cookies for another festive treat!
Make Ahead: These cookies store well and can be frozen, allowing you to prepare your holiday treats in advance. Enjoy the flavorful delights of homemade baked goods without the holiday stress!
Pistachio Cranberry Wreath Cookies Ingredients
For the Cookie Dough
• Butter – Provides richness and moisture; you can substitute with margarine for a dairy-free option.
• Sugar – Sweetens and helps with browning; use light brown sugar for extra depth.
• Pistachios – Adds a nutty flavor and crunch; almonds could work as a substitute.
• Dried Cranberries – Introduces tartness and vibrant color; consider dried cherries or raisins if desired.
• Eggs – Binds the ingredients together, essential for structure; flaxseed meal can replace it for a vegan version.
• All-purpose Flour – Essential for structure in the cookies; a gluten-free flour blend can be used if needed.
• Powdered Sugar – For dusting, enhancing the visual appeal; can be omitted or swapped with coconut sugar for variation.
• Vanilla Extract – Adds a lovely aroma and depth of flavor; feel free to use almond extract for a different taste.
For Dusting
• Powdered Sugar – Dust over cooled cookies to enhance their festive look; can add sweetness without overpowering the flavor.
Explore the joy of making Pistachio Cranberry Wreath Cookies this holiday season, where every bite feels like a warm embrace!
Step‑by‑Step Instructions for Pistachio Cranberry Wreath Cookies
Step 1: Preheat the Oven
Begin by preheating your oven to 350°F (175°C). This crucial step ensures your cookies bake evenly and achieve that perfect golden edge. While your oven heats up, gather your baking sheets and line them with parchment paper to prevent sticking and promote an effortlessly clean release of your festive Pistachio Cranberry Wreath Cookies.
Step 2: Cream the Butter and Sugar
In a large mixing bowl, combine softened butter and sugar. Use an electric mixer on medium speed to cream them together until the mixture is light and fluffy—about 3-5 minutes. This process is key to creating a light texture in your cookies. As you mix, you’ll notice a creamy blend forming that’s perfect for incorporating more ingredients.
Step 3: Add the Eggs and Vanilla
Next, crack in the eggs one at a time into the creamed butter and sugar mixture, allowing each egg to be fully incorporated before adding the next. Stir in the vanilla extract, which will add a warm, inviting aroma to your cookies. Mix until the batter is smooth and well combined, establishing the foundation for your Pistachio Cranberry Wreath Cookies.
Step 4: Incorporate Dry Ingredients and Nuts
Gradually add the all-purpose flour to your mixing bowl, followed by the chopped pistachios and dried cranberries. Use a spatula or wooden spoon to gently fold everything together until just mixed. Be careful not to overmix; you want to keep the dough tender, ensuring your wreath cookies maintain a delightful texture once baked.
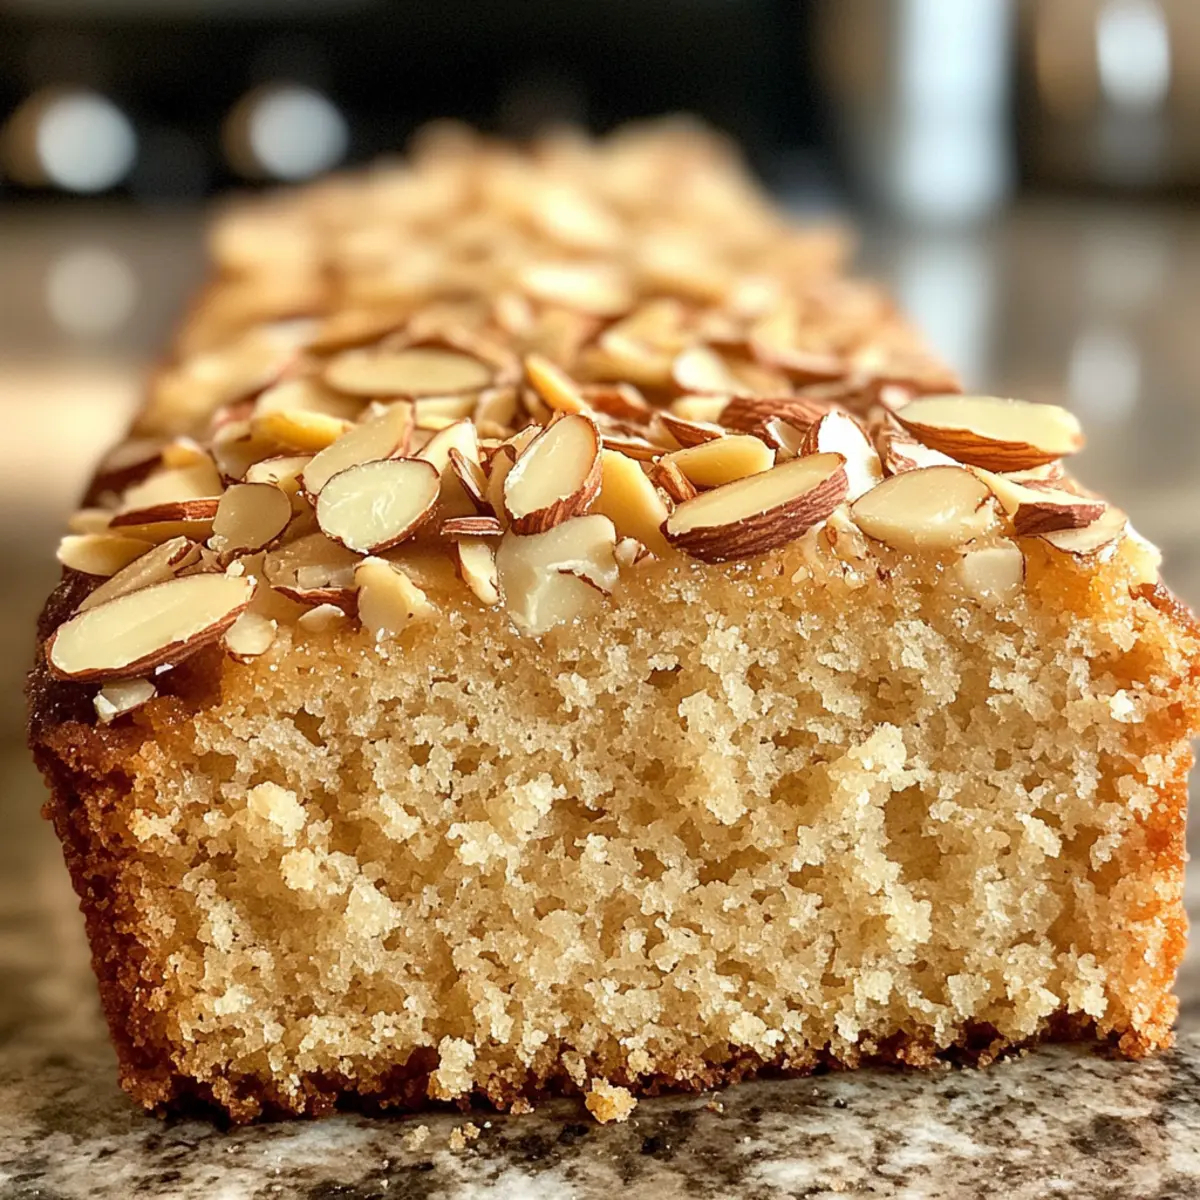
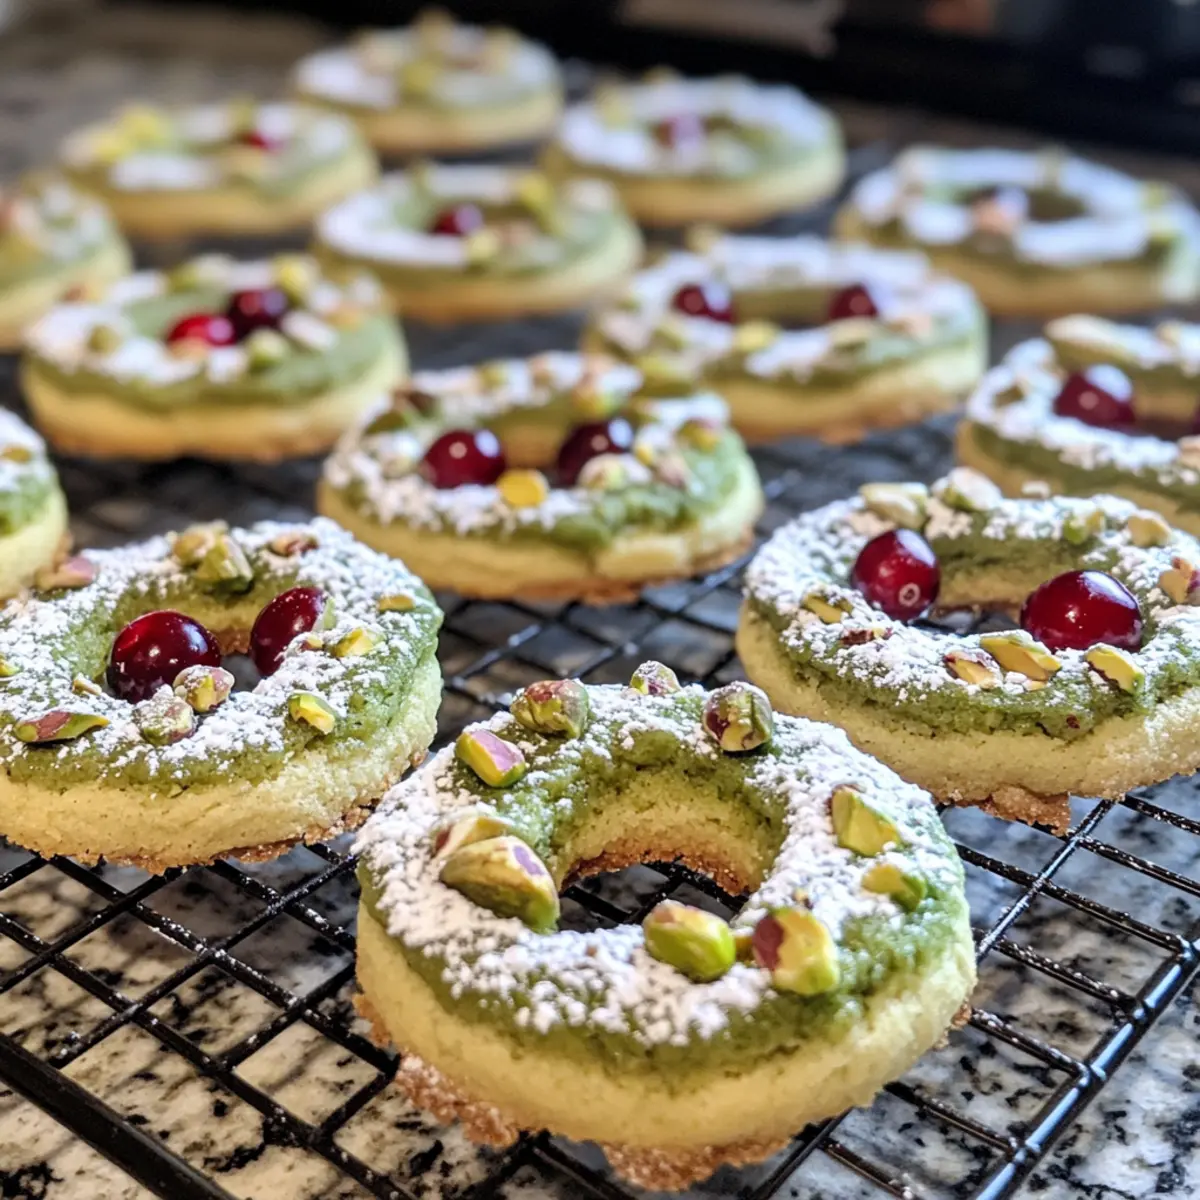
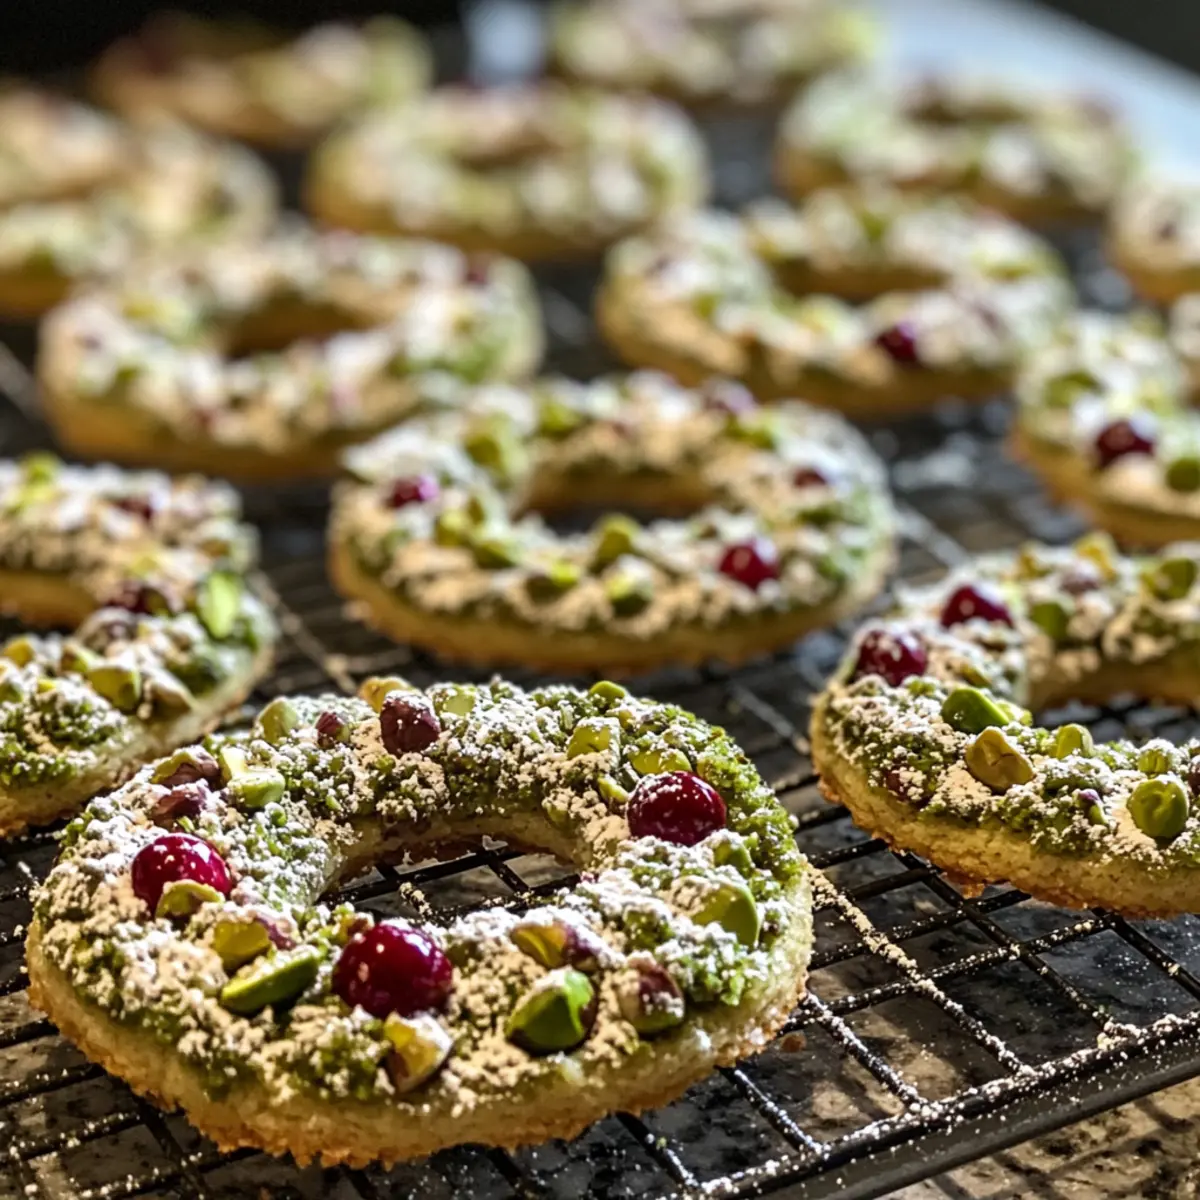
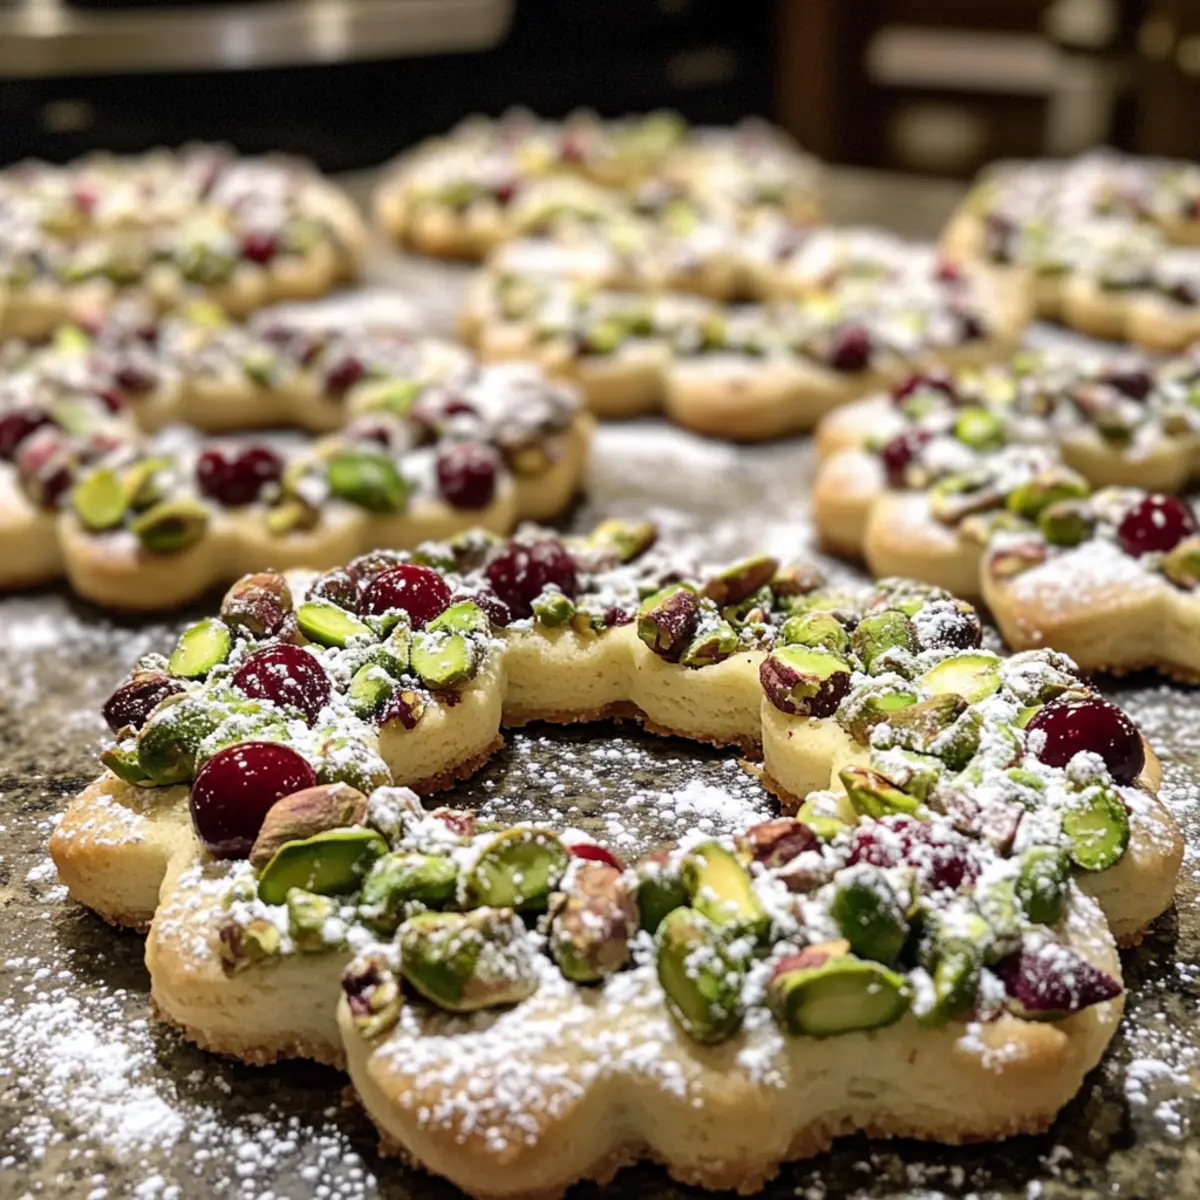
Step 5: Shape the Dough into Wreaths
Scoop out portions of the dough and shape them into small wreaths on the prepared baking sheet. Create a circular form with a small hole in the center, resembling a decorative holiday wreath. Make sure to space them about two inches apart, as they will spread slightly while baking, allowing for that iconic festive look of your Pistachio Cranberry Wreath Cookies.
Step 6: Bake Until Golden
Slide the baking sheet into your preheated oven and bake the cookies for 12-15 minutes. Monitor them closely; they are ready when the edges turn light golden brown. This visual cue indicates that your wreath cookies are perfectly baked, with tender centers that will delight anyone who takes a bite.
Step 7: Cool and Dust with Sugar
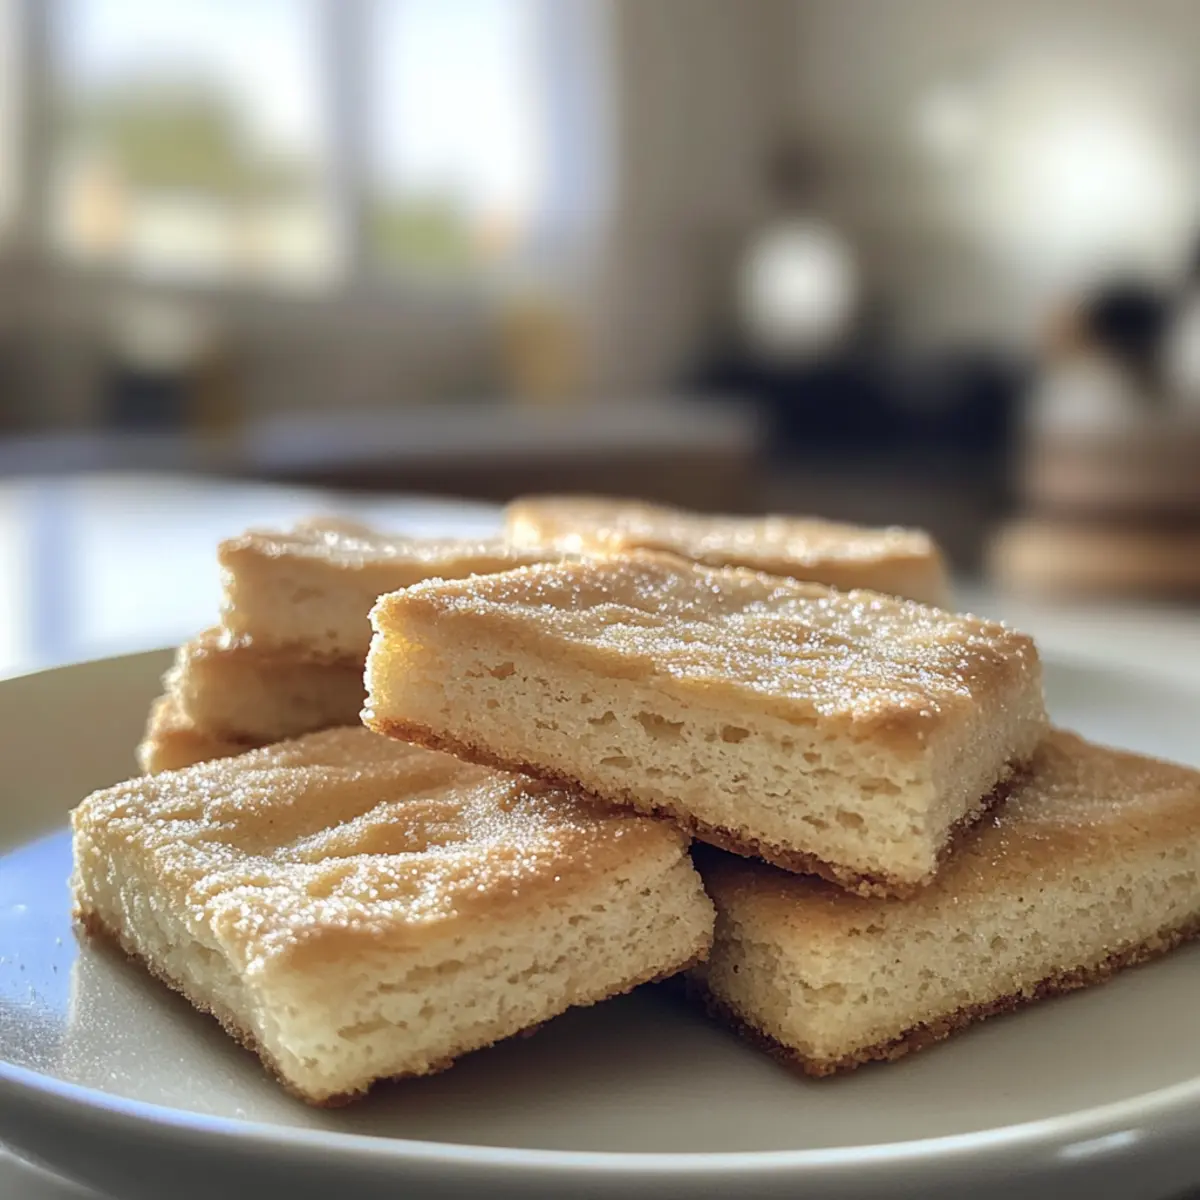
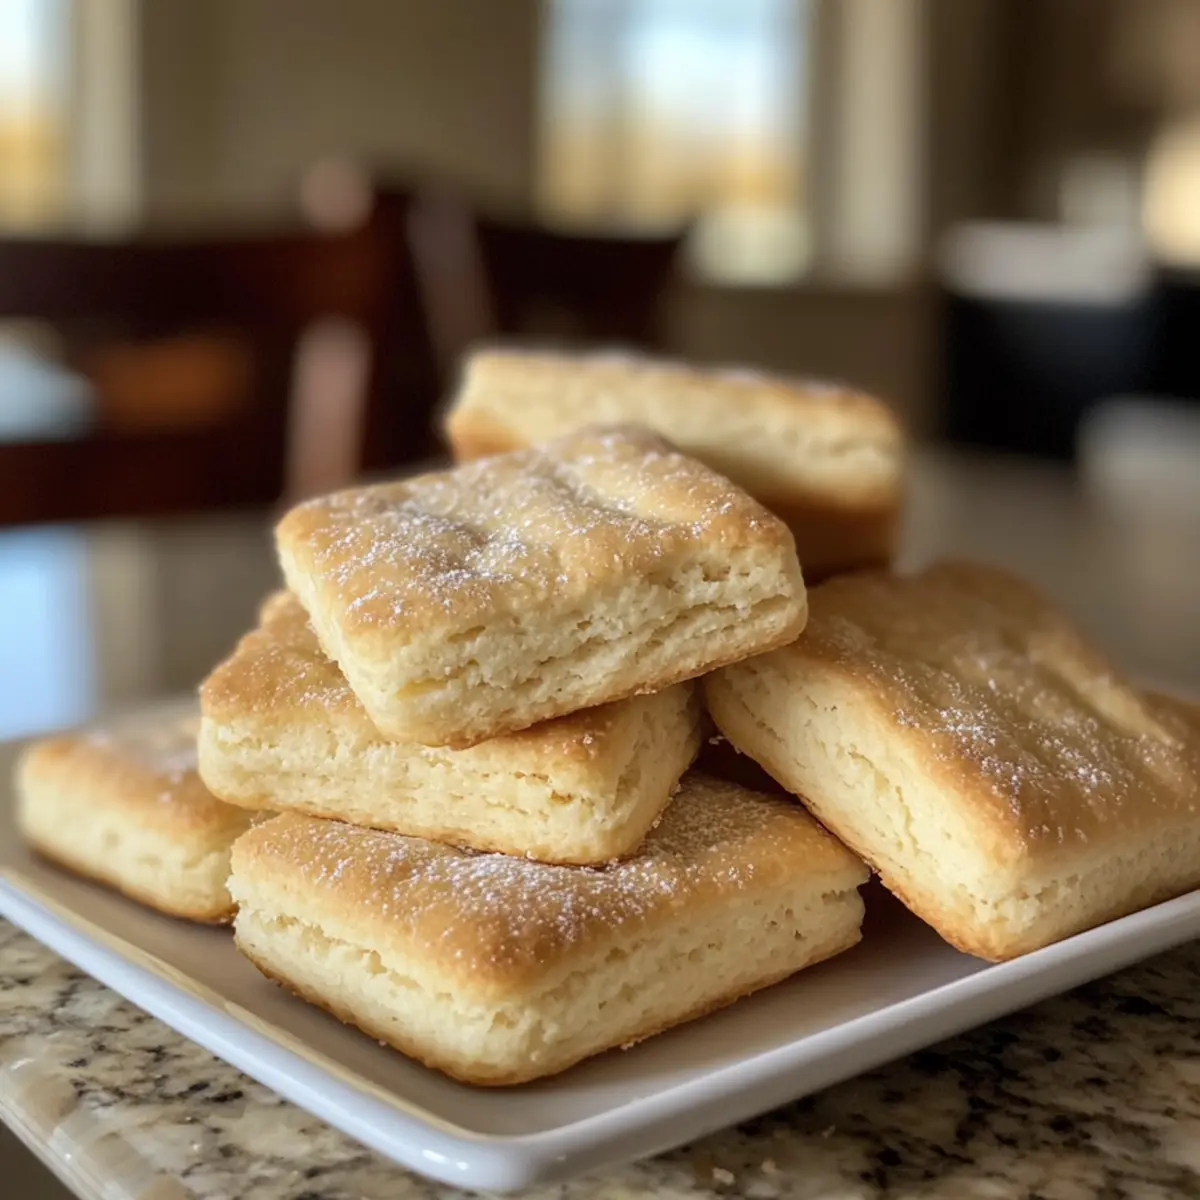
Once baked, remove the cookies from the oven and allow them to cool on the baking sheet for a few minutes. Then, transfer them to a wire rack to cool completely. Once cooled, lightly dust the tops with powdered sugar for an elegant finish that enhances the festive look of your Pistachio Cranberry Wreath Cookies.
Pistachio Cranberry Wreath Cookies Variations
Feel free to get creative with these variations and make the recipe truly your own!
- Nut-Free: Swap pistachios with sunflower seeds for a safe, nut-free option without sacrificing crunch.
- Vegan: Replace butter with coconut oil and use flax eggs for a delicious plant-based version. The holiday flavors will shine through beautifully!
- Citrus Zest: Add a teaspoon of orange or lemon zest into the dough for a fresh, zesty twist that brightens the cookies.
- Chocolate Drizzle: Melt dark or white chocolate and drizzle it over the cooled cookies for an indulgent touch. It adds a rich contrast to the tart cranberries.
- Spiced Up: Incorporate a pinch of cinnamon or nutmeg into the dough for a warm spice kick, perfect for holiday flavors.
- Cranberry Alternative: Try using chopped dried cherries or apricots instead of cranberries for a different fruity vibe. Each bite will tell a new fruity story!
- Bite-sized Mini Wreaths: Form smaller wreaths for adorable bite-sized cookies, perfect for a festive platter or get-together. These little delights will keep everyone coming back for more!
- White Chocolate Chunks: Add chunks of white chocolate along with the cranberries for a sweet, creamy contrast that’s hard to resist. If you love sweet and tart, this is a must-try!
Enjoy experimenting with these delightful variations, and if you’re in the mood for more creativity, don’t miss these easy-to-make Banana Seed Cookies and Nut Seed Cookies!
Storage Tips for Pistachio Cranberry Wreath Cookies
Room Temperature: Store cookies in an airtight container at room temperature for up to 1 week. This keeps them fresh and perfect for snacking or sharing with family.
Fridge: If you prefer, you can refrigerate the cookies for up to 2 weeks. Just be sure to separate layers with parchment paper to prevent sticking.
Freezer: Freeze the Pistachio Cranberry Wreath Cookies for up to 1 month. Place them in a freezer-safe container with parchment between layers to maintain texture.
Reheating: When ready to enjoy, simply thaw the cookies at room temperature or warm them in the oven for a few minutes to restore their soft, buttery goodness.
Expert Tips for Pistachio Cranberry Wreath Cookies
-
Room Temperature Ingredients: Ensure your butter and eggs are at room temperature for better mixing; this helps achieve a light, fluffy texture in your cookies.
-
Avoid Overmixing: Once you add flour, mix just until combined. Overmixing can lead to tough cookies, ruining that tender, melt-in-your-mouth experience.
-
Shape Evenly: When forming wreaths, keep a consistent size and create a sufficient opening in the center for uniform baking and that classic wreath appearance.
-
Rotating Baking Sheet: For even baking, remember to rotate your baking sheet halfway through the baking time; this helps cookies bake more consistently.
-
Cooling Time: Let the cookies cool completely before dusting with powdered sugar; this prevents the sugar from melting and gives a beautiful final touch to your festive treats.
These expert tips will guide you to create perfect Pistachio Cranberry Wreath Cookies every time!
What to Serve with Festive Pistachio Cranberry Wreath Cookies
Embrace the holiday spirit by creating a memorable meal to pair with these delightful cookies.
-
Rich Hot Chocolate: A cozy cup of hot chocolate complements the sweet, nutty cookies perfectly, making it an irresistible treat.
-
Spiced Apple Cider: The warm, spiced notes of apple cider enhance the flavors of cranberries and elevate your holiday gathering.
-
Creamy Vanilla Ice Cream: The smooth creaminess of vanilla ice cream provides a lovely contrast to the buttery texture of the cookies.
-
Charcuterie Board: A selection of cheeses, nuts, and dried fruits creates a delightful appetizer spread that pairs beautifully with the sweetness of the cookies.
-
Coffee or Espresso: A robust brew balances the sweetness and makes the perfect companion for a cozy coffee break.
-
Cranberry Juice Spritzer: A refreshing, fizzy cranberry spritzer adds a vibrant sparkle to your holiday table while echoing the cookie’s flavors.
-
Gingerbread Cake: This spiced cake brings in traditional holiday flavors and pairs wonderfully with the festive wreath cookies for a warm dessert spread.
These pairing ideas will elevate your Pistachio Cranberry Wreath Cookies, creating holiday memories worth savoring!
Make Ahead Options
These Pistachio Cranberry Wreath Cookies are perfect for busy home cooks looking to save time during the hectic holiday season! You can prepare the cookie dough up to 24 hours in advance by mixing all the ingredients and chilling it in the refrigerator (this helps enhance the flavors). Alternatively, you can shape the cookies into wreaths and freeze them for up to 3 weeks. When ready to bake, simply take the dough out and let it thaw in the fridge overnight, then pop them in the oven for a quick and easy treat. By prepping ahead, you ensure that your cookies are just as delicious as fresh-baked when it’s time to celebrate!
Pistachio Cranberry Wreath Cookies Recipe FAQs
What is the best way to select ripe ingredients for the cookies?
Absolutely! When selecting pistachios, look for nuts that are firm and brightly colored, avoiding any with dark spots or excessive shell blemishes. As for dried cranberries, choose ones that are plump and vibrant, indicating freshness. If you can find unsweetened varieties, they’ll offer a more balanced tartness!
How should I store leftover cookies?
For optimal freshness, store your Pistachio Cranberry Wreath Cookies in an airtight container at room temperature for up to 1 week. If you want to keep them for longer, refrigerating them will extend their life to about 2 weeks. Just remember to separate layers with parchment paper to prevent sticking!
Can I freeze these cookies?
Yes, indeed! You can freeze the Pistachio Cranberry Wreath Cookies for up to 1 month. To freeze, layer the cookies between sheets of parchment in a freezer-safe container. When you’re ready to enjoy them, simply thaw them at room temperature or warm them in the oven briefly to refresh their delightful texture.
What do I do if my dough is too crumbly?
If your cookie dough seems too crumbly, it could be due to the flour being slightly over-measured or not enough moisture. To salvage it, try adding a tablespoon of milk or an extra egg yolk. If you prefer a gluten-free option, remember to adequately mix the gluten-free flour to ensure it absorbs liquid properly.
Are there any dietary considerations when making these cookies?
Very! If you’re baking for someone with allergies, you can make adjustments. For a dairy-free version, substitute butter with margarine or coconut oil. Additionally, using flaxseed meal mixed with water as an egg replacement works well for a vegan option. Always check for nut allergies and use substitutes like pumpkin seeds or sunflower seeds if needed.
How can I enhance the flavor of the wreath cookies?
Enhancing flavor is fun! You can swap vanilla extract with almond extract for a nutty twist, or add a pinch of cinnamon for a warm spice. Drizzling melted chocolate over cooled cookies adds a touch of sweetness and sophistication, perfect for impressing guests at holiday gatherings!
Delicious Pistachio Cranberry Wreath Cookies for the Holidays
Ingredients
Equipment
Method
- Preheat your oven to 350°F (175°C). Line baking sheets with parchment paper.
- In a large mixing bowl, cream together the softened butter and sugar until light and fluffy.
- Add the eggs one at a time, mixing fully before adding the next. Stir in the vanilla extract.
- Gradually mix in the all-purpose flour, followed by the chopped pistachios and dried cranberries.
- Scoop portions of dough and shape into small wreaths on the baking sheets, spacing them 2 inches apart.
- Bake for 12-15 minutes until edges are light golden brown. Remove from the oven.
- Allow to cool slightly before transferring to a wire rack. Dust with powdered sugar once cooled.