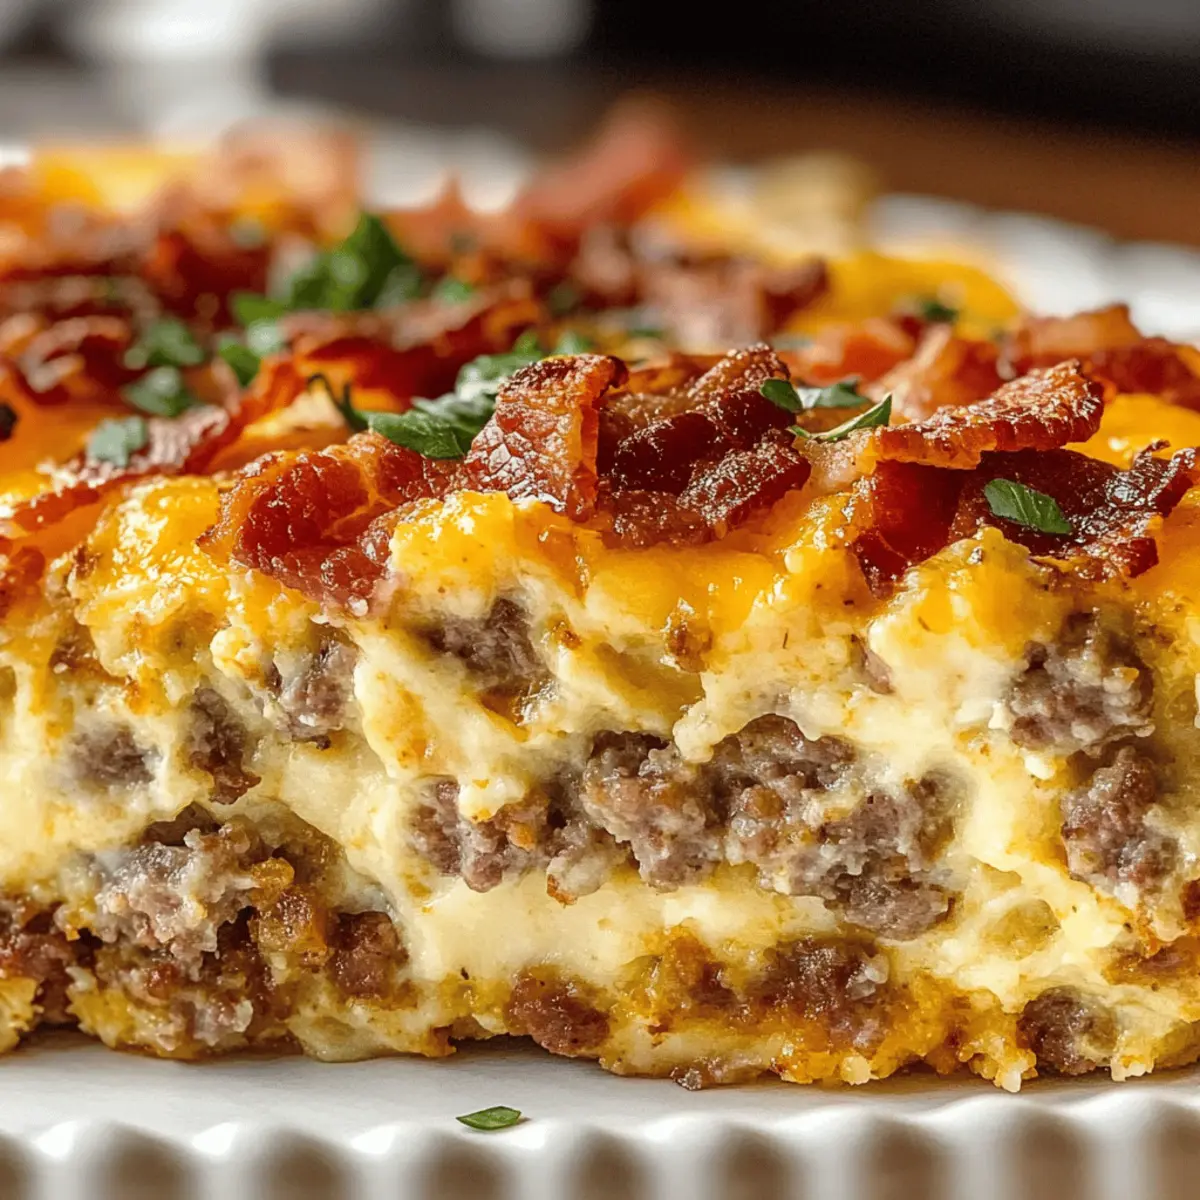
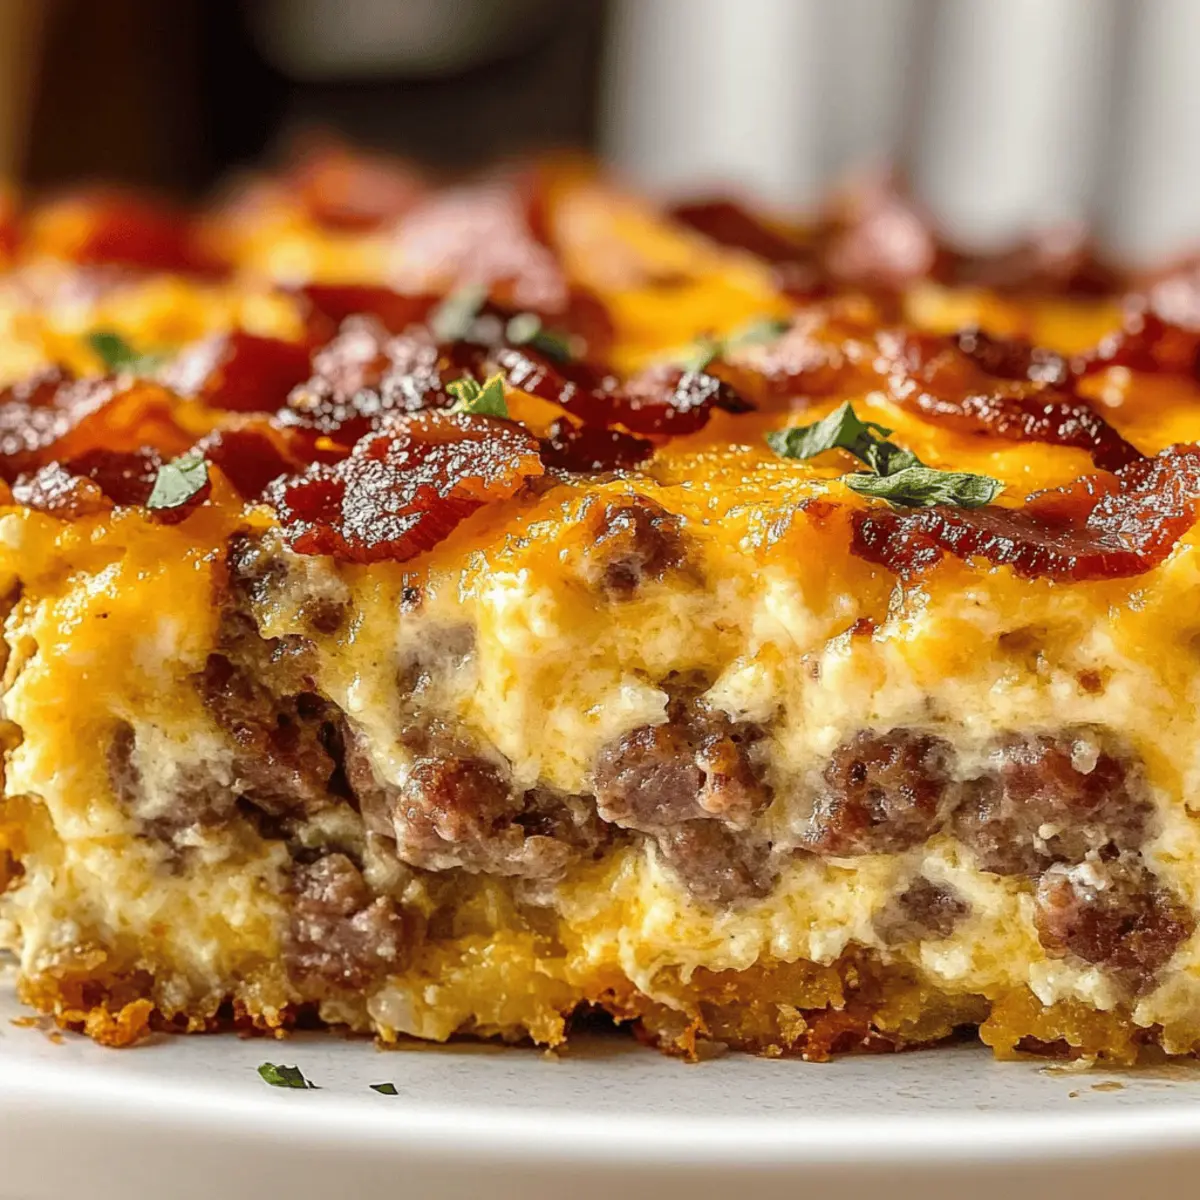
As the sun peaks through the window, the rich aroma of sizzling sausage and melting cheese dances in the air—my morning just took a delightful turn. This is the moment when I whip up my beloved Crack Breakfast Casserole, a dish that seamlessly blends crispy bacon, flavorful sausage, and melty cheddar into a masterpiece that’s as comforting as it is delicious. Whether I’m hosting friends for brunch or savoring a cozy Saturday at home, this customizable delight makes meal prep a breeze and gives my taste buds all the joy they crave. Plus, it fits various dietary preferences—like gluten-free or vegetarian options—making it the ultimate crowd-pleaser. What delicious twists will you add to make it your own?
Why is This Casserole So Special?
Comforting, Versatile Base: The Crack Breakfast Casserole serves as a delightful canvas for your culinary creativity. You can easily swap ingredients like pork sausage for turkey or choose a vegetarian option to fit your lifestyle.
Crowd-Pleasing Appeal: Perfect for brunch gatherings or family breakfasts, this dish offers generous servings and hearty flavors, ensuring everyone leaves satisfied.
Make-Ahead Convenience: You can assemble it the night before, making morning prep a breeze. Simply pop it in the oven when you wake up and enjoy a warm, comforting breakfast without hassle.
Flavor Explosion: Each bite is a harmonious blend of creamy, savory, and cheesy goodness, making it a showstopper for any occasion.
Endless Customization: Add your favorite vegetables or different cheese varieties to keep things exciting. Why not try some bell peppers or pepper jack cheese for a kick?
Crack Breakfast Casserole Ingredients
For the Casserole
- Pork Sausage – Provides savory flavor and protein; substitute with turkey sausage for a leaner option.
- Bacon – Adds crispy texture and richness; omit for a vegetarian version.
- Cream Cheese – Contributes creaminess to the mixture; ensure it’s softened for easy blending.
- Sour Cream – Enhances creaminess and tang; Greek yogurt is a great substitute for a healthier twist.
- Whole Milk – Adds moisture and richness; replace with non-dairy milk for a lactose-free version.
- Large Eggs – Binds the casserole together; essential for the structure of the dish.
- Shredded Cheddar Cheese – Delivers sharp flavor and melty texture; swap with pepper jack or Monterey jack for variety.
- Frozen Shredded Hash Browns – Acts as the base layer; make sure they are thawed and drained for best results.
- Dry Ranch Seasoning Mix – Adds a distinctive ranch flavor; use gluten-free ranch seasoning for dietary needs.
- Onion Powder & Garlic Powder – Enhances the depth of flavor; feel free to use fresh alternatives for more intensity.
- Salt and Black Pepper – Essential seasonings to elevate the overall taste; adjust according to your palate.
Optional Add-Ins
- Diced Bell Peppers – Boosts nutrition and adds a pop of color; try mixing in your favorite veggies!
- Spinach or Kale – Introduces a healthy green component; make sure to cook and drain beforehand.
With these ingredients ready, you’re well on your way to creating a Crack Breakfast Casserole that will spark joy at your table!
Step‑by‑Step Instructions for Crack Breakfast Casserole
Step 1: Cook the Meats
In a large skillet over medium-high heat, add the pork sausage and bacon. Cook for about 5–7 minutes, until both are browned and crispy. Stir occasionally to ensure even cooking, then drain the excess fat into a bowl, leaving just a tablespoon in the skillet to enhance flavor for the rest of the dish.
Step 2: Cream Cheese Mixture
In a mixing bowl, combine the softened cream cheese and sour cream. Using a hand mixer or a spatula, blend until smooth and creamy, ensuring there are no lumps remaining. This step adds essential creaminess to your Crack Breakfast Casserole, creating a rich base that unites all the fantastic flavors.
Step 3: Combine Wet Ingredients
Next, add the whole milk, large eggs, dry ranch seasoning, onion powder, garlic powder, salt, and black pepper to the cream cheese and sour cream mixture. Blend thoroughly until the mixture is even and well combined. This mixture will bind your casserole together beautifully, enhancing its delightful texture and flavors.
Step 4: Fold in Meats and Hash Browns
Gently fold in the cooked meats, thawed hash browns, and 1 cup of shredded cheddar cheese into the creamy mixture. Mix with a spatula until every ingredient is well incorporated, ensuring that the meat and hash browns are evenly distributed throughout. This step is crucial for achieving that comforting, hearty bite in your Crack Breakfast Casserole.
Step 5: Preheat Oven and Prepare Dish
Preheat your oven to 350°F (175°C). Grease a 9×13-inch baking dish with cooking spray or butter to prevent sticking. This will create a beautifully golden crust on your casserole while also ensuring an easy cleanup afterward. Make sure your dish is ready to accommodate the delicious mixture!
Step 6: Bake the Casserole
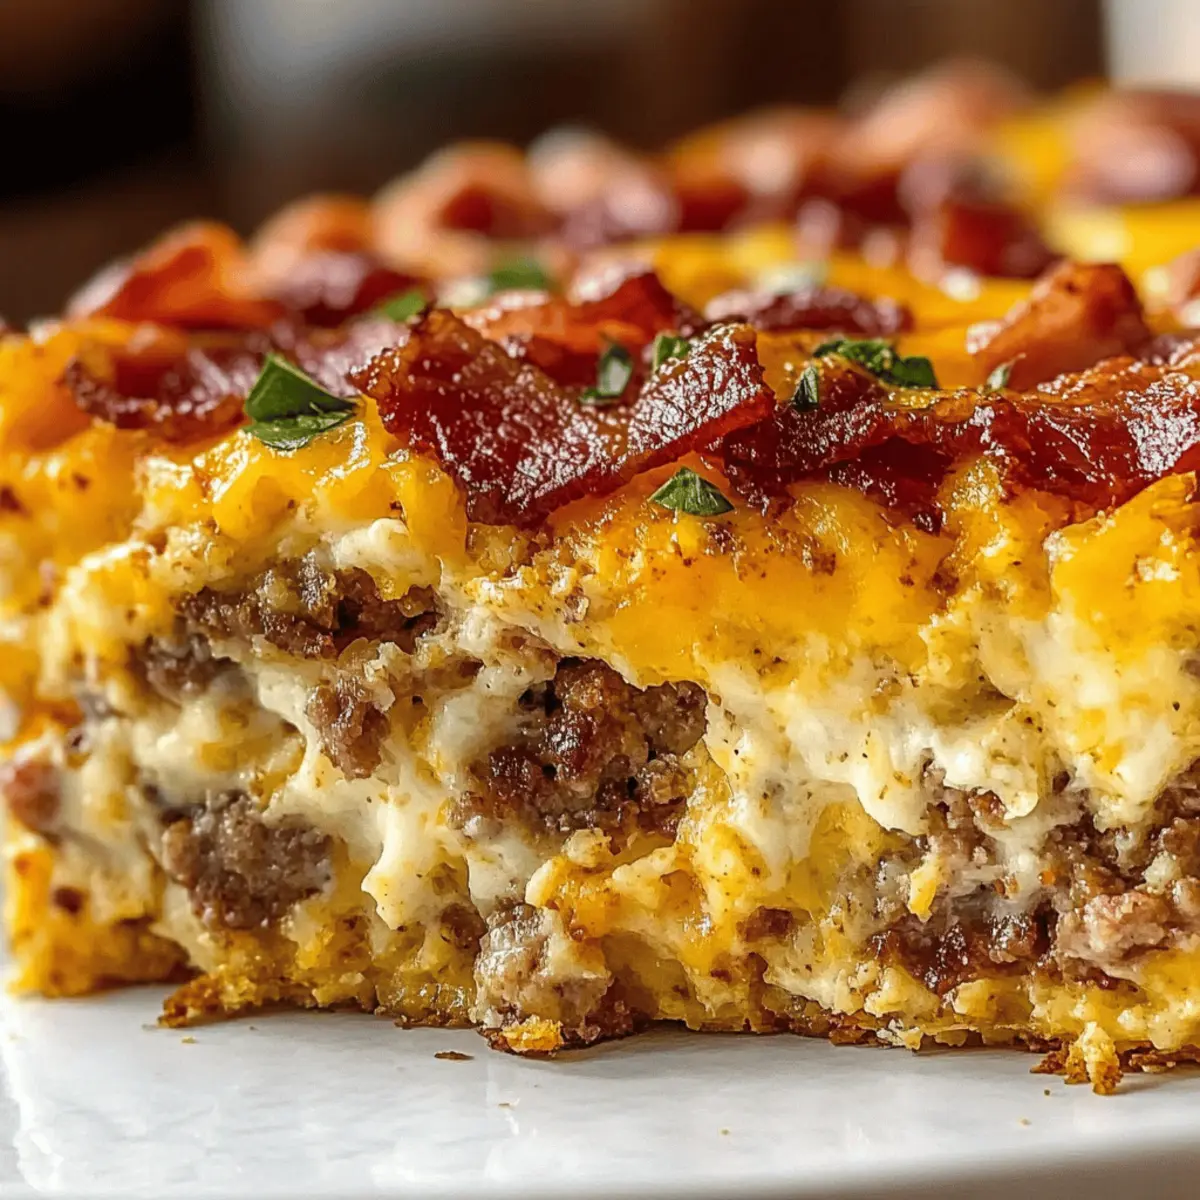
Pour the mixture into the prepared baking dish, spreading it evenly. Top with the remaining shredded cheddar cheese for a cheesy, golden finish. Cover the dish with aluminum foil and bake in the preheated oven for 50–60 minutes. The casserole should be set, and a knife inserted in the center should come out clean when done.
Step 7: Final Baking Touch
After the initial baking time, remove the foil and continue to bake for an additional 8–10 minutes. This step will allow the cheese to become bubbly and golden brown, creating an enticing, deliciously crispy topping on your Crack Breakfast Casserole that’s simply irresistible.
Step 8: Cool and Serve
Once baked, remove the casserole from the oven and let it rest for about 10 minutes before slicing. This cooling period helps the dish set, making it easier to serve. Cut into squares and serve warm, allowing everyone to savor the hearty, flavorful layers of the Crack Breakfast Casserole.

Storage Tips for Crack Breakfast Casserole
-
Room Temperature: Let the Crack Breakfast Casserole cool completely before storing; it should not be left out for more than 2 hours to prevent bacteria growth.
-
Fridge: Store leftovers in an airtight container in the refrigerator for up to 4 days. Be sure to cool it completely before sealing to maintain freshness.
-
Freezer: If you want to save some for later, freeze the casserole for up to 2 months. Slice it into portions and wrap each piece tightly in plastic wrap and aluminum foil to avoid freezer burn.
-
Reheating: To reheat, thaw the casserole overnight in the fridge, then bake at 350°F (175°C) for about 20-25 minutes, covered with foil until heated through and the top is crispy.
Expert Tips for Crack Breakfast Casserole
-
Prep Ahead: Assemble the Crack Breakfast Casserole the night before. This not only saves time in the morning but allows the flavors to meld beautifully.
-
Vegetable Watch: Use pre-cooked, drained vegetables to avoid excess moisture in your casserole. Watery ingredients can lead to a soggy dish that lacks the desired texture.
-
Hash Brown Check: Ensure your hash browns are completely thawed and drained to achieve the best consistency. This prevents unwanted water accumulation, enhancing the casserole’s hearty attributes.
-
Even Baking: Cover the dish with foil during the first baking phase to keep moisture in, then remove for a golden-brown finish. Consistent heat distribution is key to a perfectly baked casserole.
-
Flavor Adjustments: Feel free to tweak seasonings according to your palate. Experiment with spices or alternative ranch seasonings for a unique twist on this delicious meal.
Make Ahead Options
These Crack Breakfast Casserole preparations are perfect for busy home cooks looking to save time without sacrificing flavor! You can assemble the casserole up to 24 hours in advance by following the steps to cook the meats and mix the creamy base, then refrigerate it uncovered until you’re ready to bake. Alternatively, you can prepare the mixture but don’t assemble it until the morning to prevent sogginess in the hash browns. When it’s time to serve, simply pop the casserole into the preheated oven for 50-60 minutes and enjoy a delightful breakfast that feels freshly made, perfect for easing into your day or impressing brunch guests!
Crack Breakfast Casserole Variations
Feel free to let your culinary creativity shine while making this delectable casserole—there’s so much you can do!
-
Turkey Sausage: Swap pork sausage for turkey sausage to reduce fat while keeping all the savory goodness intact. Your dish will still be packed with flavor, making it a healthier option without compromising taste.
-
Vegetarian Delight: Omit bacon and sausage entirely for a vegetarian version. Add in extra veggies like zucchini or mushrooms for a delightful twist that everyone will appreciate.
-
Dairy-Free: Use non-dairy cream cheese and milk for a lactose-free casserole that still maintains the creamy texture you crave. You won’t even miss the dairy!
-
Cheese Swap: Experiment with different cheese varieties, such as pepper jack for added heat or gouda for a smoky flavor. Each choice brings a unique flair to your breakfast masterpiece.
-
Veggie Boost: Incorporate diced bell peppers, onions, or spinach to add nutrition and a pop of color. Fresh vegetables enhance the flavors while making your casserole even heartier.
-
Extra Crunch: Top with crushed tortilla chips or breadcrumbs before the final bake for an added texture boost that gives a delightful crunch in every bite.
-
Spicy Kick: Add jalapeños or a dash of hot sauce into the mixture to turn up the heat level. This adds a zesty twist that will excite your taste buds, perfect for those who enjoy a spicy breakfast!
-
Herb Infusion: Toss in fresh herbs such as chives, parsley, or cilantro into the filling for a fresh, aromatic touch. These vibrant flavors can brighten up the dish beautifully.
With these variations, you’ll not only create a unique take on the classic Crack Breakfast Casserole, but you’re also bound to impress your family and friends. Let your kitchen adventures begin!
What to Serve with Crack Breakfast Casserole?
The perfect complement to the delightful flavors of this casserole can elevate your brunch experience.
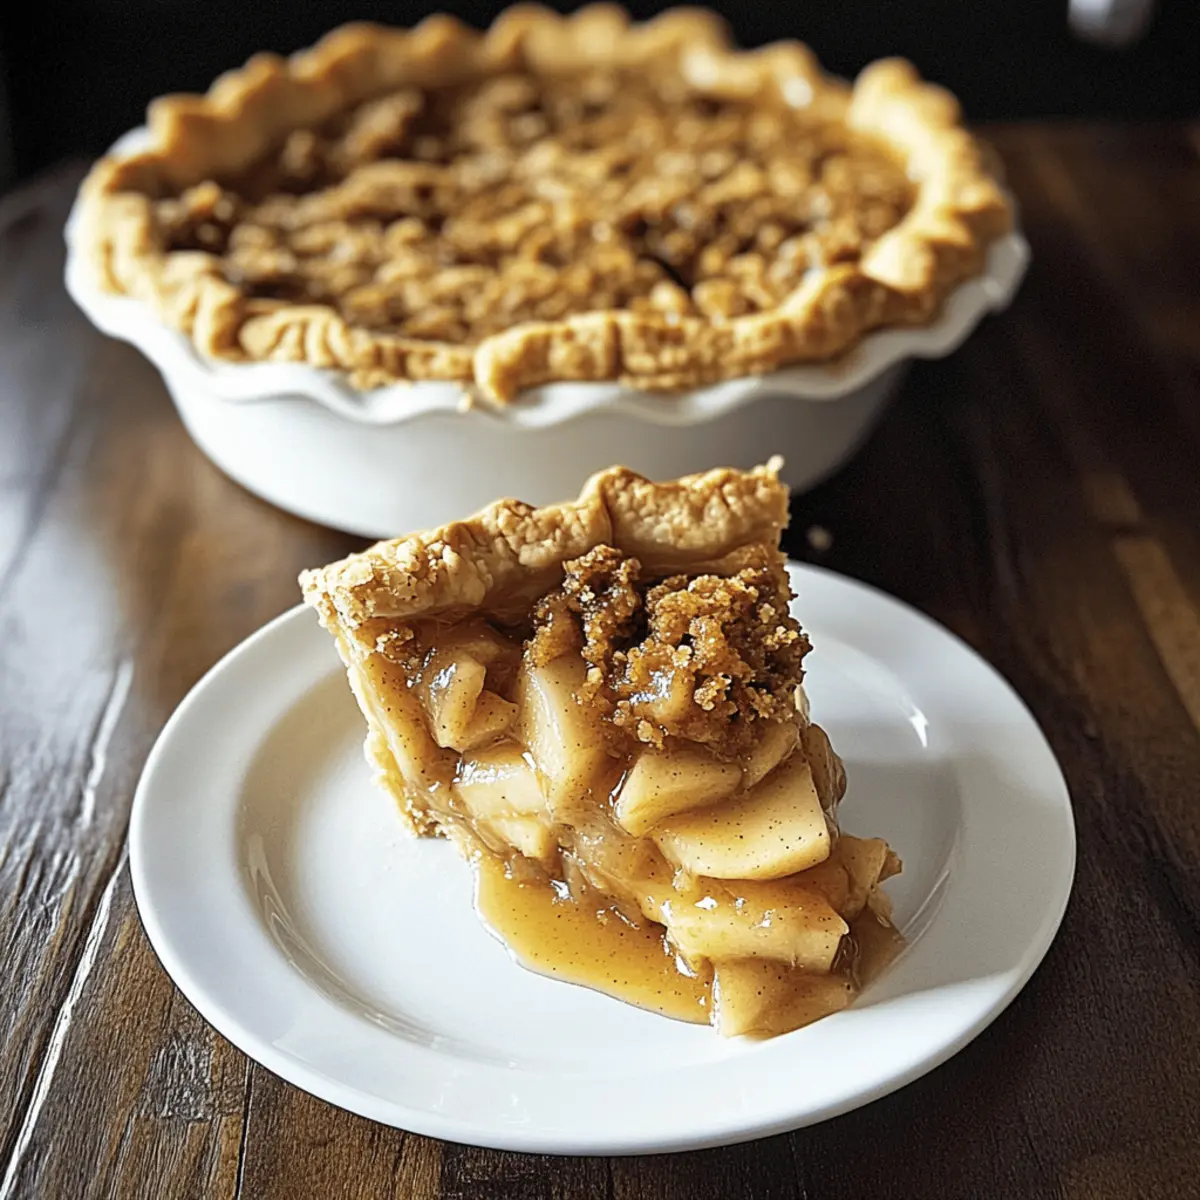
- Fresh Fruit Salad: Bright, juicy fruits provide a refreshing contrast, balancing the savory richness of the casserole perfectly.
- Strong Coffee: A robust cup of coffee enhances the breakfast experience, adding warmth and depth to your meal.
- Cinnamon Rolls: Sweet, sticky cinnamon rolls offer a delightful touch of indulgence, making brunch feel extra special.
- Green Salad: A light, vibrant salad introduces crispness and a burst of freshness, balancing the hearty casserole’s flavors beautifully.
- Savory Breakfast Muffins: Fluffy, flavorful muffins can add another satisfying bite, perfect for those who enjoy a variety in their morning fare.
- Mimosas: This bubbly beverage adds a festive flair, brightening up the brunch table and pairing wonderfully with the savory elements.
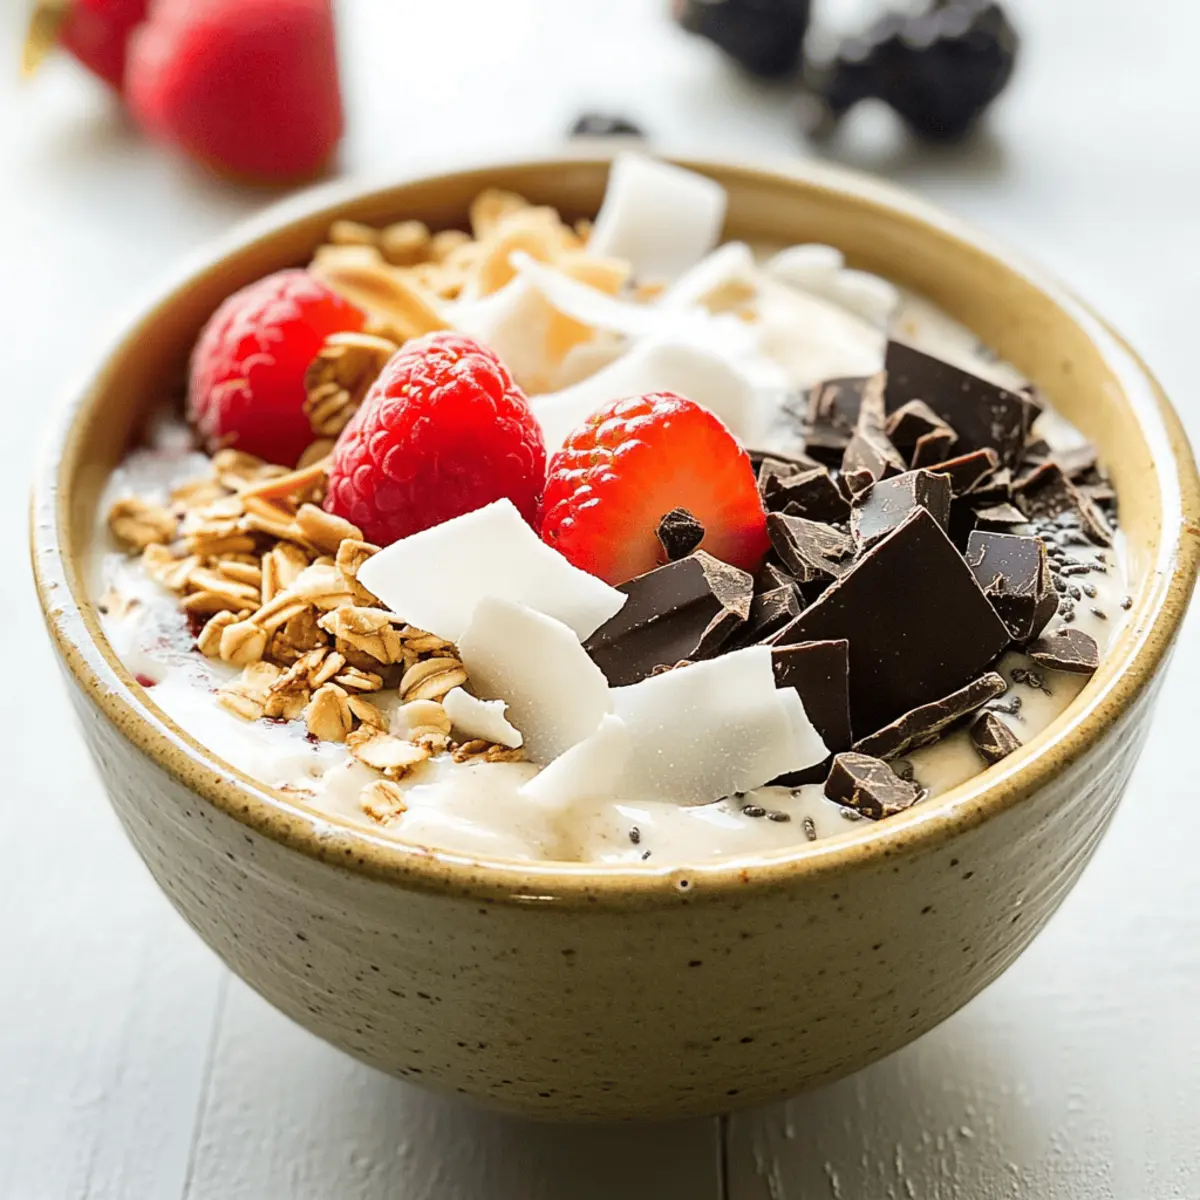
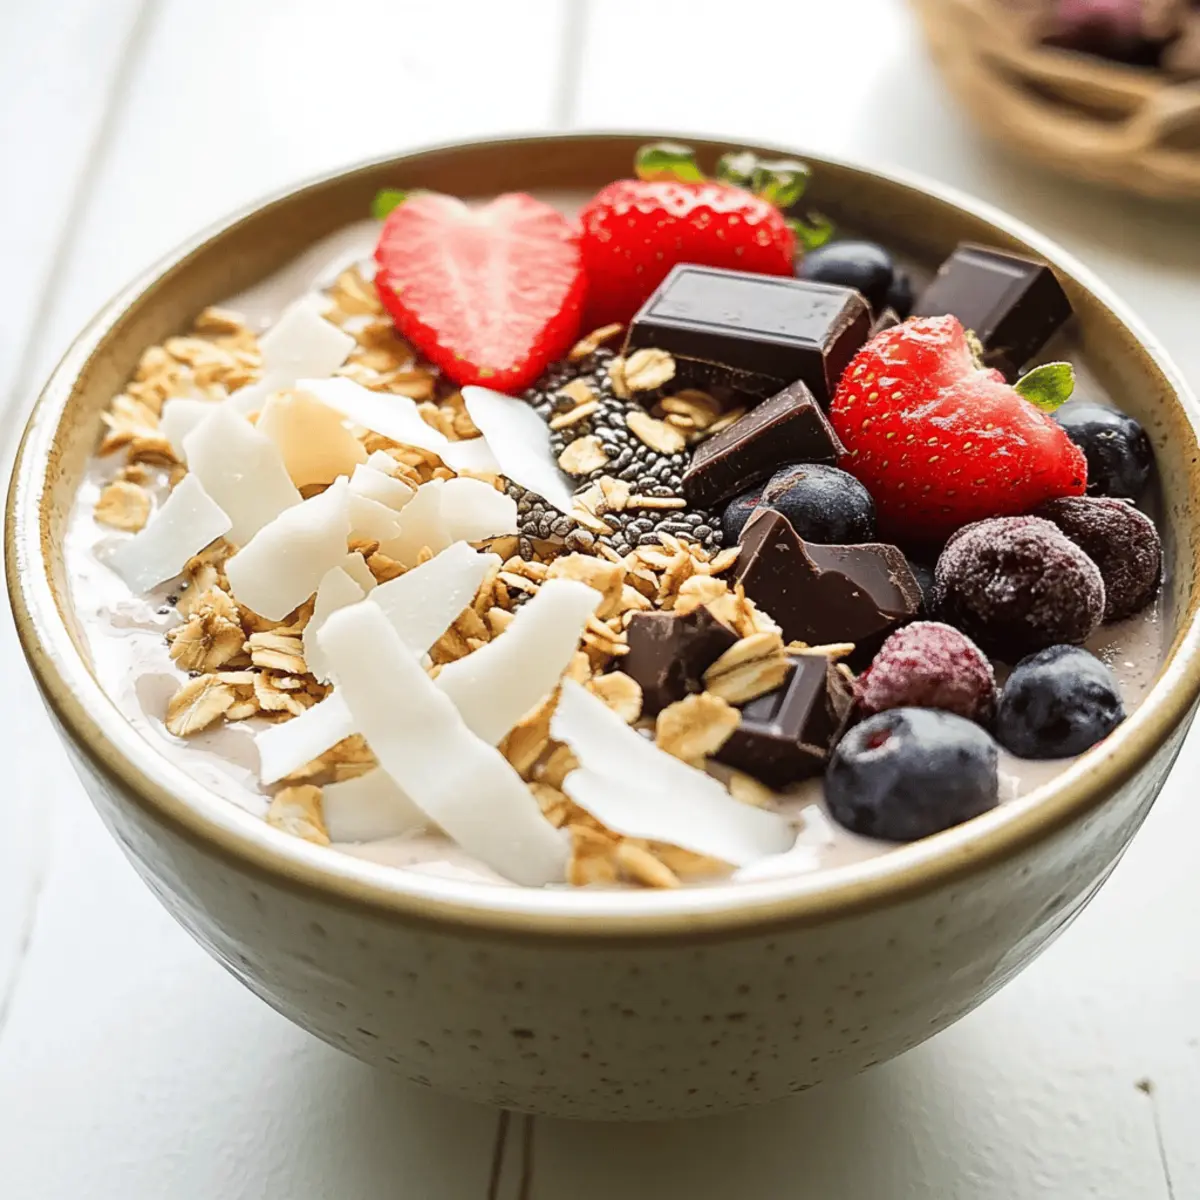
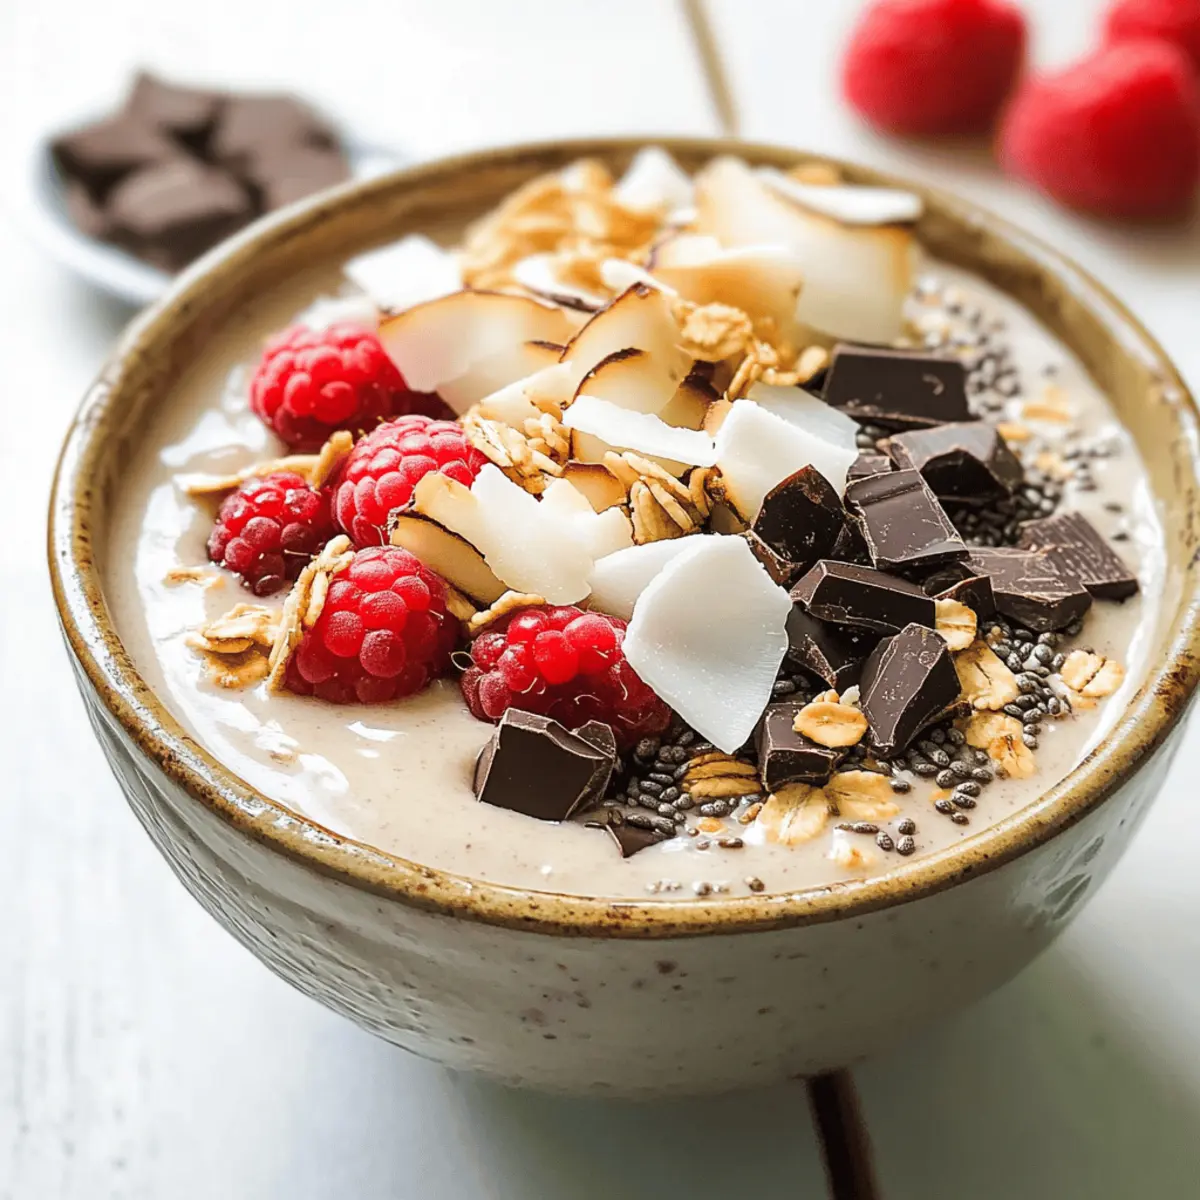
- Yogurt Parfait: Layers of creamy yogurt, granola, and fresh fruit create a delightful texture in contrast to the casserole, making it a perfect side.
- Roasted Potatoes: Crispy, seasoned potatoes provide a satisfying crunch, complementing the dish’s creamy texture while adding extra heartiness.
Crack Breakfast Casserole Recipe FAQs
What type of sausage works best for this casserole?
You can use any sausage you prefer! Pork sausage adds a savory, rich flavor, while turkey sausage is a healthier option. For a vegetarian twist, try a veggie sausage. Just ensure that the sausage is fully cooked before adding it to the casserole.
How long can I store leftovers of the Crack Breakfast Casserole?
You can store leftovers in an airtight container in the refrigerator for up to 4 days. Just make sure to let it cool completely before sealing it to maintain its freshness and flavor. The more the merrier when it comes to delicious breakfasts throughout the week!
Can I freeze the Crack Breakfast Casserole?
Absolutely! This casserole can be frozen for up to 2 months. To do this, slice it into portions and wrap each piece tightly in plastic wrap, then in aluminum foil. When you’re ready to enjoy, simply thaw overnight in the fridge and reheat in the oven at 350°F (175°C) for about 20-25 minutes until heated through.
What if I have allergies to certain ingredients?
No worries! You can easily customize the Crack Breakfast Casserole to cater to various dietary needs. Substitute dairy ingredients with lactose-free alternatives—like using almond milk in place of whole milk and dairy-free cheese. Always check labels and ingredients to ensure they are safe for your dietary restrictions.
How do I know when the casserole is fully cooked?
You can tell your Crack Breakfast Casserole is cooked through when the edges are bubbly and golden brown, and a knife inserted in the center comes out clean, indicating the egg has set. If the top is getting too brown but the center isn’t fully cooked, cover it loosely with foil and continue baking until done—patience is key!
Can I make this casserole vegetarian or gluten-free?
Yes! For a gluten-free version, use gluten-free ranch seasoning and ensure all other ingredients are gluten-free as well. To make it vegetarian, simply omit the bacon and sausage, or substitute with plant-based alternatives. Feel free to load it up with your favorite vegetables for added nutrition and flavor!
Crack Breakfast Casserole: Comforting, Customizable Brunch Delight
Ingredients
Equipment
Method
- In a large skillet over medium-high heat, add the pork sausage and bacon. Cook for about 5–7 minutes, until both are browned and crispy. Stir occasionally to ensure even cooking, then drain the excess fat into a bowl, leaving just a tablespoon in the skillet.
- In a mixing bowl, combine the softened cream cheese and sour cream. Blend until smooth and creamy, ensuring there are no lumps remaining.
- Add the whole milk, large eggs, dry ranch seasoning, onion powder, garlic powder, salt, and black pepper to the mixture. Blend thoroughly until well combined.
- Fold in the cooked meats, thawed hash browns, and 1 cup of shredded cheddar cheese into the creamy mixture.
- Preheat your oven to 350°F (175°C). Grease a 9x13-inch baking dish.
- Pour the mixture into the prepared baking dish, spreading it evenly. Top with the remaining shredded cheddar cheese. Cover with aluminum foil and bake for 50–60 minutes.
- Remove the foil and bake for an additional 8–10 minutes until the cheese is bubbly and golden brown.
- Let it rest for about 10 minutes before slicing. Cut into squares and serve warm.