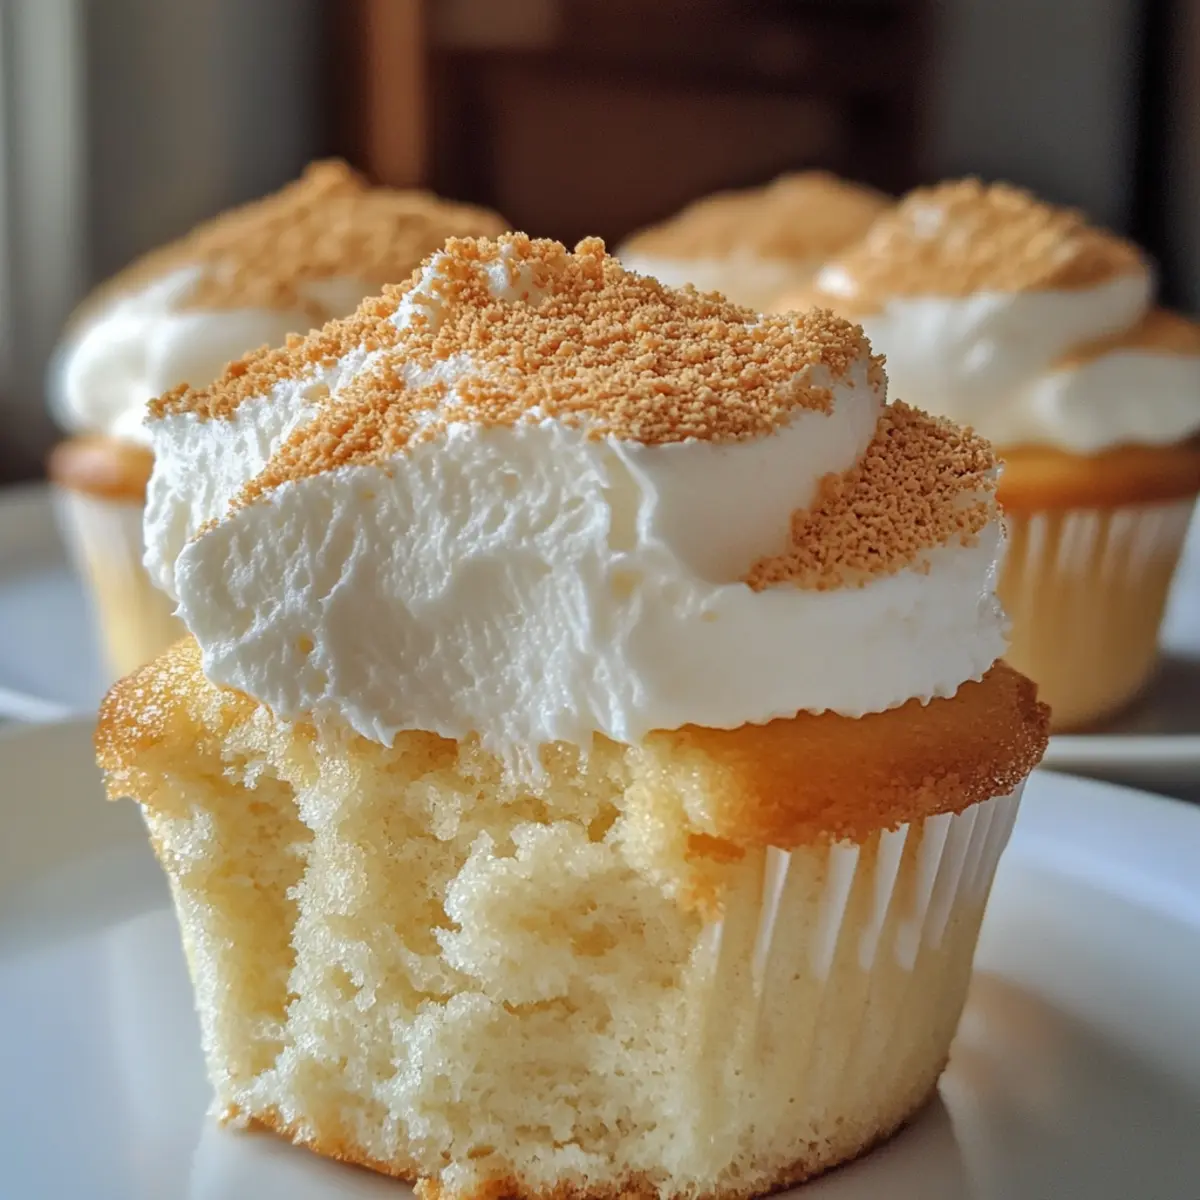
On a breezy afternoon, the gentle scent of sweet cream cheese wafted from my kitchen, drawing me in like a siren’s call. That’s when I decided to whip up a batch of Japanese Cotton Cheesecake Cupcakes—these little delights promise an experience unlike any other. With their light, airy texture, they perfectly blend the rich, creamy essence of cheesecake with a soufflé’s fluffiness. One of the greatest perks of these cupcakes is their crowd-pleasing quality, making them an elegant dessert for any gathering without the fuss of a traditional cake. Plus, they’re low-sugar, allowing you to indulge guilt-free! Are you ready to dive into the delightful world of these fluffy bites?
Why are these cupcakes so special?
Melt-in-your-mouth bliss awaits you with every bite of these Japanese Cotton Cheesecake Cupcakes. Low-sugar and light, they offer a guilt-free indulgence, perfect for those keeping an eye on their diet. Versatile variations allow you to easily customize flavors, whether it’s adding matcha or folding in fresh fruit. Easy to make with just a few steps, even beginner bakers will shine. Plus, their elegant presentation makes them an instant crowd favorite! If you’re seeking something unique, consider pairing them with a lovely cup of tea or serving them alongside a sweet dessert like Strawberry Cheesecake Dump for an extravagant treat.
Japanese Cotton Cheesecake Cupcake Ingredients
For the Cupcake Batter
• Cream Cheese – Provides richness and tang to the cupcakes; opt for full-fat for the best results.
• Cake Flour – Creates a soft, delicate crumb that is essential for the characteristic texture of Japanese Cotton Cheesecake Cupcakes.
• Cornstarch – Stabilizes the batter, improving the overall texture of these light desserts.
• Egg Whites – Whipped into meringue to introduce air, producing that signature fluffy consistency.
• Lemon Juice – Adds brightness, enhancing the richness of the cream cheese.
For the Meringue
• Cream of Tartar – Helps stabilize the meringue, ensuring it holds its shape and provides maximum fluffiness.
• Granulated Sugar – Sweetens the meringue; gradually add it to achieve soft peaks for your delightful cupcakes.
Each ingredient works harmoniously to contribute to the unique texture and flavor of these cupcakes, ensuring a memorable dessert experience!
Step‑by‑Step Instructions for Japanese Cotton Cheesecake Cupcakes
Step 1: Preparation
Start by preheating your oven to 320°F (160°C) and lining a 12-cup muffin tin with cupcake liners. Next, take a large baking pan and fill it with about 1 inch of hot water, which will create a water bath to ensure even baking. Organizing your workspace now will make the process of making Japanese Cotton Cheesecake Cupcakes much smoother.
Step 2: Cream Cheese Mixture
In a heatproof bowl set over simmering water, combine the cream cheese, stirring until smooth and fully melted. This may take about 5 minutes. Once melted, remove the bowl from heat and allow the mixture to cool slightly. Then, whisk in the egg yolks one at a time, followed by the refreshing lemon juice that will brighten your batter.
Step 3: Dry Ingredients
Sift the cake flour and cornstarch together on a clean surface. Carefully fold these dry ingredients into the cream cheese mixture until no lumps remain, creating a smooth batter. This step is crucial for achieving the fluffy texture characteristic of Japanese Cotton Cheesecake Cupcakes, so take your time to ensure everything is well incorporated.
Step 4: Meringue
In a separate bowl, whip the egg whites with cream of tartar until foamy, which usually takes about 2 minutes. Gradually add granulated sugar while continuing to beat; this should take another 2-3 minutes until soft peaks form. The meringue should look glossy and hold its shape, introducing the lightness that defines these delightful cupcakes.
Step 5: Combine Mixtures
Gently fold one-third of the whipped meringue into the cream cheese mixture to lighten the batter. Use a spatula to combine without deflating the meringue, then fold in the remaining meringue in two additions. Be gentle but thorough—this step is vital for ensuring your Japanese Cotton Cheesecake Cupcakes maintain their airy structure.
Step 6: Baking
Divide the light batter evenly among the prepared cupcake liners, filling them about 80% full. Place the muffin tin in the preheated water bath, which helps keep the cupcakes moist. Bake for 25-30 minutes or until the tops are lightly golden and the cupcakes appear jiggly but set in the center.
Step 7: Cooling
Once baked, turn off the oven and leave the cupcakes inside for another 15 minutes with the door slightly ajar; this gradual cooling will prevent them from collapsing. Afterward, transfer them to a wire rack to cool completely at room temperature. For the best texture, refrigerate the cupcakes for at least 1 hour before serving.
Storage Tips for Japanese Cotton Cheesecake Cupcakes
Room Temperature: Allow the cupcakes to cool completely before storing. They can be kept at room temperature for up to 1 day; however, they are best enjoyed chilled.
Fridge: Place the cupcakes in an airtight container and store them in the refrigerator for up to 5 days. This helps maintain their fluffy texture and creamy flavor.
Freezer: For longer storage, wrap each cupcake individually in plastic wrap and place them in a freezer-safe bag. They can be frozen for up to 2 months; just remember to thaw them overnight in the refrigerator before serving.
Reheating: These Japanese Cotton Cheesecake Cupcakes are best served cold, but if you prefer them slightly warm, place them in a 300°F (150°C) oven for about 5 minutes to revive their texture.
Japanese Cotton Cheesecake Cupcakes Variations
Feel free to explore these delightful variations, adding your personal touch to each batch!
-
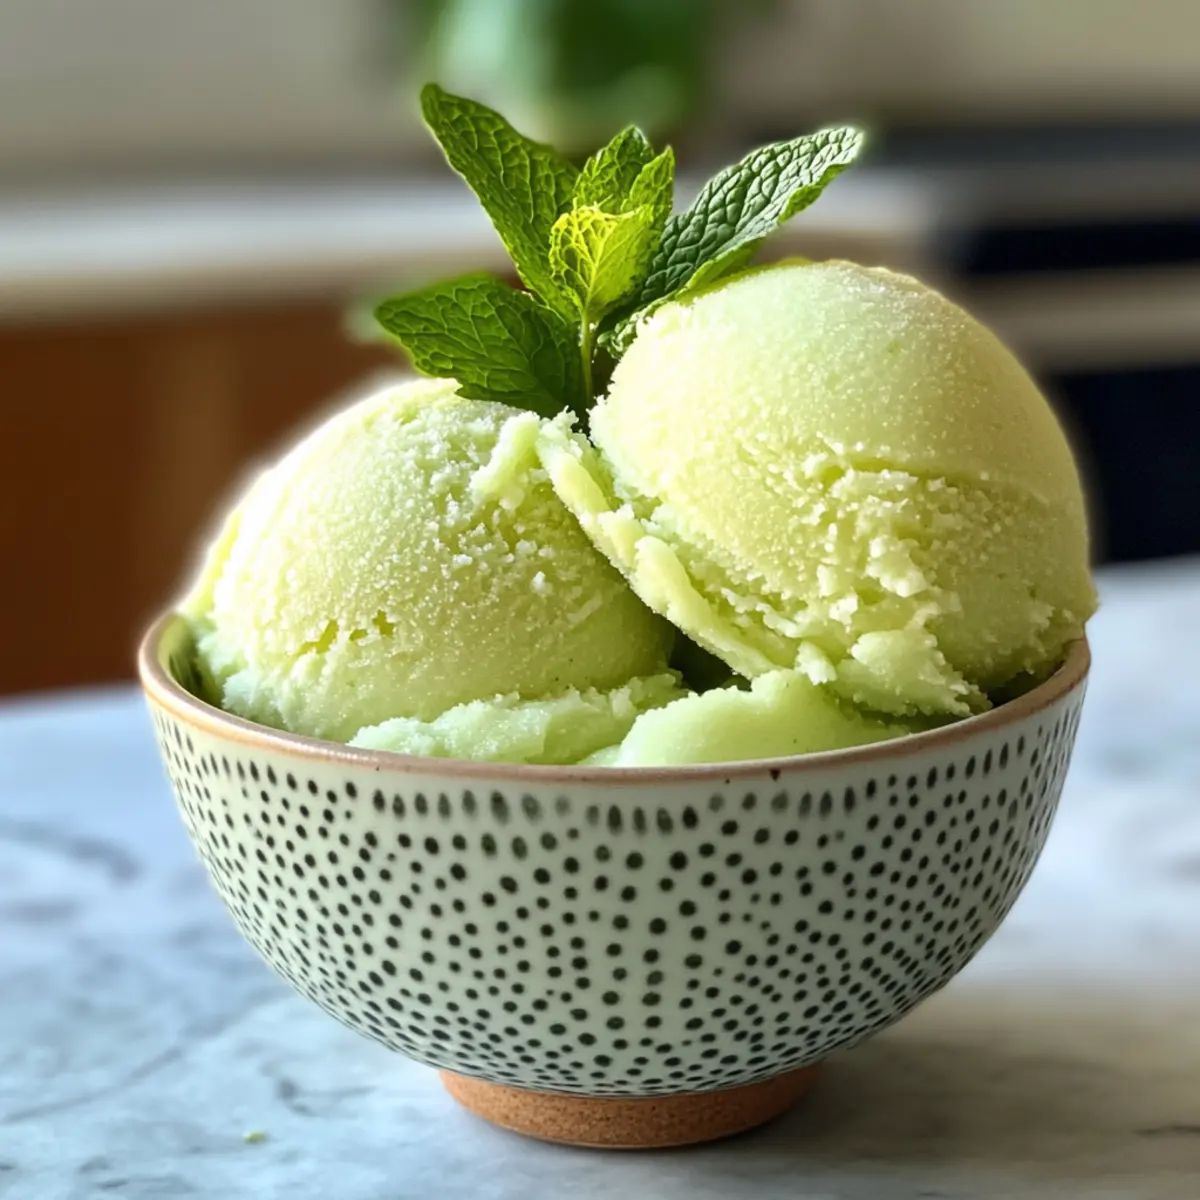
Matcha Twist: Add 1 tablespoon of matcha powder to the batter for a subtle green tea flavor that enhances the sweetness beautifully.
-
Chocolate Delight: Substitute 2 tablespoons of cake flour with unsweetened cocoa powder for a rich chocolate version. Perfect for those who can’t resist a chocolatey treat!
-
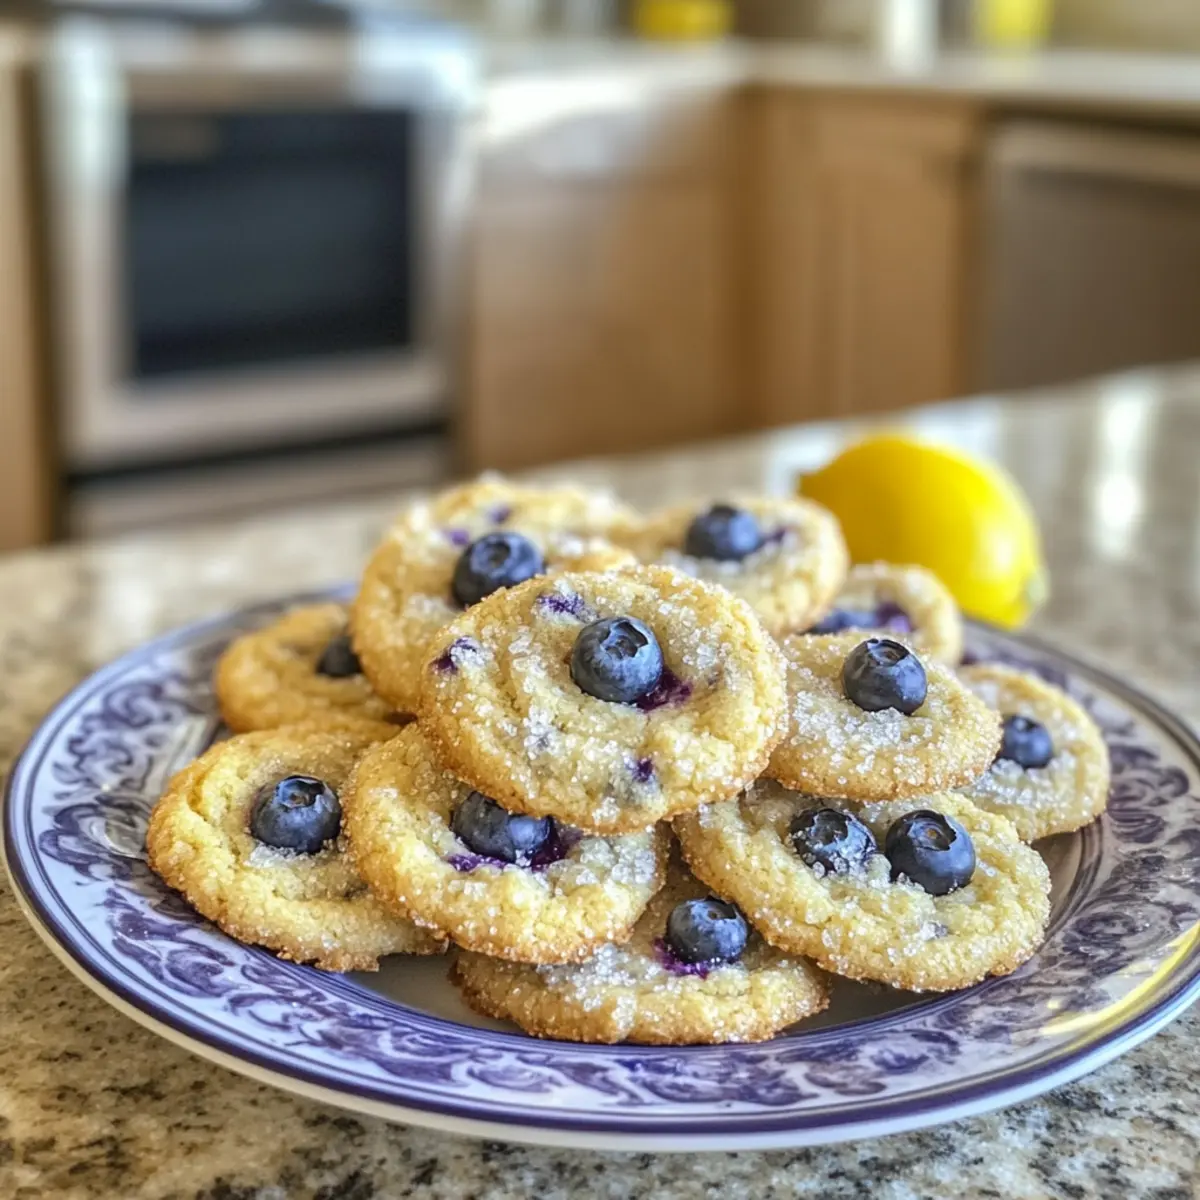
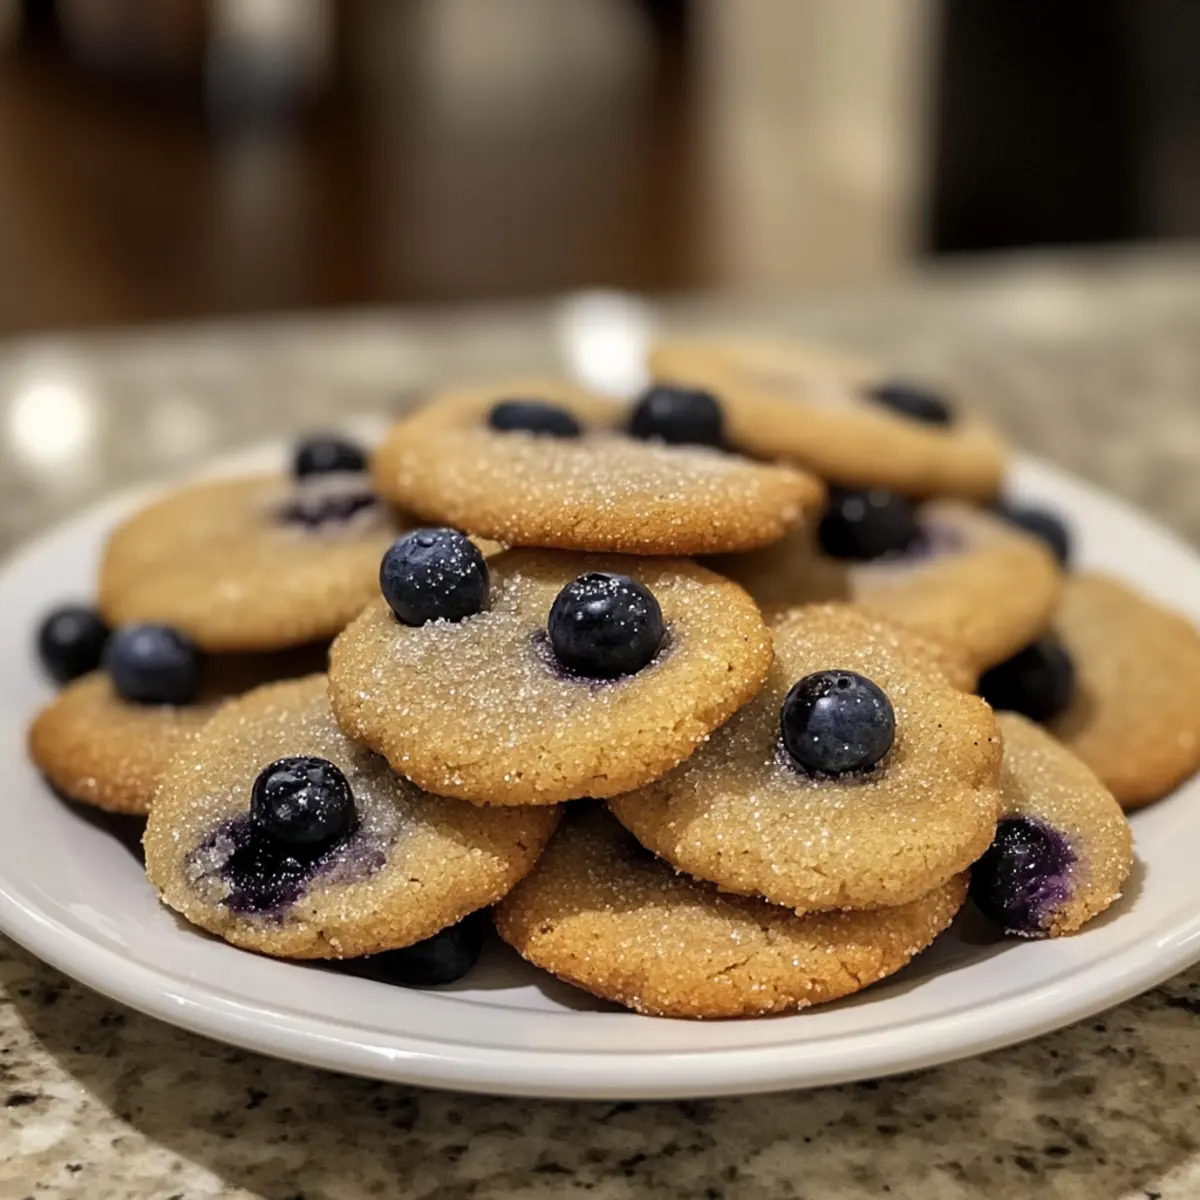
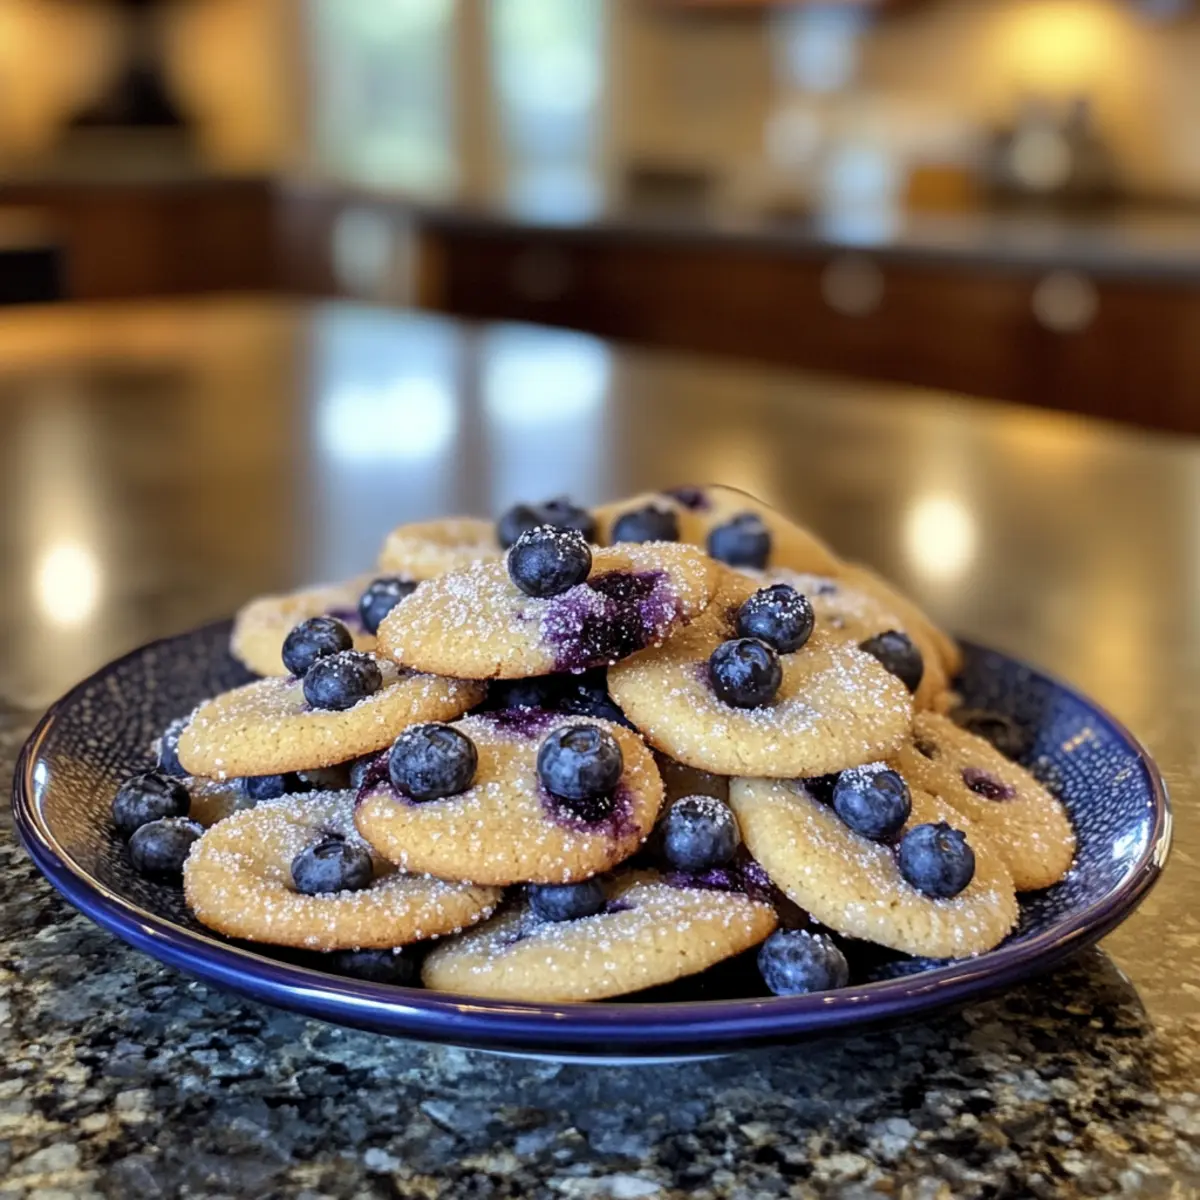
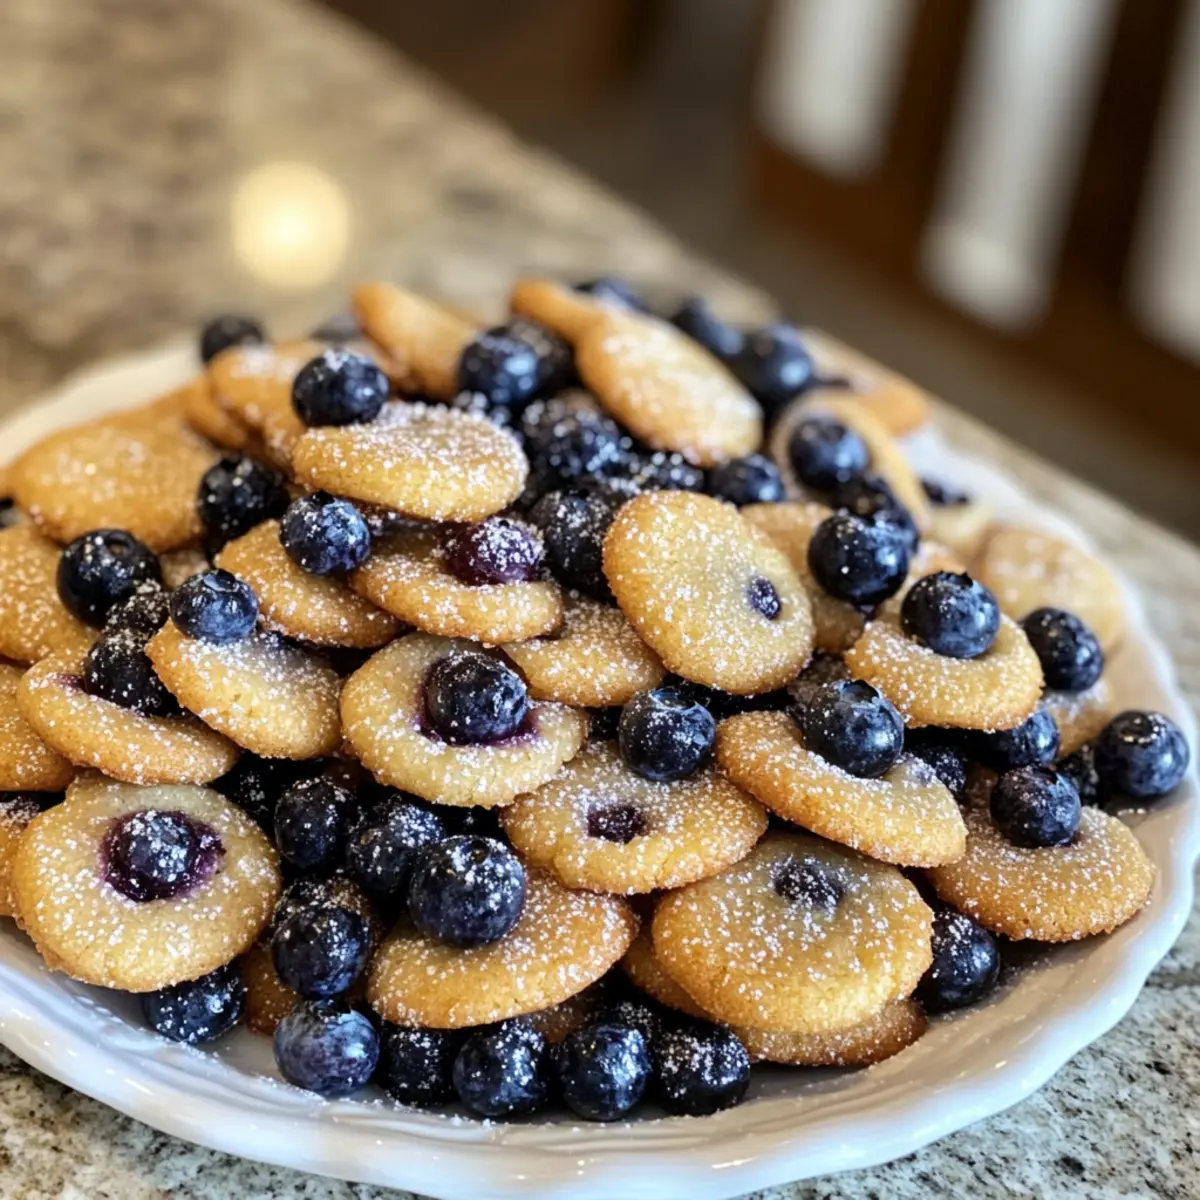
Fruit Infusion: Incorporate fresh fruit like chopped strawberries or blueberries directly into the batter for a juicy burst of flavor. The sweet tartness pairs wonderfully with the creamy cupcake base.
-
Citrus Zest: Fold in the zest of one lemon or orange into the batter to elevate the flavor profile. The bright citrus notes create an uplifting experience that harmonizes with the creaminess.
-
Honey Sweetener: Replace part of the granulated sugar with honey for a natural sweetness. This variation adds a lovely floral note and a touch of moisture.
-
Less Sugar: To make them even lighter, reduce the sugar by a quarter cup. This keeps them delicious while being a little more diet-friendly!
-
Spiced Option: Mix in a pinch of cinnamon or nutmeg for a warming spice that adds depth. These warm flavors create a cozy feeling, perfect for a chilly afternoon.
-
Coconut Fluff: Swap half the cream cheese for coconut cream for a tropical twist. This change gives the cupcakes a light, airy taste with a hint of coconut flavor that’ll transport you to paradise!
If you’re feeling adventurous, serve these cupcakes alongside a rich dessert like a classic Strawberry Cheesecake Dump for an extravagant treat that guests will rave about!
Make Ahead Options
These Japanese Cotton Cheesecake Cupcakes are a fantastic choice for meal prep enthusiasts! You can prepare the cream cheese mixture up to 24 hours in advance by combining cream cheese, egg yolks, and lemon juice as directed, then storing it in an airtight container in the refrigerator. Additionally, you can whip the meringue and refrigerate it separately, ensuring it maintains its fluffy texture. When ready to assemble, simply fold the meringue into the cream cheese mixture and bake as instructed. To preserve their delightful fluffy quality, avoid overmixing. With these make-ahead tips, you can enjoy delicious, homemade cupcakes on busy weeknights with minimal effort!
Expert Tips for Japanese Cotton Cheesecake Cupcakes
• Clean Utensils: Ensure all bowls and utensils are squeaky clean when beating egg whites for the meringue. Grease or residue can prevent them from whipping properly.
• Gentle Mixing: Avoid overmixing when combining the meringue with the batter. This should be a gentle fold to keep everything fluffy and airy; overworking it will deflate your Japanese Cotton Cheesecake Cupcakes!
• Gradual Cooling: Don’t rush the cooling process. Leaving the cupcakes in the oven with the door ajar after baking is essential to prevent collapsing; patience pays off!
• Water Bath Care: Ensure there’s a good inch of hot water in the baking pan for the water bath. This keeps the cupcakes moist and contributes to that perfect soft, jiggly consistency.
• Serving Temperature: Refrigerate these cupcakes before serving for the best texture and flavor. Chilled cupcakes intensify the creamy taste and maintain their airy structure.
What to Serve with Japanese Cotton Cheesecake Cupcakes
These light and airy cupcakes create a sweet moment that deserves delightful companions to elevate your dessert experience.
-
Fresh Berries: Juicy strawberries or blueberries provide a tart contrast to the rich, creamy flavors of the cupcakes. Their freshness brightens every bite, making them an irresistible pairing.
-
Matcha Tea: The earthy, herbal notes of matcha tea enhance the lightness of the cheesecake, creating a soothing flavor balance. This duo is perfect for a serene afternoon treat.
-
Vanilla Ice Cream: A scoop of creamy vanilla ice cream adds a luscious touch. Its sweetness complements the subtle flavors of the cupcakes, transforming your dessert into a decadent indulgence.
-
Lemon Sorbet: The refreshing citrus notes of lemon sorbet cleanse the palate and reawaken your taste buds, allowing you to fully appreciate the cupcakes’ delicate textures.
-
Coffee or Espresso: A robust cup of coffee or espresso offers a rich contrast, enhancing the flavors of the cheesecake while providing a comforting warmth—ideal to savor after a meal.
-
Chocolate Drizzle: Drizzling a bit of melted chocolate over your cupcakes adds luxurious decadence. This combination will satisfy any chocolate lover’s cravings while maintaining a beautiful presentation.
-
Coconut Whipped Cream: For a tropical twist, top your cupcakes with light coconut whipped cream. Its airy texture and subtle sweetness pair perfectly with the fluffy cake-like cheesecakes.
Japanese Cotton Cheesecake Cupcakes Recipe FAQs
How do I know if the cream cheese is at the right temperature?
Absolutely! It’s crucial to use cream cheese that’s softened to room temperature for smooth blending. Leave it out for about 30-60 minutes before starting. If it blends effortlessly and feels creamy without lumps, you are good to go!
What’s the best way to store Japanese Cotton Cheesecake Cupcakes?
I’m glad you asked! Once they’ve cooled completely, place your cupcakes in an airtight container. Store them in the fridge for up to 5 days to maintain their lightness. Don’t forget: refrigeration enhances their texture and flavors!
Can I freeze Japanese Cotton Cheesecake Cupcakes?
Yes, indeed! For freezing, wrap each cupcake individually in plastic wrap and place them in a freezer-safe bag. They will keep well for up to 2 months. When you’re ready to enjoy them, just thaw overnight in the refrigerator.
What should I do if my meringue isn’t forming stiff peaks?
The more the merrier when it comes to clean utensils! Ensure your mixing bowl and beaters are free from grease, as this can hinder the meringue process. Also, consider using room temperature egg whites, and beat on medium to high speed until soft peaks form, then gradually add in sugar until you achieve glossy stiff peaks.
Are there any dietary considerations for these cupcakes?
Sure! These cupcakes are quite versatile regarding dietary preferences. If you aim for a lower-sugar version, feel free to substitute a portion of granulated sugar with natural sweeteners like honey. Also, if allergies are a concern, ensure you choose gluten-free cake flour to cater to those with gluten intolerance.
What if my cupcakes collapse after baking?
Very! A common cause for collapsing is not allowing them to cool gradually. Make sure to leave them in the oven with the door ajar for those crucial last 15 minutes after baking. This helps prevent sudden temperature changes that can cause them to deflate.
Light and Fluffy Japanese Cotton Cheesecake Cupcakes Delight
Ingredients
Equipment
Method
- Preheat your oven to 320°F (160°C) and line a 12-cup muffin tin with cupcake liners. Fill a large baking pan with about 1 inch of hot water for a water bath.
- In a heatproof bowl over simmering water, combine cream cheese, stirring until smooth (about 5 minutes). Allow to cool slightly, then whisk in egg yolks one at a time and lemon juice.
- Sift together cake flour and cornstarch. Fold these dry ingredients into the cream cheese mixture until smooth with no lumps.
- In a separate bowl, whip egg whites with cream of tartar until foamy. Gradually add sugar while beating until soft peaks form, and the meringue looks glossy.
- Gently fold one-third of the whipped meringue into the cream cheese mixture to lighten it, then fold in the remaining meringue in two additions without deflating.
- Divide the batter evenly among the cupcake liners, filling them about 80% full. Place muffin tin in the preheated water bath and bake for 25-30 minutes until tops are lightly golden.
- Turn off the oven and leave the cupcakes inside for 15 minutes with the door slightly ajar. Transfer to a wire rack to cool completely, then refrigerate for at least 1 hour before serving.