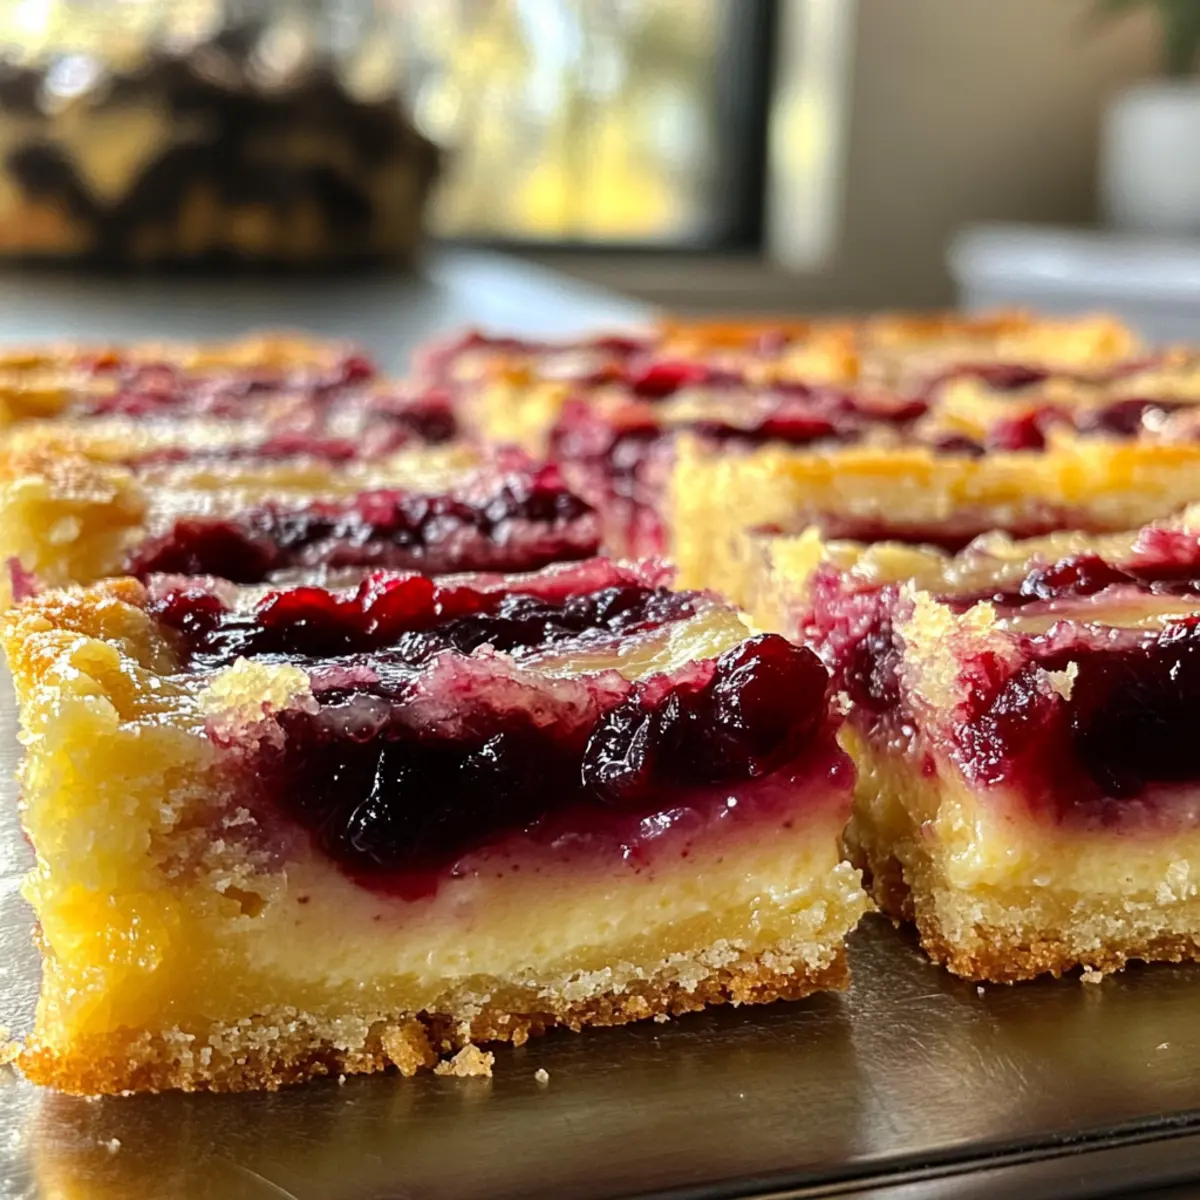
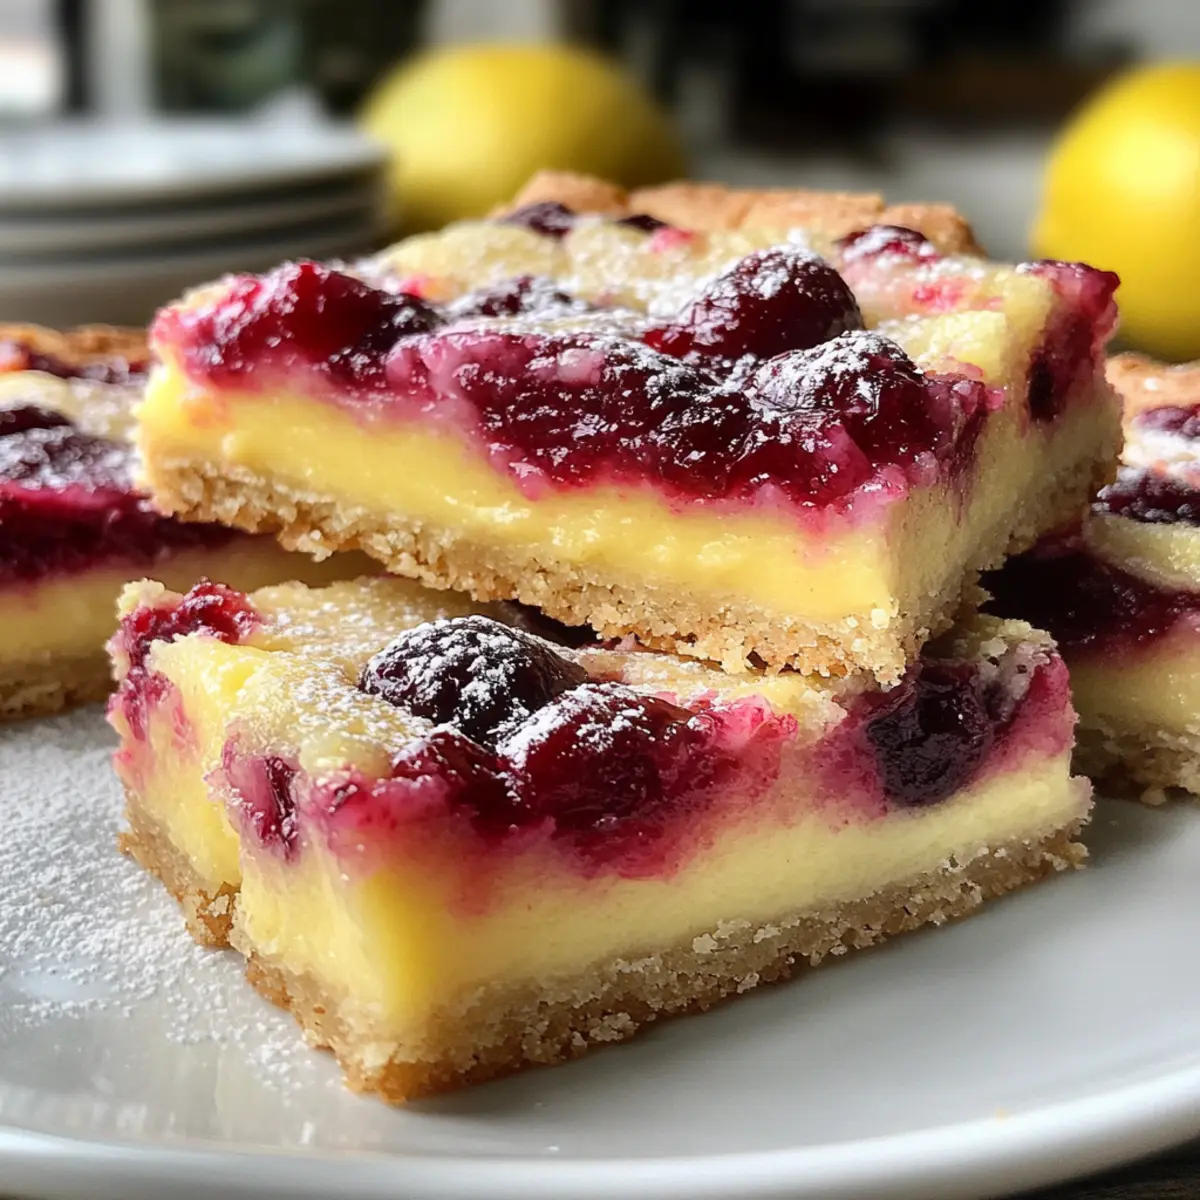
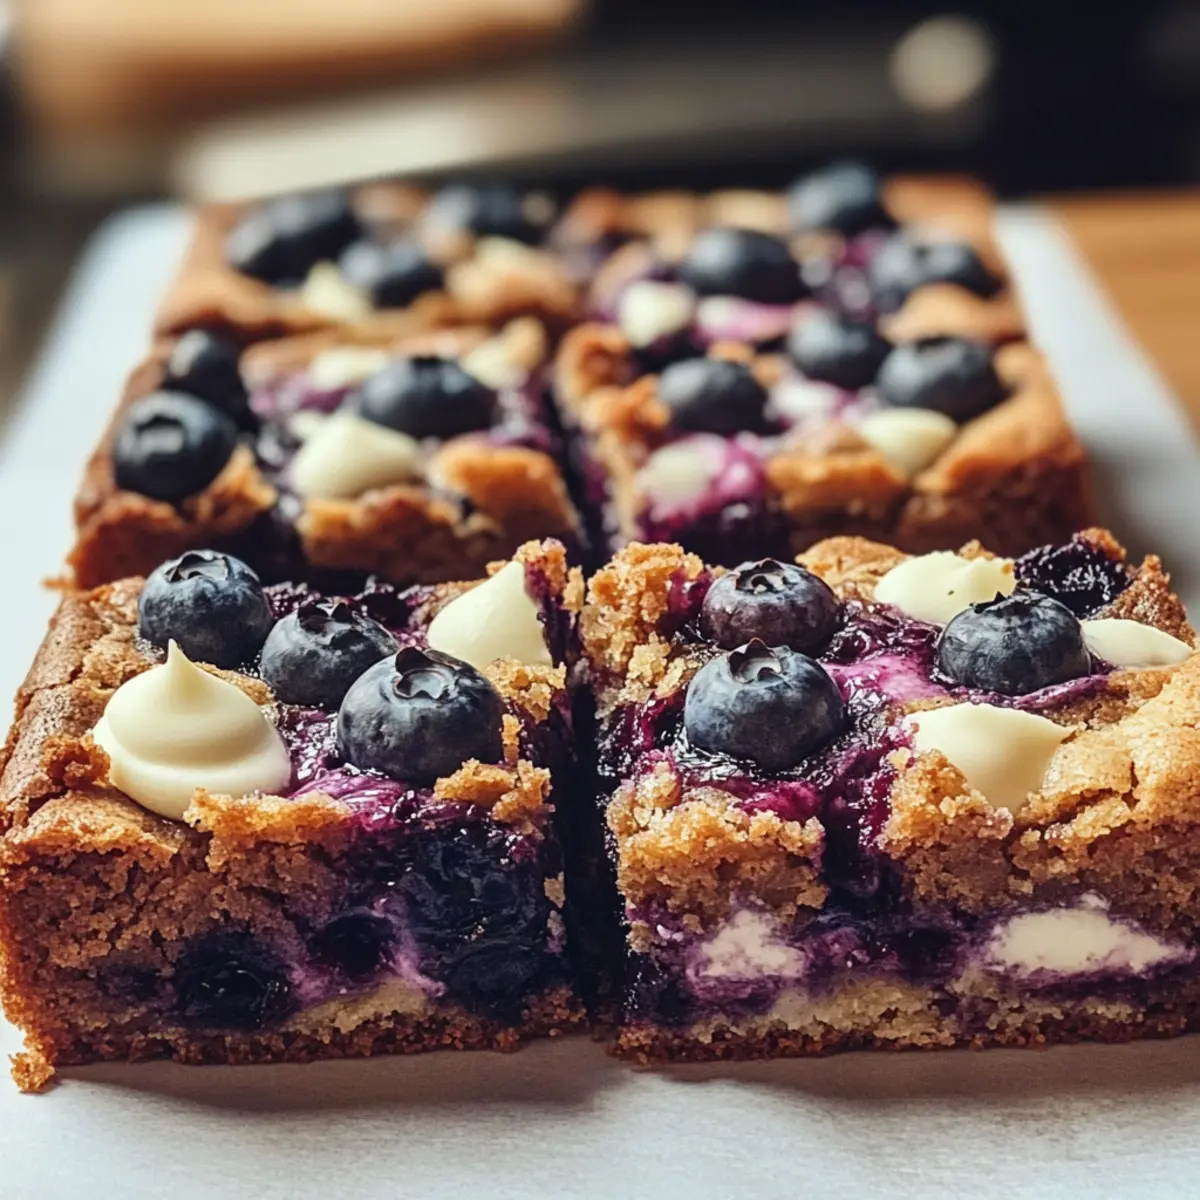
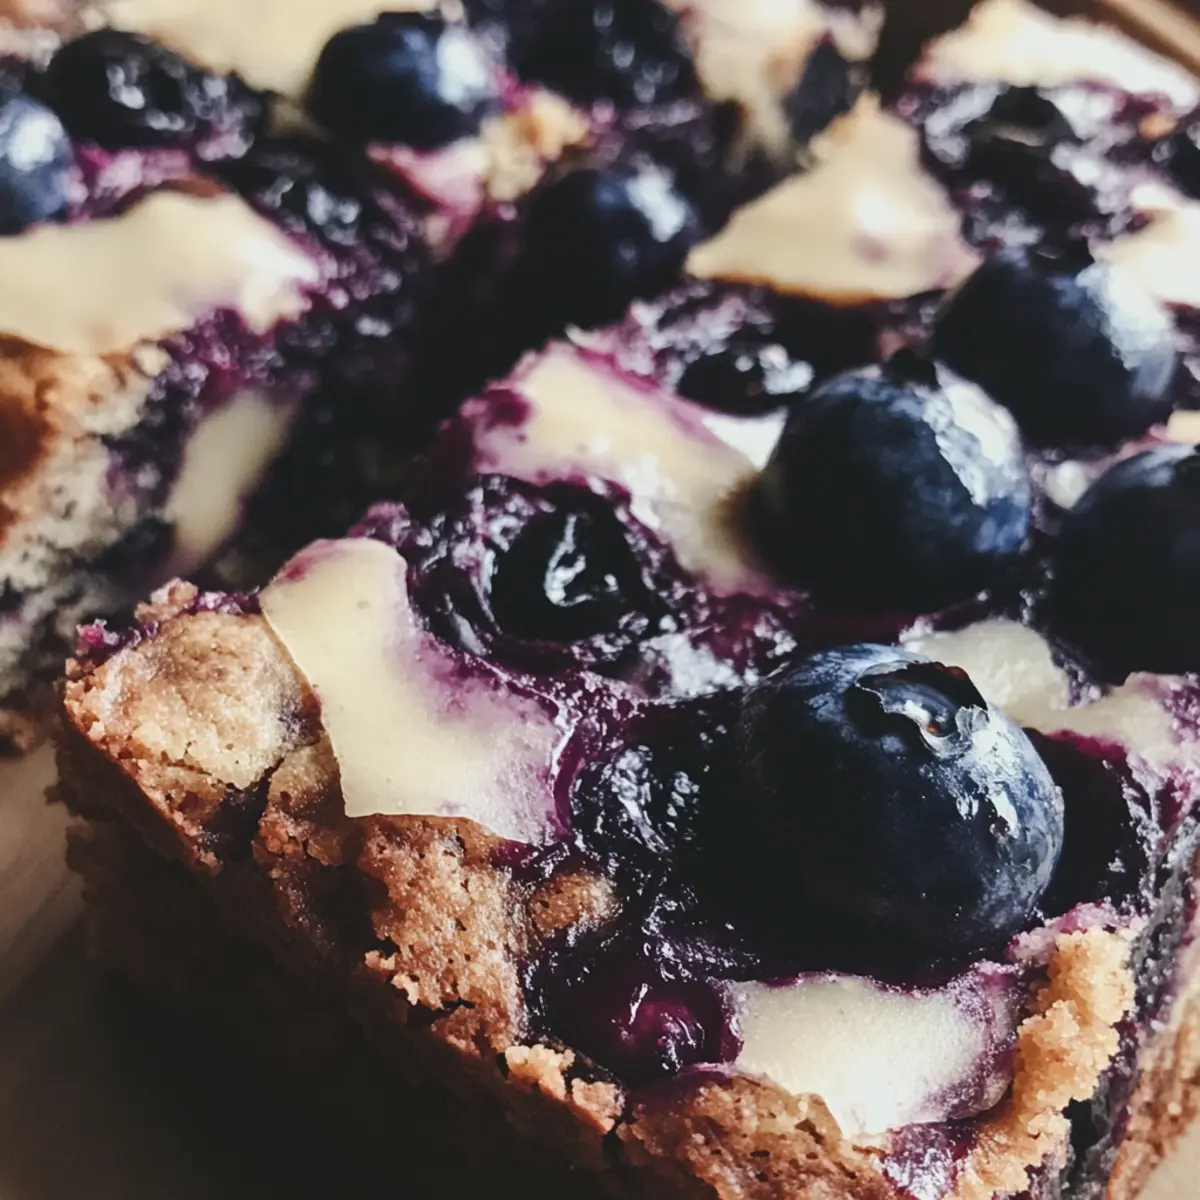
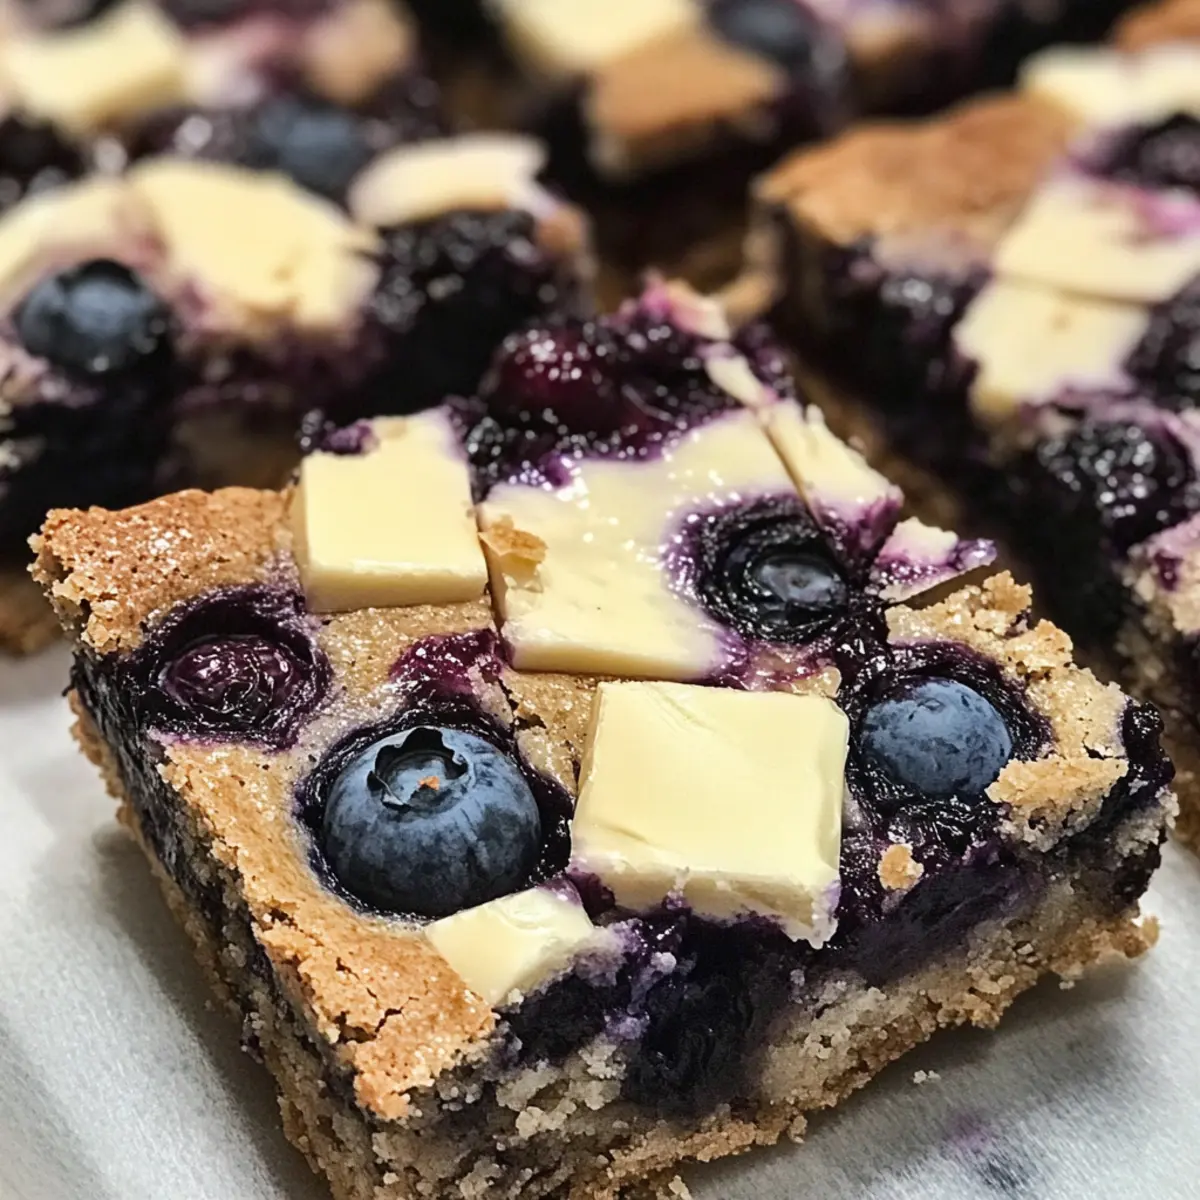
As the sun starts to shine brighter and the days grow longer, I can’t help but crave cheerful, summertime desserts. Enter these fudgy blueberry blondies! With their soft, chewy texture and juicy bursts of fresh blueberries, they’re the ideal treat to elevate any picnic or BBQ gathering. Made in just one bowl, these blondies are quick to whip up and offer a delightful sweetness from creamy white chocolate that is hard to resist. Whether you’re sharing them with friends or savoring them on your own, they’re the perfect combination of indulgence and nostalgia. Intrigued? Let’s dive into this easy recipe that promises to be the highlight of your summer desserts!
Why Are These Blueberry Blondies Special?
Irresistible flavor: The rich white chocolate perfectly complements the tartness of fresh blueberries, creating a harmonious blend that’s simply unforgettable.
One-bowl wonder: You’ll love how easy these blondies are to make—minimal mess and hassle means more time for enjoying their deliciousness.
Perfect for any occasion: Whether it’s a sunny picnic or a cozy night in, these treats will impress friends and family every time.
Customizable joy: Try swapping in other fruits like raspberries or nuts for added texture; the options are endless!
Make-ahead magic: Store them in an airtight container for up to 10 days, ensuring sweet bliss is just a reach away, even days later.
Check out our Blueberry Cream Cheese for a delightful pairing idea too!
Blueberry Blondies Ingredients
For the Blondie Batter
• Unsalted Butter – Adds moisture and richness to the blondies; can substitute with coconut oil for a dairy-free option.
• White Chocolate Chips – Provides sweetness and a creamy flavor; opt for dark chocolate chips for a bolder taste.
• Granulated Sugar – Sweetens the batter; feel free to use brown sugar for a deeper flavor profile.
• Vanilla Extract – Enhances the overall flavor; pure vanilla extract yields the best results.
• Eggs – Binds the ingredients and contributes to the chewy texture; flax eggs can be used for vegan alternatives.
• All-Purpose Flour – Provides structure; substitute with gluten-free flour for a gluten-free treat.
• Salt – Balances the sweetness; omit if using salted butter.
• Fresh Blueberries – Adds natural sweetness and moisture; avoid frozen blueberries as they can impact texture.
Optional Add-ins
• Nuts (e.g., Walnuts or Pecans) – Incorporate for added crunch and depth; they offer a delightful contrast to the chewy blondies.
• Alternative Fruits – Swap in raspberries or chopped strawberries for a fruity twist; they pair beautifully with the creamy sweetness of white chocolate.
Step‑by‑Step Instructions for Blueberry Blondies
Step 1: Prepare the Butter and Chocolate
Begin by melting ½ cup of unsalted butter in a saucepan over low heat, stirring gently until fully melted. Remove the pan from the heat and pour the warm butter over 1 cup of white chocolate chips in a mixing bowl. Let the mixture sit for 5 minutes, then whisk until smooth and glossy. Allow it to cool for about 30 minutes, ensuring it’s at a warm but not hot temperature for the next step.
Step 2: Mix the Wet Ingredients
In a separate large mixing bowl, combine the cooled butter and white chocolate mixture with 1 cup of granulated sugar. Whisk until fully integrated and smooth. Next, add 1 teaspoon of pure vanilla extract and two large eggs, whisking vigorously until the mixture is combined and slightly frothy. This will ensure your blueberry blondies have a lovely chewy texture.
Step 3: Incorporate the Dry Ingredients
Gently fold in 1 cup of all-purpose flour and ½ teaspoon of salt into the wet mixture using a spatula. Use a light hand to prevent overmixing, which can affect the blondies’ texture. Once the flour has just incorporated, add in 1 cup of fresh blueberries, folding them into the batter carefully to avoid bursting the berries while ensuring an even distribution throughout the mix.
Step 4: Bake the Blondies
Preheat your oven to 350°F (175°C) and line an 8×8 inch baking dish with parchment paper, allowing an overhang for easy removal. Pour the batter into the prepared dish, spreading it evenly to the corners. Bake in the preheated oven for 35-45 minutes, or until the edges are golden brown and a toothpick inserted in the center comes out with a few moist crumbs.
Step 5: Cool and Slice
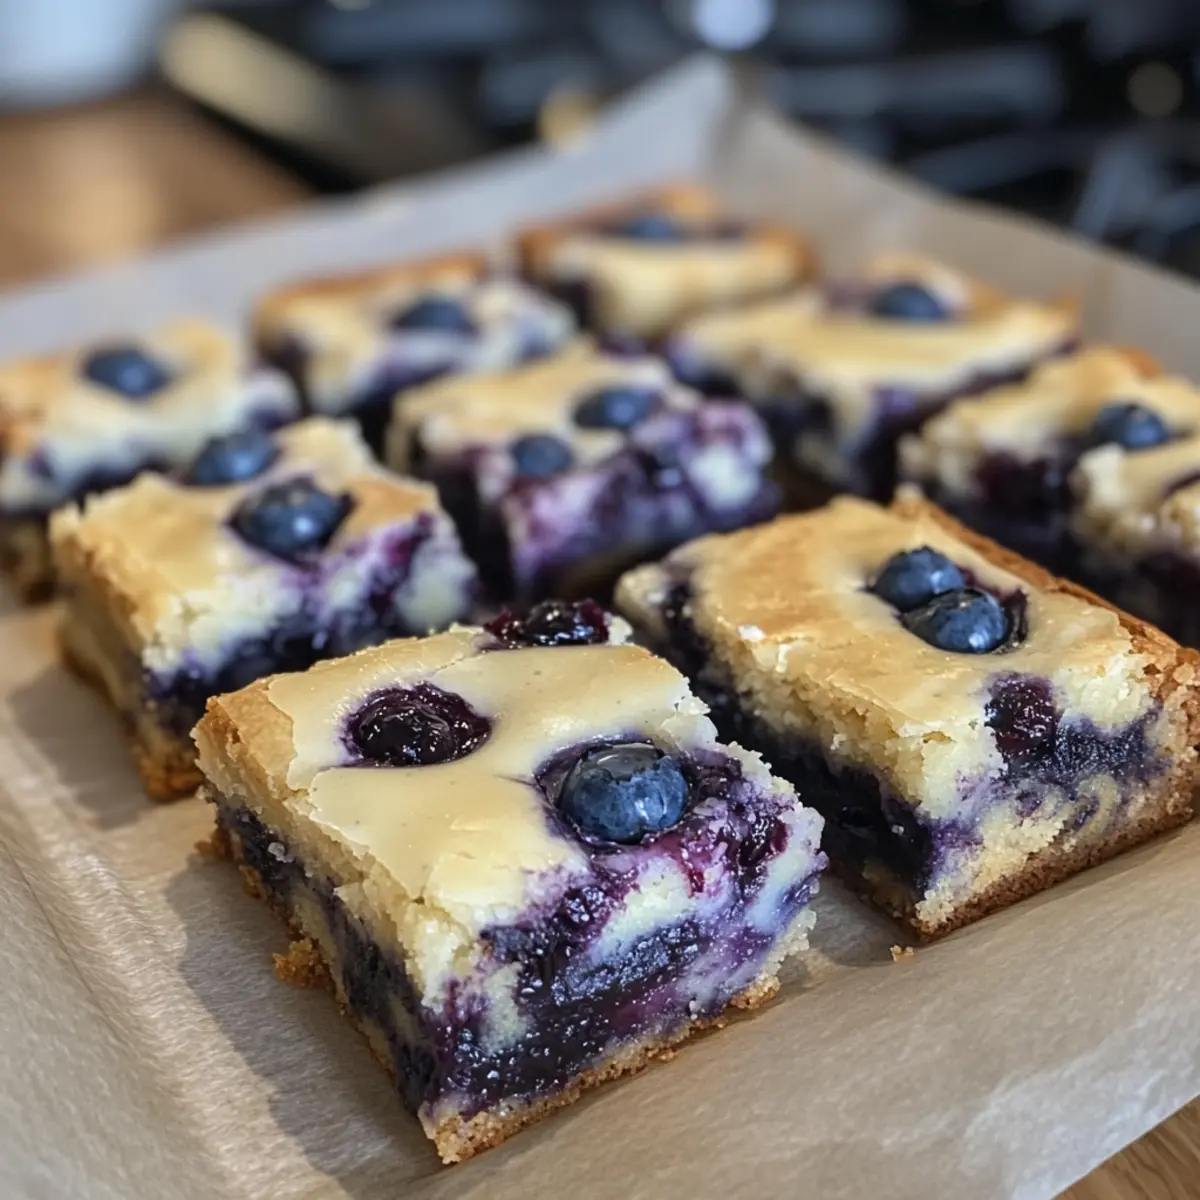
Once baked, remove the blueberry blondies from the oven and let them cool in the pan for at least 20 minutes. This step is essential for achieving the perfect fudgy texture. After cooling, lift the blondies out using the parchment overhang and transfer them to a cutting board. Slice into squares and savor the delightful freshness that bursts from every bite!
Make Ahead Options
These fudgy blueberry blondies are perfect for busy home cooks looking to save time without sacrificing flavor! You can prepare the batter up to 24 hours in advance by mixing all the ingredients and transferring it to a lined baking dish. Simply cover it tightly with plastic wrap and refrigerate. When you’re ready to bake, allow the batter to come to room temperature for about 30 minutes before placing it in the oven. This approach ensures that your blueberry blondies come out just as delicious as if you made them fresh! Additionally, feel free to store the baked blondies in an airtight container at room temperature for up to 5 days or refrigerate them for up to 10 days, ensuring they remain chewy and moist.
What to Serve with Fudgy Blueberry Blondies
These fudgy treats crave delightful pairings to create a memorable meal experience.
-
Vanilla Ice Cream: The creamy richness of vanilla ice cream beautifully complements the fruity tang of the blondies, enhancing their sweetness. A scoop drizzled with a little berry sauce creates an unforgettable dessert.
-
Blueberry Iced Tea: Refreshing and slightly tangy, this iced tea brings a burst of berry flavor that ties perfectly with the blondies’ natural sweetness. Enjoying this combo under the sun feels like pure bliss!
-
Lemonade: A refreshing glass of lemonade balances the sweetness of the blondies with its zesty brightness, making every bite feel fresh and uplifting. It’s a classic pairing that never disappoints.
-
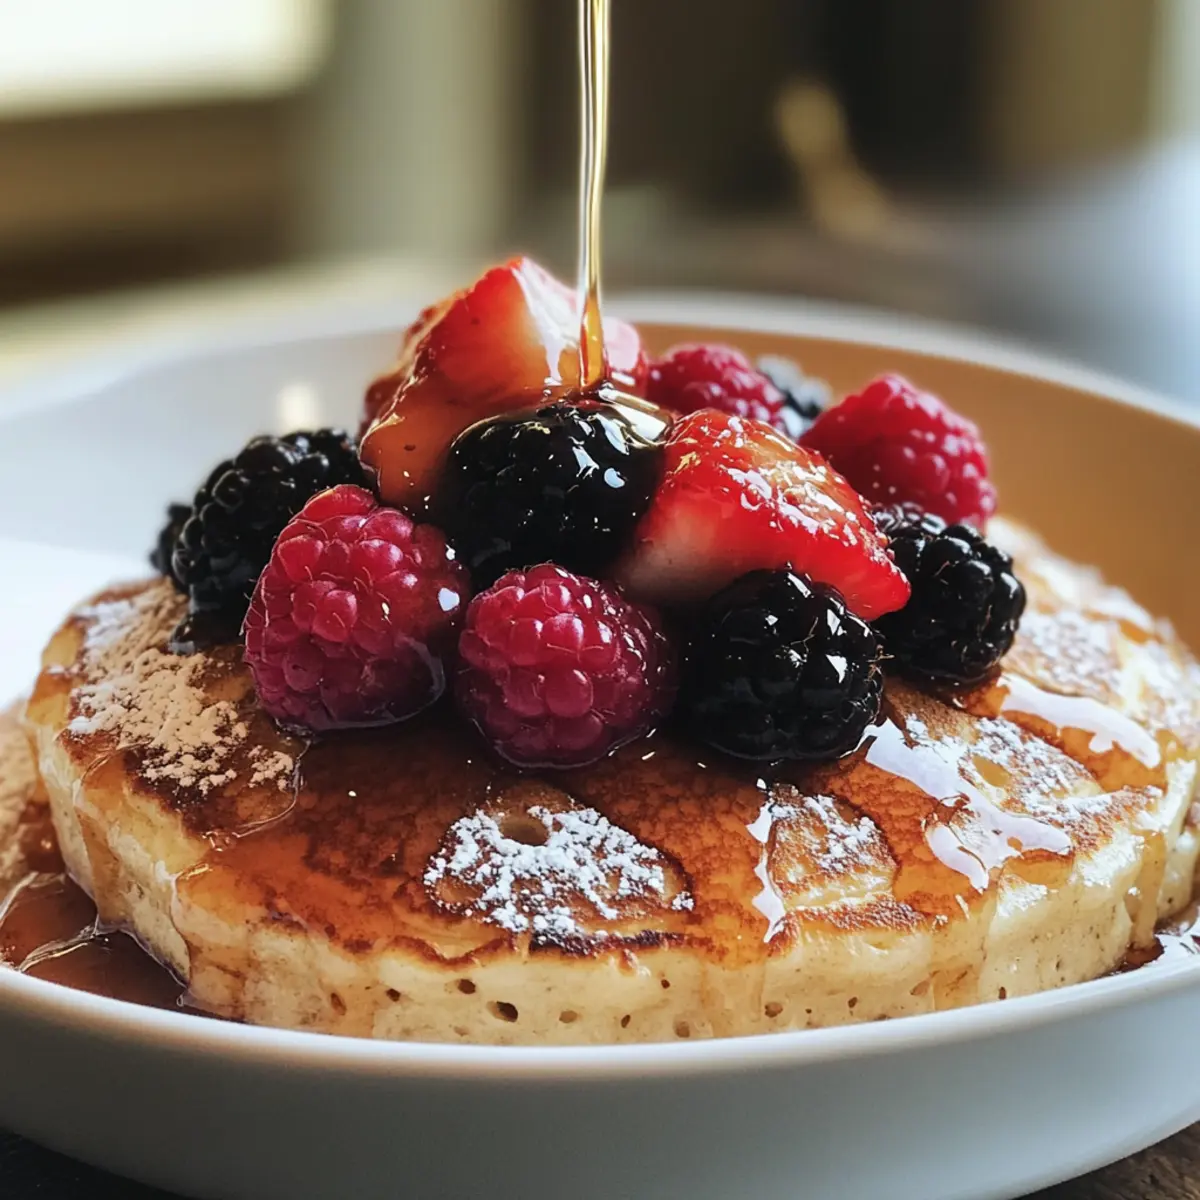
Chocolate Drizzle: Drizzling melted chocolate over the warm blondies gives each bite a rich, indulgent finish. The combination of white chocolate and dark drizzle is a chocolate lover’s dream!
-
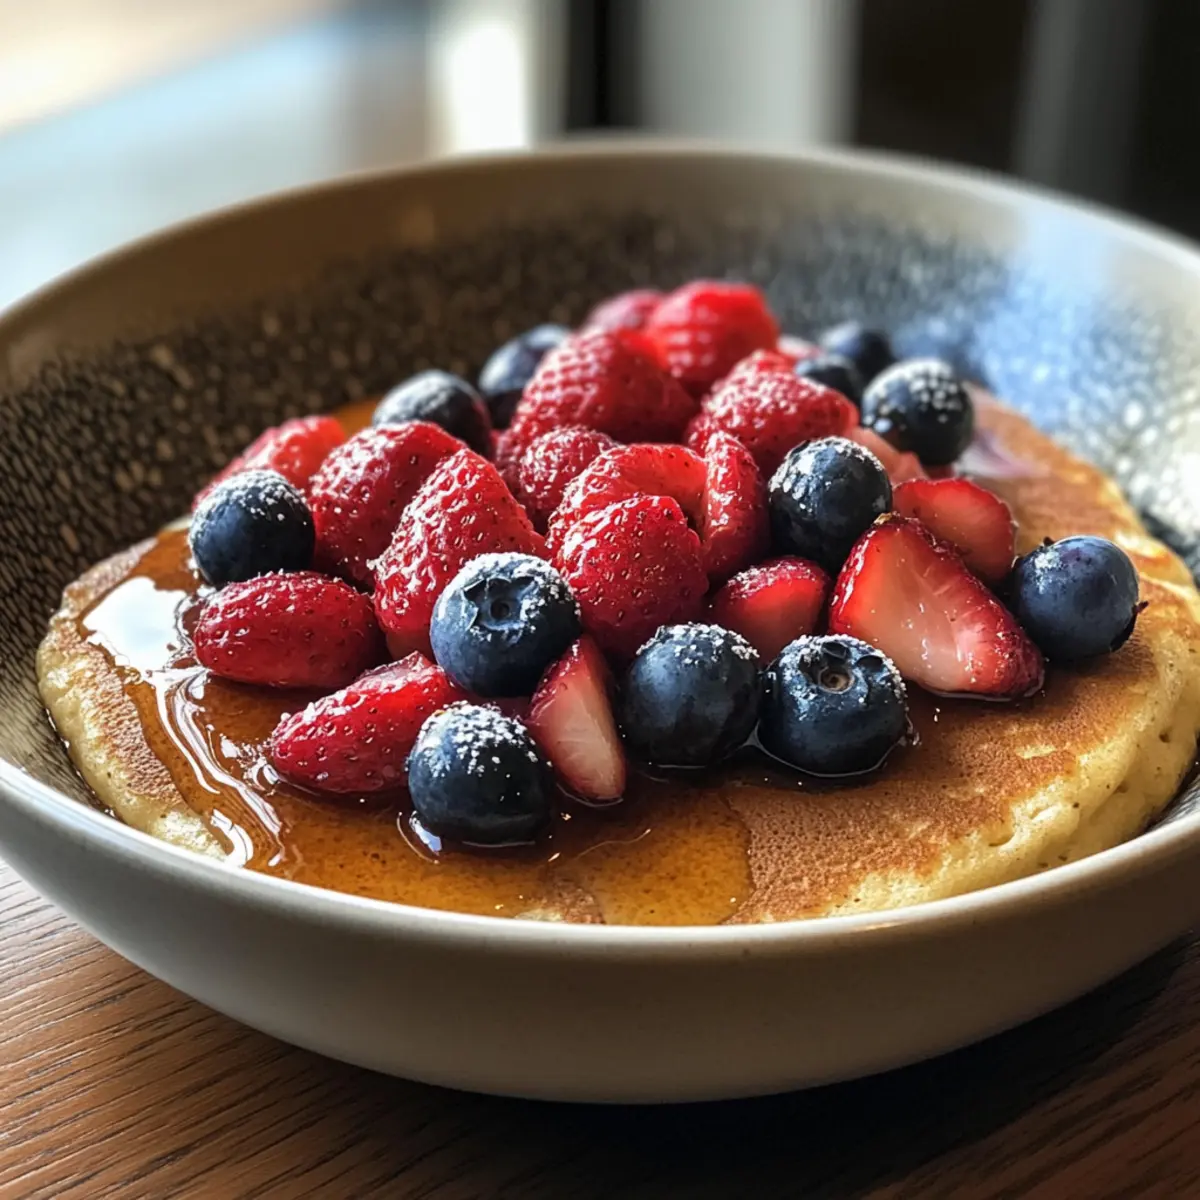
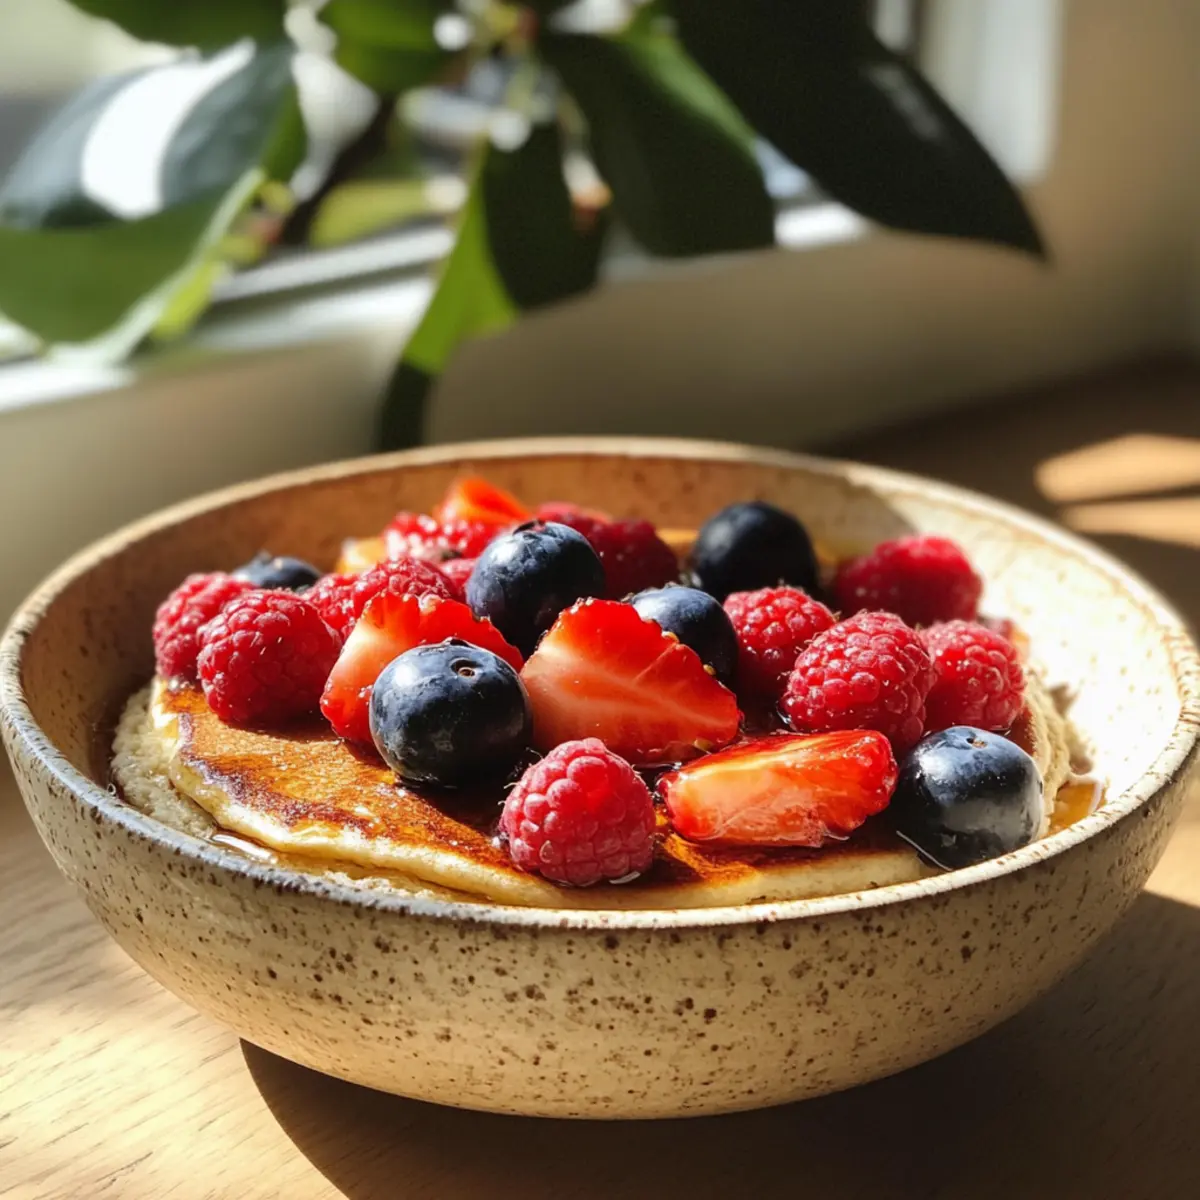
Fresh Berries: Serve with a side of mixed fresh berries for added color and a tart contrast. The juicy goodness of strawberries or raspberries enhances the blueberry flavor in the blondies.
-
Coffee or Espresso: A warm cup of coffee or a shot of espresso provides a delightful contrast to the sweet blondies, enhancing their rich flavors while giving a little caffeine kick for a perfect afternoon treat.
-
Whipped Cream: A dollop of perfectly sweetened whipped cream adds a light, airy texture and a creamy touch, inviting you to indulge in each fudgy bite.
-
Fruit Salad: A bright, refreshing fruit salad can cleanse the palate between bites, providing a burst of vibrant sweetness that complements the rich blondies. It adds a fun texture too!
Blueberry Blondies Variations
Unleash your creativity in the kitchen and discover exciting twists on these delightful blueberry blondies!
- Dairy-Free: Substitute butter with coconut oil and use dairy-free chocolate chips for a friendly alternative that doesn’t skimp on flavor.
- Brown Sugar Boost: Swap granulated sugar for brown sugar to deepen the flavor and enhance moisture in your blondies. Brown sugar adds a lovely caramel note that pairs beautifully with blueberries.
- Nutty Delight: Toss in ½ cup of chopped walnuts or pecans for a crunchy contrast to the fudgy base; their rich texture complements the fruity sweetness perfectly.
- Gluten-Free Option: Use a gluten-free flour blend to make these blondies accessible for those avoiding gluten without sacrificing their chewy goodness.
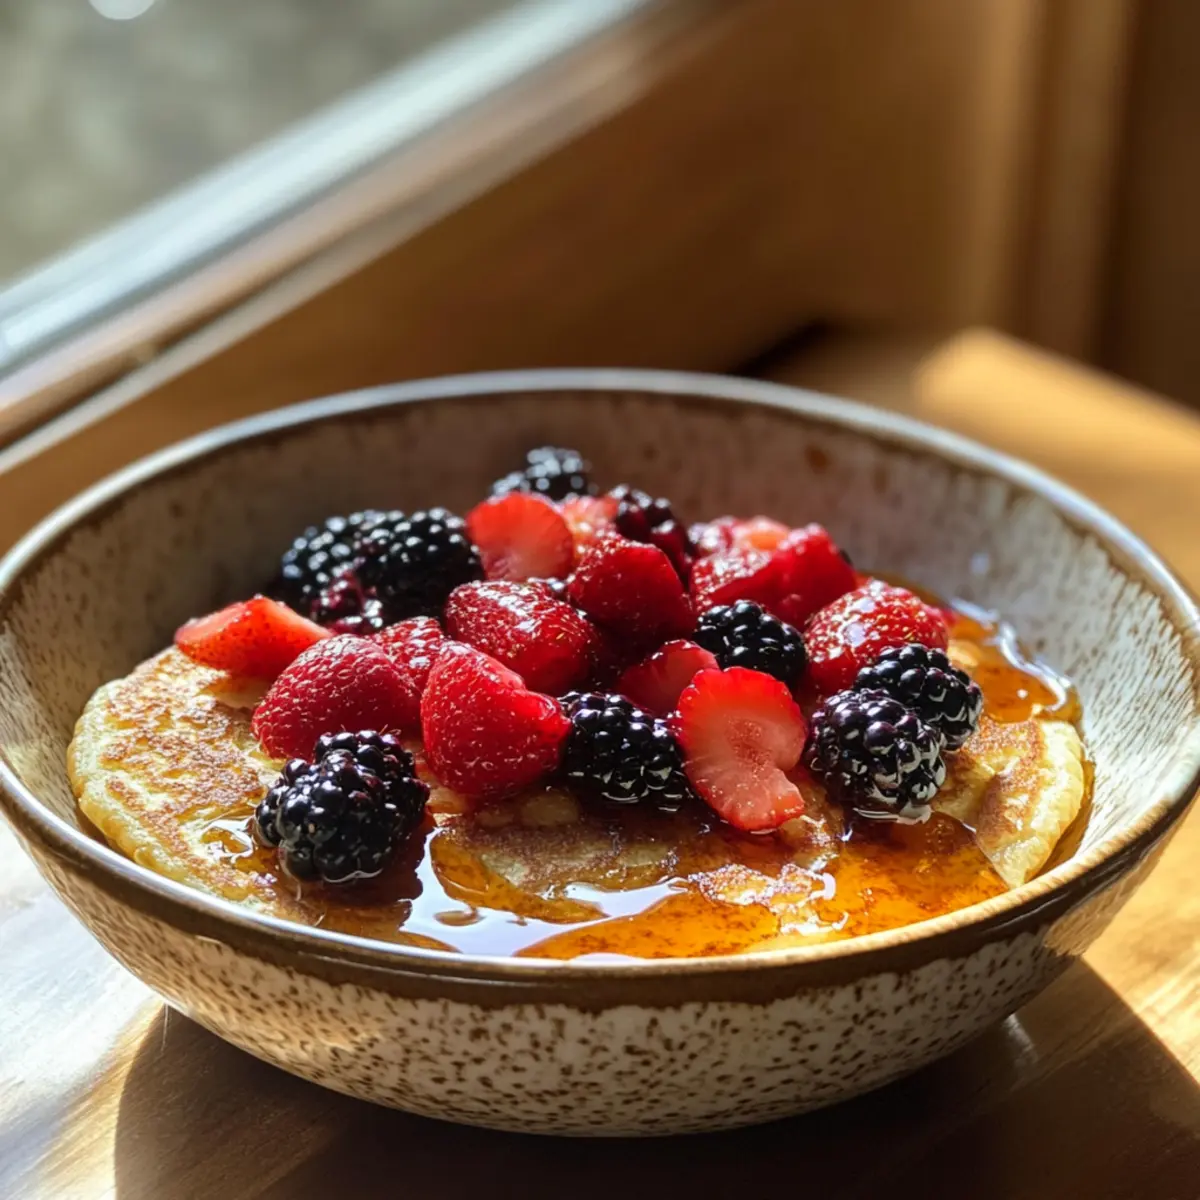
- Berry Blend: Mix in raspberries or chopped strawberries alongside blueberries for a medley of flavors; each bite will surprise you with a hint of tartness!
- Spice It Up: Add a teaspoon of cinnamon or a pinch of nutmeg to the batter for a warm, cozy flavor that makes these blondies truly unique.
- Chocolate Chip Swap: If you’re a chocoholic, consider replacing white chocolate chips with dark or even milk chocolate chips for a decadent treat!
- Zesty Lemon: For a refreshing twist, add the zest of one lemon to the batter; it brightens the flavors, making for a perfect summer dessert.
Eager for more delightful treats? Check out our Blueberry Cream Cheese for a scrumptious pairing!
Expert Tips for Blueberry Blondies
Butter Temperature: Ensure the butter-chocolate mixture cools slightly before adding sugar. Hot butter can melt the sugar and affect texture.
Berry Balance: Avoid adding too many blueberries; excess fruit can weigh down the blondies and make them dense.
Oven Check: Keep an eye on the baking time, as ovens can vary. Begin checking for doneness at the 35-minute mark with a toothpick test.
Storage Guidelines: Store leftovers in an airtight container to maintain freshness, staying delicious at room temperature for up to 5 days or refrigerated for 10 days.
Serving Suggestions: For extra indulgence, serve warm with a scoop of vanilla ice cream, elevating your blueberry blondies to a whole new level of goodness.
Storage Tips for Blueberry Blondies
Room Temperature: Keep the blondies in an airtight container at room temperature for up to 5 days, ensuring they remain soft and chewy.
Fridge: For longer freshness, you can refrigerate blueberry blondies for up to 10 days in an airtight container.
Freezer: These delicious treats can be frozen for up to 3 months. Wrap each blondie individually in plastic wrap, then place them in a freezer-safe bag.
Reheating: To enjoy a warm dessert, reheat individual blondies in the microwave for 10-15 seconds before serving. This helps revitalize their fudgy texture!
Blueberry Blondies Recipe FAQs
How do I choose the right blueberries for this recipe?
Absolutely! When selecting blueberries, look for plump, firm, and shiny berries that have a deep blue color. Avoid those that have dark spots or are shriveled, as they may be overripe. Fresh blueberries will give your blondies that delightful burst of flavor!
How should I store my blueberry blondies to keep them fresh?
To keep your blueberry blondies soft and chewy, store them in an airtight container at room temperature for up to 5 days. If you want to extend their life, place them in the refrigerator for up to 10 days, ensuring they remain deliciously fresh.
Can I freeze blueberry blondies for later enjoyment?
Definitely! To freeze, first wrap each blondie individually in plastic wrap, then place them all in a freezer-safe bag or container. They can be stored in the freezer for up to 3 months. When you’re ready to enjoy, simply remove a blondie and reheat it in the microwave for 10-15 seconds!
What should I do if my blondies turn out too dense or heavy?
If your blondies end up too dense, this might be caused by overmixing the batter or adding too many blueberries, which can weigh them down. For next time, mix until just combined and adhere to the recommended measurement of blueberries. Each step makes a difference in achieving that perfect chewy texture!
Are there any allergens in this recipe I should be aware of?
Yes, the ingredients in blueberry blondies include butter, eggs, and white chocolate, which can contain dairy. If you have allergies, you can substitute with coconut oil for dairy-free blondies and use flax eggs as an alternative to eggs. Always check your chocolate for any allergen information if you’re making substitutions.
Chewy Blueberry Blondies That Everyone Will Love
Ingredients
Equipment
Method
- Prepare the Butter and Chocolate: Melt ½ cup of unsalted butter and pour over 1 cup of white chocolate chips. Let sit, then whisk until smooth.
- Mix the Wet Ingredients: Combine the cooled butter-chocolate mixture with 1 cup of granulated sugar, 1 teaspoon of vanilla extract, and 2 eggs. Whisk until combined.
- Incorporate the Dry Ingredients: Fold in 1 cup of all-purpose flour and ½ teaspoon of salt, then gently fold in 1 cup of fresh blueberries.
- Bake the Blondies: Preheat oven to 350°F and bake in an 8x8 inch dish for 35-45 minutes.
- Cool and Slice: Allow to cool for 20 minutes, then slice into squares.