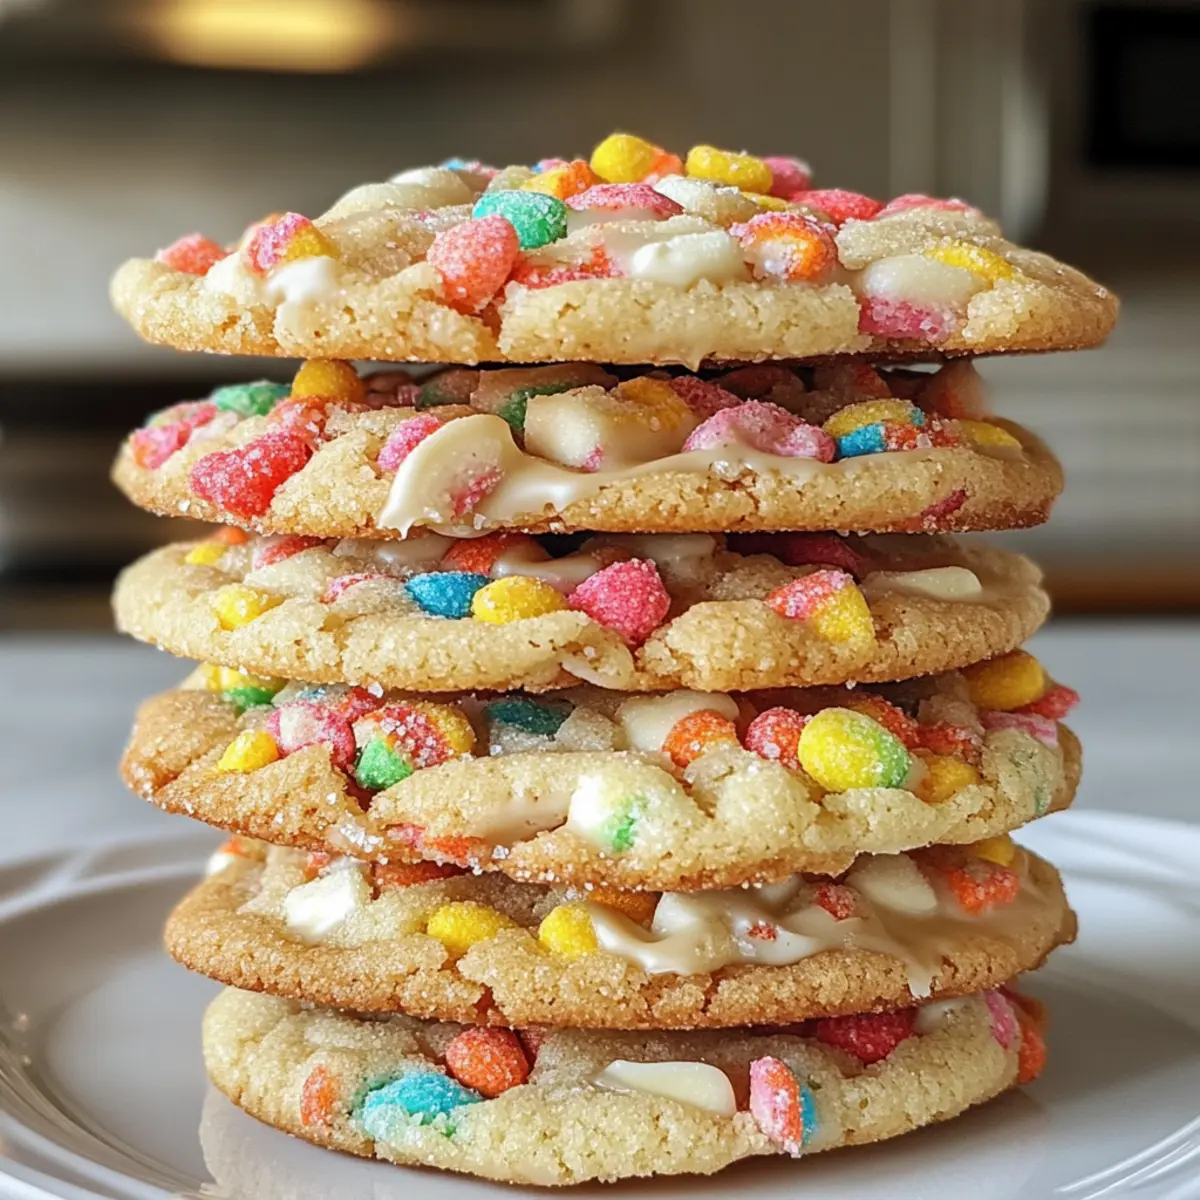
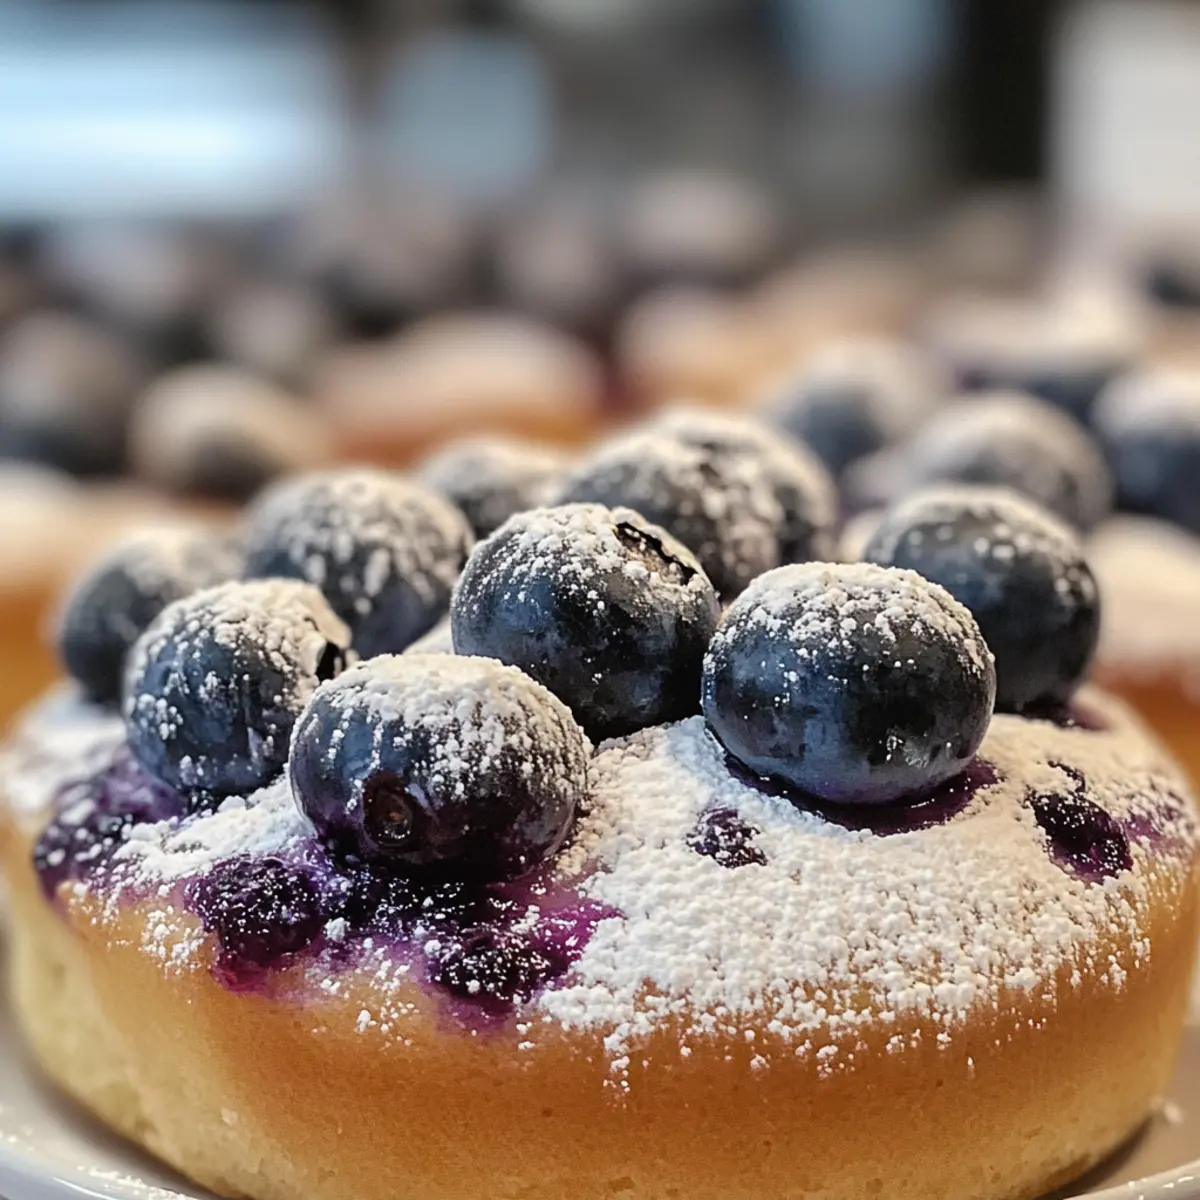
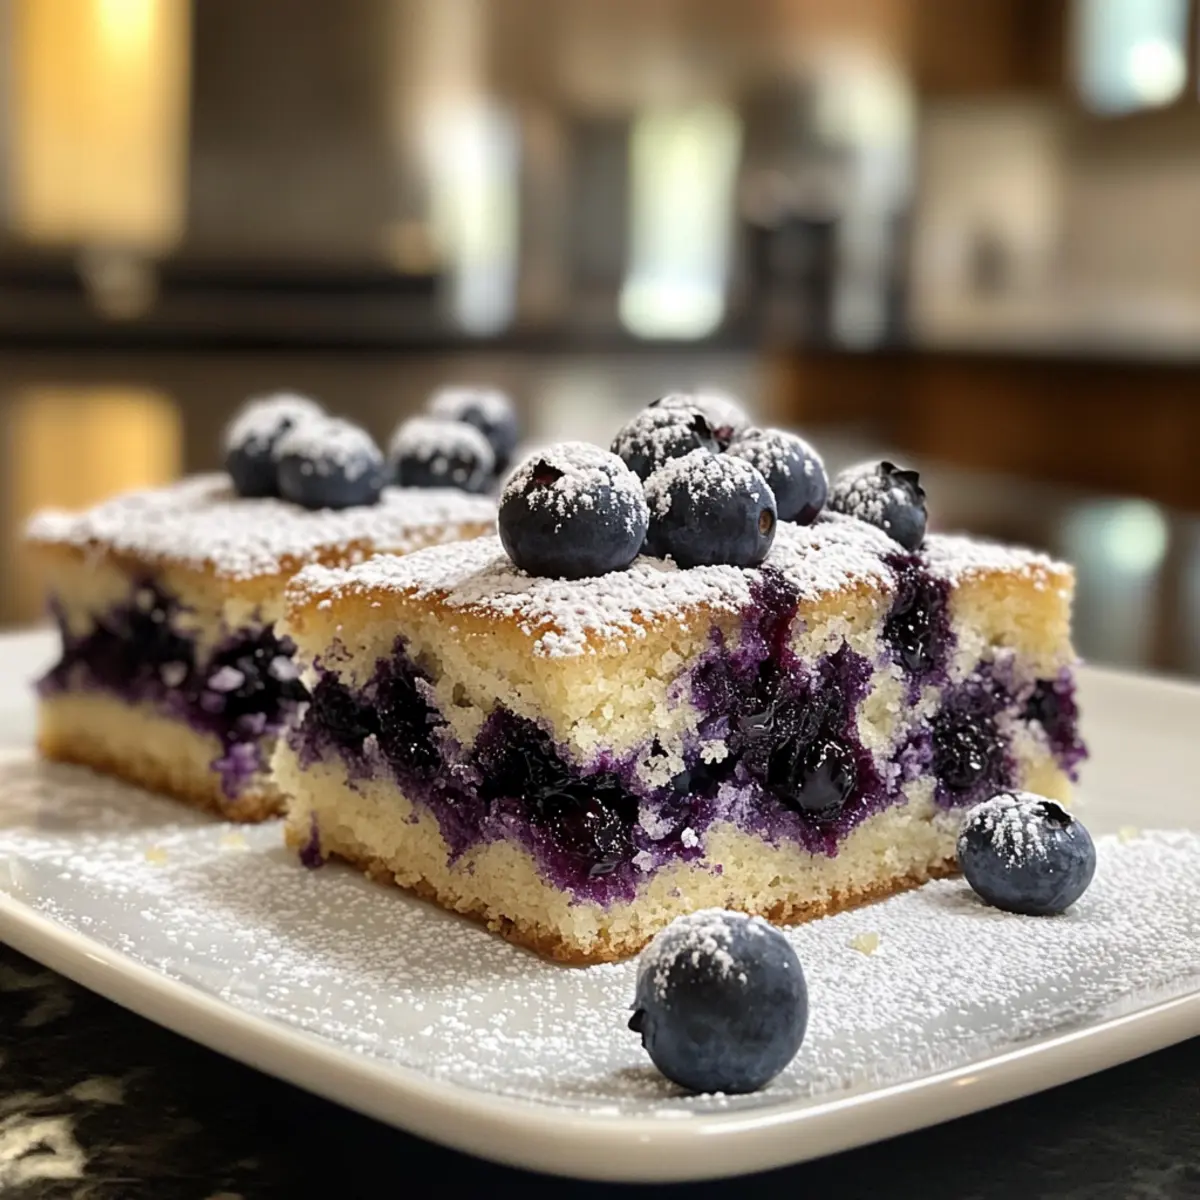
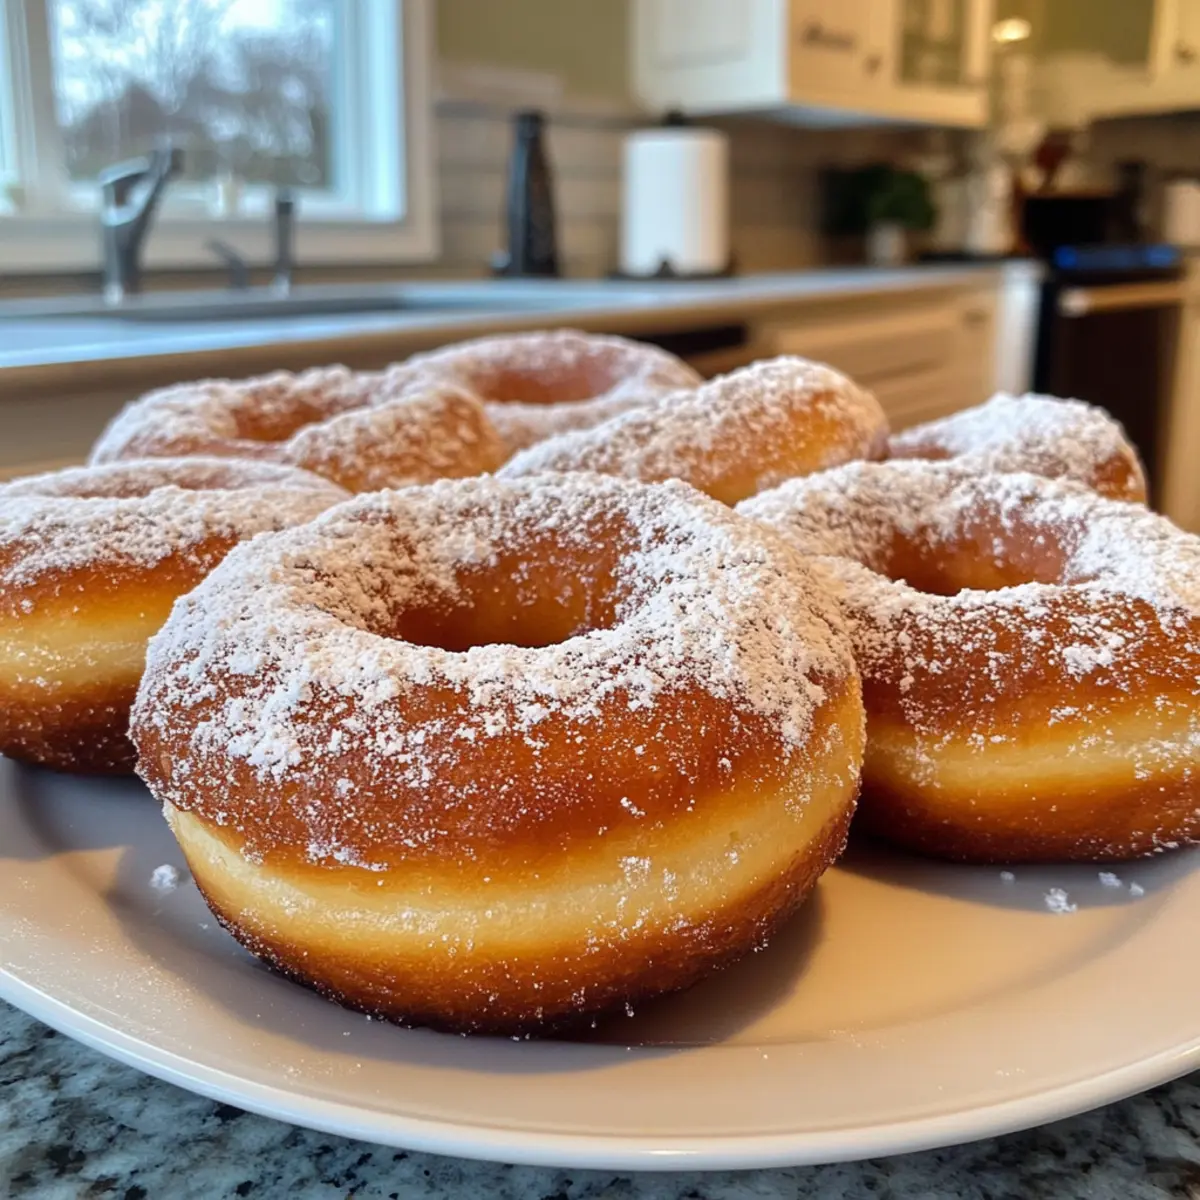
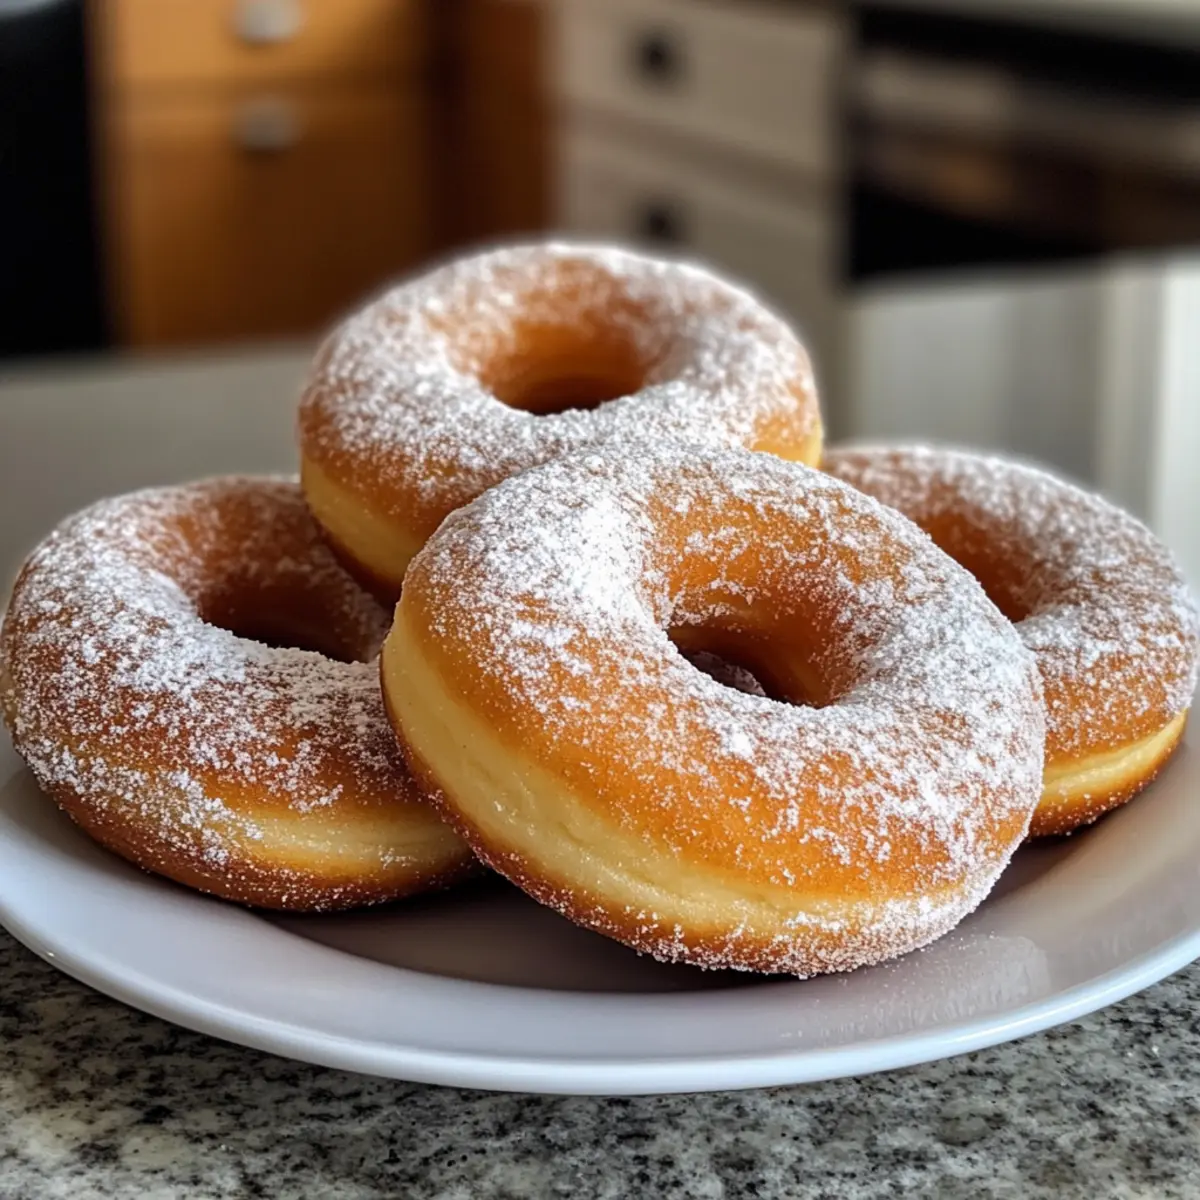
The moment I pulled these Baked Sourdough Discard Powdered Sugar Donuts from the oven, the warmth and sweetness enveloped my kitchen like an old, familiar embrace. This delightful treat marries the joy of using sourdough discard with the ease of a baked donut, making it a healthier choice that doesn’t compromise on taste. Not only are these donuts incredibly simple to whip up, but they also bring a comforting, homemade touch to any breakfast spread—perfect for quiet mornings or lively brunches alike. With their soft and moist texture, they promise a delightful bite every time. Are you ready to elevate your donut game and revive those leisurely breakfast vibes? Let’s dive into this deliciousness together!
Why You’ll Love These Donuts
Irresistible Flavor: These Baked Sourdough Discard Powdered Sugar Donuts are packed with moistness and a subtle sweetness, thanks to the unique addition of sourdough discard.
Quick and Easy: Perfect for busy days, this recipe allows you to whip up homemade donuts in no time, making breakfast a joy instead of a chore.
Healthier Twist: Enjoy the indulgent taste without the guilt! Baked instead of fried, these donuts retain their fluffy texture while offering a lighter option that’s still satisfying.
Versatile Toppings: Customize each batch to your heart’s content! Switch up the powdered sugar for fun alternatives like cinnamon sugar or a light glaze to cater to your cravings.
Perfect for Sharing: Whether it’s a family gathering or a casual meetup with friends, these donuts are sure to impress. They’re the ideal centerpiece for those cozy brunch moments or afternoon treats!
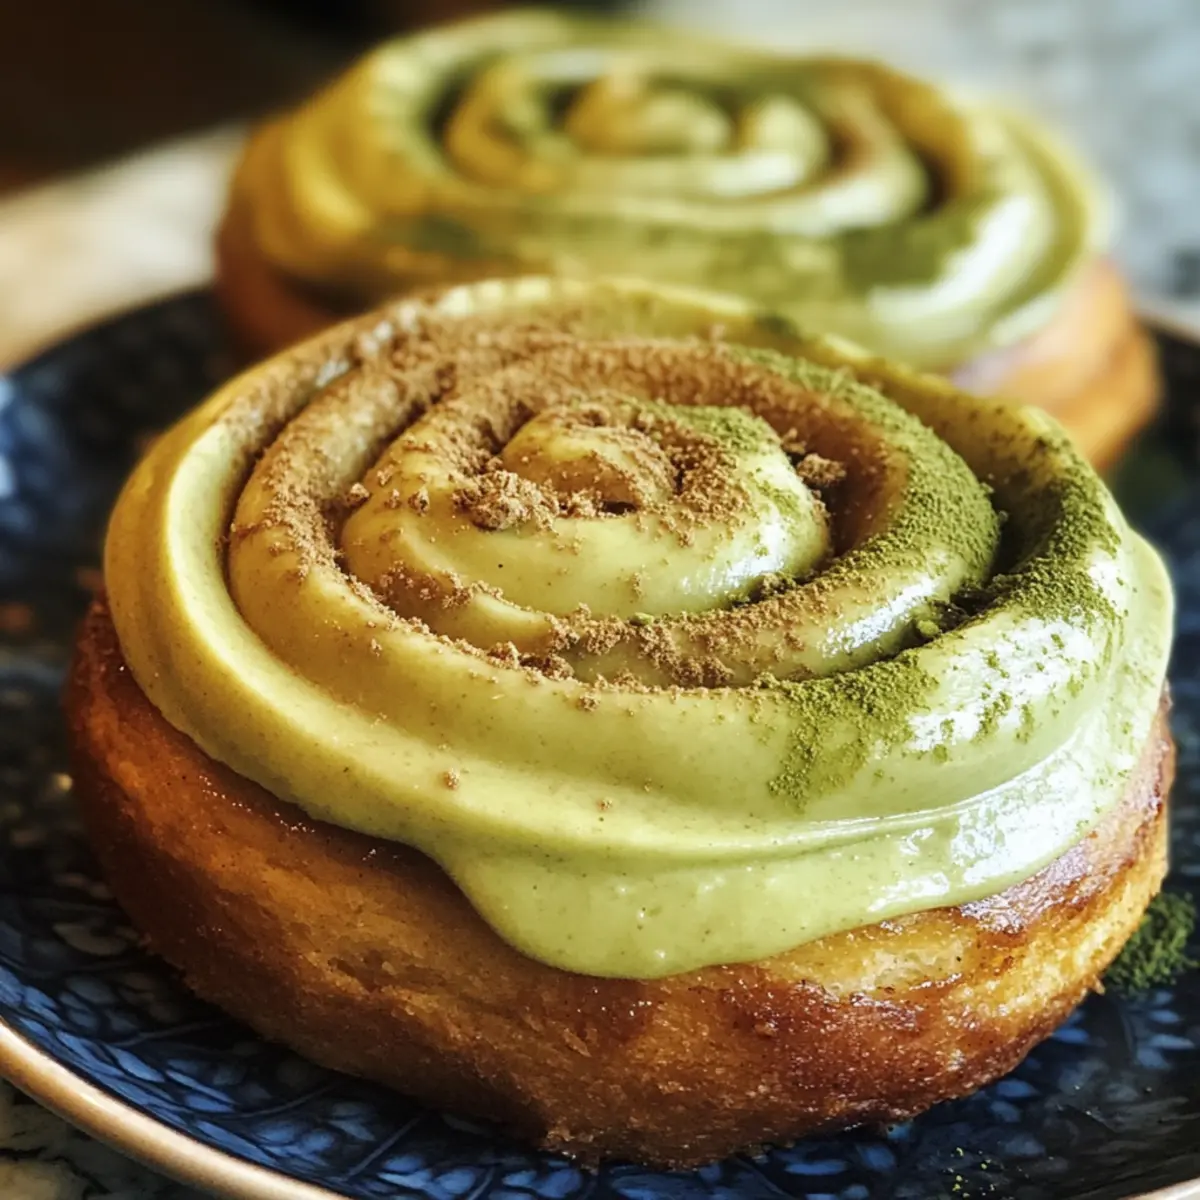
For even more delicious options, you might want to try these Oat Tiramisu Sugar delights for a delightful twist on traditional treats!
Baked Sourdough Discard Powdered Sugar Donuts Ingredients
For the Batter
- All-Purpose Flour – Provides structure; unbleached is preferred for a better texture.
- Sugar – Adds sweetness; cane sugar works best but feel free to use what you have.
- Baking Powder & Baking Soda – These leavening agents help create that light and fluffy feel in your donuts.
- Salt – Balances out the sweetness for a more rounded flavor.
- Nutmeg – Enhances the traditional donut taste with a warm spice note.
- Sourdough Discard – Adds depth of flavor and gut-friendly benefits, making these donuts extra special.
- Greek Yogurt – Contributes moisture and richness, ensuring each bite is delightful.
- Milk – Helps achieve the right batter consistency; whole or 2% milk is ideal.
- Eggs – Acts as a binder, holding everything together nicely.
- Vanilla Extract – Infuses an aromatic flavor that elevates the overall taste.
- Melted Butter – Adds richness and helps the powdered sugar cling beautifully.
For the Coating
- Powdered Sugar – The star of this recipe, providing that sweet and inviting finish we’re all craving!
Step‑by‑Step Instructions for Baked Sourdough Discard Powdered Sugar Donuts
Step 1: Preheat the Oven
Begin by preheating your oven to 350°F (175°C). This ensures a warm, consistent baking environment for your Baked Sourdough Discard Powdered Sugar Donuts. While the oven heats up, gather your ingredients and prepare your mixing bowls for a smooth baking experience.
Step 2: Mix Dry Ingredients
In a stand mixer bowl, combine the dry ingredients: all-purpose flour, sugar, baking powder, baking soda, salt, and nutmeg. Mix on low speed for about 30 seconds until blended well. You’ll know it’s ready when the mixture is uniform, and the lovely aroma of nutmeg starts to fill your kitchen!
Step 3: Whisk Wet Ingredients
In a separate mixing bowl, whisk together the wet ingredients: Greek yogurt, milk, eggs, sourdough discard, melted butter, and vanilla extract. Make sure everything is combined well and smooth, which should take about 1-2 minutes. The mixture should be creamy and luscious, preparing the base for your donut batter.
Step 4: Combine Wet and Dry Mixtures
Gently incorporate the wet ingredients into the dry ingredients using your stand mixer. Mix on low speed just until the batter is blended—this should take about 30 seconds. Watch for a few lumps; it’s okay to have them! Overmixing can lead to dense donuts, so keep it light and airy for the best texture.
Step 5: Prepare the Donut Pans
Grease your donut pans thoroughly with non-stick cooking spray or melted butter. This step is crucial to prevent the donuts from sticking. After greasing, scoop the batter into the pans, filling each donut cavity about three-quarters full, and smooth the tops with a spatula for even baking.
Step 6: Bake the Donuts
Place the filled donut pans in the preheated oven and bake for 14-16 minutes. The donuts are ready when they turn golden brown and a toothpick inserted in the center comes out clean. Your kitchen will be filled with a mouthwatering aroma that signals deliciousness is on the way!
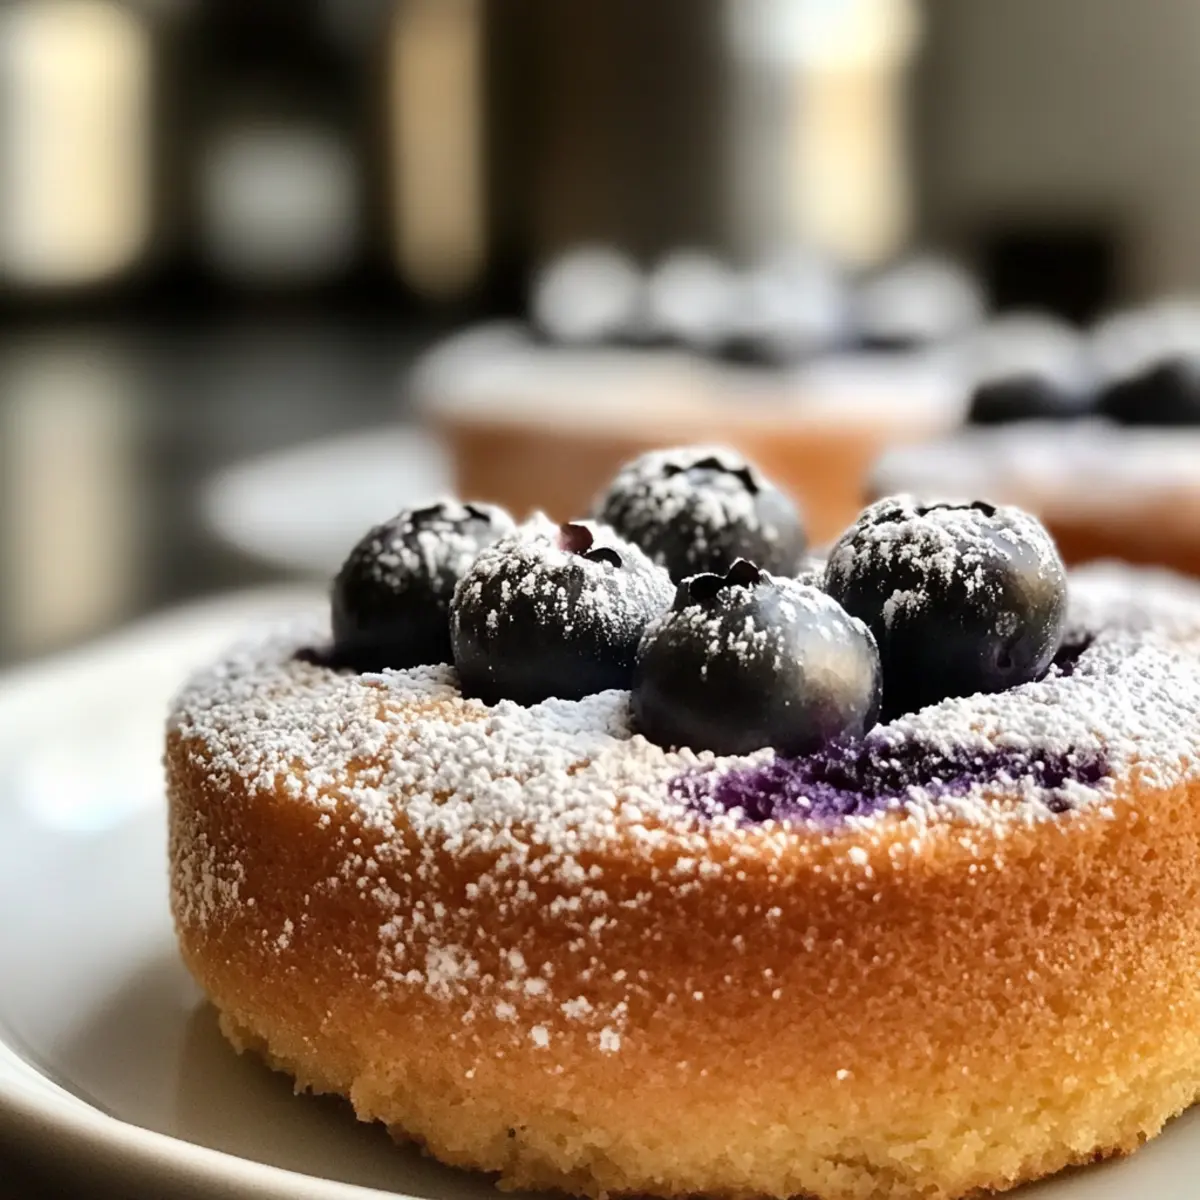
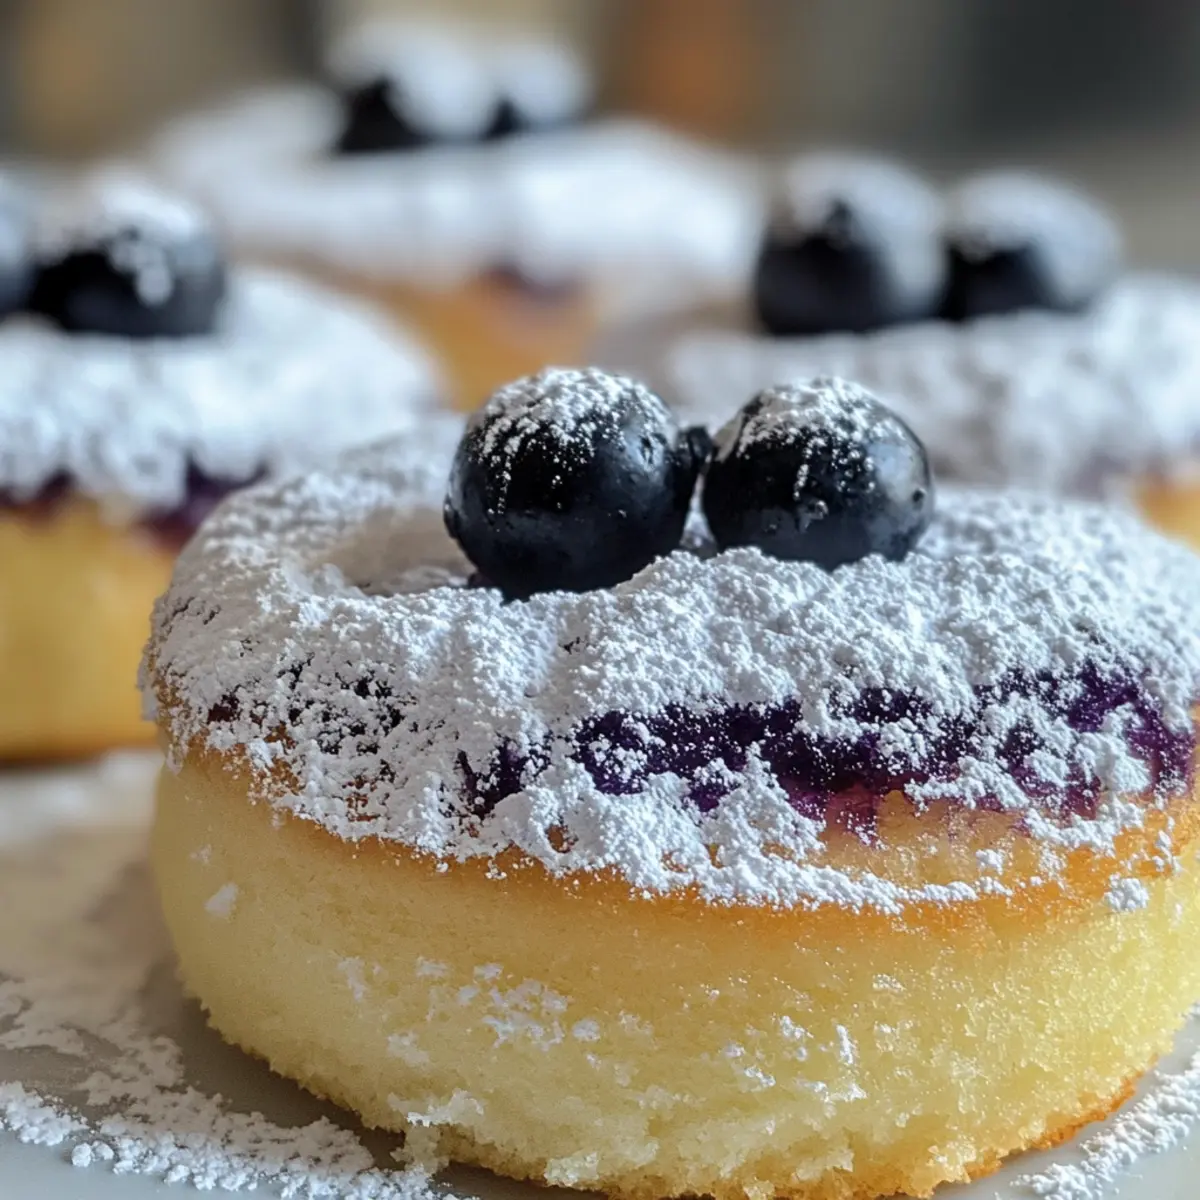
Step 7: Cool the Donuts
Once baked, remove the donut pans from the oven and allow them to cool in the pans for about 5 minutes. This short cooling time makes it easier to remove them without breaking. After that, gently transfer the donuts to a wire rack to cool completely and stop them from getting soggy at the bottom.
Step 8: Coat with Powdered Sugar
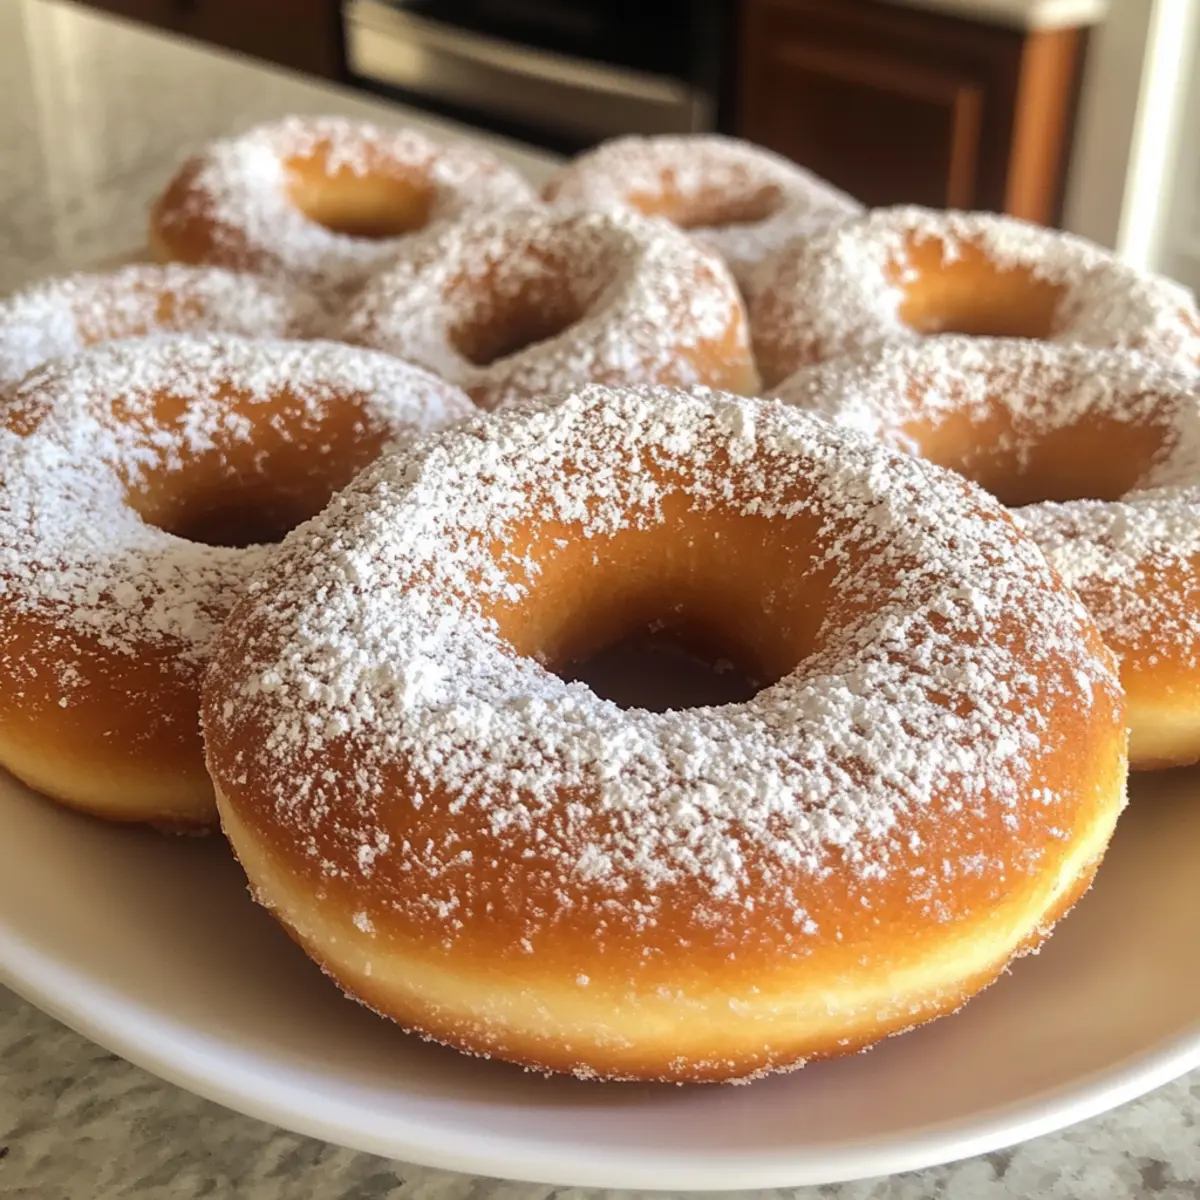
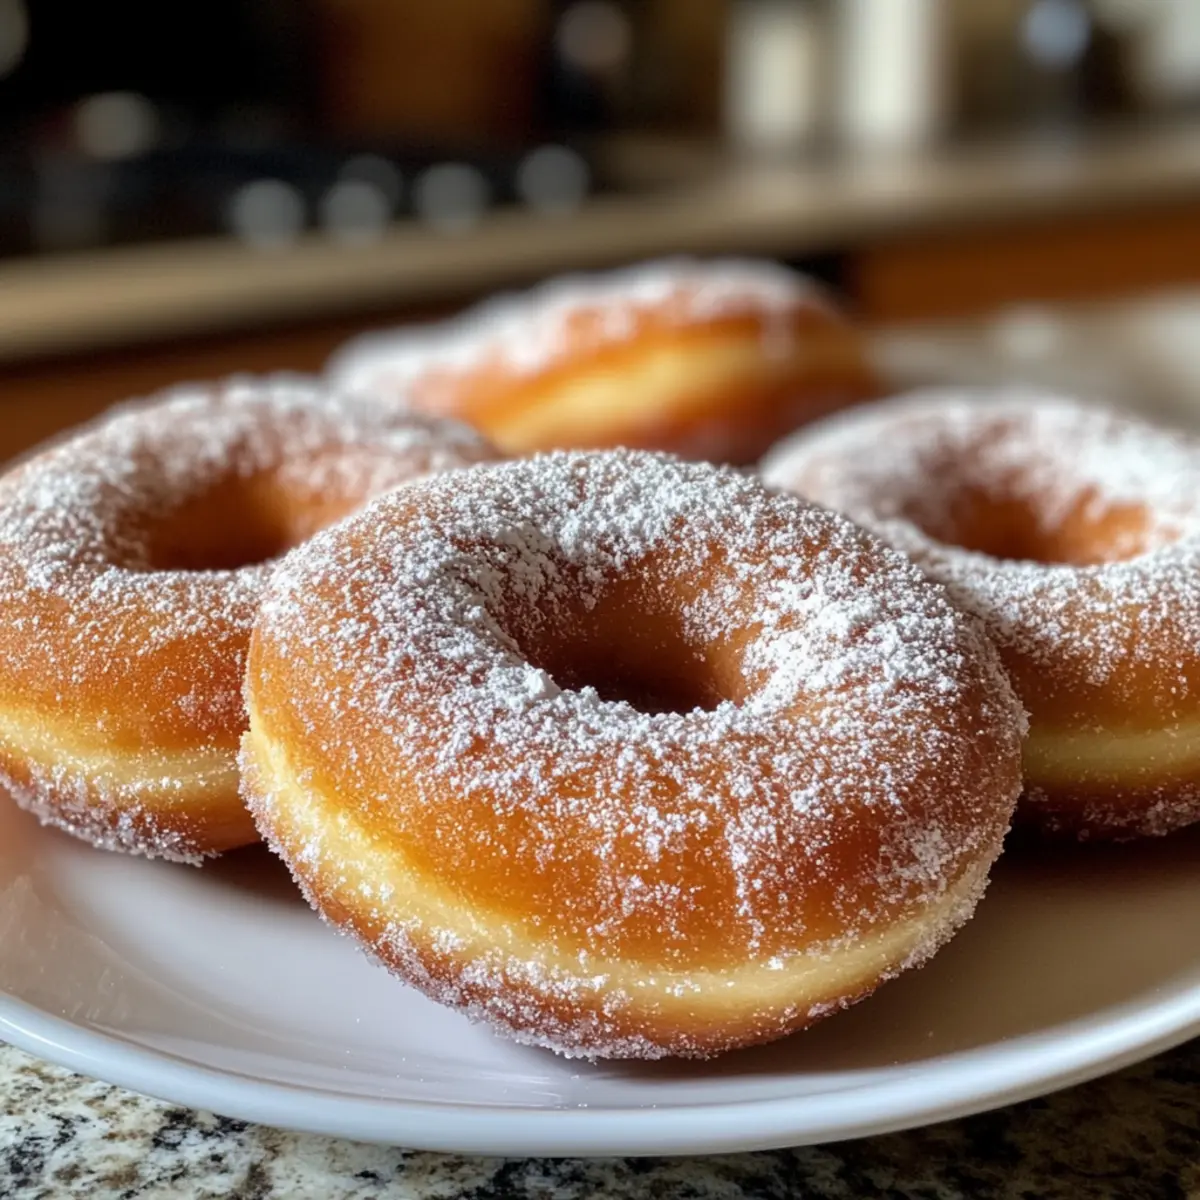
While the donuts are still slightly warm, place powdered sugar in a zip-top bag. Add a few warm donuts at a time, seal the bag, and shake gently to coat them evenly. This method ensures you get that delightful powdered sugar blanket without any mess, making your Baked Sourdough Discard Powdered Sugar Donuts even more inviting!
Make Ahead Options
These Baked Sourdough Discard Powdered Sugar Donuts are perfect for meal prep enthusiasts seeking to save time! You can prepare the donut batter up to 24 hours in advance by mixing the wet and dry ingredients separately, then keeping them covered in the refrigerator. When ready to bake, simply combine the mixtures and fill your donut pans, then bake as instructed. For optimal freshness, store the baked donuts in an airtight container for up to 3 days at room temperature. Reheating for a few minutes in the oven will restore their delightful softness, ensuring they’re just as delicious as when they were first made. Enjoy the convenience and flavors of these homemade treats without the fuss on busy mornings!
How to Store and Freeze Baked Sourdough Discard Powdered Sugar Donuts
Room Temperature: Store the donuts in an airtight container at room temperature for up to 3 days. This keeps them soft and delicious, ready for any snack or breakfast craving.
Fridge: If you want to enjoy these treats for a bit longer, refrigerate them in an airtight container for up to one week. The cool temperature helps maintain their freshness!
Freezer: For longer storage, freeze the donuts! Wrap each one tightly in plastic wrap, and then place them in a freezer-safe bag. They can be frozen for up to 2 months.
Reheating: To enjoy frozen donuts, simply thaw them in the fridge overnight or at room temperature for a couple of hours. Reheat in the microwave for about 10-15 seconds to restore their softness. Enjoy your Baked Sourdough Discard Powdered Sugar Donuts just like fresh!
What to Serve with Baked Sourdough Discard Powdered Sugar Donuts
Creating the ultimate breakfast or brunch spread is a delightful experience, especially when you have these airy donuts to anchor your meal.
-
Fresh Fruit Medley: A colorful assortment of sliced strawberries, blueberries, and bananas adds a refreshing touch, balancing the sweetness of the donuts. The natural juices from the fruit will awaken your taste buds!
-
Creamy Greek Yogurt: This tangy, protein-packed option complements the sweetness perfectly, providing a creamy contrast that feels indulgent but wholesome. You can even add a drizzle of honey for extra sweetness!
-
Nutty Granola: A crunchy granola serves as a delightful textural contrast and can be sprinkled over yogurt or enjoyed on its own. Its earthy flavors harmonize well with the powdered sugar donuts.
-
Rich Coffee or Tea: A steaming cup of your favorite brew enhances the experience, offering a comforting warmth that pairs wonderfully with the donuts. Whether it’s a bold espresso or calming herbal tea, the choice is yours!
-
Savory Egg Dishes: Fluffy scrambled eggs or a classic omelet provide a savory counterbalance to your sweet treats. Their rich flavors and protein will keep you energized throughout the morning.
-
Light Citrus Salad: Brighten your plate with a zesty citrus salad made from oranges and grapefruits. The acidity cuts through the sweetness and refreshes your palate between bites of donut bliss.
With these pairings, your breakfast or brunch will transform into a vibrant celebration of flavors and textures, making any day feel special!
Expert Tips for Baked Sourdough Discard Powdered Sugar Donuts
-
Grease Generously: Ensure your donut pans are well-greased to prevent sticking; non-stick spray or melted butter works wonders.
-
Check for Doneness: Start checking your donuts around the 14-minute mark. Overbaking can make them dry, so aim for a golden-brown exterior.
-
Adjust Batter Consistency: If your batter appears too thick, add a splash more milk to achieve the perfect pourable consistency for fluffy Baked Sourdough Discard Powdered Sugar Donuts.
-
Experiment with Coatings: Don’t limit yourself to powdered sugar! Try using cinnamon sugar or melted chocolate glaze for a fun twist on the classic recipe.
-
Cool Before Coating: Allow the donuts to cool slightly before coating with powdered sugar to ensure a better cling and prevent it from melting.
Baked Sourdough Discard Powdered Sugar Donuts Variations
Invite your inner chef to spark creativity with delightful twists on this recipe!
-
Cinnamon Sugar: Replace powdered sugar with a blend of cinnamon and granulated sugar for a warm, spiced coating.
-
Pumpkin Delight: Swap half the sourdough discard for pumpkin puree to create a seasonal favorite. These donuts will have a beautiful autumn hue!
-
Chocolate Glaze: Top them off with a rich chocolate glaze made from melted chocolate and a splash of cream for a decadent treat.
-
Nutty Surprise: Add chopped nuts like walnuts or pecans to the batter for a lovely texture contrast and a nutty flavor boost.
-
Citrus Zest: Stir in some lemon or orange zest to the batter for a bright, refreshing citrus twist—pair it beautifully with a light glaze!
-
Coconut Twist: Incorporate shredded coconut in the batter and on top for a tropical flair that makes every bite feel like a vacation.
-
Spicy Kick: Add a pinch of cayenne or chili powder to the batter to create a surprising, zesty flavor that contrasts beautifully with the sweetness.
-
Maple Drizzle: Instead of powdered sugar, drizzle warm maple syrup over the donuts for a comforting breakfast treat that’s unforgettable!
Don’t forget, for more tasty ideas, try mixing in some delightful flavors akin to those found in Oat Tiramisu Sugar for a mouthwatering twist!
Baked Sourdough Discard Powdered Sugar Donuts Recipe FAQs
What’s the best way to choose sourdough discard?
Absolutely! When selecting sourdough discard, look for a discard that is at least a few days old, as it develops a deeper, more complex flavor. However, avoid using discard that has dark spots all over or has an off smell, as this indicates spoilage. Fresh discard should have a pleasant, tangy aroma.
How should I store my baked donuts?
You can easily store your Baked Sourdough Discard Powdered Sugar Donuts in an airtight container at room temperature for up to 3 days. If you want to extend their freshness, refrigerating them in an airtight container will keep them good for up to one week. Just make sure the container is sealed well to prevent drying out!
Can I freeze these donuts?
Yes, you can! For freezing your donuts, wrap each one tightly in plastic wrap to prevent them from getting frostbite, then place them in a freezer-safe bag. They can be stored in the freezer for up to 2 months. When you’re ready to enjoy them, simply thaw them overnight in the fridge, or at room temperature for a couple of hours, and then reheat in the microwave for about 10-15 seconds.
What if my batter is too thick?
If you find that your donut batter is too thick, don’t worry—this can happen! Just add a splash more milk, about 1-2 tablespoons should do the trick. Gently fold in the milk until you get a smooth, slightly pourable batter. This adjustment will help ensure that your Baked Sourdough Discard Powdered Sugar Donuts come out light and fluffy!
Are these donuts suitable for people with allergies?
It’s important to consider dietary restrictions! This recipe contains common allergens like gluten (from flour), dairy (from milk and yogurt), and eggs. For those with gluten sensitivities, you can experiment with gluten-free all-purpose flour blends. If you’re looking for dairy-free options, substitute Greek yogurt with a plant-based yogurt and milk with almond or oat milk. Just be mindful that the texture might vary slightly!
Can I make these donuts in advance?
Definitely! These donuts can be made a day ahead, which is perfect for brunch gatherings. Store them in an airtight container once they’ve cooled completely. Just remember to coat them with powdered sugar right before serving to maintain that delightful sweetness and freshness!
Baked Sourdough Discard Powdered Sugar Donuts You’ll Love
Ingredients
Equipment
Method
- Preheat your oven to 350°F (175°C).
- In a stand mixer bowl, combine the dry ingredients: all-purpose flour, sugar, baking powder, baking soda, salt, and nutmeg. Mix on low speed for about 30 seconds.
- In a separate bowl, whisk together the wet ingredients: Greek yogurt, milk, eggs, sourdough discard, melted butter, and vanilla extract until smooth.
- Gently incorporate the wet ingredients into the dry ingredients using your stand mixer. Mix on low speed just until blended—about 30 seconds.
- Grease your donut pans thoroughly with non-stick cooking spray or melted butter. Fill each donut cavity about three-quarters full.
- Bake for 14-16 minutes until golden brown and a toothpick inserted comes out clean.
- Cool in the pans for about 5 minutes, then transfer to a wire rack to cool completely.
- While still warm, place powdered sugar in a zip-top bag, add donuts, seal, and shake to coat evenly.