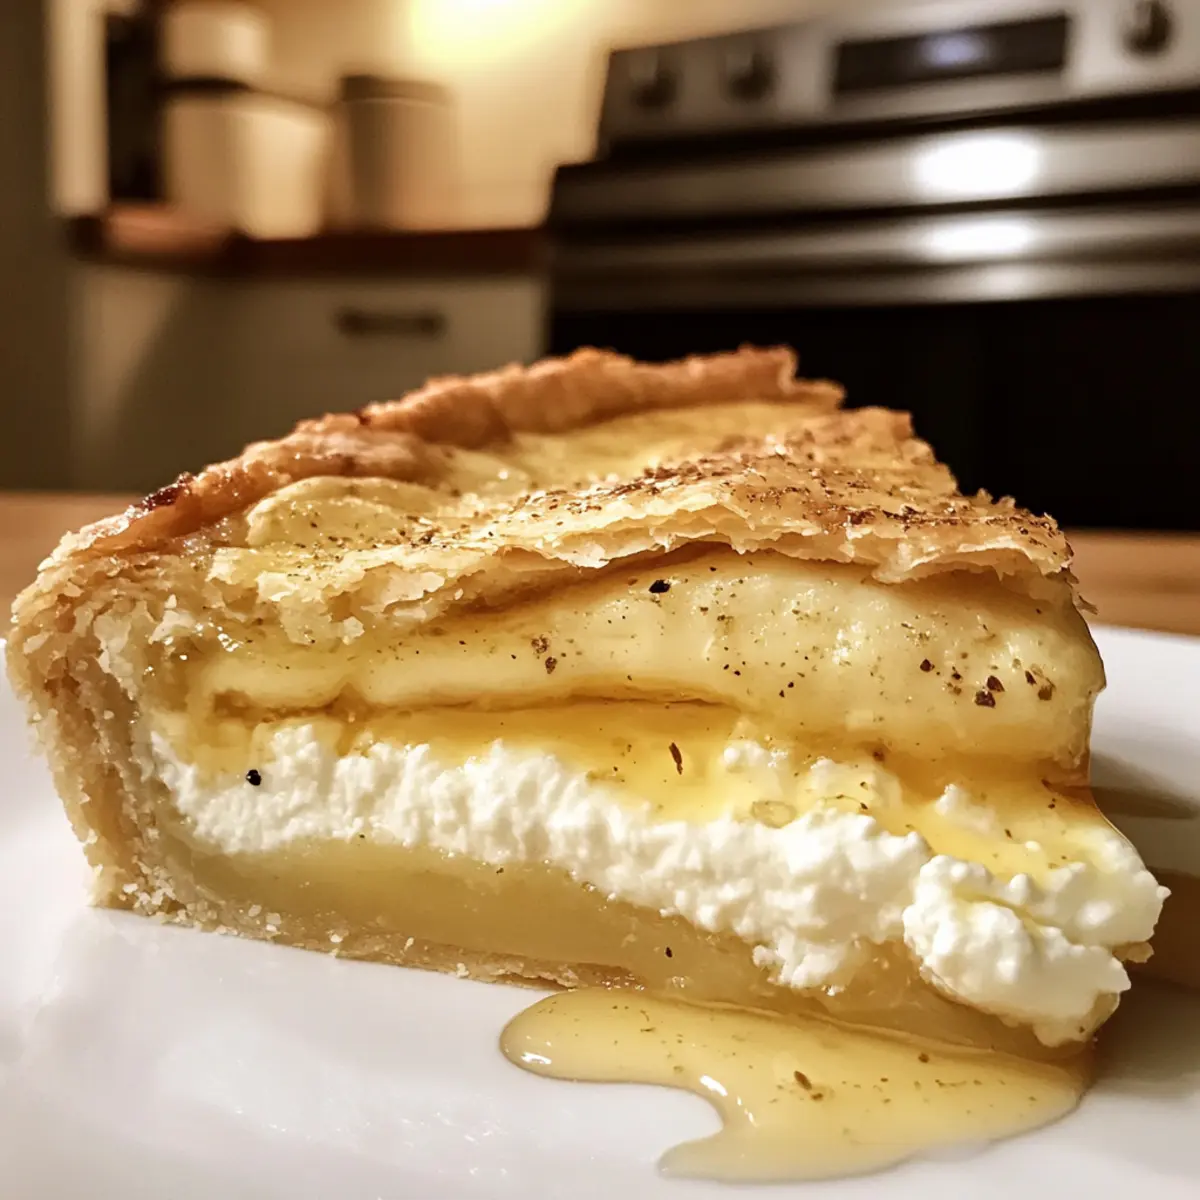
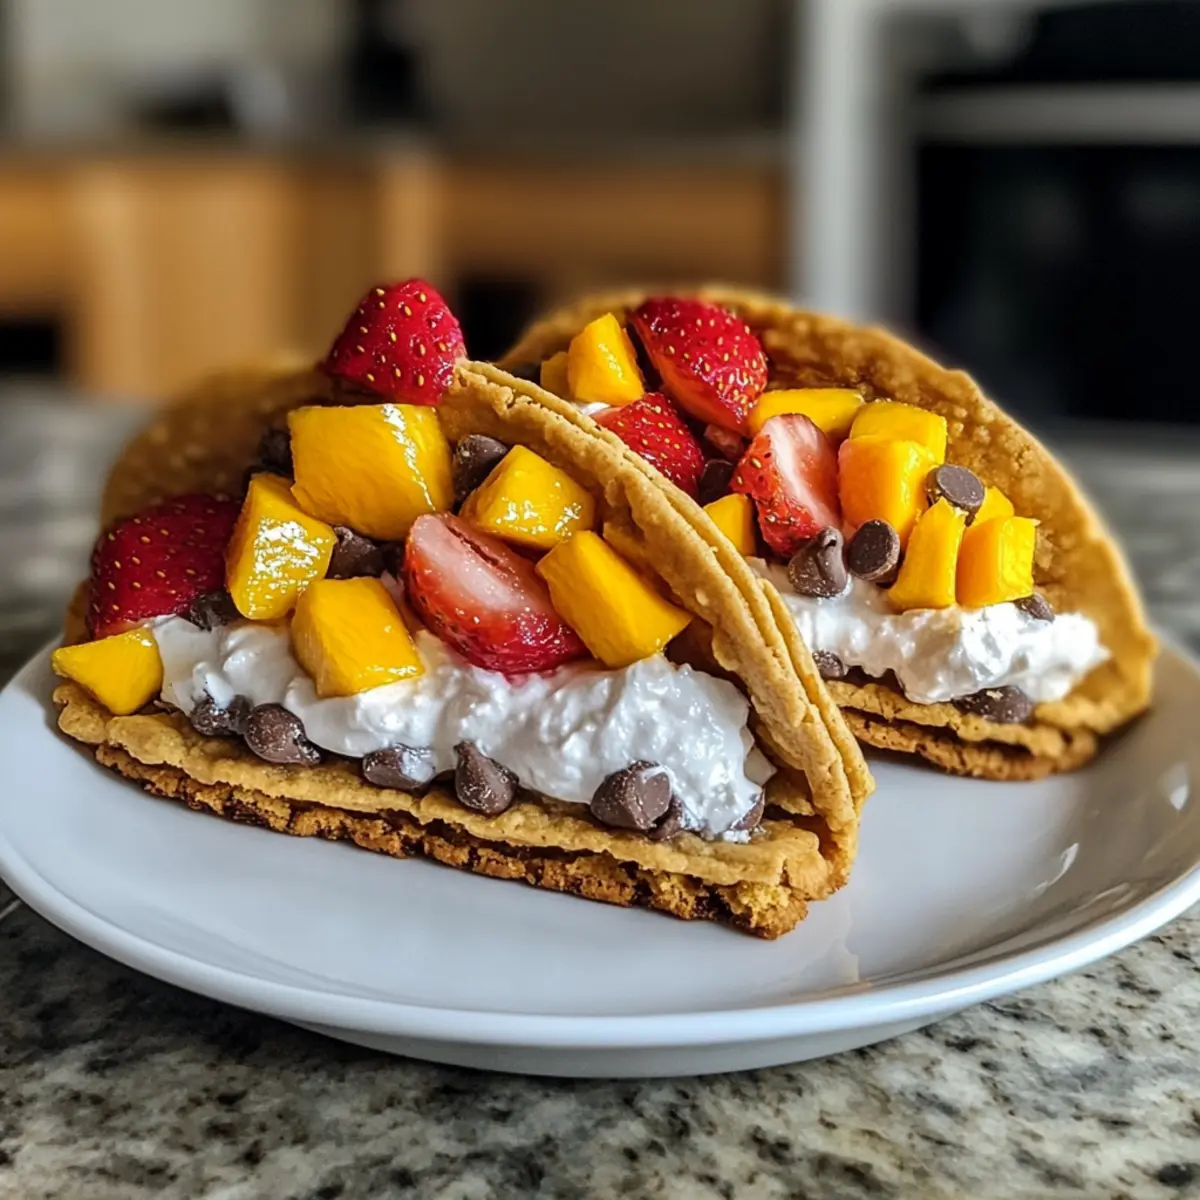
As I eagerly watched the excitement around me, I stumbled upon a fascinating fusion that caught my eye—Chocolate Chip Cookie Tacos. These delightful creations transform traditional dessert into something whimsically festive, featuring buttery cookie shells cradling velvety vanilla cream and vibrant fruit salsa. Not only are they a fun twist on conventional sweets, but they also invite creativity, making them perfect for gatherings or just a special treat at home. Plus, with options for gluten-free and vegan substitutions, these tacos can cater to almost any dietary preference! So, who’s ready to impress their friends with this unforgettable dessert?
Why are Chocolate Chip Cookie Tacos irresistible?
Uniqueness: These tacos are not your typical dessert! By reimagining traditional tacos as cookie shells, you’re bringing fun and creativity to the table.
Versatility: Customize the filling by swapping in seasonal fruits, nuts, or even a touch of spice for a unique twist.
Easy to Make: With just a few ingredients, you can whip these up in no time—ideal for both novice and seasoned bakers alike.
Crowd-Pleaser: Perfect for parties! They look vibrant and festive, ensuring your spread will be the talk of the gathering.
Diet-Friendly: With options for gluten-free and vegan tweaks, these Chocolate Chip Cookie Tacos can cater to a variety of dietary needs. Enjoy alongside delicious treats like Coconut Chocolate Rolls or Chocolate Date Cookies for an indulgent spread!
Chocolate Chip Cookie Tacos Ingredients
Note: These ingredients will create delicious Chocolate Chip Cookie Tacos perfect for any gathering!
For the Cookie Shell
• Unsalted Butter – 1/2 cup (115g); provides richness and flavor; substitute with vegan butter for a dairy-free version.
• Brown Sugar – 3/4 cup (150g); adds moisture and a deep caramel flavor; no direct substitutes.
• Granulated Sugar – 1/4 cup (50g); sweetens the dough; can be replaced with coconut sugar for a healthier option.
• Large Egg – 1; binds ingredients and enhances texture; replace with a flax egg (1 tbsp ground flax + 3 tbsp water) for a vegan alternative.
• Vanilla Extract – 1 tsp (5ml); enhances overall flavor; use vanilla bean paste for a richer taste.
• All-Purpose Flour – 1 1/2 cups (190g); provides structure; can substitute with a 1:1 gluten-free blend.
• Baking Soda – 1/2 tsp (3g); essential leavening agent for rise; no substitutes.
• Salt – 1/4 tsp (1g); balances sweetness and enhances flavor.
For the Filling
• Semi-Sweet Chocolate Chips – 1 cup (170g); adds sweetness and texture; consider dark chocolate for a richer flavor.
• Heavy Whipping Cream – 1 cup (240ml); creates a stable filling; coconut cream can be used for a non-dairy option.
• Powdered Sugar – 3 tbsp (36g); sweetens whipped cream; can reduce depending on sweetness preference.
For the Fruit Salsa
• Fresh Strawberries – 1/2 cup (75g); adds freshness and acidity; can substitute with raspberries or blueberries.
• Fresh Mango – 1/2 cup (80g); provides tropical flavor; substitute with any seasonal fruit that pairs well with cream.
• Rainbow Sprinkles – 2 tbsp (15g); optional decorative element to make your tacos festive.
Now you’re ready to create these heavenly Chocolate Chip Cookie Tacos that are sure to leave everyone wanting more!
Step‑by‑Step Instructions for Chocolate Chip Cookie Tacos
Step 1: Dough Preparation
Begin by creaming ½ cup of unsalted butter and ¾ cup of brown sugar with ¼ cup of granulated sugar using a hand mixer until the mixture is light and fluffy, about 3-5 minutes. Next, beat in one large egg and 1 teaspoon of vanilla extract until fully incorporated. In a separate bowl, whisk together 1½ cups of all-purpose flour, ½ teaspoon of baking soda, and ¼ teaspoon of salt. Gently fold the dry ingredients into the wet mixture, then stir in 1 cup of semi-sweet chocolate chips. Chill the dough for 30 minutes to firm it up.
Step 2: Baking the Shells
Preheat your oven to 350°F (175°C) while the dough chills. Line a baking sheet with parchment paper. Scoop approximately 3 tablespoons of dough and flatten it into a circle on the parchment. Place each dough circle over the bottom of a small bowl or tin to create a taco shell shape. Bake for about 10-12 minutes, or until the edges are golden brown. Once baked, let them cool for 2 minutes in the molds before transferring to a wire rack to cool completely.
Step 3: Making the Cream Filling
While the cookie shells cool, prepare the filling by whipping 1 cup of cold heavy whipping cream in a mixing bowl. Add 3 tablespoons of powdered sugar and a splash of vanilla extract to sweeten. Beat until stiff peaks form, which should take about 4-5 minutes. Make sure the cream is ice-cold for the best volume and texture. Once done, fill a piping bag with the whipped cream to make the assembly easier.
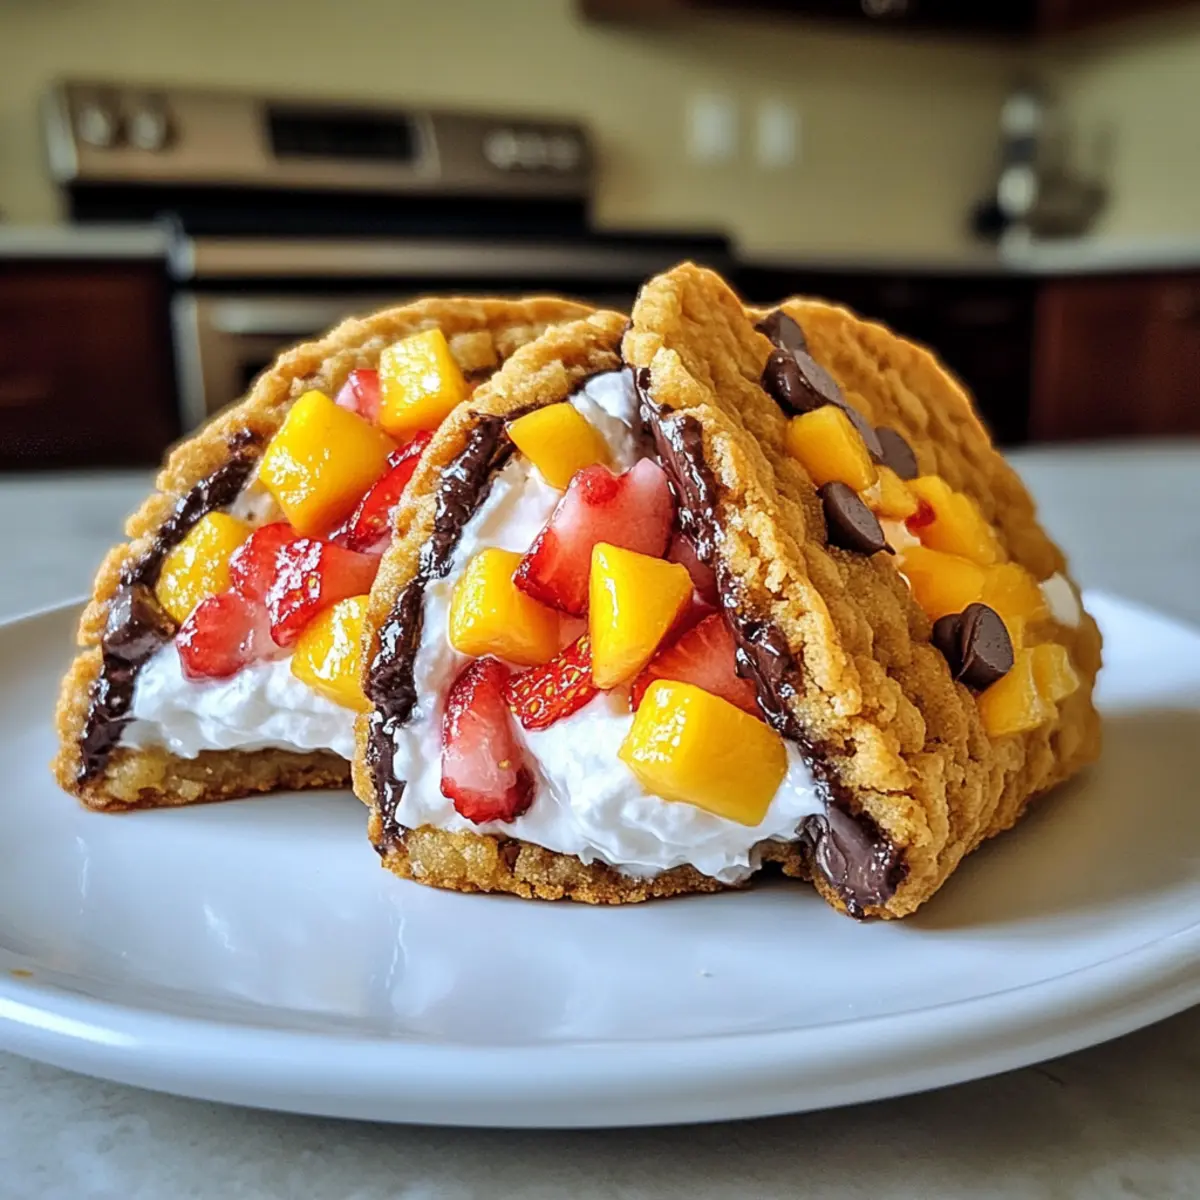
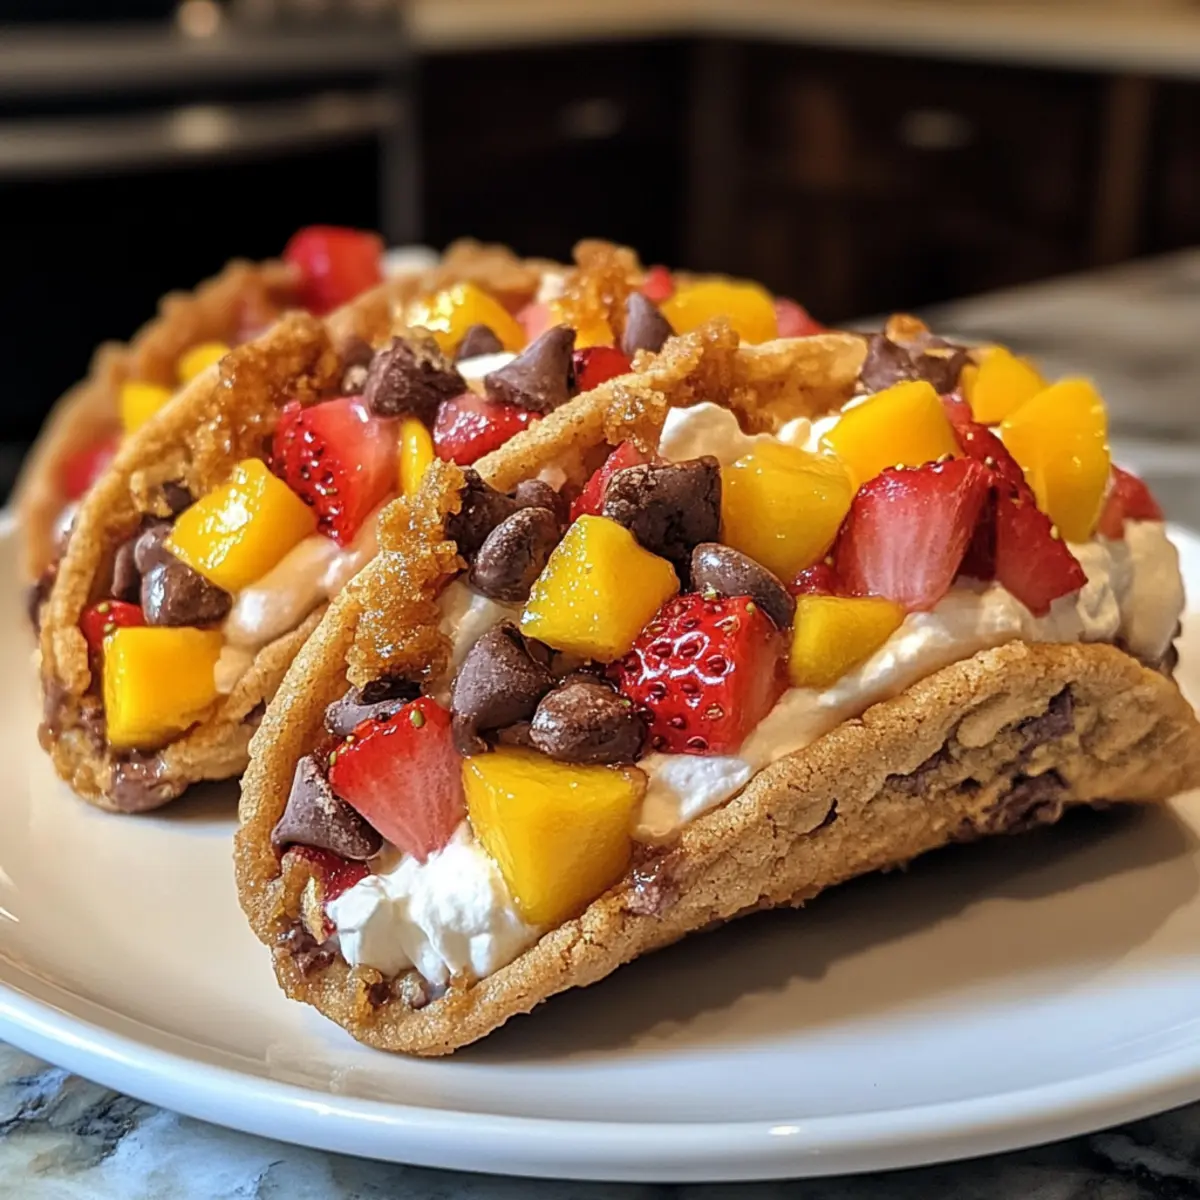
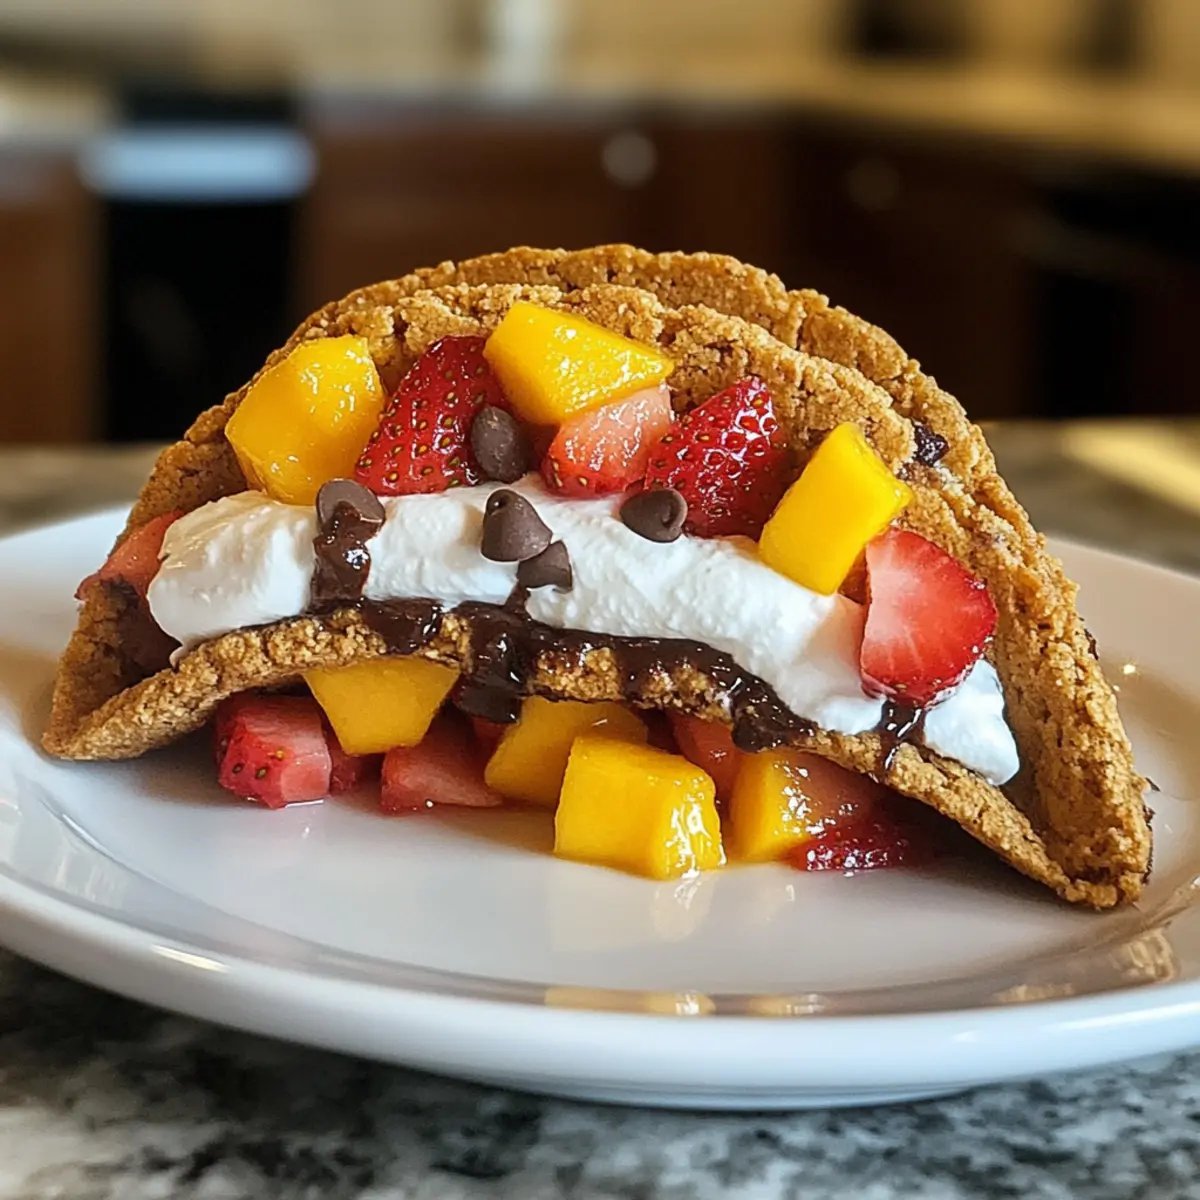
Step 4: Assembling the Tacos
Once the cookie shells are completely cooled, it’s time to assemble your delicious Chocolate Chip Cookie Tacos. Carefully pipe the creamy filling into each taco shell, filling them generously without overfilling. Top with diced fresh strawberries and mango for a refreshing fruit salsa. For an extra festive touch, sprinkle some rainbow sprinkles on top. Serve these delightful treats immediately and watch them disappear!
What to Serve with Chocolate Chip Cookie Tacos
Delight in a full culinary experience by pairing these whimsical desserts with vibrant accompaniments that elevate every bite.
- Fresh Fruit Platter: A colorful array of seasonal fruits offers a light, refreshing contrast to the richness of cookie tacos.
- Chocolate Sauce Drizzle: A warm chocolate sauce adds an indulgent touch, perfectly complementing the sweetness and enhancing flavor.
- Coconut Whipped Cream: For a tropical spin, serve alongside coconut whipped cream to create a delightful fusion of flavors.
- Vanilla Ice Cream: Creamy vanilla ice cream makes for a classic pairing, providing a cool, soothing counterpoint to the warm cookie shells.
- Homemade Berry Sauce: A tart berry sauce adds a perfect zing, balancing the sweetness of your Chocolate Chip Cookie Tacos beautifully.
- Sparkling Citrus Mocktail: Refresh with a zesty mocktail featuring sparkling water blended with orange and lime for a bubbly, invigorating drink.
- Nutty Granola Topping: Sprinkling nutty granola over the tacos introduces a delightful crunch and wholesome texture, enhancing the overall experience.
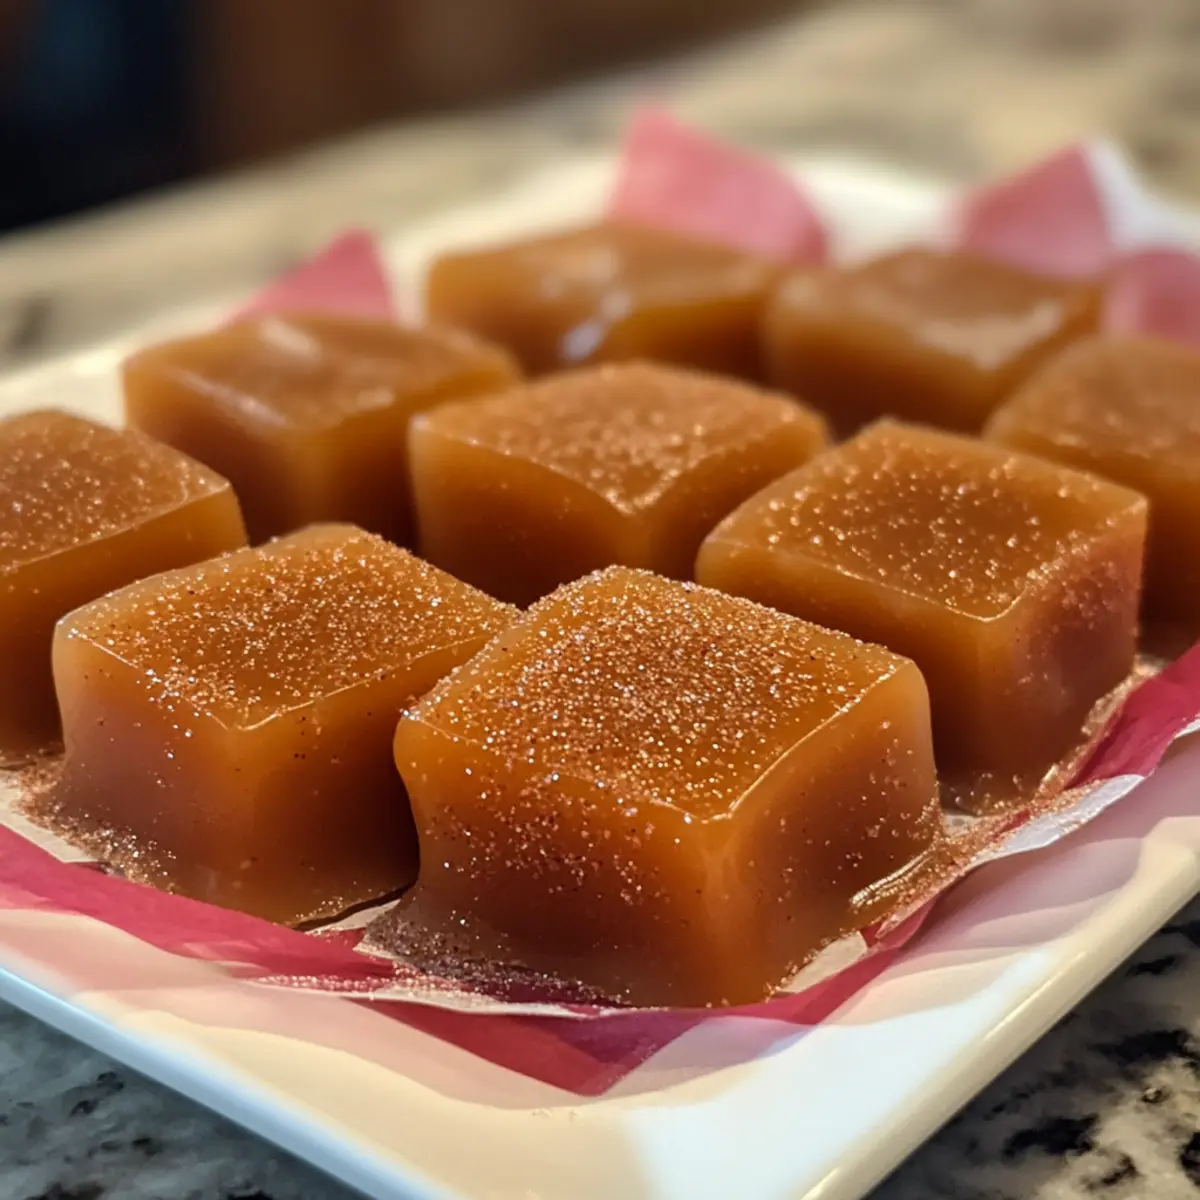
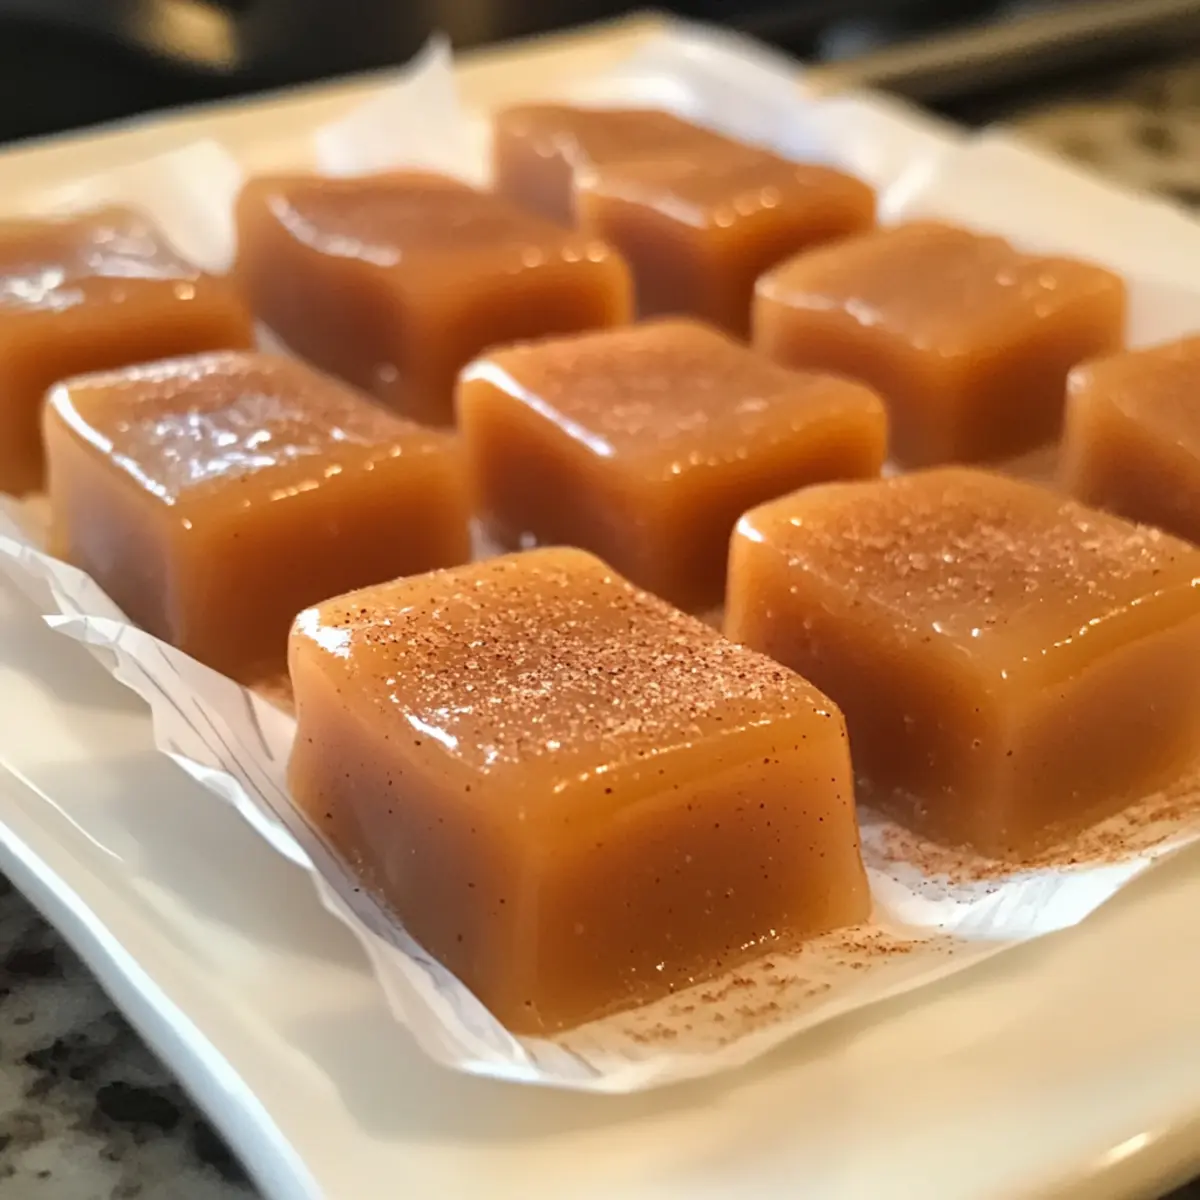
- Cinnamon Sugar Dusting: A light dusting of cinnamon sugar can transform the cookie shells, deepening their flavors and adding a warm aroma.
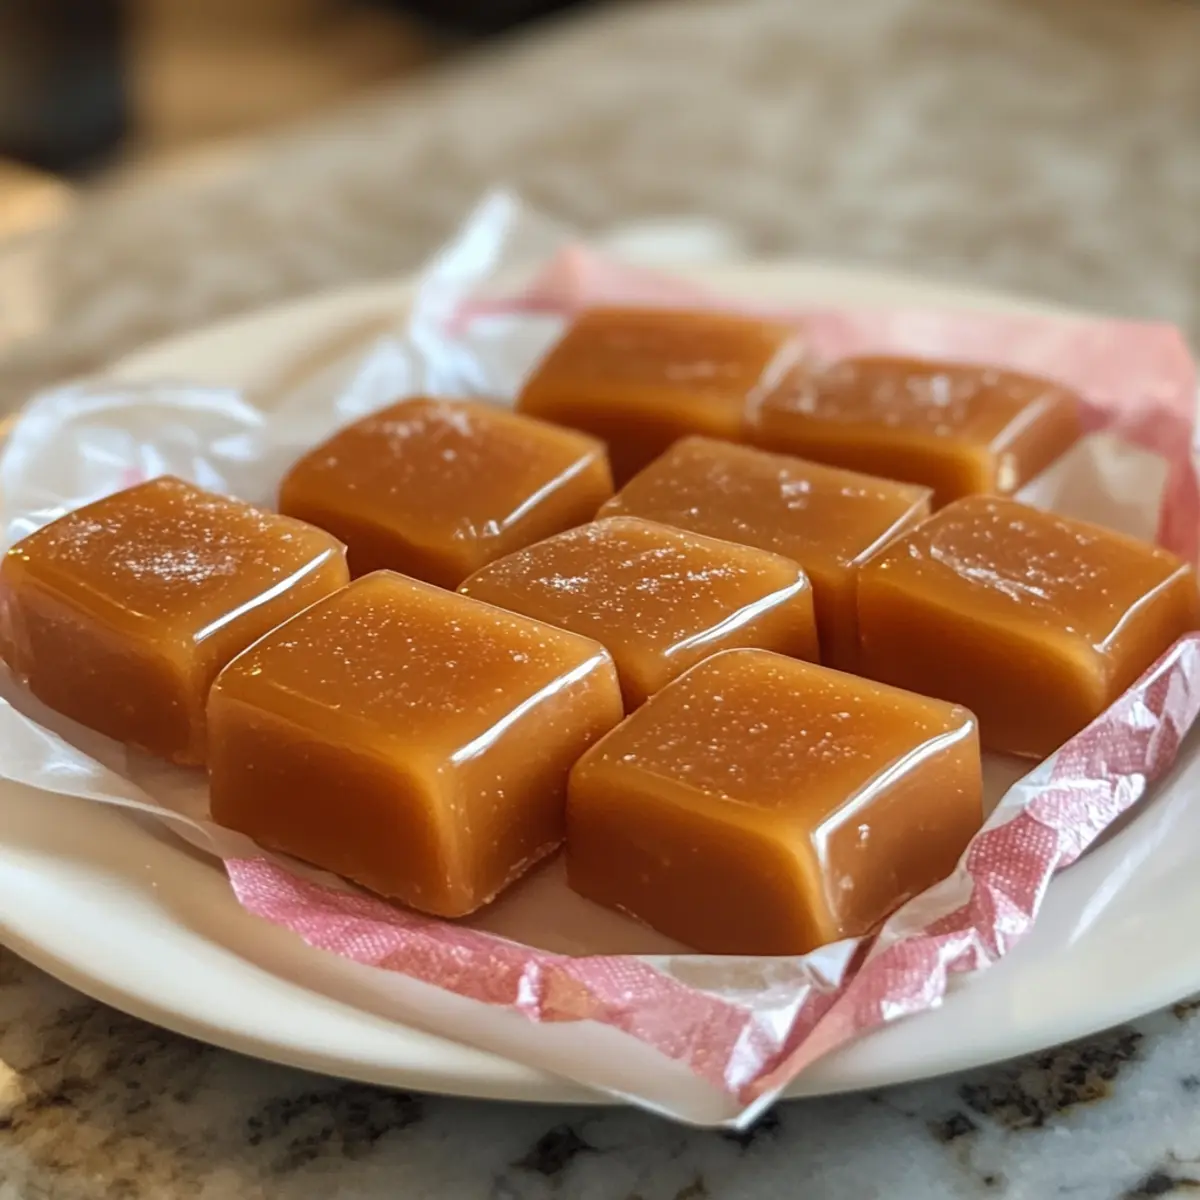
- Caramel Sauce: For those who love decadence, drizzle caramel sauce over the filled tacos for an irresistible sweet and salty flavor combination.
Chocolate Chip Cookie Tacos Variations
Feel free to let your creativity shine while making these delightful Chocolate Chip Cookie Tacos—your taste buds will thank you!
- Gluten-Free: Substitute all-purpose flour with a 1:1 gluten-free flour blend for a similar texture. Don’t forget to adjust chilling time as needed!
- Vegan: Use vegan butter and a flax egg instead of traditional butter and an egg, allowing everyone to partake in the fun. These modifications ensure that everyone can enjoy this treat!
- Nuts or Dried Fruits: Replace chocolate chips with chopped nuts or your favorite dried fruits for a chewy twist. Imagine the crunch of walnuts or the sweetness of dried cranberries adding a new layer of flavor!
- Cinnamon-Spiced: Add 1 teaspoon of ground cinnamon and a pinch of cayenne to the dough for a warm, spicy kick. This variation will surely wake up your taste buds!
- Chocolate Overload: Swap in dark or white chocolate chips for a different flavor profile, creating decadent options that appeal to every chocolate lover.
- Seasonal Fruits: Use whatever fresh fruit is in season, such as peaches or mango, to create a fresh fruit salsa that sings with summery flavor. It’s a delightful way to keep things exciting!
- Flavored Cream: Spice up the whipped cream by adding a splash of liqueur or flavor extract, like almond or coconut, for a unique and richer filling.
- Savory Twist: For the adventurous, consider using a savory filling with cream cheese and herbs, turning these tacos into an unexpected appetizer sensation. This fusion opens up a whole new world of savory flavors!
Get ready to impress your friends and family with these playful and creative variations, and don’t forget to create a delightful spread alongside complementary treats like Banana Seed Cookies or Homemade No-Bake Chocolate Oat Bites for a truly festive experience. Enjoy your baking journey!
Make Ahead Options
These Chocolate Chip Cookie Tacos are perfect for meal prep enthusiasts! You can prepare the cookie dough up to 24 hours in advance by chilling it in the refrigerator, keeping the flavors fresh and rich. The cookie shells can be baked and stored in an airtight container for up to 3 days. For optimal texture, wait to assemble the tacos until just before serving—this way, the cookie shells stay crisp, and you avoid sogginess. When ready to enjoy, whip the cream filling shortly before assembly to ensure it’s light and fluffy. This clever preparation technique saves you time on busy weeknights while delivering a delightful, freshly made dessert that’s just as delicious as when first crafted!
Storage Tips for Chocolate Chip Cookie Tacos
Airtight Container: Assemble tacos in an airtight container for up to 2 days. Keep in mind that the cookies may soften slightly over time, but they’ll still be delicious!
Freezer: Freeze baked cookie shells (not filled) for up to 2 months. Allow them to cool completely, then wrap individually in plastic wrap and place in a freezer-safe bag.
Reheating: To enjoy the cookie shells warm, reheat in a preheated oven at 350°F (175°C) for about 5 minutes. This restores some crispiness before filling with your cream and fruit.
Filling Storage: If you’ve made the filling separately, store it in the fridge for up to 3 days. Keep in a sealed container to maintain freshness. Just remember to reassemble your Chocolate Chip Cookie Tacos before serving!
Expert Tips for Chocolate Chip Cookie Tacos
-
Chill the Dough: Ensuring your dough is well-chilled prevents spreading, helping your taco shells maintain their shape during baking.
-
Cooling Time: Allow cookies to cool in their molds for 2 minutes to ensure they hold their structure before transferring them to the wire rack.
-
Ice-Cold Cream: For optimal volume when whipping the filling, ensure your heavy cream is ice-cold—this makes for a light and fluffy texture.
-
Don’t Over-Cream: While creaming the butter, avoid over-mixing to prevent your cookies from collapsing. Aim for a light and fluffy mixture.
-
Flavor Enhancements: Experiment with adding a sprinkle of cinnamon or cayenne to the cookie dough for a surprising twist. Enjoy your Chocolate Chip Cookie Tacos!
Chocolate Chip Cookie Tacos Recipe FAQs
How do I choose the best fruits for my fruit salsa?
Absolutely! When selecting fruits for your salsa, look for fresh, ripe options. Berries should be plump without any visible mold or dark spots, and mangoes should yield slightly when pressed. For a vibrant mix, consider seasonal fruits that complement the sweetness of the cream, such as peaches or kiwi.
What’s the best way to store leftover Chocolate Chip Cookie Tacos?
You can store assembled tacos in an airtight container for up to 2 days. Just note that the cookies may soften slightly over time. If you want to retain that crispiness, I recommend freezing the baked shells separately and filling them just before serving for extra crunch!
Can I freeze the cookie shells for later use? How?
Of course! To freeze the cookie shells, allow them to cool completely after baking, then wrap each shell individually in plastic wrap and place them in a freezer-safe bag. They can be stored for up to 2 months. When ready to use, reheat your shells in a preheated oven at 350°F (175°C) for about 5 minutes to re-crisp them before filling with cream and fresh fruits.
What should I do if my cookie shells spread too much during baking?
No worries! If your taco shells spread too much, the most common culprit is warm dough. Make sure to chill your dough for a full 30 minutes before baking, and if necessary, chill it longer. Also, consider shaping your dough circles with a bit more thickness, and ensure your oven is at the right temperature by checking with an oven thermometer.
Are these Chocolate Chip Cookie Tacos safe for my pets?
It’s important to keep these tasty creations away from pets. The chocolate chips can be harmful to dogs and other animals, so ensure that none of your furry friends get into the cookies. If you’re looking for a pet-friendly treat, consider baking some homemade dog biscuits without chocolate for your furry companions!
Can I make these cookies gluten-free?
Very! You can substitute the all-purpose flour with a 1:1 gluten-free flour blend. Just keep an eye on the moisture level in your dough, as gluten-free flours may absorb liquid differently. A little trial and error might be needed, but I often find gluten-free versions just as delightful!
Chocolate Chip Cookie Tacos: A Fun Twist on Dessert Delight
Ingredients
Equipment
Method
- Cream ½ cup of unsalted butter, ¾ cup of brown sugar, and ¼ cup of granulated sugar until light and fluffy, about 3-5 minutes. Beat in one large egg and 1 tsp of vanilla extract until fully incorporated. In a separate bowl, whisk together 1½ cups of all-purpose flour, ½ tsp of baking soda, and ¼ tsp of salt. Fold the dry ingredients into the wet mixture and stir in 1 cup of semi-sweet chocolate chips. Chill the dough for 30 minutes.
- Preheat your oven to 350°F (175°C). Line a baking sheet with parchment paper. Scoop approximately 3 tablespoons of dough and flatten into a circle on the parchment. Place each dough circle over the bottom of a small bowl or tin to create a taco shell shape. Bake for 10-12 minutes, or until edges are golden brown. Let cool in molds for 2 minutes before transferring to a wire rack.
- While the cookie shells cool, whip 1 cup of cold heavy whipping cream in a mixing bowl. Add 3 tbsp of powdered sugar and a splash of vanilla extract. Beat until stiff peaks form, about 4-5 minutes. Fill a piping bag with the whipped cream.
- Once the cookie shells are cooled, pipe the creamy filling into each taco shell. Top with diced fresh strawberries and mango for fruit salsa. Sprinkle rainbow sprinkles on top. Serve immediately.