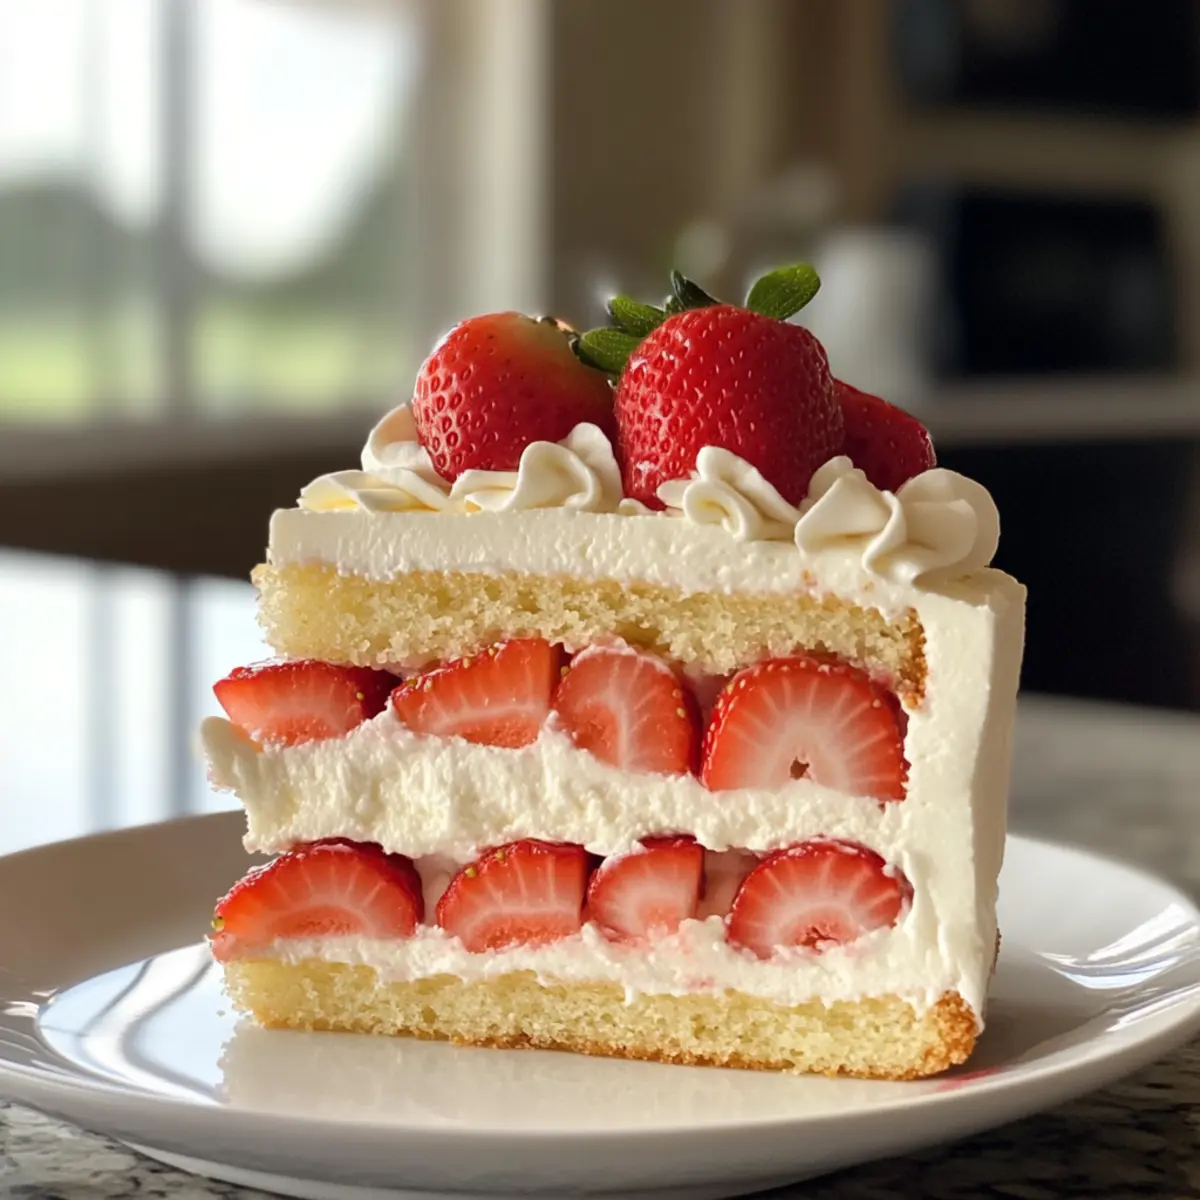
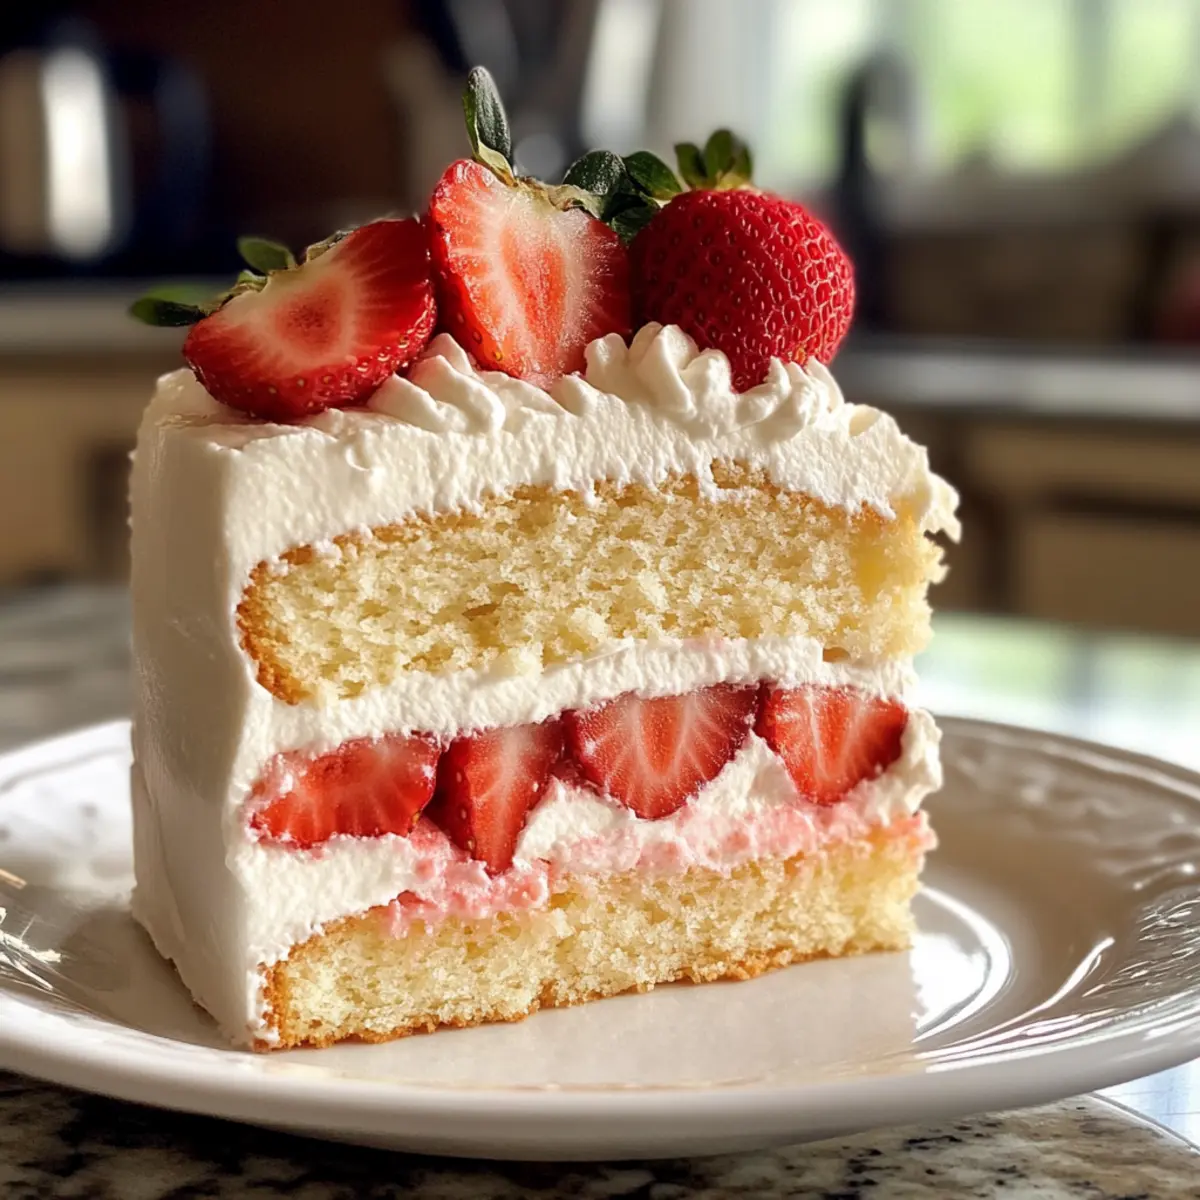
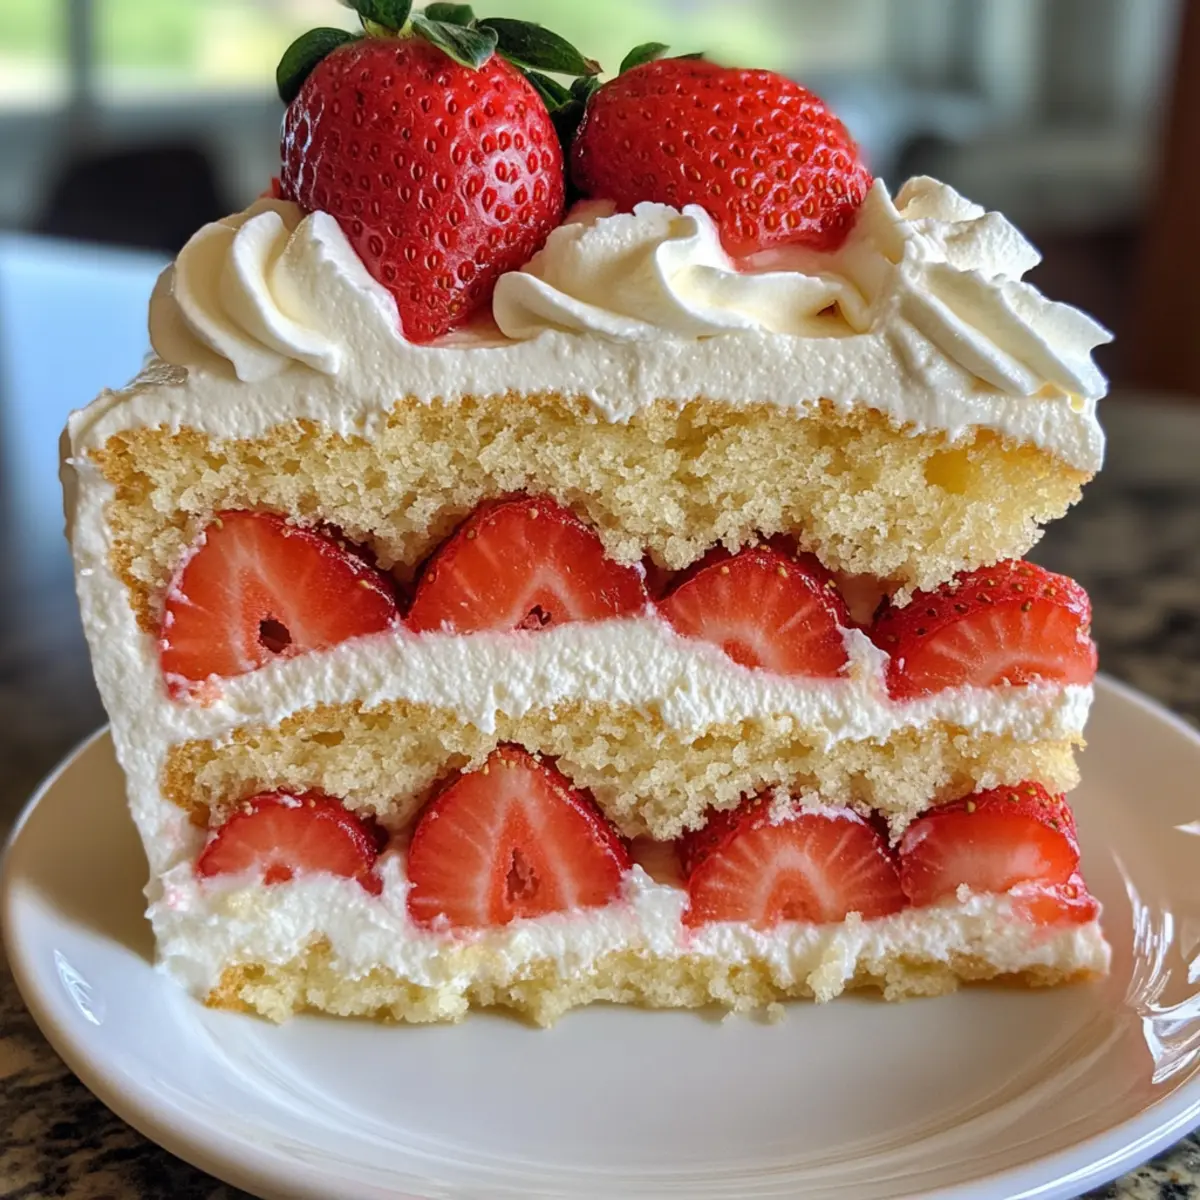
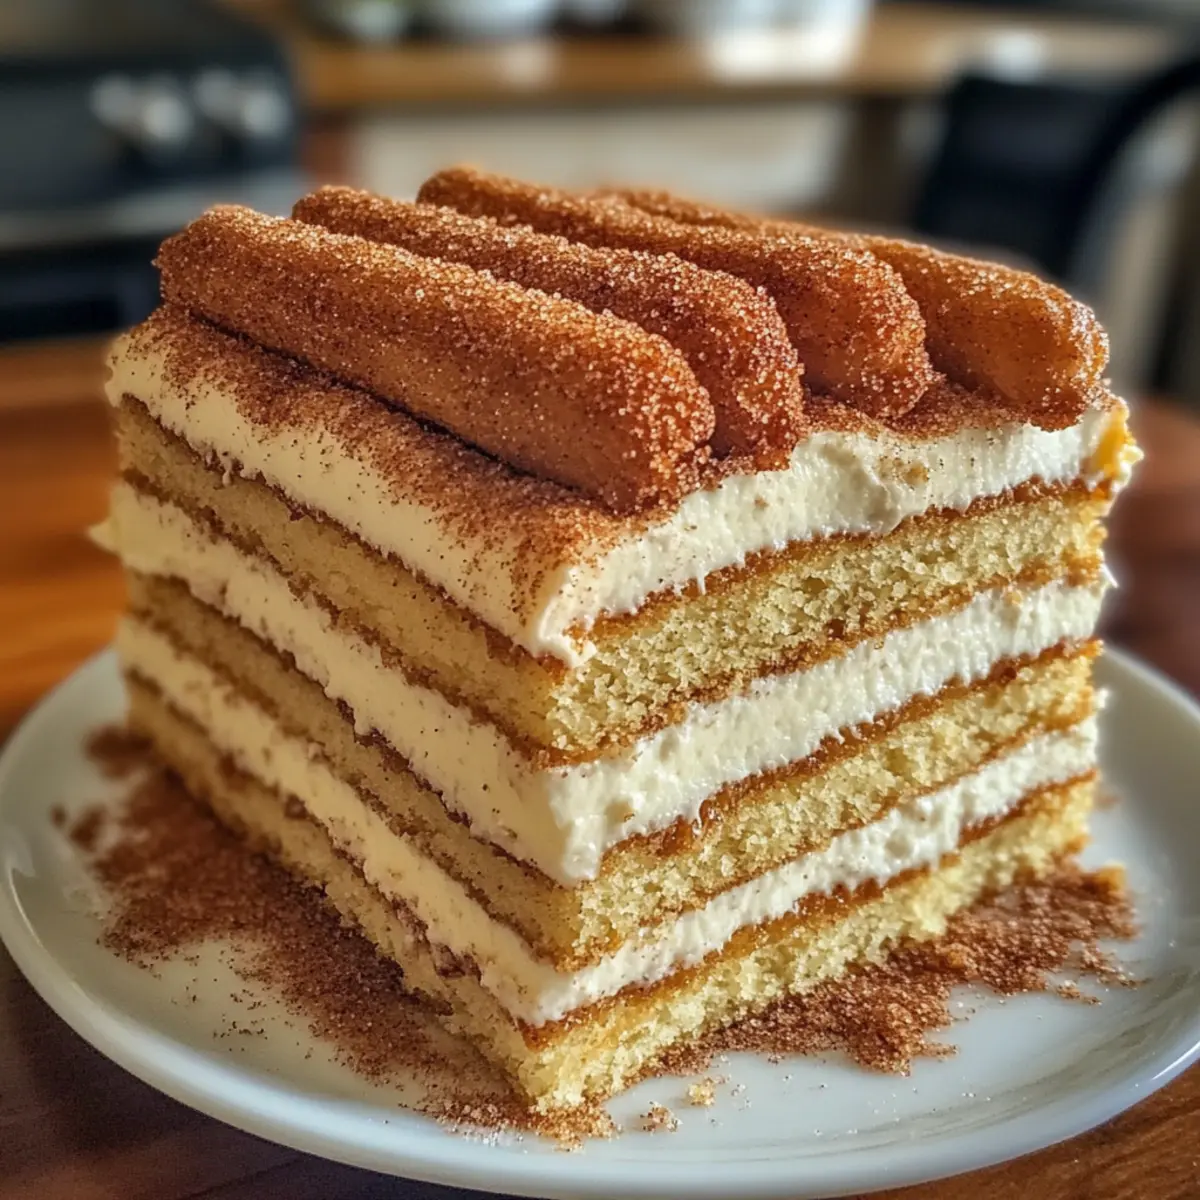
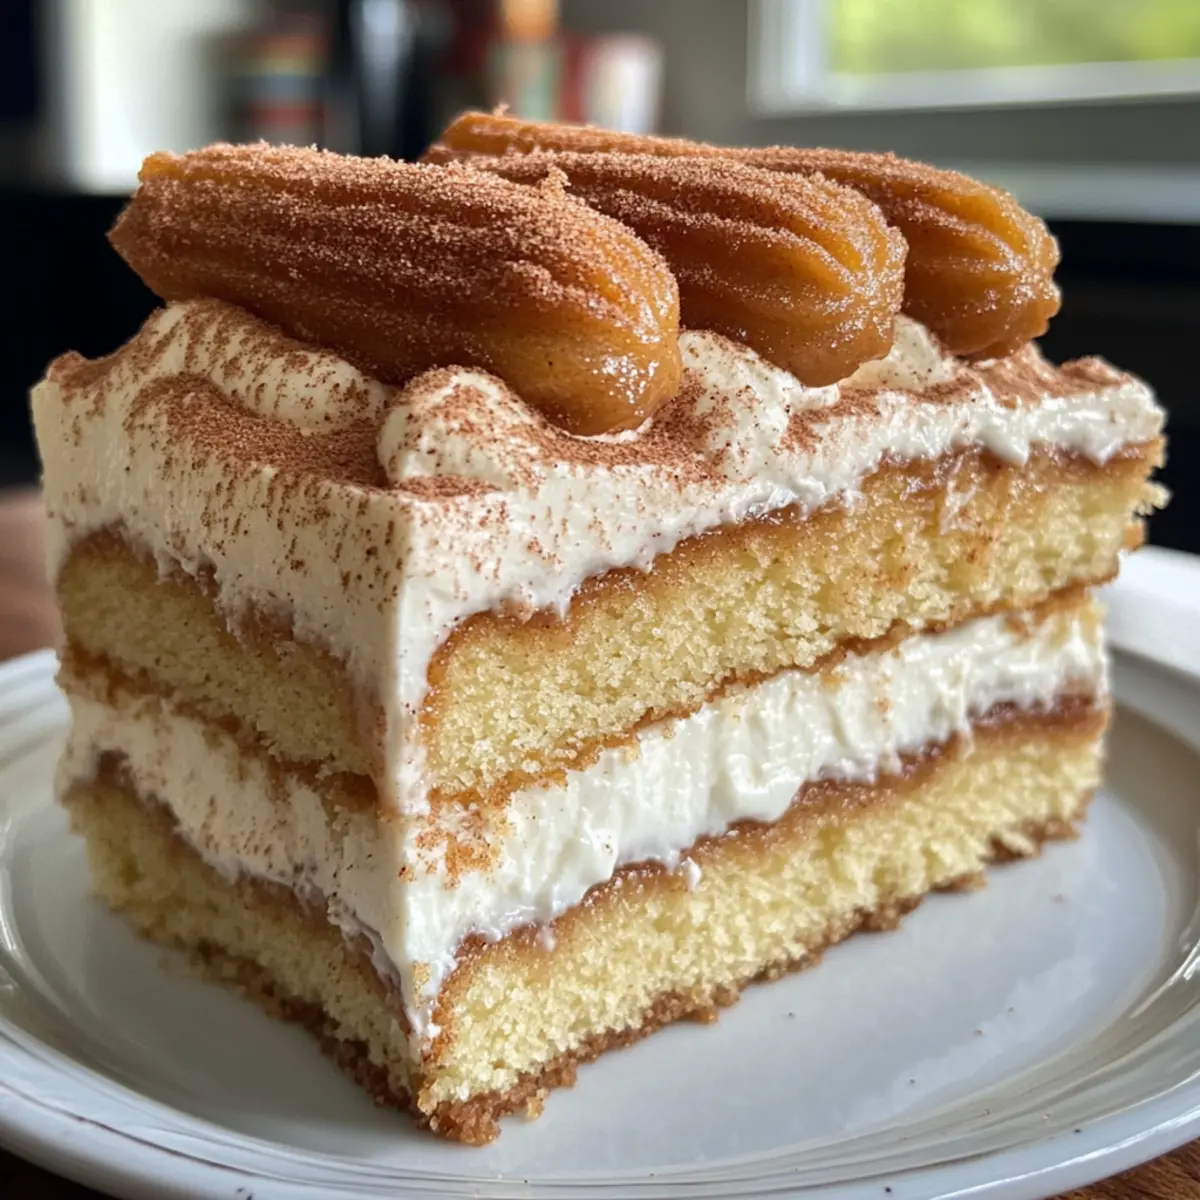
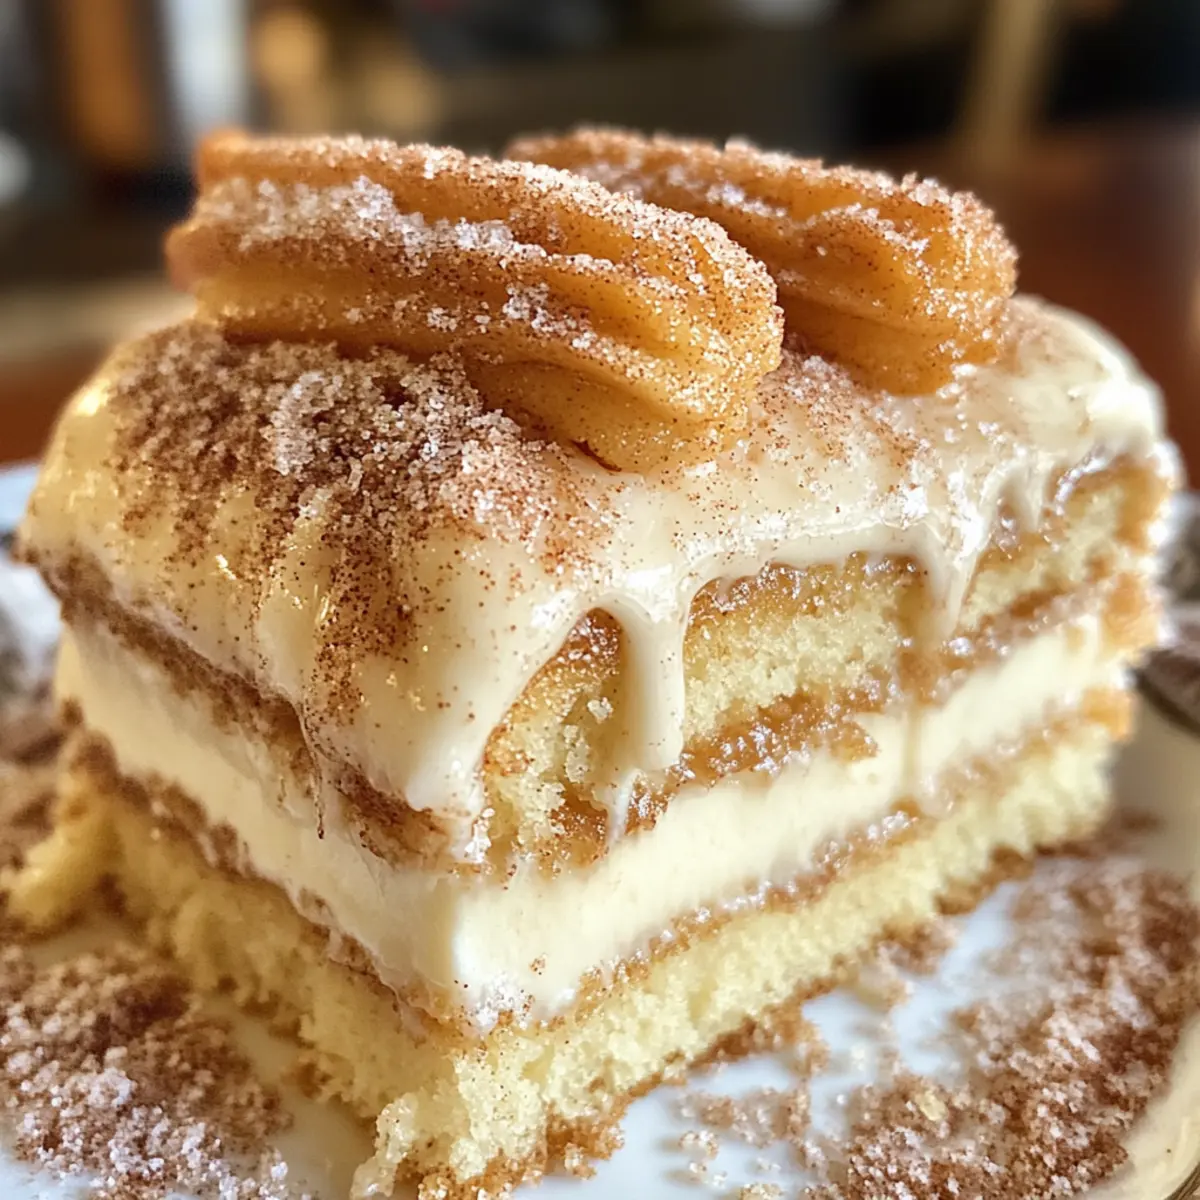
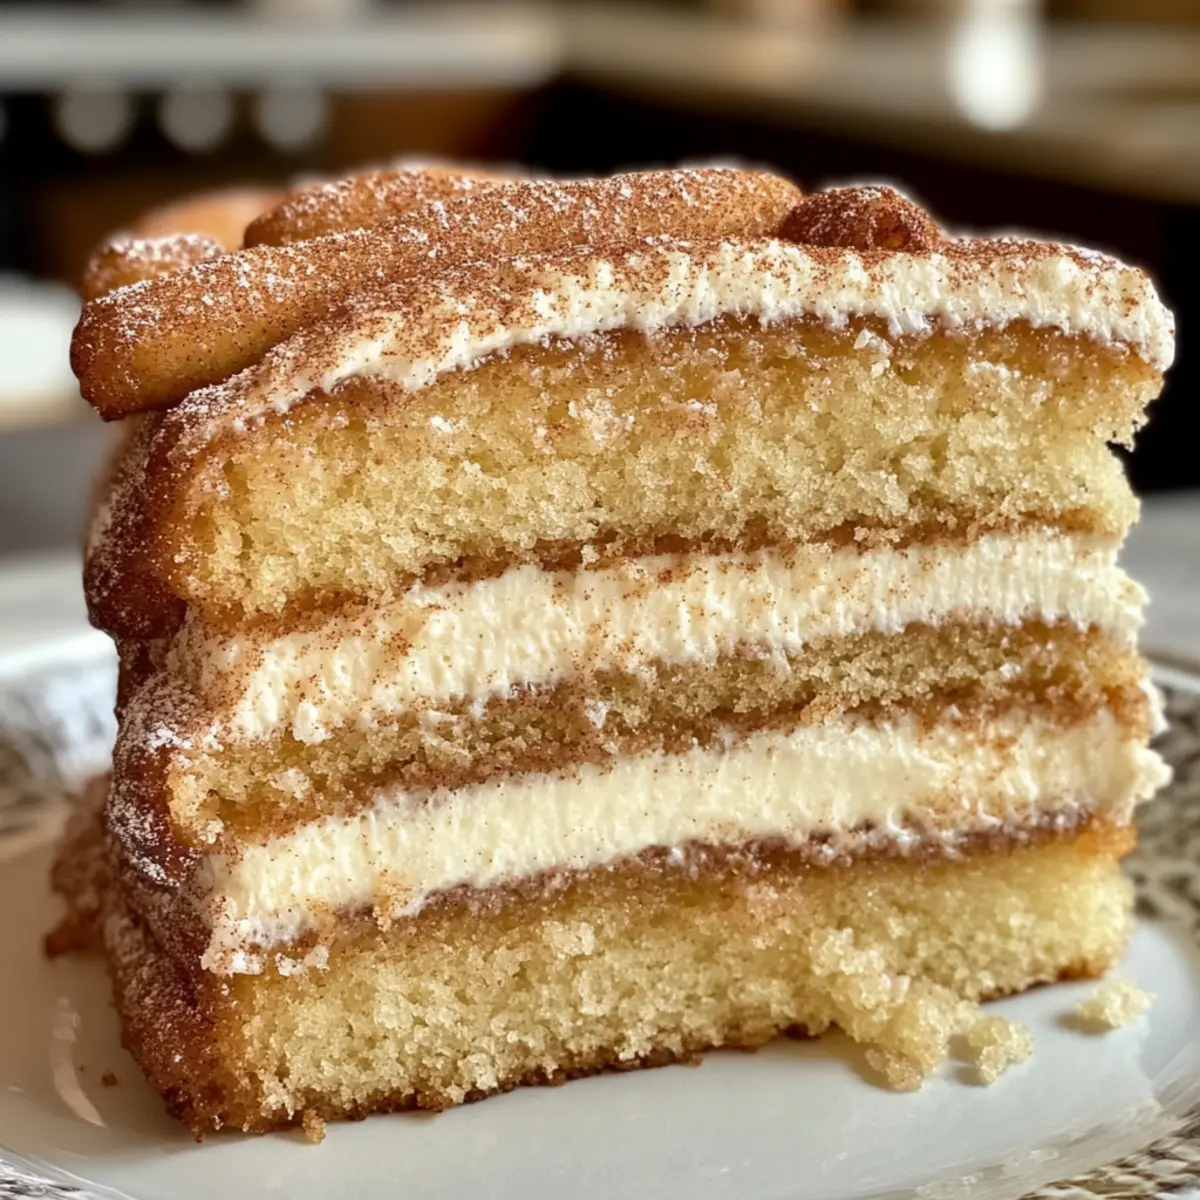
In a kitchen filled with the warm spice of cinnamon, I realized how a simple twist could elevate a beloved classic. Enter the Churro Three Milks Cake, a delightful fusion that combines the traditional tres leches cake with the crispy joy of churros. This dessert captures the generous essence of Latin American culture, promising a cozy indulgence perfect for any occasion. Not only is it a visual feast that adds flair to your dessert table, but it also offers a delightful contrast between the moist cake soaked in three milks and the crunchy churros on top. Whether hosting a festive gathering or simply treating yourself on a quiet evening, this recipe brings comfort and excitement right to your home. Are you ready to whip up a dessert that will steal the spotlight?
Why is Churro Three Milks Cake a Must-Try?
Irresistible, unique twist: This dessert merges the beloved tres leches with crispy churros, creating a flavor explosion that’s both nostalgic and innovative.
Perfect for gatherings: Its eye-catching presentation and shareable nature make it an ideal dessert for parties and celebrations.
Moist and flavorful: Soaked in a rich mixture of three milks, the cake remains unbelievably moist, offering a delightful contrast to the crunchy churros on top.
Easy to customize: You can add variations, such as fresh fruits or flavored extracts, to create your own signature dessert.
A crowd-pleaser: Whether you’re a seasoned chef or a beginner, this recipe is sure to wow your friends and family. Experience more delightful desserts like Strawberry Cheesecake Dump or treat yourself to our Nutty Vanilla Cake for any occasion!
Churro Three Milks Cake Ingredients
For the Cake
- All-purpose flour – Provides the necessary structure to keep the cake fluffy. Substitution: Gluten-free flour can be used for a gluten-free version.
- Sugar – Sweetness is essential for the cake’s flavor. Substitution: Sugar-free alternatives like stevia or monk fruit can work for a lighter option.
- Baking powder – This leavening agent helps to create a light and airy texture. No substitution needed; make sure it’s fresh.
- Salt – Balances the sweetness and enhances overall flavor. Opt for kosher or sea salt to elevate the taste.
- Eggs – They add vital moisture and structure. No substitution; crucial for the right texture.
- Whole milk – Contributes richness and moisture to the cake. Substitution: Low-fat milk can be used, but for best results, stick with whole.
- Butter – Infuses flavor and richness into the cake. Substitution: Vegan butter works well for a dairy-free alternative.
For the Tres Leches Mixture
- Evaporated milk – A must-have for keeping the cake moist and soaked. No substitutions, vital for authentic flavor.
- Sweetened condensed milk – This is key to adding both sweetness and creaminess. No substitutions; essential for the classic three milks experience.
- Heavy cream – Adds luxurious richness, making the cake indulgent. No substitutions; absolutely essential for opulence.
For the Churros
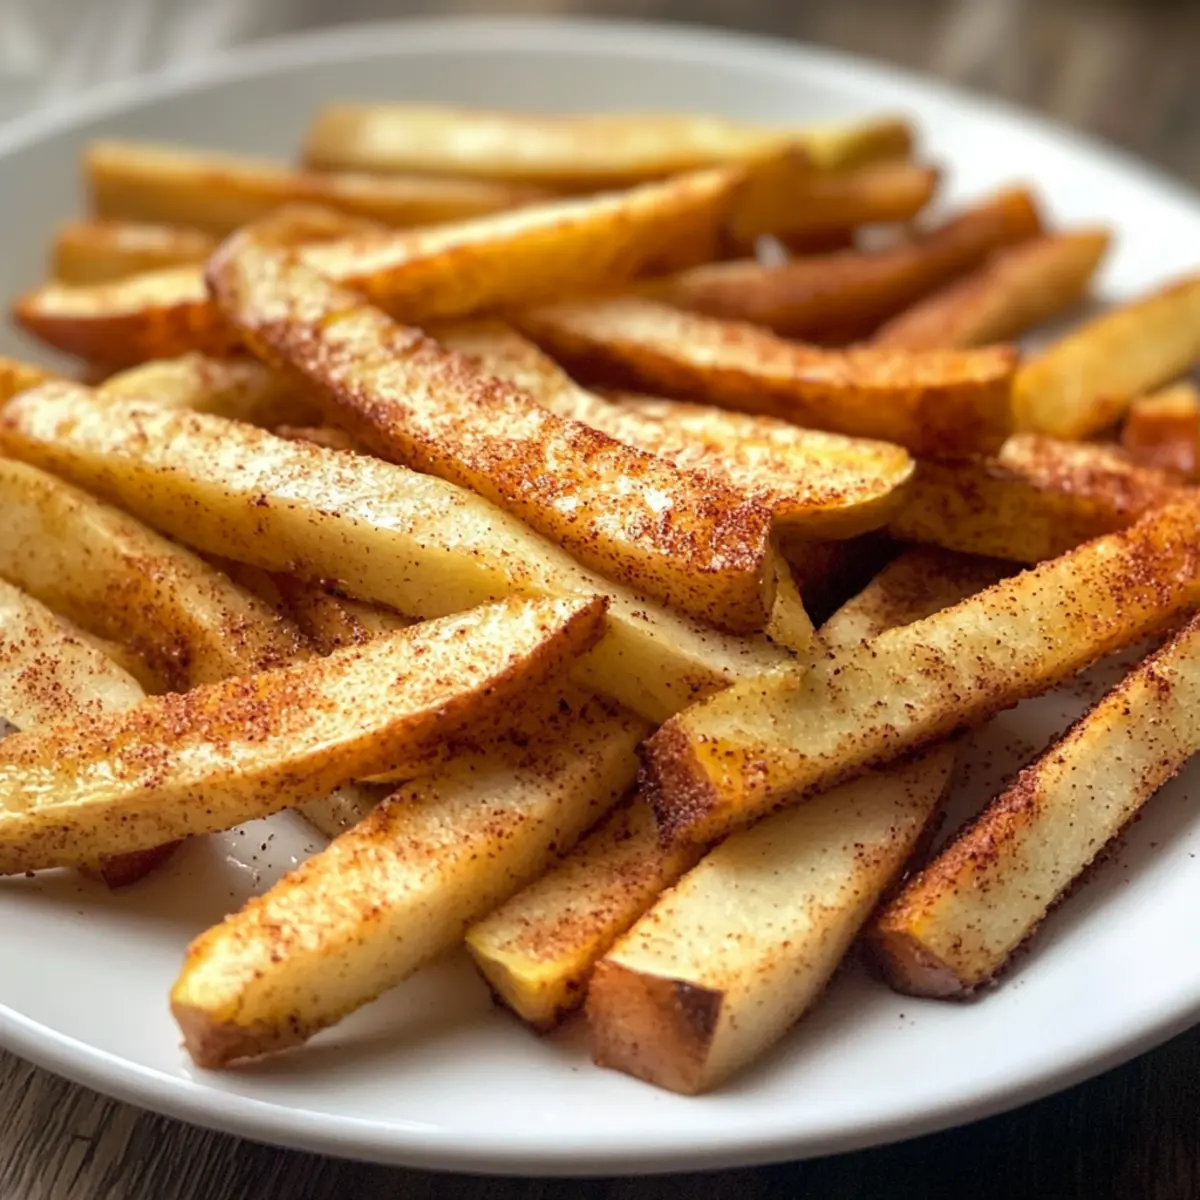
- Cinnamon – A warm spice that enhances flavor, especially on churros. Use ground cinnamon for best results; ensure it’s fresh.
- Sugar (for churro coating) – Creates that signature sweet, crunchy exterior. No substitutions needed; granulated sugar is ideal for flavor and texture.
Each ingredient plays a vital role in bringing the Churro Three Milks Cake to life, making it a dessert that’s not only delicious but memorable!
Step‑by‑Step Instructions for Churro Three Milks Cake
Step 1: Prepare the Cake Batter
In a large mixing bowl, whisk together 2 cups of all-purpose flour, 1 cup of sugar, 2 teaspoons of baking powder, and 1 teaspoon of salt until well combined. In a separate bowl, beat 3 eggs and mix in 1 cup of whole milk with 1/2 cup of melted butter. Gradually add this wet mixture into the dry ingredients, stirring until smooth and creamy without lumps.
Step 2: Bake the Cake
Preheat your oven to 350°F (175°C) and grease a 9×13 inch sheet pan. Pour the cake batter evenly into the prepared pan, spreading it gently with a spatula for an even layer. Bake for approximately 35 minutes, or until a toothpick inserted in the center comes out clean. Allow the cake to cool completely in the pan on a wire rack.
Step 3: Make Tres Leches Mixture
While the cake is cooling, prepare the tres leches mixture by combining 1 cup of evaporated milk, 1 cup of sweetened condensed milk, and 1 cup of heavy cream in a bowl. Whisk the mixture until well blended and smooth. Set it aside, allowing the flavors to meld together while the cake cools.
Step 4: Assemble the Cake
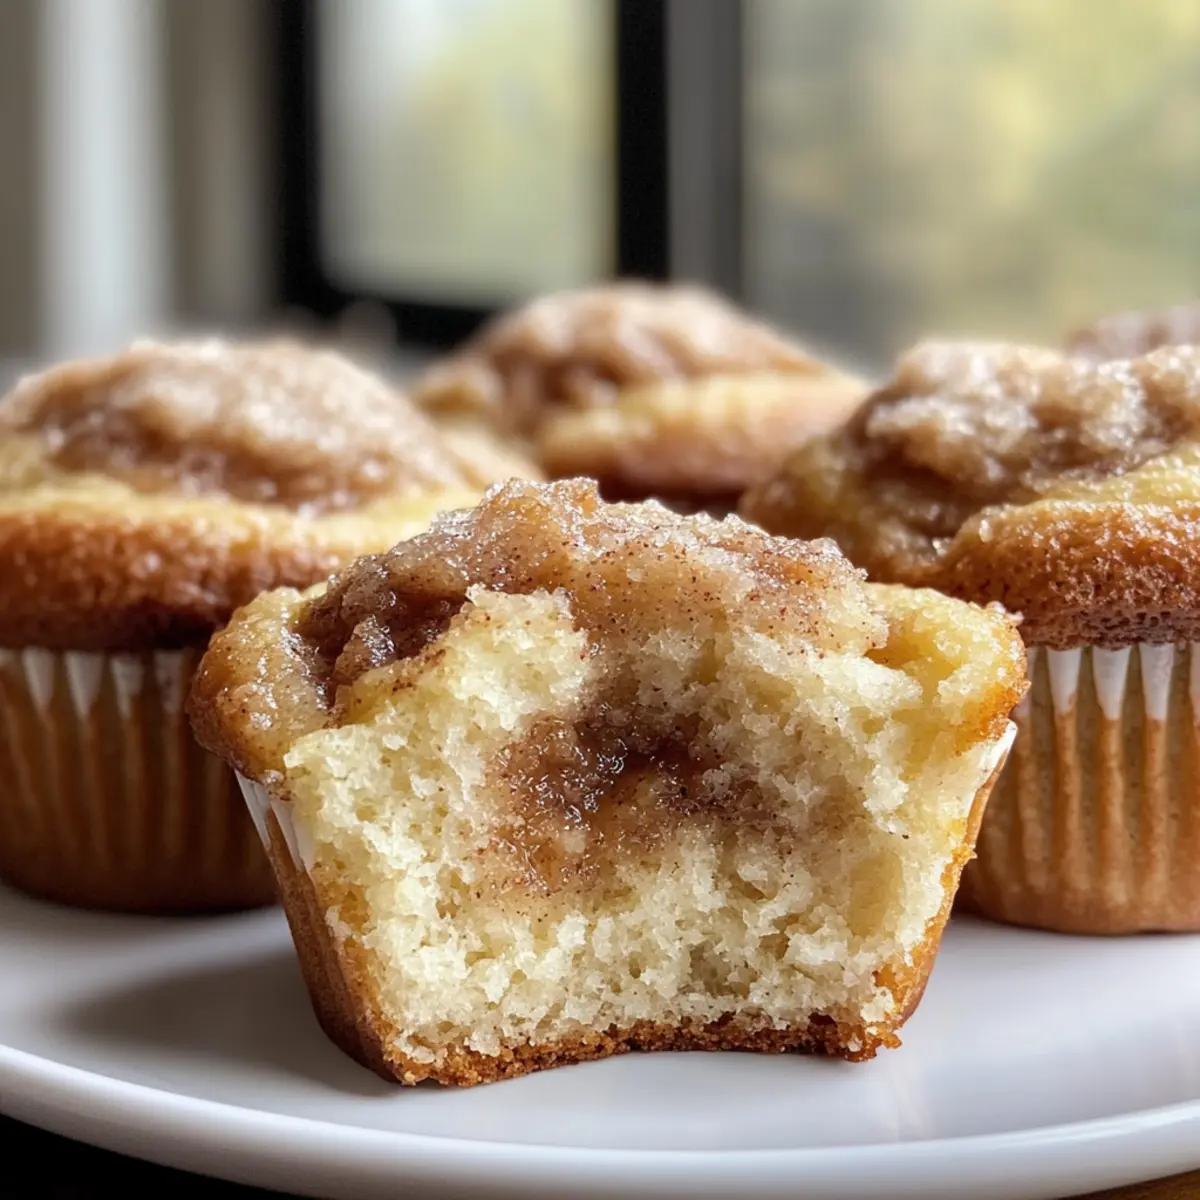
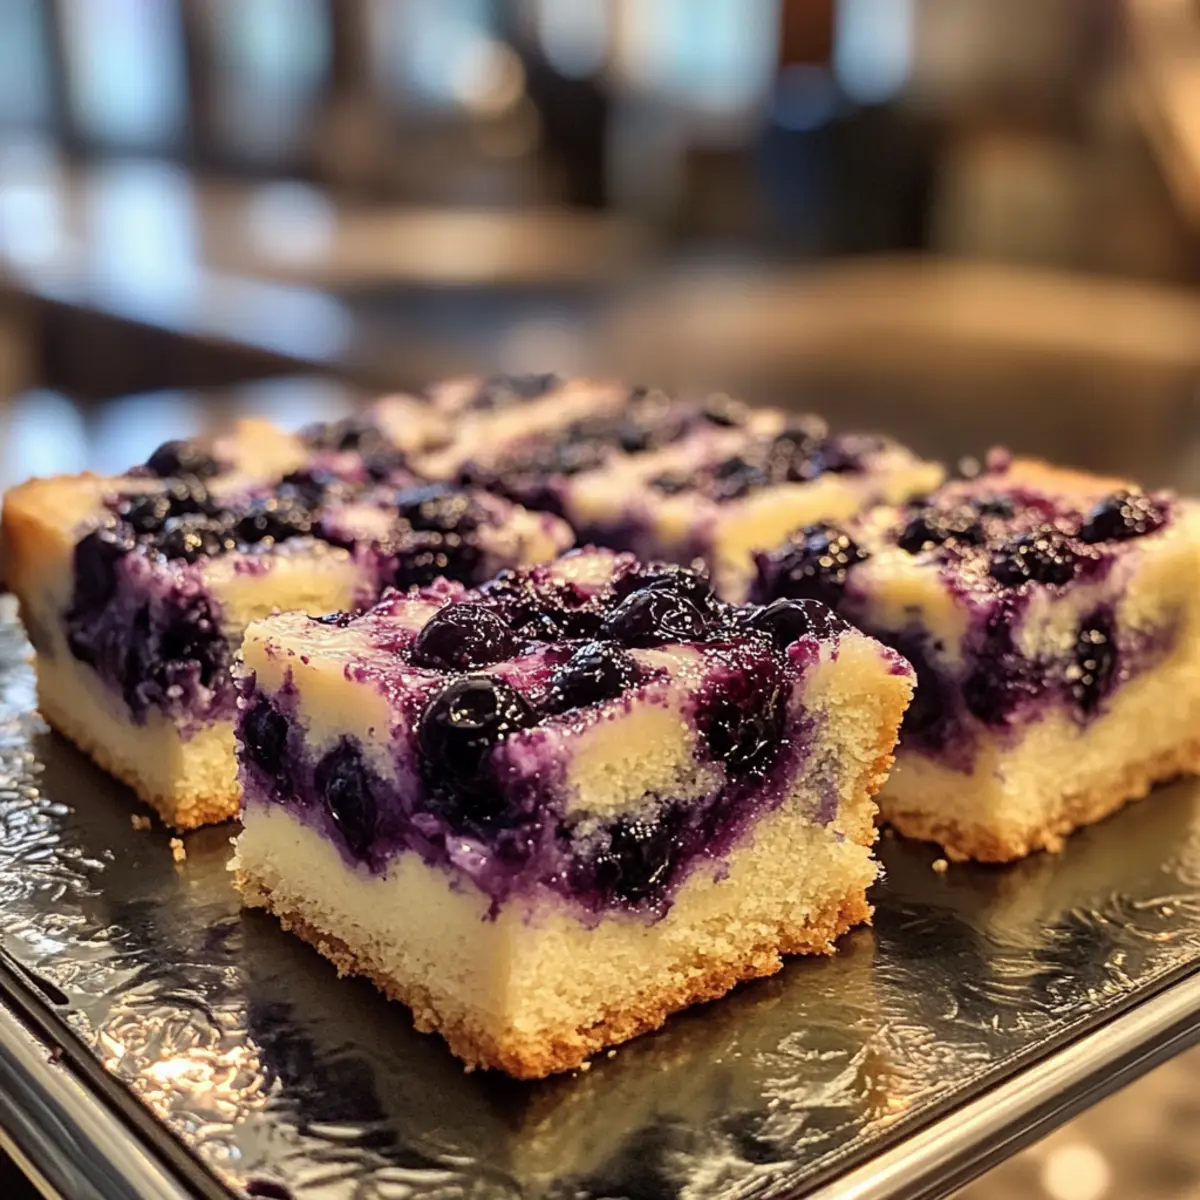
Once the cake has completely cooled, use a skewer or fork to poke several holes over the top, ensuring they reach deep into the cake. Slowly pour the tres leches mixture evenly over the cake, allowing it to seep into the holes. For best results, let it soak for at least one hour, or refrigerate for up to four hours for extra moistness.
Step 5: Prepare Churros
To make the churros, combine 1 cup of all-purpose flour, 2 tablespoons of sugar, and 1 teaspoon of cinnamon in a mixing bowl. In a saucepan, combine 1 cup of water with 1/2 cup of butter and bring to a gentle boil. Add the dry ingredients to the boiling water, stirring until a dough forms. Remove from heat and let it cool slightly before transferring to a piping bag.
Step 6: Fry the Churros
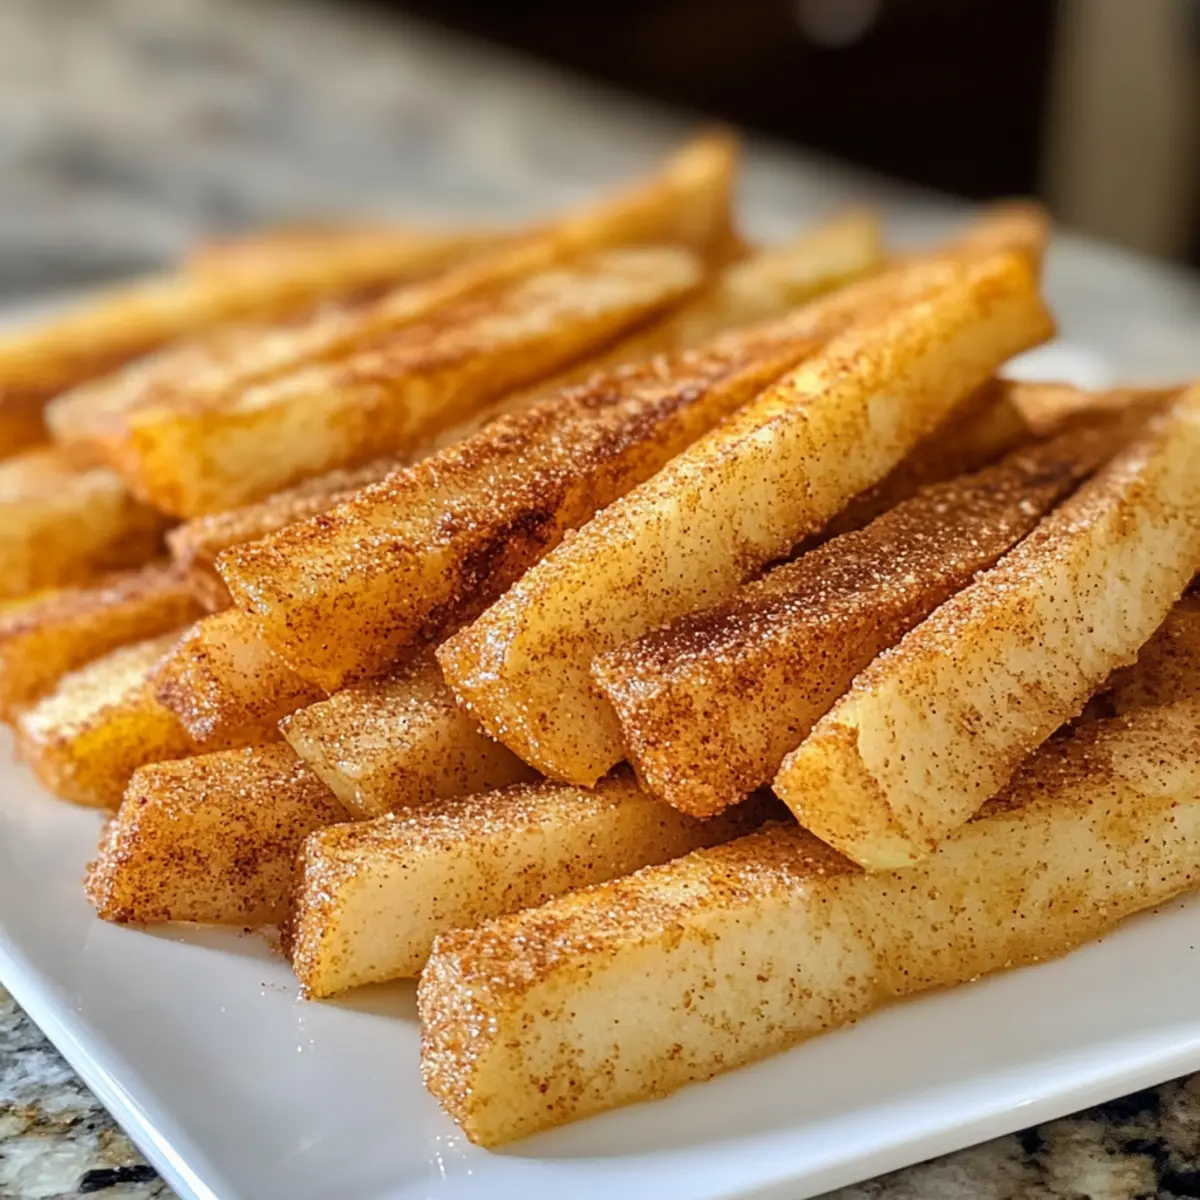
Heat oil in a deep frying pan to about 375°F (190°C). Pipe 4-6 inch strips of churro dough into the hot oil, using kitchen scissors to cut them free. Fry until they are golden brown and crispy, approximately 2-3 minutes per side. Remove from the oil and drain on paper towels.
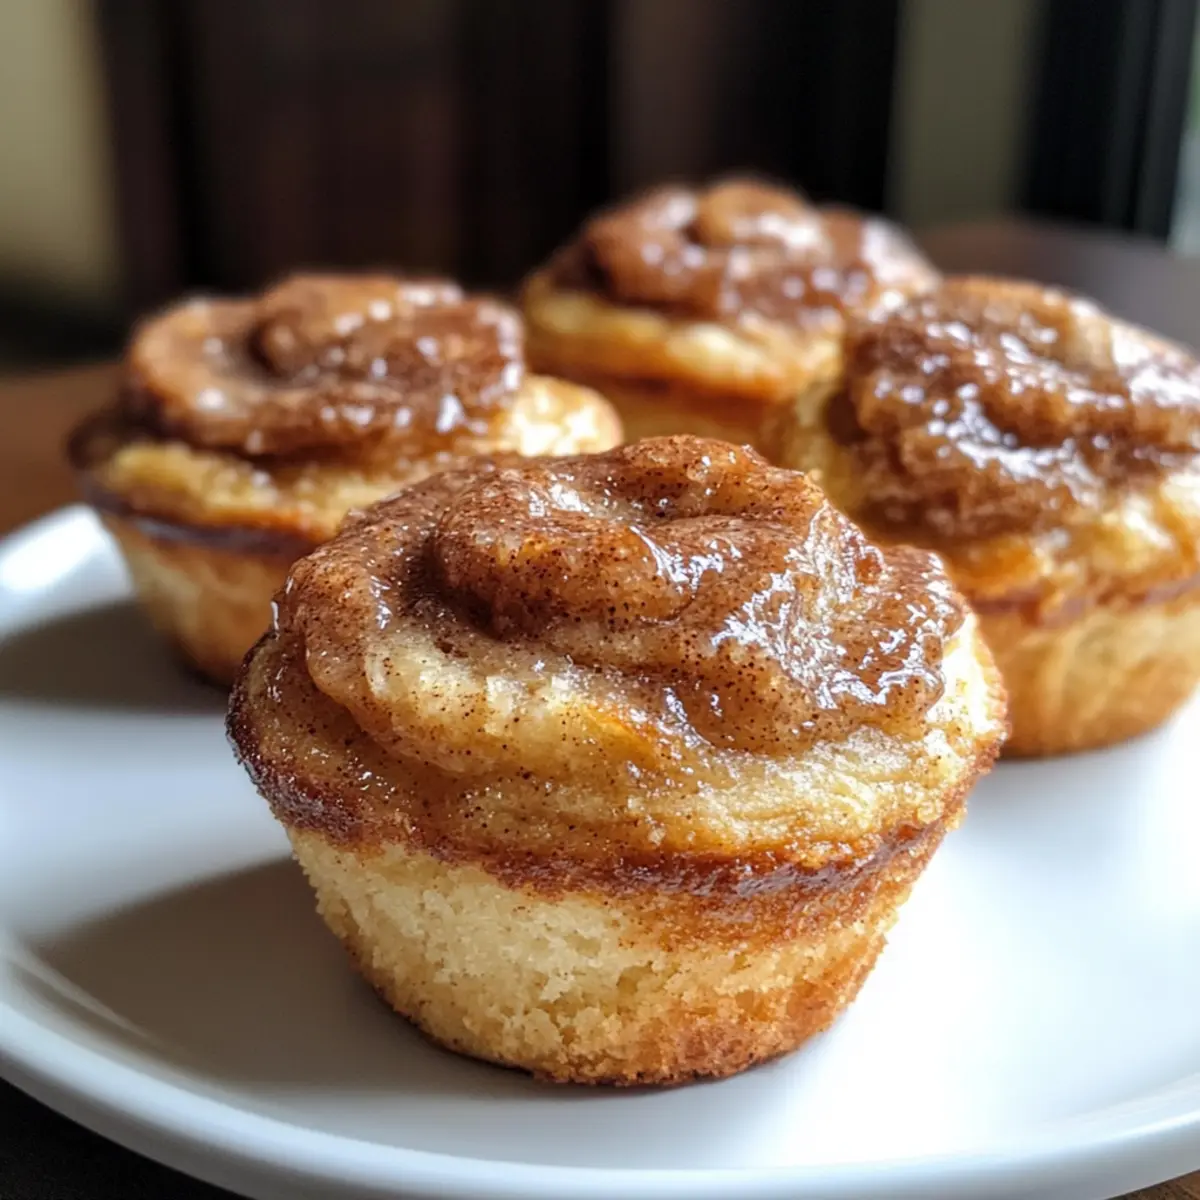
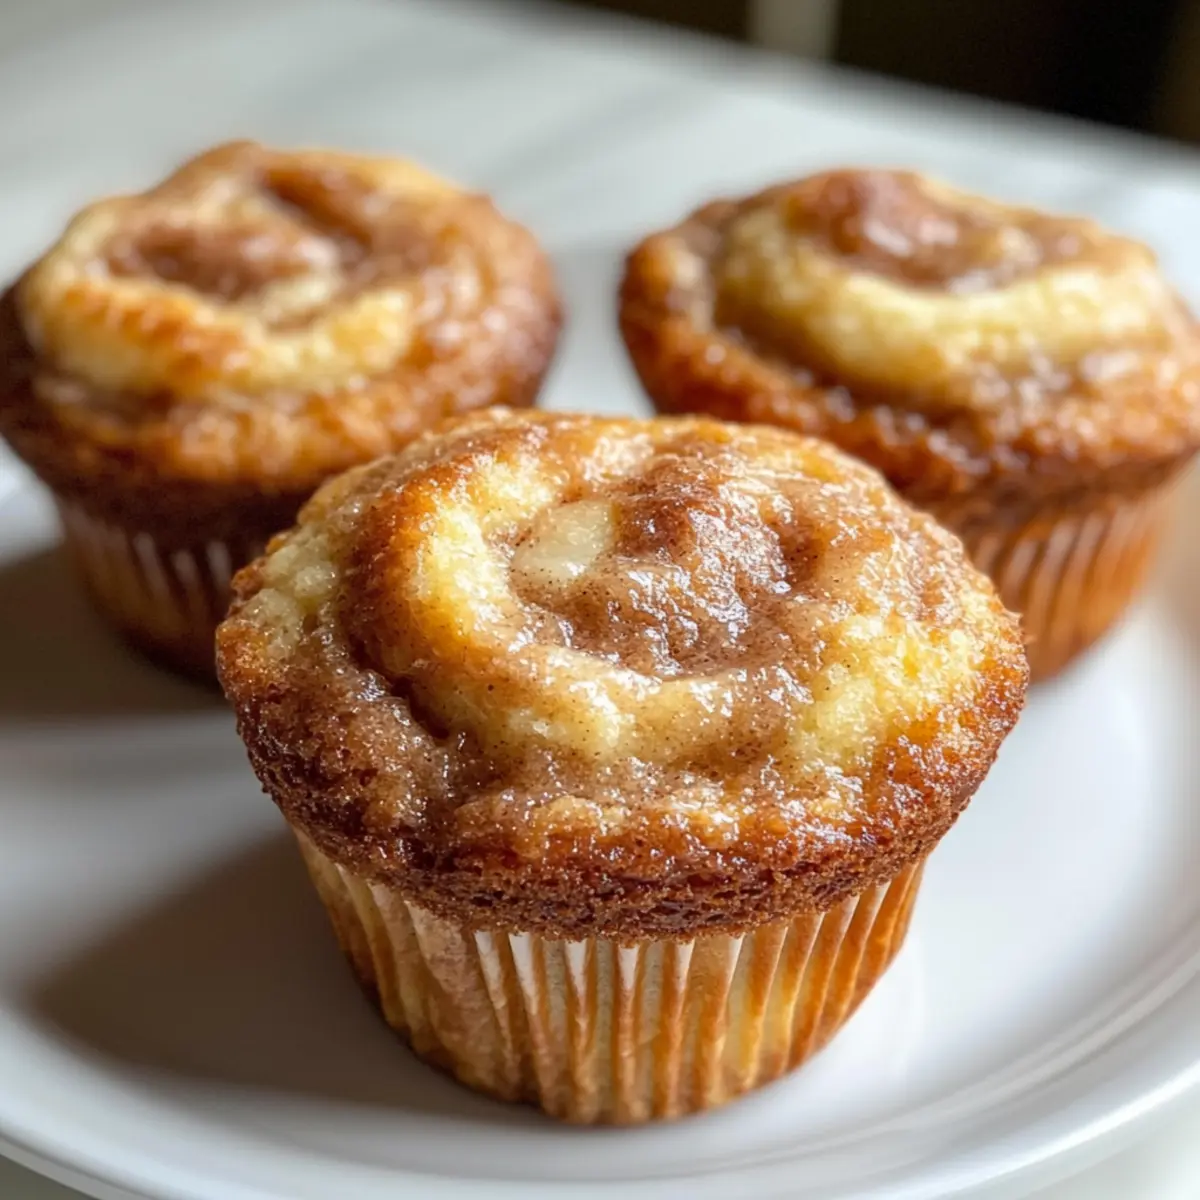
Step 7: Serve the Cake
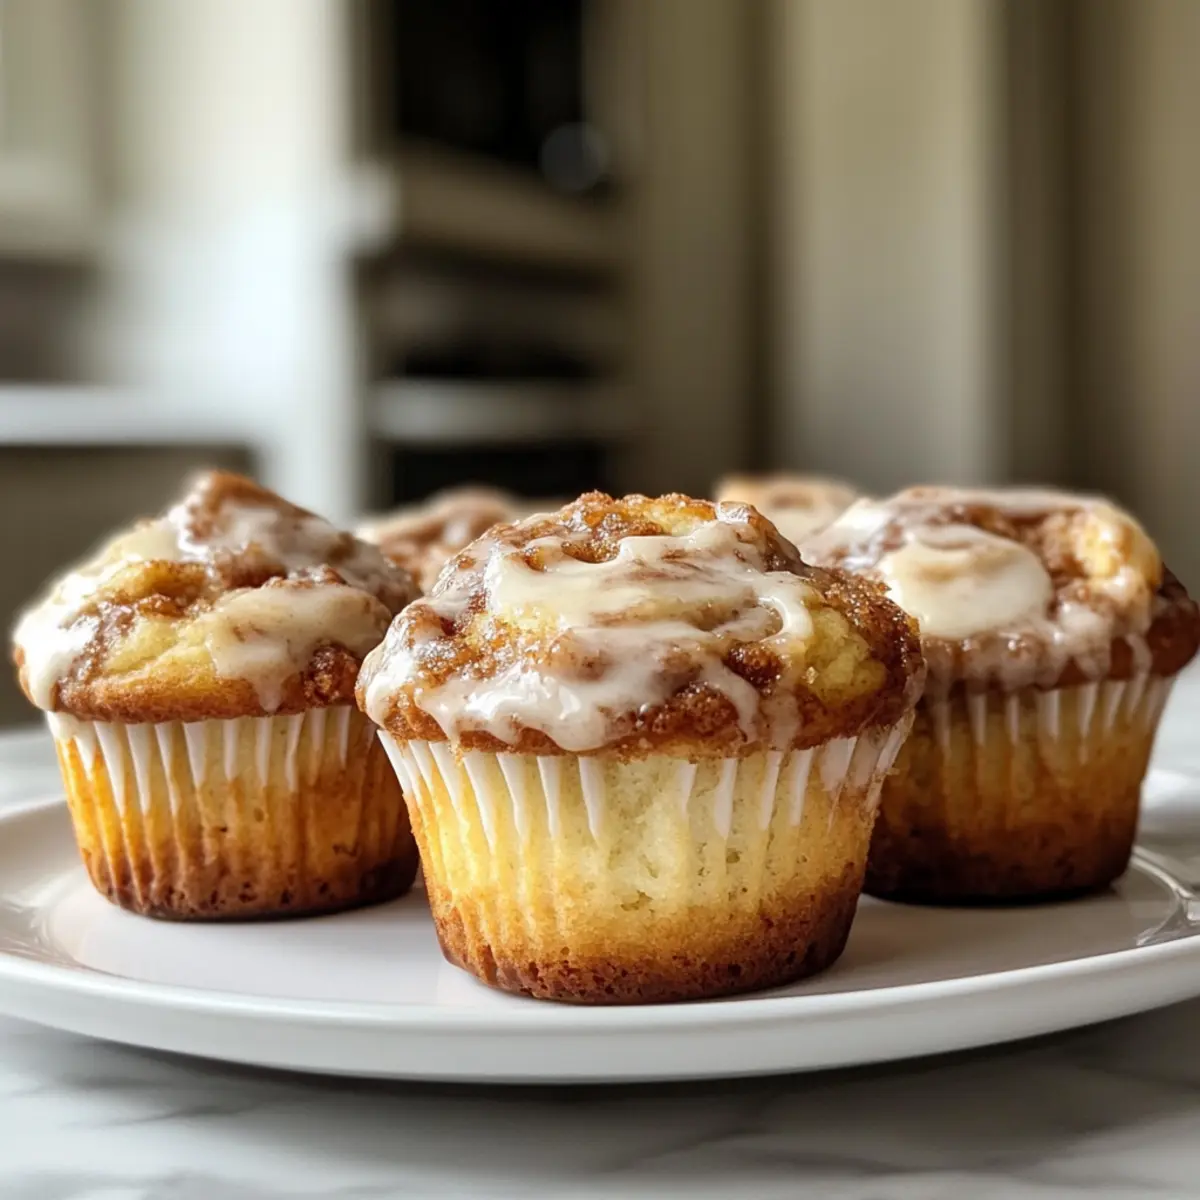
Once the churros have cooled slightly, sprinkle them with a mixture of sugar and cinnamon for added sweetness. To serve, arrange the crispy churros on top of the tres leches cake, allowing them to gently sink into the milky goodness. Enjoy your delicious Churro Three Milks Cake as a perfect blend of texture and flavor!
Storage Tips for Churro Three Milks Cake
- Fridge: After soaking, store the Churro Three Milks Cake in an airtight container in the refrigerator. It stays fresh for up to 5 days, maintaining its delightful moisture.
- Freezer: For longer storage, you can freeze the unsoaked cake in an airtight container for up to 2 months. Thaw in the fridge overnight before soaking with tres leches.
- Reheating: If desired, gently reheat individual slices in the microwave for about 15-20 seconds to enjoy the cake warm. Avoid overheating to retain texture.
- Serving: Serve chilled or at room temperature for the best experience, allowing the flavors to blend beautifully.
Churro Three Milks Cake Variations
Feel free to make this delightful dessert your own with some fun twists and creative swaps!
-
Gluten-Free: Swap all-purpose flour with a gluten-free blend for a cake everyone can enjoy. This way, those with dietary restrictions can join in on the sweetness!
-
Nutty Flair: Add ½ cup of finely chopped nuts like pecans or walnuts to the cake batter. This provides a delightful crunch and enhances the flavor profile.
-
Coconut Creamy: Use coconut milk in place of whole milk and add shredded coconut to the tres leches mixture for an intriguing tropical twist. It’ll transport you straight to a paradise getaway!
-
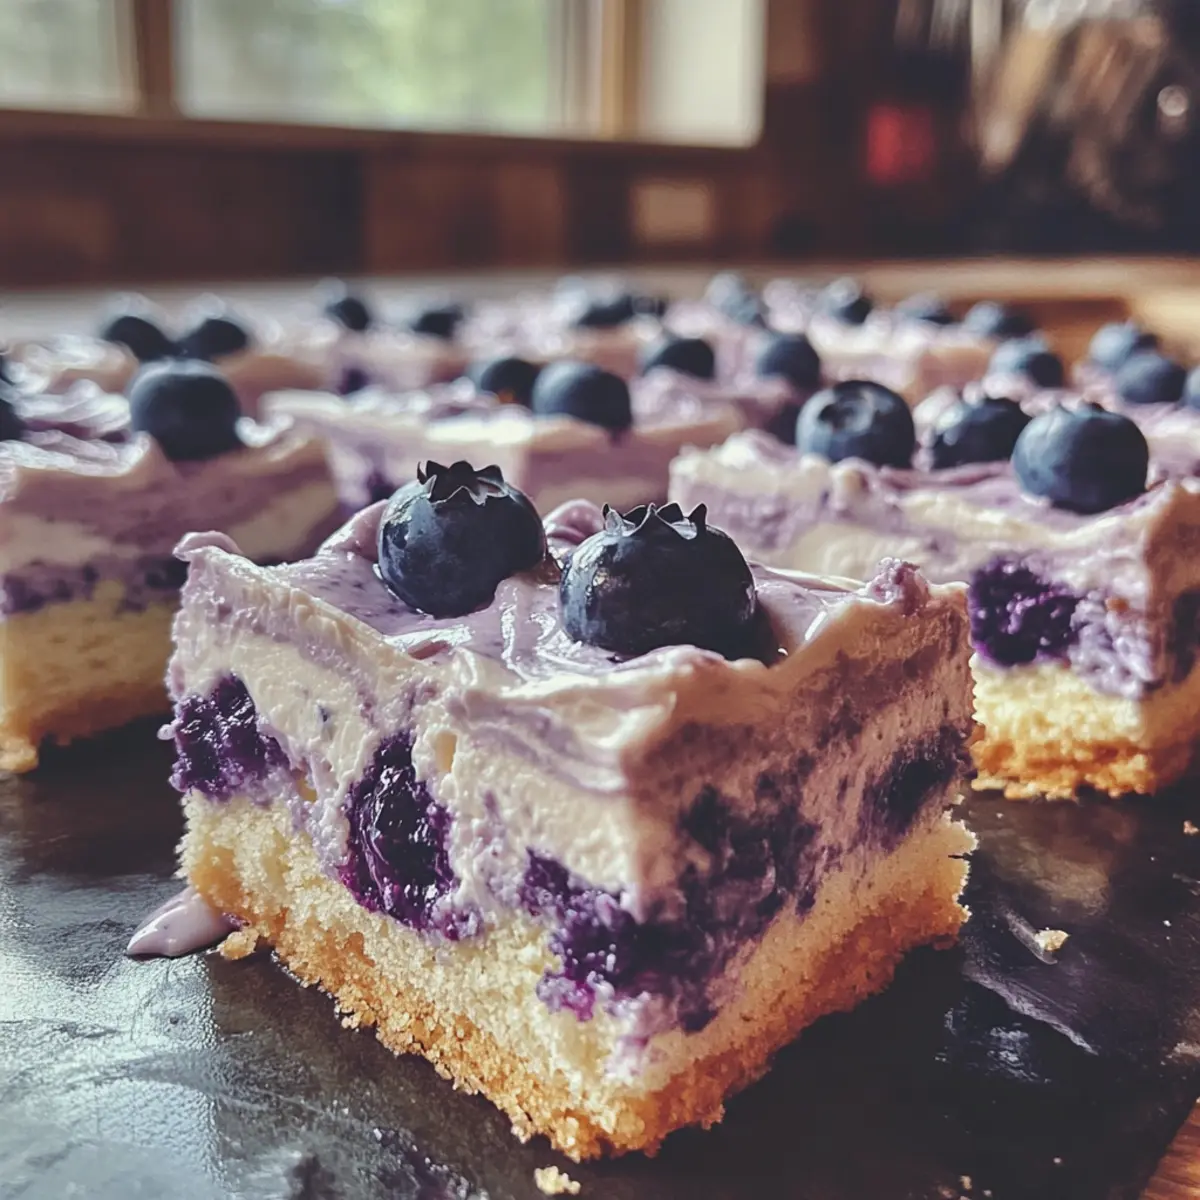
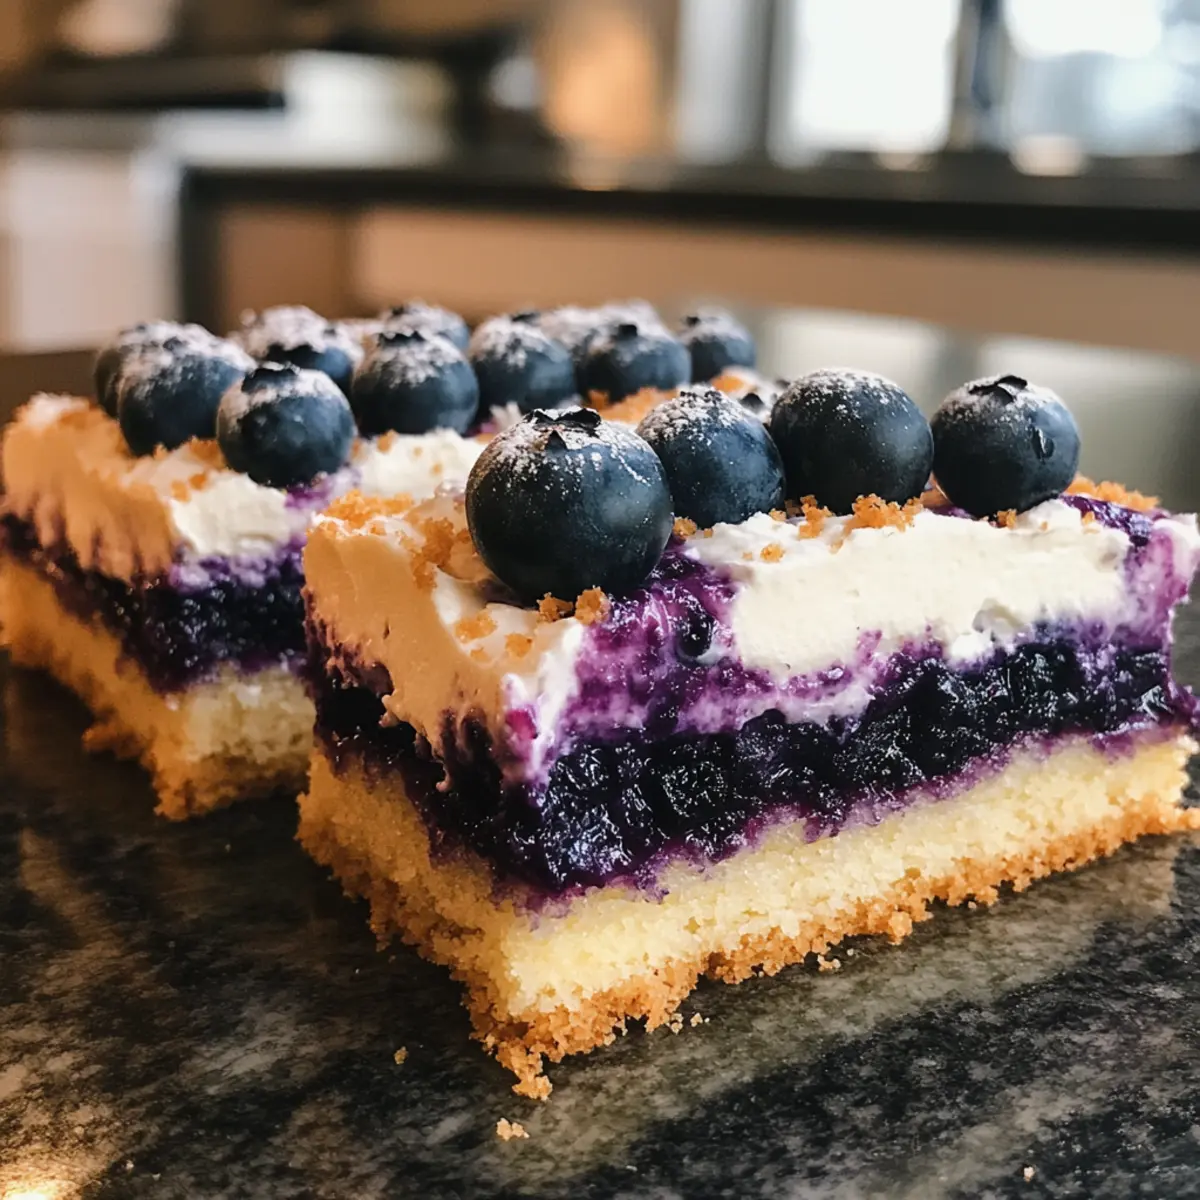
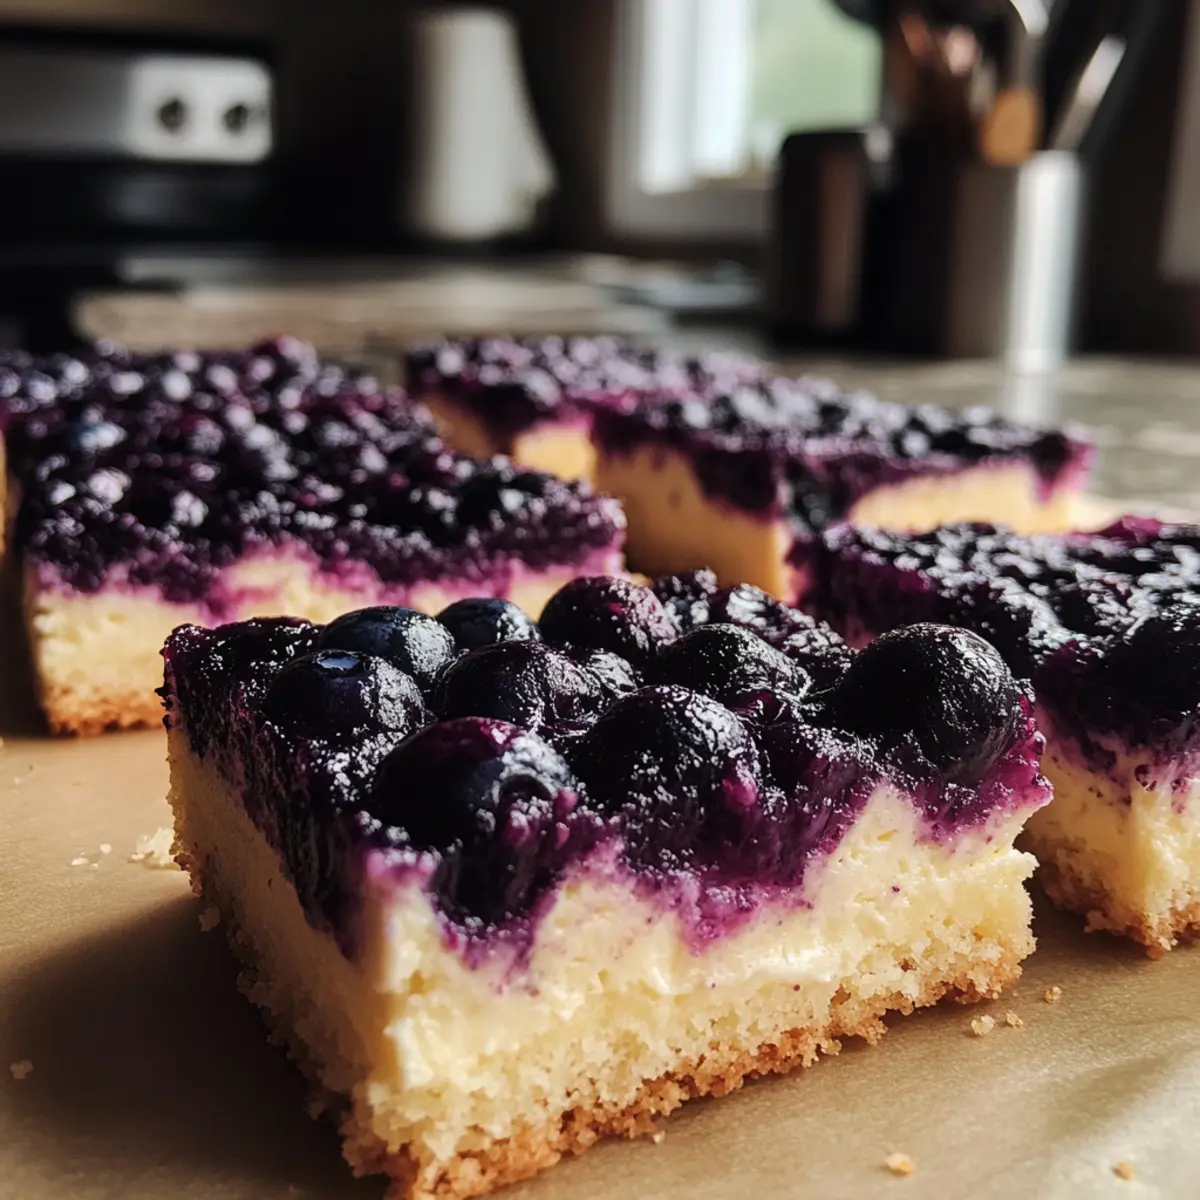
Fruity Topper: Instead of churros, top your cake with a vibrant medley of fresh fruits like strawberries and blueberries. This gives a refreshing contrast to the moistness of the cake.
-
Chocolate Delight: Melt some dark chocolate and drizzle it over the churros for a decadent chocolate-covered churro experience. Pairing chocolate with the milky sweetness adds depth to the flavor!
-
Coffee Kick: Mix in a tablespoon of espresso powder into the tres leches mixture for a coffee-flavored cake that will awaken your senses. Perfect for any coffee lover!
-
Spiced Vibes: Enhance the flavor by adding a dash of nutmeg or cardamom to the cake batter. It creates an aromatic delight that warms the soul, making every bite irresistible.
-
Creamy Cheesecake Layer: Incorporate a cheesecake layer between the cake and the tres leches by adding 8 oz of cream cheese whipped with some of the sweetened condensed milk. This will add richness and a unique twist to the overall dessert.
Whatever variation you choose, each bite of the Churro Three Milks Cake is destined to create lasting memories and bring smiles to the faces of your loved ones!
Expert Tips for Churro Three Milks Cake
-
Room Temperature Ingredients: Ensure all ingredients are at room temperature for a smoother batter, which results in a more consistent cake.
-
Cool Before Soaking: Allow the cake to cool completely before pouring the tres leches mixture; this prevents it from becoming overly soggy.
-
Even Churro Texture: When piping the churros, do it quickly and consistently to maintain uniform shapes, which fry evenly for the best crunch.
-
Soaking Time: For optimal flavor and moisture, let the cake soak in the tres leches mixture for at least one hour, or refrigerate for up to four hours before serving.
-
Storage Tips: Store any leftovers in an airtight container in the fridge. The Churro Three Milks Cake tastes best when enjoyed within five days.
-
Cinnamon Spice: Use fresh ground cinnamon for both the churro coating and the cake to enhance the flavor; stale spices can dull the dessert’s taste.
Make Ahead Options
These Churro Three Milks Cake components are perfect for meal prep, making your life easier during busy weeknights! You can prepare the cake base up to 24 hours in advance; just bake, cool completely, and then wrap it tightly in plastic wrap. The tres leches mixture can also be made ahead and stored in the refrigerator for up to 3 days. When you’re ready to serve, simply poke holes in the cooled cake, pour the tres leches mixture over it, and let it soak for an hour. For the churros, they are best made fresh, but you can pipe and freeze the uncooked dough for up to 3 weeks; just fry them straight from the freezer when needed. This ensures your Churro Three Milks Cake remains just as delicious, saving you time without sacrificing flavor!
What to Serve with Churro Three Milks Cake
Indulging in a slice of this creamy delight calls for some complimentary dishes that enhance the whole meal experience.
- Fresh Fruit Salad: A vibrant mix of seasonal fruits adds a refreshing contrast to the rich flavors of the cake.
- Vanilla Ice Cream: The creamy sweetness of vanilla ice cream melts perfectly over the moist cake, creating a heavenly combination.
- Cinnamon Hot Chocolate: A warm, spiced drink that complements the cinnamon notes in the churros, making every bite and sip a cozy delight.
- Espresso or Coffee: A strong brew pairs beautifully, cutting through the cake’s sweetness while highlighting its warm flavors.
- Chocolate Sauce: Drizzling some melted chocolate over the churros brings a decadent depth that enhances both flavors and textures!
- Whipped Cream Topping: A light, airy topping adds a lovely creaminess, balancing out the rich tres leches cake.
Surround your Churro Three Milks Cake with these delightful pairings and watch how they elevate your dessert experience. Each dish contributes to enchanting layers of flavor and comfort, making your gatherings truly special!
Churro Three Milks Cake Recipe FAQs
What kind of milk should I use for the tres leches mixture?
You’ll want to use evaporated milk, sweetened condensed milk, and heavy cream for the tres leches mixture. These three milks create the moist, rich flavor that makes this dessert so special. Each has its unique role: the evaporated milk adds richness, the sweetened condensed milk brings sweetness, and the heavy cream enhances the creamy texture. Stick to the original for the best results!
How should I store leftovers from the Churro Three Milks Cake?
Store any leftover cake in an airtight container in the refrigerator. It will stay fresh for up to 5 days, ensuring that the cake retains its delightful moisture and flavor. If you’re storing it right after making, just be sure it’s fully cooled before sealing it up to prevent extra sogginess.
Can I freeze Churro Three Milks Cake?
Absolutely! To freeze the cake, it’s best to do so before soaking it in the tres leches mixture. Wrap the unsoaked cake securely in plastic wrap and then in aluminum foil, placing it in an airtight container. It can be frozen for up to 2 months. When you’re ready to enjoy, simply thaw it in the refrigerator overnight, then soak it with the three milks mixture as the recipe instructs.
Why is my cake too soggy after adding the tres leches mixture?
If your cake turns out soggy, it may have been too warm when you added the tres leches mixture or it soaked for too long. Make sure the cake is completely cooled before pouring the milk mixture over it, and let it soak for at least an hour but no longer than 4 hours for optimal texture. Each cake can absorb it differently, so keep an eye on it!
Is this cake safe for those with dairy allergies?
Unfortunately, the traditional Churro Three Milks Cake is not suitable for those with dairy allergies due to its use of milk products. However, you can create a dairy-free version by using plant-based alternatives such as almond milk, coconut milk, and vegan butter. Just be mindful that this will change the flavor profile, but experimentation is always fun in the kitchen!
How do I make the churros crispy?
For crispy churros, ensure your oil is preheated to around 375°F (190°C). This temperature is key to frying them quickly and evenly. Also, make sure to pipe the dough directly into the hot oil and not overcrowd the frying pan, as doing so will lower the oil temperature and result in soggy churros. Fry them until they are golden brown on all sides for that perfect crunch!
Irresistible Churro Three Milks Cake for Sweet Celebrations
Ingredients
Equipment
Method
- Prepare the Cake Batter: In a large mixing bowl, whisk together 2 cups of all-purpose flour, 1 cup of sugar, 2 teaspoons of baking powder, and 1 teaspoon of salt until well combined. In a separate bowl, beat 3 eggs and mix in 1 cup of whole milk with 1/2 cup of melted butter. Gradually add this wet mixture into the dry ingredients, stirring until smooth and creamy without lumps.
- Bake the Cake: Preheat your oven to 350°F (175°C) and grease a 9x13 inch sheet pan. Pour the cake batter evenly into the prepared pan and bake for approximately 35 minutes, or until a toothpick inserted in the center comes out clean. Allow the cake to cool completely.
- Make Tres Leches Mixture: While the cake cools, combine 1 cup of evaporated milk, 1 cup of sweetened condensed milk, and 1 cup of heavy cream in a bowl. Whisk until well blended and smooth.
- Assemble the Cake: Once the cake has cooled, poke several holes over the top and pour the tres leches mixture evenly over it. Let it soak for at least one hour.
- Prepare Churros: Combine 1 cup of all-purpose flour, 2 tablespoons of sugar, and 1 teaspoon of cinnamon in a mixing bowl. In a saucepan, combine 1 cup of water with 1/2 cup of butter and bring to a gentle boil. Add the dry ingredients, stirring until a dough forms.
- Fry the Churros: Heat oil in a deep frying pan to about 375°F (190°C). Pipe 4-6 inch strips of churro dough into the hot oil, frying until golden brown and crispy.
- Serve the Cake: Sprinkle churros with sugar and cinnamon, then arrange on top of the tres leches cake. Enjoy!