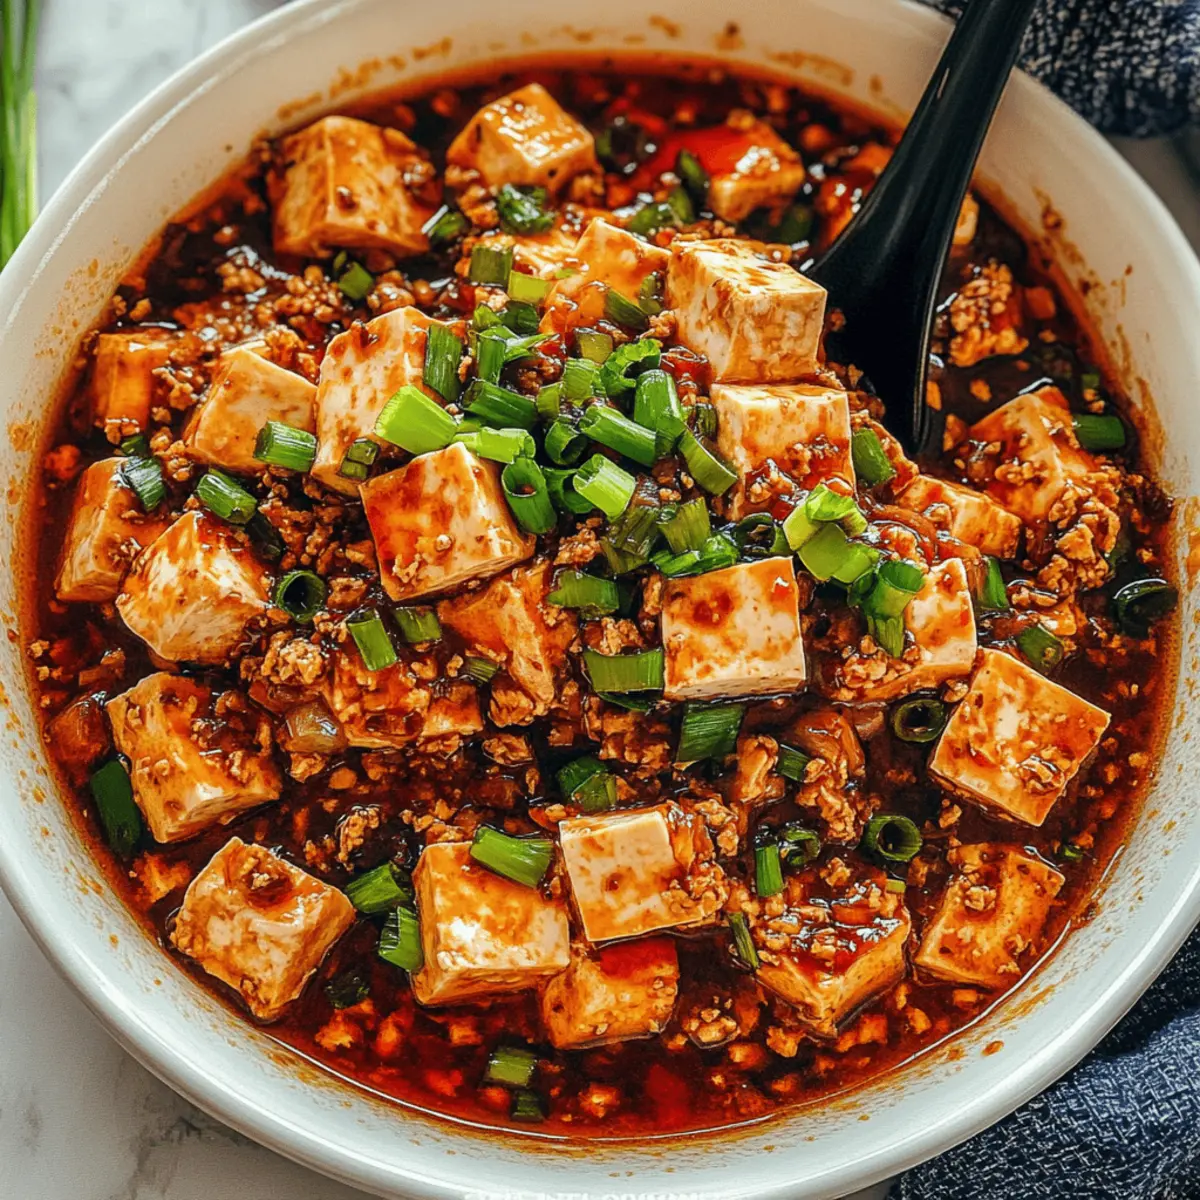
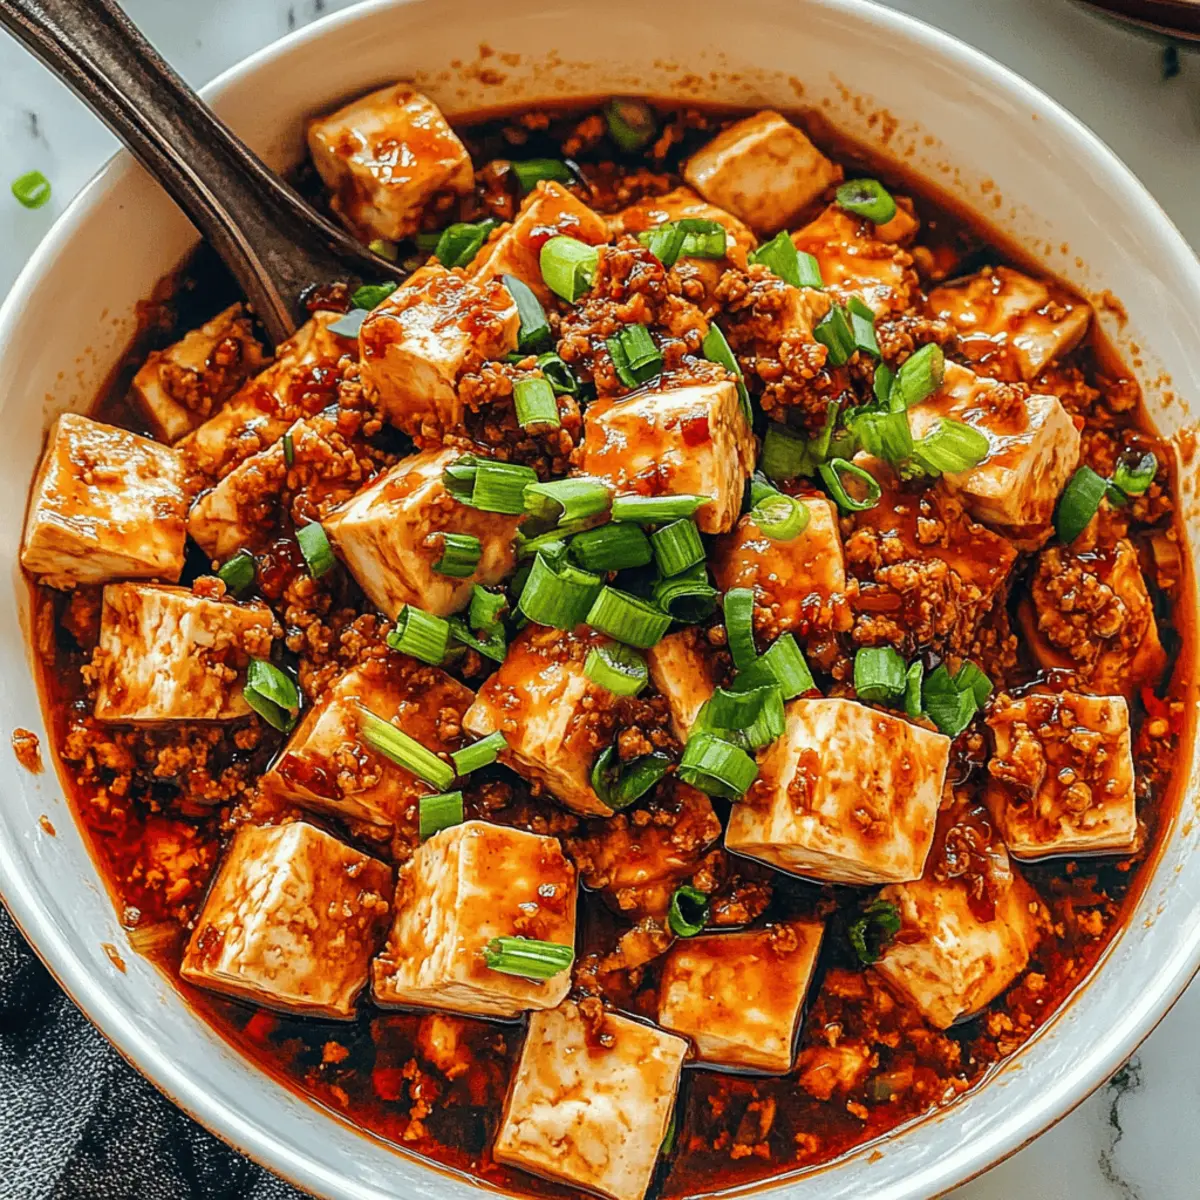
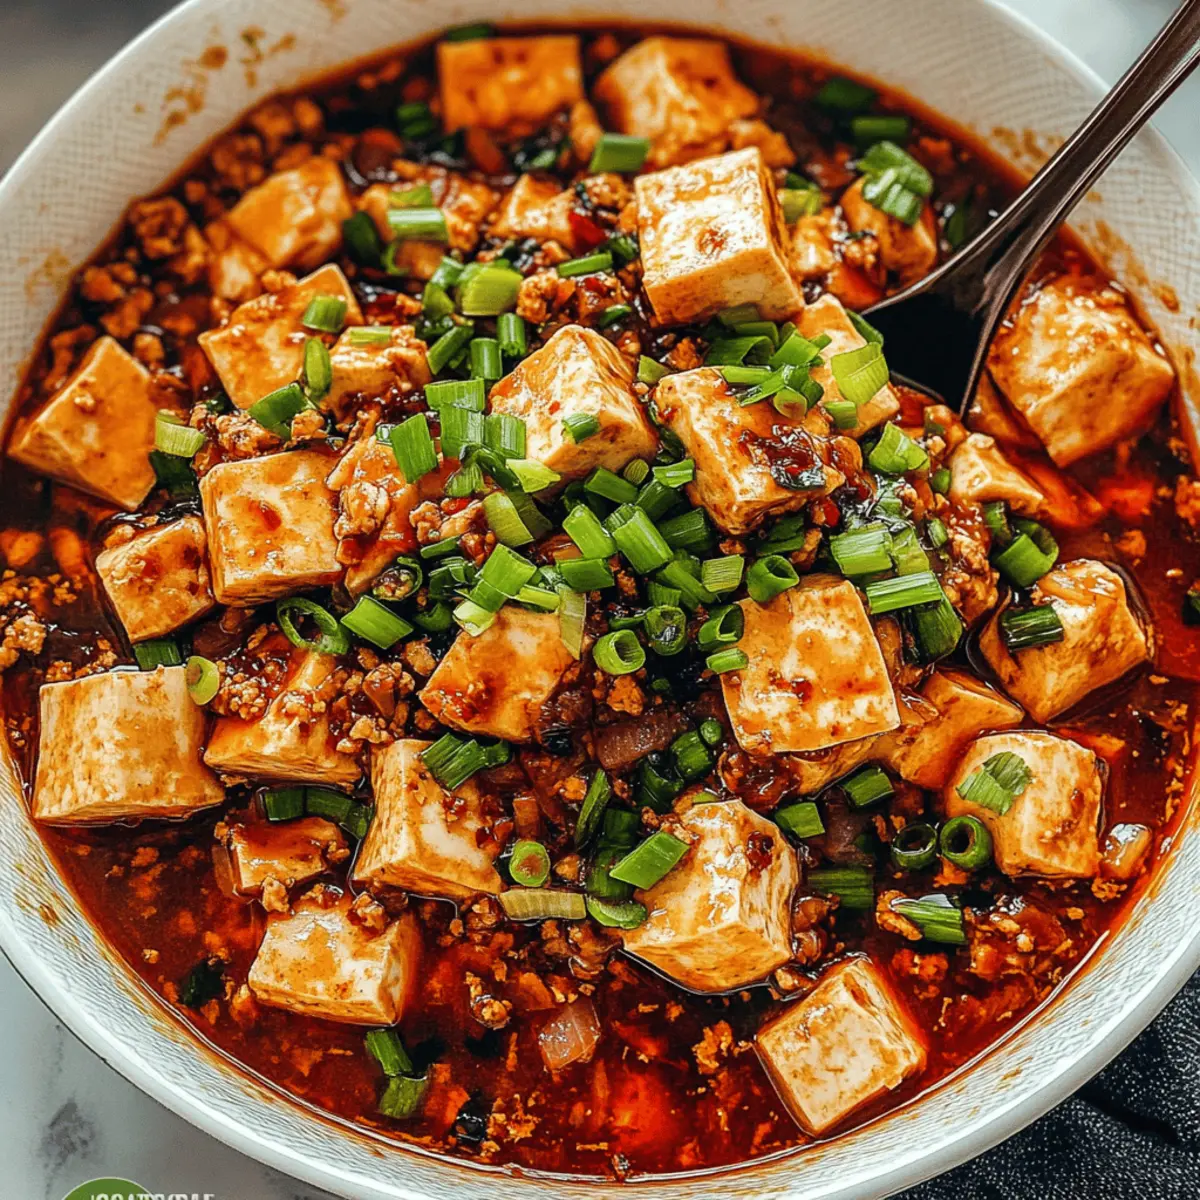
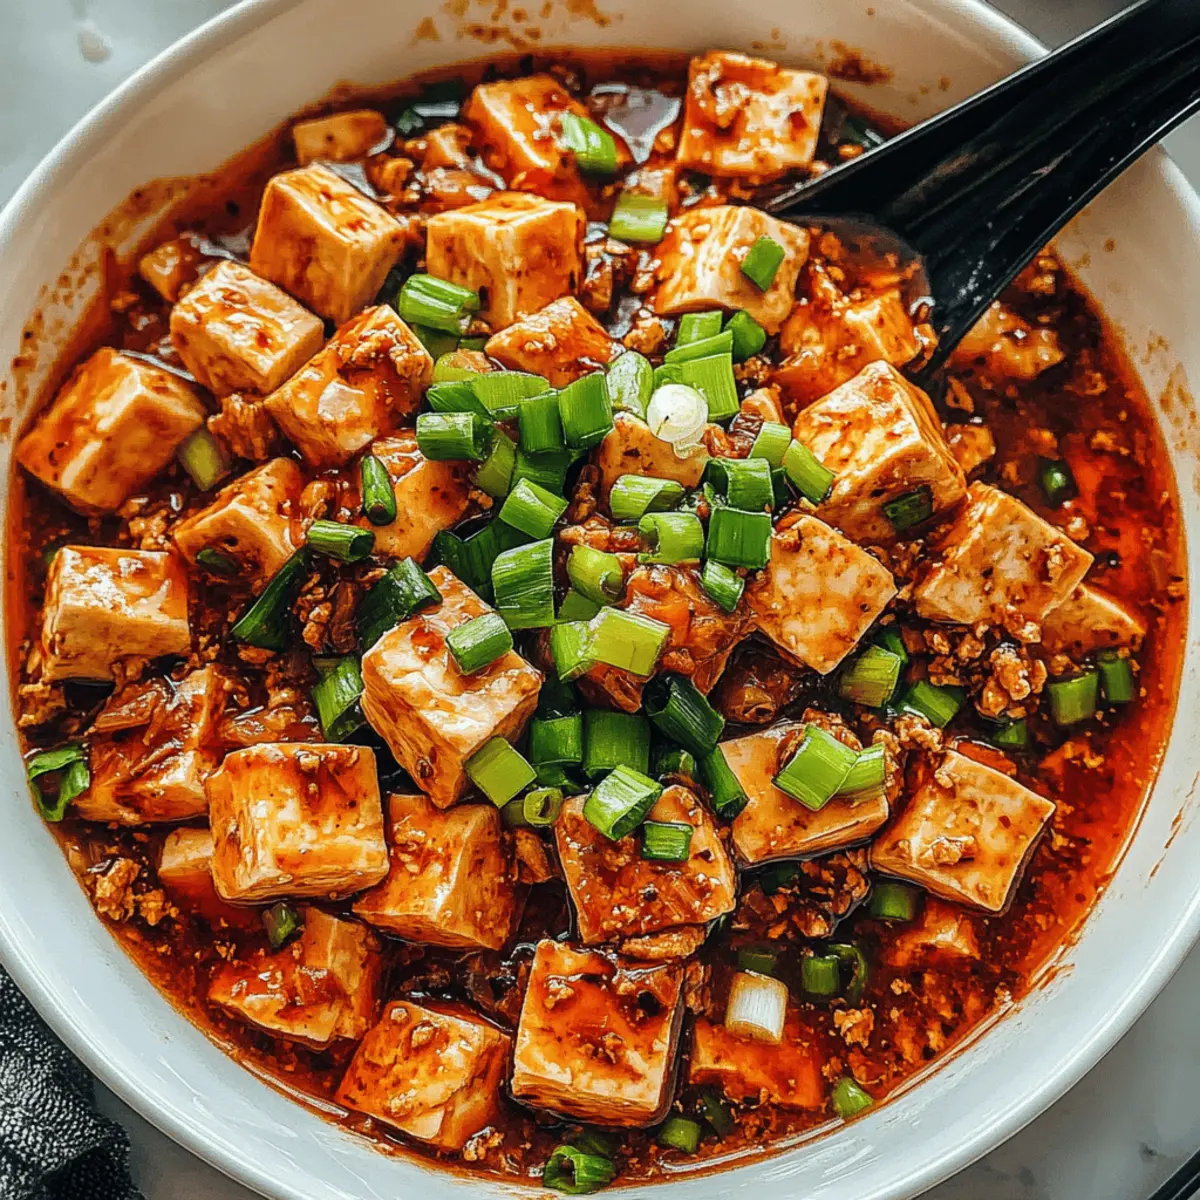
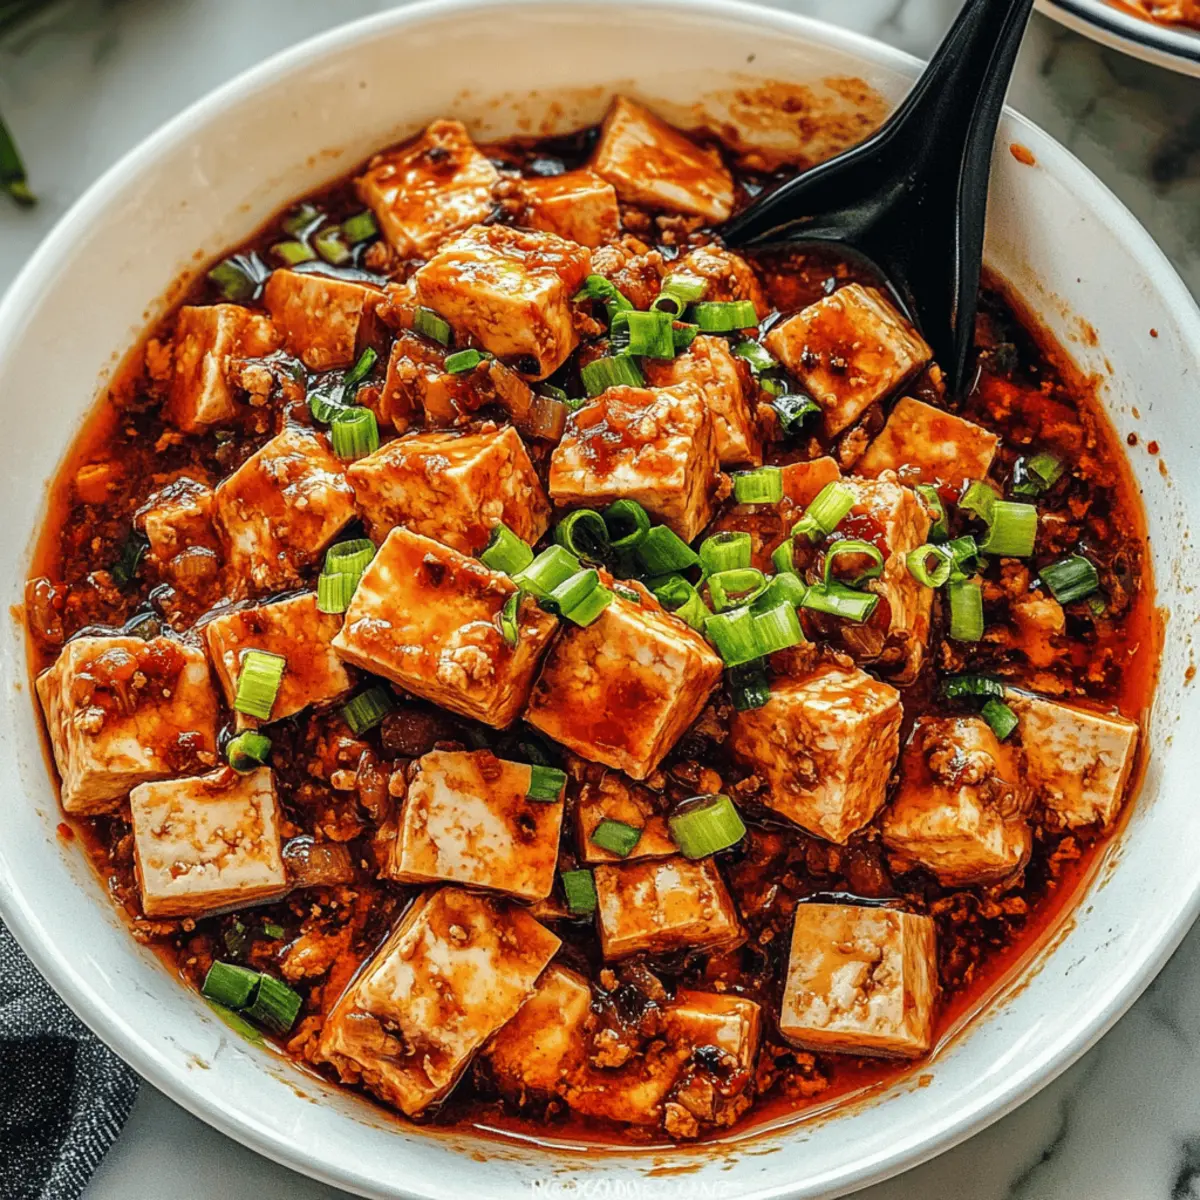
“Spicy food lovers, gather ’round! If you’re like me and constantly on the hunt for an exciting dish that elevates a simple dinner into a flavor adventure, then you’re in for a treat with this Authentic Spicy Mapo Tofu. This iconic dish not only celebrates the rich culinary tradition of Sichuan cuisine, but it also provides a quick and hassle-free way to whip up a mouthwatering meal on busy weeknights. With silky tofu that practically melts in your mouth, you’ll find a delightful balance of savory, spicy, and a hint of numbing heat that keeps you coming back for more. Plus, it’s easily adaptable for both meat lovers and vegans alike, making it a versatile crowd-pleaser. Are you ready to spice up your dinner routine?”
Why is Mapo Tofu a Must-Try?
Authenticity: This Authentic Mapo Tofu brings the bold flavors of Sichuan cuisine right to your kitchen.
Quick & Easy: With a preparation time of just minutes, it’s perfect for busy weeknights.
Mouthwatering Flavor: The combination of spicy, savory, and numbing sensations makes every bite an absolute delight.
Versatile Options: Whether you opt for ground pork, chicken, or a fully vegan version, this dish caters to everyone’s taste.
Crowd-Pleasing: Serve it over steamed rice and watch as it turns heads at your dinner table—this meal is sure to leave everyone satisfied!
So gather your ingredients, and maybe check out some tips for cooking with tofu to elevate your dish!
Authentic Mapo Tofu Ingredients
For the Base
- Ground Pork – Adds richness and flavor; substitute with ground chicken or turkey for a lighter option or omit for a vegan version.
- Shaoxing Wine – Provides depth of flavor; can be replaced with dry sherry if unavailable.
- Soy Sauce – Enhances umami; consider low-sodium versions if desired.
- Minced Ginger – Adds warmth and spice; fresh ginger is preferred for the best flavor.
- Sichuan Peppercorns – Essential for authentic numbness and citrusy flavor; can be reduced for a milder taste depending on freshness.
- Doubanjiang – A spicy fermented bean paste crucial for flavor; adjust the amount based on your desired spice level.
- Sugar – Balances spiciness and seasoning; adjust to taste.
For the Tofu
- Firm/Medium Firm Tofu – Absorbs the sauce well; silken tofu can be used for a different texture but be careful as it is more delicate.
- Chicken Stock/Water – Used for braising; vegetable stock is a great option for a vegan version.
For Garnish
- Green Onion – Provides fresh flavor and garnish; chop finely for an attractive presentation.
- Homemade Chili Oil – Enhances heat and flavor; store-bought chili oil can be substituted if necessary.
- Five-Spice Powder – Adds complexity; can be omitted if unavailable.
Now that you have your ingredients ready, you’ll be one step closer to creating this Authentic Mapo Tofu masterpiece that will leave your taste buds dancing!
Step‑by‑Step Instructions for Authentic Mapo Tofu
Step 1: Prepare the Marinade
In a medium bowl, combine the ground pork, Shaoxing wine, soy sauce, and minced ginger. Mix thoroughly until the pork is evenly coated with the marinade, allowing it to marinate for about 10 minutes. This step is essential for infusing the pork with rich flavors that will elevate your authentic Mapo Tofu.
Step 2: Make the Cornstarch Slurry
While the pork marinates, prepare a cornstarch slurry by mixing 1 tablespoon of cornstarch with a tablespoon of water in a small bowl. Stir until the mixture is smooth and there are no lumps. Set this aside; you’ll use it later to thicken the savory sauce of your authentic Mapo Tofu.
Step 3: Infuse the Oil
Heat 3 tablespoons of vegetable oil in a nonstick skillet over medium heat. Once the oil shimmers, add the Sichuan peppercorns and fry them until they turn dark brown and fragrant, about 2 minutes. Carefully remove the peppercorns and drain the excess oil, reserving the spiced oil for cooking the meat, which will add an authentic flavor to your dish.
Step 4: Cook the Meat
In the same skillet, add the marinated ground pork along with 2 tablespoons of Doubanjiang. Stir-fry the pork over medium-high heat for 5–7 minutes until it is well-cooked and coated with a vibrant reddish hue from the bean paste. This step adds a depth of flavor that’s crucial for an authentic Mapo Tofu experience.
Step 5: Braise the Tofu
Once the pork is cooked, gently place cubed tofu on top of the meat in the skillet. Pour in 1 cup of chicken stock (or vegetable stock for a vegan option), along with additional chili oil, 1 teaspoon of five-spice powder, and a teaspoon of sugar. Cover the skillet and let it simmer for 8-10 minutes; the tofu will absorb all those rich, spicy flavors during this time.
Step 6: Thicken the Sauce
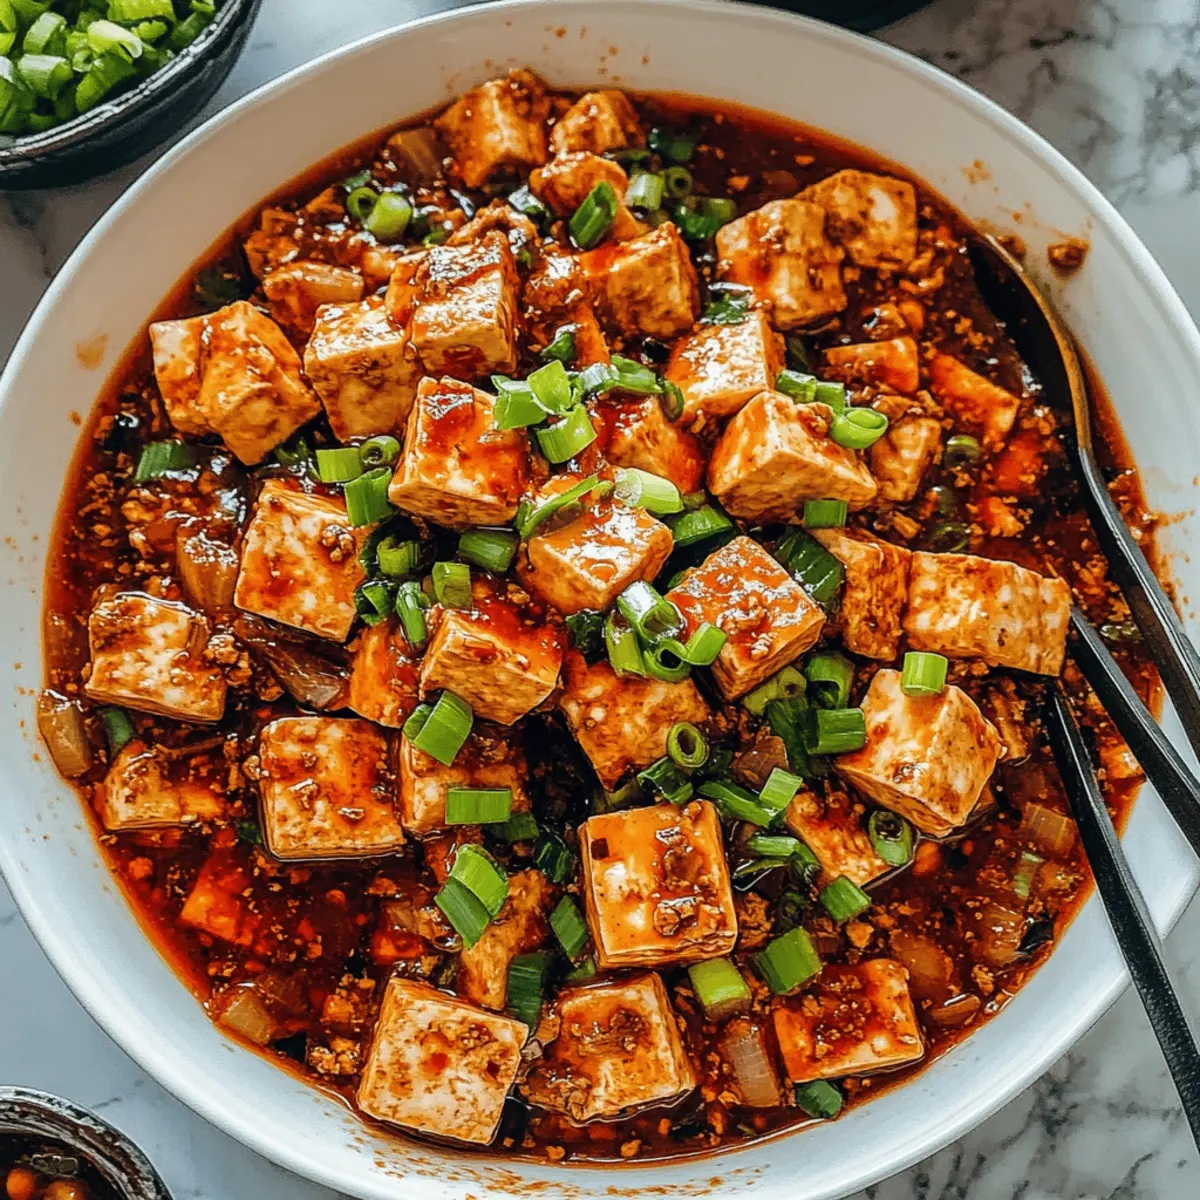
After simmering, reveal the skillet and gently stir in the cornstarch slurry while cooking for another 2-3 minutes. Continue to cook until the sauce thickens to a glossy finish that clings to the tofu and meat, creating a mouthwatering coating for your authentic Mapo Tofu.
Step 7: Garnish and Serve
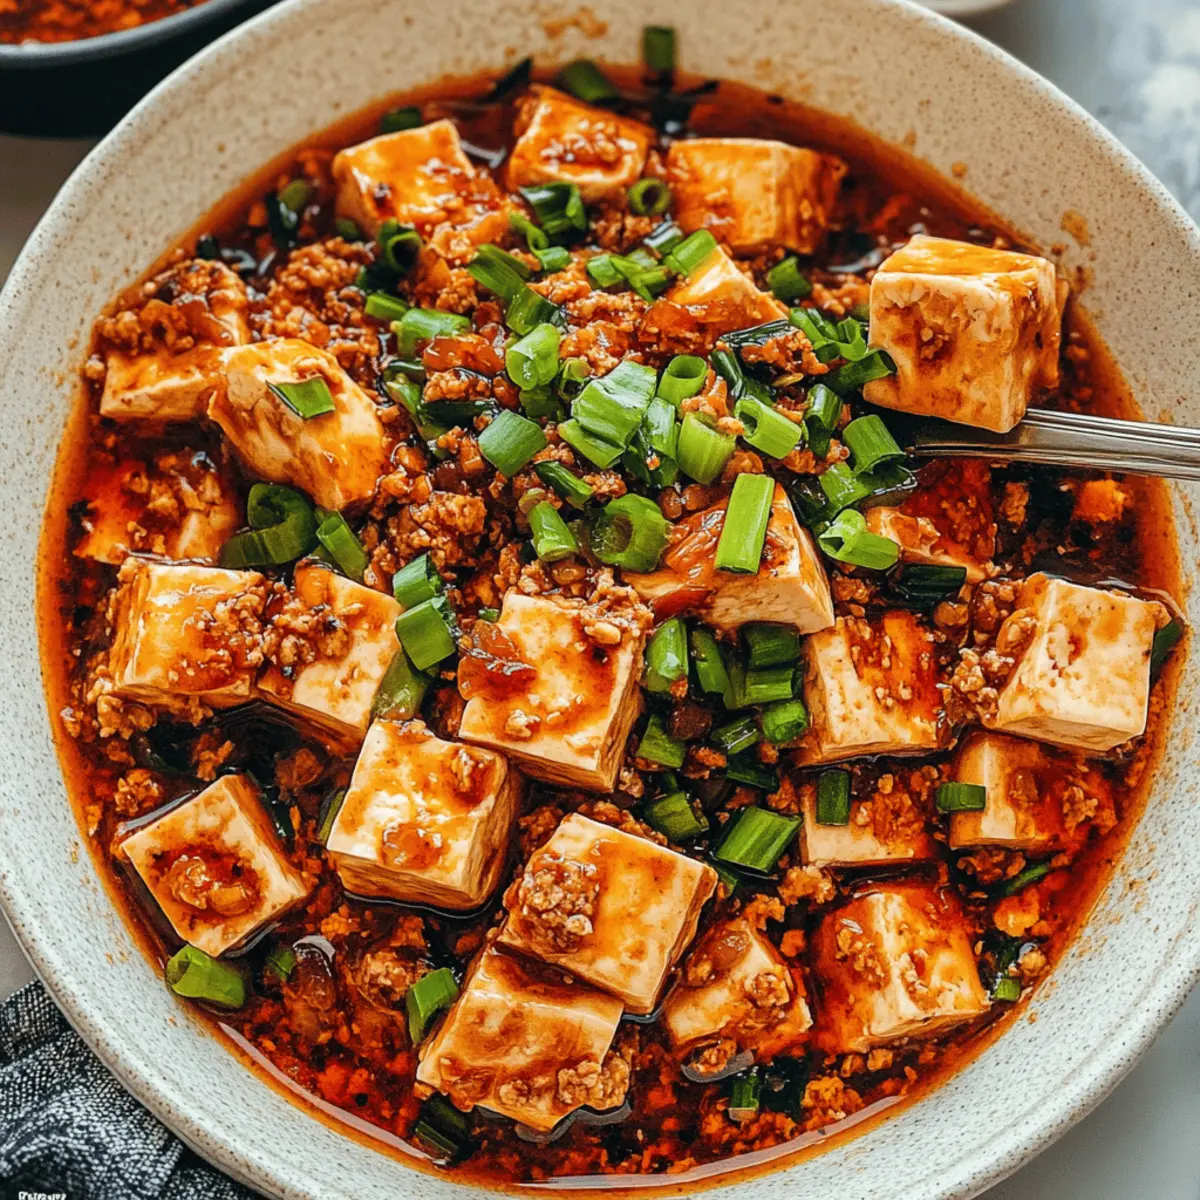
Finally, remove the skillet from heat and garnish your authentic Mapo Tofu with finely chopped green onions and a sprinkle of ground Sichuan peppercorns if desired. Serve hot over steamed rice for a delightful meal that’s both comforting and packed with flavor.

Tips for the Best Mapo Tofu
-
Right Tofu Texture: Use firm or medium-firm tofu for best results. Silken tofu may break apart easily, so handle it gently if you choose to use it.
-
Spice Adjustment: Start with one tablespoon of Doubanjiang and adjust based on your heat tolerance. This ensures your Authentic Mapo Tofu matches your flavor preference.
-
Infuse the Oil: Fry Sichuan peppercorns until fragrant to extract their bold flavors into the oil. This step is key to an authentic taste that can’t be skipped!
-
Handle with Care: When adding tofu to the skillet, do so gently to prevent breaking the cubes. This way, each piece remains intact and delicious.
-
Storage Savvy: Leftover Mapo Tofu can be stored in an airtight container in the fridge for up to 3 days. Reheat gently to keep the tofu intact and the flavors fresh.
-
Garnishing Tip: For an appealing finish, garnish your dish with fresh green onions and a sprinkle of ground Sichuan peppercorns. This adds not only flavor but also a vibrant touch!
Storage Tips for Authentic Mapo Tofu
Fridge: Store leftover Authentic Mapo Tofu in an airtight container for up to 3 days. This helps maintain its rich flavors and prevents spoilage.
Freezer: For longer storage, freeze your Mapo Tofu in an airtight container for up to 1 month. Remember, the texture of tofu may change slightly upon thawing.
Reheating: When ready to enjoy your leftovers, gently reheat on the stovetop over low heat. Stir occasionally to avoid breaking the tofu and ensure even warming.
Airtight: Always ensure your storage container is sealed tightly to keep your delicious Mapo Tofu fresh and flavorful!
What to Serve with Authentic Spicy Mapo Tofu
Create a dining experience that complements the captivating flavors of this dish and brings everyone together at the table.
-
Steamed Rice: A staple in many Asian households, rice absorbs the spicy sauce, making each bite delightful and filling.
-
Stir-Fried Vegetables: Crisp, vibrant veggies add a fresh crunch that balances the rich flavors and provides a pop of color to your meal. A stir-fry featuring bok choy or snap peas can be a quick side!
-
Cucumber Salad: A refreshing cucumber salad dressed in a light vinaigrette contrasts beautifully with the bold mapo tofu, adding a cooling element to your palate.
-
Sesame Noodles: Serve cold or at room temperature, these noodles drizzled with sesame oil provide a delightful nutty flavor that enhances the meal’s complexity. They can also soak up any extra sauce you might have left!
-
Miso Soup: The umami-rich broth softens the spices of the mapo tofu, providing a comforting side that warms the soul. Pair it with some seaweed for added texture.
-
Spicy Pickles: Add a tangy and spicy crunch with pickled vegetables on the side. They cleanse the palate and add an interesting zing that matches the dish’s flavor profile.
-
Hot Green Tea: A fragrant green tea can help clear the heat of the spices while also complementing the dish with its subtle earthy notes.
-
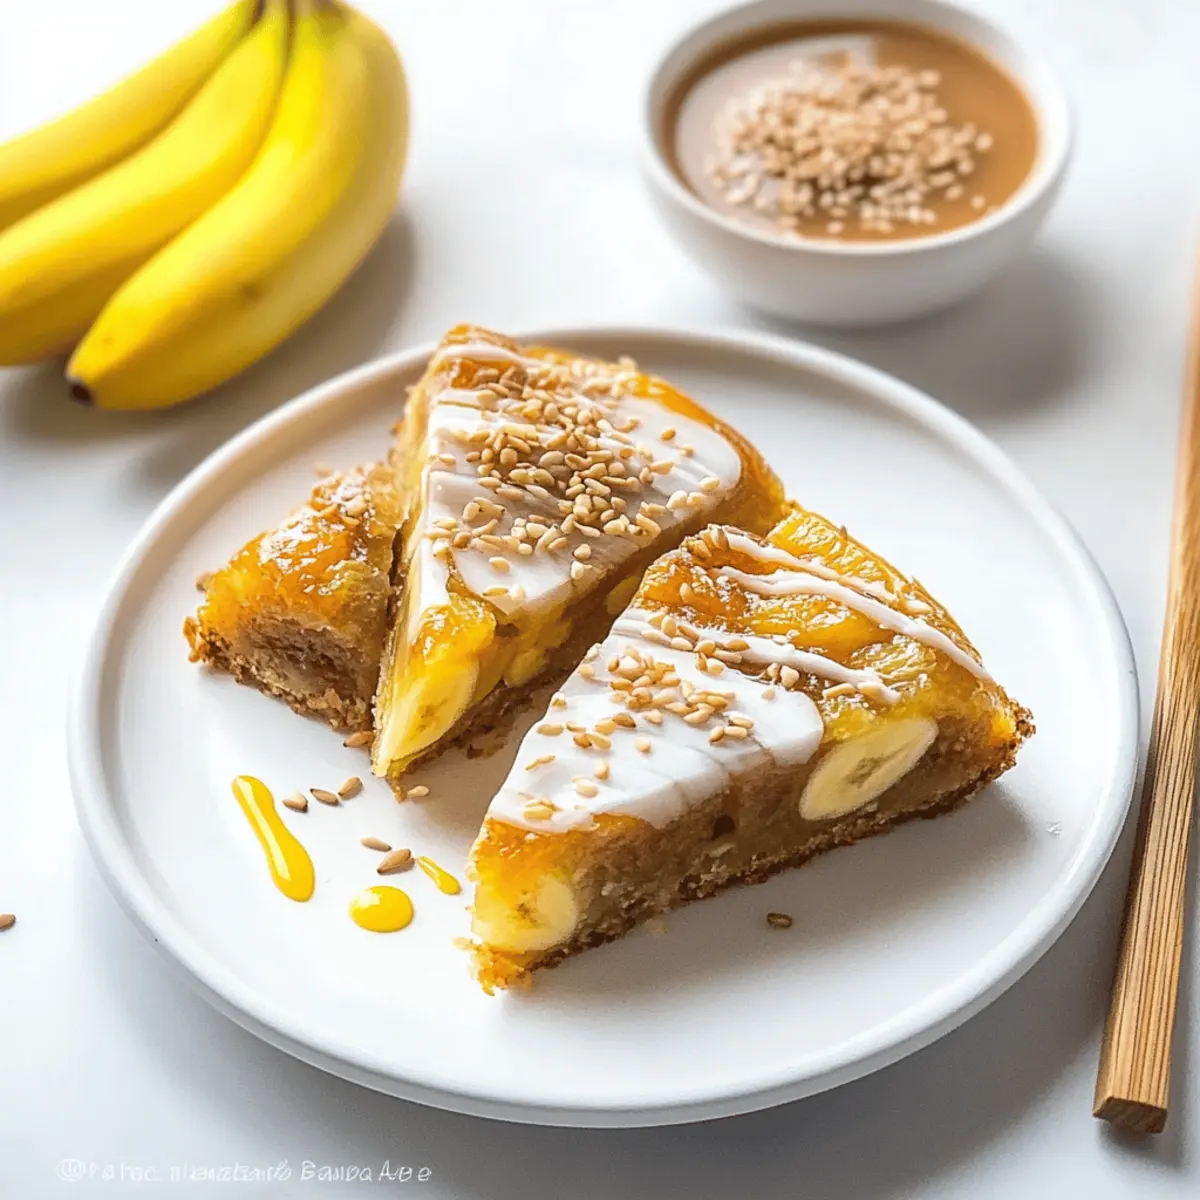
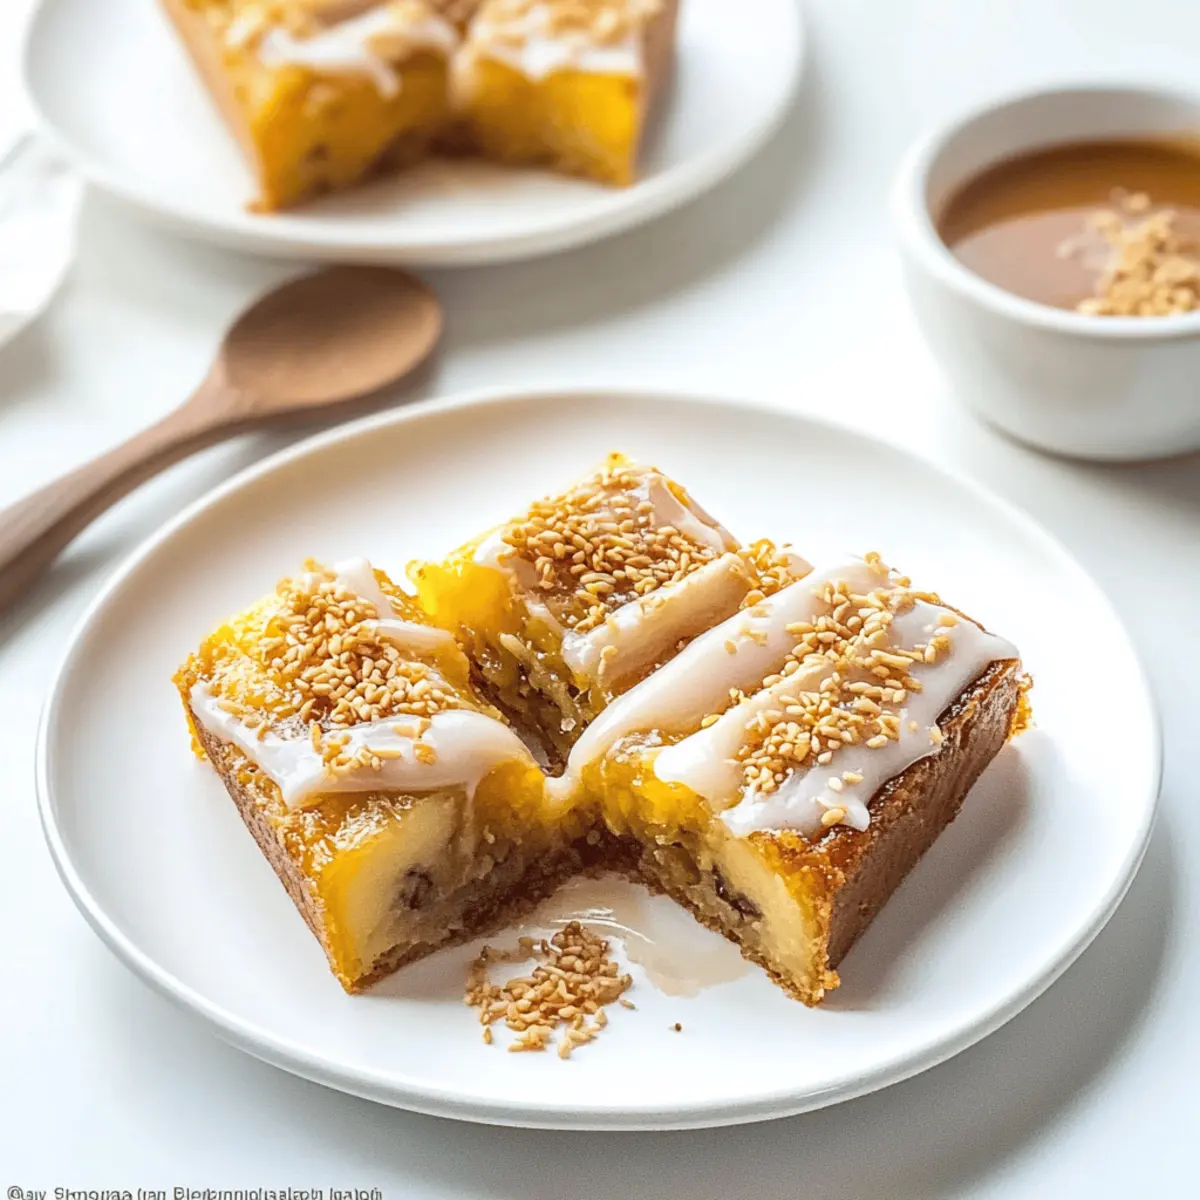
Mango Sticky Rice: For a sweet finish, indulge in this luscious dessert that balances heat with a silky smooth sweetness to round out your meal perfectly!
Authentic Mapo Tofu Variations
Feel free to switch things up and make this Authentic Mapo Tofu your own with these delightful twists!
- Vegan Alternative: Omit ground pork and use cooked lentils or chopped mushrooms as a hearty substitute for a plant-based option.
- Different Tofu Types: Experiment with silken, soft, or extra-firm tofu to find your favorite texture in every bite. Just remember, soft tofu needs a gentler touch!
- Extra Spice: Add fresh chilies or a dash of cayenne pepper if you crave even more heat in your dish. It’s a great way to tailor the spice level to your personal preference!
- Vegetable Boost: Toss in leafy greens like bok choy or spinach during the last few minutes. Not only does this add vital nutrients, but it also enhances the dish’s flavors.
- Savory Sauce Upgrade: Mix in a spoonful of hoisin sauce or black bean paste for added complexity and depth of flavor. These small additions can transform your dish into something extraordinary!
- Nutty Flavor: Sprinkle toasted sesame seeds on top just before serving for a delightful crunch and an aromatic finish. It pairs beautifully with the rich sauce!
- Rice Alternatives: Serve your Mapo Tofu over quinoa or cauliflower rice for a low-carb twist that still satisfies! It’s a fantastic way to change things up on busy weeknights.
- Crispy Texture: For an extra-layered dish, pan-fry the tofu cubes before adding them to the sauce. This creates a satisfying contrast between crispy and soft textures.
Don’t forget to check out some tips for cooking with tofu for pointers that will enhance your culinary creations. Happy cooking!
Make Ahead Options
These Authentic Mapo Tofu options are perfect for busy weeknights, allowing you to savor flavors without the time crunch! You can marinate the ground pork up to 24 hours in advance, which enhances its flavor; just store it in an airtight container in the refrigerator. Additionally, you can cube the tofu and prep all your vegetables (like green onions) ahead of time—this can be done up to 3 days prior. When you’re ready to serve, simply follow the cooking instructions as usual: heat the infused oil, cook the marinated pork, and then add the tofu with broth and seasonings. This way, your delicious Mapo Tofu will come together just as beautifully and tastefully, allowing you more time to relax!
Authentic Spicy Mapo Tofu Recipe FAQs
How do I choose the right tofu?
Absolutely! For the best results in your Authentic Mapo Tofu, I recommend using firm or medium-firm tofu. These types hold their shape well during cooking and absorb the savory sauce beautifully. If you prefer a smoother texture, silken tofu can be used, but handle it gently to avoid breaking. Look for tofu that appears fresh and has a smooth, unblemished surface without any dark spots.
How should I store leftovers?
Leftover Authentic Mapo Tofu can be stored in an airtight container in the fridge for up to 3 days. Make sure it’s sealed tightly to keep all the rich flavors intact. When you’re ready to enjoy it again, gently reheat it on the stovetop over low heat to avoid breaking the tofu while ensuring it warms evenly.
Can I freeze Mapo Tofu?
Yes, you can freeze Authentic Mapo Tofu! Place it in an airtight container, making sure to leave a little space for expansion, and freeze it for up to 1 month. When ready to enjoy, simply thaw it overnight in the refrigerator before reheating gently on the stove. Keep in mind that the texture of the tofu may alter slightly, but the flavors will still shine through!
What if I don’t have Shaoxing wine?
Very! If you find yourself lacking Shaoxing wine, don’t worry! You can easily substitute it with dry sherry or even a splash of rice vinegar mixed with a bit of extra sugar to mimic the depth of flavor. This substitution will still yield a delicious result without compromising the authenticity of your dish.
Can I make this dish vegan?
Absolutely! To make your Authentic Mapo Tofu vegan-friendly, simply omit the ground pork and substitute it with mushrooms or a plant-based meat alternative. Additionally, use vegetable stock in place of chicken stock. The rich flavors from Doubanjiang and the spice from the Sichuan peppercorns will ensure this dish remains savory and satisfying.
How can I reduce the heat level?
If you’re looking to tone down the spice in your Authentic Mapo Tofu, start by using less Doubanjiang (you might want to begin with just one tablespoon). You can also add a bit more sugar to balance the flavors, which can mitigate some of the heat. Experiment to find just the right level that suits your palate!
Spice Up Your Dinner with Authentic Mapo Tofu Delight
Ingredients
Equipment
Method
- Prepare the marinade by combining ground pork, Shaoxing wine, soy sauce, and minced ginger. Mix until evenly coated and marinate for 10 minutes.
- Make the cornstarch slurry by mixing 1 tablespoon of cornstarch with 1 tablespoon of water until smooth. Set aside.
- Heat vegetable oil in a skillet and fry Sichuan peppercorns until dark brown and fragrant. Remove and reserve the spiced oil.
- Add marinated ground pork and Doubanjiang to the skillet. Stir-fry for 5–7 minutes until well-cooked.
- Place cubed tofu over the pork, pour in chicken stock, additional chili oil, five-spice powder, and sugar. Cover and simmer for 8-10 minutes.
- Stir in the cornstarch slurry and cook for an additional 2-3 minutes until the sauce thickens.
- Garnish with chopped green onions and serve hot over steamed rice.