Amid the hustle and bustle of Thanksgiving preparations, a small kitchen crisis unfolded; my sister forgot to ask what side dishes I would bring. Thankfully, I had a delightful collection of easy Thanksgiving side dishes ready to go! From creamy Garlic Mashed Potatoes to sweet Honey Glazed Carrots, these recipes are the perfect way to elevate your holiday feast without the added stress. Not only do they cater to various dietary preferences, but they also shine in simplicity and taste—ideal for anyone looking to move away from the usual fast-food cycle. So, grab your apron and get ready to impress your friends and family with flavors that evoke warmth and nostalgia. Which side are you most excited to try?
Why Choose These Thanksgiving Side Dishes?
Simplicity at its Finest: Each recipe is designed for easy preparation, perfect for home cooks who want to impress without stress.
Flavorful Combinations: Rich herbs, creamy textures, and sweet glazes create sides that will have your guests begging for the recipe.
Versatile Options: Tailored to suit everyone’s dietary needs, from gluten-free to vegetarian adaptations—everyone will find something to love.
Timeless Classics: These dishes are not just food; they evoke nostalgia and warmth, reminding us of cherished family gatherings.
Elevate your holiday meal and explore more delicious side dishes in our Thanksgiving collection!
Thanksgiving Side Dishes Ingredients
For the Garlic Mashed Potatoes
- Russet potatoes – The main ingredient for richness and creaminess.
- Garlic – Adds savory depth; try roasting it for a sweeter flavor.
- Heavy cream – Ensures a smooth texture; substitute with milk for a lighter version.
- Unsalted butter – Provides richness; olive oil makes a great dairy-free alternative.
- Salt and pepper – Essential for enhancing flavors in your Thanksgiving side dishes.
For the Honey Glazed Carrots
- Baby carrots – Serve as the dish’s base; any garden carrots will work just fine.
- Honey – Brings sweetness and glaze; maple syrup can be a delightful vegan option!
- Butter – Adds a rich flavor; coconut oil is perfect for a dairy-free version.
- Fresh parsley – A lovely garnish for presentation; thyme or dill can also be excellent alternatives.
For the Green Bean Almondine
- Fresh green beans – The star of the dish, offering a crisp texture; feel free to use frozen ones.
- Olive oil – Ideal for sautéing the green beans and almonds; butter ramps up the richness.
- Sliced almonds – Give crunch and nuttiness; substitute with pecans or walnuts for variety.
- Garlic – Enhances the savory profile of this classic side.
For the Stuffing with Sausage and Herbs
- Bread (cubed) – Provides the necessary texture; opt for gluten-free bread to suit dietary needs.
- Italian sausage – Infuses the stuffing with delicious flavor; plant-based sausage works for vegetarians!
- Onion and celery – Aromatics that elevate the stuffing’s taste; swap with leeks or shallots if desired.
- Vegetable broth – Keeps the stuffing moist; chicken broth is perfect for non-vegetarians.
- Fresh herbs (sage, thyme, rosemary) – Define the stuffing’s unique flavor profile.
For the Cranberry Sauce
- Fresh cranberries – The tart base of this sauce; you can use frozen cranberries as a substitute.
- Sugar – Balances the tartness of cranberries; honey or agave syrup can work well instead.
- Orange juice – Adds brightness and acidity; lemon juice provides a more zesty flavor.
- Orange zest – Enhances aroma and deepens flavor, making it an essential ingredient for your Thanksgiving side dishes.
Gather these essential ingredients, and get ready to embark on a flavorful journey as you prepare these comforting Thanksgiving side dishes!
Step‑by‑Step Instructions for Thanksgiving Side Dishes
Step 1: Prepare Garlic Mashed Potatoes
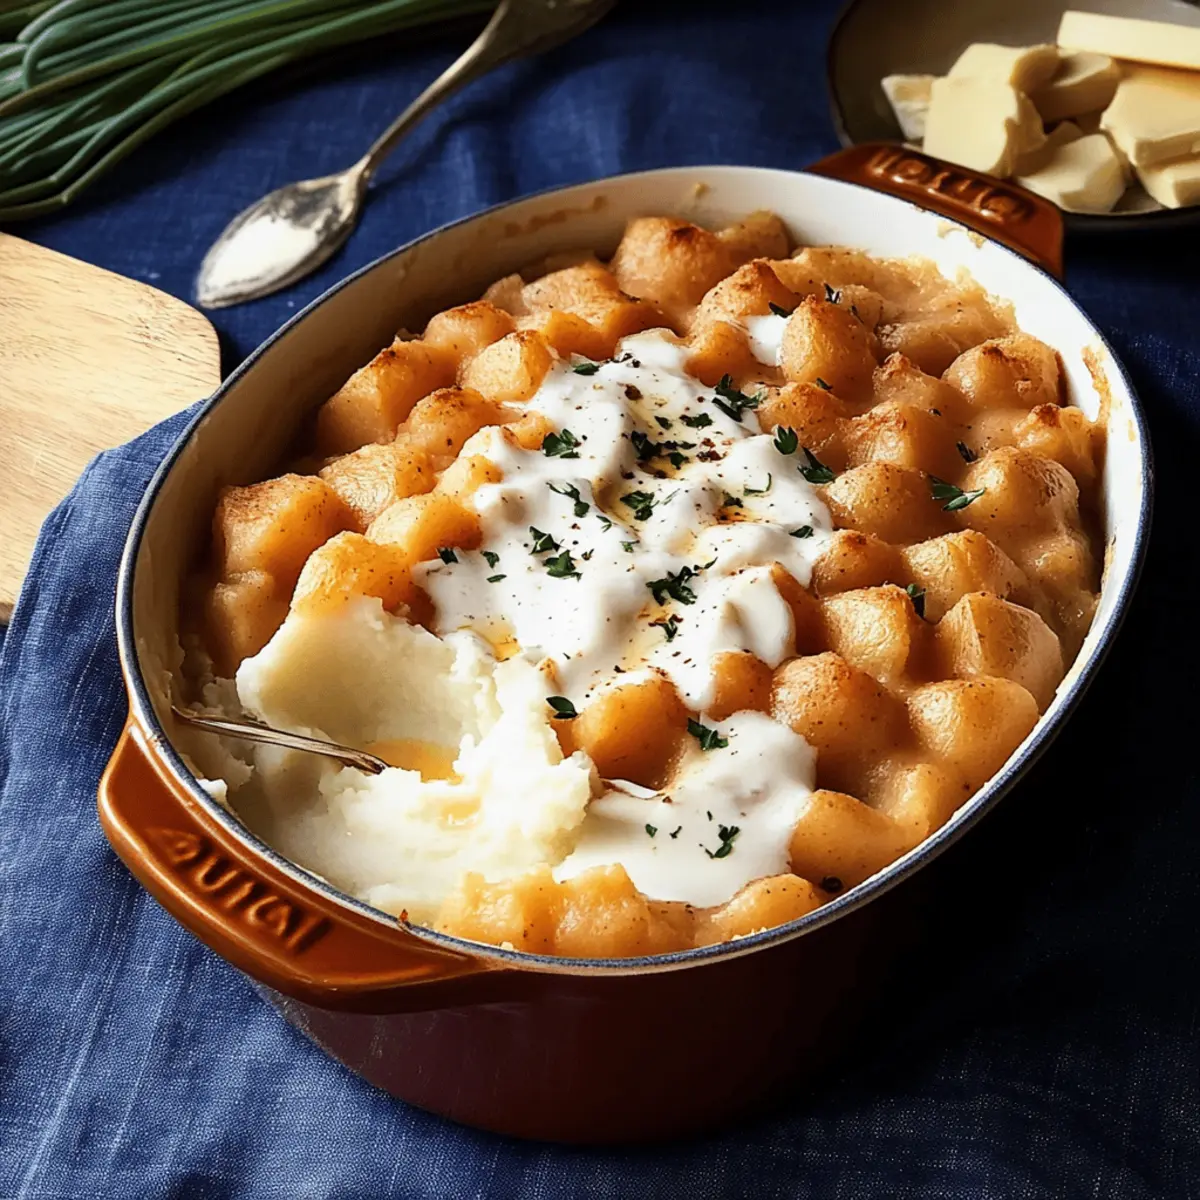
Peel and chop Russet potatoes into evenly sized chunks. In a large pot, add the potatoes to cold salted water and bring to a boil over medium-high heat. Cook for 15–20 minutes until fork-tender. Drain the potatoes and return them to the pot; mash with roasted garlic, heavy cream, and unsalted butter until smooth and creamy. Season with salt and pepper to taste.
Step 2: Cook Honey Glazed Carrots
Next, place baby carrots in a saucepan and cover with water. Bring to a boil over medium heat and cook for about 5–7 minutes, until tender but still crisp. Drain the carrots and return them to the pan. Add butter and honey, tossing gently to coat. Heat for another 3–4 minutes, until glazed and fragrant. Garnish with fresh parsley before serving.
Step 3: Make Green Bean Almondine
For the green bean almondine, blanch fresh green beans in boiling water for 3–4 minutes until bright green and tender-crisp. Drain and transfer to an ice bath to stop the cooking process. In a large skillet, heat olive oil over medium heat. Add sliced almonds and garlic, sautéing until golden and fragrant—about 2–3 minutes. Stir in the green beans, season with salt and pepper, and serve warm.
Step 4: Prepare Stuffing with Sausage and Herbs
To create your stuffing with sausage and herbs, preheat your oven to 350°F (175°C). In a skillet, cook Italian sausage over medium heat until browned. Remove the sausage and sauté chopped onion and celery in the same skillet until softened—about 5 minutes. In a large bowl, combine cubed bread, sausage, sautéed vegetables, and vegetable broth, mixing well. Transfer to a greased baking dish and bake for 30–35 minutes until golden and crispy on top.
Step 5: Cook Cranberry Sauce
For the cranberry sauce, combine fresh cranberries, sugar, and orange juice in a medium saucepan. Cook over medium heat for about 10–12 minutes until the cranberries burst and the sauce thickens. Stir in orange zest for extra flavor and let cool for at least 15 minutes before serving. This cranberry sauce pairs beautifully with your Thanksgiving side dishes, adding a tangy brightness to the meal.
Make Ahead Options
These Easy Thanksgiving Side Dishes are perfect for meal prep, allowing you to focus more on family and festivities! You can prepare the Garlic Mashed Potatoes and Stuffing with Sausage and Herbs up to 24 hours in advance—simply mash the potatoes and refrigerate them (to prevent browning, press plastic wrap directly onto the surface), while the stuffing can be assembled and stored in an airtight container. The Honey Glazed Carrots and Green Bean Almondine can be cooked up to 3 days ahead—just reheat them on the stovetop before serving. Lastly, the Cranberry Sauce can be made up to a week in advance; just ensure it’s sealed well in the fridge to retain its tart flavor. When it’s time to enjoy your meal, reheat everything thoroughly, and you’ll have a stress-free, delicious Thanksgiving feast!
Storage Tips for Thanksgiving Side Dishes
Fridge: Store leftover Thanksgiving side dishes in airtight containers for up to 3 days. Make sure they are completely cooled before sealing to avoid condensation.
Freezer: You can freeze many of these delicious Thanksgiving side dishes, like garlic mashed potatoes and cranberry sauce, for up to 2 months. Just ensure they are in airtight freezer-safe containers.
Reheating: Thaw frozen side dishes in the fridge overnight, then reheat in the oven at 350°F (175°C) until heated through, or microwave in short increments, stirring often. Always refresh flavors if needed!
Make-Ahead: Many of these side dishes can be prepared a day in advance and stored in the fridge, allowing for a stress-free cooking experience on the big day!
Expert Tips for Thanksgiving Side Dishes
-
Prep Ahead: Preparing your ingredients the day before saves time and stress. Chop vegetables and measure out spices for a smoother cooking experience.
-
Taste as You Go: Don’t forget to taste your dishes! Adjust seasonings, especially in the stuffing and cranberry sauce, to ensure they shine.
-
Avoid Overcooking: Keep an eye on your vegetables, especially the green beans and carrots, to maintain their crispiness and vibrant color—signature features of your Thanksgiving side dishes.
-
Choose the Right Potatoes: For creamy mashed potatoes, use starchy Russets. Avoid waxy potatoes to prevent a gluey texture; they need to be fluffy!
-
Allow Sauces to Cool: Let your cranberry sauce cool completely for optimal thickness. It also allows the flavors to meld and deepen for the perfect tangy finish.
What to Serve with Easy Thanksgiving Side Dishes
As you gather with friends and family around the holiday table, these complementary dishes will bring even more joy and flavor to your Thanksgiving feast.
- Crispy Brussels Sprouts: The earthy taste and crispy texture add a delightful contrast to the creamy sides, making a vibrant addition.
- Roasted Garlic Bread: This warm, buttery bread is perfect for soaking up the savory juices from your stuffing and mashed potatoes. Its crisp crust is irresistible, especially when shared around the table.
- Mixed Green Salad: A fresh salad with a light vinaigrette balances the richness of the other sides, adding crunch and brightness. Toss in some pomegranate seeds for a festive touch!
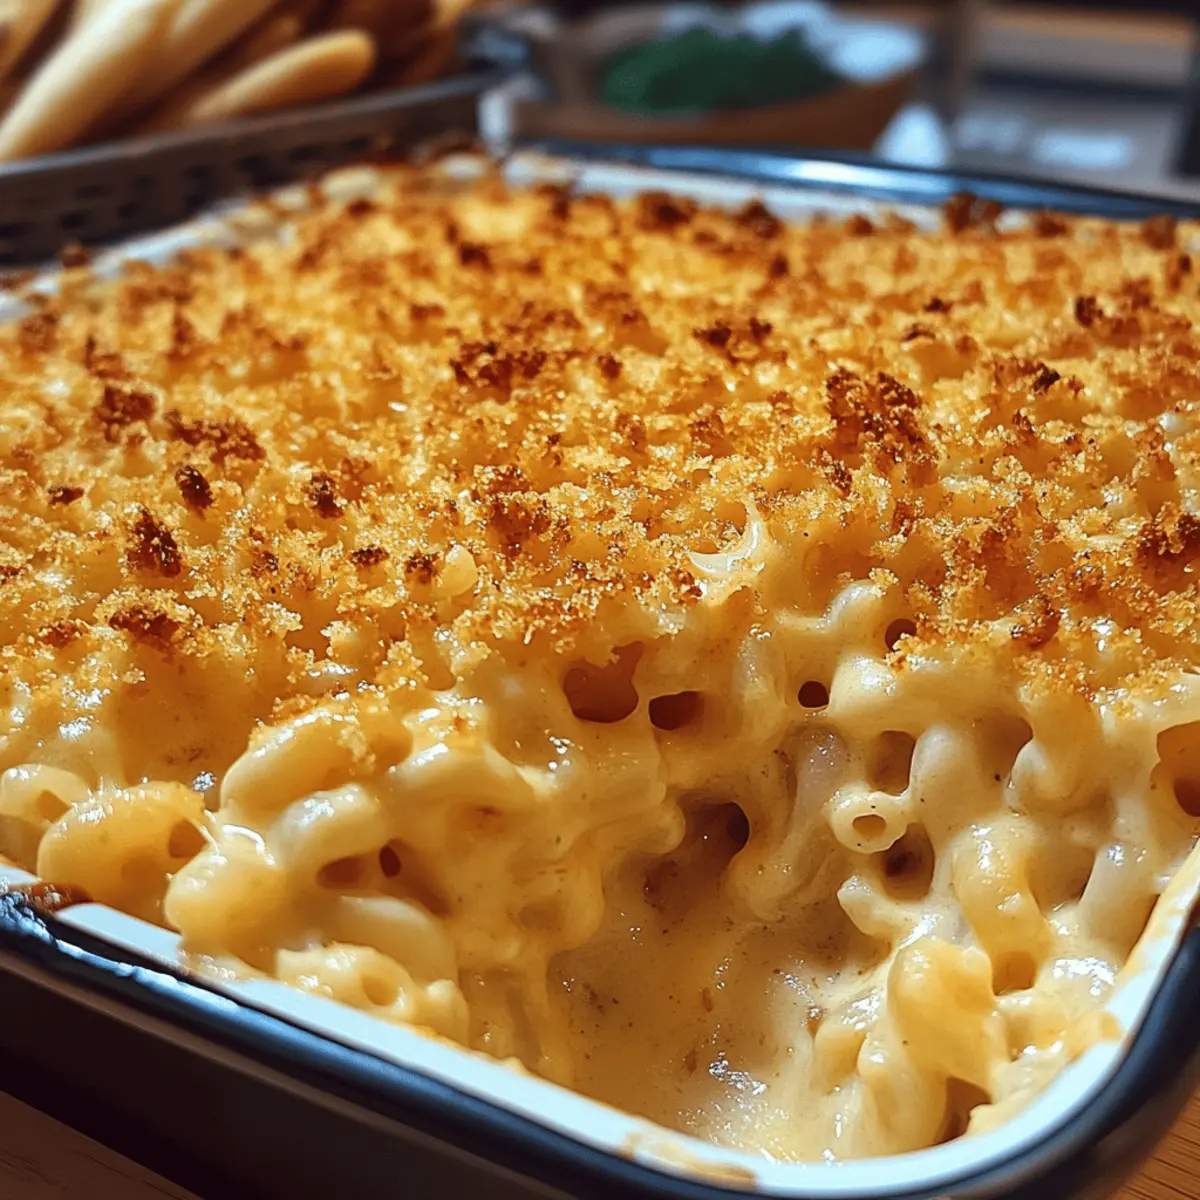
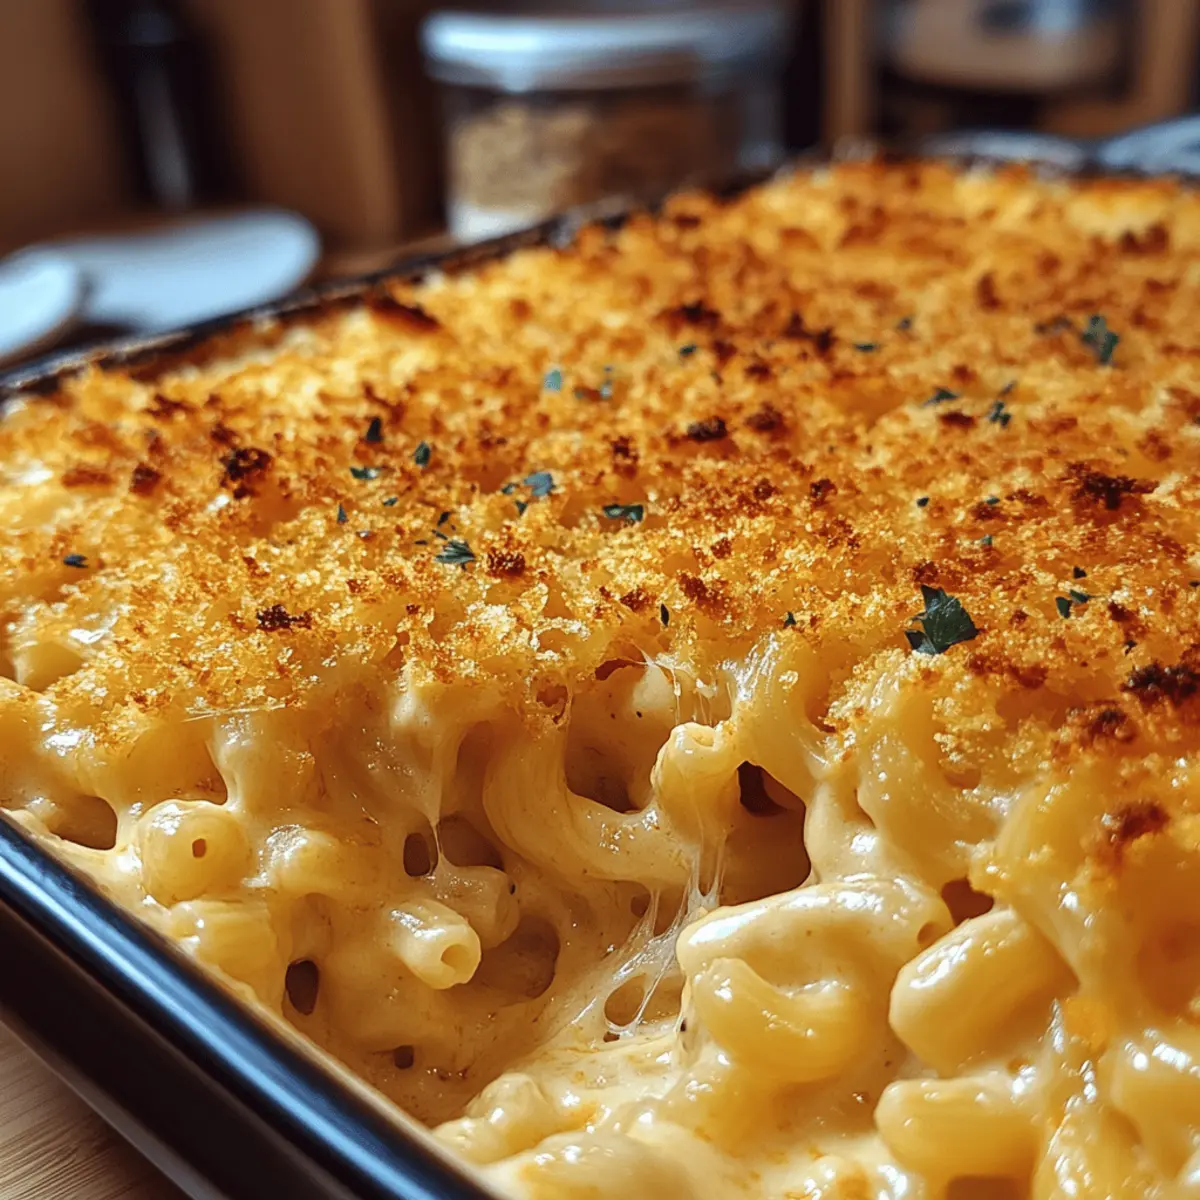
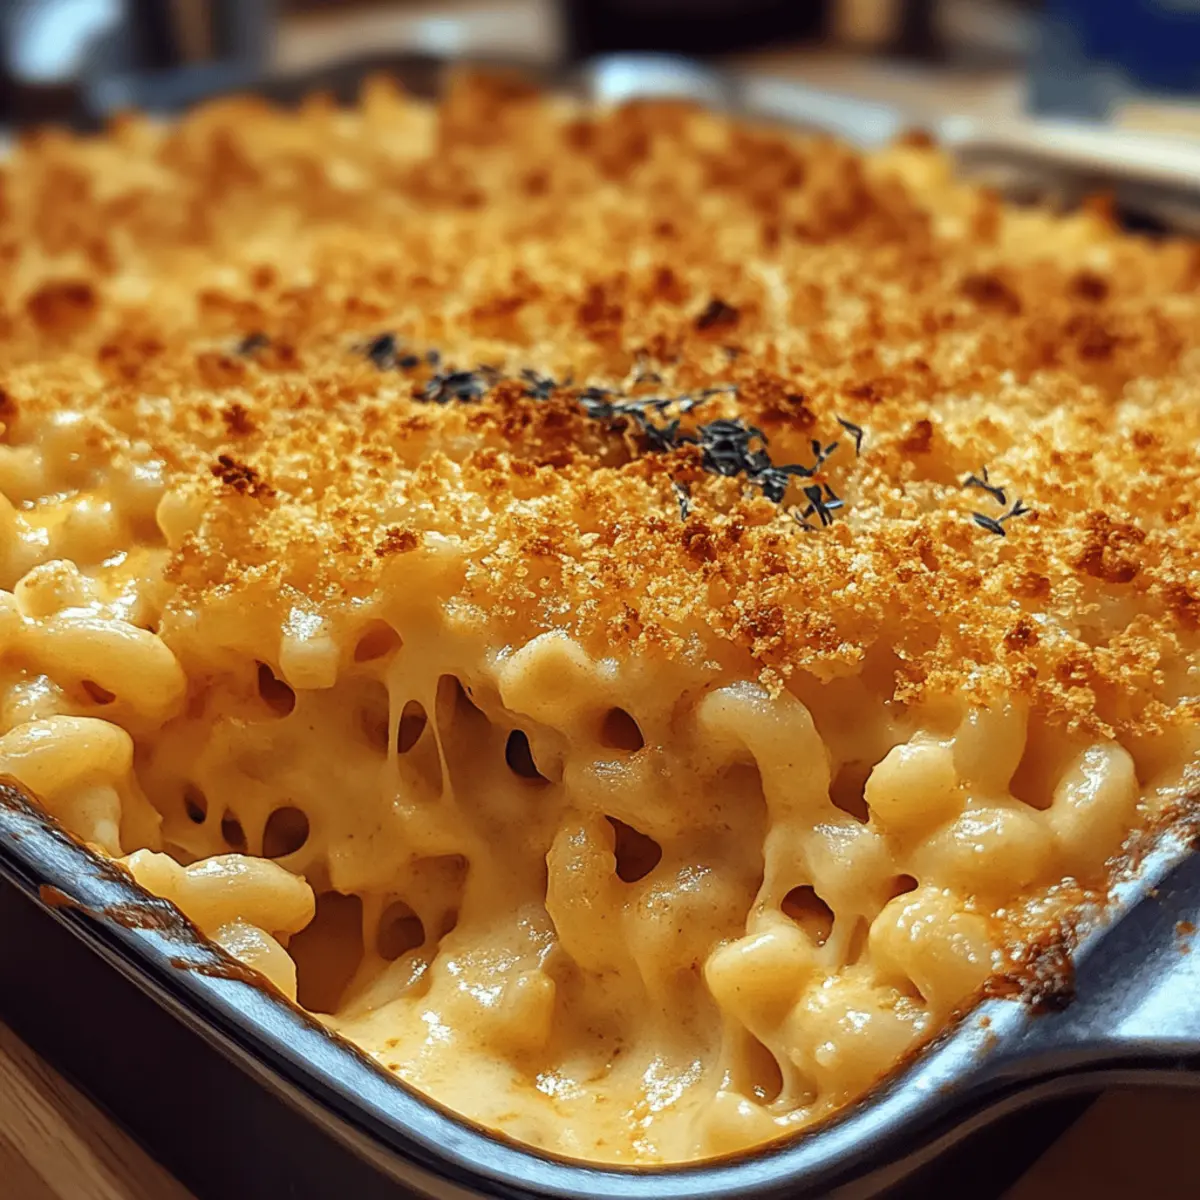
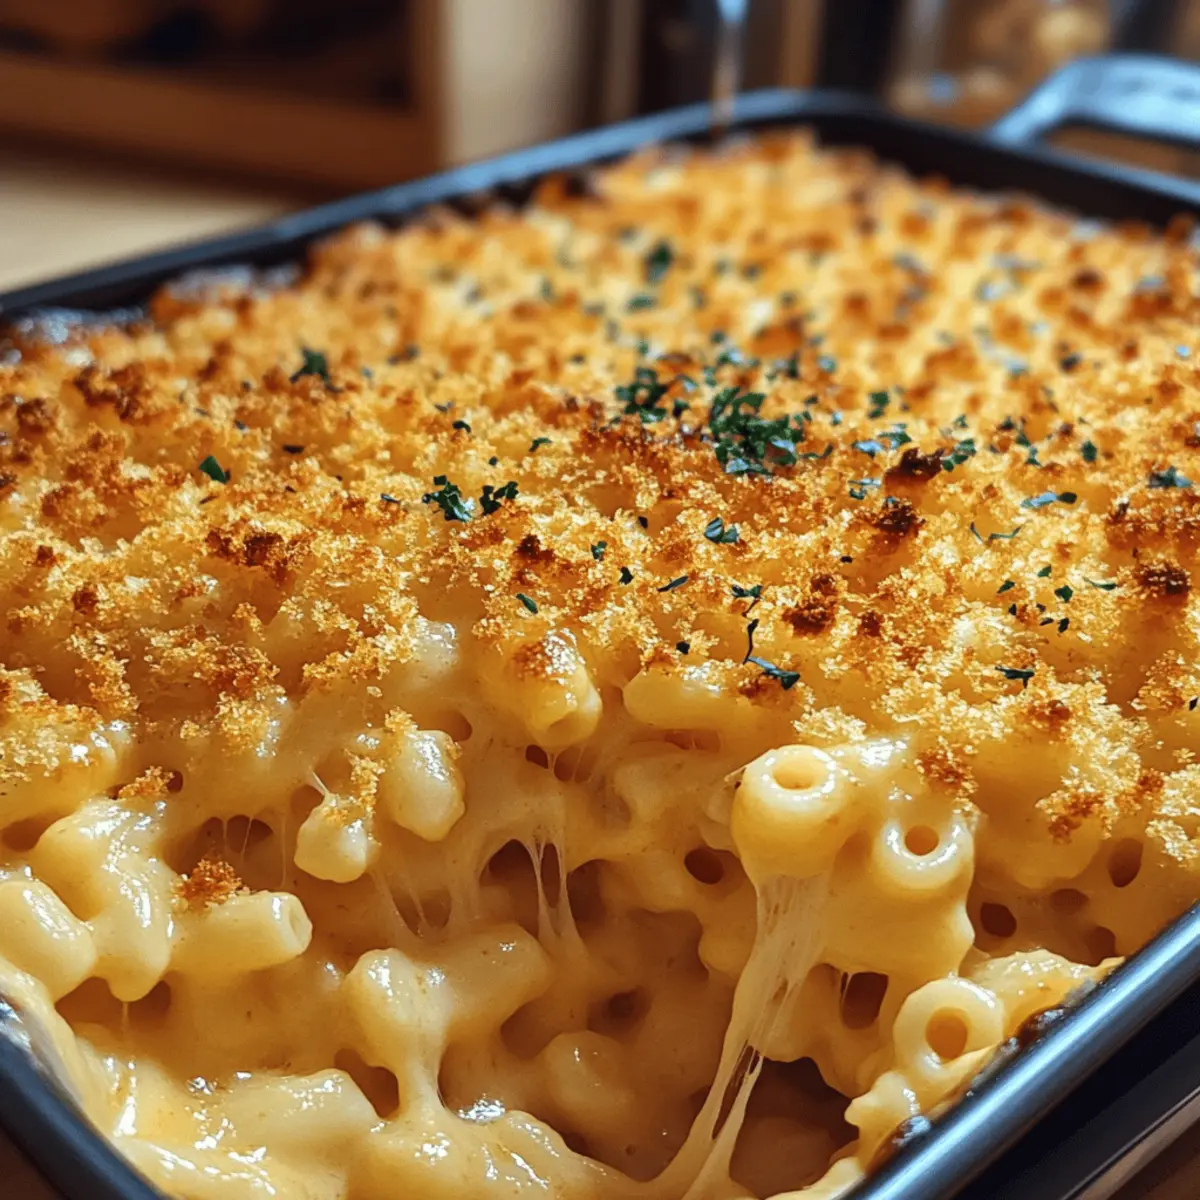
- Baked Mac and Cheese: Kids and adults alike adore this gooey, cheesy comfort food. It pairs well with all sides, providing a hearty option for all palates.
- Pumpkin Pie: For dessert, this seasonal classic adds a touch of sweetness and nostalgia after all those savory dishes, rounding out the meal perfectly.
- Sparkling Cider: This refreshing, non-alcoholic drink enhances your Thanksgiving festivities while offering a slightly sweet taste that complements the entire meal, from sides to desserts.
- Coleslaw: A tangy slaw brings a fresh, crunchy element to the table, providing a zesty contrast to creamy and roasted items, ensuring balance in every bite.
These additions can enhance your Thanksgiving side dishes, making your gathering truly memorable!
Thanksgiving Side Dishes Variations
Feel free to customize these Thanksgiving side dishes to suit your palate or dietary requirements and add your personal touch to each recipe!
-
Sweet Potato Mash: Swap russet potatoes for sweet potatoes for a naturally sweet twist that enhances the creamy texture.
-
Spicy Honey Glazed Carrots: Sprinkle crushed red pepper flakes over the honey-glazed carrots for an exciting kick that balances the sweetness.
-
Bacon Green Bean Almondine: Add crispy bacon bits to your green bean almondine for a savory crunch that elevates the dish to new heights.
-
Gluten-Free Stuffing: Use gluten-free bread cubes in the stuffing to create a delicious option that everyone at the table can enjoy.
-
Cinnamon Cranberry Sauce: Infuse your cranberry sauce with cinnamon or even allspice for a warm, seasonal flavor that will have everyone coming back for seconds.
-
Herb-Butter Carrots: Toss the carrots in a mix of fresh herbs and melted butter for a rich, aromatic addition that transforms the dish into a gourmet delight.
-
Vegan Creamy Mashed Potatoes: Replace heavy cream and butter with coconut milk and vegan butter for a dairy-free alternative that still tastes incredible.
-
Citrus Zest Cranberry Sauce: Try adding lemon or lime zest to your cranberry sauce for an added layer of tangy brightness that will surprise your guests!
For even more ideas, consider adding a stunning fresh arugula salad or some crispy potato wedges to round out your Thanksgiving feast and keep the flavors dancing on your palate!
Thanksgiving Side Dishes Recipe FAQs
What type of potatoes are best for mashed potatoes?
Absolutely! For creamy garlic mashed potatoes, I recommend using starchy Russet potatoes. They provide that rich, fluffy texture we all adore. Waxy potatoes, on the other hand, can lead to a gluey consistency, so it’s best to avoid them.
How do I store leftovers from Thanksgiving side dishes?
Leftover Thanksgiving side dishes can be stored in airtight containers in the fridge for up to 3 days. Be sure to let them cool completely before sealing the containers to prevent condensation, which could affect texture and flavor.
Can I freeze any of these side dishes?
Yes, you can freeze several of these delicious Thanksgiving side dishes! Garlic mashed potatoes and cranberry sauce freeze exceptionally well. To freeze, ensure they are in airtight freezer-safe containers. They can be kept frozen for up to 2 months. When ready to enjoy, thaw them in the fridge overnight before reheating in the oven at 350°F (175°C) or microwave in short increments, stirring often.
How can I ensure my vegetables retain their crispness?
Very! To achieve perfectly crisp vegetables like green beans and carrots, monitor the cooking times closely. For carrots, boiling for 5–7 minutes until tender yet crisp works best. For green beans, blanching them for 3–4 minutes will keep their vibrant color and crunch. Always aim to serve them immediately for the freshest taste!
Are there gluten-free options for these Thanksgiving side dishes?
Yes, you can easily make these dishes more inclusive! For mashed potatoes, stick to the basic ingredients which are naturally gluten-free. In the stuffing with sausage and herbs, simply substitute the regular bread for gluten-free bread. Also, read labels for store-bought broth to ensure it’s gluten-free.
What dietary preferences can these side dishes accommodate?
These Thanksgiving side dishes are quite adaptable! You can make the garlic mashed potatoes dairy-free by using olive oil instead of butter and almond milk instead of heavy cream. The honey glazed carrots can be made vegan by choosing maple syrup. Additionally, the stuffing can be made vegetarian by replacing the sausage with a plant-based option. So, everyone can indulge in delicious flavors!
Delicious Thanksgiving Side Dishes to Impress Your Guests
Ingredients
Equipment
Method
- Peel and chop Russet potatoes into evenly sized chunks. In a large pot, add the potatoes to cold salted water and bring to a boil over medium-high heat. Cook for 15–20 minutes until fork-tender. Drain the potatoes and return them to the pot; mash with roasted garlic, heavy cream, and unsalted butter until smooth and creamy. Season with salt and pepper to taste.
- Place baby carrots in a saucepan and cover with water. Bring to a boil over medium heat and cook for about 5–7 minutes, until tender but still crisp. Drain the carrots and return them to the pan. Add butter and honey, tossing gently to coat. Heat for another 3–4 minutes, until glazed and fragrant. Garnish with fresh parsley before serving.
- Blanch fresh green beans in boiling water for 3–4 minutes until bright green and tender-crisp. Drain and transfer to an ice bath to stop the cooking process. In a large skillet, heat olive oil over medium heat. Add sliced almonds and garlic, sautéing until golden and fragrant—about 2–3 minutes. Stir in the green beans, season with salt and pepper, and serve warm.
- Preheat your oven to 350°F (175°C). In a skillet, cook Italian sausage over medium heat until browned. Remove the sausage and sauté chopped onion and celery in the same skillet until softened—about 5 minutes. In a large bowl, combine cubed bread, sausage, sautéed vegetables, and vegetable broth, mixing well. Transfer to a greased baking dish and bake for 30–35 minutes until golden and crispy on top.
- Combine fresh cranberries, sugar, and orange juice in a medium saucepan. Cook over medium heat for about 10–12 minutes until the cranberries burst and the sauce thickens. Stir in orange zest for extra flavor and let cool for at least 15 minutes before serving.