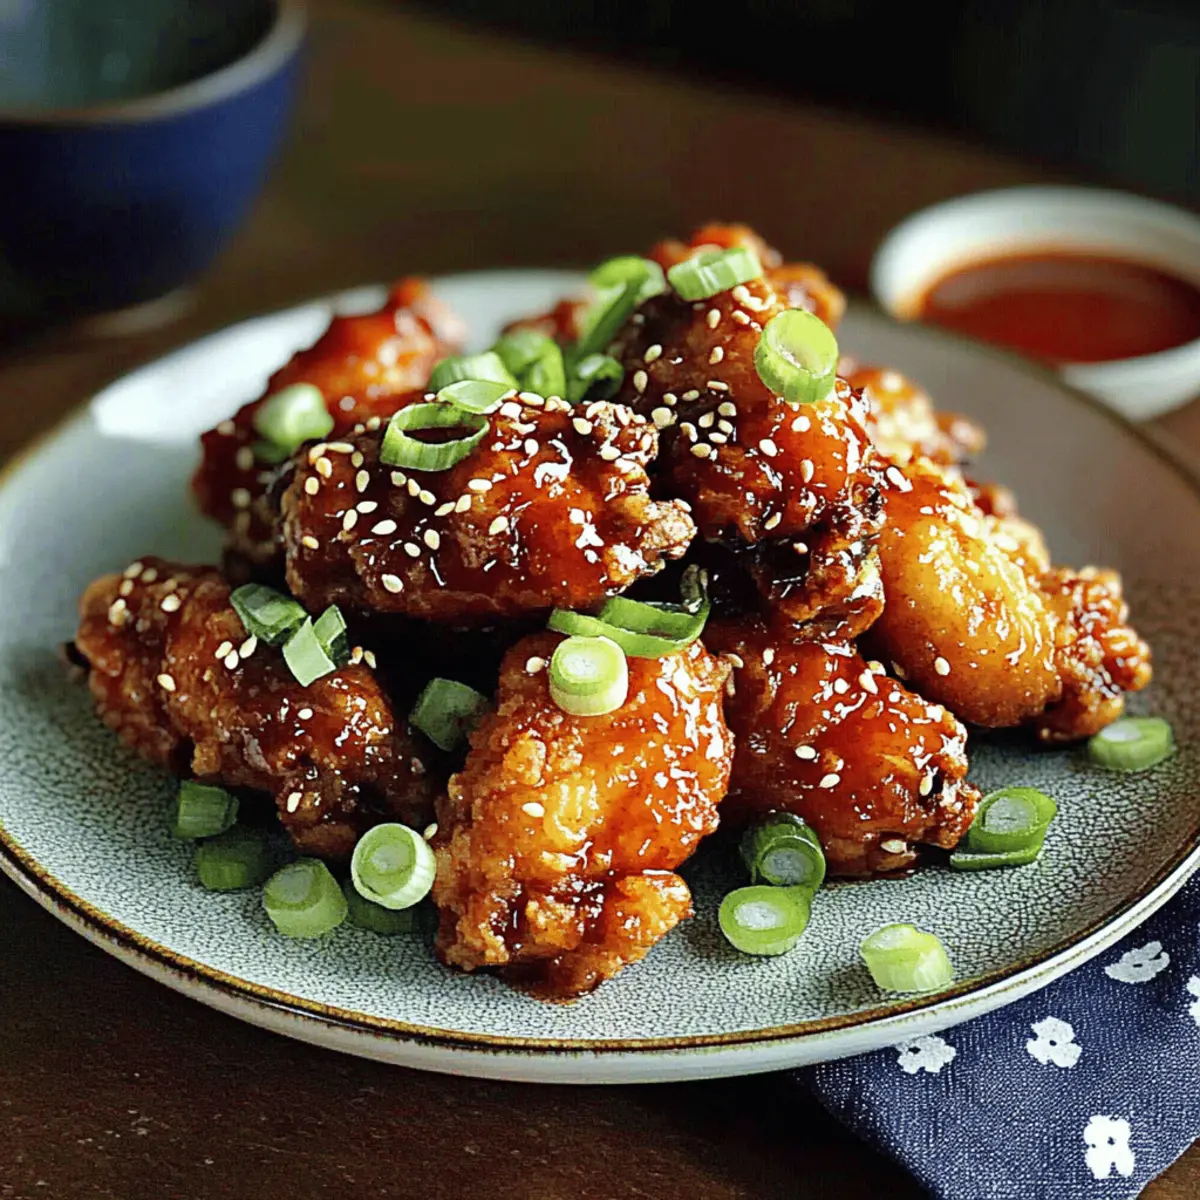
The aroma wafting through my kitchen felt like a warm hug, beckoning everyone to gather around the table. This Crispy Soy Garlic Korean Fried Chicken Recipe is not just a quick fix for weeknight dinners; it’s a showstopper that brings everyone together. With its satisfyingly crunchy exterior and a delightful dance of sweet and savory flavors, this dish is destined to become a crowd-pleaser at your next gathering. Perfect for impressing friends or simply indulging after a long day, this simple recipe showcases the magic of double frying to achieve that irresistible crispness. So, are you ready to take your taste buds on a savory adventure? Let’s dive into this mouthwatering recipe!
Why is this chicken recipe a must-try?
Crispy Delight: The double frying technique ensures an unparalleled crunch that will leave you and your guests raving.
Flavor Explosion: Sweet and savory notes combine with garlic and a hint of spice for an unforgettable taste.
Easy to Make: With simple ingredients and straightforward steps, this recipe is perfect for both novice cooks and seasoned chefs.
Family Favorite: It’s not just a meal; it’s a bonding experience that brings everyone together around the table.
Perfect for Any Occasion: Whether it’s a casual weeknight dinner or a festive gathering, this dish will surely impress.
Pair it with quick sides like Garlic Butter French Fries or even some Homemade Chicken Pot Pie for an amazingly balanced meal!
Soy Garlic Korean Fried Chicken Ingredients
For the Chicken
- Chicken Wings or Drumsticks – The main protein for that meaty goodness; swap with thighs for juicier bites.
- Cornstarch – Essential for an ultra-crispy coating; can replace with potato starch if preferred.
- Flour – Provides structure to the batter; use gluten-free flour for gluten-free options.
- Salt & Black Pepper – A must for flavor enhancement; adjust to suit your taste.
For the Batter
- Garlic Powder – Imparts a lovely garlic flavor; use fresh minced garlic for a bolder taste.
- Baking Powder – Makes the batter lighter for a fluffier texture that complements the crunch.
- Egg – Acts as a binding agent; substitute with a flax egg for a vegan-friendly option.
- Cold Water – Helps achieve that light and airy batter; ice-cold is best for fantastic results.
For Frying
- Oil for Frying – Necessary for cooking; maintain a steady temperature for that perfect golden brown.
For the Soy Garlic Sauce
- Soy Sauce – Adds a savory depth; feel free to use tamari for a gluten-free alternative.
- Honey & Brown Sugar – Sweetens the sauce beautifully; maple syrup is a great vegan substitute.
- Vinegar – Adds a nice acidity; personalize the flavor with your choice of vinegar.
- Minced Garlic & Grated Ginger – These fresh ingredients elevate the flavor profile; freshly minced is always best.
- Sesame Oil – Enhances the aroma and flavor; adjust according to your preference.
- Red Pepper Flakes – Add just the right amount of heat; you can adjust or omit for milder tastes.
- Cornstarch mixed with Water – Thickens the sauce for that perfect consistency that clings to your chicken.
Gather these ingredients for your Soy Garlic Korean Fried Chicken Recipe, and watch as everyone comes back for seconds!
Step‑by‑Step Instructions for Soy Garlic Korean Fried Chicken Recipe
Step 1: Prepare Coating
In a large mixing bowl, combine 1 cup of cornstarch, 1 cup of flour, 1 teaspoon of salt, 1 teaspoon of black pepper, 1 teaspoon of garlic powder, and 1 teaspoon of baking powder. Whisk these dry ingredients together until well blended, ensuring there are no lumps. This mixture will form the crispy coating for your Soy Garlic Korean Fried Chicken, setting the stage for that delightful crunch.
Step 2: Create Batter
In a separate bowl, whisk together 1 egg and ¾ cup of cold water until frothy. Gradually pour this egg mixture into the dry ingredients, mixing gently until just combined. Be careful not to over-mix; a few lumps are just fine. This batter will be the key to achieving a light and crispy texture for your chicken once fried.
Step 3: Coat Chicken
Take your chicken wings or drumsticks and dip each piece into the batter, ensuring they’re evenly coated but not overly thick. Allow any excess batter to drip off before placing them on a wire rack. This step ensures a perfect coating for your Soy Garlic Korean Fried Chicken, enhancing its crispy texture after frying.
Step 4: First Frying
In a large, heavy-bottomed pot, heat oil to 350°F (175°C). Carefully place the battered chicken into the hot oil, frying in batches to avoid overcrowding. Fry for approximately 6-7 minutes, or until the chicken is light golden brown. Use a slotted spoon to remove the chicken and place it on a wire rack to drain any excess oil.
Step 5: Rest Chicken
Allow the fried chicken to rest on the wire rack for about 5 minutes. This resting time is crucial, as it helps the outer layer firm up and prepares the chicken for its second fry. It also ensures the inside remains juicy and tender while the coating crisps up beautifully during the final fry.
Step 6: Second Frying
Increase the oil temperature to 360°F (180°C). Carefully add the chicken back into the hot oil, frying for another 5 minutes or until the coating turns a rich golden brown and is extra crispy. Monitor closely, as this second frying elevates the texture to achieve that irresistible crunch we all love in Soy Garlic Korean Fried Chicken.
Step 7: Make Sauce
While the chicken is frying, combine ½ cup of soy sauce, 3 tablespoons of honey, 2 tablespoons of brown sugar, 2 tablespoons of vinegar, 2 tablespoons of minced garlic, and 1 tablespoon of grated ginger in a small pot. Bring this mixture to a gentle boil over medium heat, stirring frequently to dissolve the sugar and blend the flavors perfectly.
Step 8: Thicken Sauce
Once the sauce reaches a boil, mix 2 teaspoons of cornstarch with 2 tablespoons of water in a small bowl to create a slurry. Slowly stir this mixture into the boiling sauce, cooking for an additional minute until it thickens to a glossy consistency. This sweet and savory sauce will coat your Soy Garlic Korean Fried Chicken beautifully.
Step 9: Coat Chicken in Sauce
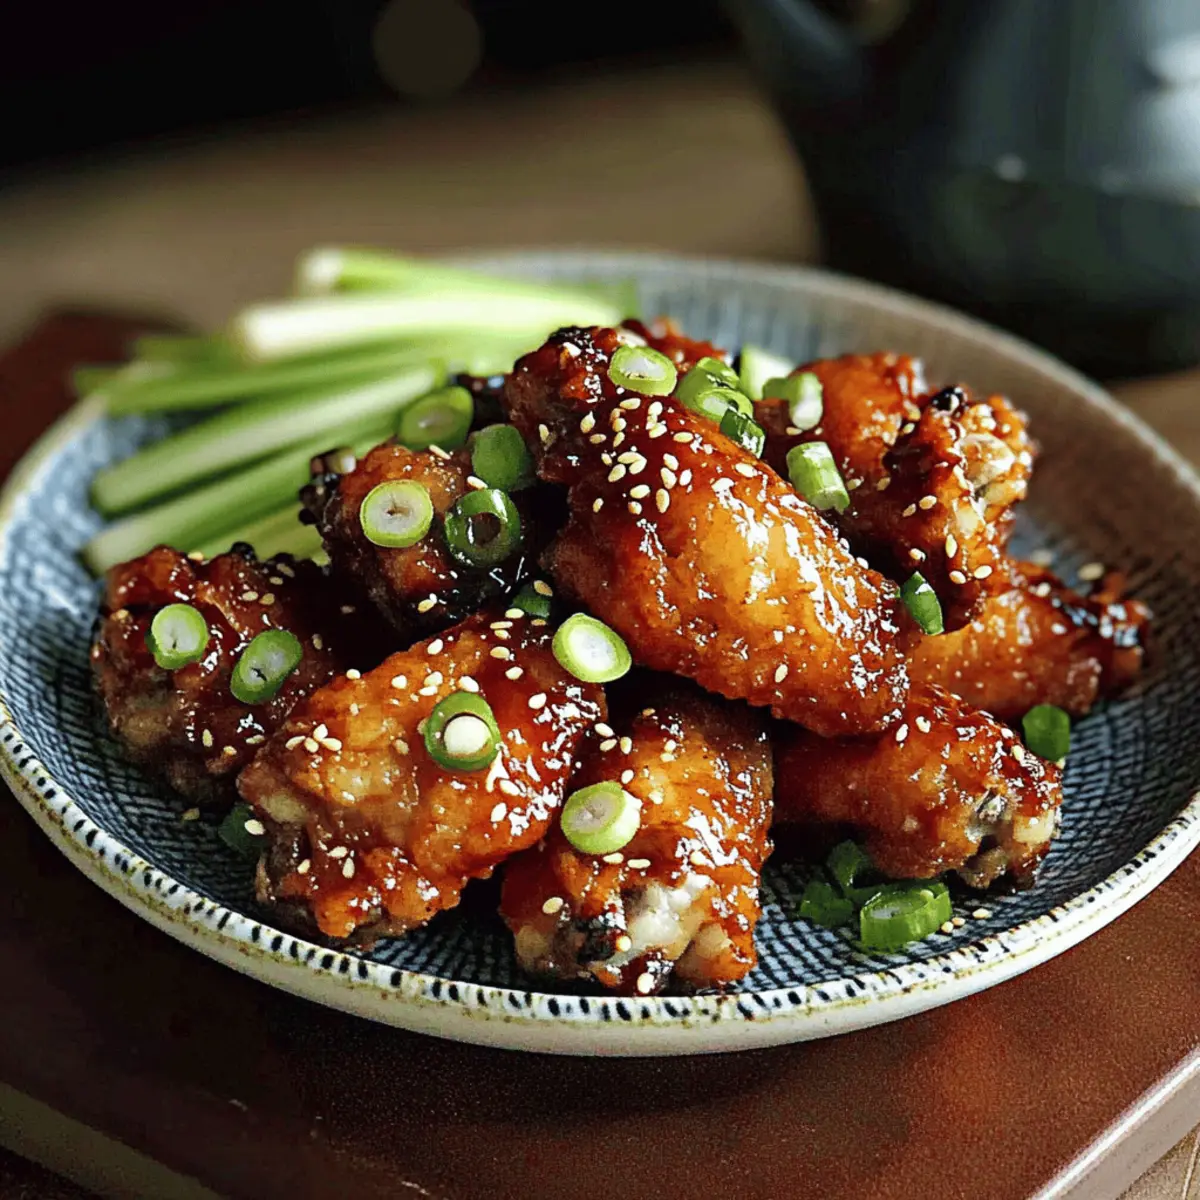
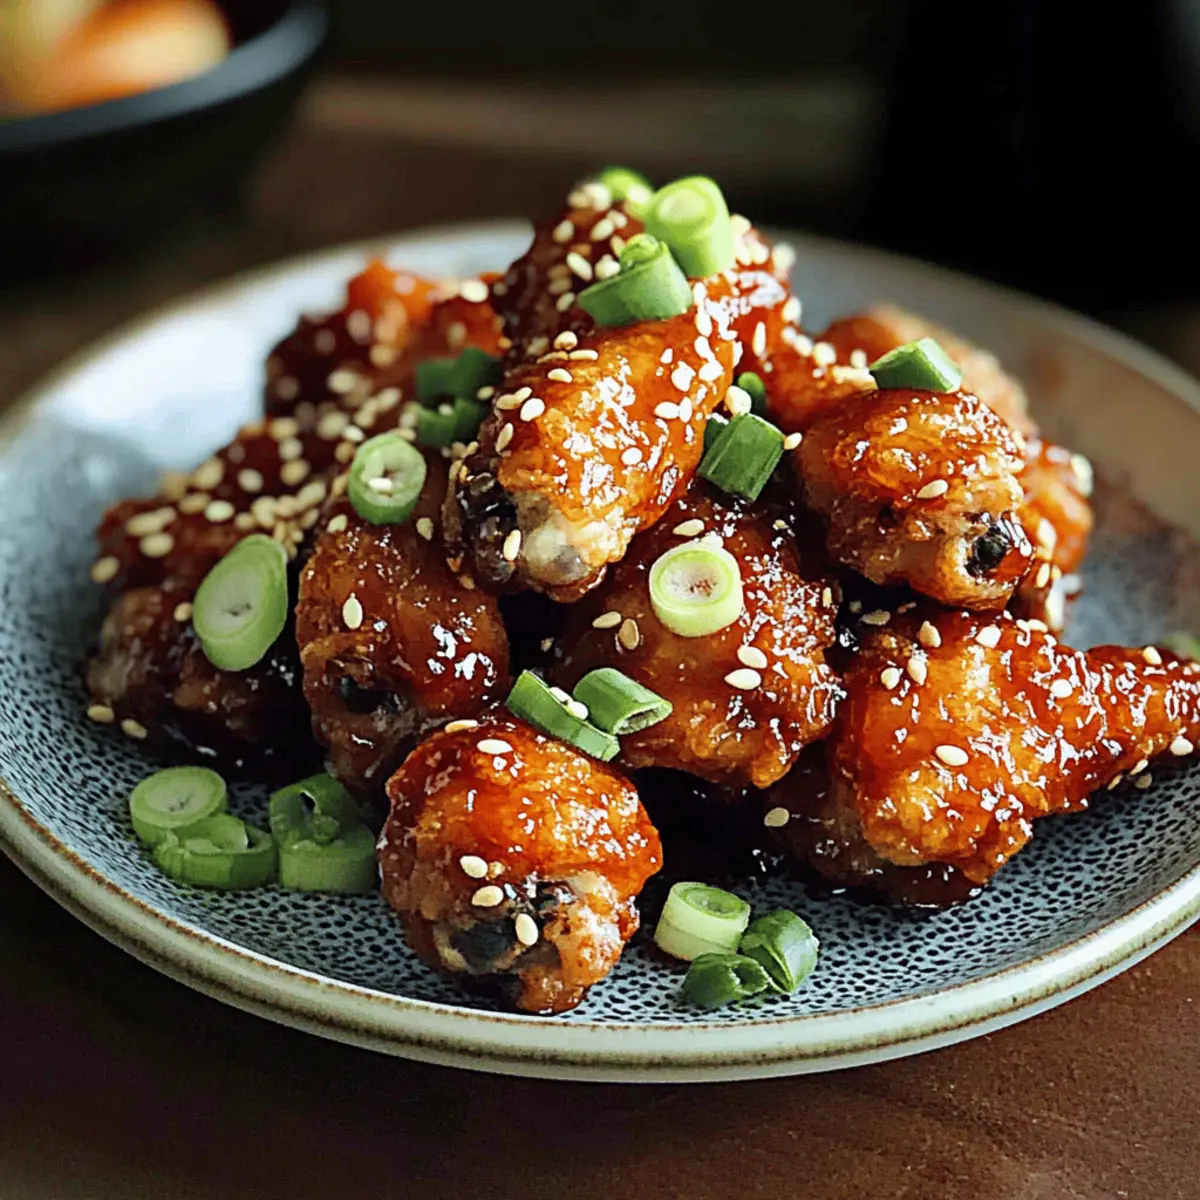
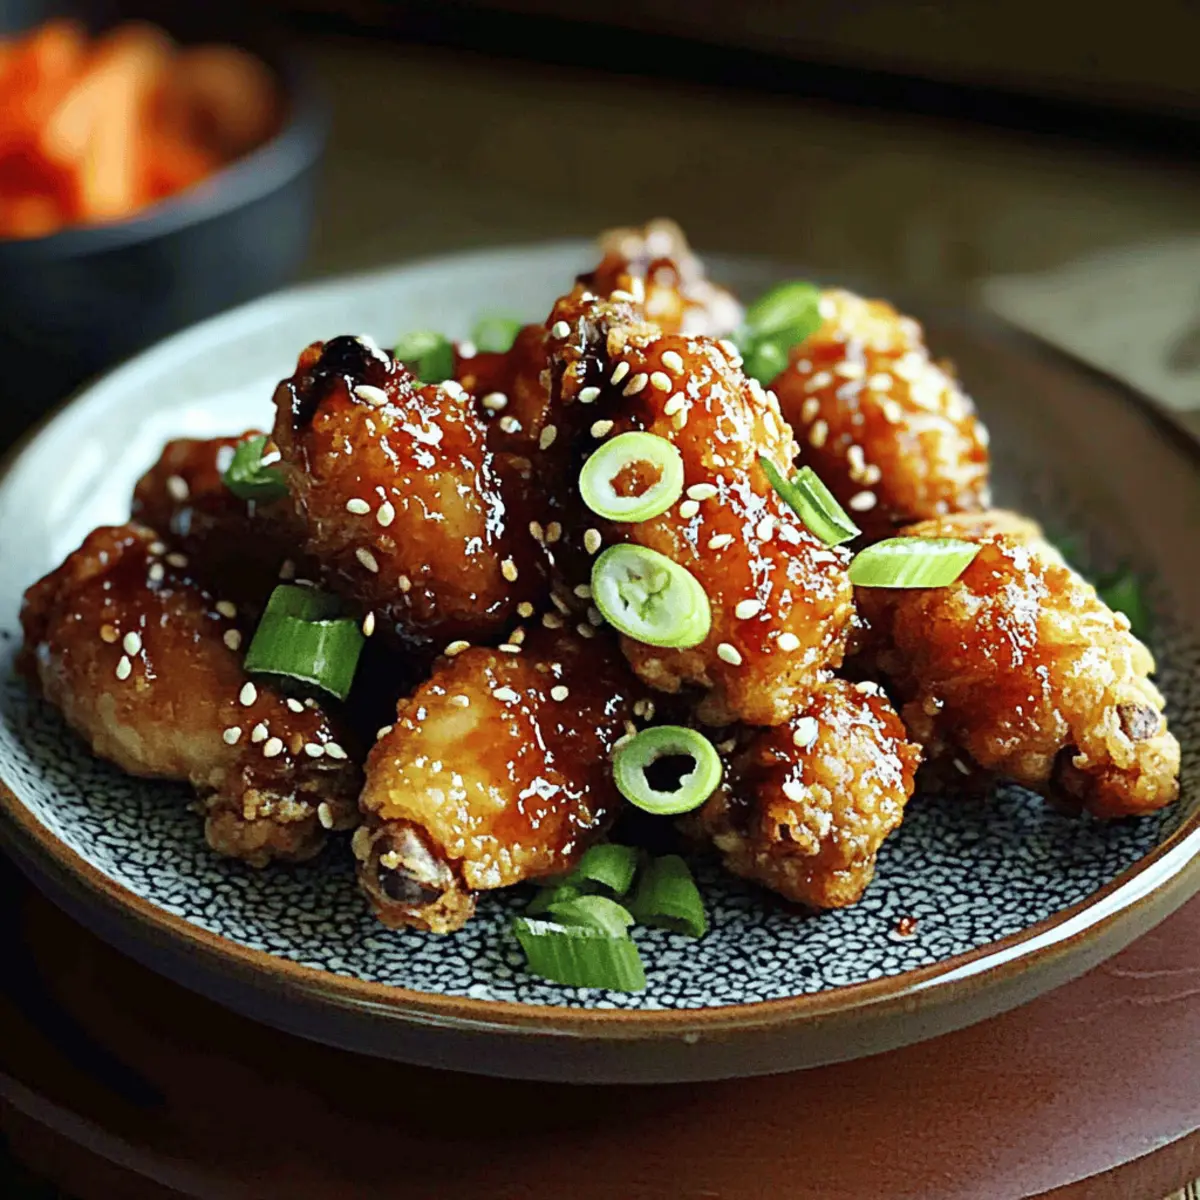
In a large mixing bowl, toss the freshly fried chicken with the prepared sauce until each piece is generously coated. Make sure every inch is enveloped in that sticky, flavorful glisten that makes this dish so special. Serve your Soy Garlic Korean Fried Chicken hot for the best flavor and texture, and watch as everyone gathers around the table!
Make Ahead Options
These Soy Garlic Korean Fried Chicken are perfect for meal prep enthusiasts! You can prep the chicken by battering it and refrigerating up to 24 hours in advance to save time on busy weeknights. Just ensure to keep it covered to maintain moisture. Additionally, you can make the soy garlic sauce ahead of time, storing it in an airtight container in the fridge for up to 3 days. When you’re ready to serve, simply heat the sauce, fry the chicken straight from the fridge, and give it a double fry as instructed. This way, you’ll achieve that delicious crunch while savoring the flavor without any fuss!
What to Serve with Soy Garlic Korean Fried Chicken
Transform your delightful chicken dish into a memorable feast with these delicious pairings that elevate both flavor and texture.
-
Fluffy Steamed Rice: The soft, neutral nature of steamed rice perfectly absorbs the savory sauce, creating a satisfying base for your chicken. It’s a classic pairing that turns a delicious dish into a full meal.
-
Crunchy Asian Slaw: Vibrant cabbage, carrots, and a splash of sesame dressing provide a refreshing crunch that complements the chicken’s richness. This colorful side adds a pop of freshness and color to your plate.
-
Garlic Butter Corn: Sweet corn sautéed in garlic butter adds a mouthwatering sweetness and a buttery creaminess that balances the savory notes of the chicken. This will draw your family in for seconds!
-
Kimchi: This fermented Korean staple adds a beautiful tang and spice that cuts through the richness of the fried chicken. It’s a mandatory addition for an authentic Korean experience.
-
Cucumber Salad: Crisp cucumbers tossed in rice vinegar offer a light and refreshing contrast. The coolness of the cucumber helps to balance the heat from the red pepper flakes in the sauce.
-
Pickled Vegetables: A medley of pickled veggies brings a tangy crunch that offsets the sticky sweetness of the soy garlic sauce. It’s a delightful way to add depth and a familiar Korean touch to your meal.
-
Sparking Water or Soju: Pair your meal with a refreshing sparkling water or a glass of soju for a fun, bubbly experience. These beverages help cleanse the palate, making every bite more enjoyable.
-
Mango Sticky Rice: For dessert, indulge in this sweet treat that combines creamy coconut rice with fresh mango slices. It adds a tropical twist to your meal, satisfying your sweet tooth after the flavorful chicken.
Storage Tips for Soy Garlic Korean Fried Chicken
Room Temperature: Enjoy your Soy Garlic Korean Fried Chicken fresh for the best texture. If left out, consume within 2 hours to ensure food safety.
Fridge: Store any leftovers in an airtight container for up to 2 days. To maintain crispiness, avoid covering the chicken while cooling.
Freezer: For longer storage, freeze cooked chicken in a single layer on a baking sheet until solid, then transfer to a freezer bag. It can be kept frozen for up to 3 months.
Reheating: Reheat in the oven at 350°F (175°C) for about 10-15 minutes to restore the crispiness, instead of using the microwave which can make it soggy.
Expert Tips
- Double Frying Magic: Frying the chicken twice is key for achieving that unbeatable crispy texture. Don’t skip the resting time in between!
- Chill for a Lift: Using ice-cold water in your batter ensures a lighter and crispier coating. Plan ahead for the best results in your Soy Garlic Korean Fried Chicken Recipe.
- Taste Test First: Always taste your sauce before adding the cornstarch to adjust sweetness and saltiness. This small step can elevate your dish to new heights!
- Serve Immediately: The flavors and texture are best enjoyed fresh. Leftovers can lose their crispiness, so serve hot for the ultimate experience.
- Customize the Spice: If you like heat, feel free to add more red pepper flakes or even fresh chilies to your sauce for an extra kick. Pick your perfect spice level!
Soy Garlic Korean Fried Chicken Variations
Feeling adventurous in the kitchen? Let’s make this delicious recipe truly yours with some fun twists and swaps!
-
Spicy Upgrade: Increase red pepper flakes or add fresh chopped chilies for extra heat, turning your chicken into a fiery delight.
-
Vegan Marvel: Replace chicken with cauliflower florets or eggplant, and use a flax egg for the batter—every bite remains crispy and delicious.
-
Sweet Alternatives: Swap honey and brown sugar for agave syrup or coconut sugar for a different sweetness profile while maintaining that lovely Vietnamese charm.
-
Crunchy Toppings: Before serving, sprinkle sesame seeds or chopped green onions over the top for an added crunch and a pop of color.
-
Tangy Zing: A splash of lime juice or a favorite citrus zest in the sauce can elevate flavors beautifully, adding a refreshing twist.
-
Flavor-Infused Oil: Try infusing the frying oil with garlic or ginger prior to frying for an additional layer of savory flavor. It’s a game-changer!
-
Texture Mix: Throw in some panko breadcrumbs to your batter for an even crisper texture that’ll make every bite sing.
For serving suggestions, consider pairing this crispy delight with classic sides like Garlic Butter French Fries or some vibrant kimchi. And don’t forget to check out other recipes like Tuscan Chicken for a weeknight dinner rotation!
Soy Garlic Korean Fried Chicken Recipe FAQs
What chicken parts should I use for this recipe?
Absolutely! Chicken wings and drumsticks are ideal for this Soy Garlic Korean Fried Chicken Recipe, as they provide that delightful combination of juiciness and crispiness. If you prefer a different texture, feel free to swap them for thighs or even boneless chicken pieces.
How should I store leftovers?
You’ll want to store any leftover Soy Garlic Korean Fried Chicken in an airtight container in the refrigerator. It will stay fresh for up to 2 days. To keep the chicken crispy, allow it to cool completely before storing, and avoid covering it while it’s cooling to preserve that glorious crunch.
Can I freeze Soy Garlic Korean Fried Chicken?
Yes! If you’d like to save some for later, freeze your cooked chicken in a single layer on a baking sheet until solid. Once frozen, transfer it to a freezer bag, where it can last for up to 3 months. When you’re ready to enjoy it, reheat it in the oven at 350°F (175°C) for about 10-15 minutes to restore its delicious crispiness.
What if my chicken coating isn’t crispy?
Very! If you find that your coating isn’t achieving that desired crispiness, here are some tips: first, make sure your oil is hot enough (around 350°F to 360°F) before frying. Ensure you don’t overcrowd the pan, as doing so can lower the temperature of the oil. Lastly, double frying is essential—allow the chicken to rest between fries so the coating can firm up perfectly.
Can I customize the spice level in the sauce?
Absolutely! If you’re looking for a little extra kick, increase the amount of red pepper flakes in the soy garlic sauce. For even more heat, consider adding chopped fresh chilies to the sauce during cooking. Tailoring the spice level to your taste is part of the fun!
Are there any dietary modifications I can make?
Very! If you’re catering to specific dietary needs, you can easily make this dish gluten-free by using tamari instead of soy sauce and gluten-free flour. For a vegan option, substitute the egg with a flax egg and replace honey with maple syrup in the sauce. These small changes will still yield a delicious Soy Garlic Korean Fried Chicken!
Soy Garlic Korean Fried Chicken Recipe You'll Crave Forever
Ingredients
Equipment
Method
- Prepare Coating: Combine cornstarch, flour, salt, black pepper, garlic powder, and baking powder in a large mixing bowl. Whisk until well blended.
- Create Batter: In a separate bowl, whisk together egg and cold water. Gradually add to dry ingredients, mixing gently.
- Coat Chicken: Dip chicken pieces into batter, ensuring an even coating, then let excess batter drip off.
- First Frying: Heat oil to 350°F (175°C). Fry chicken in batches for 6-7 minutes until golden brown. Drain on a wire rack.
- Rest Chicken: Allow fried chicken to rest on a wire rack for 5 minutes.
- Second Frying: Increase oil temperature to 360°F (180°C). Fry chicken for another 5 minutes until extra crispy.
- Make Sauce: Combine soy sauce, honey, brown sugar, vinegar, minced garlic, and grated ginger in a small pot. Bring to a boil.
- Thicken Sauce: Mix cornstarch with water to create a slurry. Stir into the boiling sauce and cook until thickened.
- Coat Chicken in Sauce: Toss fried chicken in prepared sauce until well coated. Serve hot.