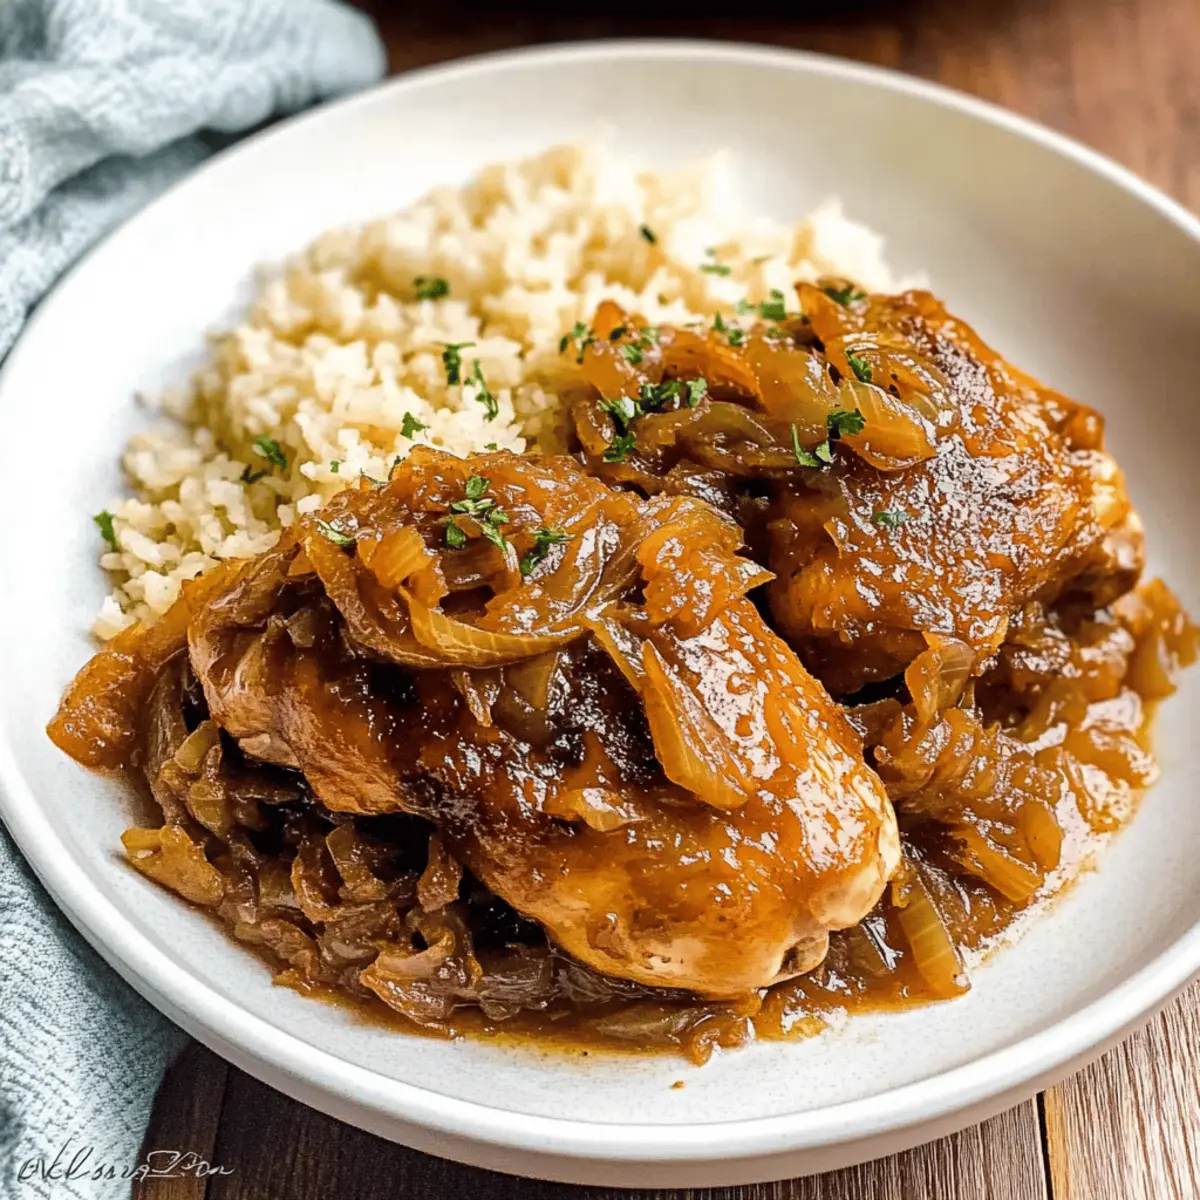
As I walked through the vibrant markets of Dakar, the air was filled with the enticing aroma of grilled meats and spices that beckoned me to explore Senegalese cuisine. That day, I discovered the soul-warming magic of Poulet Yassa, an authentic Senegalese chicken dish that’s as simple to prepare as it is extraordinary in flavor. This recipe features tender chicken marinated in a tangy blend of garlic, lemon juice, and Dijon mustard, making it a perfect choice for those who love an easy chicken recipe. Not only is Poulet Yassa gluten-free and keto-friendly, but it’s also a delightful way to bring the heart of West Africa into your kitchen. Ready for a culinary adventure that’ll have everyone asking for seconds? Let’s dive in!
Why is Poulet Yassa a Must-Try?
Vibrant Flavor Profile: The combination of tangy lemon, savory garlic, and sweet caramelized onions creates a rich depth that transports your taste buds straight to Senegal.
Easy Preparation: With simple steps and ingredients, this dish is perfect for busy weeknights or weekend get-togethers.
Healthy Twist: Being gluten-free and keto-friendly, this recipe fits seamlessly into your health-conscious lifestyle.
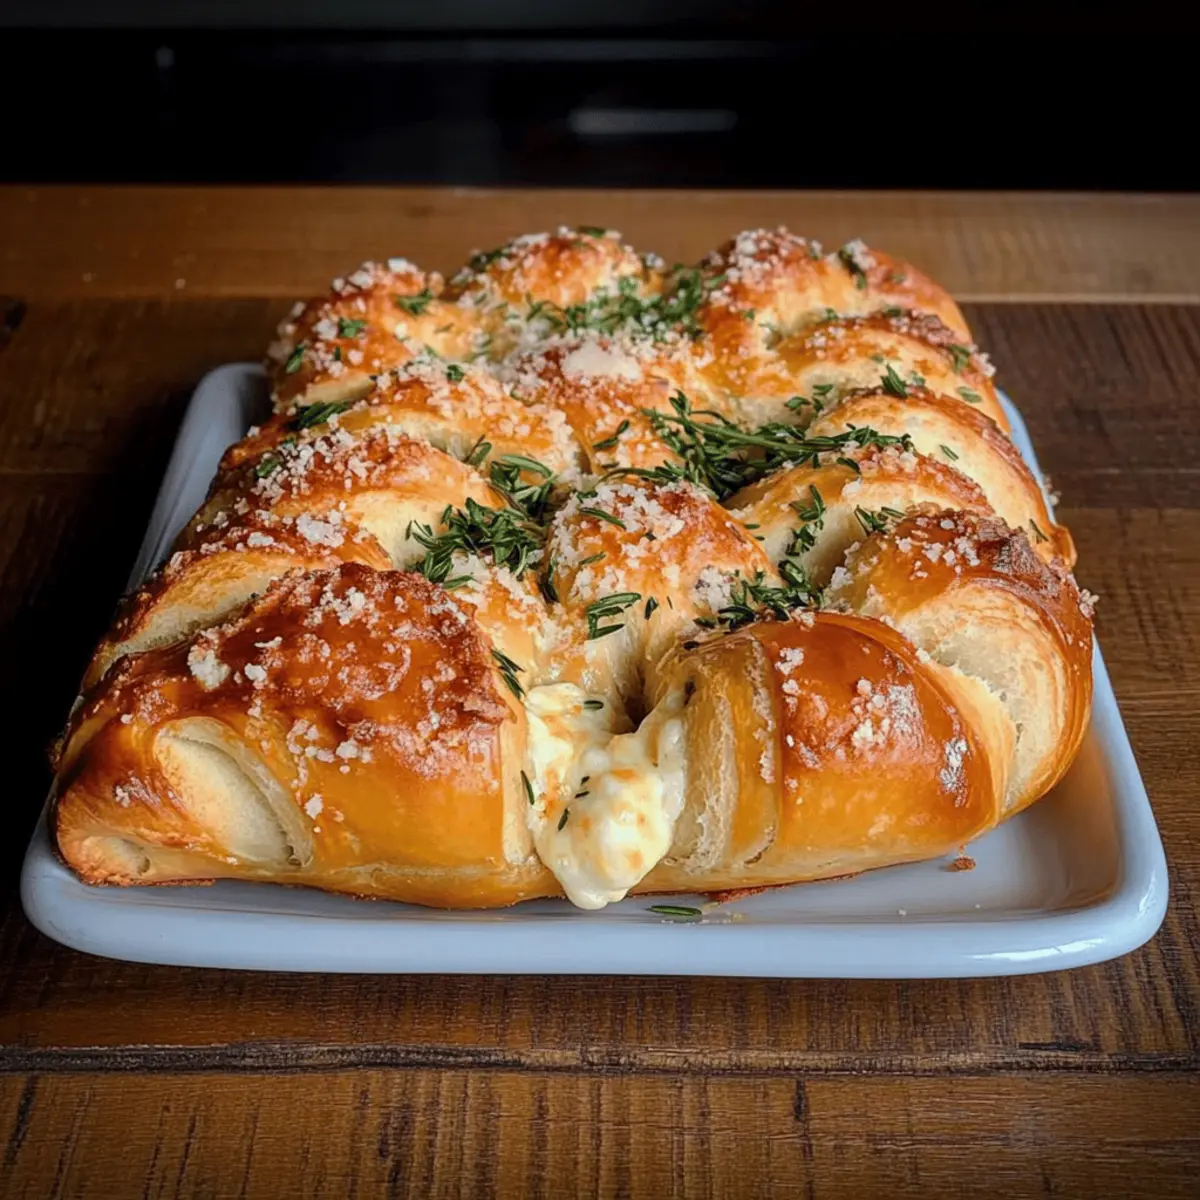
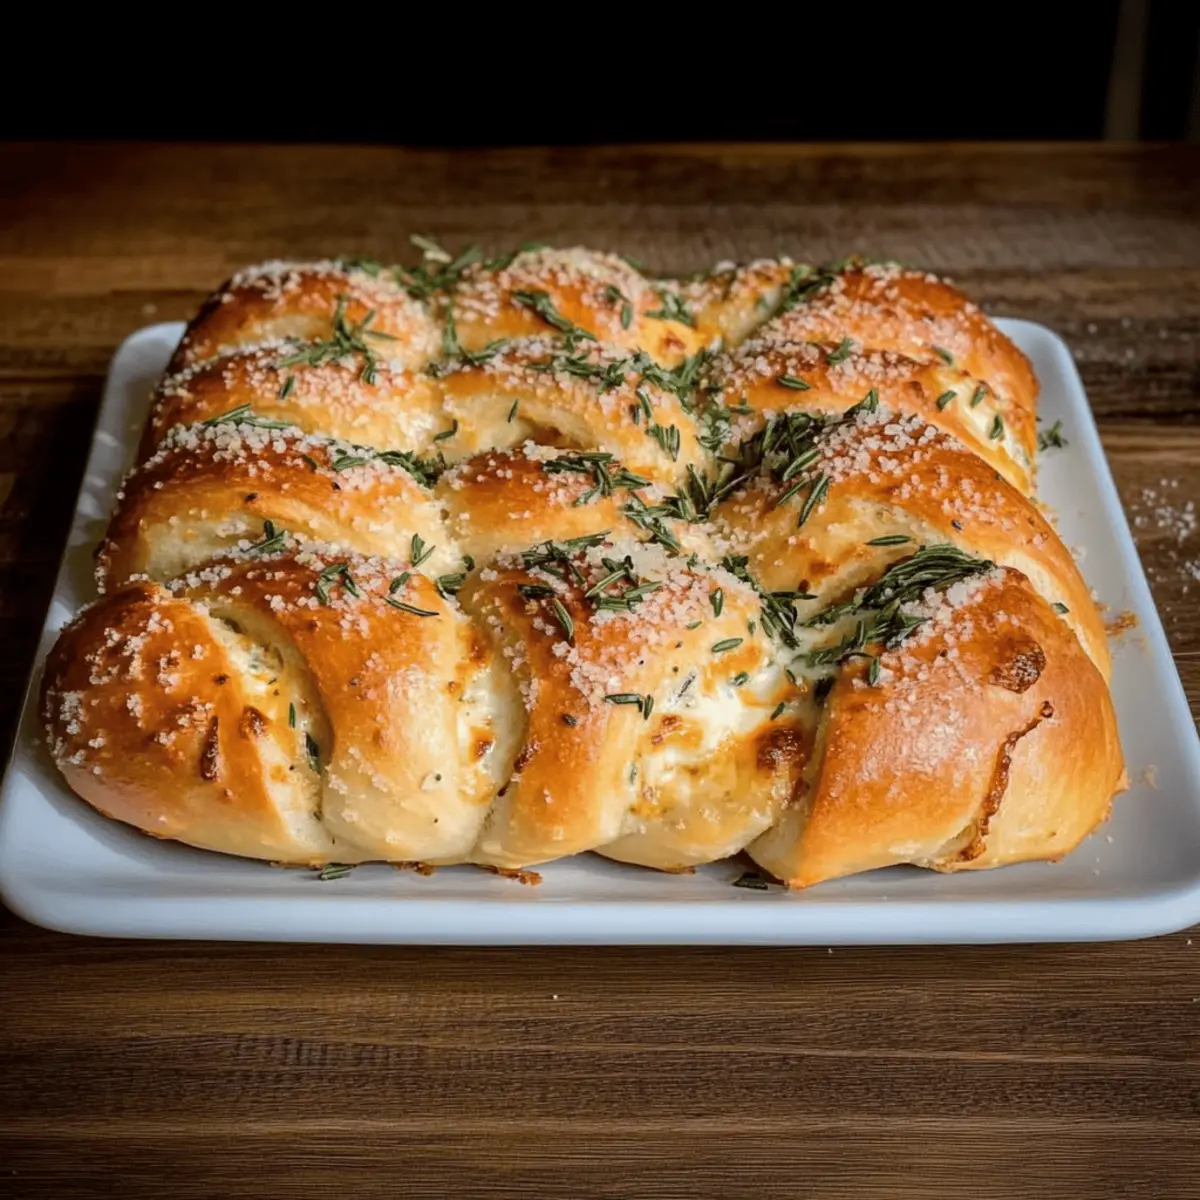
Cultural Experience: Cook a standout recipe that opens the door to the vibrant world of African cuisine without leaving your kitchen. Serve alongside Homemade Chicken Rolls for a complete meal!
Crowd-Pleasing Appeal: Whether for a family dinner or a potluck, this dish is sure to impress your guests and have them coming back for more.
Senegalese Chicken Ingredients
• Discover the essentials for an authentic Poulet Yassa experience.
For the Chicken Marinade
- Chicken Thighs – Tender and flavorful; you can substitute these with chicken breasts if preferred.
- Garlic – Enhances depth; if you’re in a pinch, garlic powder (1/2 teaspoon per clove) will do the trick.
- Lemon Juice – Brightens up the dish; fresh lemon is best, but bottled works as well.
- Dijon Mustard – Adds a tangy kick; consider whole-grain or spicy brown mustard for a different twist.
- Cayenne Pepper – Provides a spicy note; adjust to your heat preference or omit for a milder flavor.
- Salt – Essential for flavor; always adjust to taste.
For Cooking
- Olive Oil – Adds richness; feel free to swap with vegetable or avocado oil if necessary.
- Onions – Bring sweetness and base flavor; thinly slice yellow or white onions for perfect caramelization.
- Chicken Broth – Keeps the dish moist and flavorful; low-sodium store-bought or homemade chicken broth is recommended.
- Smoked Paprika – Delivers color and smokiness; regular paprika can be used for a milder taste.
- Bouillon Powder – Optional flavor enhancer; skip this if using enough chicken broth.
Experience the warmth of West African cuisine with this easy chicken recipe!
Step‑by‑Step Instructions for Senegalese Chicken
Step 1: Prepare the Chicken and Marinade
Start by thoroughly washing and drying your chicken thighs. In a large bowl, combine the chicken with minced garlic, sliced onions, lemon juice, Dijon mustard, cayenne pepper, and salt. Ensure the chicken is fully coated with the marinade. Cover the bowl and refrigerate for at least 2 hours, or overnight for maximum flavor, allowing the spices to penetrate the meat.
Step 2: Remove Chicken and Reserve Marinade
Once marinated, take the chicken out of the fridge and remove it from the marinade, scraping off any excess. Set aside the reserved marinade, as it will be used later. This step allows the chicken to develop a nice crust while cooking, enhancing the overall taste of your Senegalese Chicken.
Step 3: Brown the Chicken
Heat 3 tablespoons of olive oil in a large skillet over medium-high heat. Once hot, carefully add the marinated chicken thighs to the skillet. Brown the chicken for about 4-5 minutes on each side until golden. The sizzling sound indicates it’s time to flip! Once browned, transfer the chicken to a plate and lower the heat to medium.
Step 4: Caramelize the Onions
In the same skillet, add the sliced onions and cook them. Pour in the reserved marinade to infuse flavor into the mixture. Sauté for around 5 minutes, stirring occasionally, until the onions become soft and golden. This caramelization step enhances the sweetness and depth of your Senegalese Chicken.
Step 5: Combine and Cook
Return the browned chicken thighs back into the skillet. Add chicken broth to the mixture, ensuring the chicken is partially submerged in the liquid. Cover with a lid and simmer on low heat for 15-20 minutes, until the chicken is fully cooked and reaches an internal temperature of 165°F (75°C). You’ll know it’s done when the chicken is juicy and tender.
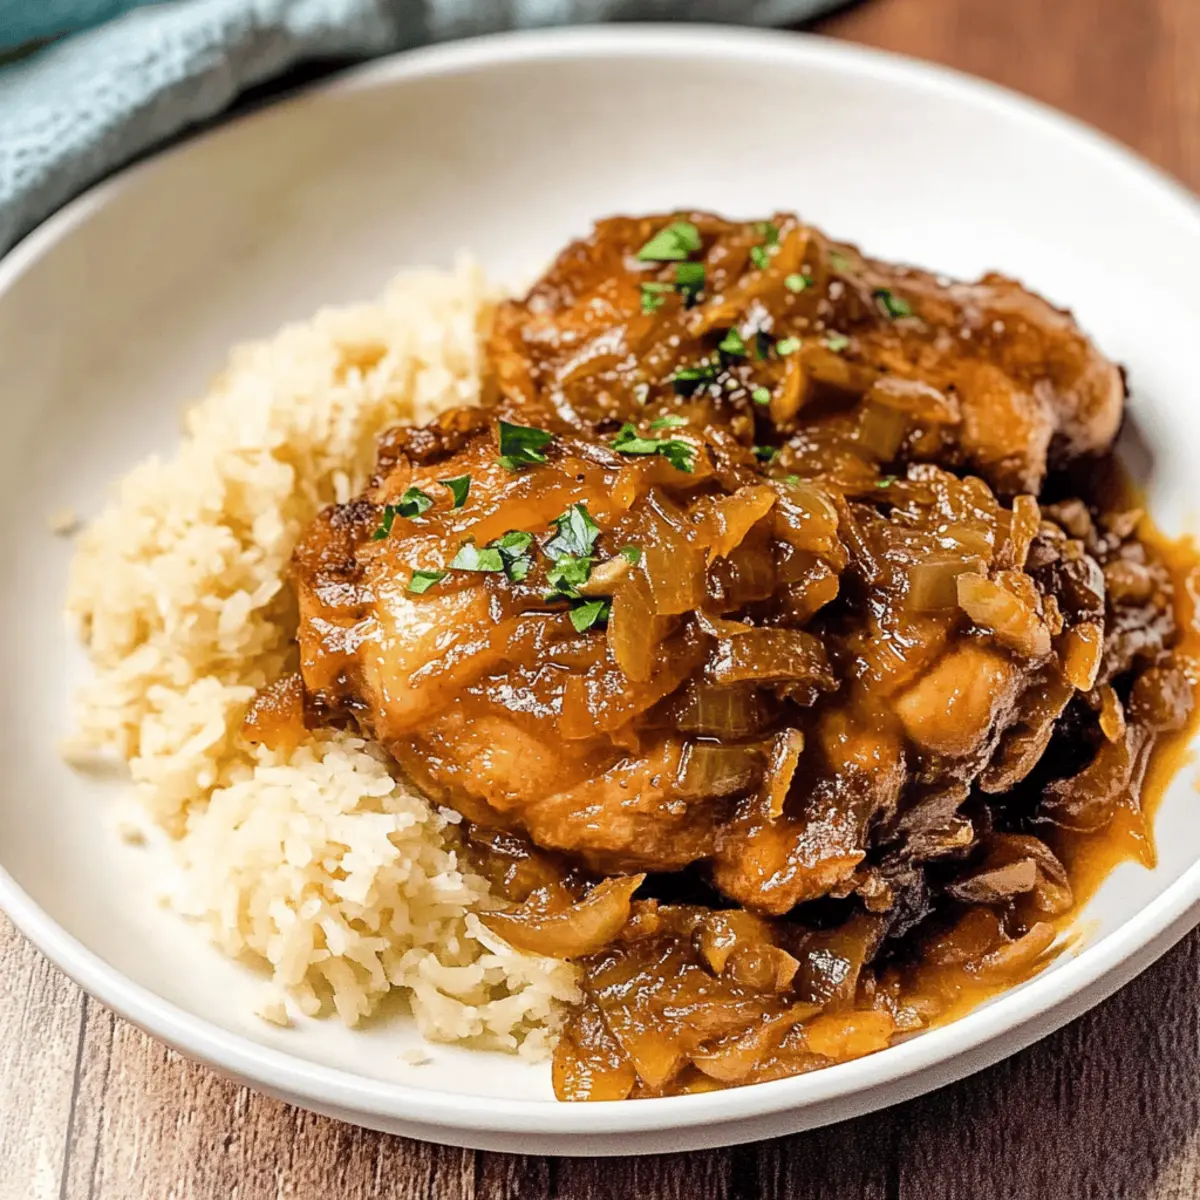
Step 6: Final Seasoning and Serve
Taste the sauce and adjust the seasoning with additional salt if needed. Once everything is well combined and deliciously aromatic, serve your Poulet Yassa over jasmine rice or with a side of low-carb alternatives like cauliflower rice. Enjoy the rich flavors and warmth of this Senegalese Chicken dish with your family and friends!
Senegalese Chicken Variations & Substitutions
Feel free to mix things up! Each twist will help you discover new flavor dimensions in your Poulet Yassa.
- Gluten-Free: Use tamari instead of soy sauce in place of bouillon powder for a gluten-free flavor boost.
- Herb-Infused: Incorporate fresh thyme or bay leaves while cooking for a fragrant profile that elevates the dish.
- Vegetarian Option: Swap chicken with eggplant or mushrooms for a satisfying vegetarian adaptation; marinate and cook just like the chicken.
- Heat Adjust: Add more cayenne or a splash of hot sauce to ramp up the spice level for those who crave heat.
- Smoky Flavor: Instead of smoked paprika, try a touch of chipotle powder for a smokier finish; it pairs beautifully with the caramelized onions.
- Coconut Cream: For a tropical twist, stir in some coconut cream during the last few minutes of cooking; it adds richness and a hint of sweetness.
- Zesty Kick: Replace lemon juice with lime juice if you’re in the mood for a zesty alternative, adding an exciting twist to the traditional flavor.
- Pickled Veggies: Serve with a side of pickled onions or cucumber for a tangy crunch that complements the savory chicken beautifully.
For more complementary side dishes, try serving alongside homemade chicken rolls or jasmine rice to round out your meal with heartwarming flavors. Enjoy!
Make Ahead Options
Poulet Yassa is a fantastic recipe for meal prep that can save you time during busy weekdays! You can marinate the chicken for up to 24 hours in advance. Simply combine the chicken thighs, garlic, onions, lemon juice, Dijon mustard, and spices in a bowl, cover it, and refrigerate. The onions can also be sliced and stored separately in the fridge for up to 3 days to keep them fresh. To maintain the quality, ensure the chicken is sealed well to prevent any odors. When ready to serve, simply sauté the marinated chicken and onions as instructed, add the broth, and let it simmer. You’ll be enjoying tender and flavorful Senegalese Chicken with minimal evening preparation!
What to Serve with Poulet Yassa?
Imagine a table filled with colors and aromas that complement the savory goodness of your Senegalese chicken.
- Jasmine Rice: Perfectly fluffy and fragrant, it absorbs the delicious sauce while providing a light base for the rich flavors.
- Cauliflower Rice: A low-carb alternative that offers a pleasant nutty flavor, making it an excellent partner for the dish’s spices.
- Fresh Green Salad: Crisp greens tossed with a zesty vinaigrette add crunch and freshness, balancing the savory richness of the chicken.
- Plantains: Sweet and caramelized, fried plantains introduce a delightful contrast to the tanginess of the chicken sauce. These are sure to please even the pickiest of eaters!
- Steamed Vegetables: A medley of green beans, carrots, and zucchini adds a colorful and nutritious touch while keeping the meal light and wholesome.
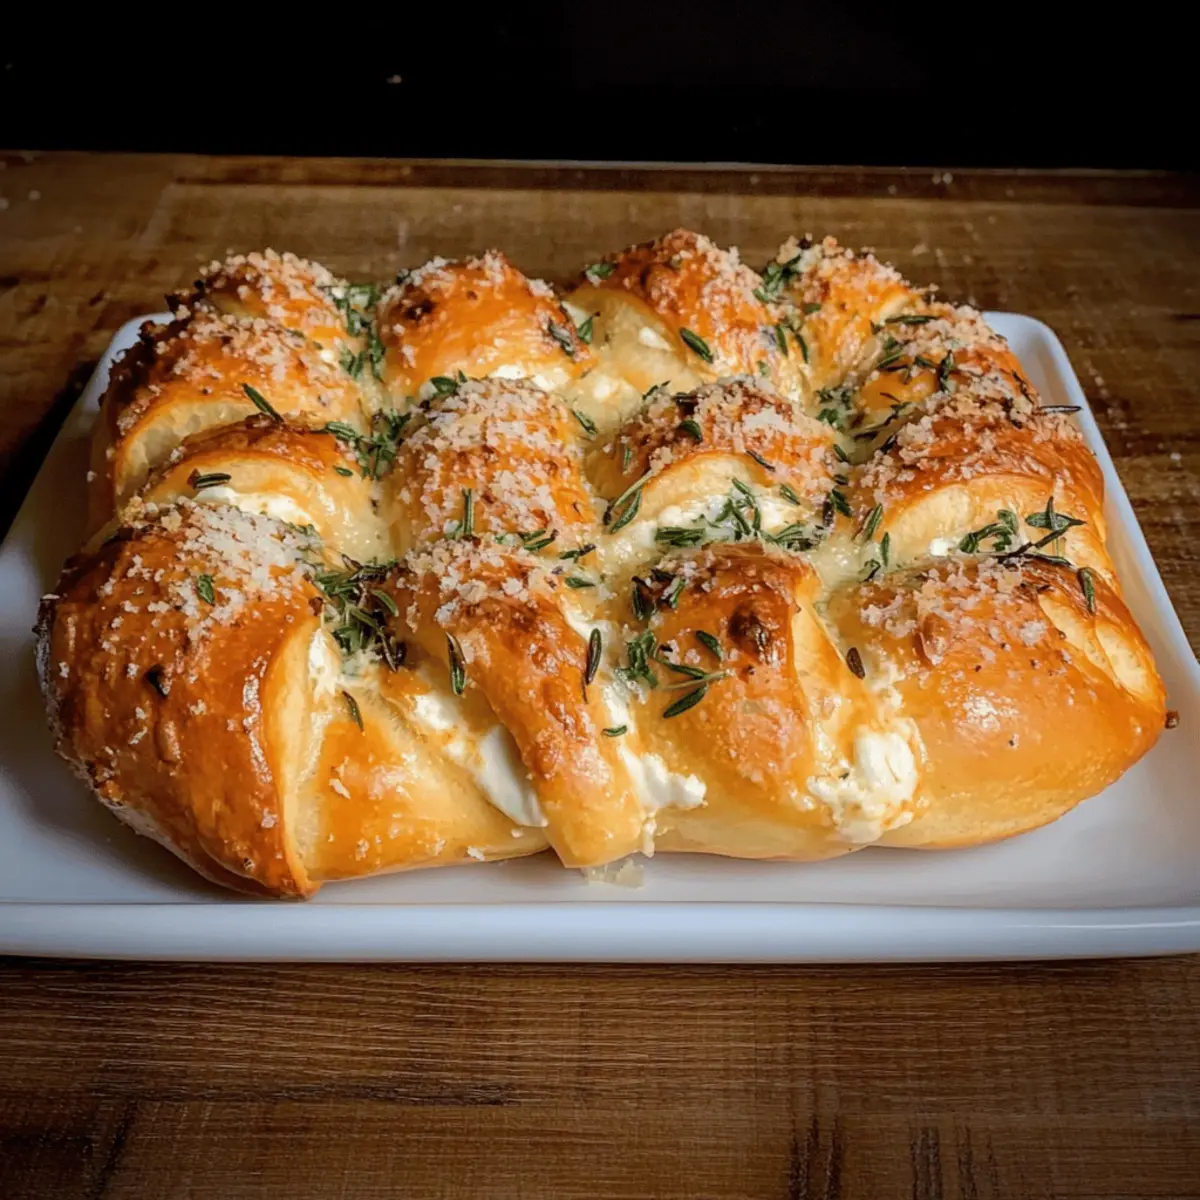
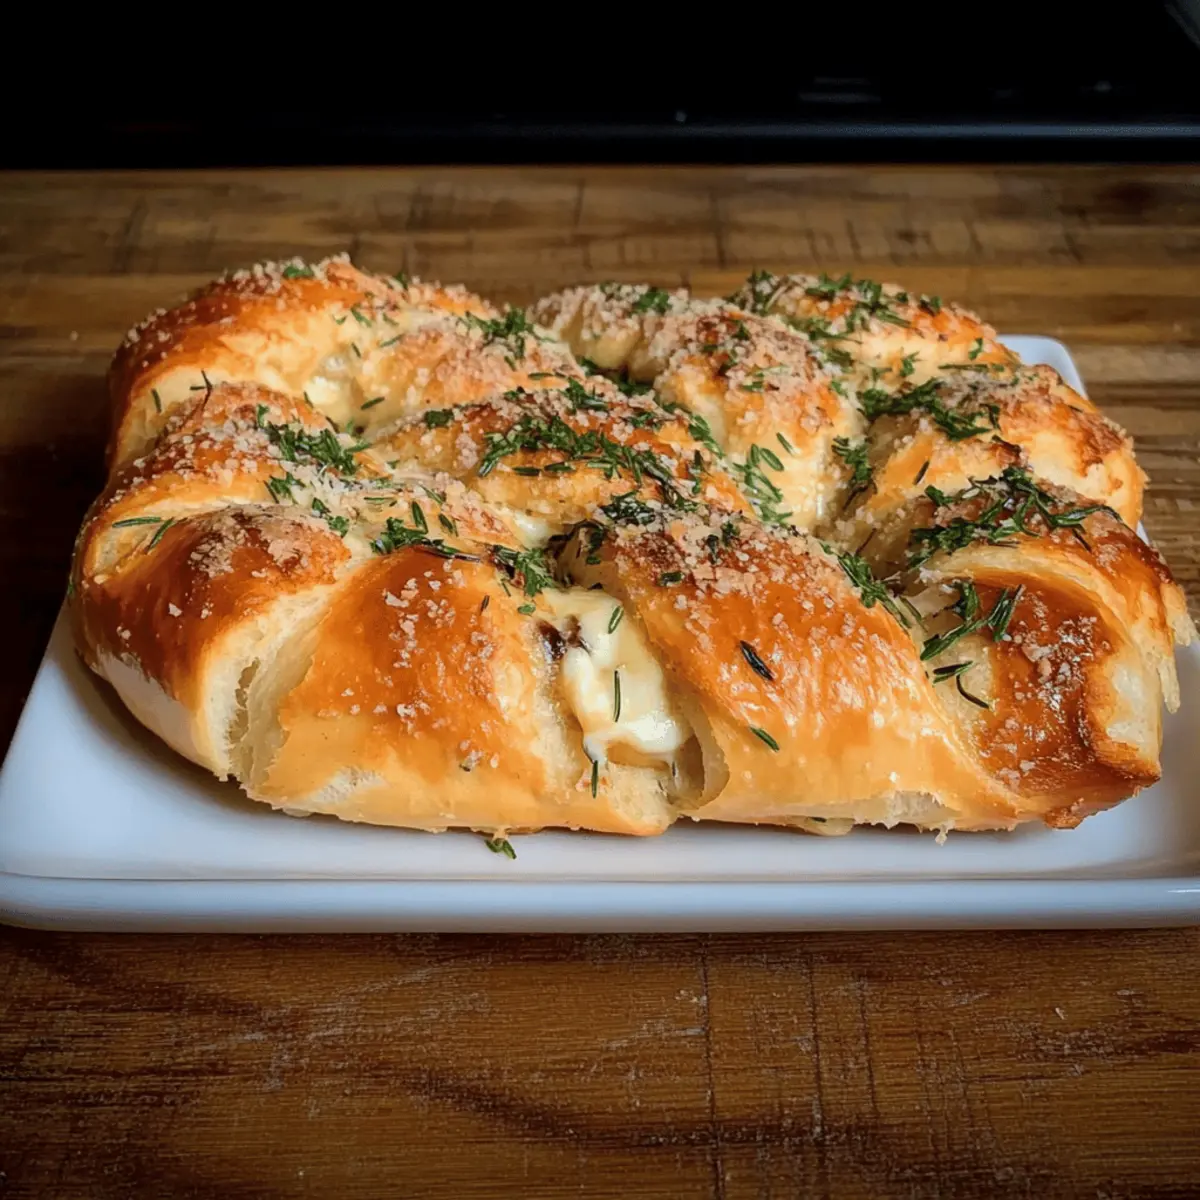
- Homemade Bread: A crusty bread is ideal for soaking up the sauce, transforming every bite into a comforting experience that feels like home.
- Minted Yogurt Sauce: A cooling sauce made with yogurt and mint brightens the dish, providing a refreshing contrast to the warm spices.
- Iced Hibiscus Tea: A fruity and floral drink that pairs beautifully with the savory flavors, soothing the palate while enhancing the meal.
These delicious accompaniments will turn your Poulet Yassa into a complete and memorable meal that everyone will adore!
How to Store and Freeze Senegalese Chicken
Fridge: Store leftovers in airtight containers for up to 3 days. Make sure the chicken is completely cooled before sealing to maintain freshness.
Freezer: Poulet Yassa freezes well for up to 6 months. Portion it into freezer-safe containers, ensuring there’s a little space for expansion as it freezes.
Reheating: To reheat, gently warm the chicken on the stove over low heat. Add a splash of chicken broth to keep it moist and flavorful.
Safety Tip: Always ensure that the Senegalese Chicken is heated thoroughly to an internal temperature of 165°F (75°C) before serving.
Expert Tips for Senegalese Chicken
- Perfect Marinade: Allow the chicken to marinate overnight for the best flavor infusion; it makes a world of difference!
- Golden Brown: Ensure your chicken is well-browned on both sides to create a delicious flavor base and avoid steaming.
- Onion Sweetness: For extra caramelization, slice the onions thinly and stir frequently for even cooking.
- Adjust Heat: Feel free to modify the cayenne pepper to your spice preference. If you prefer a milder dish, you can omit it altogether.
- Flavor Boost: Using low-sodium chicken broth will enhance flavor without adding too much salt, making your Senegalese Chicken healthier.
Poulet Yassa Recipe FAQs
What type of chicken is best for Poulet Yassa?
Absolutely! Chicken thighs are ideal for this dish as they provide tenderness and rich flavor. However, chicken breasts can be used as a lighter alternative if preferred.
How do I store leftover Poulet Yassa?
You can store leftovers in airtight containers in the fridge for up to 3 days. Be sure the chicken is completely cooled before sealing it to keep it fresh!
Can I freeze Poulet Yassa?
Very! Poulet Yassa freezes well for up to 6 months. To freeze, portion it into freezer-safe containers or bags, leaving some space for expansion. When ready to enjoy, simply thaw in the refrigerator overnight and reheat gently on the stove.
What if I can’t find Dijon mustard?
No worries! You can substitute Dijon mustard with whole-grain mustard or even spicy brown mustard for a different flavor twist. If those aren’t available, regular mustard works too—just adjust the quantity to your taste.
Are there any dietary considerations for Poulet Yassa?
Indeed! This delicious Senegalese Chicken recipe is gluten-free and keto-friendly, fitting nicely into both dietary lifestyles. Just ensure that any broth or other ingredients used are labeled gluten-free if that’s a concern.
How do I know when the chicken is fully cooked?
To ensure your Poulet Yassa is perfectly cooked, use a meat thermometer to check the chicken’s internal temperature. It should reach 165°F (75°C). You’ll notice the chicken is juicy and no longer pink inside, ensuring a delightful meal for you and your loved ones!

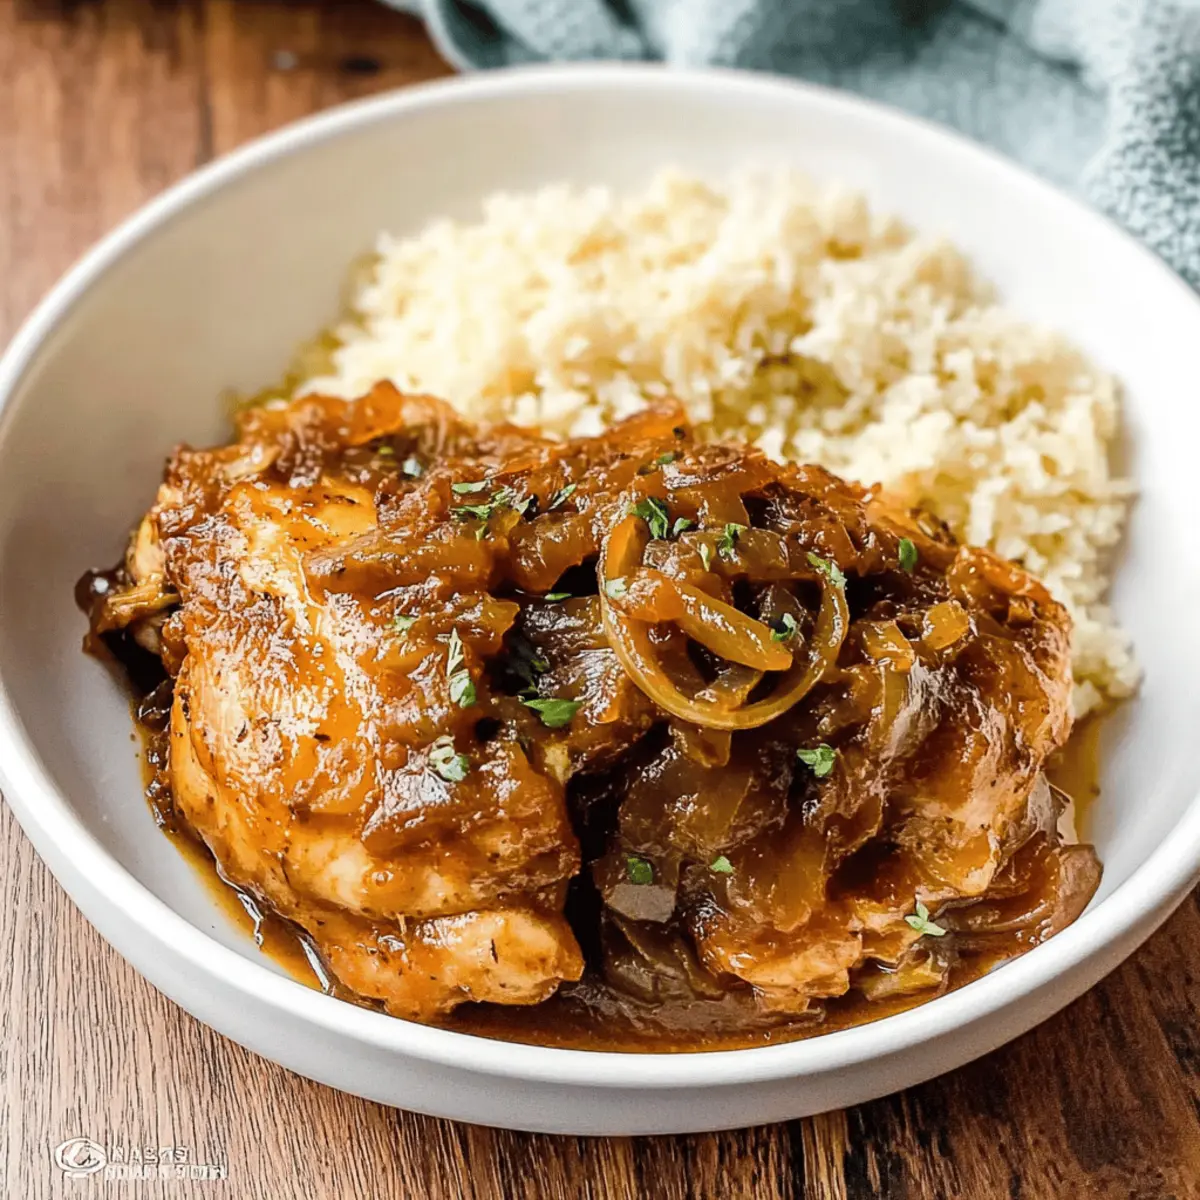
Savory Senegalese Chicken with Sweet Caramelized Onions
Ingredients
Equipment
Method
- Wash and dry chicken thighs. Combine with minced garlic, sliced onions, lemon juice, Dijon mustard, cayenne pepper, and salt in a bowl. Coat the chicken thoroughly with the marinade. Cover and refrigerate for at least 2 hours or overnight.
- Remove the chicken from the marinade, scraping off excess. Set aside reserved marinade for later.
- Heat olive oil in a skillet over medium-high heat. Add marinated chicken thighs and brown for 4-5 minutes on each side until golden. Transfer to a plate and reduce heat to medium.
- In the same skillet, add sliced onions and reserved marinade. Sauté for around 5 minutes until onions become soft and golden.
- Return the browned chicken to the skillet, add chicken broth, cover, and simmer on low heat for 15-20 minutes until chicken is fully cooked and tender.
- Taste the sauce and adjust the seasoning with more salt if needed. Serve over jasmine rice or with low-carb alternatives.