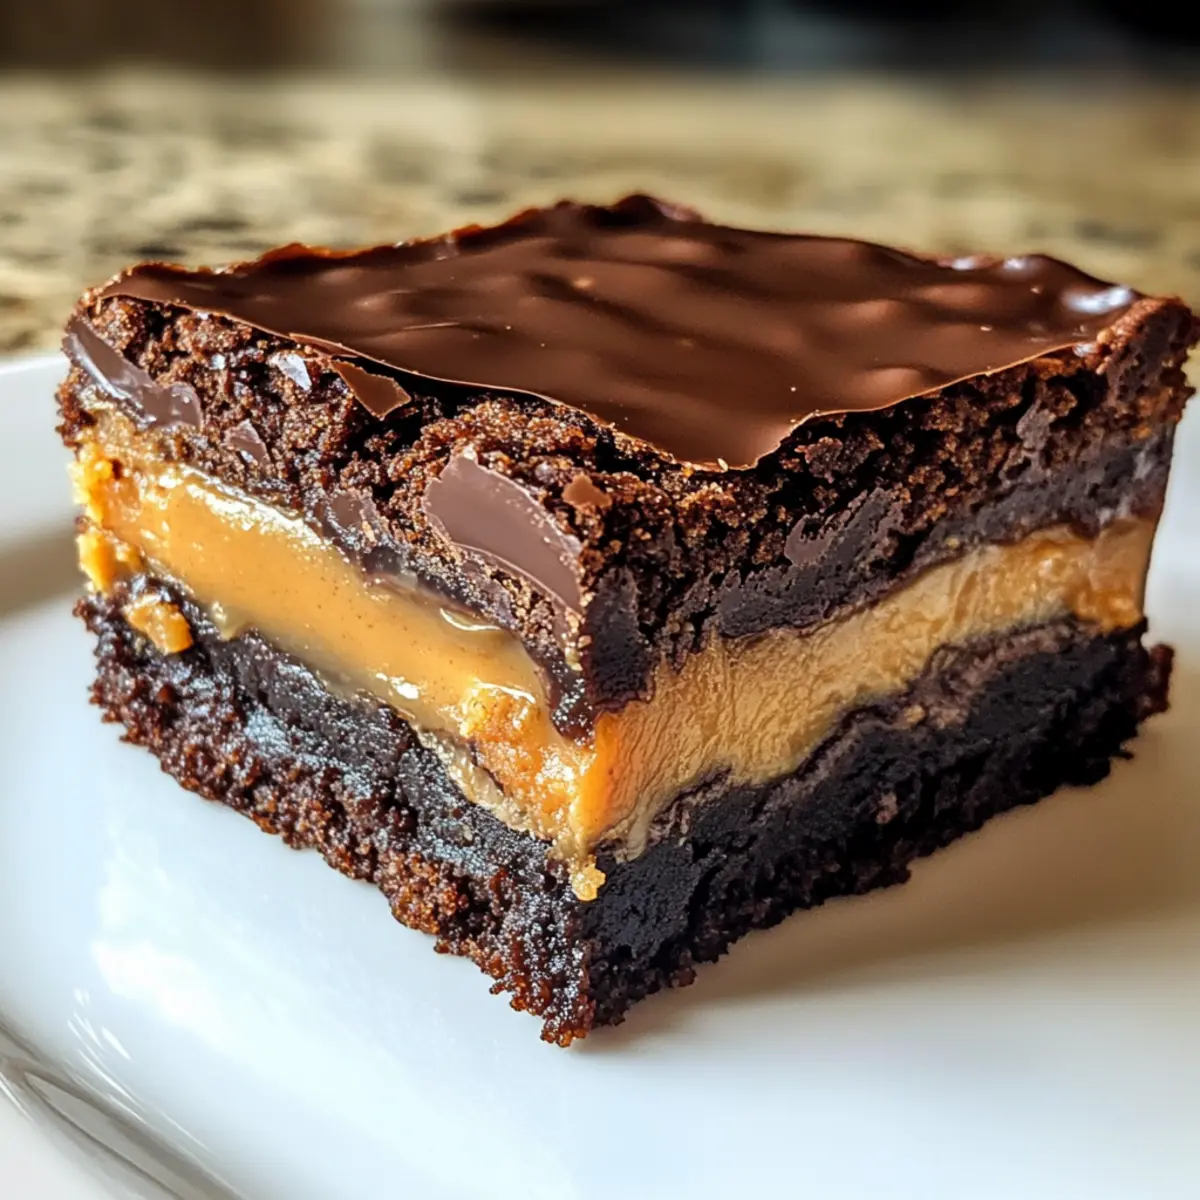
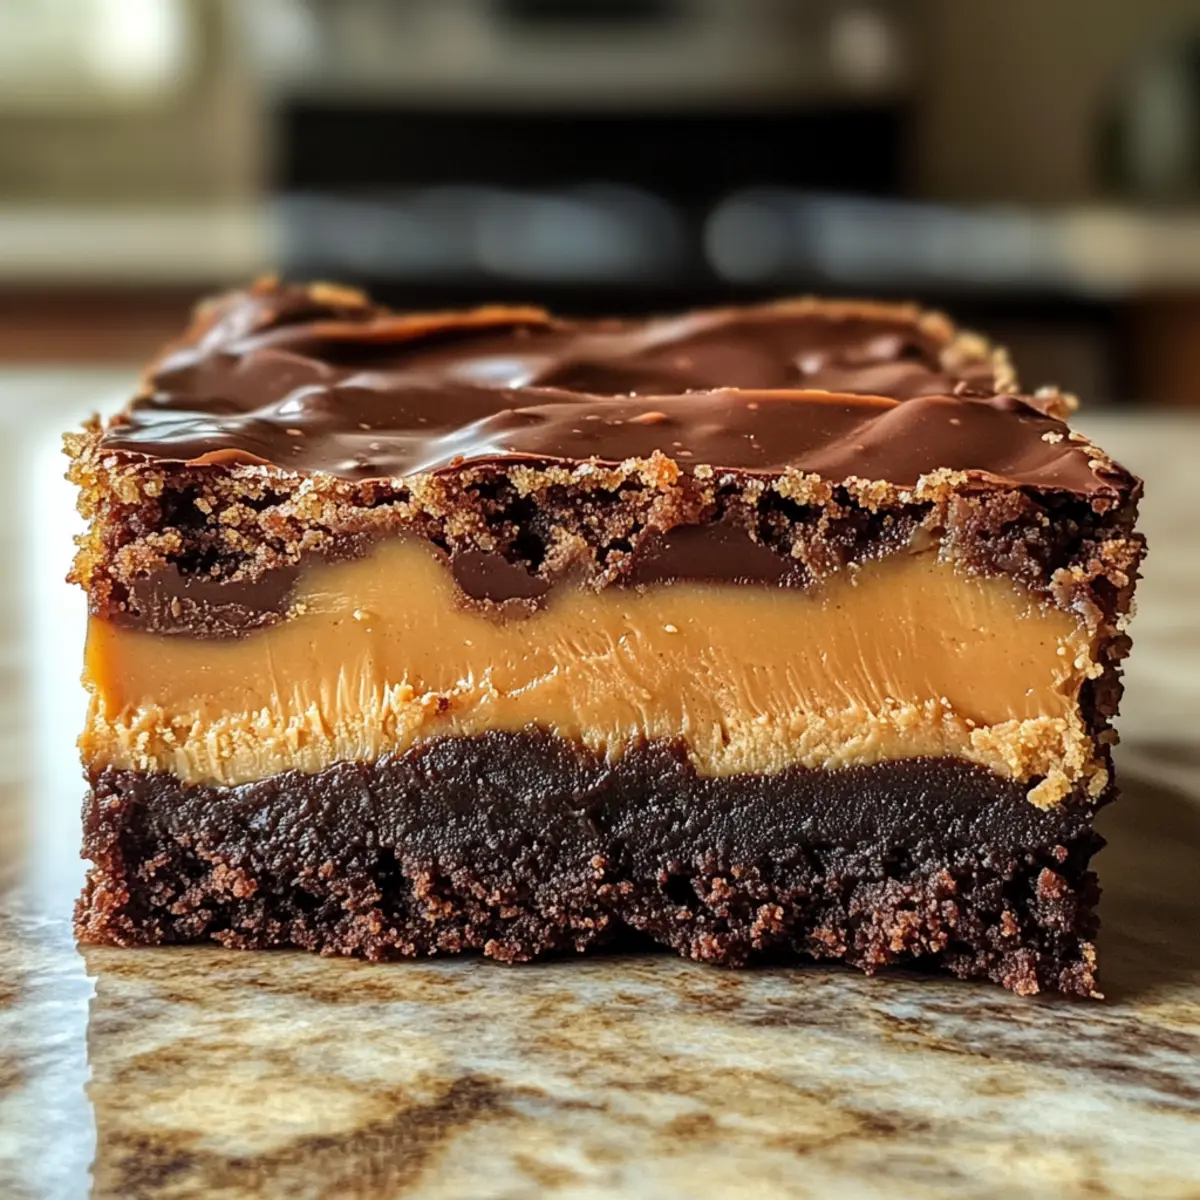
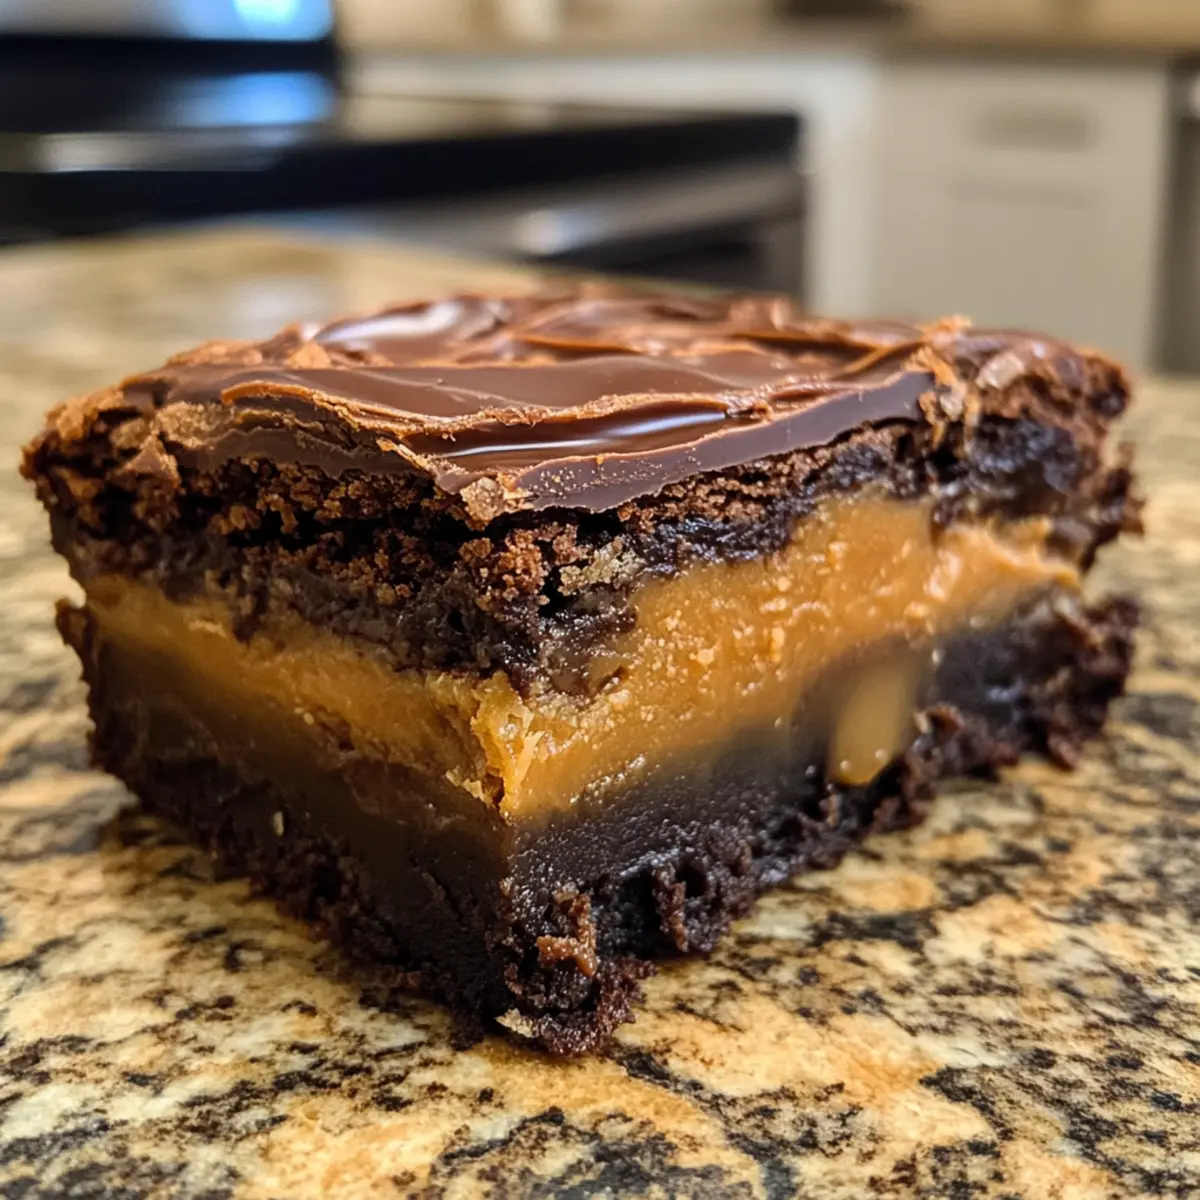
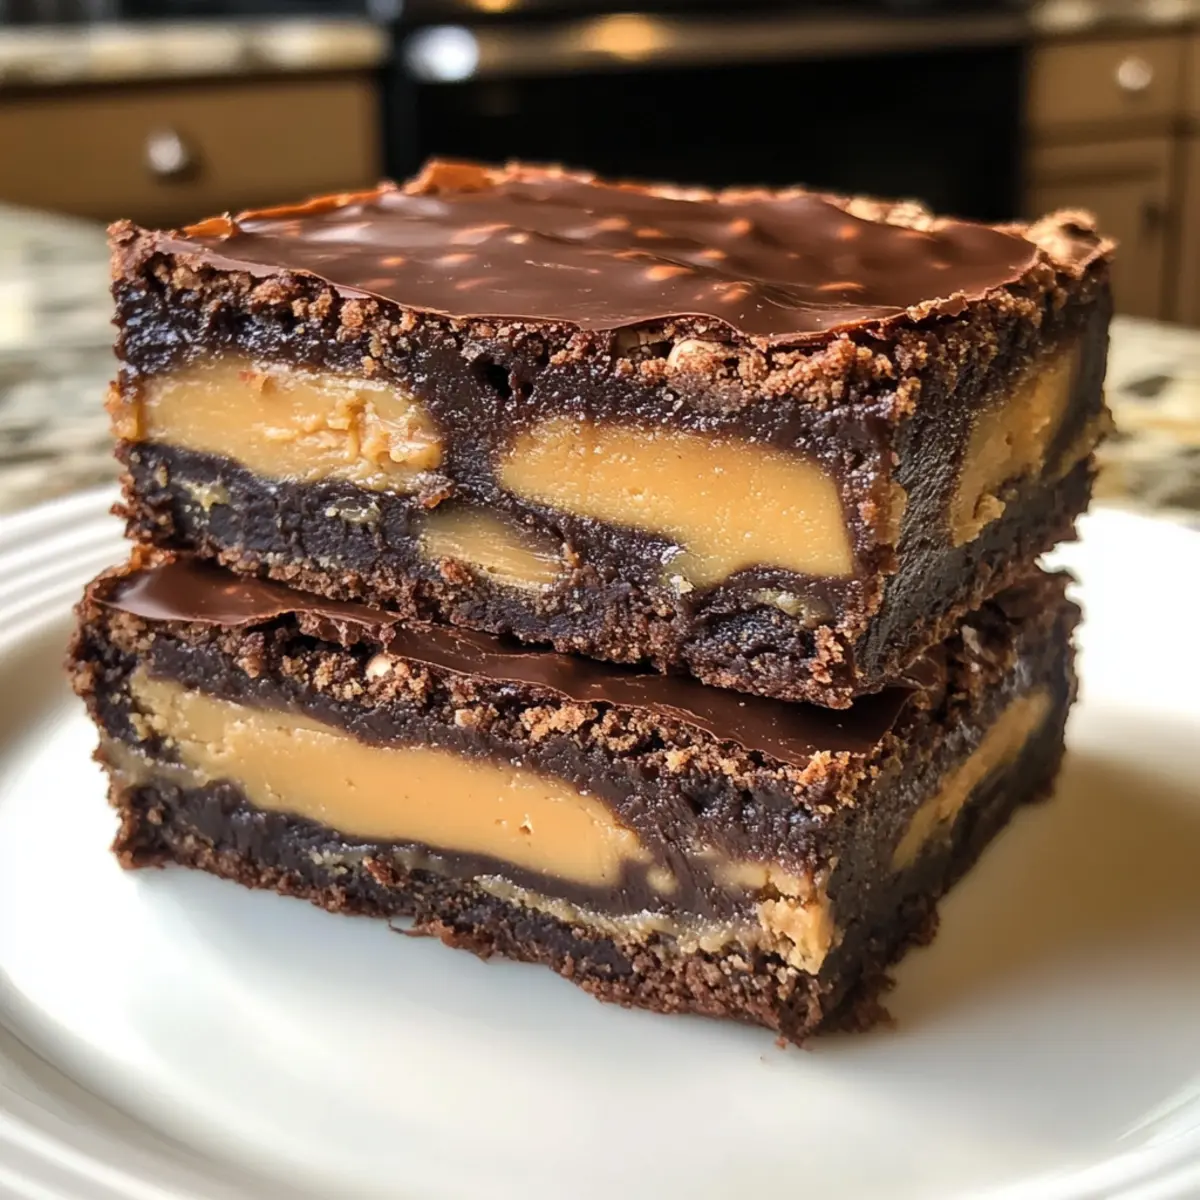
As I stood in my kitchen, juggling the sweet smell of melting chocolate with the warmth of peanut butter, I stumbled upon a glorious creation: Buckeye Turtle Brownies. These fudgy delights boast layers of rich caramel, crunchy pecans, and a dreamy peanut butter topping, making them irresistible for anyone who craves a sweet escape from fast food. The beauty of these brownies lies not only in their decadent flavors but also in their versatility; they can easily be made gluten-free and are perfect for any gathering or quiet night in. Each bite brings a delightful contrast of textures, from the gooey caramel to the creamy richness of the peanut butter. Curious about how to recreate this tempting treat? Let’s dive into the recipe!
Why are Buckeye Turtle Brownies a Must-Try?
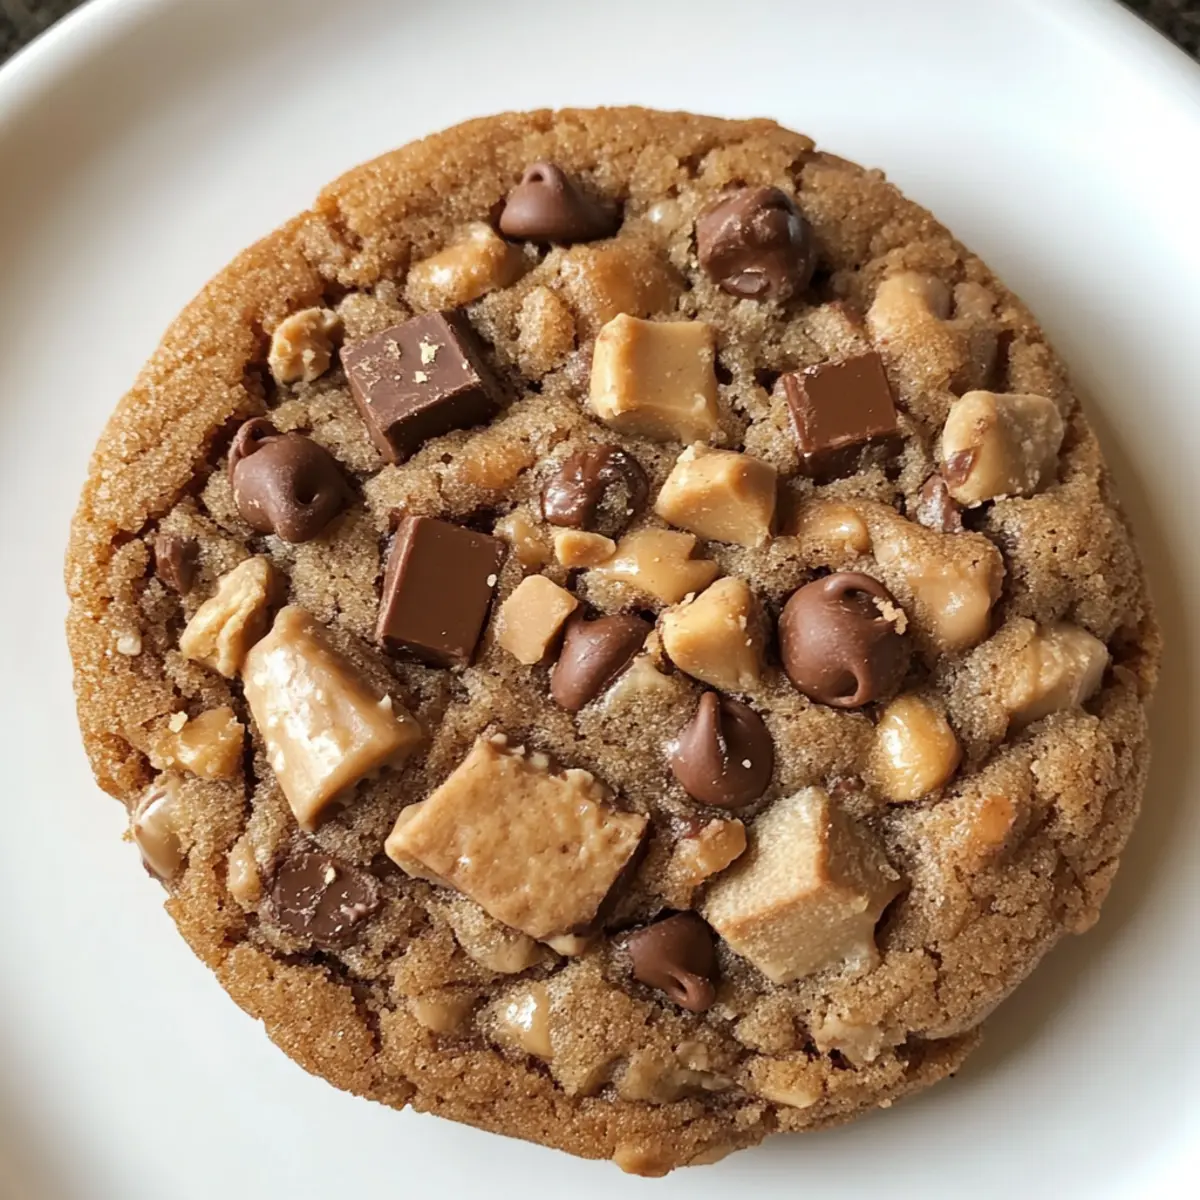
Decadent Layers: These brownies combine rich chocolate, creamy peanut butter, and gooey caramel for a mouthwatering experience that will leave you wanting more!
Gluten-Free Friendly: With simple swaps, you can make these brownies gluten-free, so everyone can indulge in this delicious dessert.
Crowd-Pleasing Delight: Perfect for potlucks or parties, these brownies are guaranteed to impress guests and satisfy even the pickiest eaters.
Quick to Prepare: The straightforward instructions will have you whipping up these treats in no time, making them a breeze for any home cook.
Versatile Options: Whether you stick to the classic layers or get creative with toppings, like adding crushed cookies, these brownies will always shine! For a delightful twist, try making Banana Bread Brownies next!
Buckeye Turtle Brownies Ingredients
For the Brownie Base
• 9X13 Brownie Recipe – Use homemade, boxed mix, or gluten-free options for a delightful start to these Buckeye Turtle Brownies.
For the Caramel Pecan Layer
• 11 oz Caramels (unwrapped) – Provides a gooey, sweet layer that adds richness and texture; homemade caramel is a perfect substitute if preferred.
• 2 tablespoons Milk – Helps melt the caramels into a silky layer; any milk variety works wonderfully here.
• 1 ½ cups Chopped Pecans – Adds a lovely crunch; feel free to omit for a nut-free version.
For the Peanut Butter Layer
• 6 tablespoons Butter (softened) – Brings moisture and richness to the topping; unsalted butter is recommended for less saltiness.
• ¾ cup Creamy Peanut Butter – Offers that classic peanut flavor; natural peanut butter can be used, just keep in mind the texture may differ.
• 1 ½ cups Powdered Sugar – Sweetens the peanut butter mixture beautifully; consider using maple syrup for a lower-sugar alternative.
• 2 tablespoons Milk – Adjusts the consistency for easy spreading in your peanut butter layer.
For the Chocolate Topping
• 1 cup Semi-Sweet Chocolate Chips – Provides a rich chocolate topping that perfectly complements the other layers; dark chocolate is a fabulous option for deeper flavor.
• 1 ½ teaspoons Oil – Aids in melting and spreading the chocolate; any neutral oil will do just fine.
Optional Finishing Touch
• Fleur de Sel or Coarse Sea Salt – A sprinkle adds a delightful contrast to the sweetness, truly elevating the overall taste.
Step‑by‑Step Instructions for Buckeye Turtle Brownies
Step 1: Prepare Brownies
Begin by preheating your oven to 350°F (175°C). Prepare your 9X13 inch baking pan by greasing it lightly or lining it with parchment paper for easy removal. Prepare your brownie mix according to package instructions or your chosen recipe, then pour it into the prepared pan. Bake for 20-25 minutes, or until a toothpick inserted in the center comes out clean. Allow the brownies to cool completely in the pan on a wire rack.
Step 2: Make Caramel Pecan Layer
In a microwave-safe bowl, combine the unwrapped caramels and 2 tablespoons of milk. Heat in the microwave for 1-2 minutes, stirring every 30 seconds until the mixture is completely melted and smooth. Once melted, fold in the chopped pecans until well incorporated. This gooey caramel-pecan mixture is now ready to be spread over the cooled brownies; ensure it’s even for a delightful layer.
Step 3: Prepare Peanut Butter Layer
In a mixing bowl, use an electric mixer to beat together the softened butter and creamy peanut butter until smooth and creamy. Gradually add the powdered sugar and an additional 2 tablespoons of milk, mixing well until the mixture is fluffy. This mixture should have a spreadable consistency. Once ready, drop spoonfuls across the caramel layer and carefully spread it out evenly, creating a luscious peanut butter layer atop the brownies.
Step 4: Melt Chocolate Topping
Using a microwave-safe bowl, combine the chocolate chips and 1 ½ teaspoons of oil. Heat in the microwave for 30-second intervals, stirring well after each session until the mixture is completely melted and smooth. This rich and glossy chocolate topping should be pourable. Pour the melted chocolate over the peanut butter layer, gently spreading it into an even layer using a spatula.
Step 5: Add Finishing Touches
For a special finishing touch, sprinkle a little Fleur de Sel or coarse sea salt over the melted chocolate layer while it’s still warm. This will enhance the flavor of your Buckeye Turtle Brownies with a delightful sweet-salty contrast. Allow the brownies to set at room temperature for about 30 minutes or refrigerate for quicker cooling to firm up the layers before slicing into squares.
What to Serve with Buckeye Turtle Brownies?
Imagine the sweet scent of chocolate and caramel wafting through the air as you craft the perfect meal to accompany these indulgent treats.
- Vanilla Ice Cream: A classic pairing that adds a creamy contrast to the rich brownies, enhancing their fudgy texture.
- Fresh Berries: Juicy raspberries or strawberries can cut through the sweetness with their tartness, offering a refreshing balance.
- Whipped Cream: Piled high, this light and airy topping brings a smooth complement, making each bite of brownie feel extra indulgent.
- Chocolate Milkshake: If you’re feeling adventurous, a thick chocolate milkshake creates a decadently over-the-top dessert experience that chocolate lovers won’t resist.
- Coffee or Espresso: The bitter notes of coffee enhance the sweet elements of the brownies, creating a wonderful flavor synergy that elevates dessert time.
- Chopped Nuts: A sprinkle of toasted walnuts or pecans adds an extra crunch that mirrors the textures within the brownies themselves—perfect for nut lovers!
- Sea Salt Caramel Sauce: Drizzling some homemade or store-bought caramel sauce brings an extra layer of sweetness and contrast that complements the flavors beautifully.
- Hot Fudge Sauce: For a truly indulgent treat, warm up some fudge sauce and pour it over the brownies, creating an irresistibly gooey delight.
How to Store and Freeze Buckeye Turtle Brownies
Room Temperature: Keep the brownies in an airtight container at room temperature for up to 7 days. This ensures they stay soft and delicious.
Fridge: If you prefer, store them in the fridge to extend freshness; they’ll last up to 10 days, but might lose some of their fudgy texture.
Freezer: To enjoy Buckeye Turtle Brownies later, freeze them in an airtight container or wrapped tightly in plastic wrap for up to 3 months.
Reheating: To revive frozen brownies, let them thaw in the fridge overnight and warm them slightly in the microwave for a gooey, fresh indulgence.
Expert Tips for Buckeye Turtle Brownies
-
Smooth Melting: Ensure to melt the caramels and chocolate slowly in the microwave, stirring frequently to avoid any hardening.
-
Easy Spreading: If your peanut butter mixture is too stiff, add a little more milk to achieve a spreadable consistency for the perfect topping.
-
Lining the Pan: Use parchment paper to line the baking pan, making it much easier to remove and cut the brownies without a mess.
-
Mixing Options: For a unique twist, consider mixing in crushed cookies into the peanut butter layer before spreading, adding extra crunch and flavor.
-
Adjusting Sweetness: Taste the peanut butter topping as you make it and adjust the sugar according to your preference for sweetness in these Buckeye Turtle Brownies.
Buckeye Turtle Brownies Variations
Feel free to customize these delightful brownies to suit your taste and dietary needs!
-
Gluten-Free: Use gluten-free brownie mix or homemade gluten-free flour blend to make these brownies suitable for gluten-sensitive friends. They’ll still enjoy every fudgy bite!
-
Nut-Free: Omit the pecans for a nut-free version. You can substitute with crushed graham crackers or gluten-free cookies for a delicious crunch without allergens.
-
Dairy-Free: Swap butter with vegan butter and use dairy-free chocolate chips to craft a dairy-free treat that everyone can enjoy. The flavors will still shine through beautifully!
-
Lower-Sugar: Replace powdered sugar with maple syrup or a low-carb sweetener in the peanut butter layer to cut down on sugar without sacrificing taste. You might even discover a new flavor profile!
-
Decadent Drizzle: For an extra special touch, drizzle melted white chocolate over the top for added sweetness and a lovely visual contrast against the dark chocolate.
-
Flavor Explosion: Stir in a teaspoon of espresso powder into the brownie batter to intensify the chocolate flavor. It’s a perfect little trick for coffee lovers that adds depth!
-
Cookie Lovers Twist: Layer chopped up thin mints or another favorite cookie in the peanut butter mixture for a fun flavor twist that will create alternate layers of surprise.
And, if you’re looking for a delightful option that’s a tad different, consider trying some scrumptious Banana Bread Brownies for a change in flavor and fun!
Make Ahead Options
These Buckeye Turtle Brownies are a fantastic choice for meal prep enthusiasts looking to save time! You can prepare the brownie base and store it in an airtight container for up to 3 days at room temperature. For the caramel-pecan layer, make it in advance and refrigerate for up to 48 hours—just allow it to come to room temperature before spreading it on the brownies. The peanut butter and chocolate layers can also be made ahead; simply refrigerate them in separate containers for up to 2 days. When you’re ready to finish your brownies, layer on the caramel, spread the peanut butter mixture, and pour the chocolate topping, resulting in decadent brownies that are just as delicious!
Buckeye Turtle Brownies Recipe FAQs
How do I choose the right ripeness for the ingredients?
Absolutely! For the best brownies, I recommend using chocolate chips that are fresh and not past their expiration date. Pecans should be fresh, with a crunchy texture, and you might want to avoid using caramels that have hardened. If you’re unsure about the peanut butter, creamy varieties often yield the best texture.
What are the best storage methods for Buckeye Turtle Brownies?
These brownies are best stored in an airtight container at room temperature for up to 7 days. If you want to keep them fresher for longer, you can refrigerate them for about 10 days. Just be cautious, as refrigeration may alter their fudgy texture, making them a bit firmer.
Can I freeze Buckeye Turtle Brownies?
Yes, you can! To freeze the brownies, cut them into squares and wrap each piece tightly in plastic wrap, then place them in an airtight container or freezer bag to avoid freezer burn. They can be frozen for up to 3 months. When you’re ready to enjoy them, just thaw in the fridge overnight and gently warm in the microwave for a soft, fresh treat.
What should I do if my caramel layer hardens?
If your caramel layer hardens, don’t worry! Simply add a splash of milk to the hardened caramel in a microwave-safe bowl and heat it gently, stirring until it’s smooth again. You can then layer it back onto your brownies for that gooey consistency.
Are Buckeye Turtle Brownies safe for those with allergies?
If you’re considering allergies, you can make these brownies nut-free by omitting the pecans or using seeds as a crunchy substitute. For gluten-free options, just ensure your brownie mix is certified gluten-free and check that the chocolate chips and any other ingredients are free from cross-contamination.
Can I use different types of chocolate for the topping?
Very! You can absolutely switch it up by using dark chocolate or even white chocolate for a different flavor profile. Just be mindful that dark chocolate will offer a richer taste, while white chocolate will lend a sweeter flavor to your Buckeye Turtle Brownies.
Indulge in the Best Buckeye Turtle Brownies Ever!
Ingredients
Equipment
Method
- Preheat your oven to 350°F (175°C) and prepare your 9X13 inch baking pan by greasing it or lining it with parchment paper. Prepare your brownie mix according to instructions or recipe, pour into the pan, and bake for 20-25 minutes.
- In a microwave-safe bowl, combine the unwrapped caramels and 2 tablespoons of milk. Heat for 1-2 minutes, stirring every 30 seconds, until melted and smooth. Fold in chopped pecans.
- In a mixing bowl, beat together the softened butter and creamy peanut butter until smooth. Gradually add the powdered sugar and 2 tablespoons of milk, mixing until fluffy. Spread over the caramel layer.
- In another microwave-safe bowl, combine the chocolate chips and 1.5 teaspoons of oil. Heat in 30-second intervals, stirring until melted and smooth. Pour over the peanut butter layer and spread evenly.
- Sprinkle Fleur de Sel or coarse sea salt over the melted chocolate layer while warm. Allow brownies to set at room temperature for 30 minutes or refrigerate to firm up before slicing into squares.