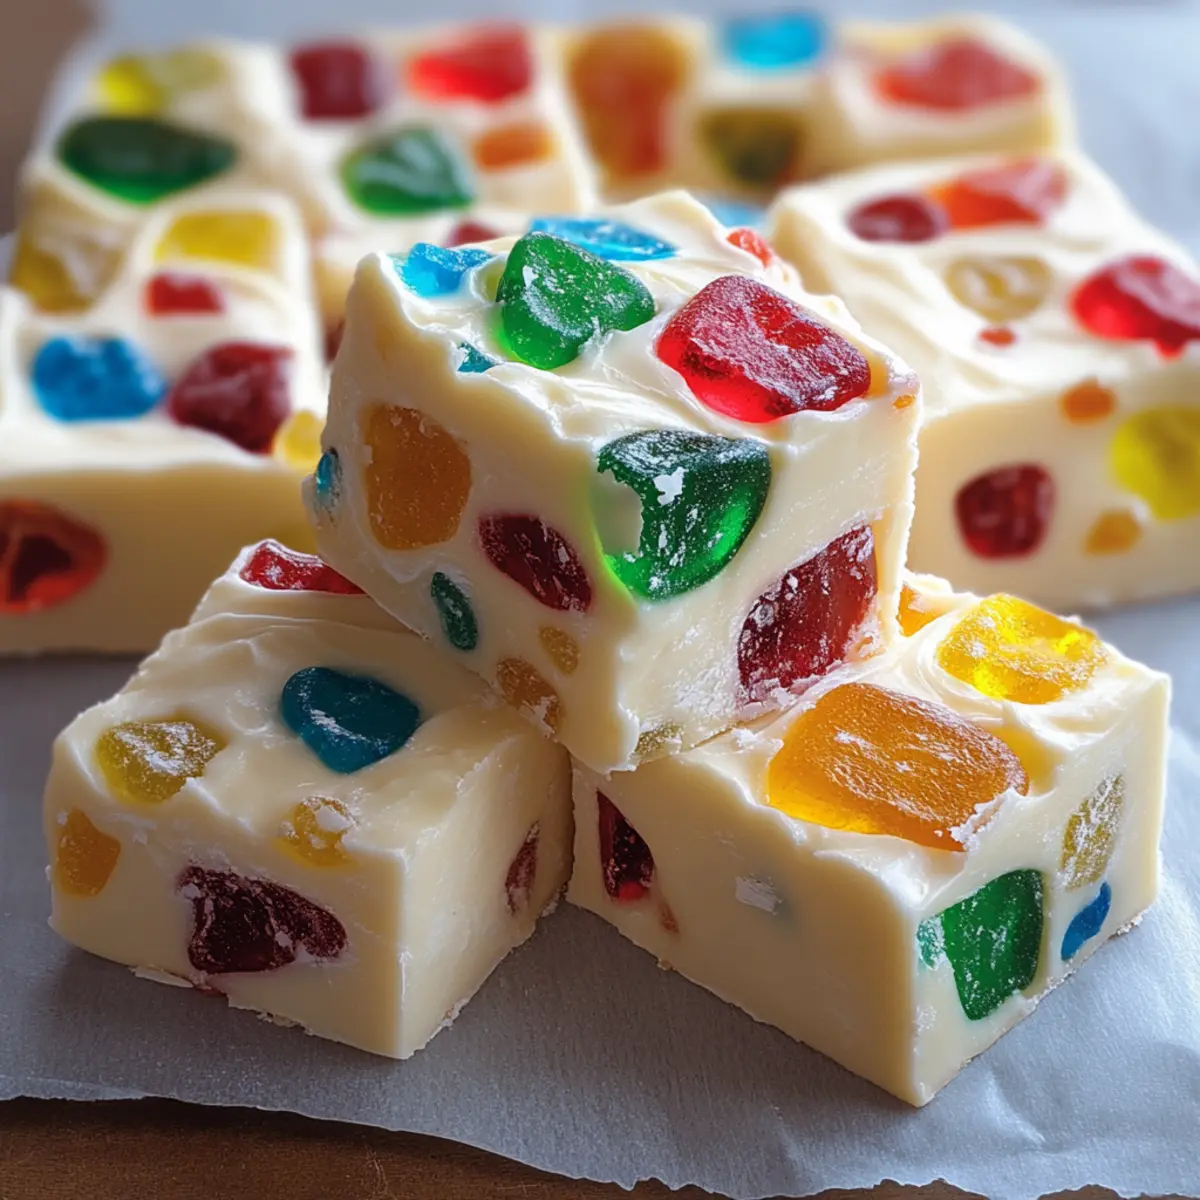
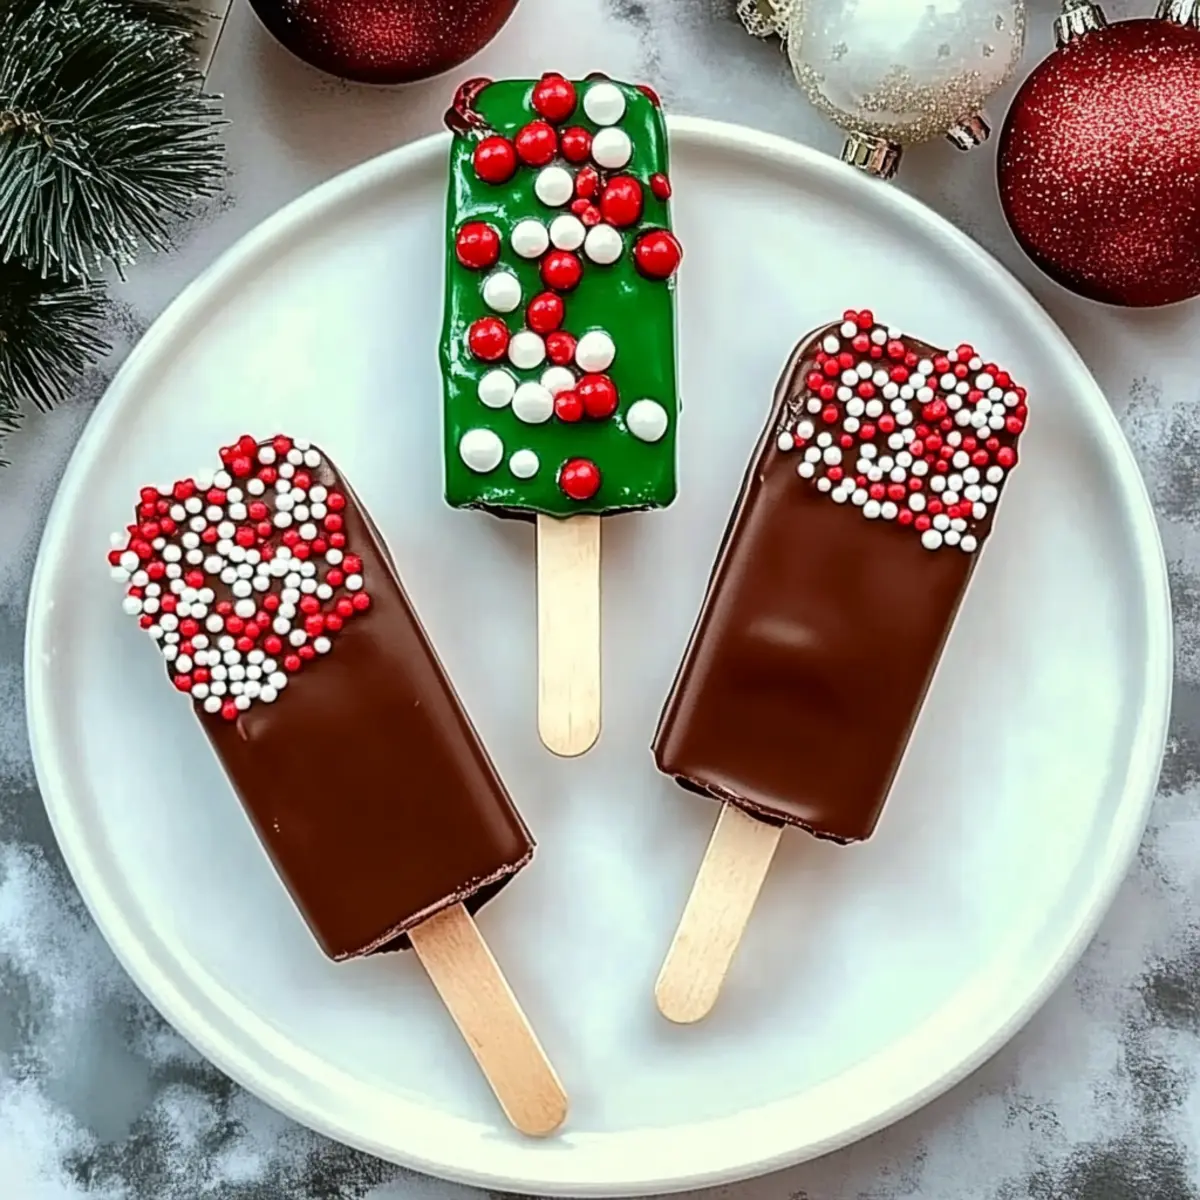
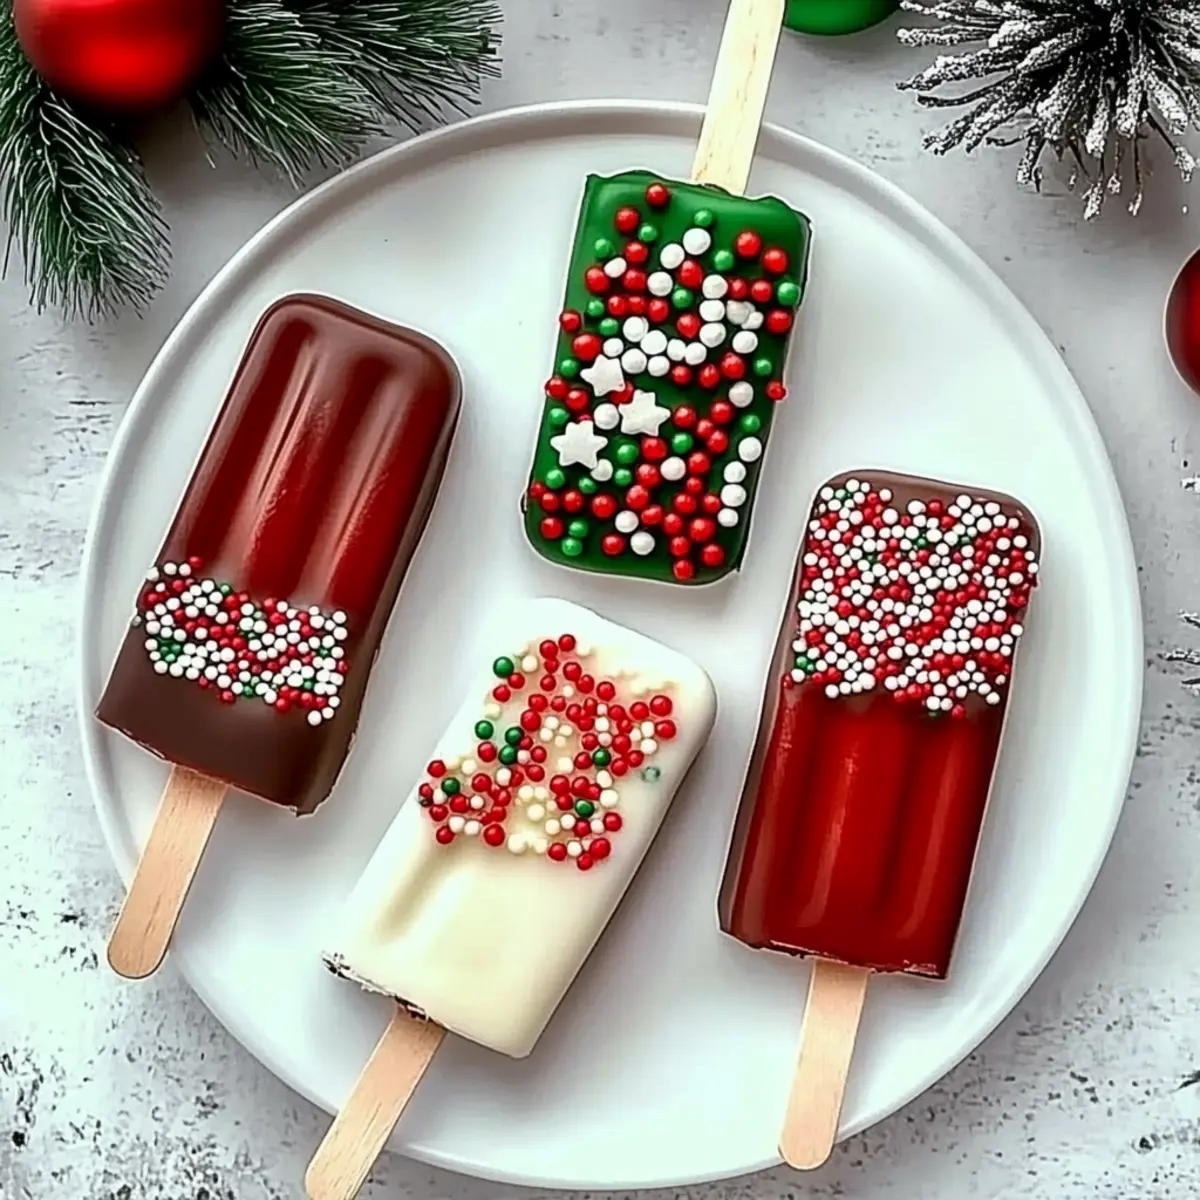
“Did you hear about the holiday baking tradition that brings everyone together?” That’s the excited whisper I overheard at last year’s Christmas party, and it was all about these delightful Christmas bars! With a rich chocolate flavor and a chewy marshmallow texture, they’re the perfect blend of comfort and joy to elevate your festive gatherings. What makes these bars truly special is how quick and easy they are to whip up—ready in just 45 minutes! Plus, they’re completely customizable, allowing you to add your favorite mix-ins, whether you’re looking for a gluten-free option or a nut-free version. Get ready to spread some cheer in your kitchen, because these Christmas bars will have everyone coming back for seconds. Are you ready to bring a sweet twist to your holiday celebrations?
Why are Christmas Bars a Must-Make?
Ultimate Customization: These Christmas bars can adapt to anyone’s taste—think mint chocolate twist or a fruit and nut medley.
Quick and Easy: Whip up a festive treat in just 45 minutes, perfect for busy holiday schedules.
Family Friendly: Kids and adults alike will adore the rich chocolate and gooey marshmallow combination.
Versatile Variations: With nut-free, gluten-free, and vegan options, there’s a version for everyone at your festive gathering.
Crowd-Pleasing Delight: These bars are a surefire hit at any holiday party, making them an essential addition to your baking repertoire!
Get inspired and discover even more variations on your favorite festive treats!
Christmas Bars Ingredients
For the Base
• Graham Cracker Crumbs – Provides a sweet, crunchy base; feel free to substitute whole graham crackers if desired.
• Unsweetened Cocoa Powder – Adds a rich chocolate flavor; opt for high-quality cocoa for the best taste.
• Powdered Sugar – Sweetens the bars and ensures a smooth texture; essential for that melt-in-your-mouth experience.
• Unsalted Butter (melted) – Binds the ingredients together and adds richness; swap with melted coconut oil for a dairy-free option.
For the Chewy Delight
• Sweetened Condensed Milk – Adds moisture and sweetness, creating the bars’ chewy texture.
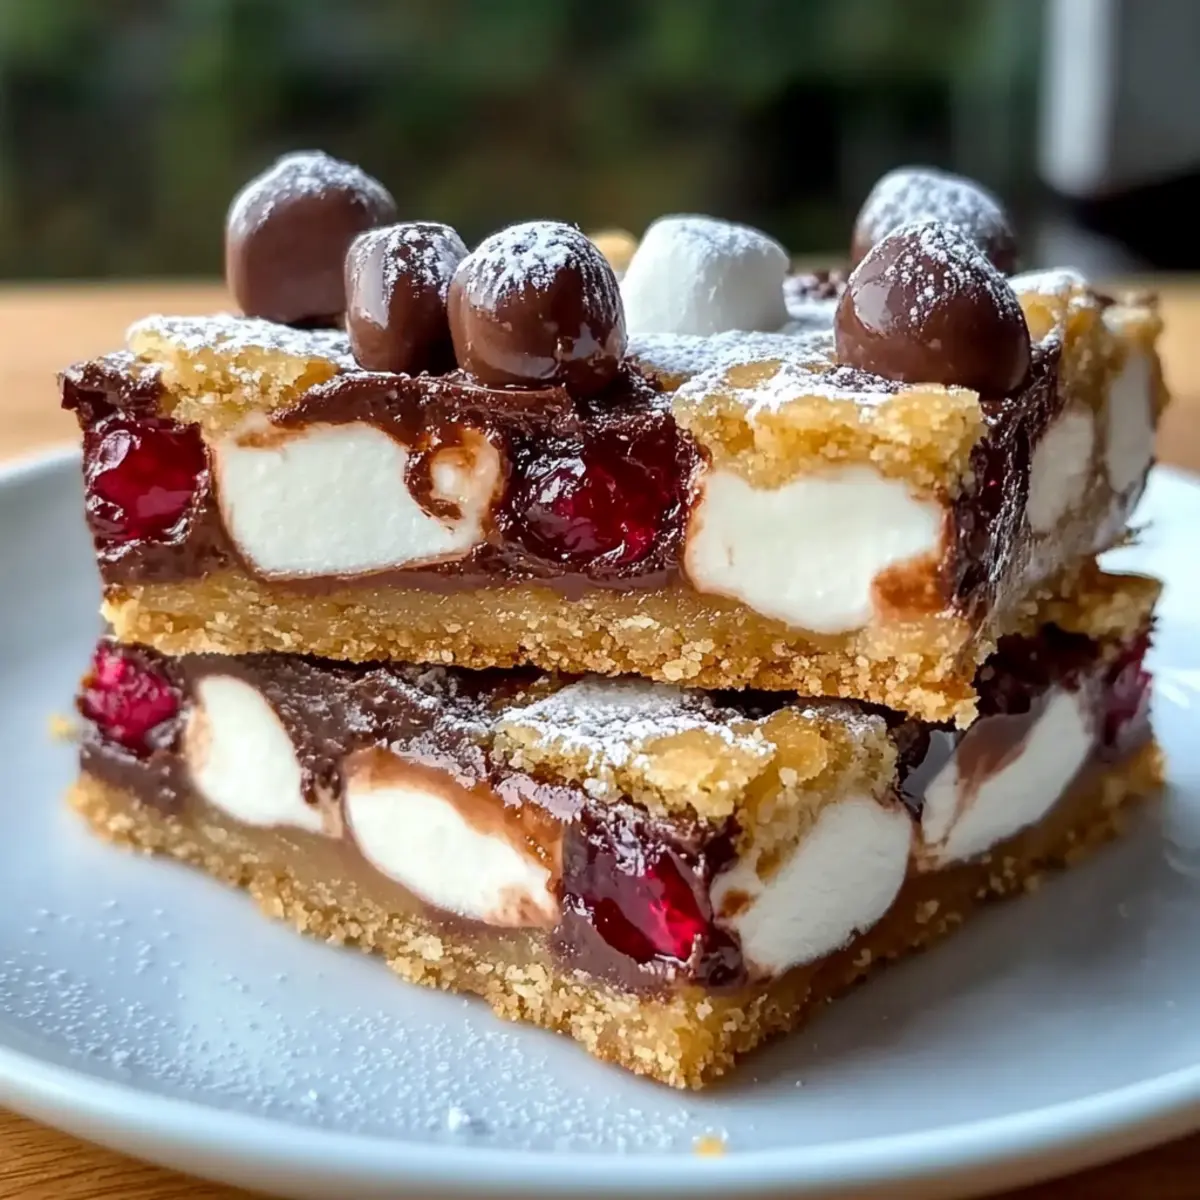
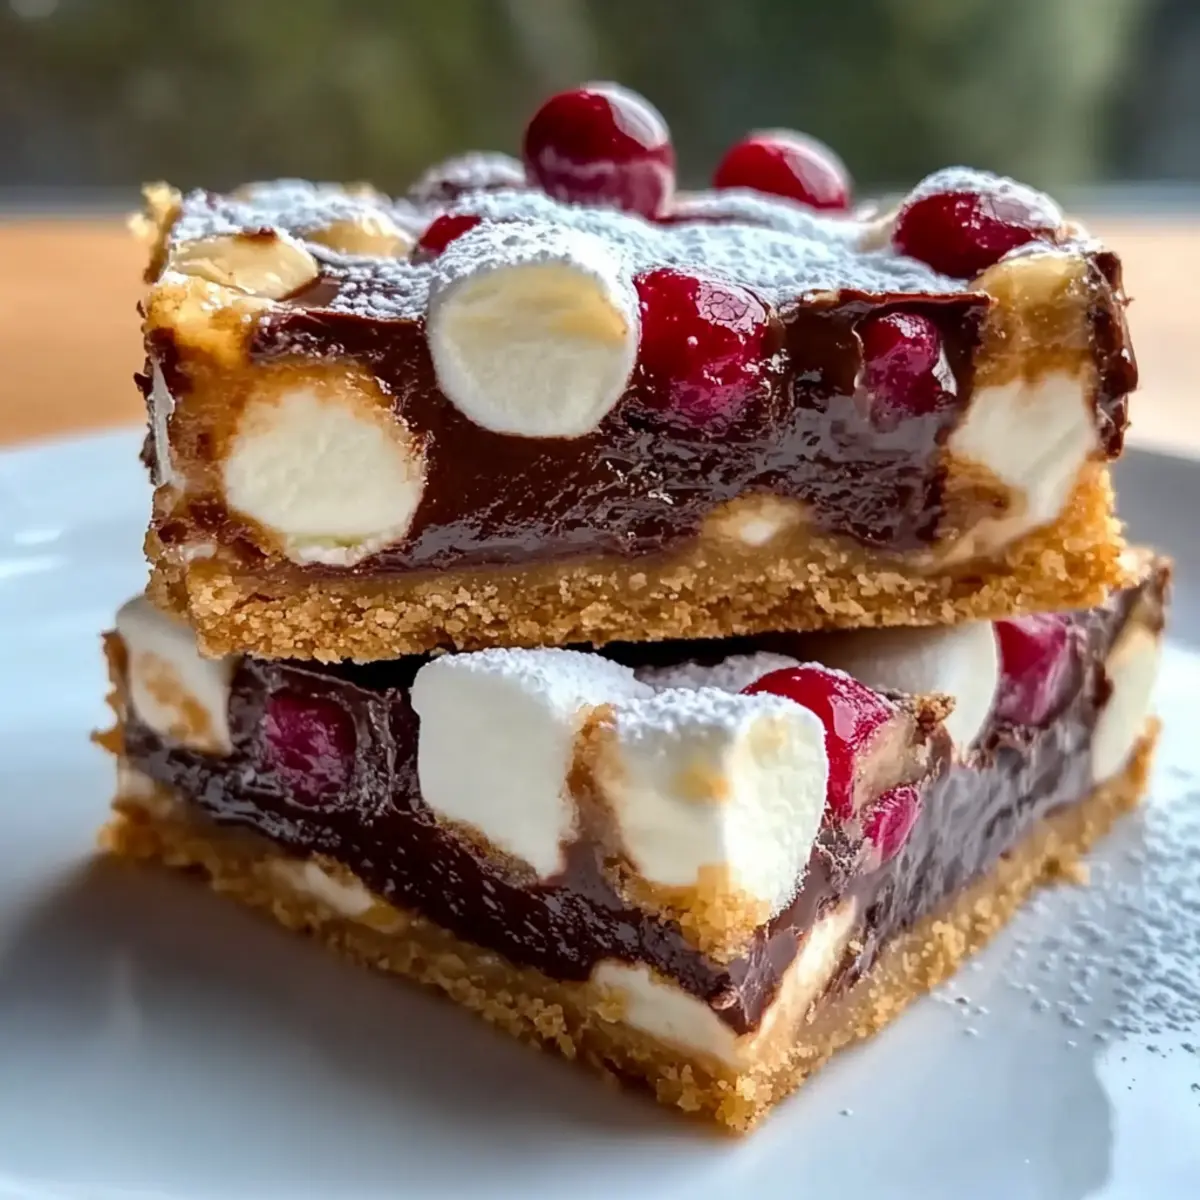
• Mini Marshmallows – Provide a fun, chewy element; you can use regular marshmallows but mini ones distribute better.
• Chocolate Chips – Deliver extra chocolatey goodness; choose dark, milk, or white chocolate according to your preference.
Optional Add-Ins
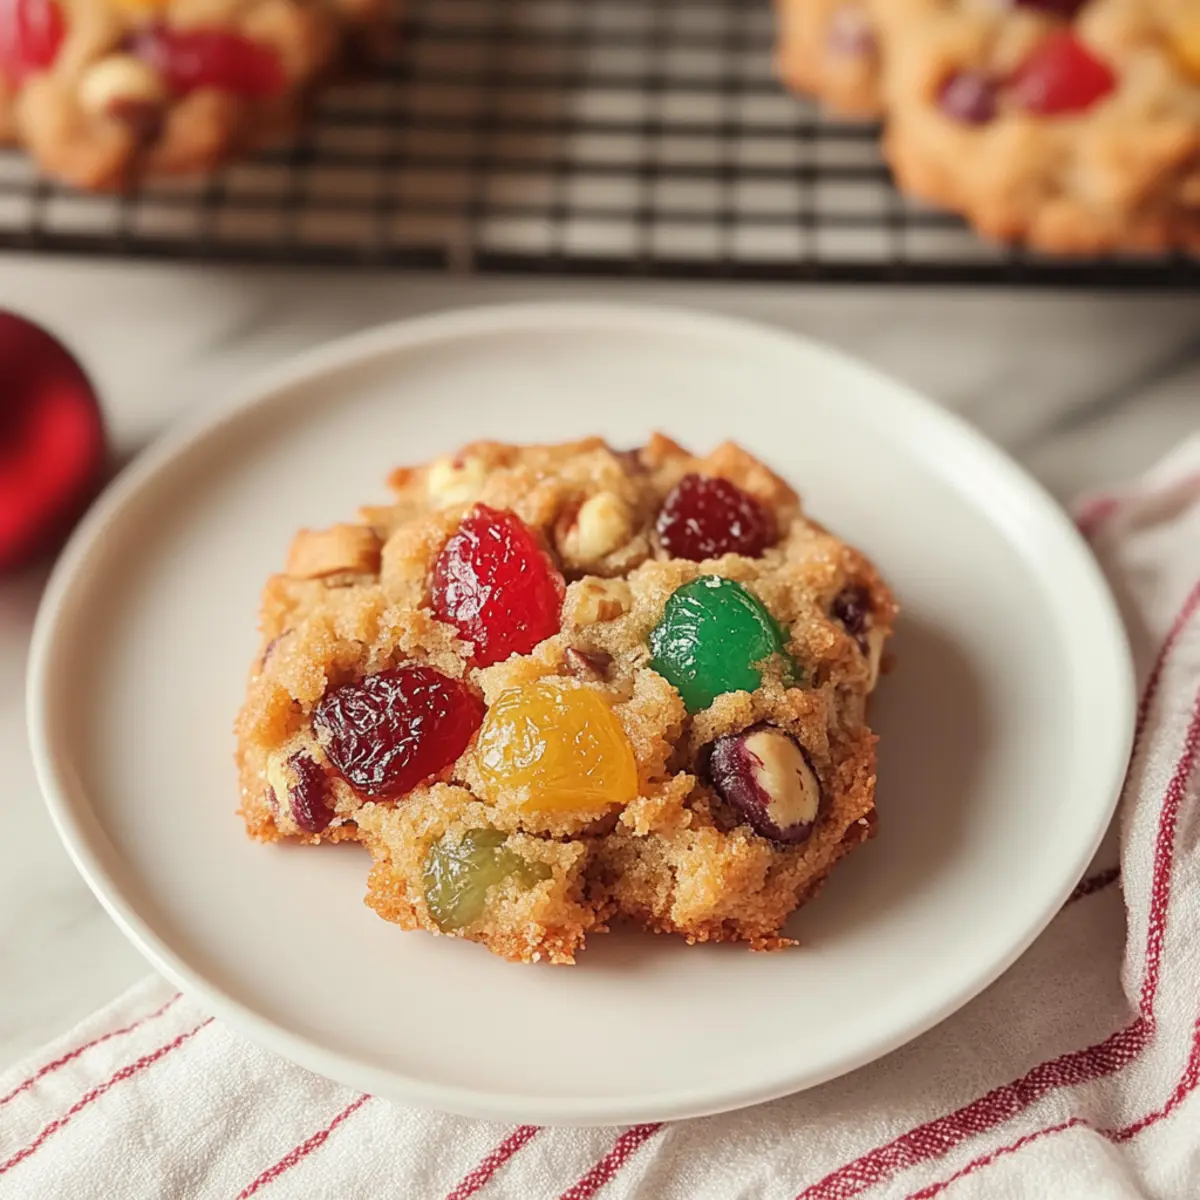
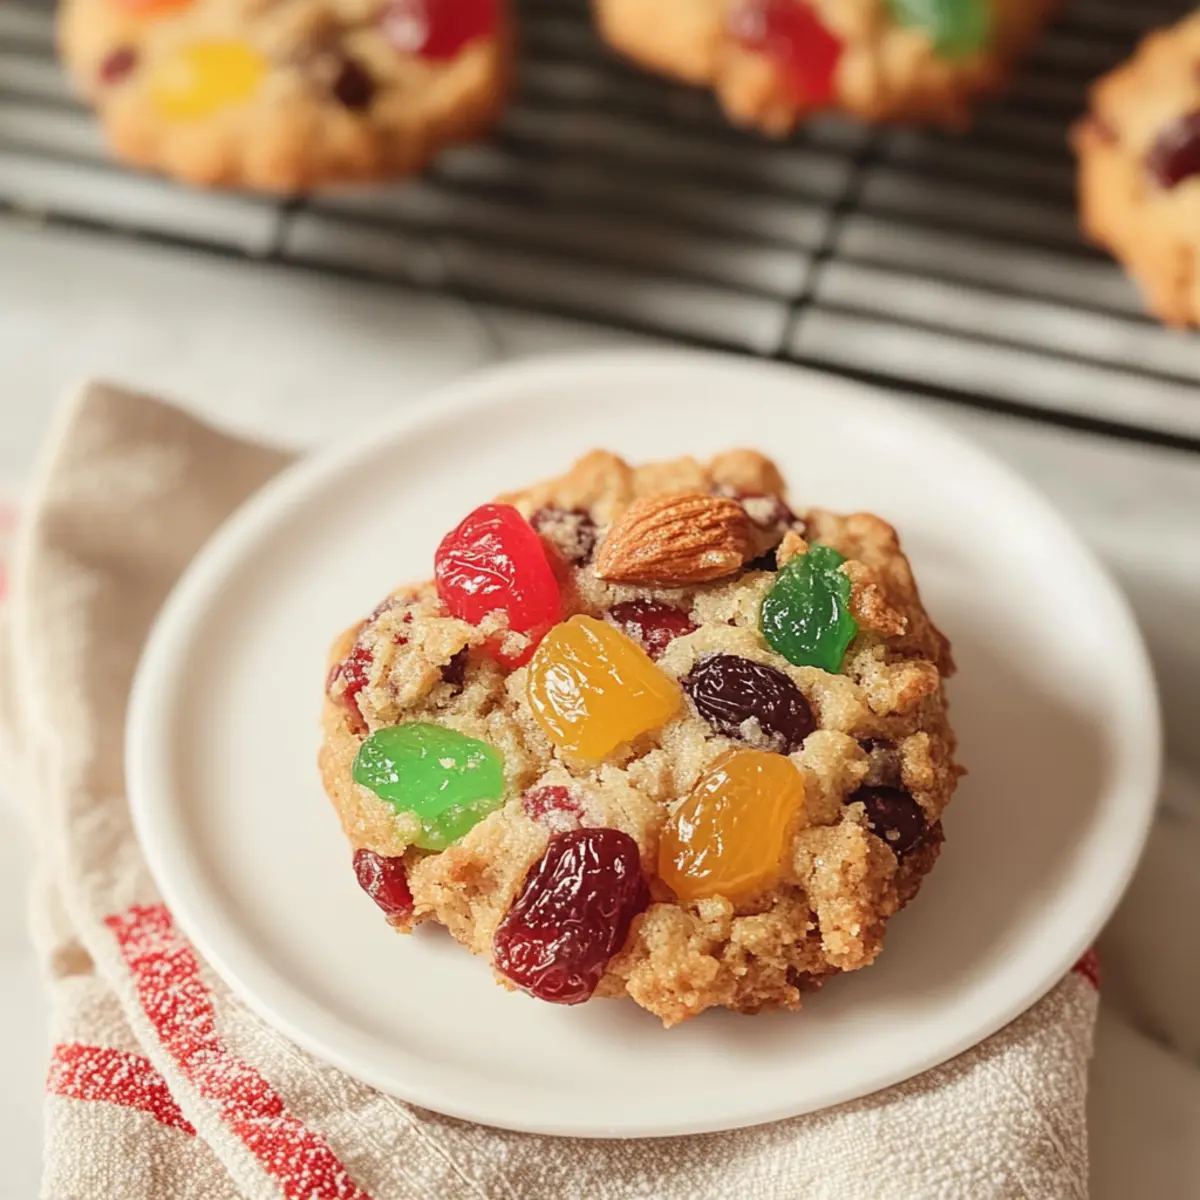
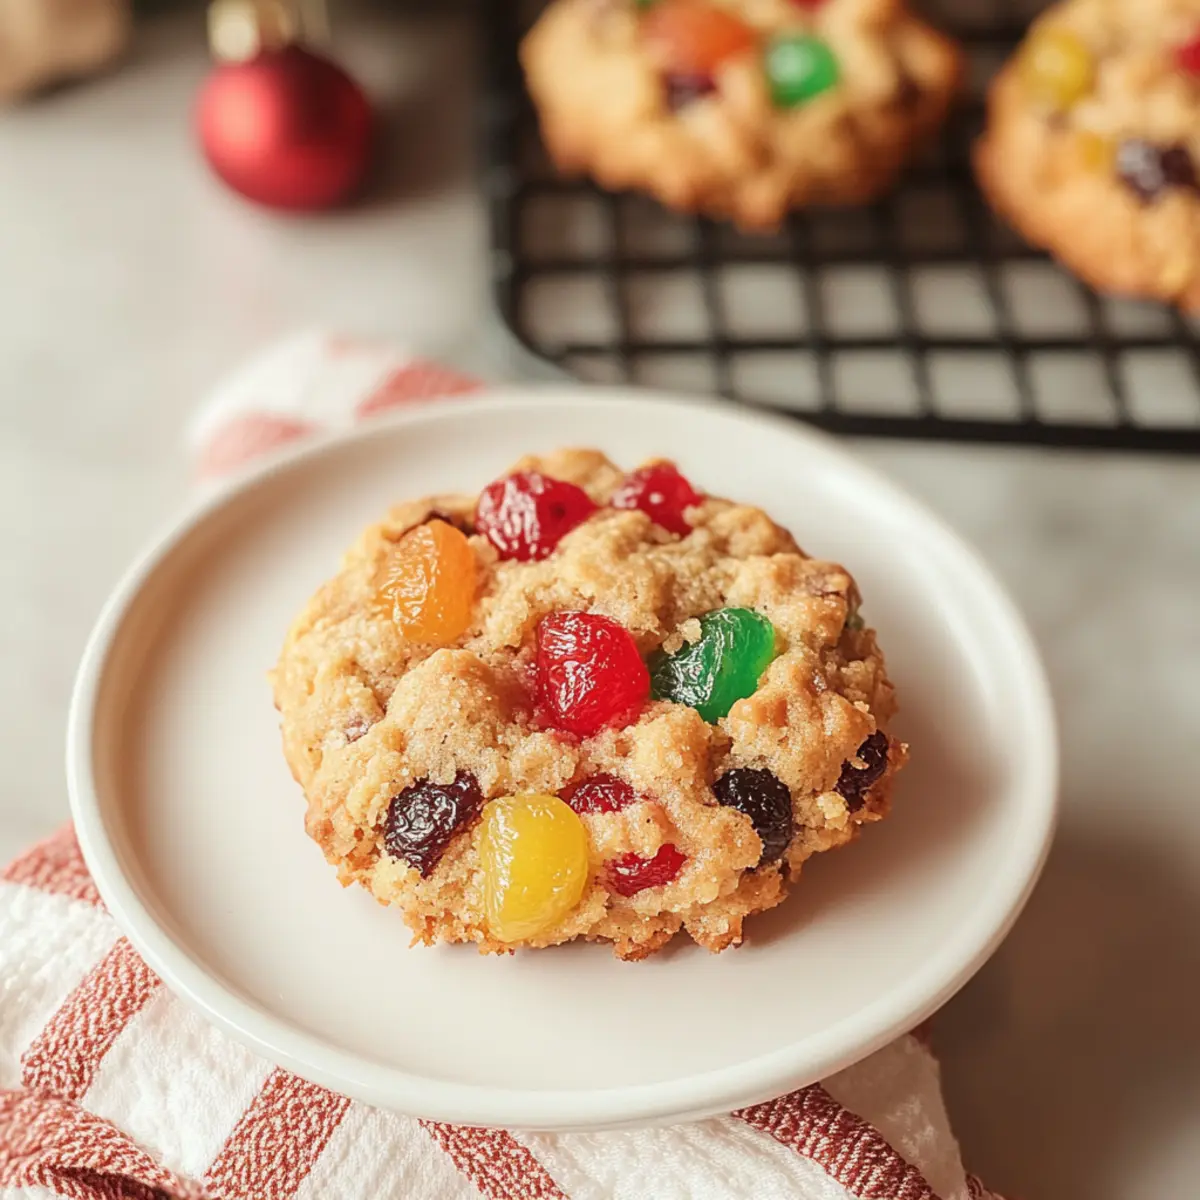
• Chopped Nuts (optional) – Enhance crunchiness; walnuts or pecans work wonderfully. Omit if there are nut allergies.
Your journey to creating these delightful Christmas bars can easily be customized with just the right ingredients!
Step‑by‑Step Instructions for Christmas Bars
Step 1: Preheat the Oven
Begin by preheating your oven to 350°F (175°C). This step is essential to ensure even baking for your Christmas bars. While the oven heats, gather your equipment, including a mixing bowl, whisk, and a greased 9×13 inch baking pan, which will be ready once your mixture is prepared.
Step 2: Mix the Dry Ingredients
In a large mixing bowl, combine graham cracker crumbs, unsweetened cocoa powder, and powdered sugar. Use a whisk or fork to blend these dry ingredients thoroughly, ensuring there are no clumps. This mixture forms the sweet and rich base for your Christmas bars, setting the foundation for deliciousness.
Step 3: Add the Wet Ingredients
Next, pour in the melted unsalted butter and the sweetened condensed milk into the bowl. Stir the mixture until everything is fully combined; it will become quite thick and sticky. This step is crucial as these wet ingredients add moisture and richness to your Christmas bars, enhancing their decadent flavor.
Step 4: Fold in Mix-ins
Gently fold in the mini marshmallows, chocolate chips, and any optional chopped nuts. Be careful not to overmix—just enough to distribute the mix-ins throughout the batter. This action gives your Christmas bars that delightful chewy and chocolaty goodness, so each bite is a delightful surprise.
Step 5: Spread and Bake
Carefully pour the prepared mixture into your greased 9×13 inch baking pan. Use a spatula to smooth the top evenly. Bake in the preheated oven for 25-30 minutes, or until the edges are firm and the center has a slight bounce. This visual cue ensures your Christmas bars will maintain the perfect chewy texture.
Step 6: Cool and Cut
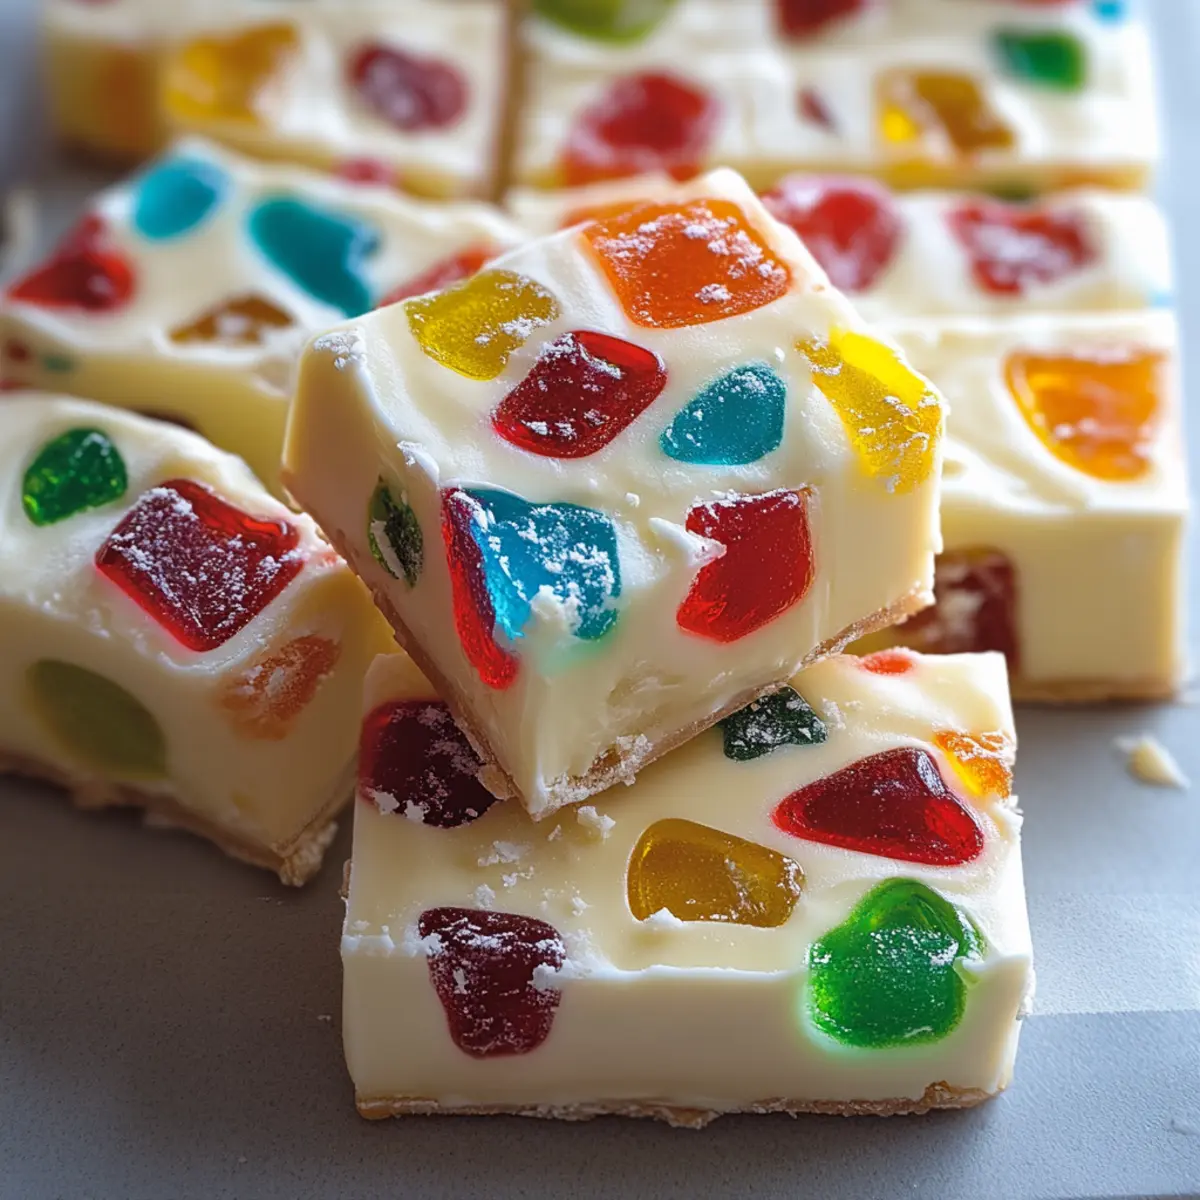
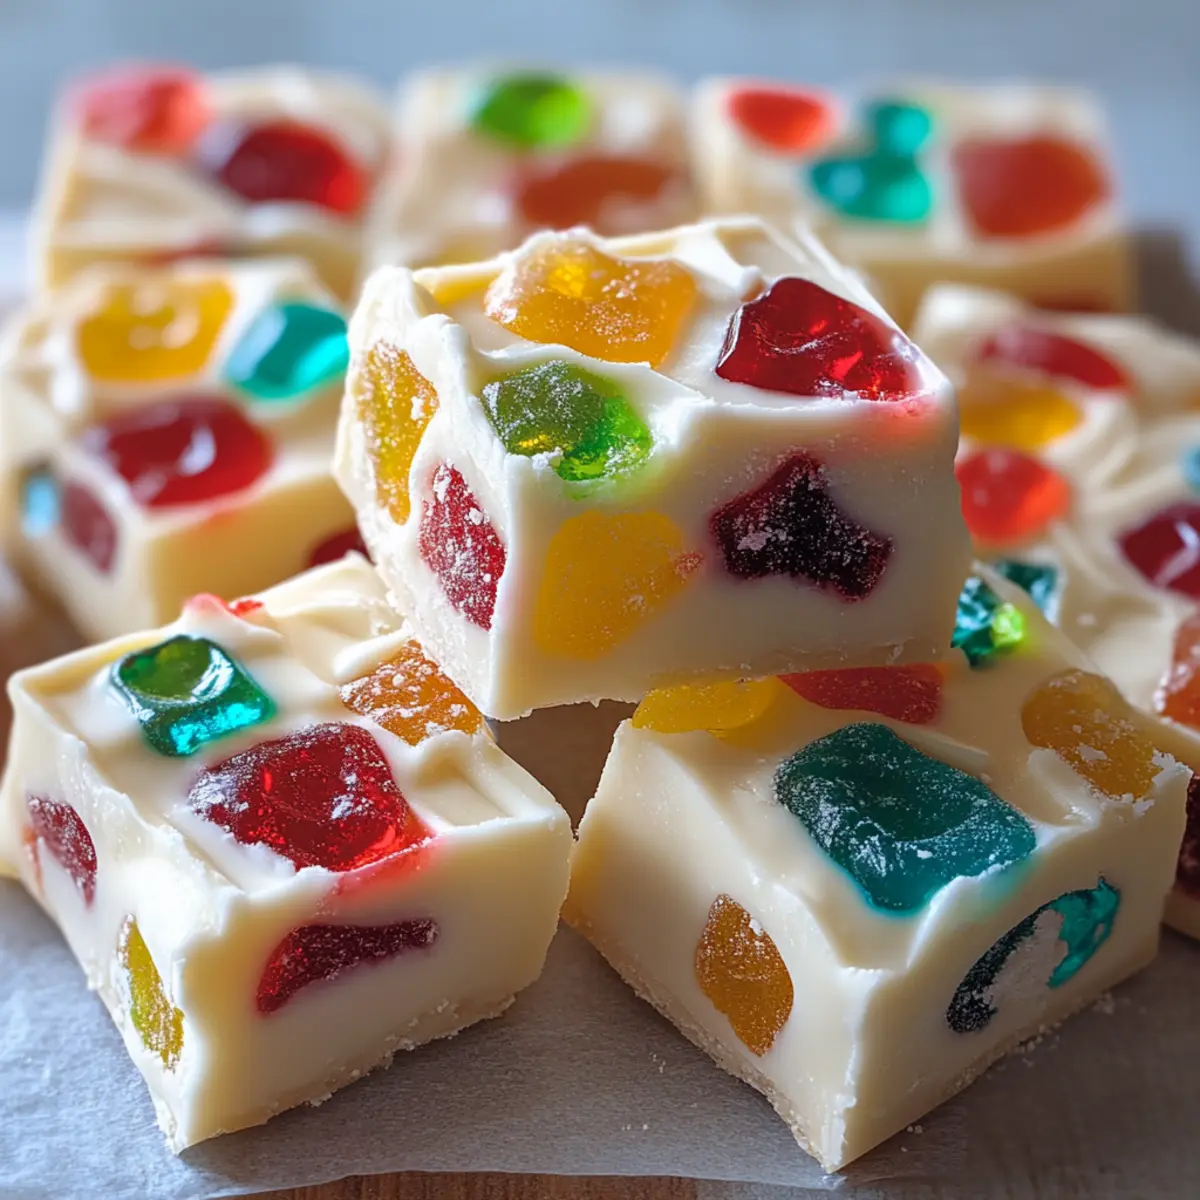
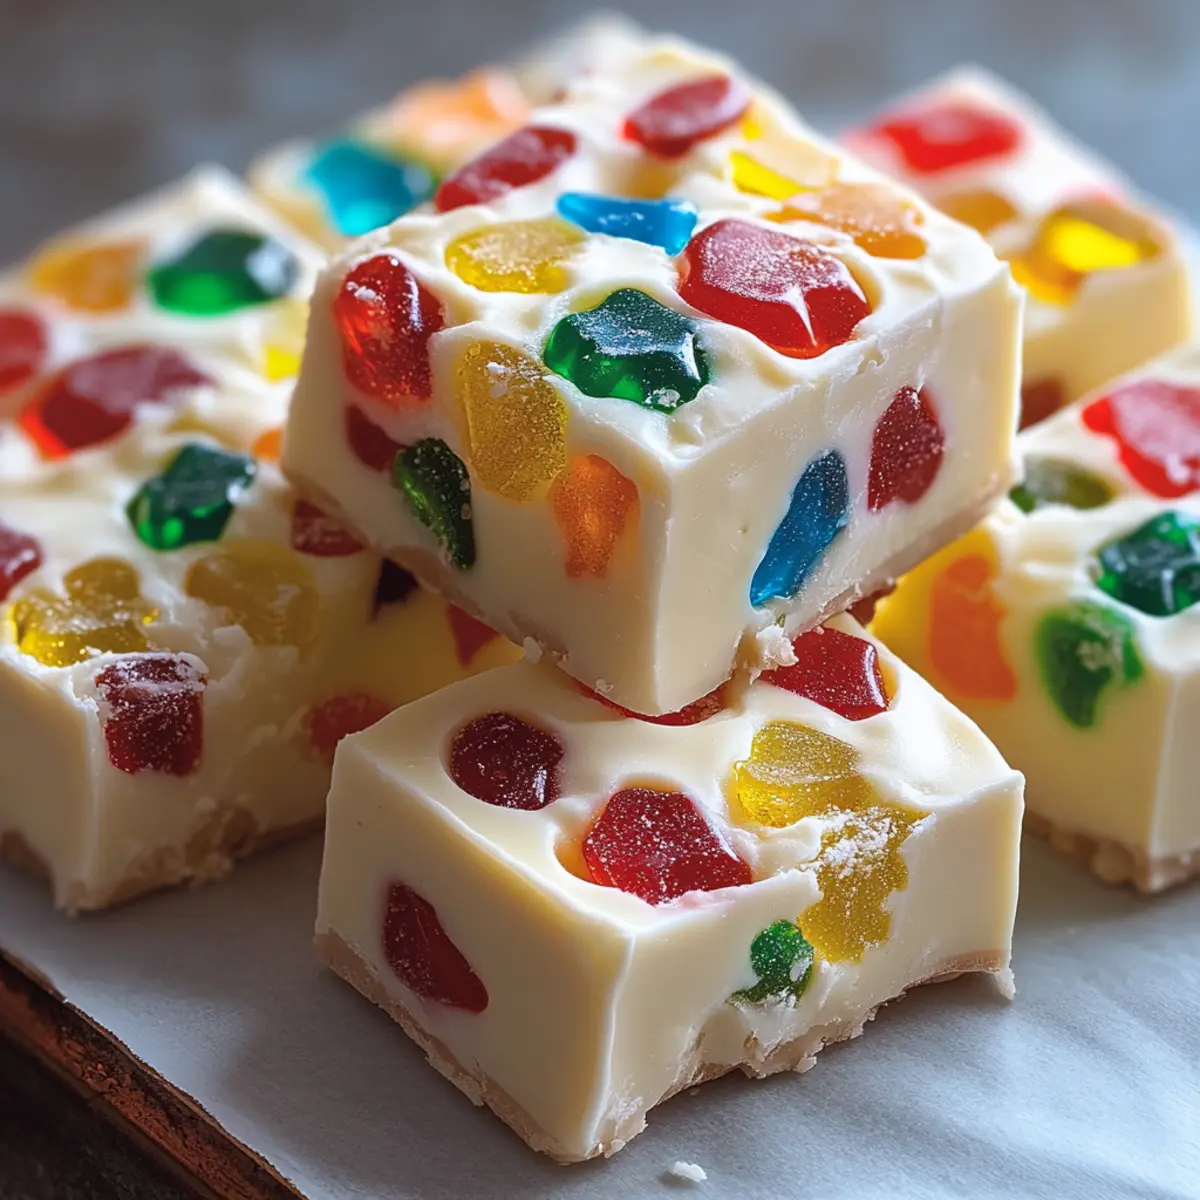
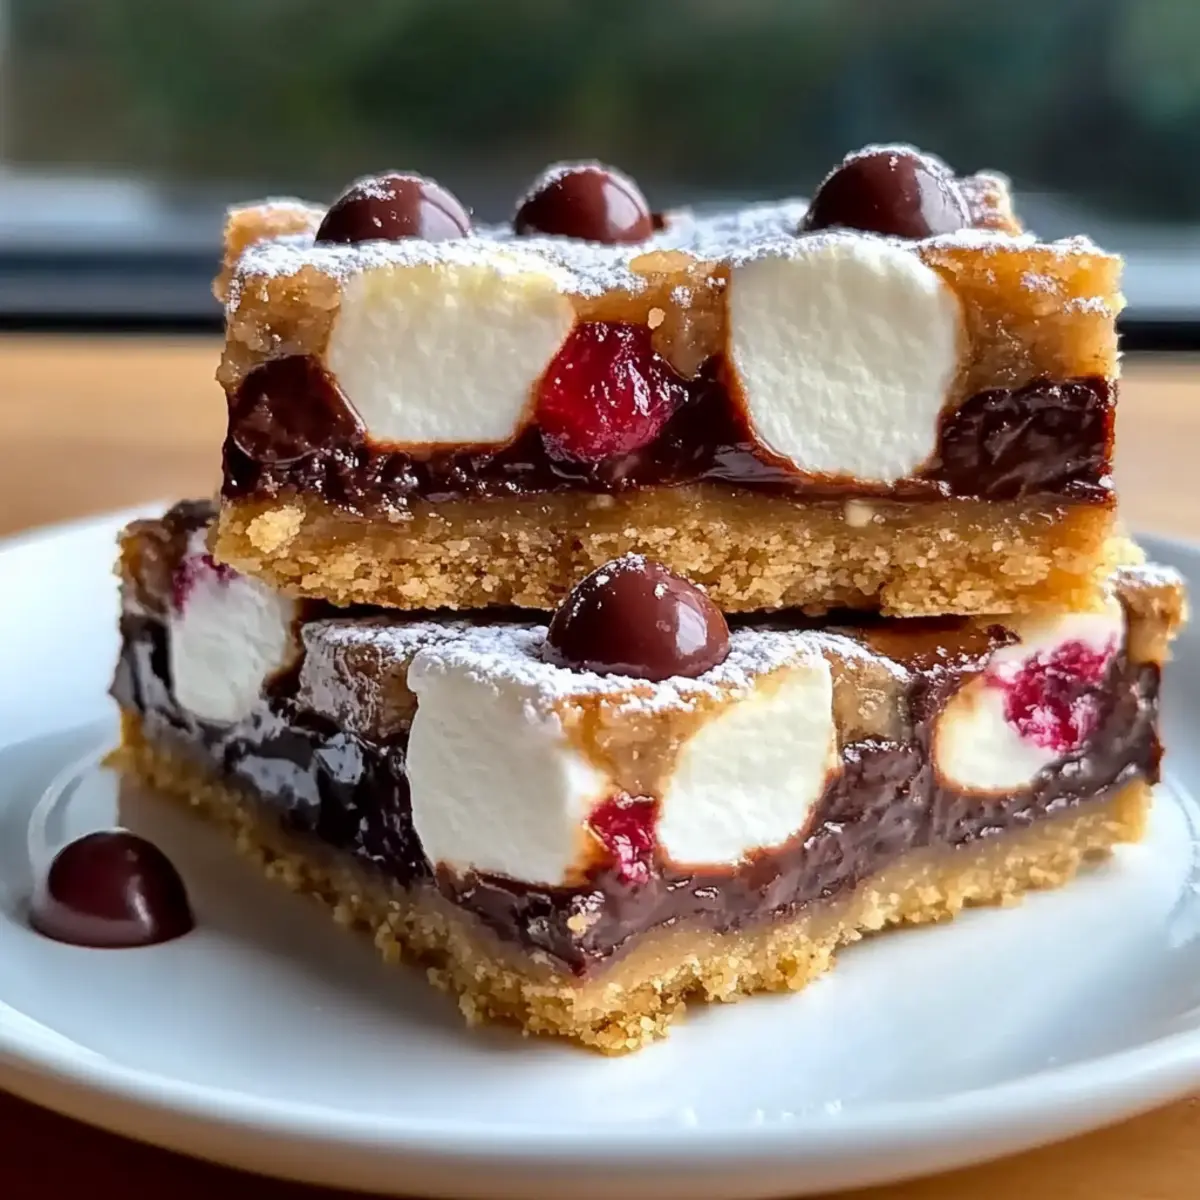
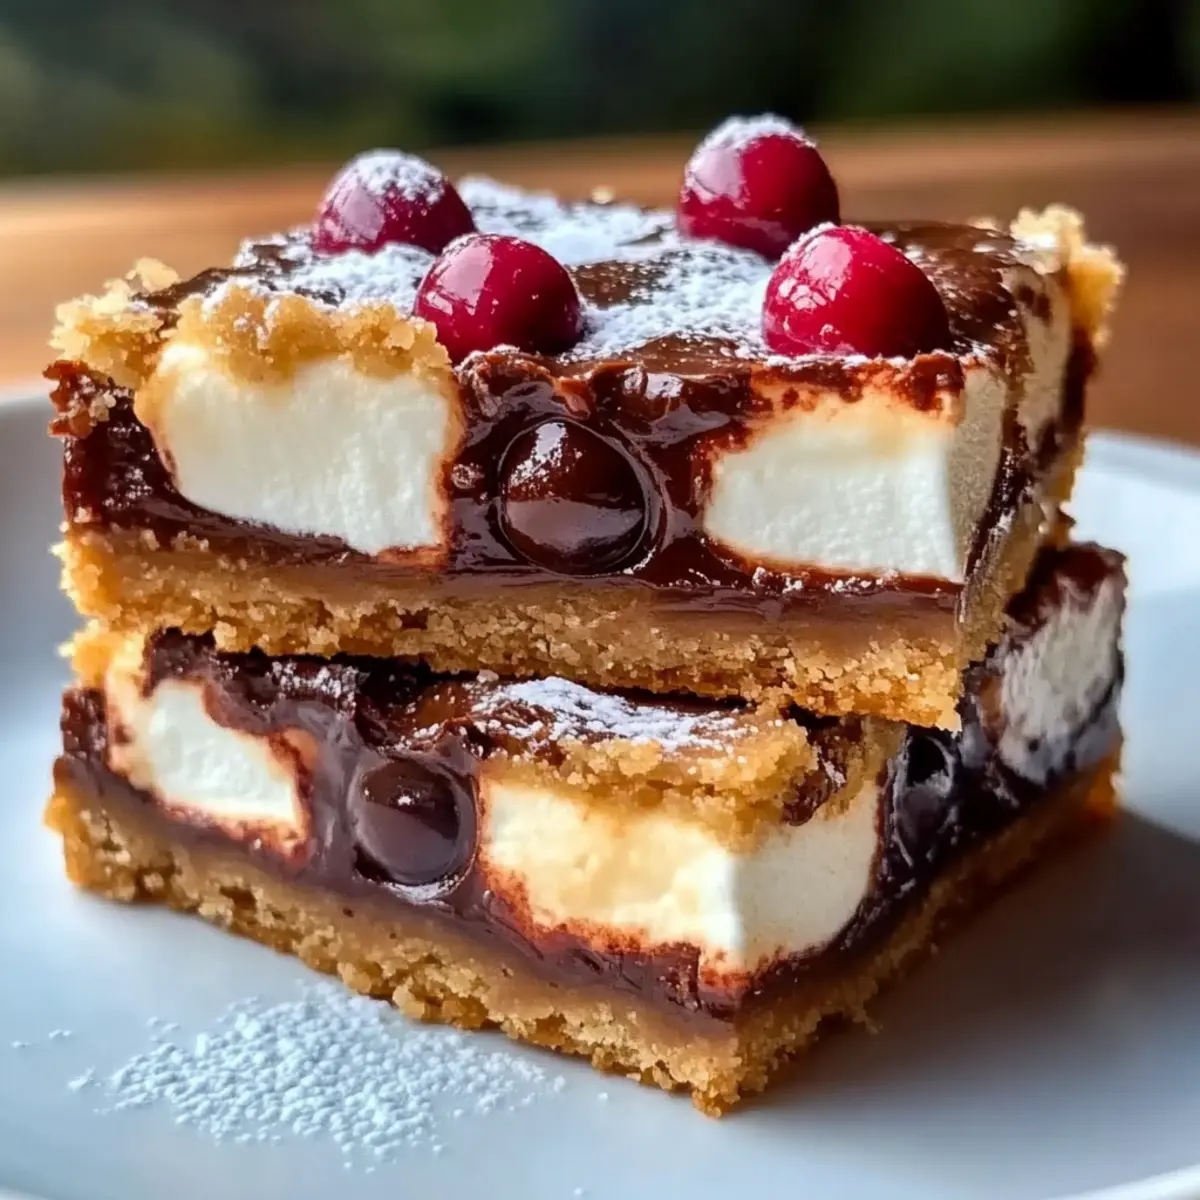
Once baked, remove the pan from the oven and let it cool completely at room temperature. This cooling period is vital; cutting the bars too soon can cause them to crumble. After they cool, slice into squares, revealing the delightful layers of chocolate and marshmallow that make your Christmas bars irresistible.
What to Serve with Christmas Bars
These delightful treats are the perfect centerpiece for your holiday dessert table, complemented by flavors and textures that enhance their festive charm.
-
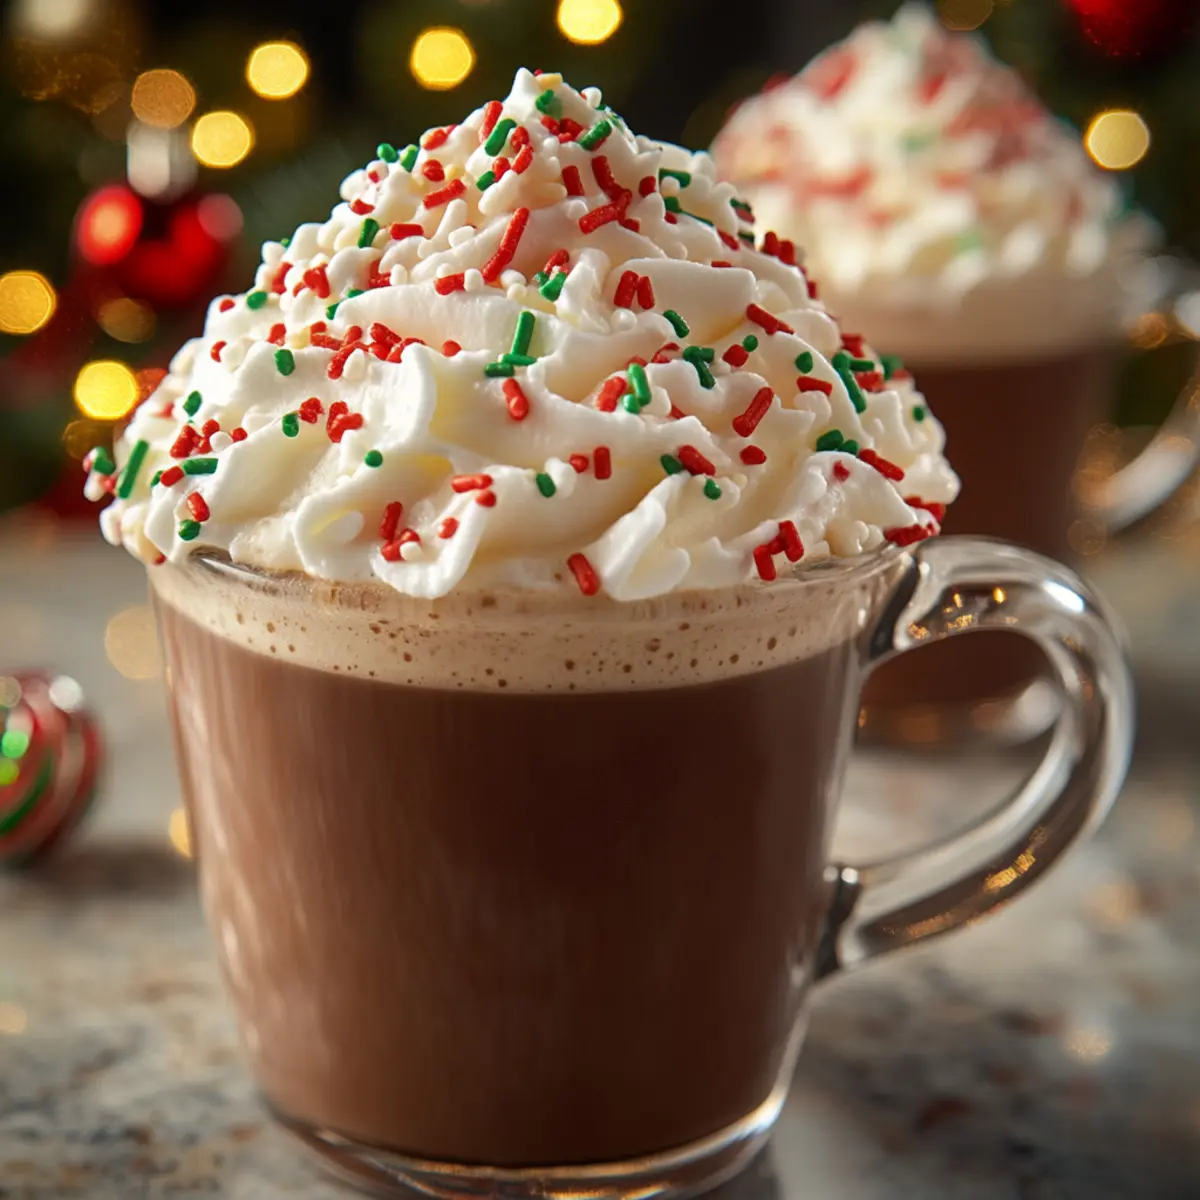
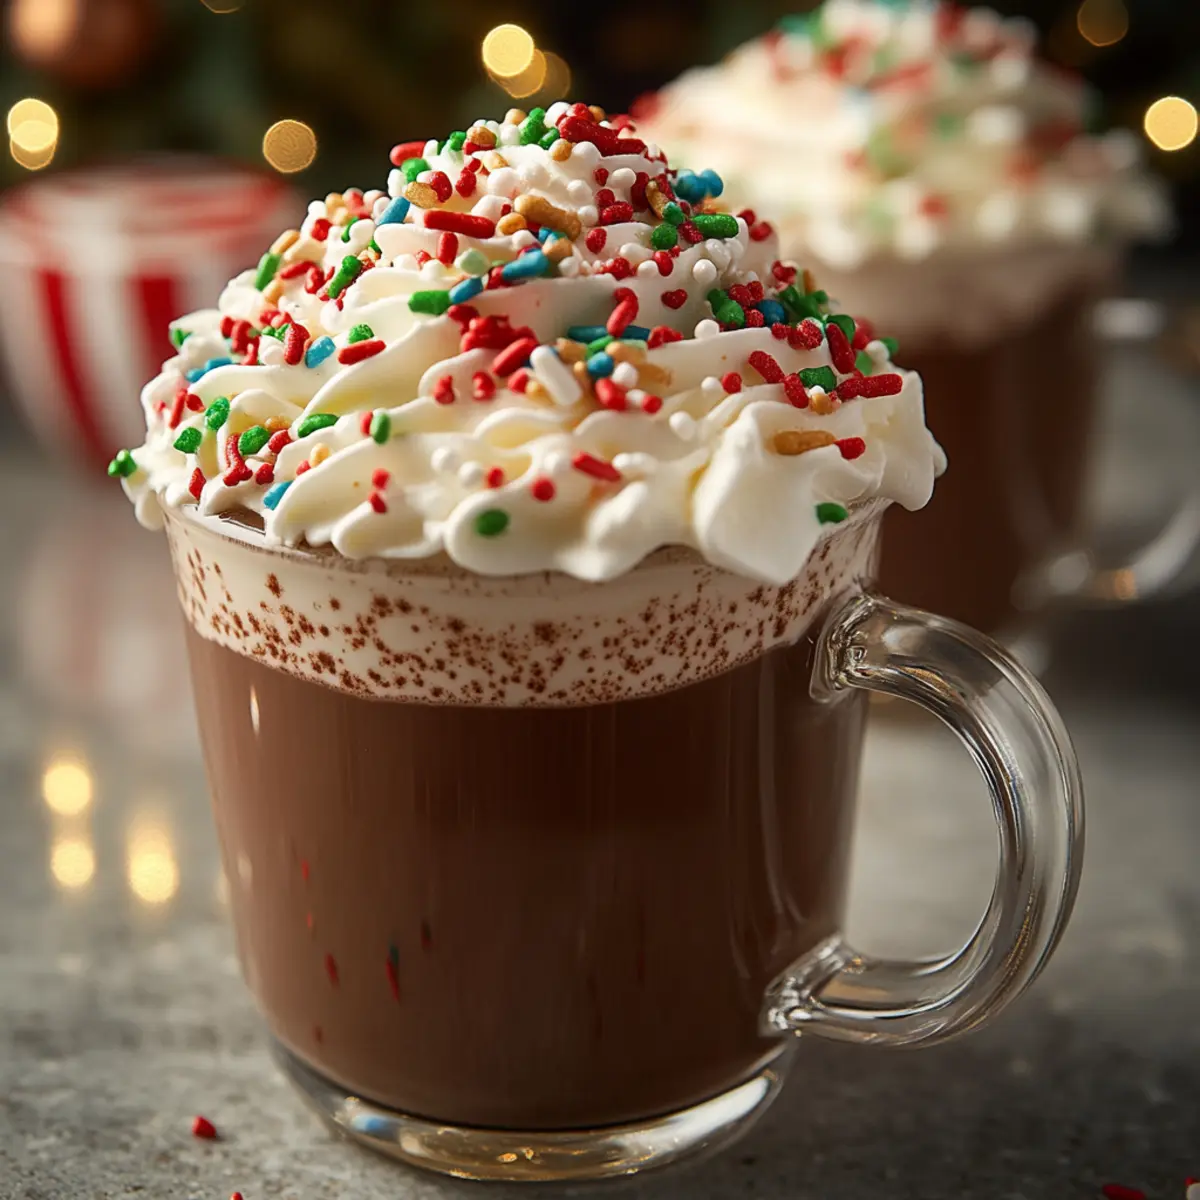
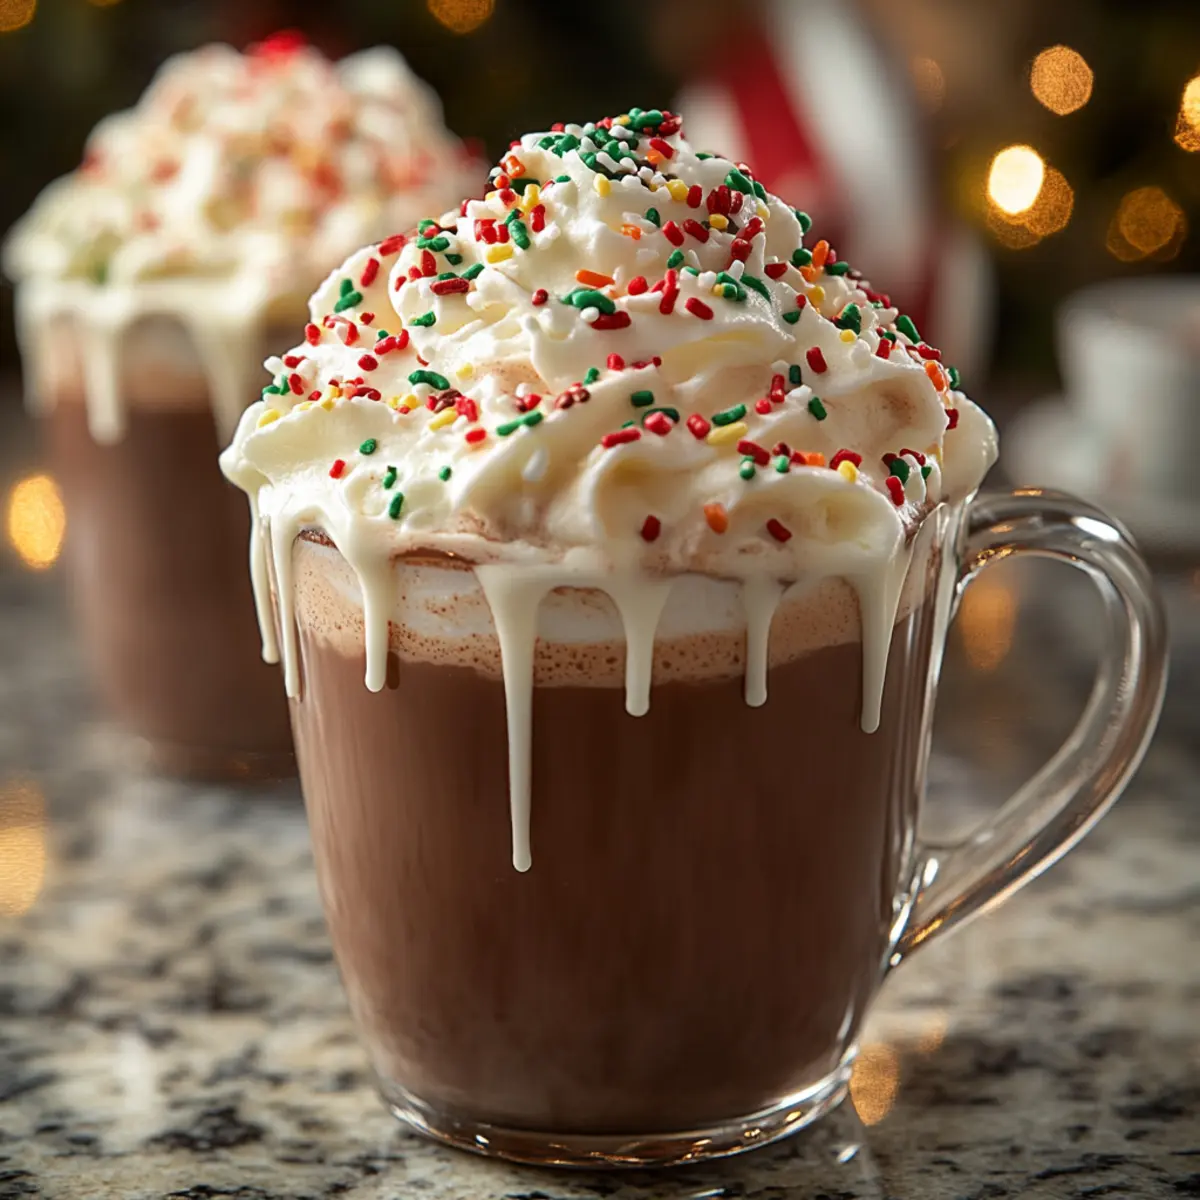
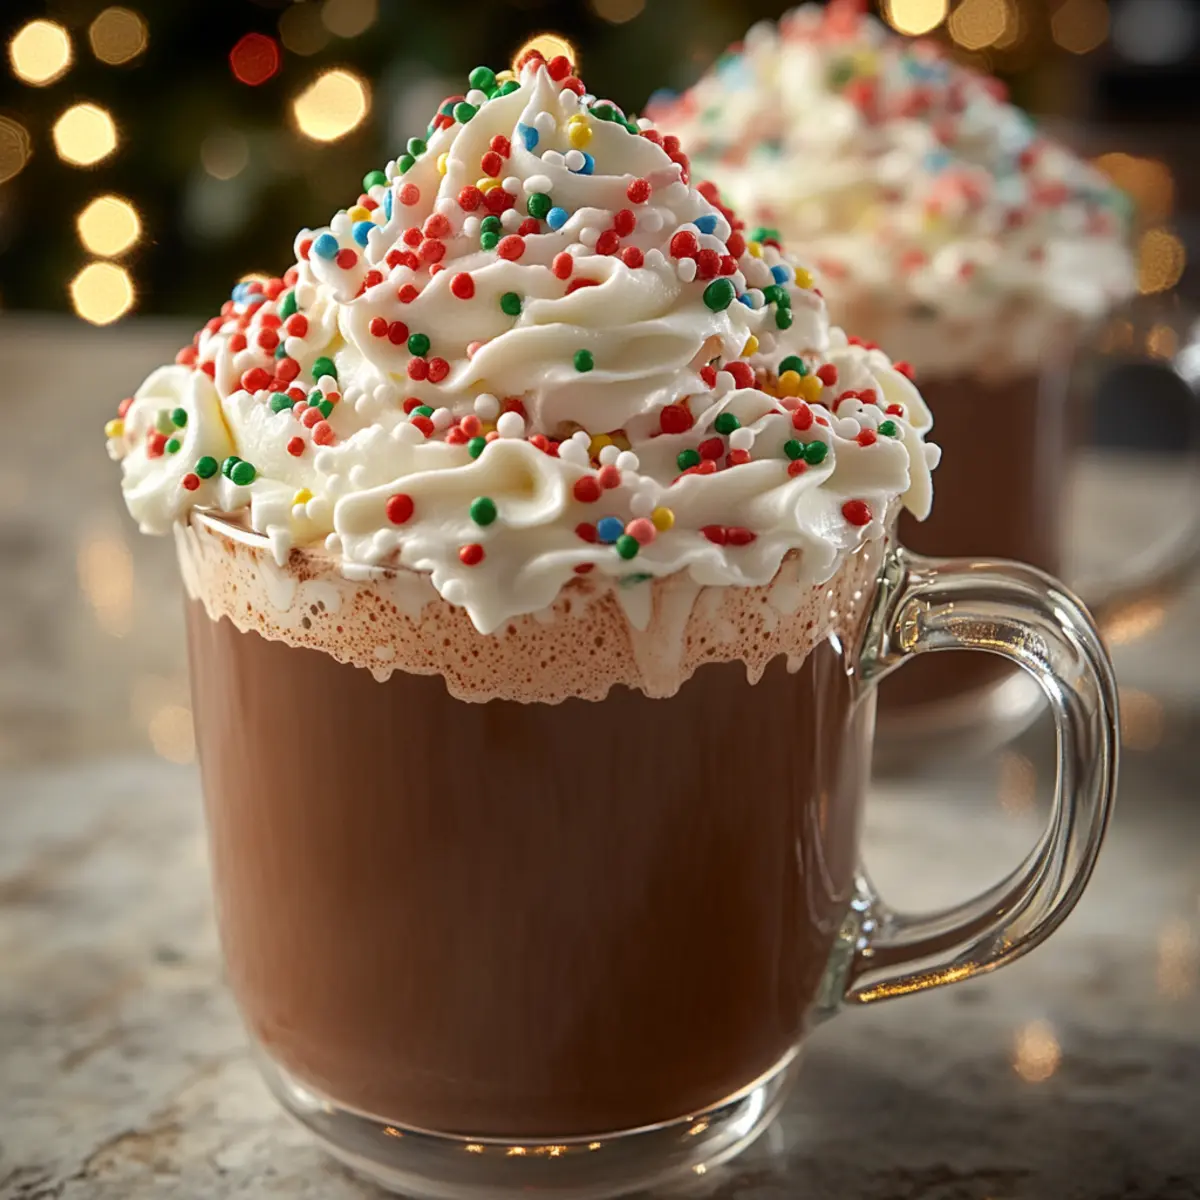
Hot Cocoa: This warm, chocolatey drink mirrors the rich flavor of the bars while offering a cozy sipping experience, perfect for winter gatherings.
-
Vanilla Ice Cream: The creaminess of vanilla ice cream provides a refreshing contrast to the chewy bars, creating a deliciously indulgent dessert duo.
-
Spiced Apple Cider: Serve warm spiced apple cider alongside your bars for a festive twist; the sweet and spicy notes pair beautifully with chocolate.
-
Powdered Sugar Dusting: A simple dusting of powdered sugar not only adds a touch of elegance but also complements the richness of the chocolate flavor in the bars.
-
Fresh Mint Leaves: Garnish your Christmas bars with fresh mint leaves for a vibrant pop of color and a refreshing, aromatic kick that surprises the palate.
-
Seasonal Berries: Plump, juicy berries add a bright, tart contrast to the sweetness of the bars, making each bite feel light and refreshing during holiday feasts.
-
Mint Hot Chocolate: Elevate the cocoa experience with a mint-infused hot chocolate, creating a delightful pairing that echoes the holiday spirit.
-
Gingerbread Cookies: For an extra festive treat, serve alongside spicy gingerbread cookies for a delightful contrast of flavors that embody the essence of Christmas.
Storage Tips for Christmas Bars
-
Room Temperature: Keep these Christmas bars in an airtight container at room temperature for up to 1 week. This ensures they remain soft and chewy, perfect for snacking!
-
Fridge: If you want to extend their freshness, store the bars in the fridge for up to 2 weeks. Just make sure to wrap them tightly to prevent them from drying out.
-
Freezer: For longer storage, freeze your Christmas bars in a single layer, separated by parchment paper, for up to 3 months. Thaw them in the fridge or at room temperature before serving.
-
Reheating: To enjoy their warmth again, pop them in the microwave for about 10-15 seconds. This revives their gooey texture and makes them extra delicious!
Expert Tips for Perfect Christmas Bars
-
Butter Matters: Ensure your unsalted butter is fully melted before mixing; this helps all ingredients combine smoothly for rich flavor.
-
Parchment Paper: Line your baking pan with parchment paper for easy removal. It’s a game-changer when cutting your Christmas bars into perfect squares!
-
Cool Completely: Patience is key! Allow the bars to cool completely before cutting. This prevents crumbling and ensures neat squares.
-
Avoid Overmixing: When folding in the mix-ins, stir gently to maintain the fluffy texture of the marshmallows in your Christmas bars.
-
Test for Doneness: Check that the edges are set and the center is slightly firm; this indicates perfect chewy bars that everyone will love!
Make Ahead Options
These Christmas bars are a fantastic choice for meal prep enthusiasts! You can prepare the entire mixture up to 24 hours in advance by mixing all the dry ingredients and wet ingredients separately, then store them in airtight containers in the refrigerator. Simply combine the two mixtures, fold in the mix-ins, and spread the batter in the pan when you’re ready to bake. For added convenience, you can also bake the bars in advance, then allow them to cool completely before cutting them into squares. Store them in an airtight container at room temperature for up to a week or freeze for up to three months. This way, you’ll have these delightful Christmas bars ready to go whenever you need a sweet treat, saving you precious time during the busy holiday season!
Christmas Bars Variations & Substitutions
Customize these Christmas bars to fit your palate and dietary needs while keeping the festive spirit alive!
-
Nut-Free Version: Omit the nuts and add an extra half cup of chocolate chips for additional texture and flavor. This keeps everyone included without sacrificing taste.
-
Gluten-Free Option: Swap the graham cracker crumbs with certified gluten-free alternatives or almond flour, ensuring everyone can enjoy these delicious treats!
-
Vegan Adaptation: Replace unsalted butter with melted coconut oil and use a vegan sweetened condensed milk alternative. This way, everyone can join in on the chocolatey goodness!
-
Mint Chocolate Twist: Stir in a teaspoon of peppermint extract to the mix for a refreshing burst of flavor that will make your bars feel extra festive. Garnishing with crushed candy canes on top adds a delightful crunch!
-
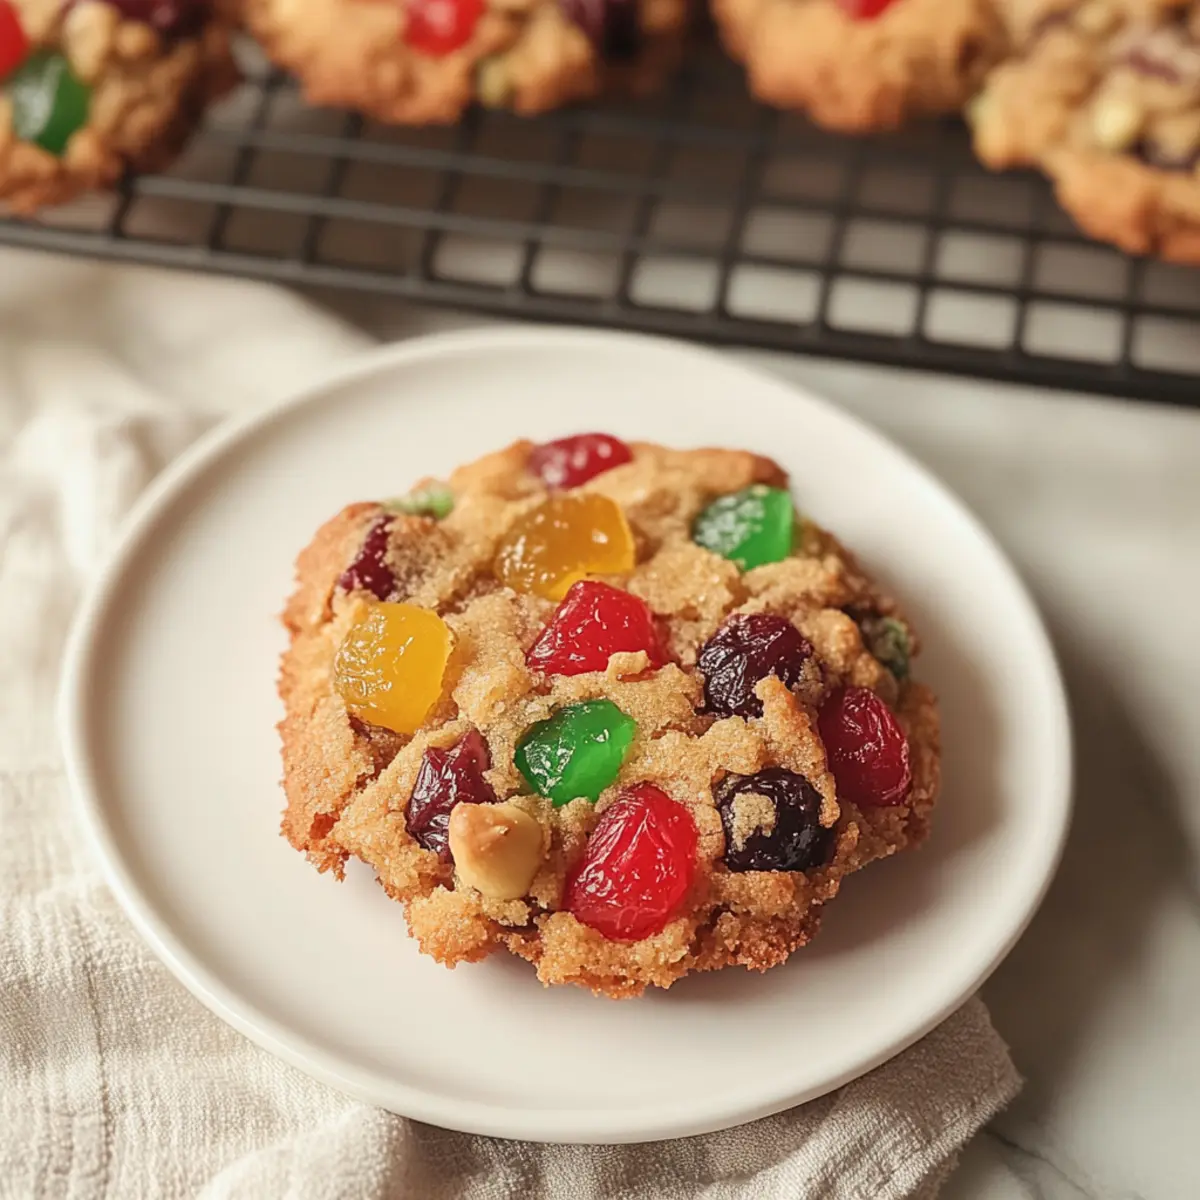
Fruit and Nut Medley: Mix in dried cranberries, cherries, or even raisins along with your favorite nuts for a sweet and crunchy surprise in every bite. This adds a chewy texture that perfectly balances the rich chocolate.
-
Spicy Cinnamon Kick: Add a teaspoon of cinnamon to the dry ingredients for a warm, holiday spice that will make your bars unforgettable. The added warmth just might become a family favorite!
-
Coconut Flakes: Fold in a cup of sweetened shredded coconut for a tropical twist that pairs beautifully with chocolate. The chewy texture complements the bars perfectly!
-
Double Chocolate Delight: Use chocolate graham cracker crumbs instead of regular ones and mix in dark chocolate chips for a decadent, chocolate lover’s dream of a bar!
Feel free to get creative! Time to spread some holiday cheer with your personalized Christmas bars and perhaps check out some other delightful holiday treats like gingerbread cookies. Enjoy!
Christmas Bars Recipe FAQs
How do I select the right graham crackers for my Christmas bars?
Absolutely! Choose graham crackers that are fresh and free of breakage. Look for those with a golden color and avoid any that have a dark or stale appearance. If you’re aiming for a gluten-free option, there are fantastic gluten-free graham cracker crumbs available that won’t compromise on flavor.
What’s the best way to store leftover Christmas bars?
Very! Store your Christmas bars in an airtight container at room temperature for up to 1 week. If you’d like to keep them fresher for longer, you can refrigerate them for up to 2 weeks, making sure they are tightly wrapped to avoid dryness.
Can I freeze my Christmas bars for future enjoyment?
Absolutely! To freeze your Christmas bars, cut them into squares and layer them in a freezer-safe container with parchment paper between each layer. They will keep well for up to 3 months. When you’re ready to enjoy, simply thaw in the fridge overnight or at room temperature for a few hours.
What if my bars crumble when I cut them?
Ah, that can happen! The key here is patience. Make sure to let your Christmas bars cool completely in the pan before attempting to cut them. If they still crumble, it might be indicative of underbaking—try reducing the oven temperature slightly or extending the baking time just a few minutes next time.
Can I adapt the recipe for dietary needs like nut allergies?
Very much! For a nut-free version, simply omit the nuts and consider adding extra chocolate chips for that crunchy texture. If you’re concerned about allergies with the marshmallows, look for brands that specify they are free from allergens or vegan options, which can give everyone at your gathering peace of mind.
How can I customize the Christmas bars for different flavor profiles?
Absolutely! You can infuse different flavors by adding extracts like peppermint for a mint chocolate twist or integrating dried fruits like cranberries for a fruit medley. Don’t hesitate to get creative—these bars can truly adapt to whatever festive mood strikes you!
Irresistible Christmas Bars: Sweet Treats for Holiday Cheer
Ingredients
Equipment
Method
- Preheat your oven to 350°F (175°C). Gather your equipment, including a mixing bowl, whisk, and a greased 9×13 inch baking pan.
- In a large mixing bowl, combine graham cracker crumbs, unsweetened cocoa powder, and powdered sugar. Mix thoroughly.
- Pour in the melted unsalted butter and sweetened condensed milk. Stir until fully combined.
- Gently fold in mini marshmallows, chocolate chips, and optional chopped nuts.
- Pour the mixture into the greased baking pan and smooth the top. Bake for 25-30 minutes.
- Remove from oven and let cool completely at room temperature before cutting into squares.