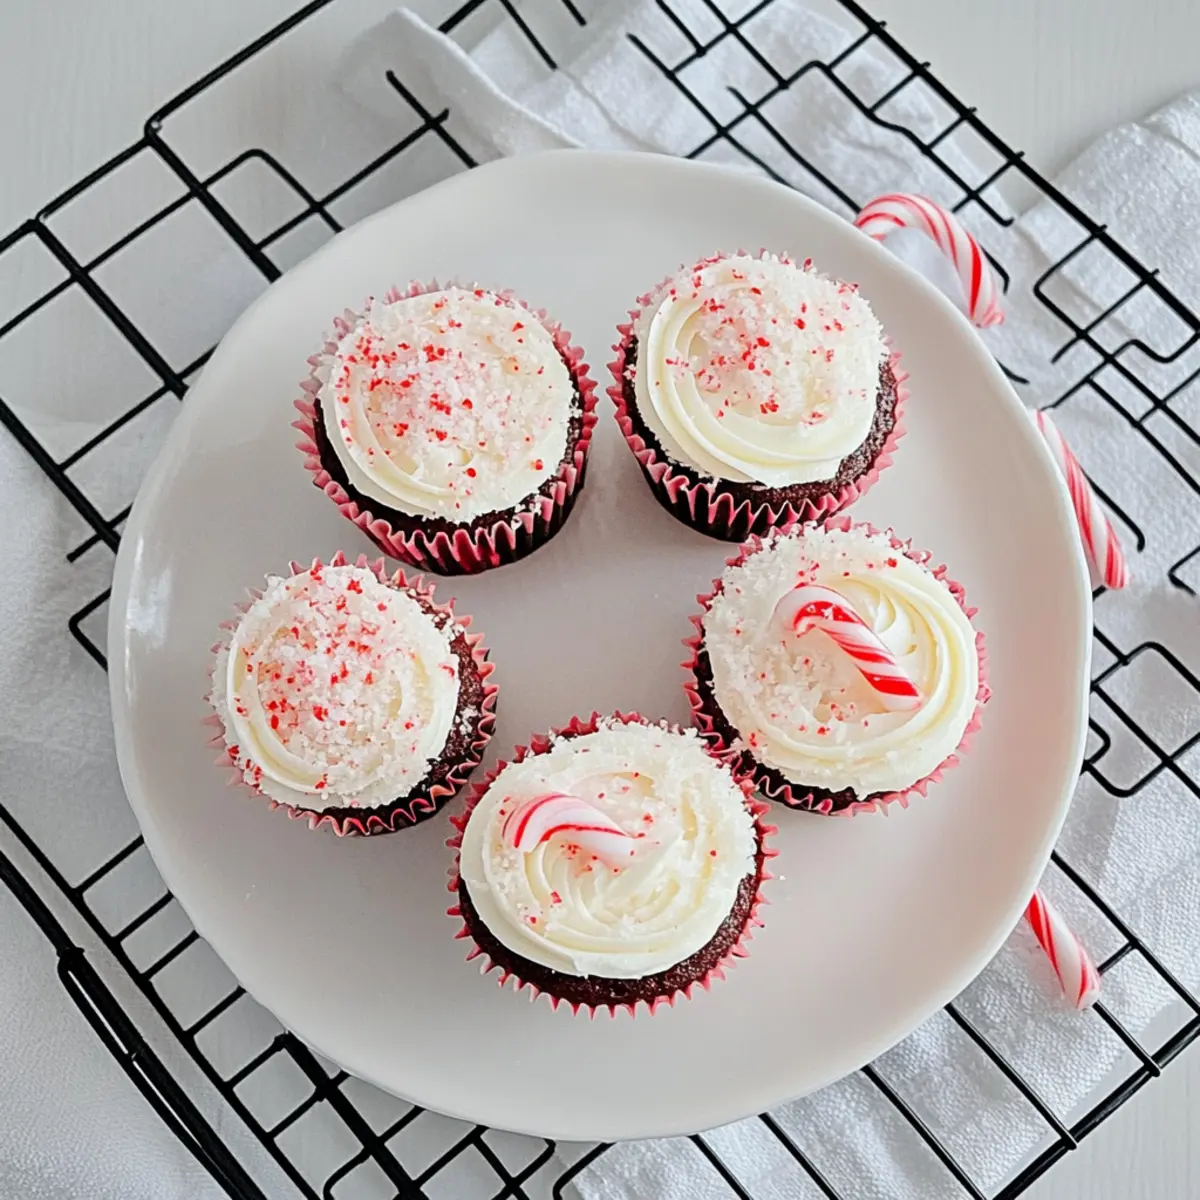
The aroma of peppermint wafts through the air, bringing back memories of cozy holiday gatherings and vibrant celebrations. These Gluten-Free Candy Cane Cupcakes are just the treat to elevate your festive spirit! With a delightful combination of fluffy cake and a sweet, minty frosting, they not only cater to gluten-sensitive guests but also satisfy everyone’s holiday cravings. Perfect for gatherings or a cheerful evening at home, these cupcakes are easy to whip up and even easier to enjoy. Picture them topped with a sprinkle of crushed candy canes—what’s not to love about that festive touch? Are you ready to spread some holiday cheer with this delicious recipe?
Why are these cupcakes so festive?
Fluffy, Light Texture: These Candy Cane Cupcakes deliver a delightful fluffiness that melts in your mouth, making every bite a holiday celebration.
Bold Peppermint Flavor: The peppermint, enhanced by crushed candy canes, takes your taste buds on a nostalgic journey, perfectly capturing the essence of the holiday season.
Gluten-Free Delight: Tailored for gluten-sensitive guests, these cupcakes ensure everyone can indulge without worry, making them a crowd-pleaser at any gathering.
Easy to Make: With simple steps, you’ll have a tray of beautiful cupcakes ready to impress—even if you’re a beginner in the kitchen!
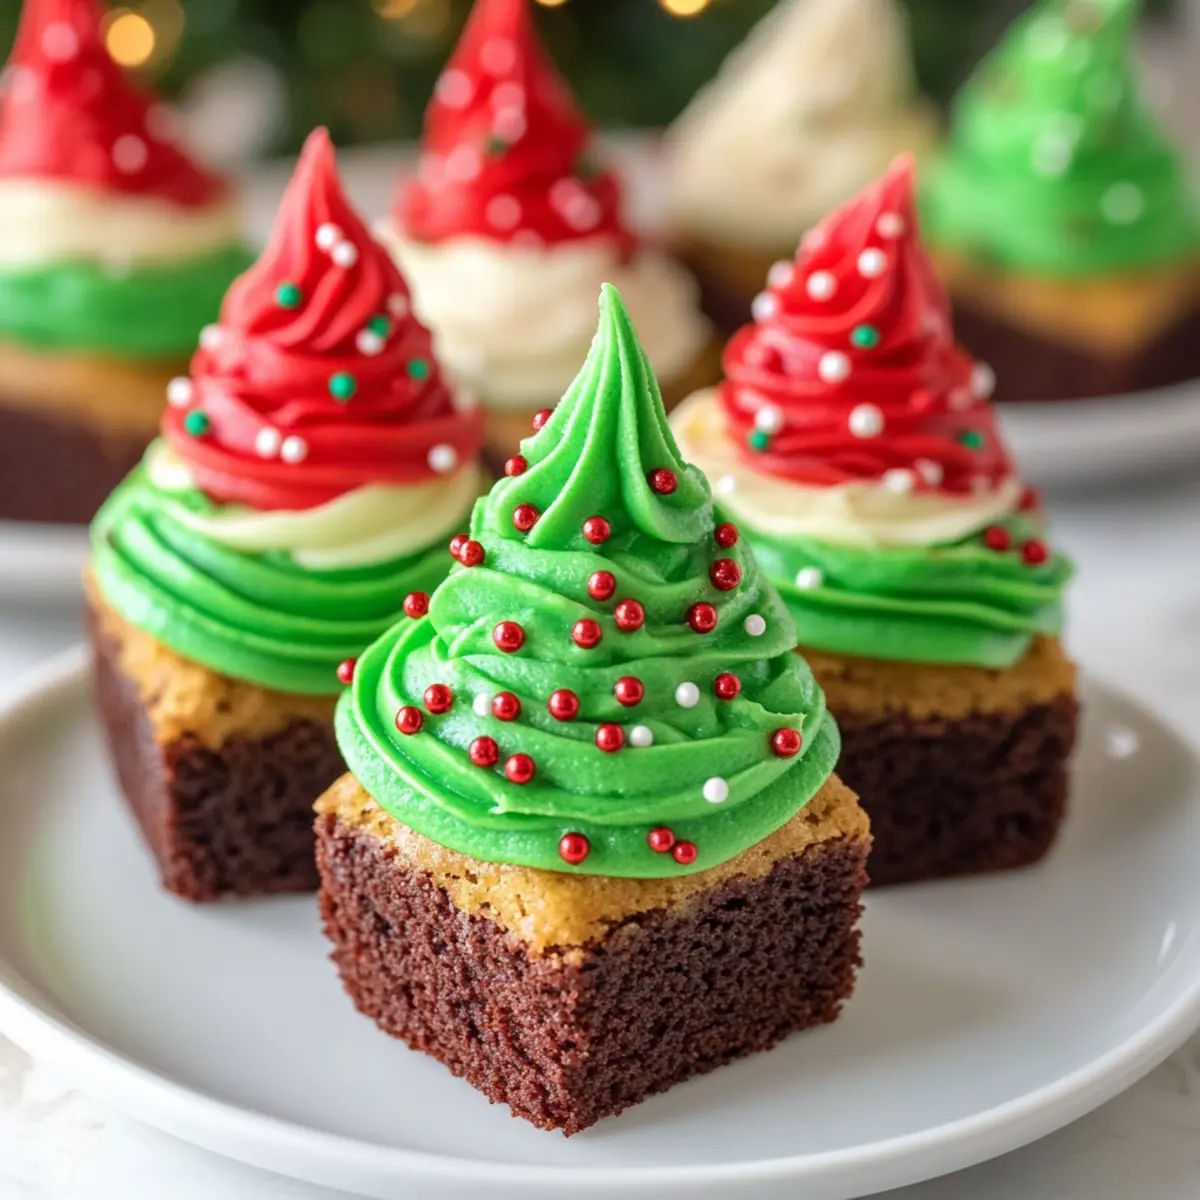
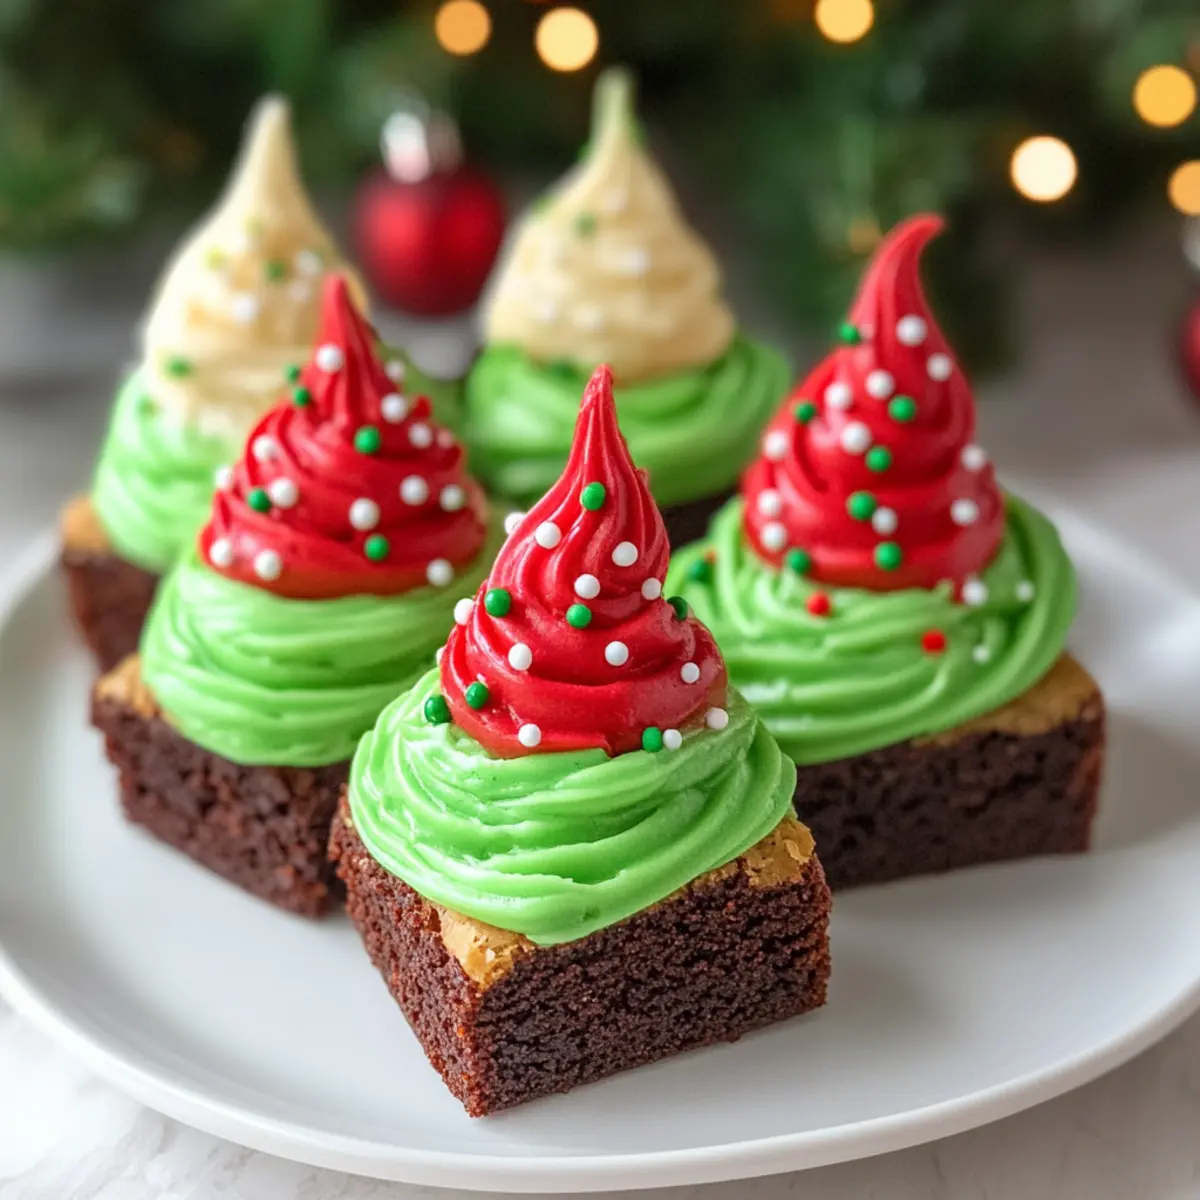
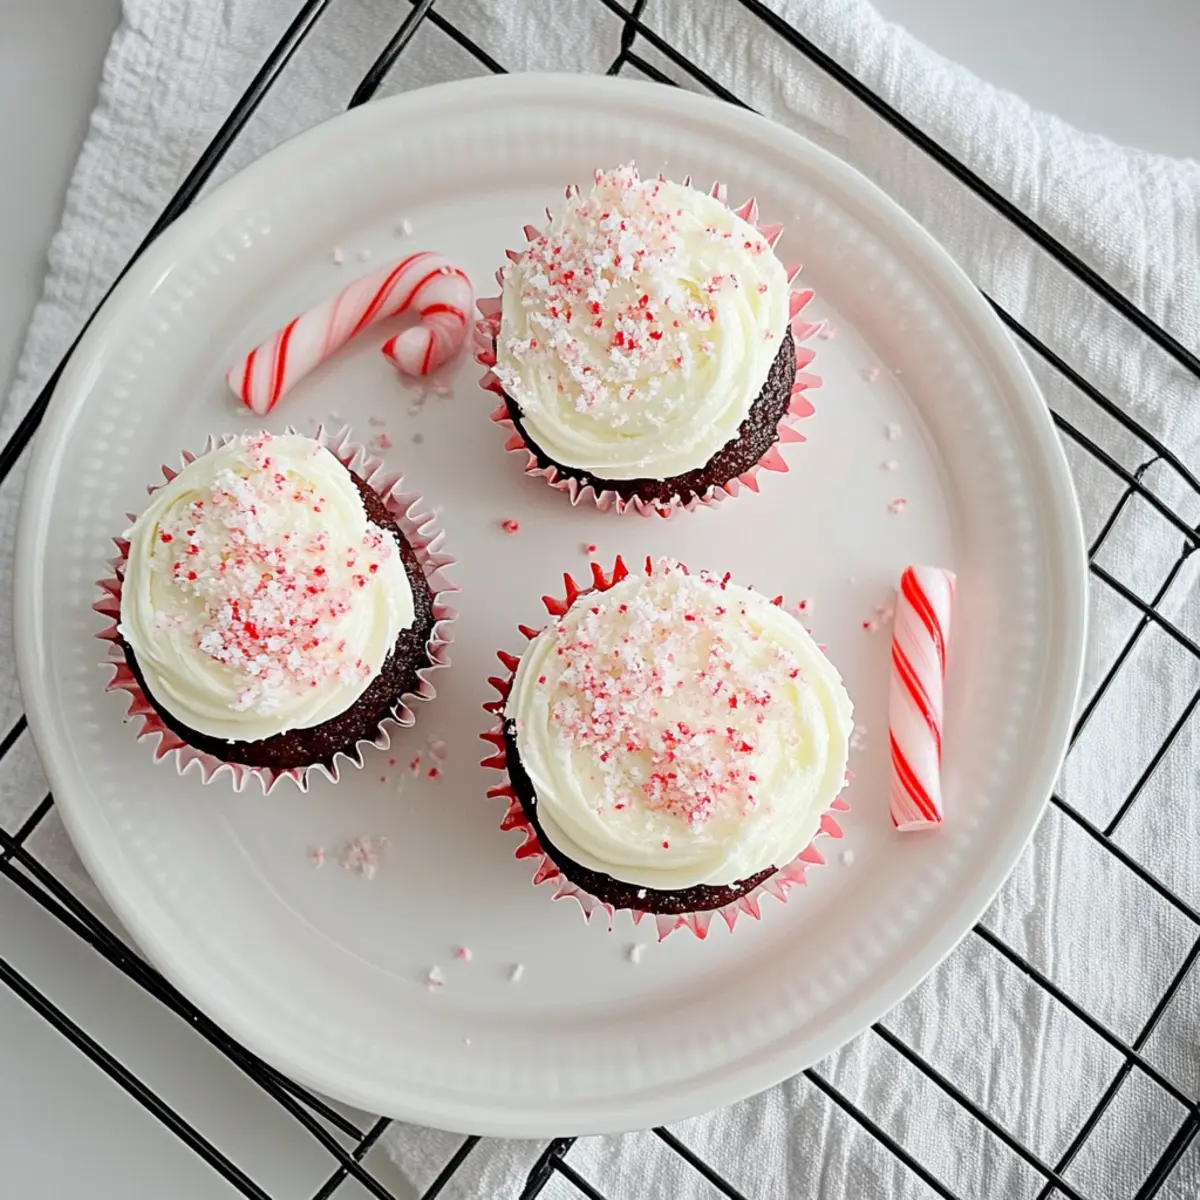
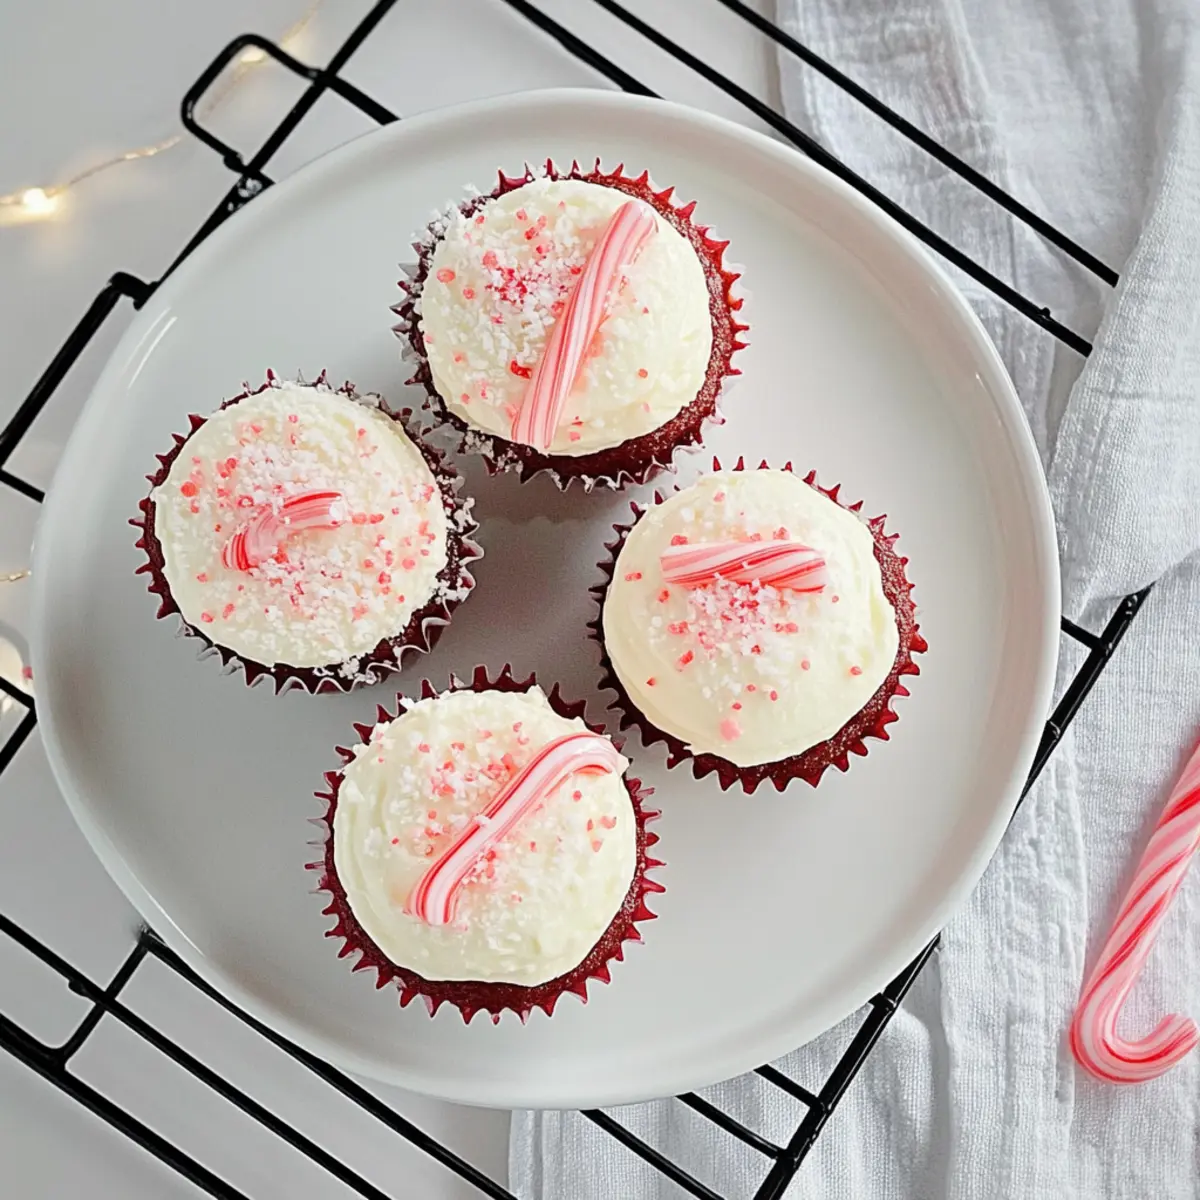
Perfect Presentation: Their vibrant pink color and festive crushed candy cane topping make them not only tasty but also a stunning centerpiece on your holiday table.
Elevate your baking skills with these cupcakes and perhaps explore more exciting gluten-free options like Gluten-Free Chocolate Chip Cookies to complement your festive spread!
Candy Cane Cupcake Ingredients
• To create these festive delights, gather the following ingredients:
For the Cupcakes
- Gluten-free All-Purpose Flour – Provides structure and texture; choose a blend that you love for optimal results.
- Baking Powder – This leavening agent ensures a fluffy finish.
- Salt – Elevates and enhances the overall flavor of your cupcakes.
- Butter (Softened) – Adds richness and moisture that every cupcake craves.
- Sugar – Sweetness that not only flavors but also helps achieve a beautiful golden browning.
- Vanilla Extract – A flavor enhancer that ties all the elements together beautifully.
- Eggs – Essential for the structure and moisture of these cupcakes.
- Milk – Contributes to the batter’s consistency, ensuring a perfect texture.
- Half & Half – Adds luxurious richness to both the batter and frosting.
- Crushed Candy Canes – Infuses the cupcakes with peppermint flavor and festive decoration; save some for topping!
- Powdered Sugar – Sweetness and a silky texture for that luscious frosting.
For the Frosting
- Butter (Softened) – Creamy base that holds the frosting together.
- Vanilla Extract – A splash for that extra layer of flavor in your frosting.
- Half & Half – To adjust the consistency of the frosting to your liking.
Dive into the magic of these Candy Cane Cupcakes and get ready to impress everyone with your holiday baking skills!
Step‑by‑Step Instructions for Candy Cane Cupcakes
Step 1: Preheat the Oven
Begin by preheating your oven to 350°F (175°C). While the oven heats up, prepare your muffin tin by lining the cups with festive cupcake liners. This ensures easy removal after baking and adds a lovely touch to your Candy Cane Cupcakes.
Step 2: Blend Dry Ingredients
In a medium mixing bowl, whisk together gluten-free all-purpose flour, baking powder, and salt. This combination will be the foundation of your cupcakes, giving them the perfect texture. Once thoroughly mixed, set the bowl aside as your next step unfolds.
Step 3: Cream Butter and Sugar
In a stand mixer, add the softened butter and sugar, then cream them together on medium speed until the mixture becomes light and fluffy, which should take about 2-3 minutes. The airy texture is essential for creating the delightful fluffiness of your Candy Cane Cupcakes.
Step 4: Add Eggs and Vanilla
Next, incorporate the eggs one at a time into the butter-sugar mixture, mixing well after each addition. Pour in the vanilla extract and blend until combined. This step will enrich the flavor of your cupcakes and is vital for their deliciousness.
Step 5: Combine Wet and Dry Ingredients
Gradually add the flour mixture to the wet ingredients, mixing on low speed until just combined. Be careful not to overmix, as this can lead to dense cupcakes. The batter should remain light and airy, setting up the perfect base for your Candy Cane Cupcakes.
Step 6: Stir in Milk and Half & Half
To enrich your batter, pour in the milk and half & half. Mix until the batter is smooth and well-combined. Lastly, gently fold in the crushed candy canes, infusing your cupcakes with that delightful peppermint flavor that makes them festive.
Step 7: Fill the Cupcake Liners
Using a spoon or a cookie scoop, fill each cupcake liner about three-quarters full with the batter. Take care not to overfill, as the cupcakes will rise while baking. Next, place the tin in the preheated oven and bake for 25-30 minutes, or until a toothpick inserted in the center comes out clean.
Step 8: Cool the Cupcakes
After baking, carefully remove the cupcake tin from the oven and let it sit for about 5 minutes. Transfer the cupcakes to a wire rack to cool completely. This is crucial, as frosting hot cupcakes will cause the icing to melt and run.
Step 9: Prepare the Frosting
In a clean mixing bowl, combine softened butter, vanilla extract, and half of the powdered sugar. Beat on medium speed until creamy. Gradually add the remaining sugar, adjusting the consistency with half & half until you achieve a smooth and spreadable frosting texture.
Step 10: Frost the Cupcakes
Once the cupcakes are completely cooled, generously frost each cupcake with your peppermint frosting. Use a spatula or piping bag for a decorative swirl. To finish, sprinkle reserved crushed candy canes on top, adding a seasonal touch and a delightful crunch to your festive Candy Cane Cupcakes.
What to Serve with Candy Cane Cupcakes
Elevate your holiday gatherings with these delightful treats by pairing them with complementary dishes and beverages that enhance the festive spirit.
- Rich Hot Cocoa: This velvety drink with contrasting heat and sweetness perfectly complements the peppermint flavor.
- Creamy Vanilla Ice Cream: A scoop adds a luscious creaminess and balances out the festive flavors beautifully.
- Fresh Mint Tea: The herbal freshness ties in the peppermint notes while providing a refreshing palate cleanser.
- Chocolate Fondue: Dip fresh fruits or gluten-free cookies into warm, melted chocolate for a rich addition to your dessert table.
- Cranberry Citrus Salad: Bright and tangy, this salad adds a vibrant splash of color and fresh flavor, perfectly balancing the sweetness of the cupcakes.
- Peppermint Martini: Serve this festive cocktail to elevate any holiday gathering, with its delightful minty flavor echoing in every sip.
- Spiced Apple Cider: Warm and aromatic, this beverage offers a cozy pairing that accentuates the holiday spirit.
- Gingerbread Cookies: A classic holiday cookie with a spiced kick that harmonizes beautifully with the fluffy cupcakes.
- Chocolate Mocha: This rich coffee drink provides a delightful caffeine boost that complements the sweetness of your Candy Cane Cupcakes.
Candy Cane Cupcakes Variations & Substitutions
Feel free to unleash your creativity and make these festive treats your own with these delightful variations!
-
Mint-Chocolate Twist: Add ¼ cup cocoa powder to the cupcake batter for a chocolatey surprise and top with chocolate frosting for a delicious duo.
-
Crushed Peppermint Texture: Swap crushed candy canes for crushed peppermint candies to create a different crunch and a slightly softer mint flavor. It’s a sweet twist that adds more options for your holiday table.
-
Dairy-Free Delight: Replace butter and half & half with coconut cream or vegan butter for frosting, keeping this festive treat suitable for those with dairy restrictions.
-
Gluten-Free Alternative: If you’d like to get adventurous, try using almond flour or oat flour in place of the gluten-free all-purpose flour for a nutty flavor and unique texture.
-
Fruity Flavor Kick: Add a splash of orange or almond extract for a surprising flavor note that complements the peppermint beautifully. This can elevate the overall flavor profile while retaining that holiday cheer!
-
Spicy Peppermint: For those who like a kick, add a pinch of cayenne pepper or some finely grated ginger to the batter, pairing beautifully with the sweet peppermint!
-
Frosting Varieties: Experiment with flavored frosting! Try peppermint buttercream, cream cheese frosting, or even a rich chocolate ganache to add an extra layer of celebration.
-
Decorative Touch: Top the cupcakes with a festive sprinkle of colored sugar or edible glitter instead of crushed candy canes for a dazzling, elegant presentation that’s sure to impress.
Now that you have these fun ideas, consider pairing these cupcakes with a warm cup of hot cocoa or even some delightful Dairy-Free Hot Chocolate for a festive treat that everyone can enjoy!
How to Store and Freeze Candy Cane Cupcakes
Room Temperature: Store your Candy Cane Cupcakes in an airtight container for up to 3 days at room temperature to maintain their fluffy texture and delightful flavor.
Fridge: If you prefer them to last longer, keep them in the fridge for up to a week; just remember to use an airtight container to avoid drying out.
Freezer: For long-term storage, freeze your cupcakes tightly wrapped in plastic wrap and then in foil or a freezer bag for up to a month. Thaw in the fridge overnight before serving.
Reheating: If desired, reheat frozen cupcakes at room temperature for a few hours or in the microwave for a few seconds to bring back that fresh-baked taste!
Make Ahead Options
These Candy Cane Cupcakes are a fantastic choice for meal prep enthusiasts! You can prepare the cupcake batter up to 24 hours in advance. Simply mix the dry ingredients together and store them in an airtight container, while the wet ingredients (butter, eggs, and milk) can be refrigerated separately. When you’re ready to bake, combine the wet and dry ingredients, bake, and allow to cool completely. For optimal freshness, frost the cupcakes within 3 days of baking, as this maintains their delightful texture. Just store unfrosted cupcakes in an airtight container at room temperature and frost them just before serving for that just-made goodness!
Expert Tips for Candy Cane Cupcakes
-
Softened Butter: Ensure your butter is at room temperature for easy creaming, which contributes to the cake’s light texture. Avoid using cold butter, as it won’t incorporate properly.
-
Don’t Overmix: Mix the batter just until combined to keep the cupcakes light and fluffy. Overmixing can lead to denser, less appealing Candy Cane Cupcakes.
-
Cool Completely: Allow cupcakes to cool completely before frosting to prevent the icing from melting. This ensures a beautiful finish on your treats.
-
Adjust Frosting Consistency: If your frosting is too thick, add half & half gradually until reaching your desired smoothness. The right texture makes all the difference in presentation.
-
Decorate Just Before Serving: For optimal crunch, sprinkle crushed candy canes on top just before serving. This keeps their texture fresh and adds festive flair to your cupcakes.
Candy Cane Cupcakes Recipe FAQs
Can I use regular flour instead of gluten-free flour?
Absolutely! While these Candy Cane Cupcakes are designed to be gluten-free, using regular all-purpose flour will work as well. The texture and flavor will be slightly different, but they will still be delicious. Just note that the baking time may vary slightly.
How should I store my cupcakes after baking?
To keep your Candy Cane Cupcakes fresh, store them in an airtight container at room temperature for up to 3 days. If you need them to last longer, you can refrigerate them for about a week. Just ensure they are kept tightly sealed to prevent drying out.
Can I freeze these cupcakes? If so, how?
Yes, freezing your Candy Cane Cupcakes is an excellent option! First, let them cool completely. Individually wrap each cupcake tightly in plastic wrap, then place them in a freezer bag or airtight container. They can be stored in the freezer for up to a month. When you’re ready to enjoy them, thaw them overnight in the fridge and allow them to come to room temperature before serving.
What should I do if my cupcakes sink in the middle?
If your cupcakes sink in the middle, it could be due to underbaking or overmixing the batter. Ensure you bake them for the full time specified (25–30 minutes) and check for doneness with a toothpick. If it comes out clean, they’re ready! Also, mix the batter just until combined to avoid dense cupcakes.
Are these cupcakes safe for those with nut allergies?
I recommend checking the labels of your gluten-free flour and other ingredients to ensure they’re nut-free, as some brands can be processed in facilities that handle nuts. These Candy Cane Cupcakes can be nut-free, making them suitable for most allergy concerns, but always consult with your guests to be sure.
How can I adjust the frosting for a different flavor?
If you want to experiment with flavors in your frosting, try adding a teaspoon of almond extract or peppermint extract for an extra zing! You can also incorporate cocoa to make a chocolate mint frosting. Just remember to adjust the sugar accordingly, and taste as you go for the best results!

Festive Candy Cane Cupcakes to Brighten Your Holiday Table
Ingredients
Equipment
Method
- Preheat your oven to 350°F (175°C) and line a muffin tin with cupcake liners.
- In a medium bowl, whisk together gluten-free all-purpose flour, baking powder, and salt.
- Cream softened butter and sugar in a stand mixer on medium speed until light and fluffy, about 2-3 minutes.
- Add eggs one at a time, mixing well after each addition. Pour in vanilla extract and blend until combined.
- Gradually add the flour mixture to the wet ingredients, mixing on low speed until just combined.
- Stir in milk and half & half until smooth. Fold in crushed candy canes.
- Fill each cupcake liner about three-quarters full with batter. Bake for 25-30 minutes or until a toothpick comes out clean.
- Let the cupcakes cool for about 5 minutes before transferring to a wire rack to cool completely.
- In a mixing bowl, combine softened butter, vanilla extract, and half of the powdered sugar. Beat until creamy, then gradually add remaining sugar and half & half until smooth.
- Frost each cooled cupcake with the peppermint frosting and top with reserved crushed candy canes.