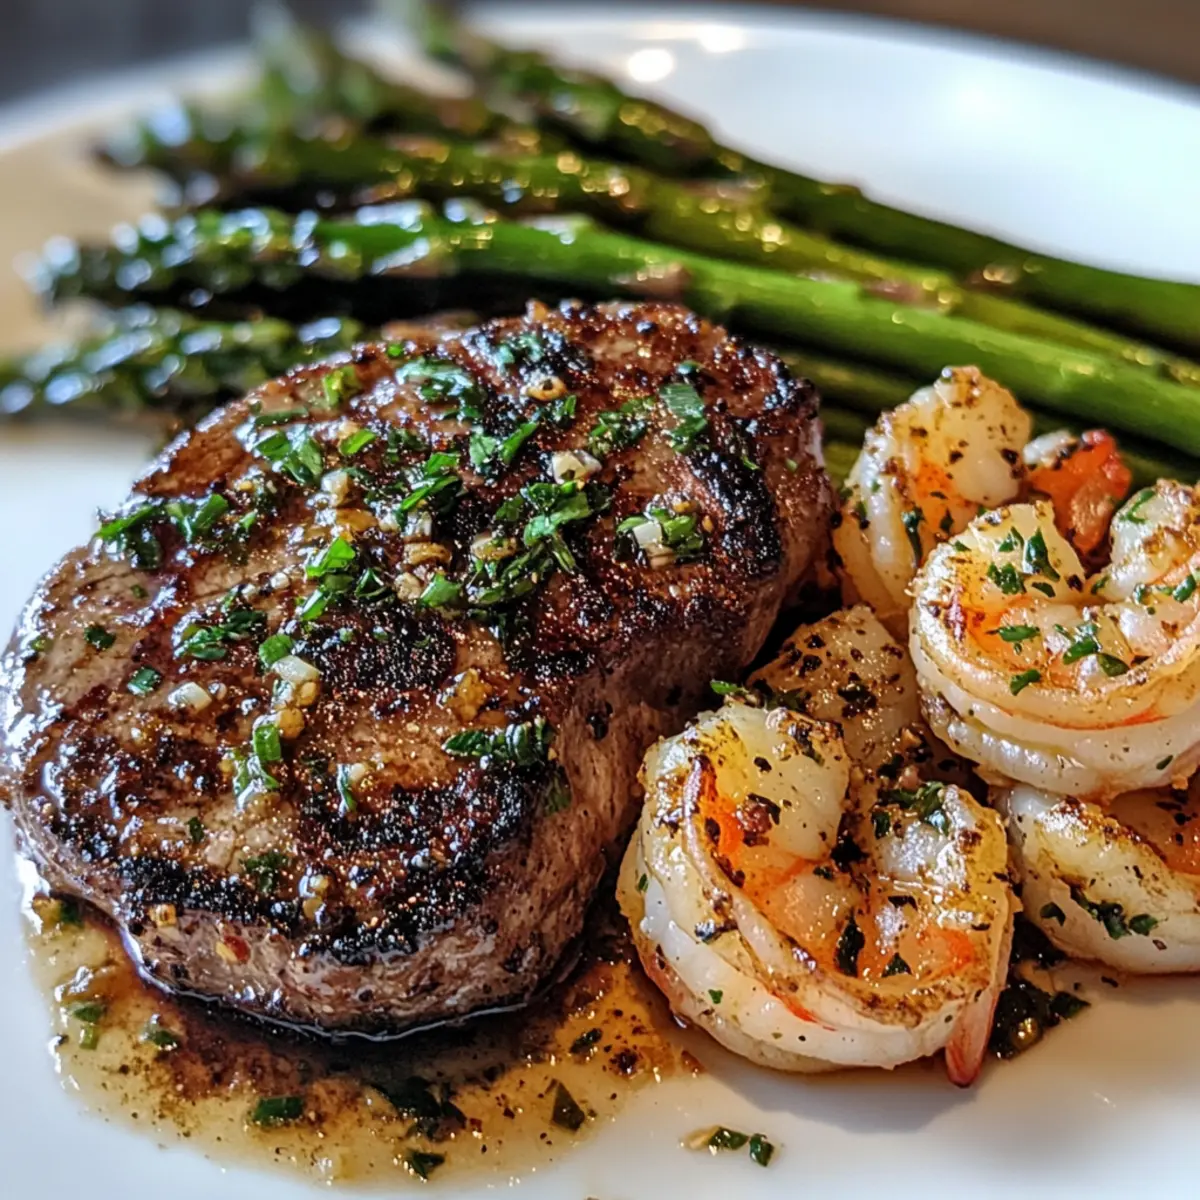
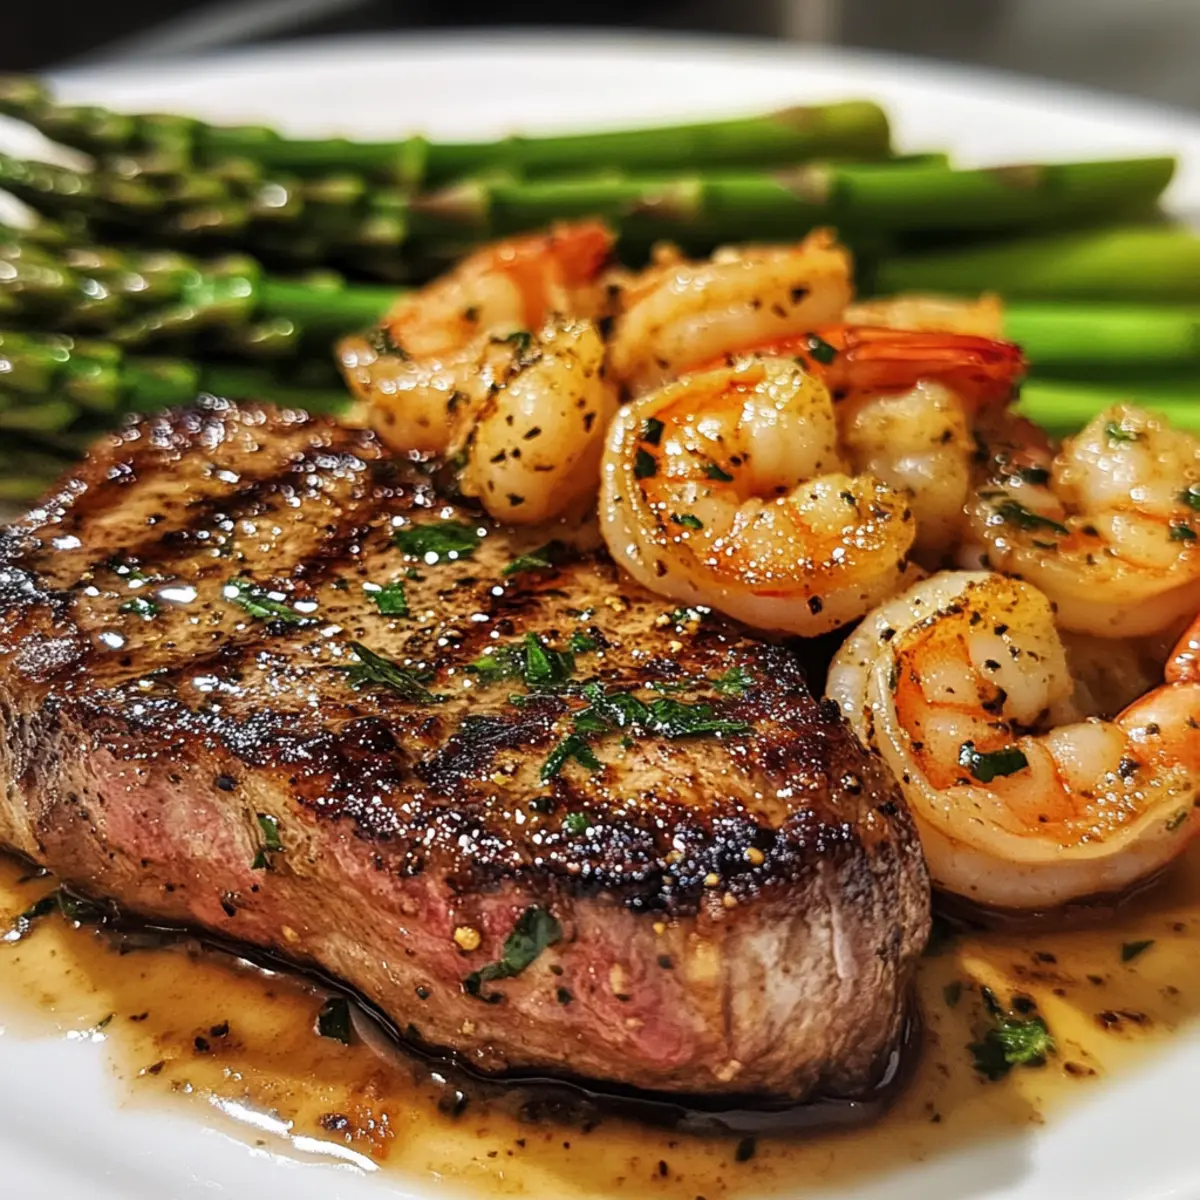
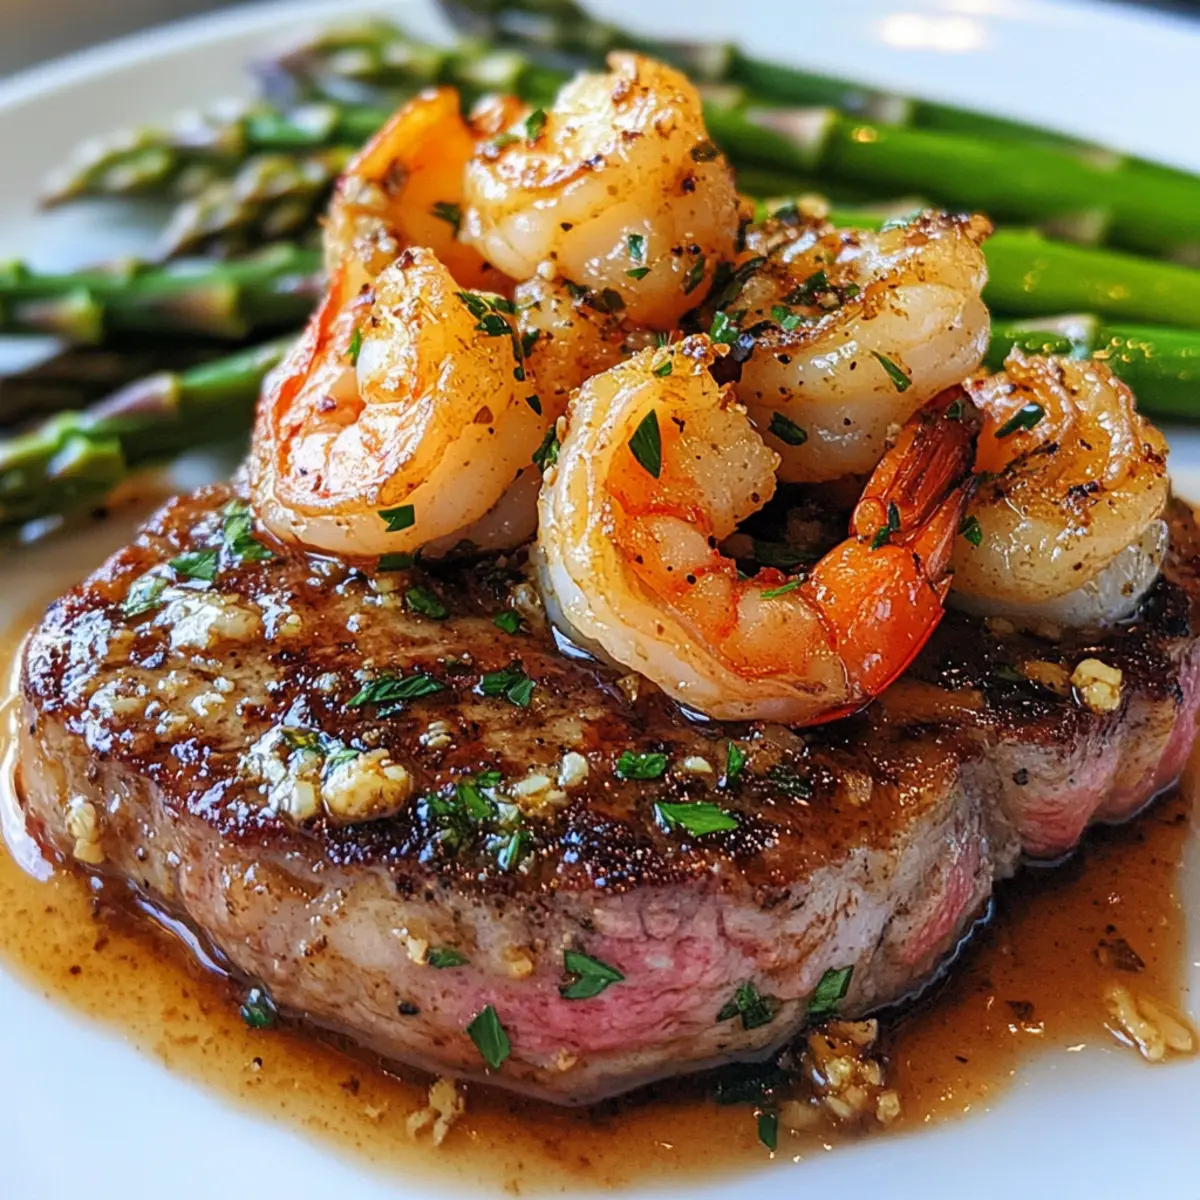
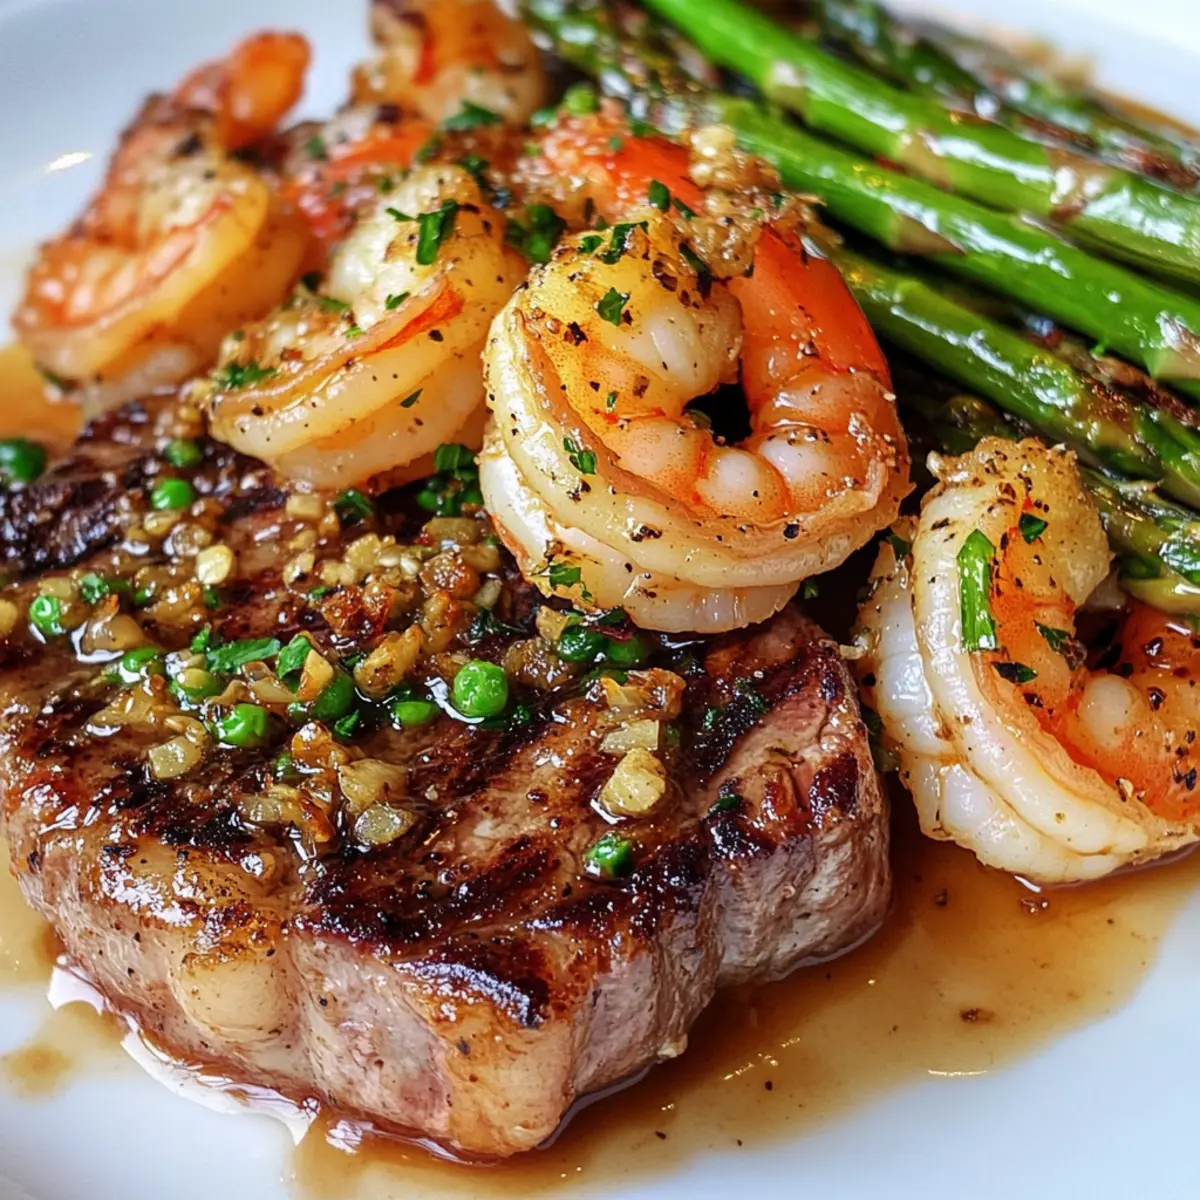
As I sliced into the perfectly seared ribeye, the mouthwatering aroma of garlic butter wafted through my kitchen, making my stomach rumble in eager anticipation. This Garlic Butter Shrimp and Ribeye Steak recipe isn’t just a meal; it’s a celebration of flavors that beckons you to enjoy something extraordinary without the fuss. With a quick prep time and the elegance suited for date night or a cozy weekend dinner, it’s a go-to for anyone seeking both comfort and sophistication. Juicy, tender steak paired with succulent shrimp creates a delightful combination, while the subtle hint of lemon adds that refreshing twist we all adore. Do you want to take your dinner game to the next level? Let’s dive into this culinary experience that will have your taste buds dancing!
Why is Garlic Butter So Irresistible?
Flavor Explosion: The combination of juicy ribeye and succulent shrimp creates an unforgettable taste sensation, with the richness of butter and garlic harmonizing perfectly.
Quick and Elegant: This recipe is not just simple; it delivers restaurant-quality results in no time, perfect for impressing guests or treating yourself.
Versatile Pairings: While this dish shines alone, consider serving it alongside a Refreshing Cucumber Twist or crusty bread to soak up that irresistible garlic butter.
Texture Harmony: Each bite balances the succulent steak, tender shrimp, and perfectly cooked asparagus, making it a delightful experience for the senses.
Crowd Pleaser: This meal is sure to impress not just food enthusiasts, but also those looking to step up their weeknight dinner game!
Garlic Butter Shrimp Ingredients
Note: Gather these ingredients for a delightful Garlic Butter Shrimp experience!
For the Shrimp
• Large Shrimp (peeled and deveined) – The star of your dish; opt for fresh or frozen for the best flavor.
• Unsalted Butter – Adds richness; use salted butter if that’s what you have, but reduce added salt.
• Garlic (freshly minced) – The key to that mouthwatering garlic flavor; avoid powdered garlic for the best aroma.
• Freshly Cracked Black Pepper – For seasoning; pre-ground pepper works but fresh will enhance the taste.
• Red Pepper Flakes – Adds a hint of heat; feel free to skip if you prefer a milder flavor.
• Lemon Juice – Freshly squeezed adds a zesty brightness; skip the bottled stuff for a real flavor boost.
For the Garnish
• Fresh Parsley (finely chopped) – Adds a fresh pop of color and flavor; substitute with chives if needed.
• Flaky Sea Salt – Enhances all flavors; kosher salt can work as a substitute in a pinch.
For Cooking
• Olive Oil – Essential for searing your shrimp; vegetable oil can also be used if preferred.
Step‑by‑Step Instructions for Garlic Butter Shrimp and Ribeye Steak: A Quick and Elegant Dinner
Step 1: Prepare the Garlic Butter
In a medium bowl, combine 4 tablespoons of unsalted butter, 3 cloves of freshly minced garlic, and 1 tablespoon of finely chopped fresh parsley. Add a pinch of red pepper flakes and 1 tablespoon of freshly squeezed lemon juice. Mix until well blended, then set aside to let the flavors meld while you prepare the rest of the dish.
Step 2: Season the Ribeye
Take your 1.5-inch thick ribeye steak and pat it dry with paper towels to remove excess moisture. Generously season both sides with flaky sea salt and freshly cracked black pepper. This will ensure a flavorful crust when seared. Set the seasoned steak aside while you heat the skillet.
Step 3: Sear the Ribeye
In a heavy skillet, heat 2 tablespoons of olive oil over medium-high heat until it shimmers. Carefully place the ribeye in the hot skillet and sear for 3-5 minutes per side, flipping only once, until it reaches a medium-rare temperature of 130-135°F. After searing, transfer the steak to a plate, cover loosely with foil, and let it rest for about 5 minutes.
Step 4: Cook the Asparagus
In a separate skillet, add 1 tablespoon of butter and 1 tablespoon of extra virgin olive oil over medium heat. Once melted, toss in the trimmed asparagus. Cover with a lid and cook for about 5 minutes, stirring occasionally, until the asparagus is tender-crisp and bright green. Remove from heat while you prepare the shrimp.
Step 5: Sauté the Shrimp
In another skillet, melt 1 tablespoon of butter with another tablespoon of olive oil over medium heat. Add the peeled and deveined large shrimp, cooking for about 2-3 minutes on each side until they turn pink and opaque. Be careful not to overcrowd the pan; cook in batches if necessary for the best sear.
Step 6: Assemble and Serve
Slice the rested ribeye against the grain into thick pieces. On a serving platter, arrange the steak slices alongside the sautéed shrimp and asparagus. Drizzle the garlic butter over the steak and shrimp, allowing the rich, savory flavors to meld. Garnish with additional chopped parsley for a fresh touch, and serve immediately.
Garlic Butter Shrimp: Variations & Substitutions
Feel free to play around with this recipe to create your perfect dish that tantalizes the taste buds!
-
Seafood Swap: Replace shrimp with scallops for a sweet twist that’s equally delicious.
-
Steak Alternative: Use filet mignon instead of ribeye for a more tender option, perfect for special occasions. The melt-in-your-mouth quality will impress anyone!
-
Vegetable Variation: Substitute asparagus with zucchini or bell peppers for a colorful seasonal flair. Just remember to sauté until they’re tender-crisp for that perfect bite.
-
Spice it Up: For a bolder flavor, add smoked paprika to the garlic butter for a smoky kick that elevates the dish beautifully.
-
Dairy-Free Delight: Swap unsalted butter with coconut oil for a dairy-free version without sacrificing richness. It adds a unique tropical twist!
-
Fresh Herb Replacement: If fresh parsley isn’t available, feel free to use chives or even cilantro for a fresh pop of color and flavor.
-
Extra Zing: For an added zing of brightness, include some lime juice together with the lemon; it enhances the flavors dramatically.
-
Pasta Pairing: Serve over a bed of angel hair pasta to soak up that luscious garlic butter sauce—an excellent way to turn this into a hearty dish.
No matter how you choose to customize, I promise each variation adds a delightful spin to this classic meal. Enjoy your culinary adventure!
Expert Tips for Garlic Butter Shrimp and Steak
-
Perfect Sear: Ensure the skillet is hot enough before adding the ribeye. A hot surface prevents steaming and allows for a beautiful crust.
-
Cooking in Batches: Avoid overcrowding the skillet when cooking shrimp. Work in smaller batches to achieve that perfect sear and avoid steaming for a better texture.
-
Check Doneness: Use a meat thermometer for checking steak doneness. Aim for 130-135°F for medium-rare, ensuring you don’t overcook it.
-
Fresh Ingredients: Opt for fresh lemon juice and minced garlic; they enhance the garlic butter shrimp flavor significantly compared to bottled or powdered options.
-
Rest the Steak: Let the ribeye rest for at least 5 minutes after searing. This allows juices to redistribute for a more tender bite.
-
Garnishing Touch: Finish your dish with fresh parsley for a vibrant pop of color and flavor, elevating the overall presentation and taste.
What to Serve with Garlic Butter Shrimp and Ribeye Steak
Elevate your dining experience with delightful sides that perfectly complement the rich flavors of this sumptuous meal.
-
Creamy Mashed Potatoes: Their buttery smoothness pairs beautifully with the savory steak and shrimp, soaking up the luscious garlic butter.
-
Garlic Bread: A perfect vessel for those garlic butter remnants, this crispy bread enhances the meal’s flavors and adds a crunchy texture.
-
Zesty Arugula Salad: The peppery freshness of arugula and a squeeze of lemon balance the richness of the dish, offering a refreshing contrast.
-
Roasted Brussels Sprouts: Their nutty sweetness complements the savory notes of the steak while providing an additional layer of texture.
-
Grilled Corn on the Cob: The sweet, charred kernels act as a delightful contrast to the succulent shrimp and steak, creating a summer vibe.
-
Chilled White Wine Spritzer: The lightness of this drink refreshes the palate between bites, ensuring each mouthful is as enjoyable as the last.
Make Ahead Options
These Garlic Butter Shrimp and Ribeye Steak are perfect for meal prep enthusiasts! You can marinate the ribeye steak with salt and black pepper for up to 24 hours in advance, allowing the flavors to penetrate deeply. Additionally, you can prepare the garlic butter and store it in the refrigerator for up to 3 days. When you’re ready to serve, simply sear the steak and sauté the shrimp as per the recipe instructions. To maintain quality, ensure to reheat the garlic butter gently to keep its rich texture intact. This prep method not only saves you time during busy weeknights but also guarantees restaurant-quality results with minimal effort!
How to Store and Freeze Garlic Butter Shrimp and Ribeye Steak
Fridge: Store leftovers in an airtight container for up to 2 days. Be sure to place the steak and shrimp separately, if possible, to maintain their flavors.
Freezer: For longer storage, freeze cooked ribeye and shrimp in airtight freezer bags for up to 3 months. Thaw in the fridge overnight before reheating.
Reheating: To reheat, gently warm in a skillet over low heat to prevent drying out. Add a splash of water or a bit of butter to maintain moisture.
Quality Check: Always ensure the garlic butter shrimp and ribeye maintain their flavors and textures by consuming within the suggested timeframes for the best experience.
Garlic Butter Shrimp and Ribeye Steak Recipe FAQs
What type of ribeye steak should I use for the best results?
For optimal flavor and tenderness, I recommend using a ribeye steak that is at least 1.5 inches thick. This thickness allows for a proper sear and helps maintain juiciness during cooking. Look for well-marbled cuts, as the fat interspersed throughout the meat enhances both flavor and tenderness. If you’re looking to elevate your dish even more, consider using grass-fed beef for a richer taste.
How should I store leftover garlic butter shrimp and ribeye steak?
Absolutely! You can store leftovers in an airtight container in the fridge for up to 2 days. If possible, I suggest keeping the shrimp and steak in separate containers to preserve their individual flavors. When you’re ready to enjoy them again, gently reheat in a skillet over low heat, adding a splash of water or a bit of butter to maintain moisture.
Can I freeze the garlic butter shrimp and ribeye steak?
Very much so! To freeze your cooked dish, place the ribeye and shrimp in airtight freezer bags, making sure to remove as much air as possible. They will keep well in the freezer for up to 3 months. To thaw, simply move them to the fridge and let them defrost overnight. When you’re ready to enjoy, reheat gently in a skillet to ensure they don’t dry out.
What if my shrimp ends up overcooked or rubbery?
It happens! If your shrimp turns out rubbery, it’s likely due to overcooking. To prevent this, keep an eye on them while cooking; they only need about 2-3 minutes on each side until they turn pink and opaque. If you want to be extra sure, you can cook the shrimp in smaller batches to avoid overcrowding.
Are there any dietary concerns I should know about with this meal?
Yes, definitely! If you or someone you’re serving is allergic to shellfish, it’s best to skip the shrimp altogether or substitute it with another protein, like chicken or tofu. The garlic butter is generally safe, but if anyone has lactose intolerance, consider using a dairy-free butter alternative. Enjoying this dish with fresh, seasonal vegetables can also enhance its nutritional profile!
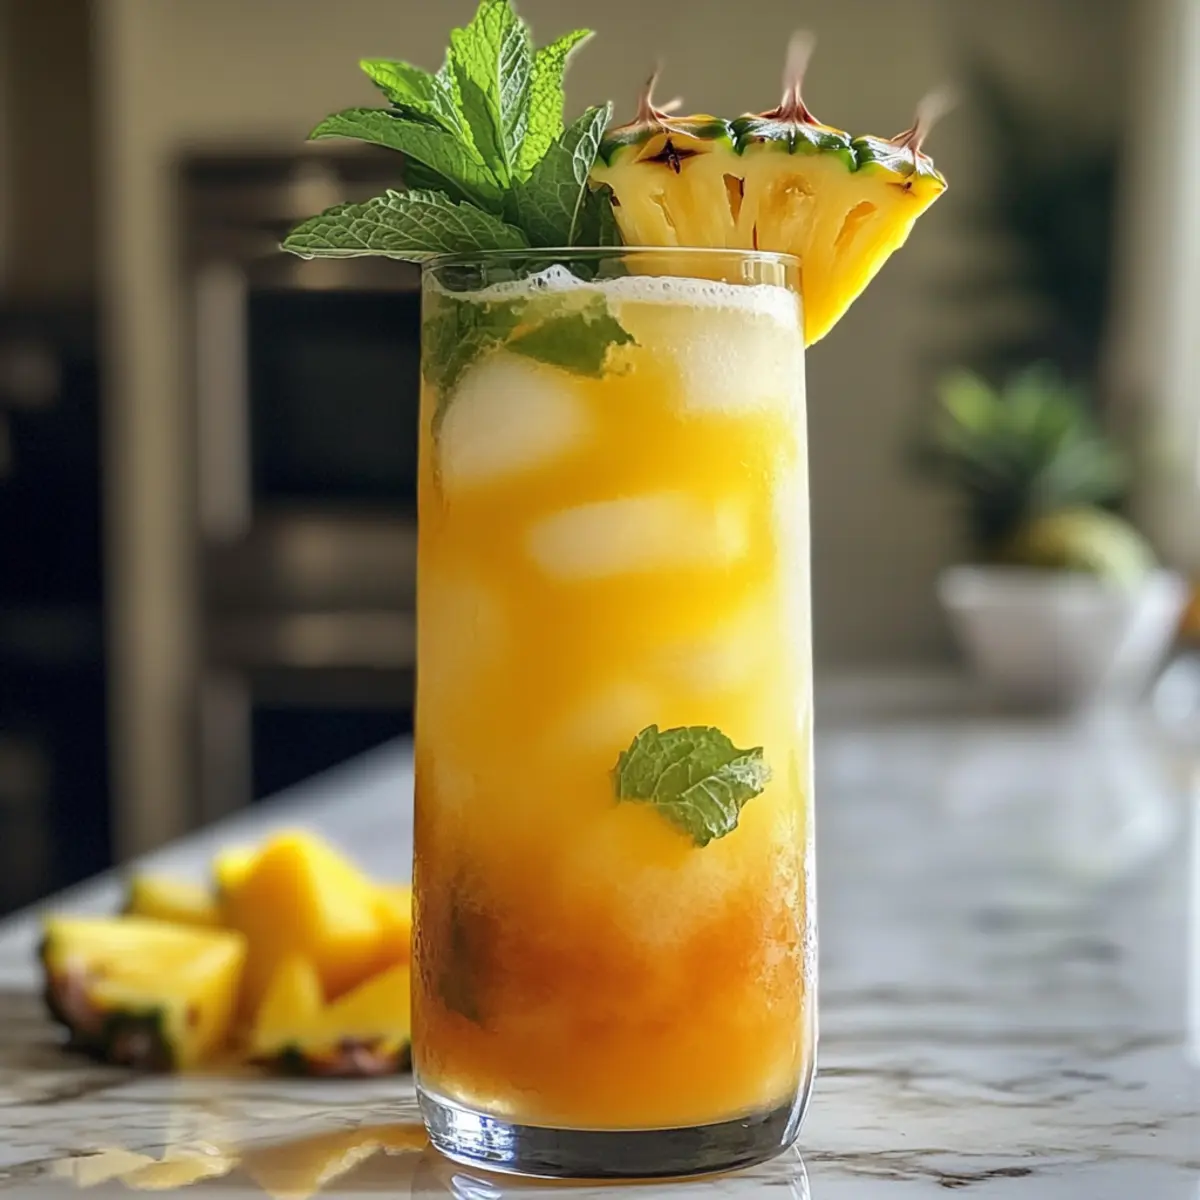
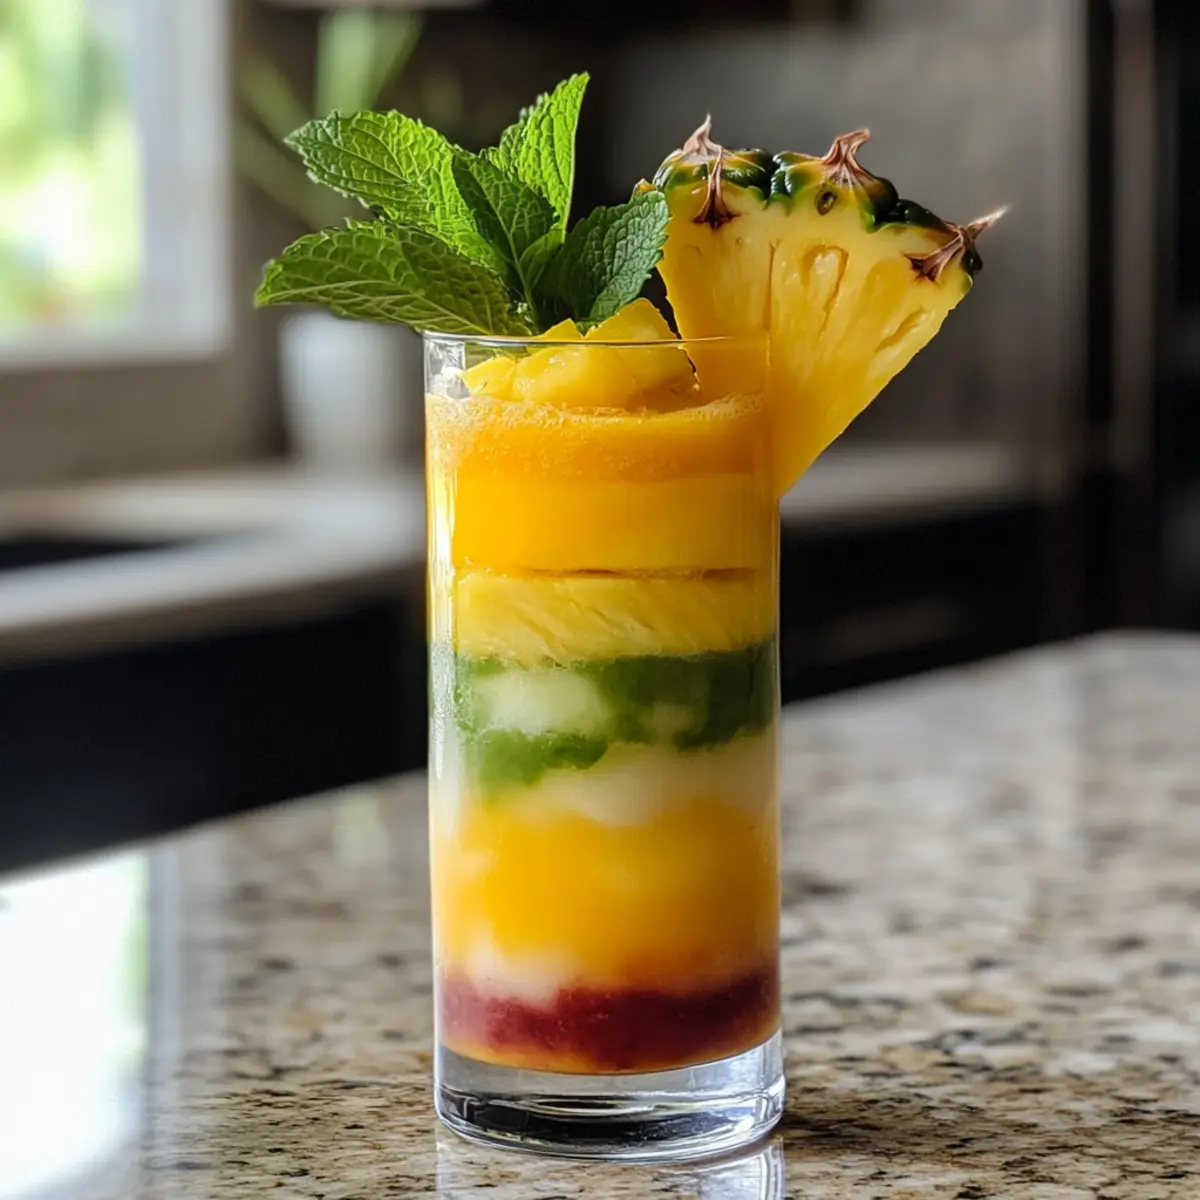
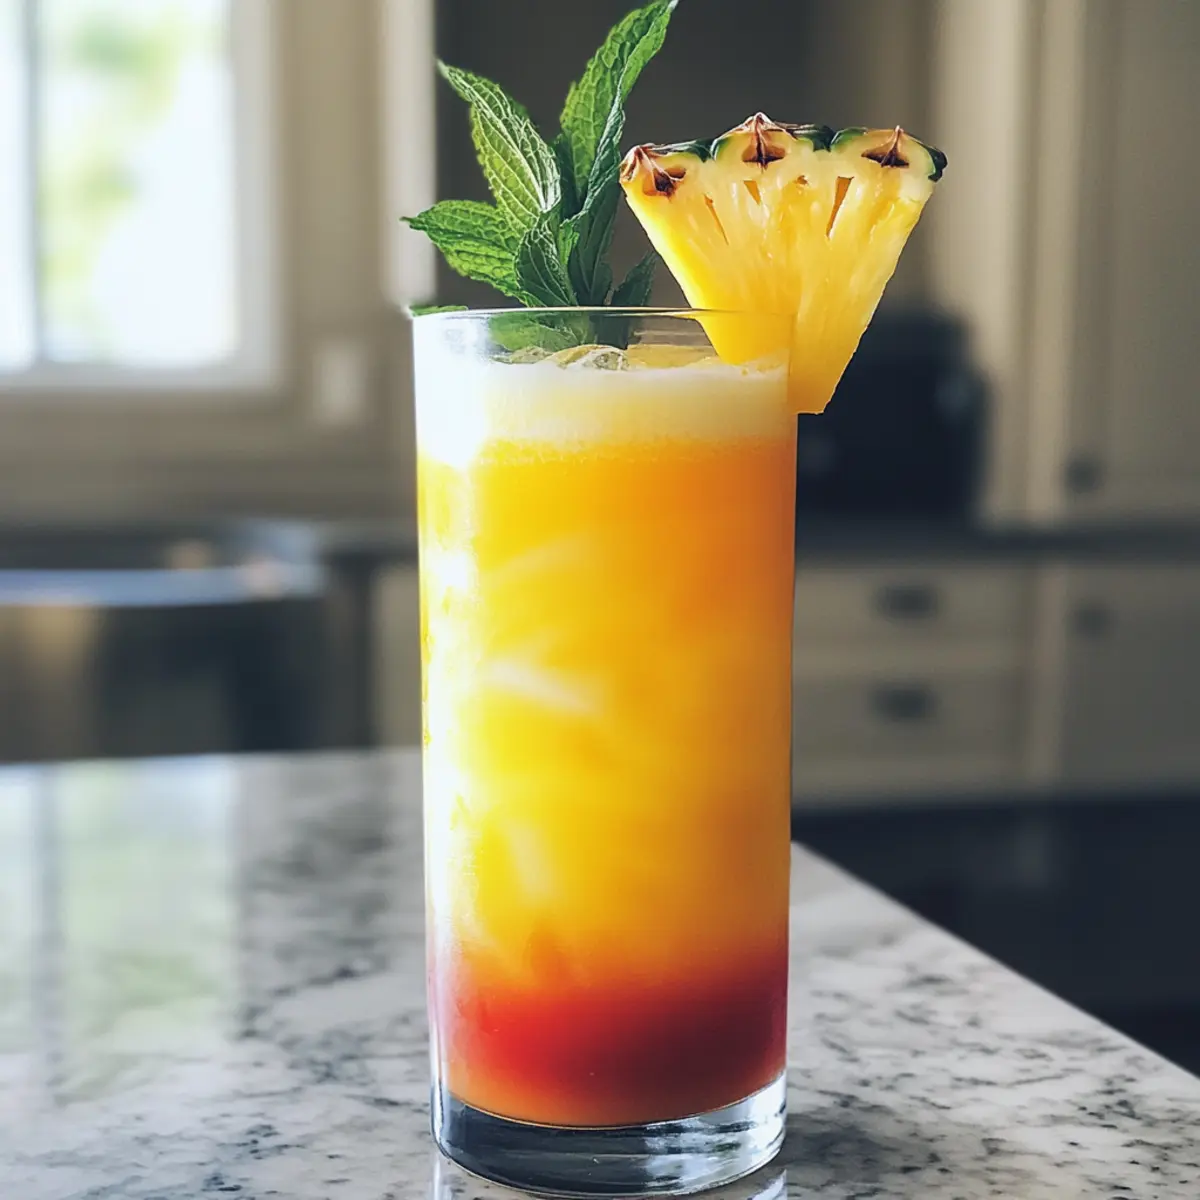
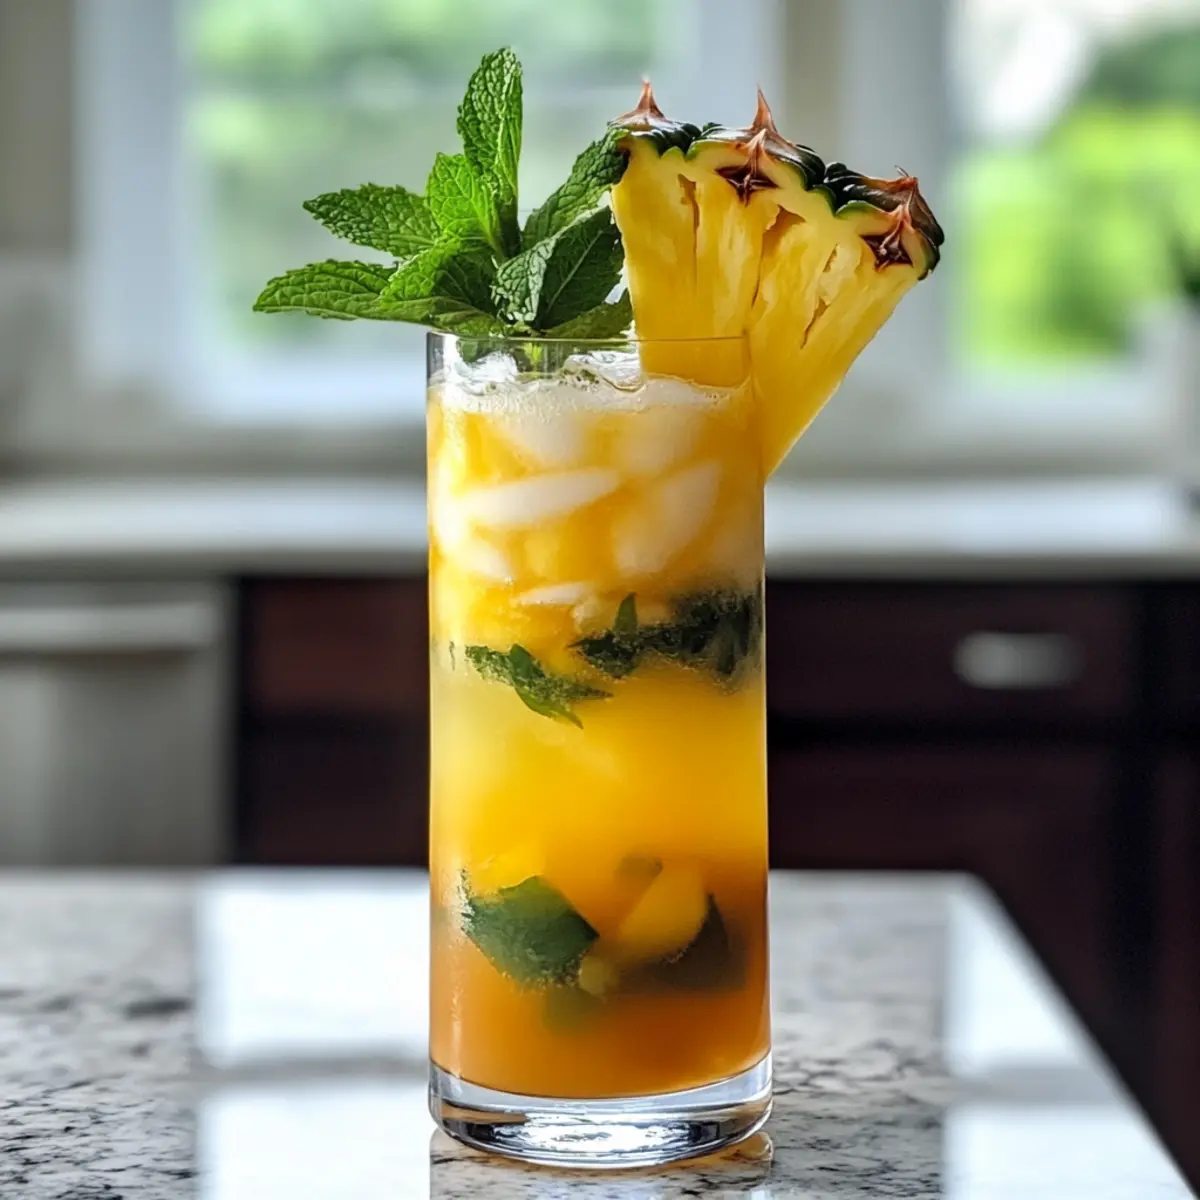
Strawberry Sunset Piña Colada A Tropical Twist You Need
Ingredients
Equipment
Method
- Blend strawberries, coconut cream, white rum, lime juice, and ice until smooth.
- Pour into serving glasses.
- Garnish with a slice of strawberry and mint.
- Serve immediately.