There’s nothing quite like the crunch of perfectly toasted sourdough, topped with creamy avocado, savory bacon, and fluffy eggs. My mornings are transformed when I whip up these Avocado, Bacon and Egg Toasts with Hot Honey—a dish that feels indulgent yet can be made in just 30 minutes. This recipe not only caters to diverse breakfast cravings but also offers endless customization, allowing you to swap ingredients and toppings based on your mood or what’s in your fridge. Whether you’re preparing a cozy brunch for friends or looking for a quick breakfast fix, these toasts are bound to become a beloved favorite. Ready to discover how to bring this delightful combo to your table? Let’s dive in!

Why are these toasts a breakfast game-changer?
Unforgettable Flavor: The combination of creamy avocados, crispy bacon, and fluffy eggs topped with spicy-sweet hot honey creates a flavor explosion that’s simply irresistible.
Quick Preparation: In just 30 minutes, you can whip up a gourmet breakfast, making it perfect for busy mornings.
Total Versatility: Customize to your heart’s content! Swap bacon for turkey bacon or add fresh veggies for a personal twist.
Crowd-pleaser: These toasts are sure to impress at any brunch gathering, leaving your guests raving about their flavor.
Nutritionally Balanced: Packed with healthy fats, protein, and fiber, you’ll enjoy a satisfying meal that fuels your day.
Pair it with a refreshing side, like Crunchy Cucumber and Egg Salad, for a balanced feast!
Avocado, Bacon and Egg Toasts with Hot Honey Ingredients
For the Toast
• Sourdough Bread – Provides a sturdy base with a crunchy texture that perfectly complements the toppings.
• Avocado – Adds creaminess and richness; substitute with guacamole for extra flavor.
For the Toppings
• Bacon – Brings a savory, crispy texture; use turkey bacon or smoked tempeh for a lighter or vegetarian option.
• Eggs – Essential for fluffiness and protein; opt for egg whites for a lower-fat alternative.
• Hot Honey – Offers a unique sweet-heat profile; regular honey with chili flakes works if hot honey isn’t available.
• Salt – Enhances overall flavors; consider using Himalayan or sea salt for a more robust taste.
Feel free to gear up your mornings with these delightful Avocado, Bacon and Egg Toasts with Hot Honey!
Step‑by‑Step Instructions for Avocado, Bacon and Egg Toasts with Hot Honey
Step 1: Prepare the Ingredients
Start by gathering all your ingredients for the Avocado, Bacon and Egg Toasts with Hot Honey. Wash and slice ripe avocados and mash them in a bowl; season with salt and pepper to taste. Whisk eggs in another bowl until well combined, and keep everything within reach so you can easily move to the next steps.
Step 2: Cook the Bacon
In a frying pan, heat over medium heat and add your bacon slices. Cook them for about 5–7 minutes, turning occasionally until they’re crispy and golden. Once done, remove the bacon from the pan and set it on paper towels to drain excess grease, while allowing that savory aroma to fill your kitchen.
Step 3: Scramble the Eggs
Using the same pan with bacon drippings for flavor, lower the heat slightly and pour in your whisked eggs. Stir gently for about 3–4 minutes, scraping the bottom of the pan to ensure even cooking until they reach a soft, fluffy consistency. Remove them from heat just as they become a creamy texture for perfect scrambled eggs.
Step 4: Toast the Sourdough
While the eggs are cooking, place your slices of sourdough bread in a toaster or on a hot skillet for about 3–5 minutes until they are golden brown and crispy. The toasts should be firm enough to hold the toppings without becoming soggy, providing that delightful crunch.
Step 5: Assemble the Toasts
Spread a generous layer of your seasoned mashed avocado onto each warm sourdough slice, ensuring it covers the surface completely. Next, top with the creamy scrambled eggs, followed by the crispy bacon pieces to create a hearty layer of flavors in your Avocado, Bacon and Egg Toasts with Hot Honey.
Step 6: Drizzle with Hot Honey
Finally, drizzle a glorious amount of hot honey over the assembled toasts, letting its sweet heat cascade over the edges. This last touch elevates the dish, enhancing the flavors and adding a new dimension to your breakfast creation, ready to be served immediately while still warm.

What to Serve with Avocado, Bacon and Egg Toasts with Hot Honey
Elevate your breakfast experience by pairing these delightful toasts with complementary sides and drinks for a truly memorable meal.
- Fresh Fruit Salad: A medley of vibrant seasonal fruits adds a refreshing contrast, brightening your plate and palate.
- Greek Yogurt with Honey: Creamy yogurt topped with a drizzle of honey enhances the sweet notes of the hot honey. Enjoy this creamy side as a tangy balance to the savory elements.
- Arugula Salad: Light, peppery arugula tossed with a lemon vinaigrette brings freshness and cuts through the richness of the toasts, making for a well-rounded plate.
- Crispy Hash Browns: The crunchiness of golden hash browns complements the textures of the toasts and adds heartiness to your meal, ensuring no bite goes to waste.
- Chilled Iced Tea: A refreshing glass of iced tea—sweetened or unsweetened—provides a delightful beverage pairing that won’t overshadow your dish’s flavors.
- Savory Tomato Salad: Juicy slices of ripe tomatoes drizzled with balsamic glaze elevate the flavors and offer a fresh, juicy bite that brightens your morning.
- Mimosa: For a celebratory touch, a bubbly mimosa pairs beautifully, adding a hint of citrus and effervescence that enhances your brunch vibe.
- Buttery Croissants: Flaky, buttery croissants can serve as a delicious side, offering a different texture and richness that harmonizes with your toasts.
Avocado, Bacon and Egg Toasts with Hot Honey Variations
Get ready to unleash your creativity! These toasts are just the canvas for a masterpiece of flavors and textures waiting to delight your taste buds.
-
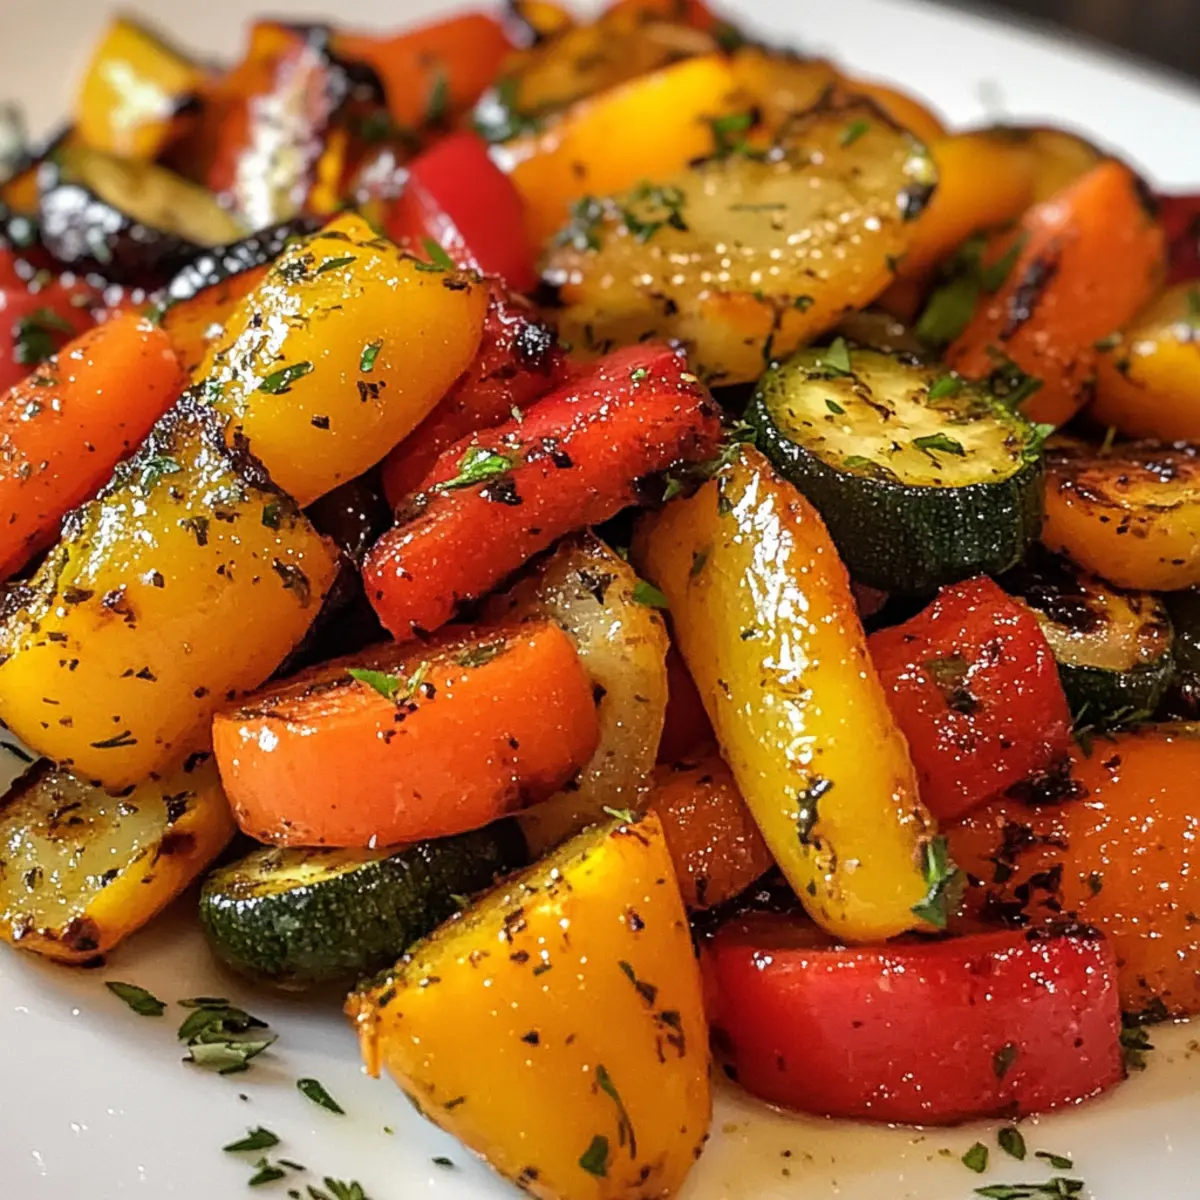
Vegetarian Option: Substitute bacon with roasted vegetables like bell peppers and zucchini for a colorful, satisfying twist. Fresh herbs will elevate the flavor profile.
-
Guacamole Upgrade: Instead of plain avocado, spread a vibrant layer of guacamole for a zesty kick and enhanced creaminess. Perfect for avocado lovers!
-
Spicy Ketchup: Swap hot honey for spicy ketchup or sriracha for those who crave an intense heat that pairs perfectly with eggs and bacon. Taste the warmth in every bite!
-
Cheesy Addition: Sprinkle crumbled feta or shredded cheddar on top for an added layer of richness and flavor that melts beautifully against the warm eggs.
-
Whole Grain Goodness: Switch out sourdough for whole grain or multigrain bread to amp up the fiber and nutrients without sacrificing taste.
-
Sweet and Savory: Top with caramelized onions or sliced figs to add a touch of sweetness, balancing perfectly with the saltiness of bacon and creaminess of avocado.
-
Nutty Flavor Boost: Drizzle with tahini or sprinkle with toasted seeds for an unexpected nutty twist that adds unique texture and depth.
-
Herb Infusion: Freshly chopped herbs like chives, parsley, or cilantro can brighten the dish and infuse it with fresh flavors, making it feel lighter.
These variations are inspired to mix and match as you enjoy your morning! If you’re looking for more ideas, check out my delicious Tropical Chicken with Pineapple in Sweet and Sour Sauce for a unique flavor adventure or pair it with my Savory Beef and Bacon Cheese Rolls for more brunch inspiration!
Storage Tips for Avocado, Bacon and Egg Toasts with Hot Honey
Fridge: Store individual components separately in airtight containers for up to 2 days. This helps maintain freshness and prevents the avocado from browning.
Avocado: To keep it fresh, you can drizzle a little lemon juice over the mashed avocado before sealing it tightly, helping to reduce oxidation.
Reheating: If you need to reheat the eggs or bacon, place them in a skillet over low heat, or microwave in short intervals until warmed through.
Freezing: The assembled Avocado, Bacon and Egg Toasts with Hot Honey are not suitable for freezing due to avocado browning and texture changes upon thawing.
Make Ahead Options
These Avocado, Bacon and Egg Toasts with Hot Honey are perfect for meal prep, allowing you to enjoy a delicious breakfast with minimal morning fuss! You can prepare the mashed avocado and cooked bacon up to 3 days in advance; simply store them in airtight containers in the fridge. To prevent browning, squeeze a bit of lemon juice into the avocado before refrigerating. For the eggs, cook them fresh, but you can beat them and season them the night before to save time. When you’re ready to indulge, simply toast your sourdough, layer on the avocado and bacon, scramble the eggs, and drizzle with hot honey. This way, you’ll savor every scrumptious bite with just a few quick steps!
Expert Tips for Avocado, Bacon and Egg Toasts
Fresh Avocados: Use ripe avocados for the best creaminess. Avoid hard avocados; they’ll be difficult to mash and lack flavor.
Egg Cooking: Aim for soft scrambled eggs—removing them from heat just before they’re fully cooked ensures fluffiness.
Sourdough Choice: Opt for fresh, hearty sourdough bread; avoid stale pieces which could result in a soggy toast.
Assembly Timing: Assemble your Avocado, Bacon and Egg Toasts with Hot Honey just before serving to keep the bread crispy and toppings fresh.
Customizable Toppings: Feel free to add your favorite vegetables or herbs to enhance flavors, such as diced tomatoes or fresh cilantro.

Avocado, Bacon and Egg Toasts with Hot Honey Recipe FAQs
What kind of avocados should I use?
Absolutely! Make sure to choose ripe avocados for the best texture and flavor. Look for avocados that are slightly soft to the touch but not overly mushy. Avoid those with dark spots all over or ones that feel rock-hard.
How should I store leftover ingredients?
For best results, store the individual components separately in airtight containers in the fridge for up to 2 days. This prevents the avocado from browning and keeps everything fresh. I recommend covering the mashed avocado with a little lemon juice to slow down oxidation!
Can I freeze avocado toast?
Very! Unfortunately, the assembled Avocado, Bacon and Egg Toasts with Hot Honey are not suitable for freezing due to the avocado browning and losing its creamy texture upon thawing. However, you can freeze bacon or scrambled egg portions separately; they can be reheated later.
What should I do if my eggs aren’t fluffy?
If your eggs aren’t reaching that delightful fluffy texture, it’s all about the heat and timing! Lower the heat slightly when scrambling and stir gently for about 3–4 minutes. Remove them from heat just before they appear fully set to keep them soft and creamy.
Can I modify this recipe for dietary restrictions?
Of course! If you’re looking for a lighter option, you can easily replace regular bacon with turkey bacon or smoked tempeh. For a vegetarian version, consider adding roasted vegetables or replacing eggs with a chickpea scramble. Enjoy customizing it to fit your dietary needs!

Savor Avocado, Bacon and Egg Toasts with Hot Honey Delight
Ingredients
Equipment
Method
- Gather all ingredients. Wash and slice avocados, mash them with salt and pepper. Whisk eggs in a separate bowl.
- Cook bacon in a frying pan over medium heat for about 5-7 minutes until crispy. Remove and let drain on paper towels.
- In the bacon drippings, lower heat and pour in whisked eggs. Stir gently for 3-4 minutes until soft and fluffy.
- Toast sourdough in a toaster or skillet for 3-5 minutes until golden brown and crispy.
- Spread mashed avocado on each slice of toasted sourdough, then top with scrambled eggs and crispy bacon.
- Drizzle hot honey over the assembled toasts and serve warm.