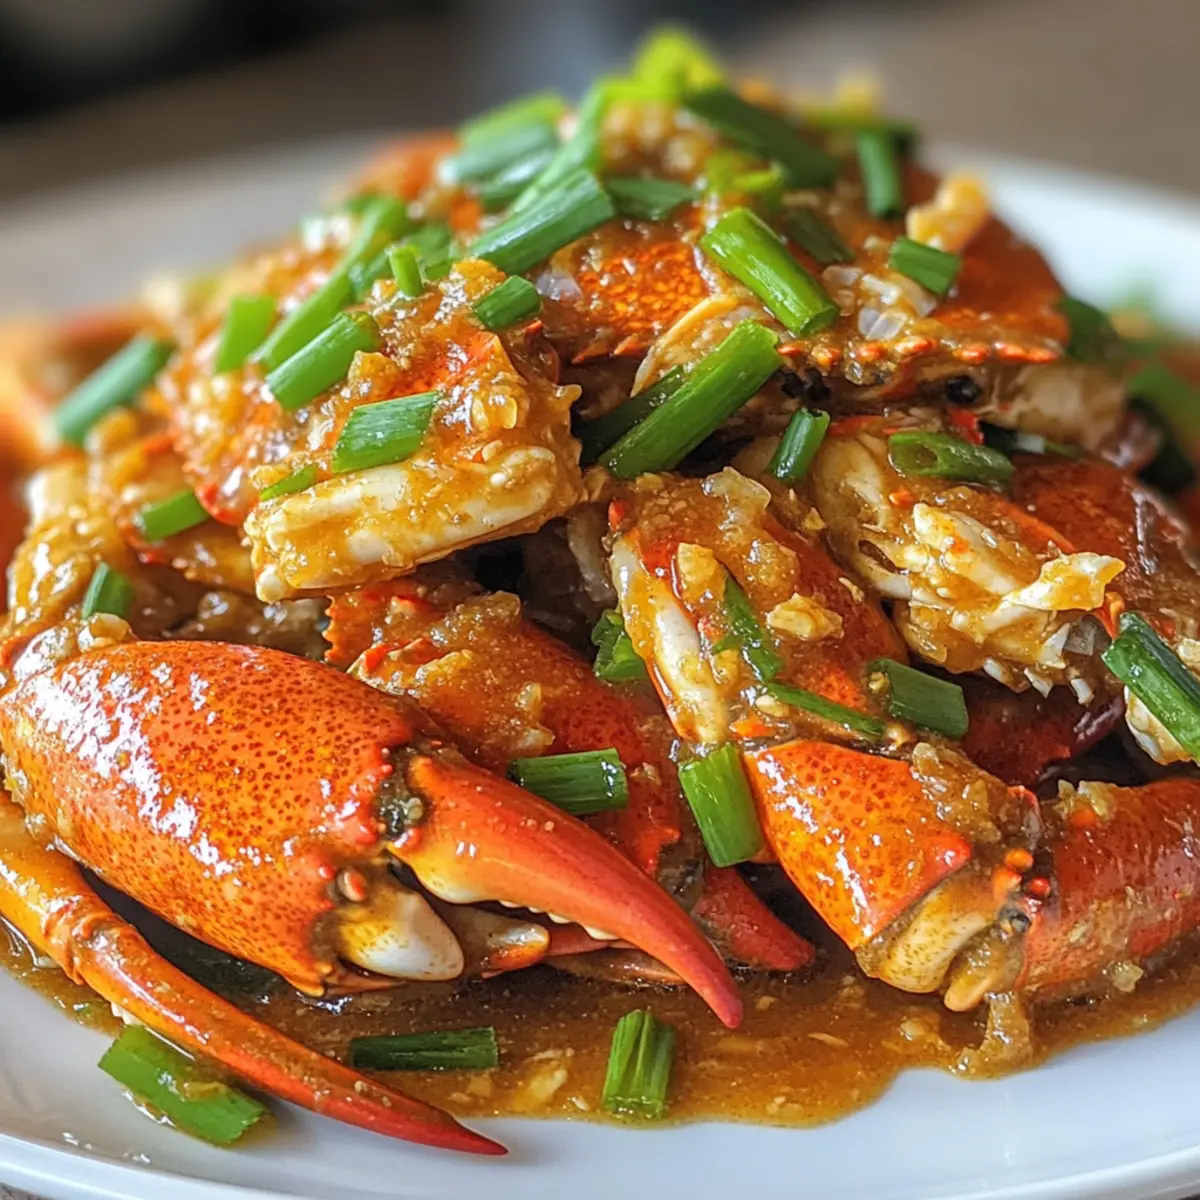
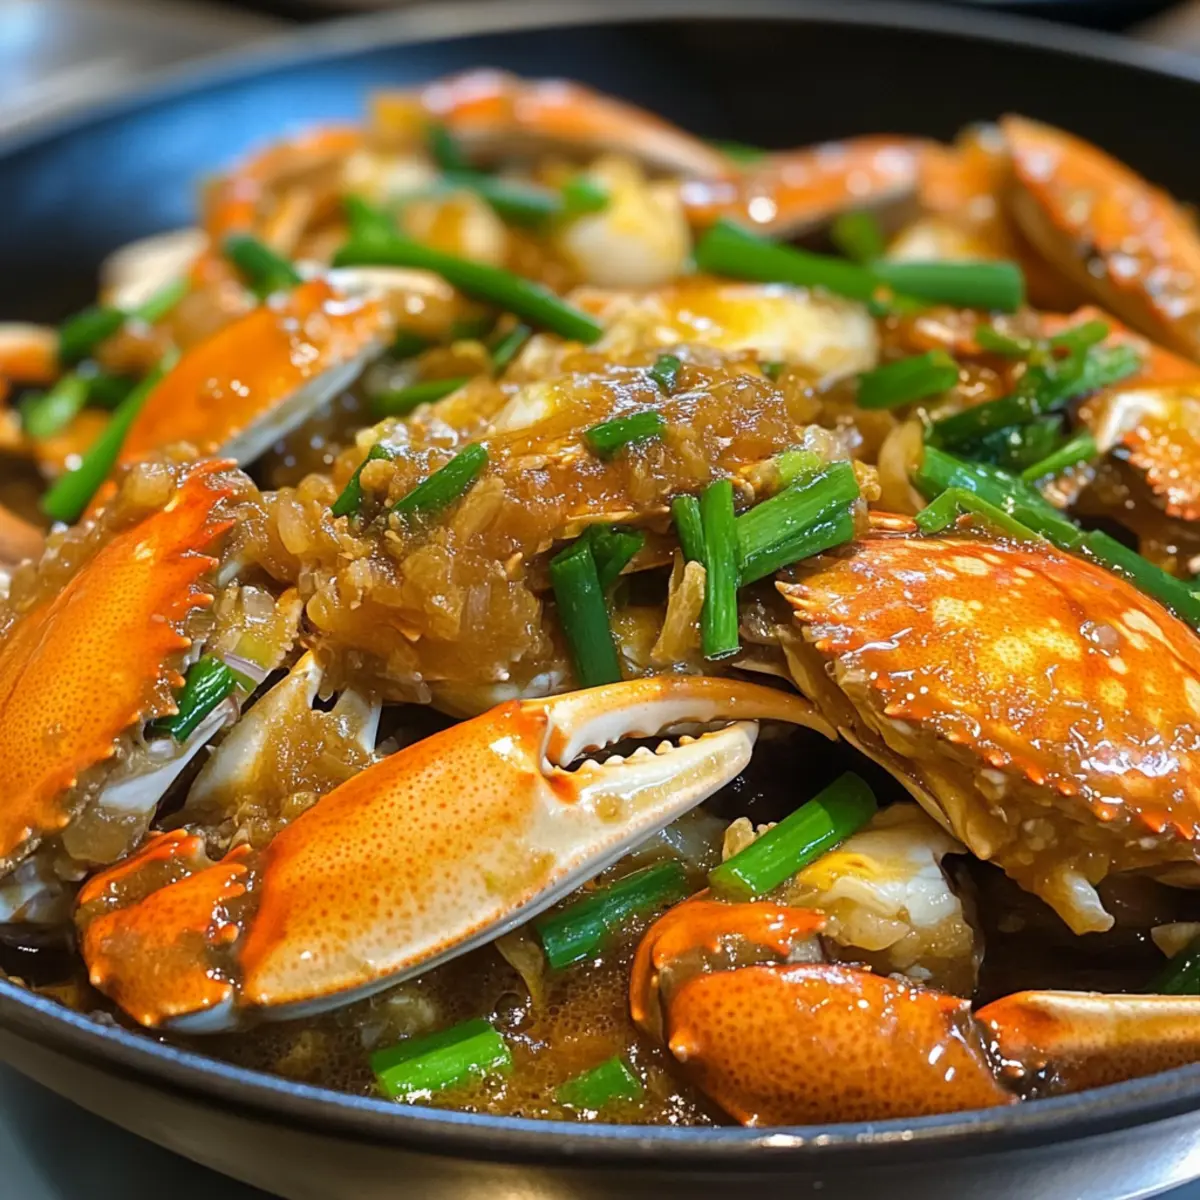
The first time I tasted Stir-fried Crab with Ginger and Scallion, I was instantly transported to the bustling streets of Vietnam, where the aroma of fresh seafood mingles with fragrant spices. This delightful dish not only celebrates the tender sweetness of crab but also features zesty ginger and crispy scallions, creating an irresistible harmony of flavors that’s sure to impress. Perfect for both special occasions and cozy family dinners, this recipe is the antidote to the quick-fix meals we often find ourselves resorting to. With minimal prep time and a restaurant-quality finish, you’ll be able to enjoy a tantalizing seafood experience right in your own kitchen. Ready to elevate your weeknight dinner? Let’s dive into making this vibrant Vietnamese seafood masterpiece!
Why Choose This Stir-fry Recipe?
Easily Mastered: This concise recipe breaks down the steps so anyone, whether a home cook or a seasoned chef, can create restaurant-quality meals without fuss.
Flavor Explosion: The zesty infusion of ginger and fresh scallions creates an aromatic experience that will have everyone asking for seconds!
Quick and Delicious: Ready in just about 30 minutes, it’s perfect for busy weeknights when you crave something special. Pair with Refreshing Cucumber Twist for a refreshing side!
Versatile Ingredients: While crabs steal the show, don’t hesitate to switch it up with shrimp or lobster for a delightful variation.
Impress Your Guests: Serve this dish at your next gathering, and watch your friends rave about your culinary skills as they relish this savory treat!
Stir-fried Crab with Ginger and Scallion Ingredients
-
For the Crab
-
Live Crabs – Choose fresh, whole crabs for the sweetest flavor; lobsters can be a great alternative for easier handling.
-
For the Sauce
-
Shaoxing Wine (2 tbsp) – This enhances the flavor depth with a hint of sweetness; sake can be used as a substitute.
-
Light Soy Sauce (1 tbsp) – Adds essential umami and saltiness to the dish.
-
Oyster Sauce (1.5 tbsp) – Contributes a rich flavor and a savory depth to the stir-fry.
-
Water (1/2 cup) – Helps create the delicious cooking sauce.
-
For the Aromatics
-
Scallions (4-5 stalks) – Provides a fresh, mild onion flavor; remember to keep white and green parts separate for ideal cooking stages.
-
Peeled Ginger (1.5 oz, thinly sliced) – Offers a warm, zesty essence that beautifully balances the sweetness of the crab.
-
For Breading and Frying
-
Cornstarch (2-3 tbsp) – Ideal for coating the crab pieces to achieve a crispy texture when fried.
-
Cooking Oil – Use a high smoke-point oil like vegetable or peanut oil for frying.
Enjoy this Stir-fried Crab with Ginger and Scallion as a delightful homemade dish, perfect for any seafood lover!
Step‑by‑Step Instructions for Stir-fried Crab with Ginger and Scallion
Step 1: Prepare the Crabs
Begin by placing the live crabs in the freezer for 15-20 minutes to immobilize them. Once they are calm, rinse them under cold running water to remove any debris and gills. Using a sharp knife or kitchen shears, cut the crabs in half or quarters, and gently crack the claws and legs with a mallet to allow the flavors to seep in during cooking.
Step 2: Prepare the Ingredients
While crabs are chilling, slice the scallions into 2-inch pieces, keeping the white parts separate from the green. This ensures even cooking and flavor integration. Next, thinly slice the ginger, as this aromatic will deliver that signature warmth and zest to your Stir-fried Crab with Ginger and Scallion, enhancing the overall profile of this dish.
Step 3: Cook the Crab
In a large skillet or wok, heat oil over medium heat until it shimmers, approximately 2-3 minutes. Dredge the crab pieces in cornstarch, coating them thoroughly for a crispy texture. Carefully add the crab to the hot oil, frying until they turn golden brown, about 3 minutes on each side. Once cooked, remove the crab and set them aside on a plate lined with paper towels to absorb excess oil.
Step 4: Flavor Base
Using the same skillet, retain about a tablespoon of the oil and add the sliced ginger and the white parts of the scallions. Stir-fry for about 1-2 minutes, or until fragrant, allowing the aromatic oils to release. The ginger should become slightly golden, which sets a prominent flavor base for your Stir-fried Crab with Ginger and Scallion.
Step 5: Combine Ingredients
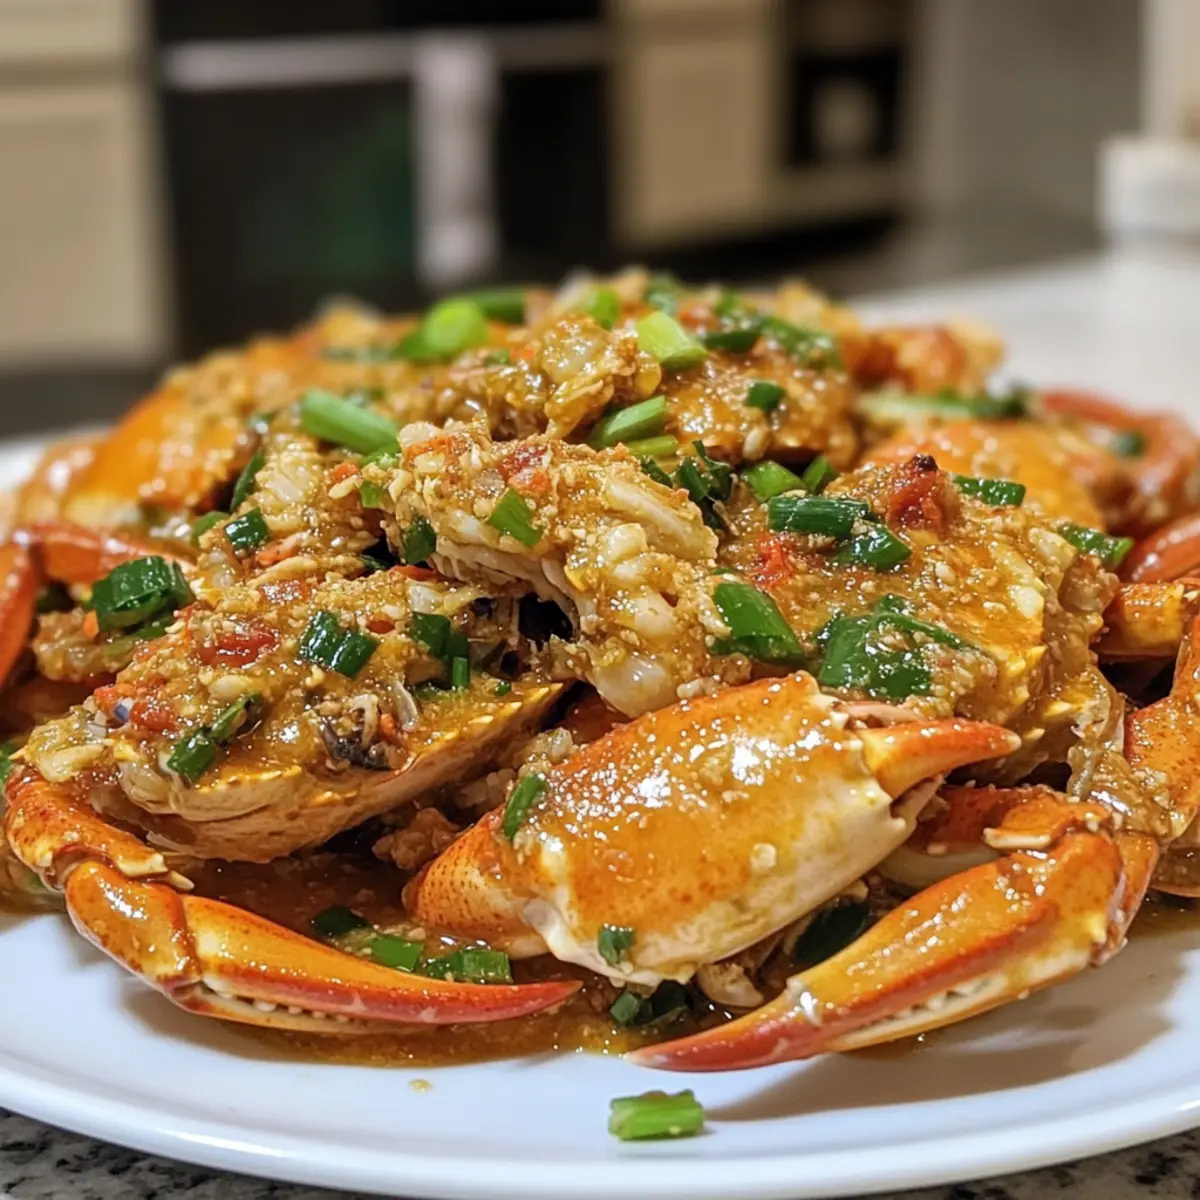
Now, return the crispy crab to the skillet and give it a gentle stir to combine with the sautéed ingredients. Pour in the Shaoxing wine and let it sizzle for about 30 seconds, allowing the wine’s aromatic flavors to meld into the mixture. Then, add the light soy sauce, oyster sauce, water, and crab butter, stirring well before covering the skillet, letting everything simmer for 4-5 minutes until the crab is fully cooked and the sauce thickens.
Step 6: Finish
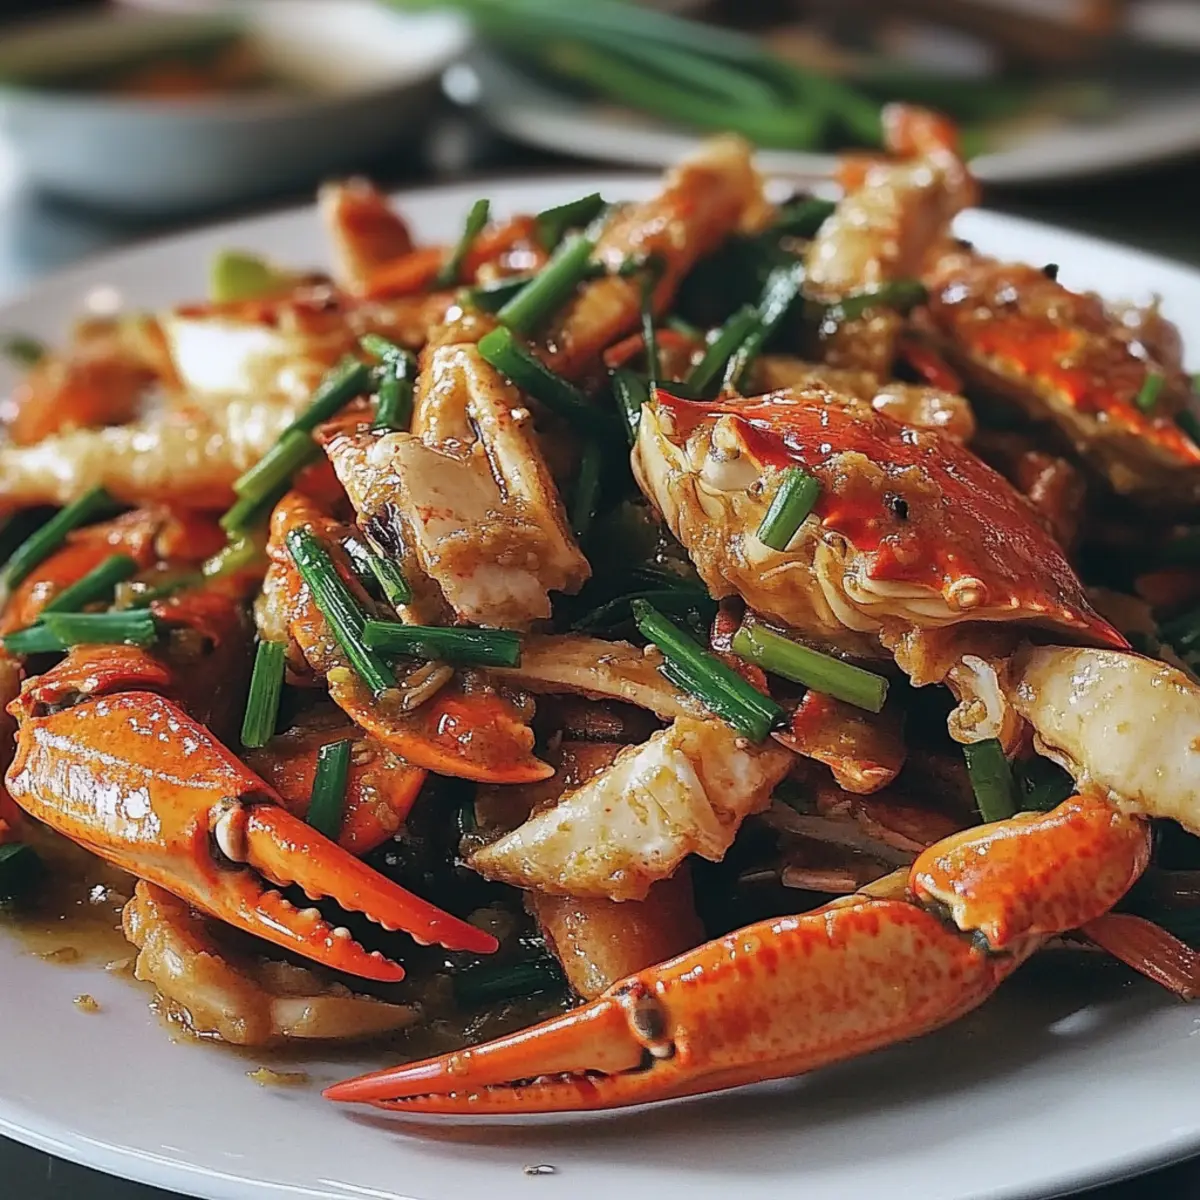
Finally, remove the lid and stir in the green parts of the scallions, cooking for an additional minute until they just wilt. This adds a fresh crunch to your Stir-fried Crab with Ginger and Scallion. Once everything is well combined and bubbling, remove from heat and prepare to serve this vibrant dish immediately, letting those incredible aromas fill your kitchen!
Storage Tips for Stir-fried Crab with Ginger and Scallion
-
Fridge: Store any leftover Stir-fried Crab with Ginger and Scallion in an airtight container in the refrigerator for up to 1 day to maintain freshness.
-
Reheating: Gently reheat crab in a skillet over low heat to avoid drying out. Adding a splash of water can help keep the meat moist and succulent.
-
Freezer: It’s best not to freeze this dish, as the texture of the crab can be compromised. However, if absolutely necessary, place in a freezer-safe container and consume within a week.
-
Avoiding Odors: To minimize seafood smells in your fridge, place an open box of baking soda alongside the stored crab.
What to Serve with Stir-fried Crab with Ginger and Scallion?
Indulge in a culinary journey by complementing your aromatic crab stir-fry with delightful pairings that enhance its flavors.
-
Steamed Jasmine Rice:
Light and fragrant, a bowl of warm jasmine rice perfectly balances the rich sauce. It soaks up every drop, creating a harmonious dining experience. -
Garlic Sautéed Broccolini:
With a slight crunch and savory garlic notes, this green side adds a fresh element. It beautifully contrasts the tender crab using vibrant green hues. -
Crispy Spring Rolls:
These golden bites offer a delightful crunch packed with seasoned vegetables or shrimp, adding texture and an irresistible dipping option for your meal. -
Spicy Papaya Salad:
This refreshing dish brings a crunchy, tangy twist that cuts through the richness of the crab. Its vibrant flavors awaken your palate, making every bite exciting. -
Chilled Cucumber Salad:
Crisp cucumbers tossed in a light vinegar dressing cleanse the palate between bites. This cooling side provides balance to the warm, savory crab stir-fry. -
Coconut Water:
An ideal drink to wash it all down, refreshing coconut water offers a natural sweetness that pairs delightfully with the complex flavors in your crab dish. -
Mango Sticky Rice:
For dessert, this sweet treat rounds off the meal beautifully. The creamy coconut and ripe mango echo tropical flavors that keep the dinner cohesive and memorable.
Make Ahead Options
Stir-fried Crab with Ginger and Scallion is a fantastic dish for busy home cooks who want to save time without sacrificing flavor! You can clean and cut the live crabs up to 24 hours in advance; just keep them covered in the refrigerator to maintain freshness. You can also prep the ginger and scallion (keeping both parts separated) the day before to enhance the dish’s convenience. When you’re ready to enjoy this delicious crab stir-fry, simply follow the cooking instructions, and finish frying the seasoned ingredients for just 4-5 minutes, ensuring your meal is just as delightful as if made on the spot. Enjoy the incredible aroma and taste without the last-minute rush!
Tips for the Best Stir-fried Crab
-
Freshness Matters: Use live crabs for the best flavor; frozen or store-bought crabs may lack the sweetness and tenderness essential for this stir-fried crab.
-
Don’t Overcook: If crab is cooked too long, it can turn dry and lose flavor. Aim to cook it just until the meat is opaque, which usually takes about 4-5 minutes.
-
Crispiness Tip: Coat crab pieces in cornstarch for an extra crunchy exterior. Avoid using too much oil during frying, as this can cause sogginess.
-
Layer Flavors: Sauté the ginger and white parts of the scallions first for a robust flavor base. This step enhances the aromatic qualities of your stir-fried crab with ginger and scallion.
-
Garnish Wisely: After cooking, garnish with the green scallion tops just before serving to maintain their vibrant color and crunch, adding a fresh touch to the dish.
Stir-fried Crab with Ginger and Scallion Variations
Feel free to get creative with this delightful dish; the possibilities are endless!
-
Pre-Cooked Crab: Use pre-cooked crab meat for a faster, hassle-free option without the fuss of handling live crabs.
-
Shrimp Twist: Substitute the crab with shrimp if you prefer this popular seafood alternative, offering a similar flavor profile with a different texture.
-
Lobster Luxury: For an indulgent twist, swap crabs for lobster, enhancing the dish’s richness and sophistication.
-
Garlic Boost: Add minced garlic alongside the ginger for a bolder flavor that elevates the dish’s aromatic qualities.
-
Vegetable Medley: Include colorful bell peppers or snap peas to inspire a delightful crunch and additional nutrition, making it a satisfying one-pan meal.
-
Spicy Kick: Add a splash of soy sauce or chili paste for a heat boost, perfect for those who love to spice up their seafood affair.
-
Gluten-Free: Use tamari in place of soy sauce for a gluten-free alternative without sacrificing flavor, ensuring everyone can enjoy this dish.
For a refreshing complementary side, consider pairing it with a Crisp Cabbage Dressing or a Nut Seed Cookies for dessert!
Stir-fried Crab with Ginger and Scallion Recipe FAQs
What type of crabs should I use for this recipe?
Absolutely! For the best flavor, it’s ideal to use fresh, live crabs. They provide the sweetest and most tender meat. If you’re looking for a hassle-free alternative, you can also try using cooked crab meat or lobsters, which are easier to handle and still delicious.
How do I store leftover Stir-fried Crab with Ginger and Scallion?
To ensure the best taste, store any leftover crab in an airtight container in the refrigerator. It will stay fresh for up to 1 day. When you’re ready to enjoy it again, gently reheat the crab in a skillet over low heat, adding a splash of water to keep the meat moist and flavorful.
Can I freeze Stir-fried Crab with Ginger and Scallion?
While it’s best to enjoy this dish fresh, if you absolutely need to freeze it, transfer it to a freezer-safe container. Try to consume it within a week to ensure the best quality. Keep in mind that the texture may change once thawed, so it’s usually better to make this delightful dish fresh!
What should I do if the crab meat turns out dry?
Very! If you find your crab meat has become dry, it might be due to overcooking. Remember, crab meat should be cooked until it is just opaque, taking about 4-5 minutes. In future preparations, make sure to monitor your cooking times closely and consider adding a splash of water while reheating to help retain moisture.
Are there any dietary considerations I should be aware of?
Certainly! If you have shellfish allergies, it’s important to avoid this recipe altogether, as it may cause reactions. Also, check with your veterinarian regarding feeding cooked crab to pets, as some crab preparations can be overly salty or include ingredients that are harmful to them. Enjoy this recipe with care toward dietary needs!
Savory Stir-fried Crab with Ginger and Scallion Delight
Ingredients
Equipment
Method
- Place the live crabs in the freezer for 15-20 minutes to immobilize. Rinse under cold water to remove debris and gills. Cut the crabs in half or quarters and crack the claws and legs.
- Slice the scallions into 2-inch pieces, keeping the white and green parts separate. Thinly slice the ginger.
- Heat oil in a large skillet over medium heat until it shimmers. Dredge crab pieces in cornstarch and fry until golden brown, about 3 minutes on each side. Remove and set aside.
- In the same skillet, retain about a tablespoon of oil and stir-fry ginger and the white scallion parts for 1-2 minutes until fragrant.
- Return the crispy crab to the skillet, add Shaoxing wine, then light soy sauce, oyster sauce, water, and stir well. Cover and simmer for 4-5 minutes.
- Remove the lid, stir in the green scallion parts, and cook for another minute until wilted. Remove from heat and serve immediately.