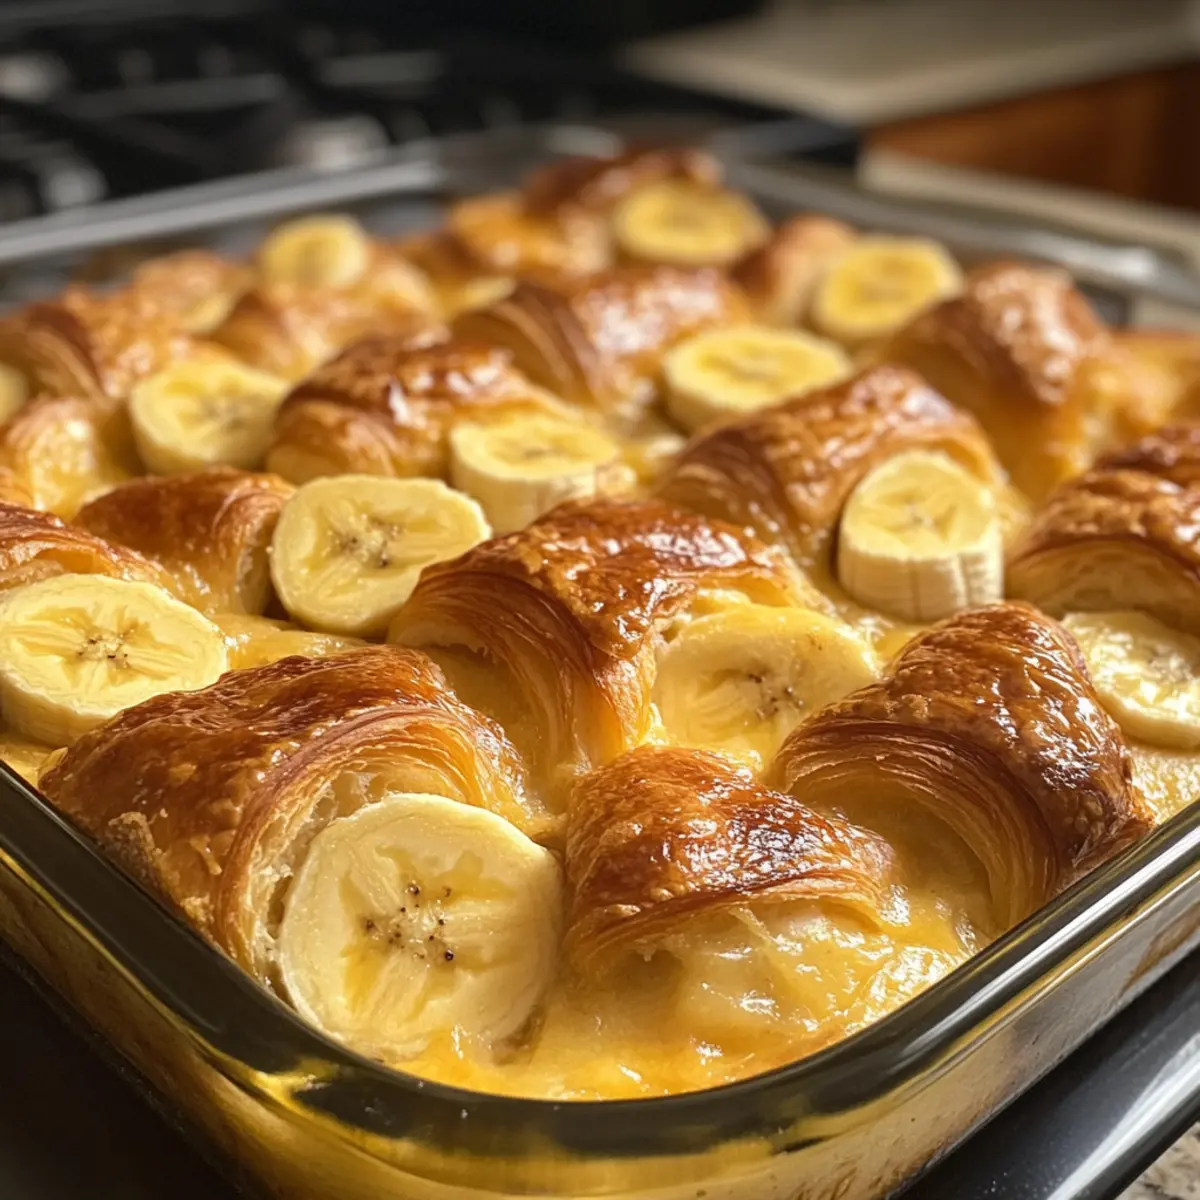
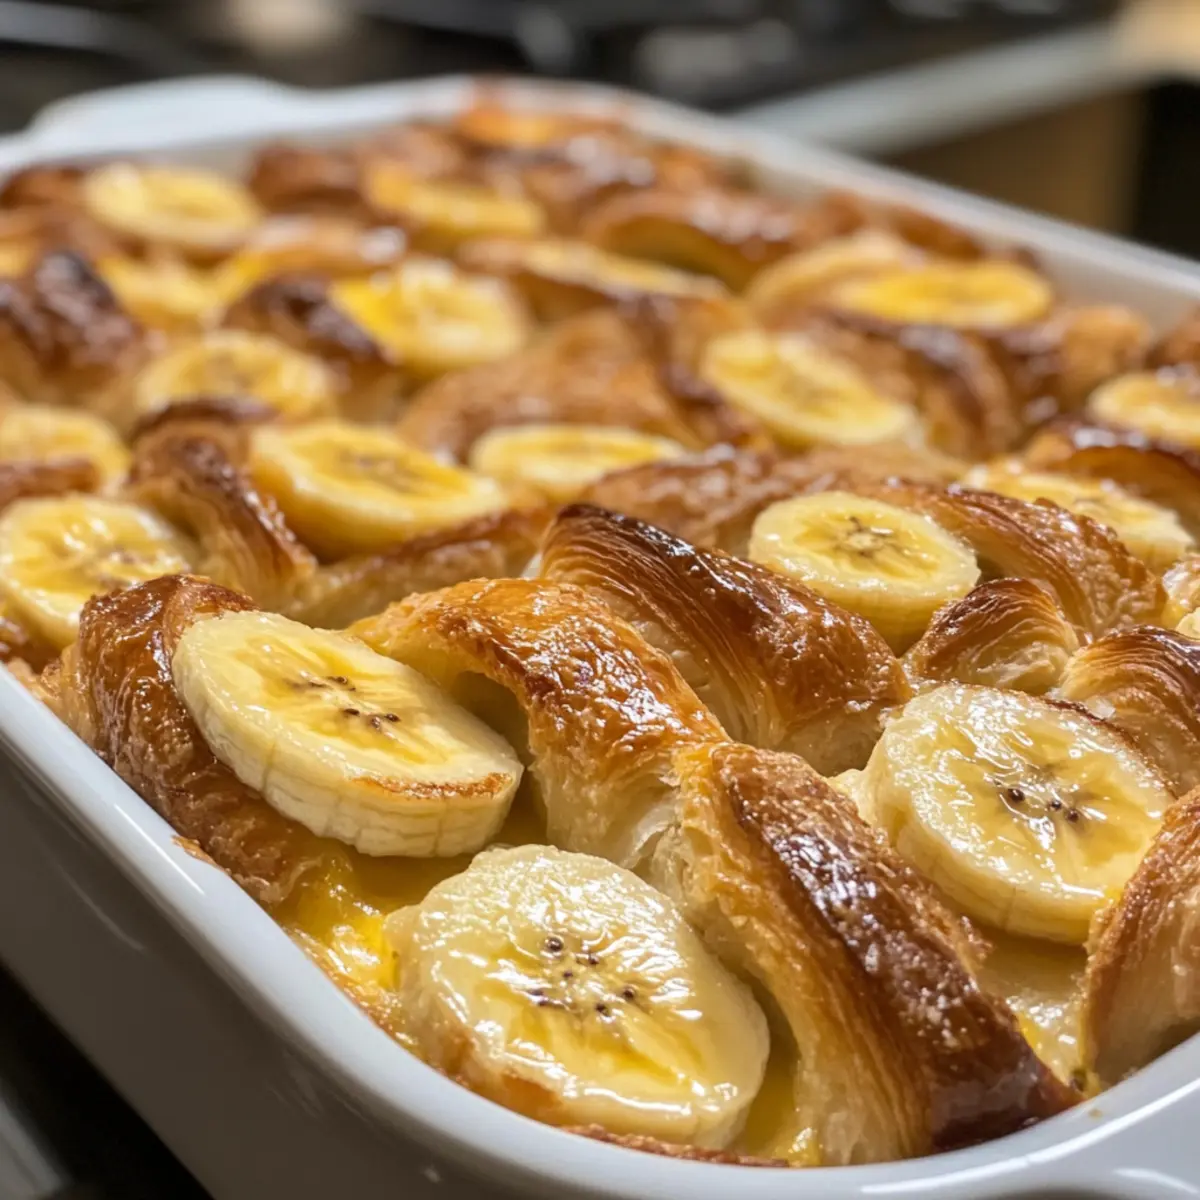
As I wandered through the local bakery, the sweet aroma of freshly baked croissants enveloped me, instantly sparking a cozy craving for brunch. That’s when the idea for my Banana Croissant French Toast Casserole was born—a warm, buttery dish that perfectly marries the indulgence of croissants with the natural sweetness of ripe bananas. What I love most about this recipe is how effortlessly it combines the comforting essence of a traditional bread pudding with a French twist, making it an ideal dish for lazy weekends or festive brunches. Plus, it’s simple to prepare, allowing you to impress family and friends without spending all morning in the kitchen. Ready to dive into this delightful culinary adventure? Let’s get cooking!
Why is This Casserole a Must-Try?
Comforting Deliciousness: The combination of buttery croissants and ripe bananas creates a mouthwatering symphony of flavors that’s simply irresistible.
Effortless Preparation: This recipe requires minimal effort, making it perfect for impromptu brunches or cozy family gatherings.
Endless Customization: Feel free to swap in chocolate chips or your favorite nuts for added textures and flavors!
Make-Ahead Magic: Assemble it the night before, and enjoy a warm breakfast without the fuss in the morning. The joy of serving a freshly baked dish from your oven impresses everyone.
Crowd-Pleasing Appeal: With its rich, sweet profile, this casserole will surely have guests asking for seconds and requesting the recipe, just like our Berry Banana Cottage or Banana Bread Brownies!
Banana Croissant French Toast Casserole Ingredients
Get ready to create a deliciously indulgent casserole!
-
For the Custard
-
Whole Milk – Provides richness and moisture; can be swapped with any plant-based milk for a dairy-free version.
-
Heavy Cream – Adds a creamy texture; consider half-and-half for a lighter option.
-
Eggs – Essential for binding; flax eggs work well for a vegan alternative.
-
Granulated Sugar – Sweetens the casserole; brown sugar enhances the flavor.
-
Vanilla Extract – Enhances flavor; almond extract offers a different aromatic twist.
-
Banana Extract – Intensifies the banana flavor; feel free to omit if you’re using plenty of fresh bananas.
-
Salt – Balances sweetness; it’s crucial for achieving optimal taste.
-
For the Casserole Base
-
Ripe Banana – Adds natural sweetness and texture; overripe bananas are perfect for this dish.
-
Croissants – The backbone of the casserole; day-old or stale croissants soak up custard beautifully.
-
For Serving
-
Maple Syrup – Adds a lovely sweetness when serving; honey or agave syrup are tasty alternatives.
Dive into the joys of this Banana Croissant French Toast Casserole, perfect for your next breakfast or brunch!
Step‑by‑Step Instructions for Banana Croissant French Toast Casserole
Step 1: Preheat and Prepare
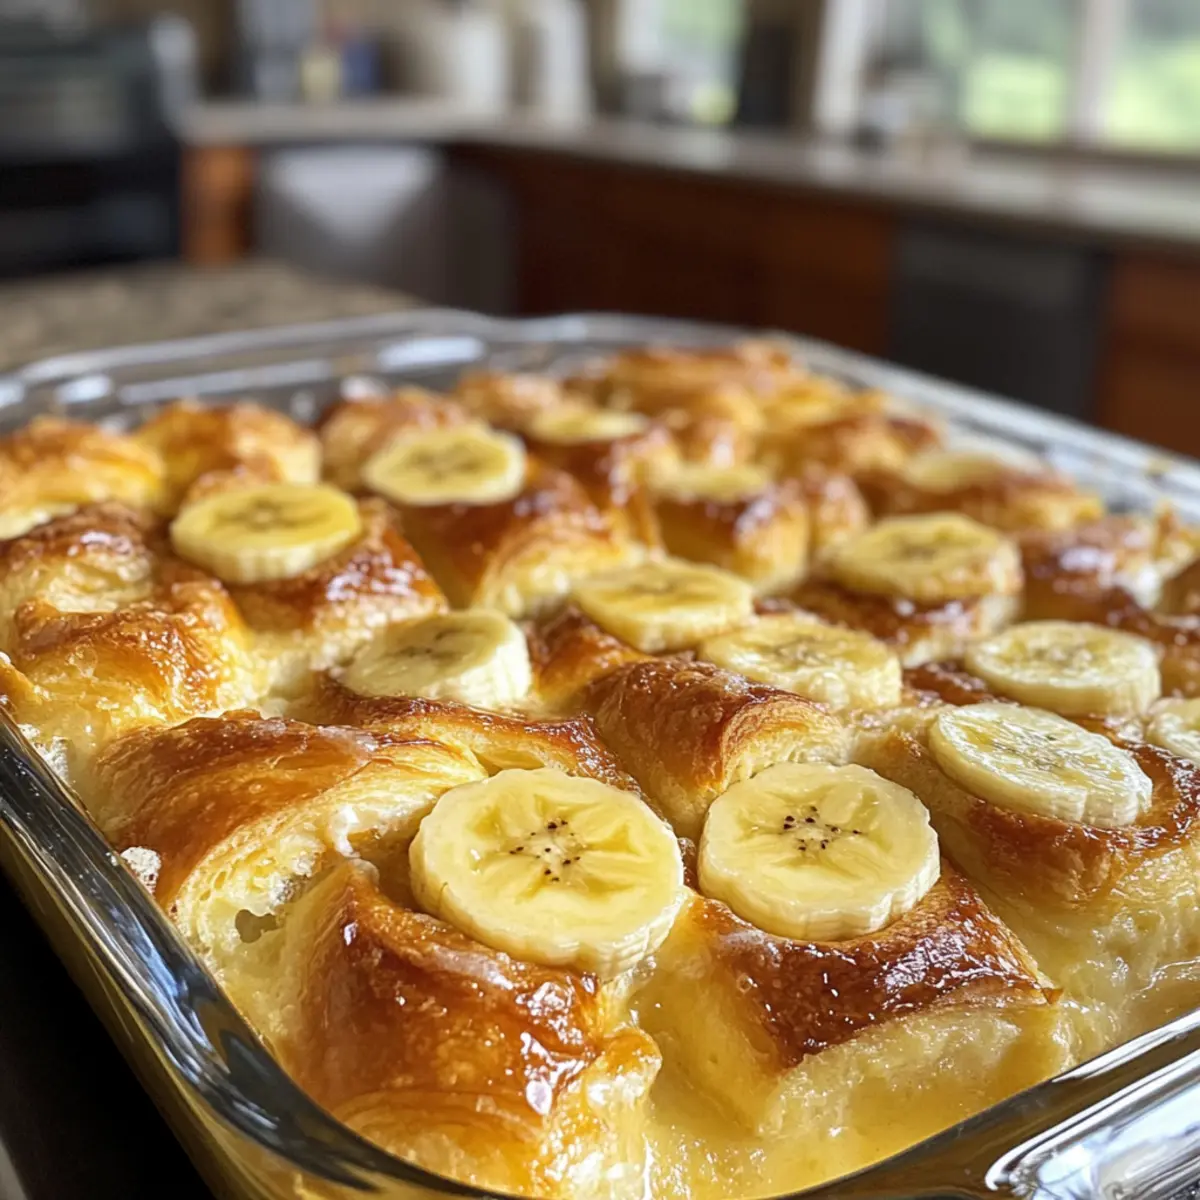
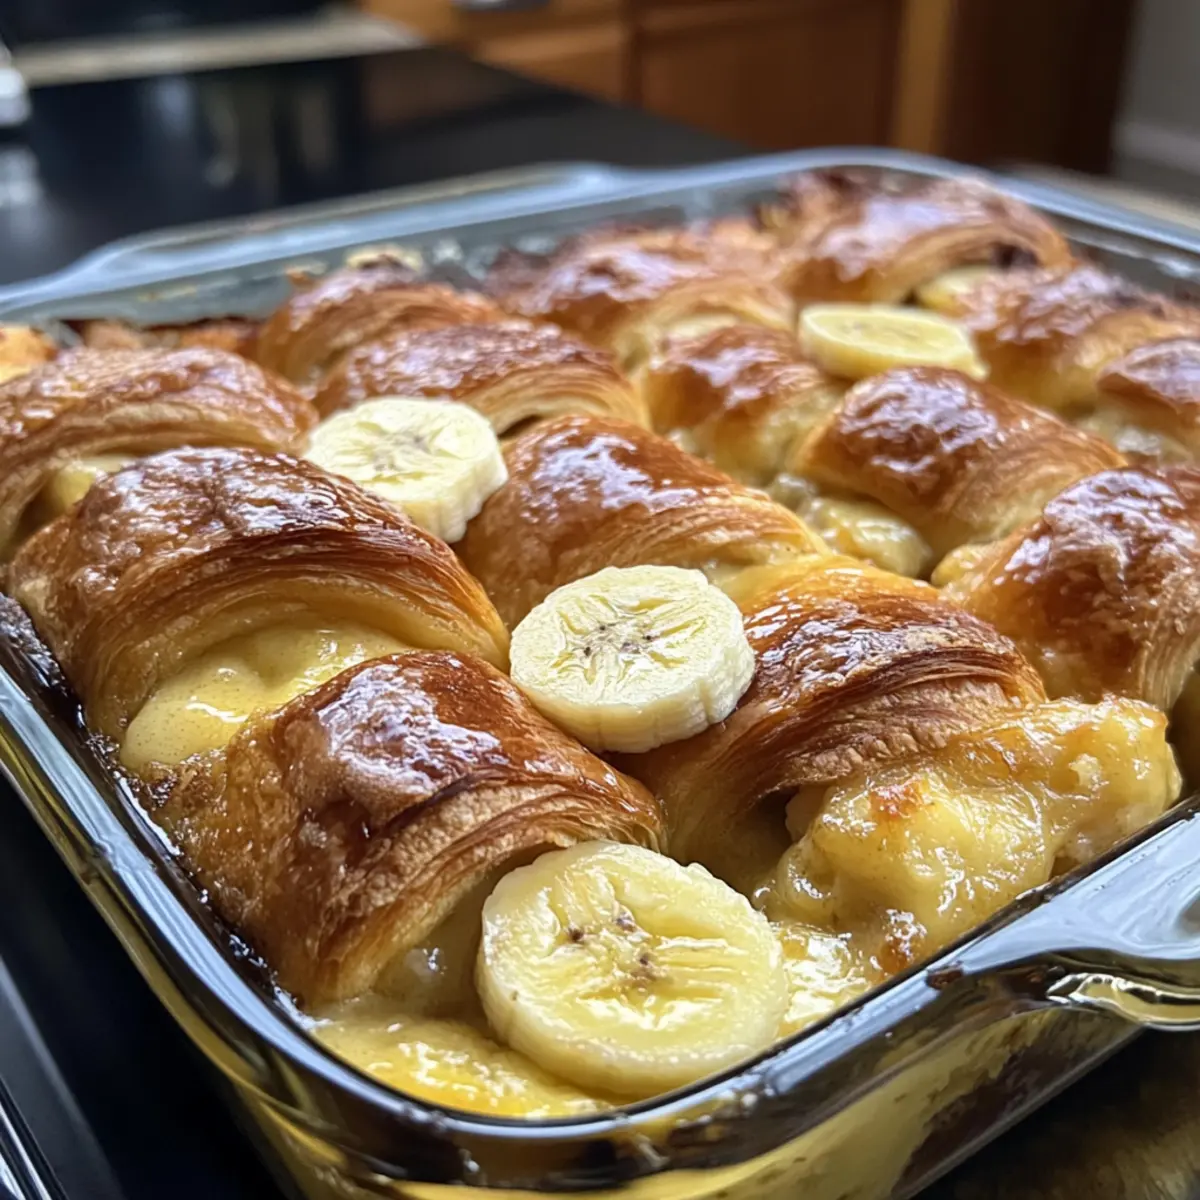
Begin by preheating your oven to 350°F (175°C). While the oven warms up, take an 8×8-inch baking dish and generously spray it with cooking spray to prevent sticking. This step ensures your Banana Croissant French Toast Casserole releases easily and comes out perfectly golden brown.
Step 2: Whisk the Custard Mixture
In a large mixing bowl, whisk together 2 cups of whole milk, 1 cup of heavy cream, 4 eggs, ½ cup of granulated sugar, 1 tablespoon of vanilla extract, 1 teaspoon of banana extract, and a pinch of salt. Keep whisking until the mixture is smooth and creamy, which will form the rich custard base for your casserole.
Step 3: Soak the Croissants
Next, tear 4-5 day-old croissants into bite-sized pieces and gently fold them into the custard mixture. Ensure each piece is well coated. Allow this mixture to sit for 25-30 minutes, stirring halfway through to help the croissants absorb the custard. This soaking process infuses the croissants with flavor and ensures a deliciously moist casserole.
Step 4: Prepare the Bananas
While the croissants soak, slice 2 ripe bananas into ¼-inch thick rounds. Once the soaking time is up, gently stir these banana slices into the croissant mixture, evenly distributing them throughout. This adds delightful bursts of sweetness to your Banana Croissant French Toast Casserole as it bakes.
Step 5: Pour into Baking Dish
Carefully pour the croissant and banana mixture into your prepared baking dish. Spread it out evenly, ensuring all croissant pieces are submerged in the custard. This attention to detail helps achieve an even bake and perfect texture across the entire casserole.
Step 6: Bake to Perfection
Place the baking dish in your preheated oven and bake for 45-50 minutes. You’ll know it’s done when the top is golden brown, and the custard is set but still slightly jiggly. This should yield a comforting and inviting aroma wafting through your kitchen as the casserole cooks.
Step 7: Cool Before Serving
Once baked, remove the casserole from the oven and allow it to cool for about 10 minutes. This resting time lets the casserole firm up slightly, making it easier to cut into portions and ensuring every serving stays intact, enhancing your enjoyment of the delicious Banana Croissant French Toast Casserole.
Expert Tips for Banana Croissant French Toast Casserole
- Soaking Time: Longer soaking is key: For fresher croissants, allow the mixture to soak longer for better custard absorption and texture.
- Browning Control: Keep an eye on it: If the top browns too quickly during baking, cover it with foil to prevent burning while the inside sets perfectly.
- Using Stale Croissants: Optimal choice: Stale or day-old croissants are best as they soak up the custard wonderfully, ensuring a luscious Banana Croissant French Toast Casserole.
- Serving Warm: Enhance the experience: Serve the casserole warm with a drizzle of maple syrup to elevate its rich flavors and comforting appeal.
- Batch Cooking: Bake ahead: For busy mornings, assemble the casserole the night before and bake fresh in the morning to impress your family!
What to Serve with Banana Croissant French Toast Casserole?
Elevate your breakfast or brunch experience with delightful accompaniments that harmonize perfectly with this sweet casserole.
- Crispy Bacon: The salty crunch of bacon complements the sweetness of the casserole, creating a satisfying savory contrast.
- Fresh Berries: A mix of raspberries, blueberries, and strawberries adds a burst of freshness and tartness, balancing the rich flavors.
- Whipped Cream: Light and airy, a dollop of whipped cream enhances the indulgence, making each bite even more irresistible.
- Maple Syrup: Drizzle extra maple syrup on top for added sweetness that beautifully melds with the banana and croissant layers.
- Greek Yogurt Parfait: Serve a side of creamy yogurt with granola and fruits for a healthy, refreshing addition to your meal.
- Cinnamon Sugar Donuts: These sweet treats offer a playful, crunchy texture that complements the soft, custardy casserole.
- Flavored Coffee: Brew a cup of rich vanilla or hazelnut coffee to enhance the brunch atmosphere and awaken your taste buds.
- Orange Juice Mimosa: For a festive touch, mix sparkling wine with fresh orange juice for a refreshing, bubbly beverage.
- Chocolate Chip Cookies: End on a sweet note with warm cookies; their chocolatey goodness is always a welcome delight.
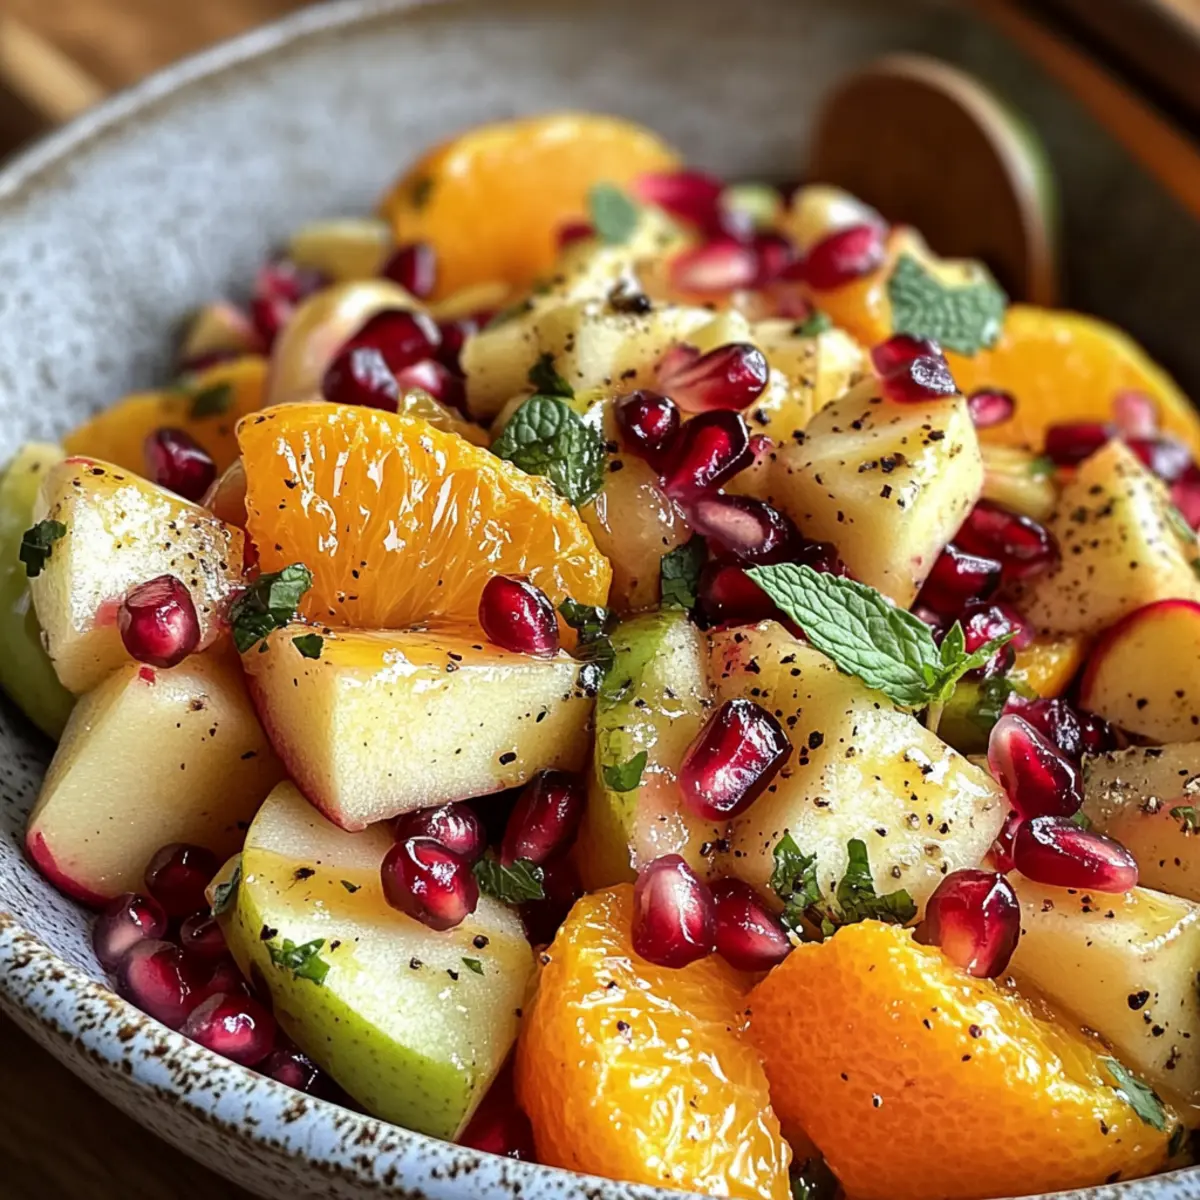
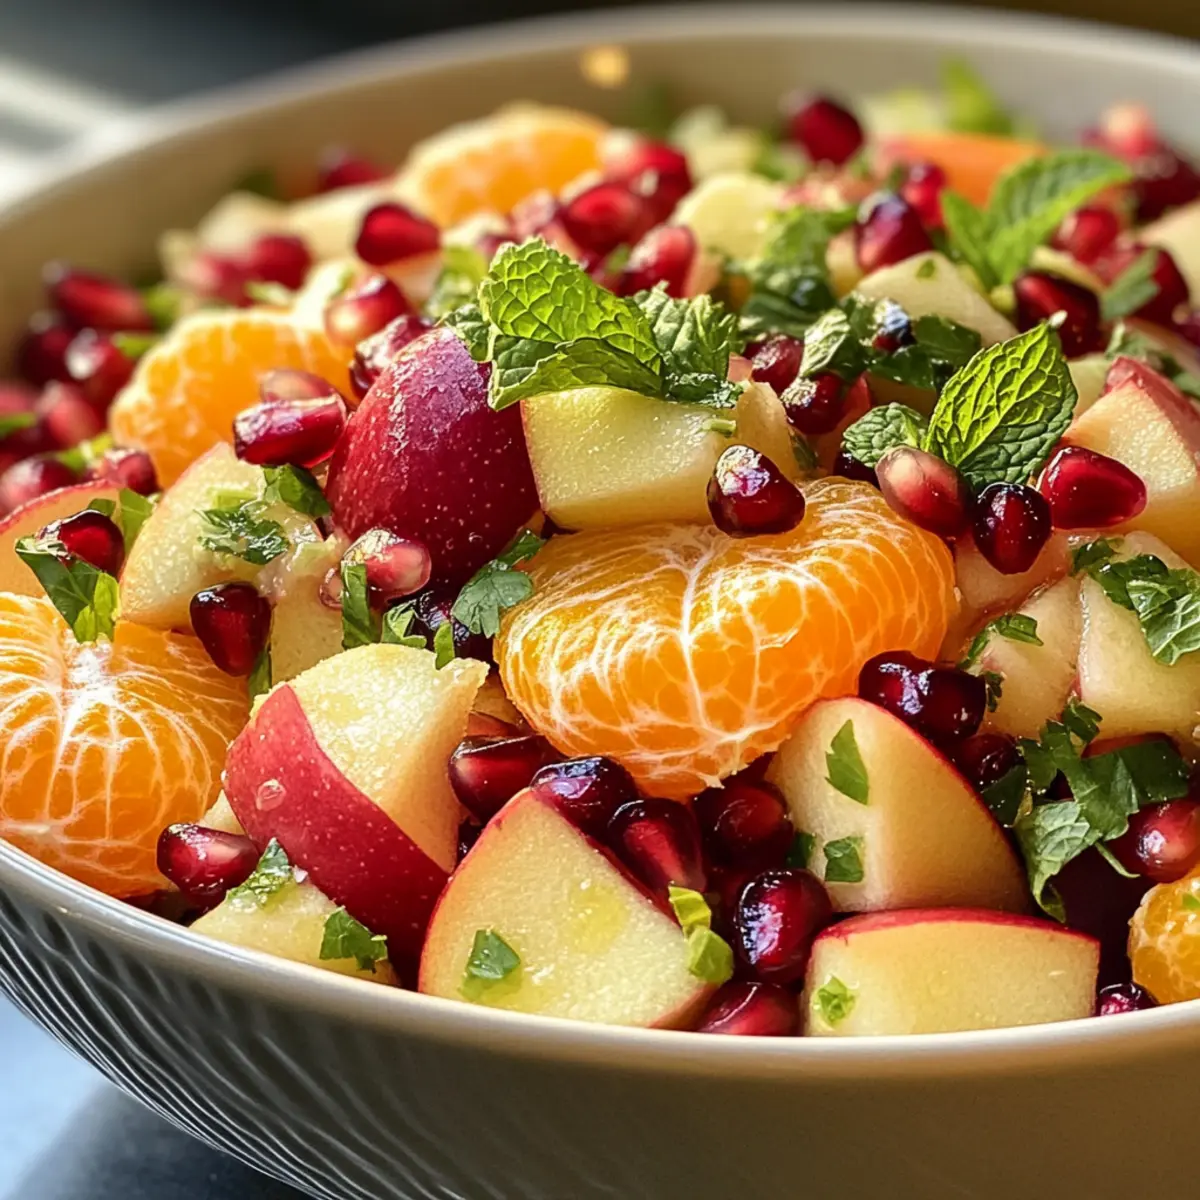
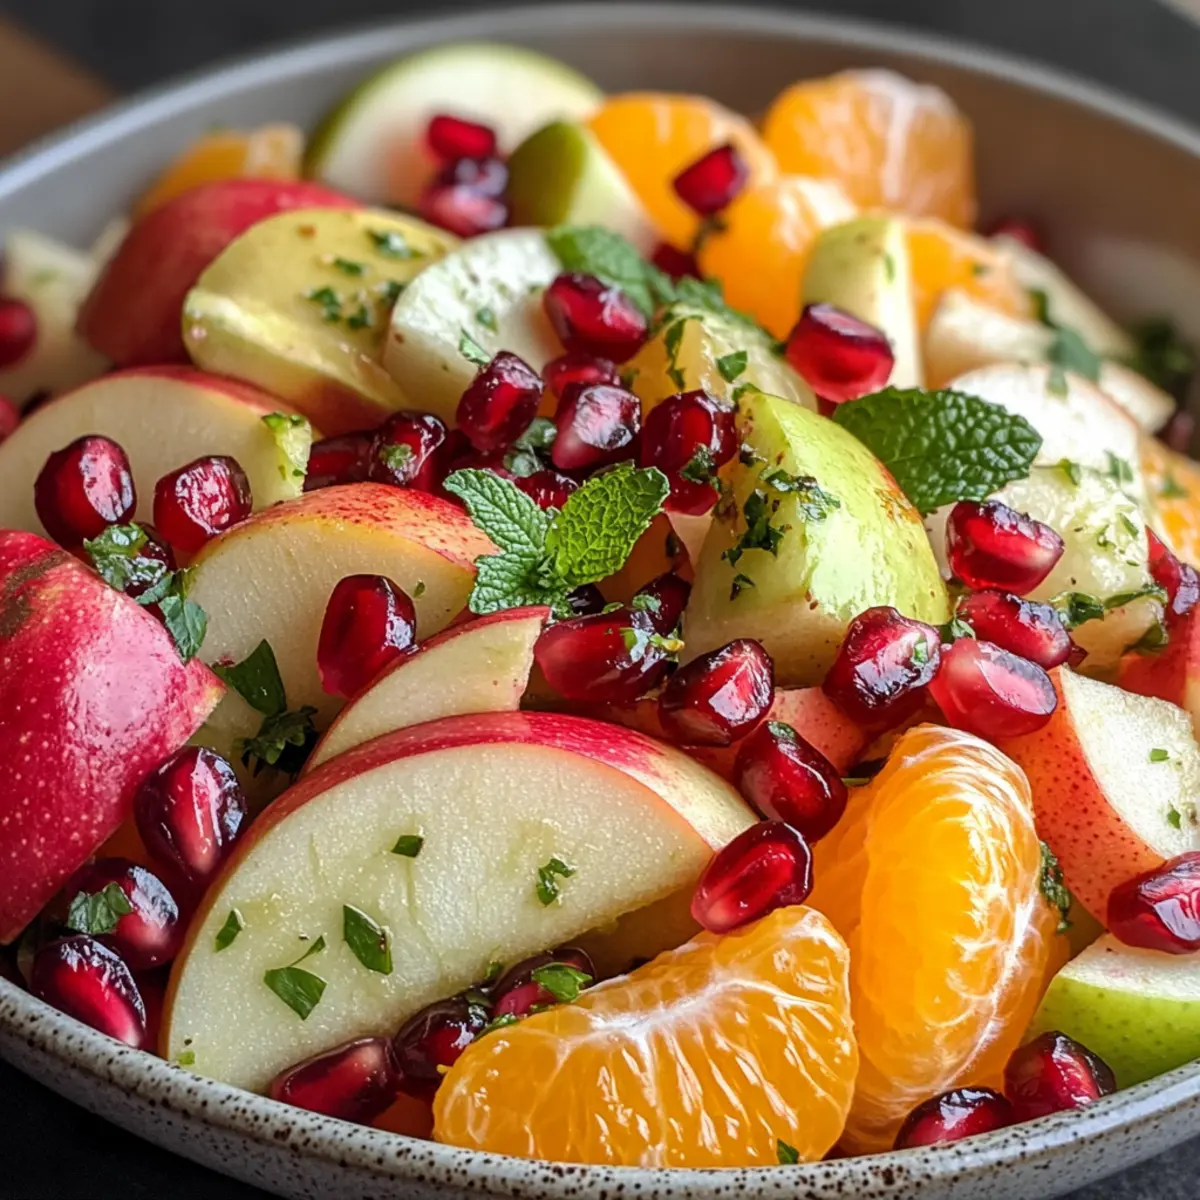
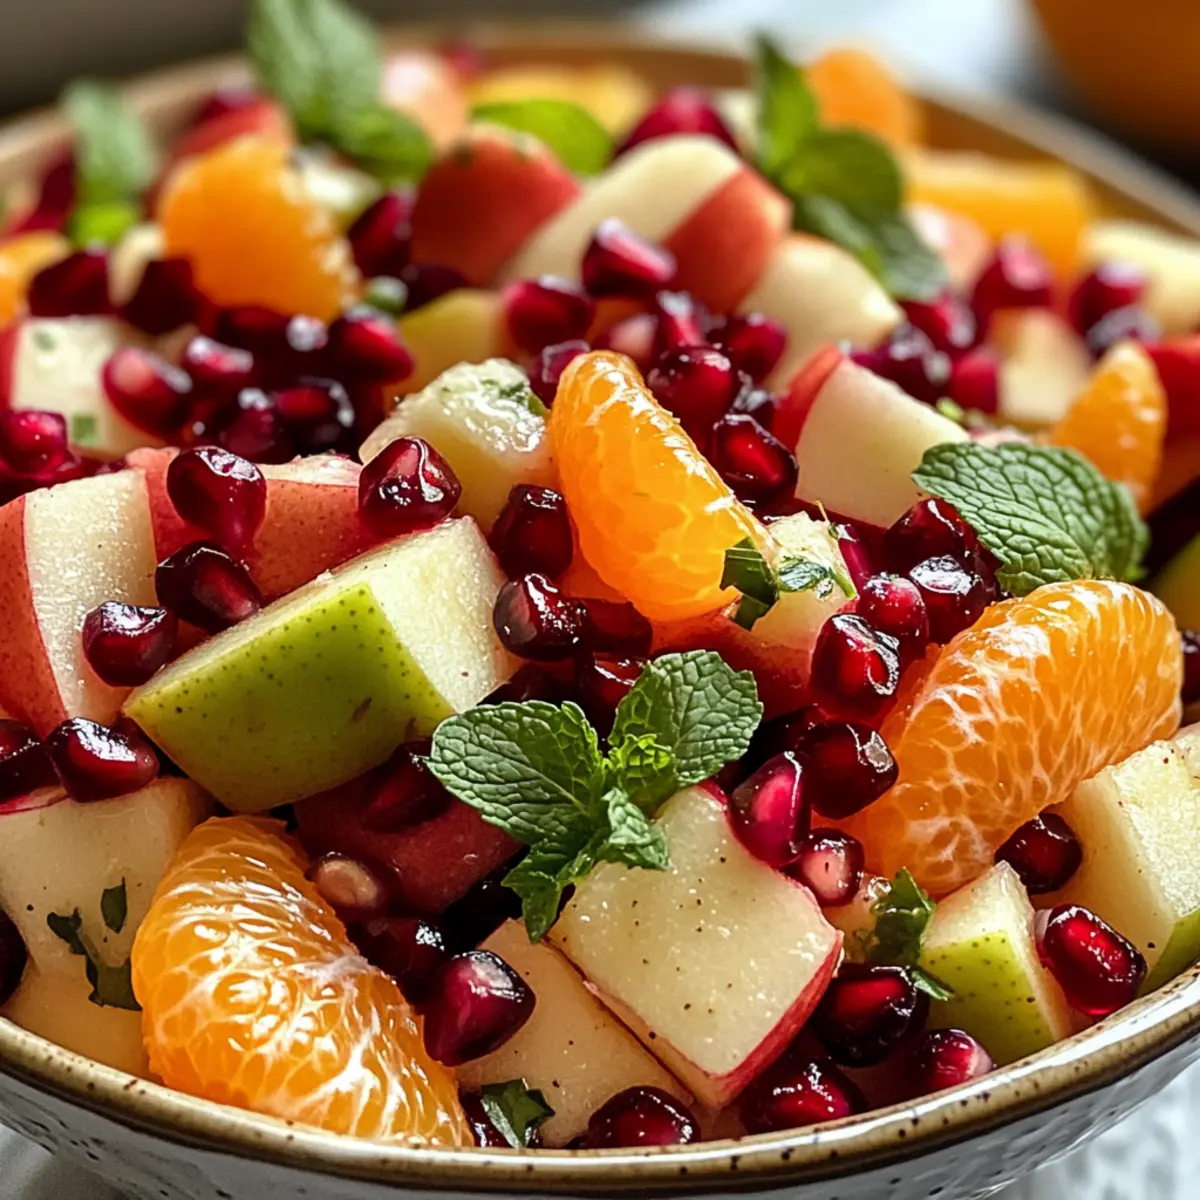
- Fruit Salad: A vibrant fruit salad can lighten the meal, providing a refreshing and colorful platter alongside the casserole.
Make Ahead Options
These Banana Croissant French Toast Casserole is perfect for busy cooks looking to save time! You can assemble the entire casserole up to 24 hours in advance—just prepare it, cover tightly with plastic wrap, and refrigerate. This not only allows the croissants to soak up all that delicious custard but also enhances the flavors. When you’re ready to serve, remove it from the fridge and bake from cold; you might need to add a few extra minutes to the baking time. To maintain quality, enjoy any leftovers within 3 days by storing them in the fridge and reheating gently before serving. You’ll have a delightful breakfast treat with minimal morning effort!
Banana Croissant French Toast Casserole Variations
Feel free to get creative with this Banana Croissant French Toast Casserole and make it your own with these delicious options!
- Brioche Base: Swap croissants for brioche or challah to experience richer flavors and a unique texture.
- Nutty Twist: Add chopped walnuts or pecans for a delightful crunch, balancing the softness of the casserole.
- Choco-Lover’s Delight: Mix in chocolate chips for a decadent, dessert-like version that will satisfy any sweet tooth.
- Citrus Zest: A sprinkle of lemon or orange zest enhances flavors, providing a fresh and aromatic twist to this recipe.
- Spicy Kick: Incorporate a pinch of cinnamon or nutmeg for warm, comforting spices that deepen the flavor experience.
- Dairy-Free Delight: Substitute whole milk and cream with almond or oat milk for a creamy, dairy-free variation.
- Caramel Banana: Drizzle some caramel sauce over the top before baking for an indulgent banana caramel flavor explosion.
- Berry Compote: Serve topped with a fresh berry compote, making it feel like a fancy brunch item, and pairing beautifully with the bananas.
If you’re on the hunt for more fruity indulgences, you might enjoy our Crunchy Banana Seed or dive into the creamy goodness of our Banana Oat Tiramisu. Each offers a delightful twist that could inspire your next kitchen adventure!
Storage Tips for Banana Croissant French Toast Casserole
Fridge: Store leftovers in an airtight container in the refrigerator for up to 3 days. This will help preserve the casserole’s delicious flavors while preventing drying out.
Freezer: If you want to extend storage, freeze portions in airtight containers for up to 2 months. Wrap them tightly in plastic wrap before placing them in an airtight container to prevent freezer burn.
Reheating: For the best texture, reheat individual servings in the oven at 350°F for about 15 minutes, or warm them in the microwave for 1-2 minutes. This will help bring back the warmth and softness of the Banana Croissant French Toast Casserole.
Make-Ahead: Feel free to prepare the casserole the night before and refrigerate it unbaked. This allows for easy baking in the morning, saving you time while still providing a fresh, homemade breakfast!
Banana Croissant French Toast Casserole Recipe FAQs
How do I select ripe bananas for this casserole?
Choose bananas that are overripe, with brown spots on the skin. This indicates they are sweeter and softer, perfect for blending into the custard. Avoid green bananas as they won’t provide the desired sweetness and softness.
What is the best way to store leftovers?
Leftovers can be stored in an airtight container in the refrigerator for up to 3 days. Be sure to cover it well to avoid drying out or absorbing other odors from the fridge. When ready to eat, simply reheat in the oven or microwave.
Can I freeze Banana Croissant French Toast Casserole?
Absolutely! For freezing, wrap individual portions tightly in plastic wrap, followed by aluminum foil, and store them in the freezer for up to 2 months. This method helps maintain the casserole’s flavor and texture.
What if the casserole browns too quickly during baking?
If the top begins to brown too fast, simply cover it loosely with aluminum foil. This will prevent the top from burning while allowing the custard to cook through completely. Monitor it closely to ensure even baking.
Are there any dietary considerations I should be aware of?
While this casserole is a delightful treat, be mindful of dietary restrictions. For a dairy-free version, substitute the whole milk and heavy cream with plant-based options. Additionally, you can use flax eggs for a vegan alternative. Always check that your croissants and extracts are free from allergens if you have guests with dietary needs.
How can I make this ahead of time?
To prepare in advance, assemble the Banana Croissant French Toast Casserole the night before. Cover it well and store it in the refrigerator overnight. In the morning, bake it fresh for a delightful, hassle-free breakfast!
Banana Croissant French Toast Casserole for Cozy Mornings
Ingredients
Equipment
Method
- Preheat your oven to 350°F (175°C) and spray an 8x8-inch baking dish with cooking spray.
- In a large mixing bowl, whisk together the whole milk, heavy cream, eggs, granulated sugar, vanilla extract, banana extract, and salt until well combined.
- Tear the stale croissants into bite-sized pieces and fold them into the custard mixture, letting it sit for 25 to 30 minutes.
- Slice the ripe bananas into thin rounds and gently fold them into the custard-croissant mixture.
- Pour the mixture into the prepared baking dish and bake for 45 to 50 minutes until set and golden brown.
- Let the casserole cool for about 10 minutes before serving warm with maple syrup.