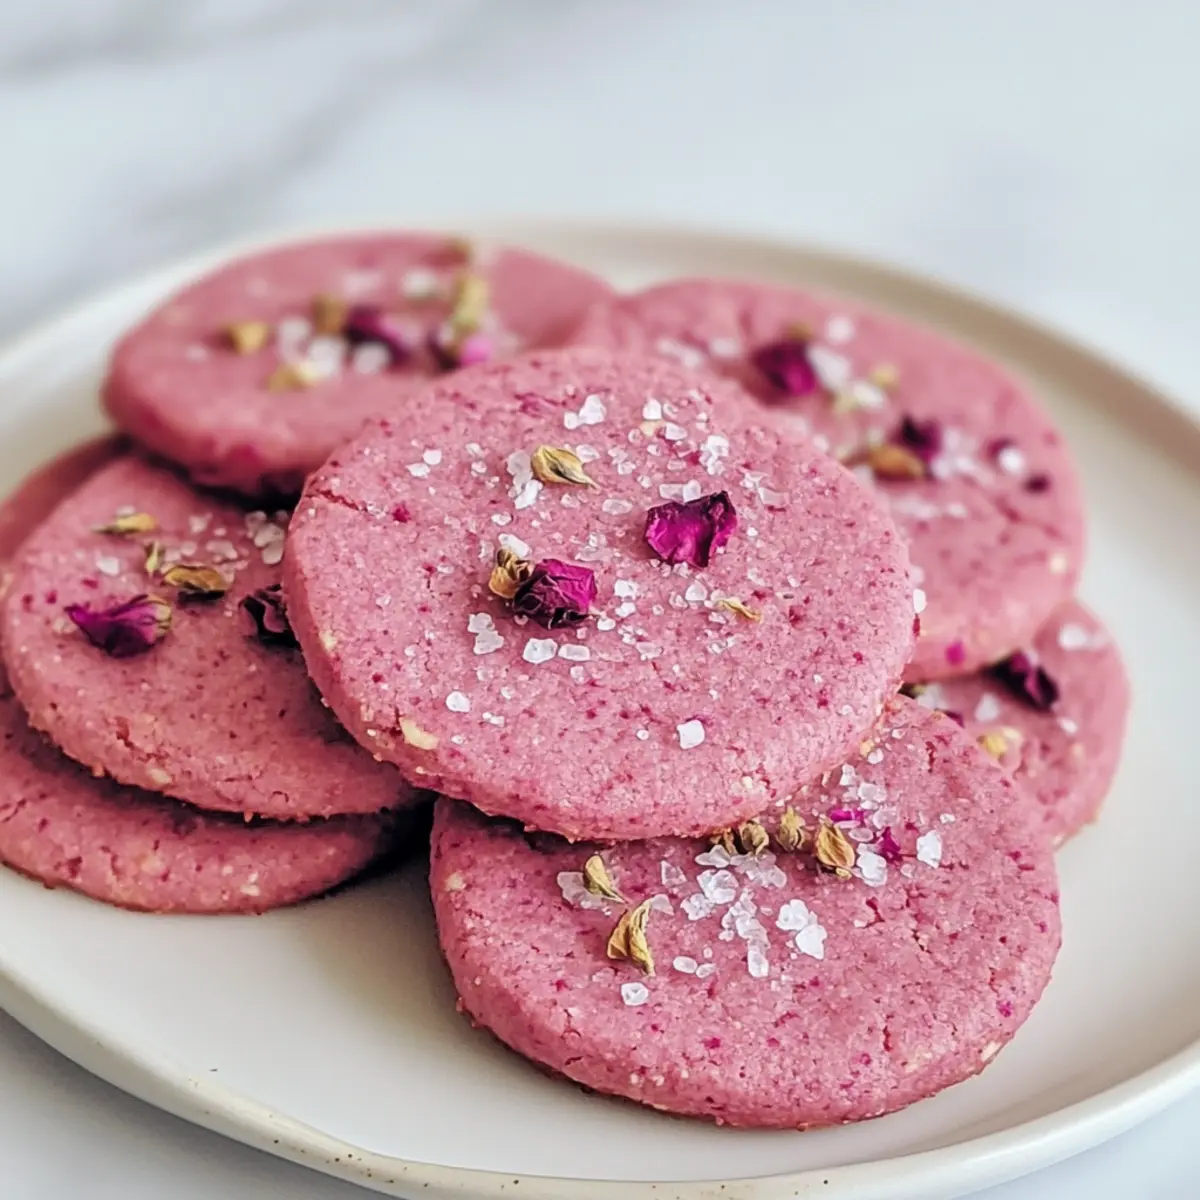
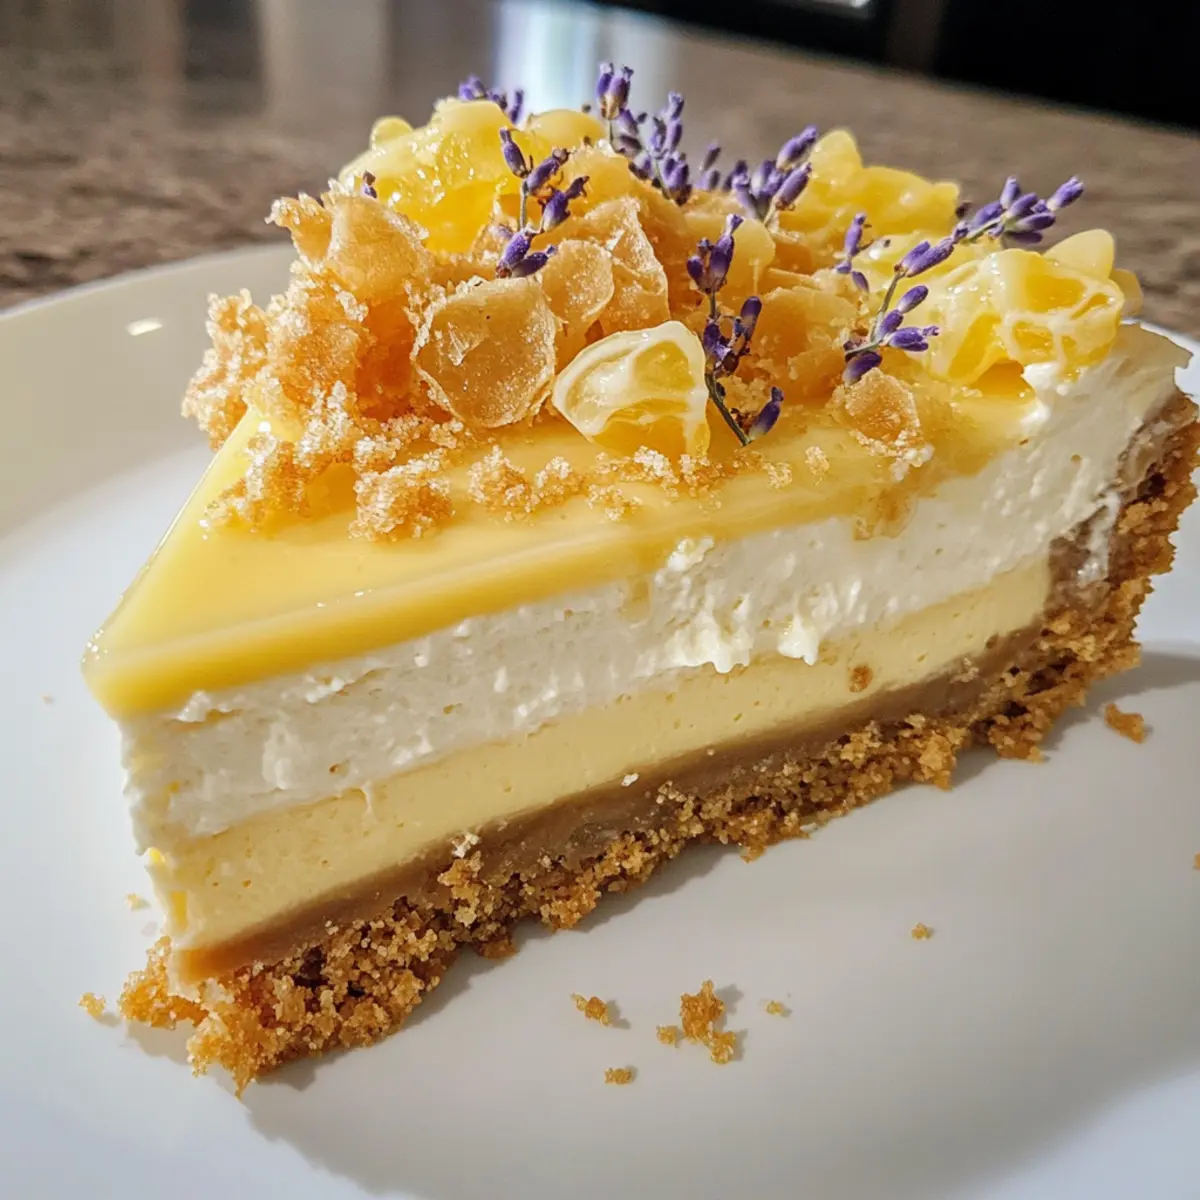
As I stood in my kitchen, the warm sun filtering through the window, I couldn’t help but daydream of springtime desserts. That’s when the idea for Vegan Lemon Lavender Cheesecake with Honeycomb came to life. The bright tang of zesty lemon combined with the delicate floral notes of lavender creates a harmonious symphony that dances on your taste buds. This dessert not only has a creamy texture that melts in your mouth, but it also presents a unique twist that will impress anyone you serve it to. Plus, it’s completely vegan, making it a thoughtful choice for friends and family with dietary preferences. Are you ready to elevate your dessert game with this artisan delight? Let’s dive into this delicious recipe together!
Why Is This Cheesecake So Special?
Creamy Delight: This Vegan Lemon Lavender Cheesecake offers a velvety smoothness that delights the palate with every mouthful.
Unique Flavor Profile: The tangy lemon paired with fragrant lavender creates an unforgettable taste combination that sets this dessert apart.
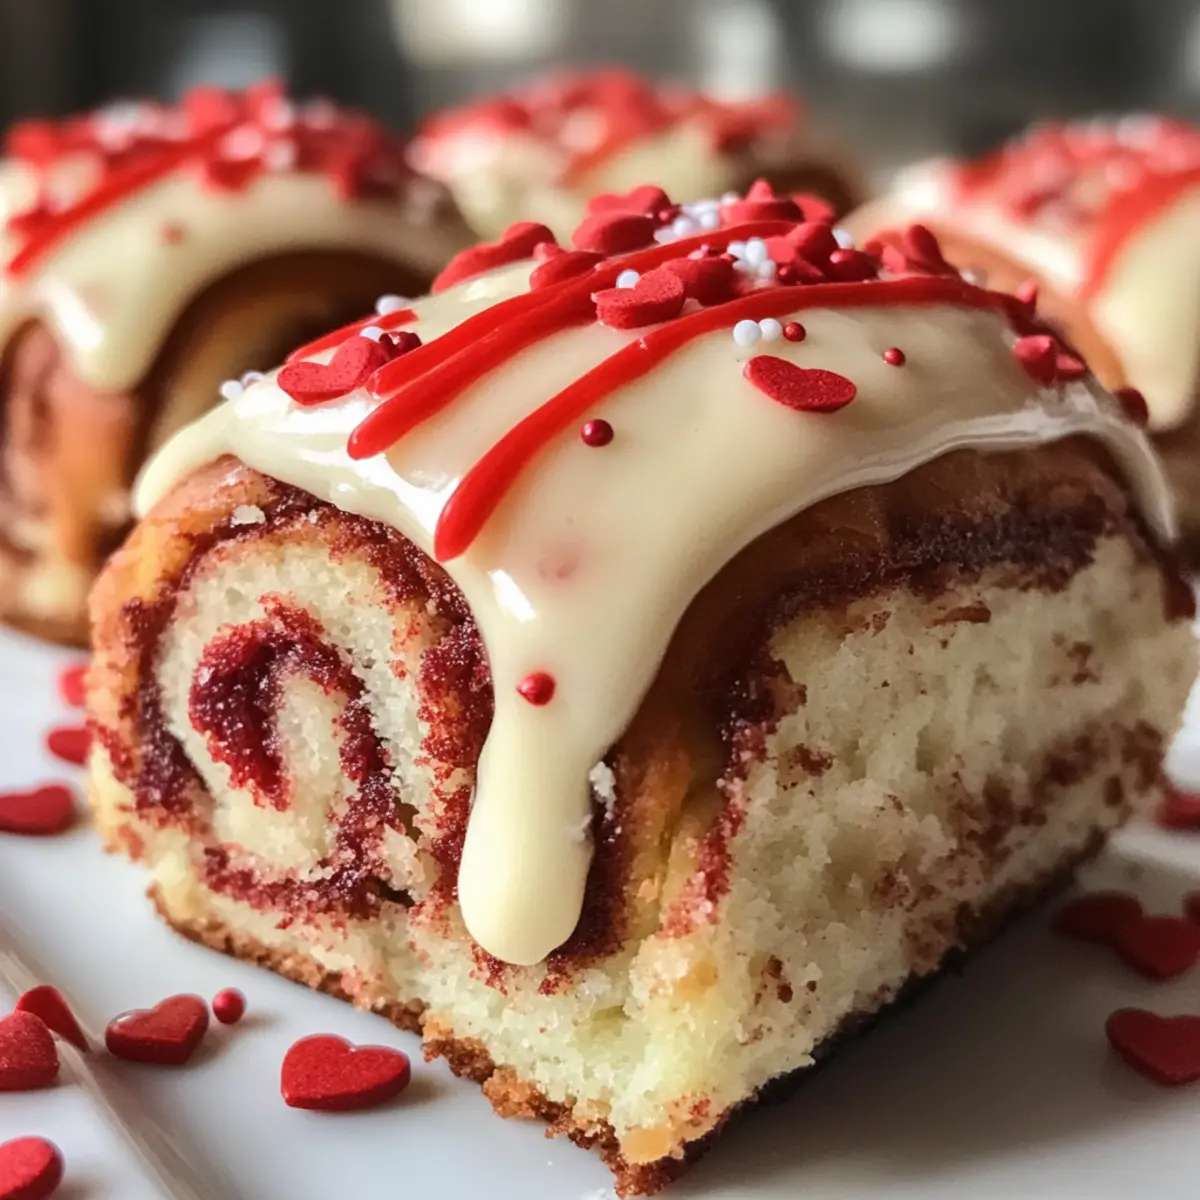
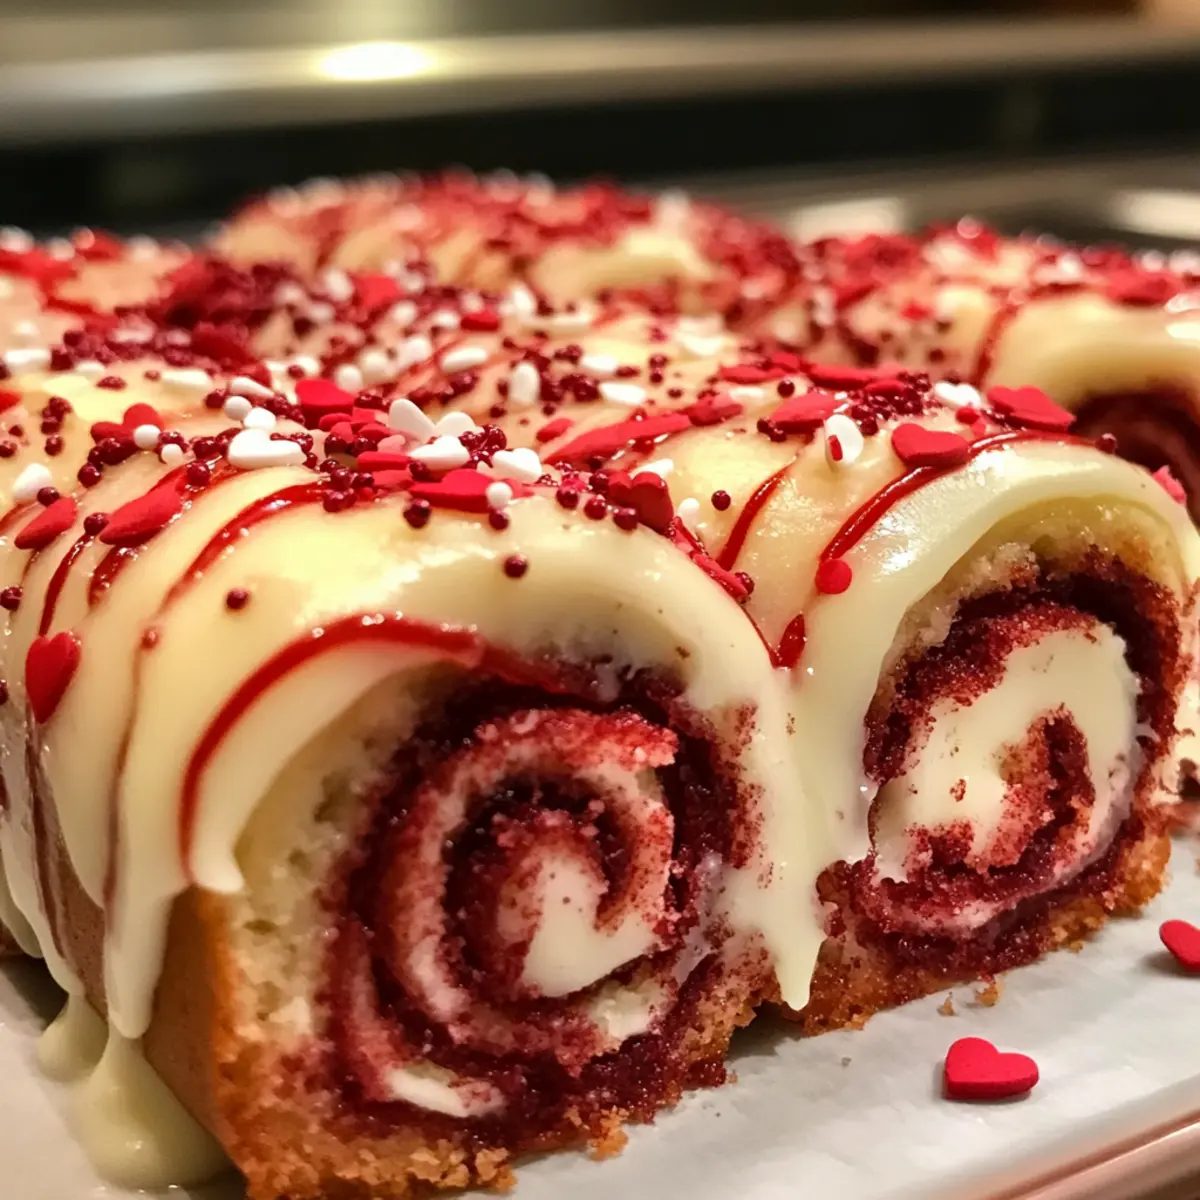
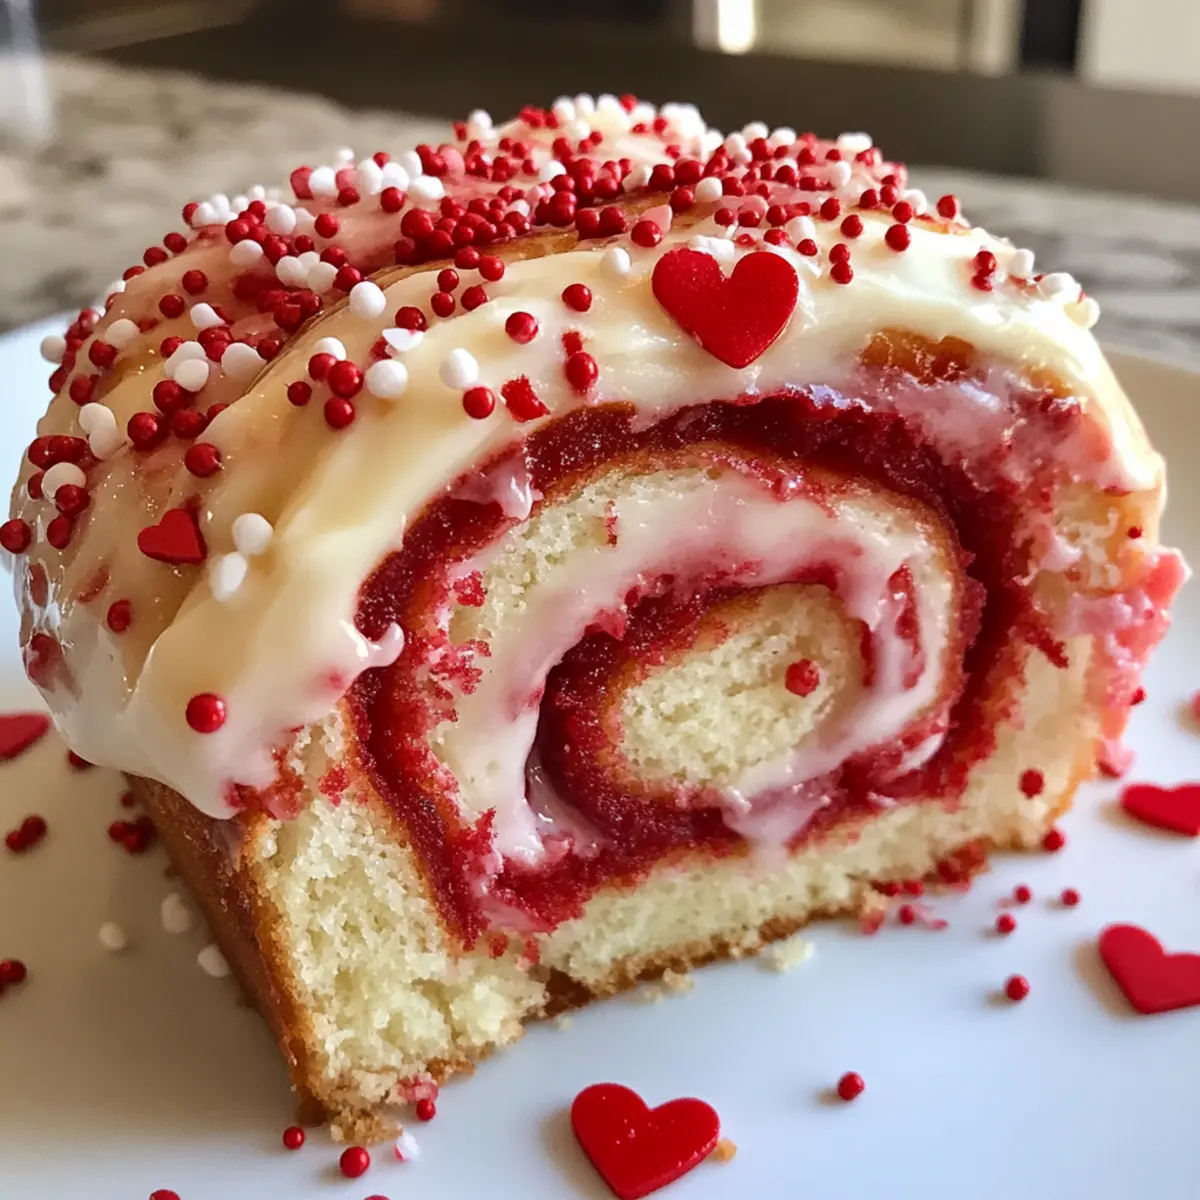
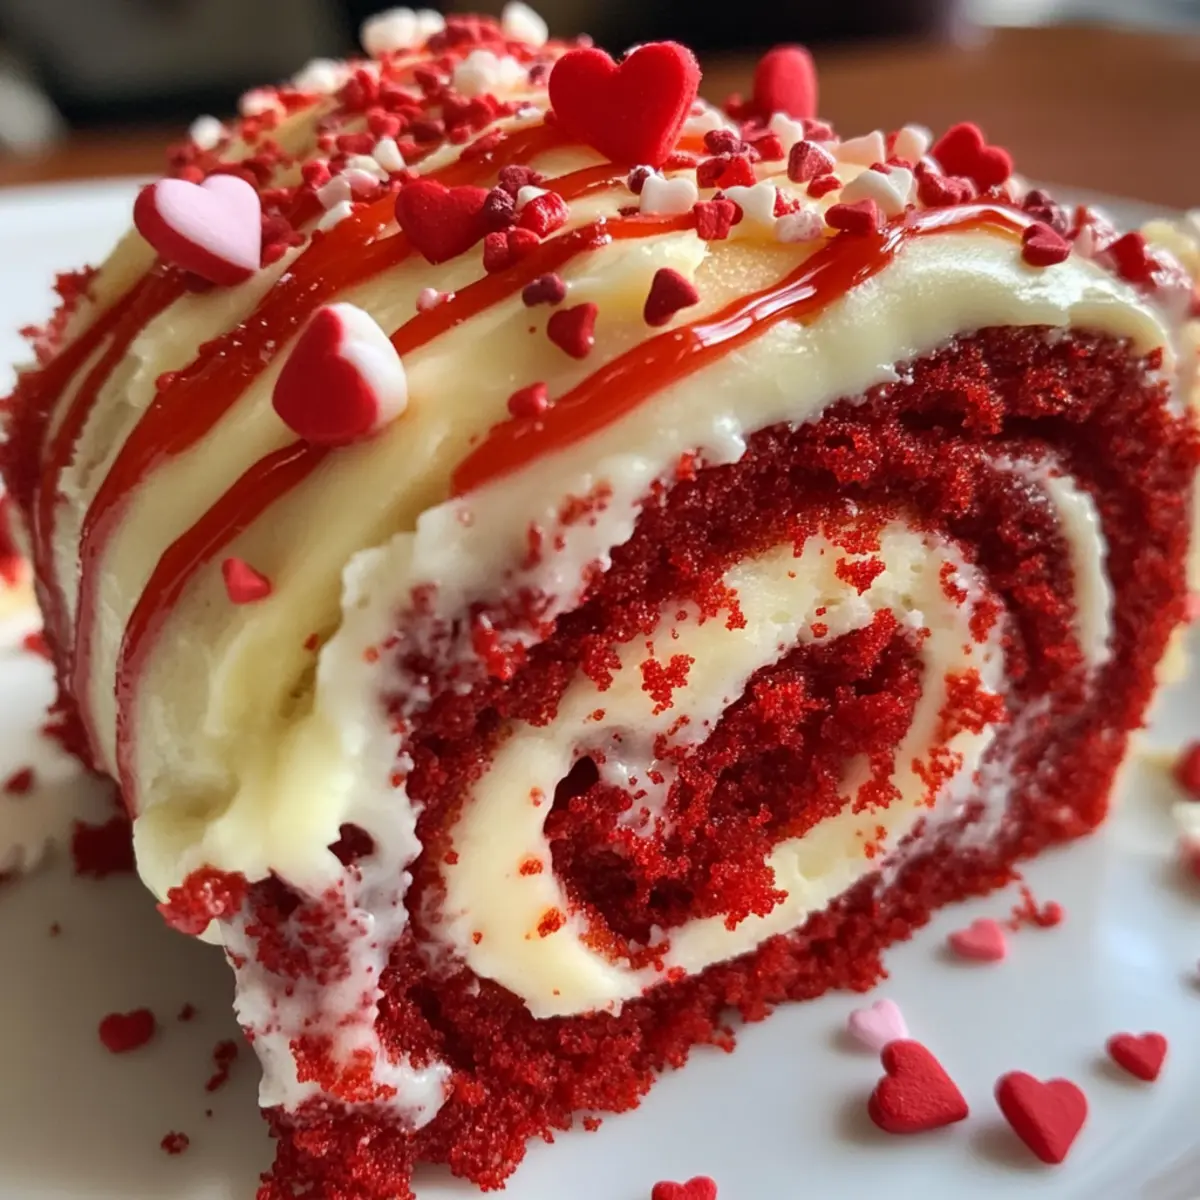
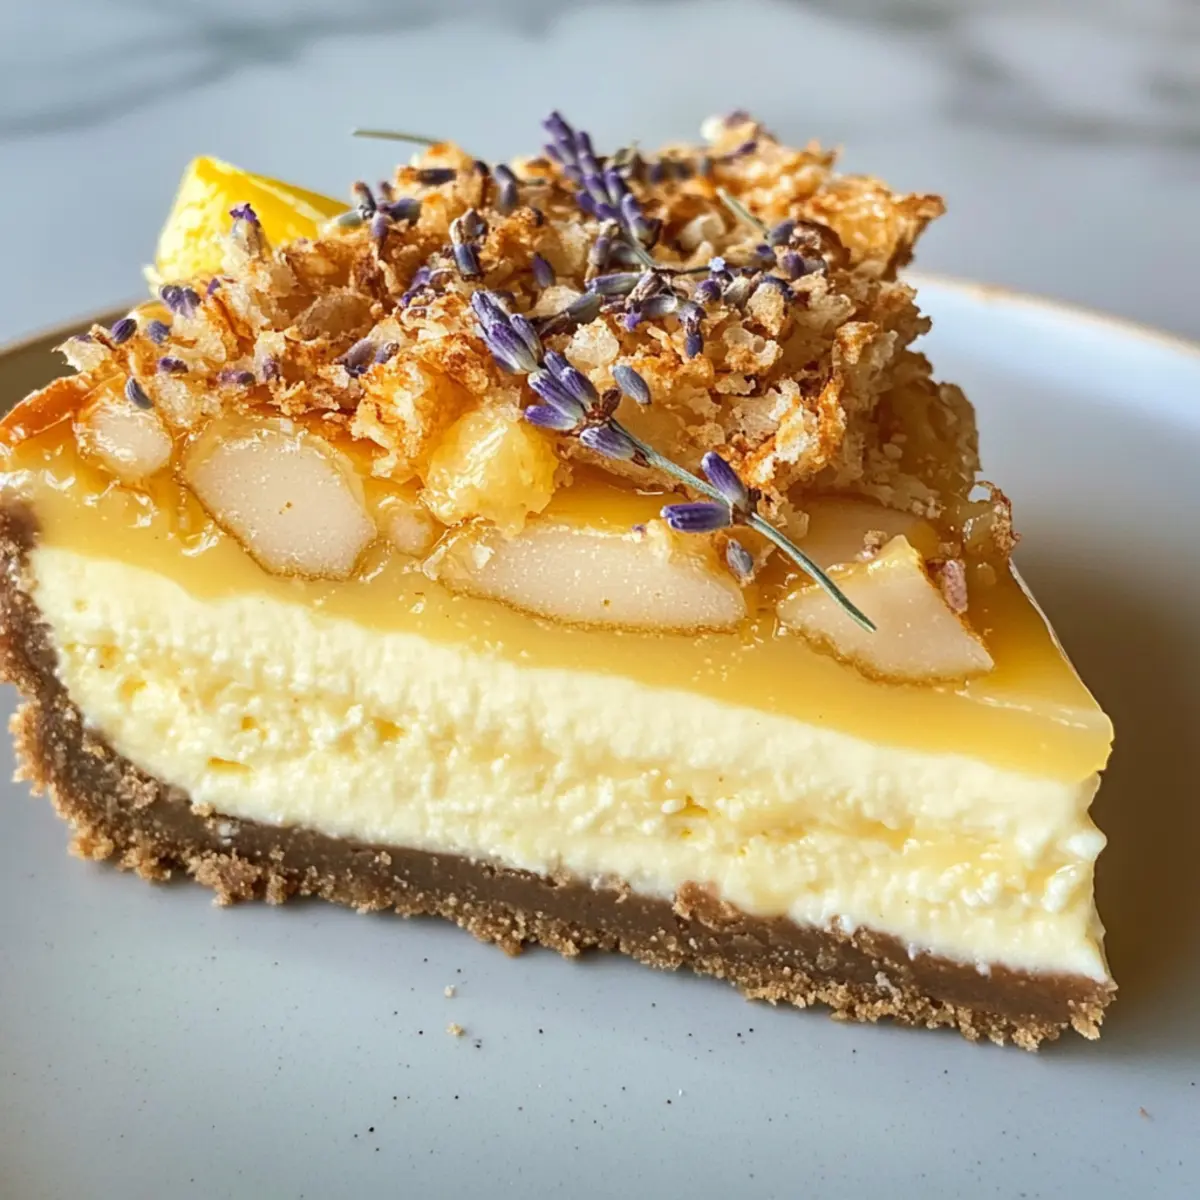
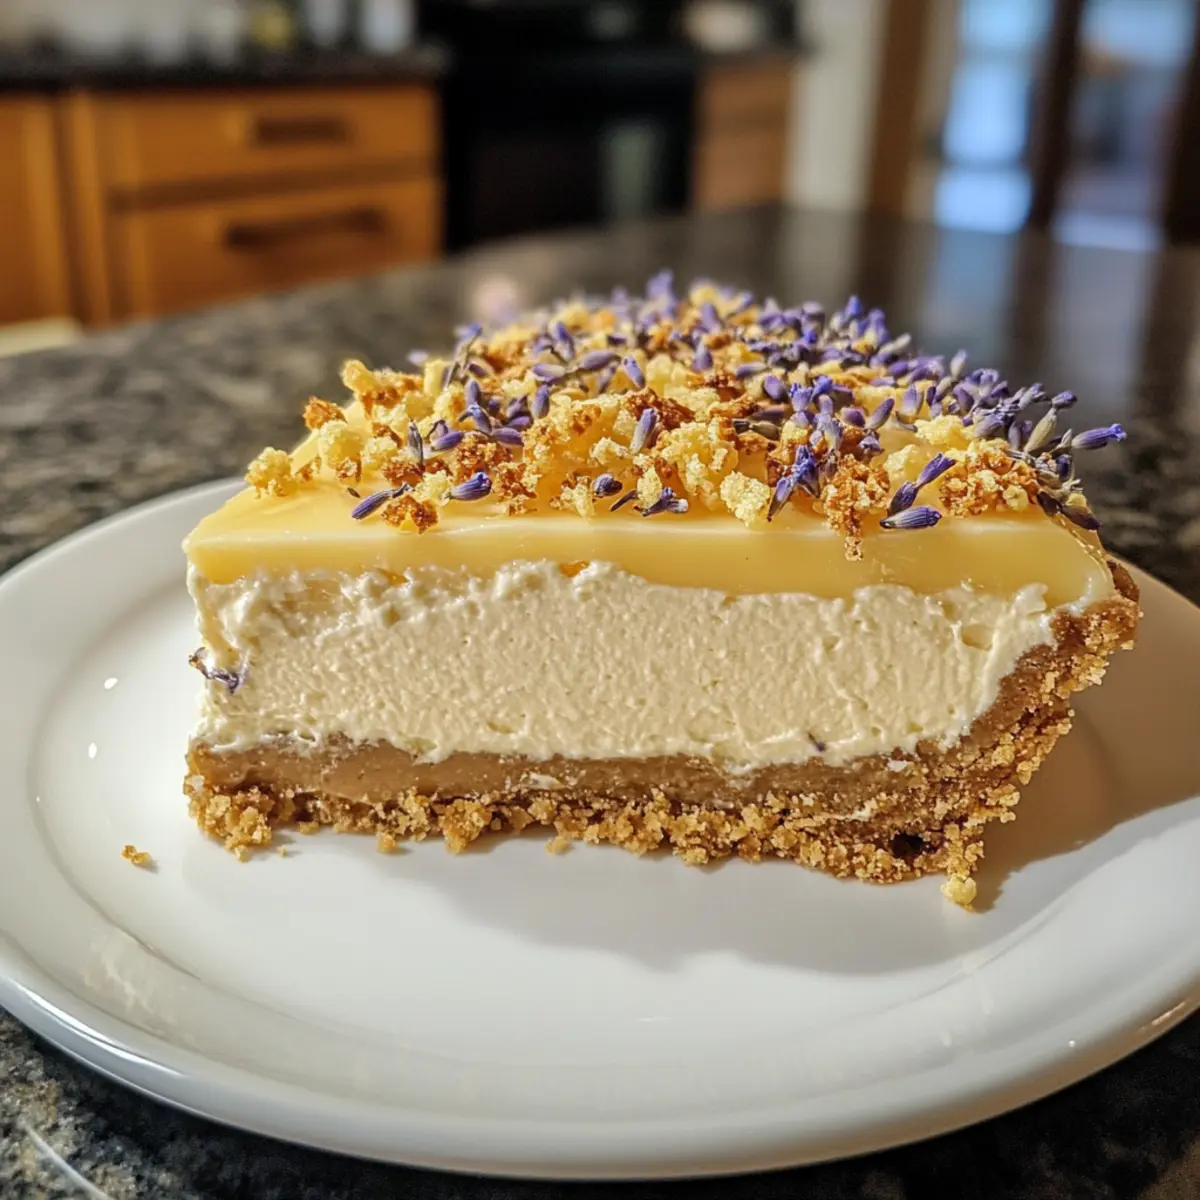
Artisan Touch: Each slice is a work of art, topped with crunchy honeycomb that adds an elegant flair, perfect for impressing guests!
Catering to All: This cheesecake is vegan-friendly, making it an inclusive option for those following plant-based diets or simply looking to indulge in healthier sweets.
Quick & Easy: With simple steps to follow, you can whip this dessert up with minimal effort, allowing you to enjoy other cooking delights like a Strawberry Cheesecake Dump.
A Seasonal Touch: Ideal for spring gatherings or festive occasions, it’s a lovely addition to any table. Get ready to transform your dessert repertoire with this show-stopping cheesecake!
Lemon Lavender Cheesecake Ingredients
For the Crust
• Graham Cracker Crumbs – Adds a crunchy base; use gluten-free crumbs for a GF version.
• Sugar – Sweetens the crust; substitute with coconut sugar for lower glycemic.
• Salt – Elevates overall flavor; a pinch is crucial for balance.
• Vegan Butter – Binds crust ingredients together; replace with coconut oil if desired.
For the Cheesecake Filling
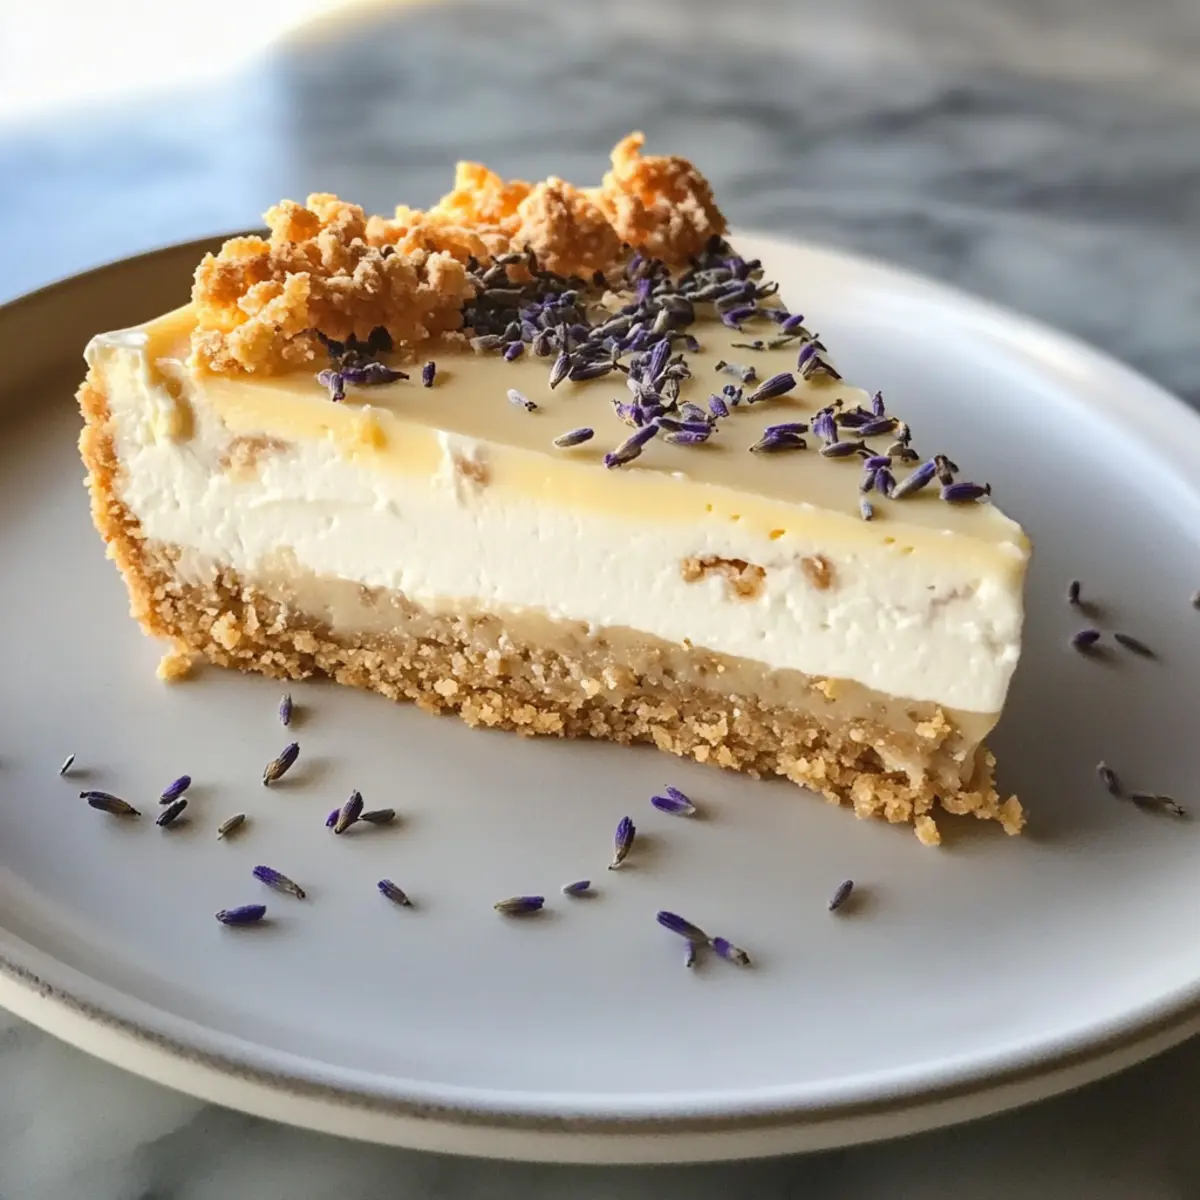
• Culinary Lavender – Introduces a floral note; ensure it’s food-grade and omit if unavailable.
• Lemon Juice – Provides tartness and brightness; freshly squeezed is ideal for peak flavor.
• Cream Cheese (Vegan) – Essential for creaminess; cashew cream can be a nut-based substitute.
• Sour Cream (Vegan) – Adds tangy richness; coconut yogurt works as a great alternative.
• Lemon Zest – Intensifies lemon flavor; zest fresh lemons for the best results.
• Vanilla Extract – Infuses warmth; opt for pure extract for enhanced taste.
For the Topping
• Honeycomb – Adds a delightful crunch and sweetness; vegan honey alternatives like agave syrup can be used.
Embrace the refreshing flavor of this Lemon Lavender Cheesecake that promises to elevate any gathering!
Step‑by‑Step Instructions for Lemon Lavender Cheesecake
Step 1: Preheat Oven & Prepare Pan
Begin by preheating your oven to 325°F (163°C). While the oven warms, line a springform pan with parchment paper, ensuring it fits snugly. This will help create a clean edge for your Vegan Lemon Lavender Cheesecake. Set aside the prepared pan as you move on to making the crust.
Step 2: Make the Crust
In a mixing bowl, combine the graham cracker crumbs, sugar, and salt. Melt your vegan butter and mix it into the crumb mixture until it resembles wet sand. Firmly press this mixture into the bottom of the prepared pan, creating an even layer, and then bake for 10 minutes until golden. Let the crust cool completely before adding the filling.
Step 3: Infuse Lavender
To infuse a lovely floral note, steep the culinary lavender in fresh lemon juice for about 10 minutes. Once fragrant, strain the mixture to remove the lavender buds, ensuring a smooth filling. If you desire a stronger lavender essence, consider lightly grinding the lavender before steeping for a more intense flavor in your Vegan Lemon Lavender Cheesecake.
Step 4: Prepare Filling
In a large mixing bowl, beat your vegan cream cheese until it becomes creamy and smooth. Gradually add in the sugar, mixing until combined. Incorporate the eggs one at a time, blending well after each addition. Fold in the infused lemon juice, zest, sour cream, and vanilla extract gently to maintain a light texture, avoiding any overmixing.
Step 5: Bake
Pour the luscious filling directly over the cooled crust in the springform pan, ensuring an even distribution. Create a water bath by placing the pan in a larger baking dish filled with hot water. Bake for 50 to 60 minutes until the edges are set, but the center remains slightly jiggly. After baking, turn off the oven and crack the door, allowing the cheesecake to cool for 30 minutes.
Step 6: Chill
Transfer the cooled cheesecake to the refrigerator, covering it lightly with plastic wrap. Chill for at least four hours or preferably overnight, letting the flavors meld beautifully in your Vegan Lemon Lavender Cheesecake. This resting period is crucial for achieving a perfect texture that melts in your mouth.
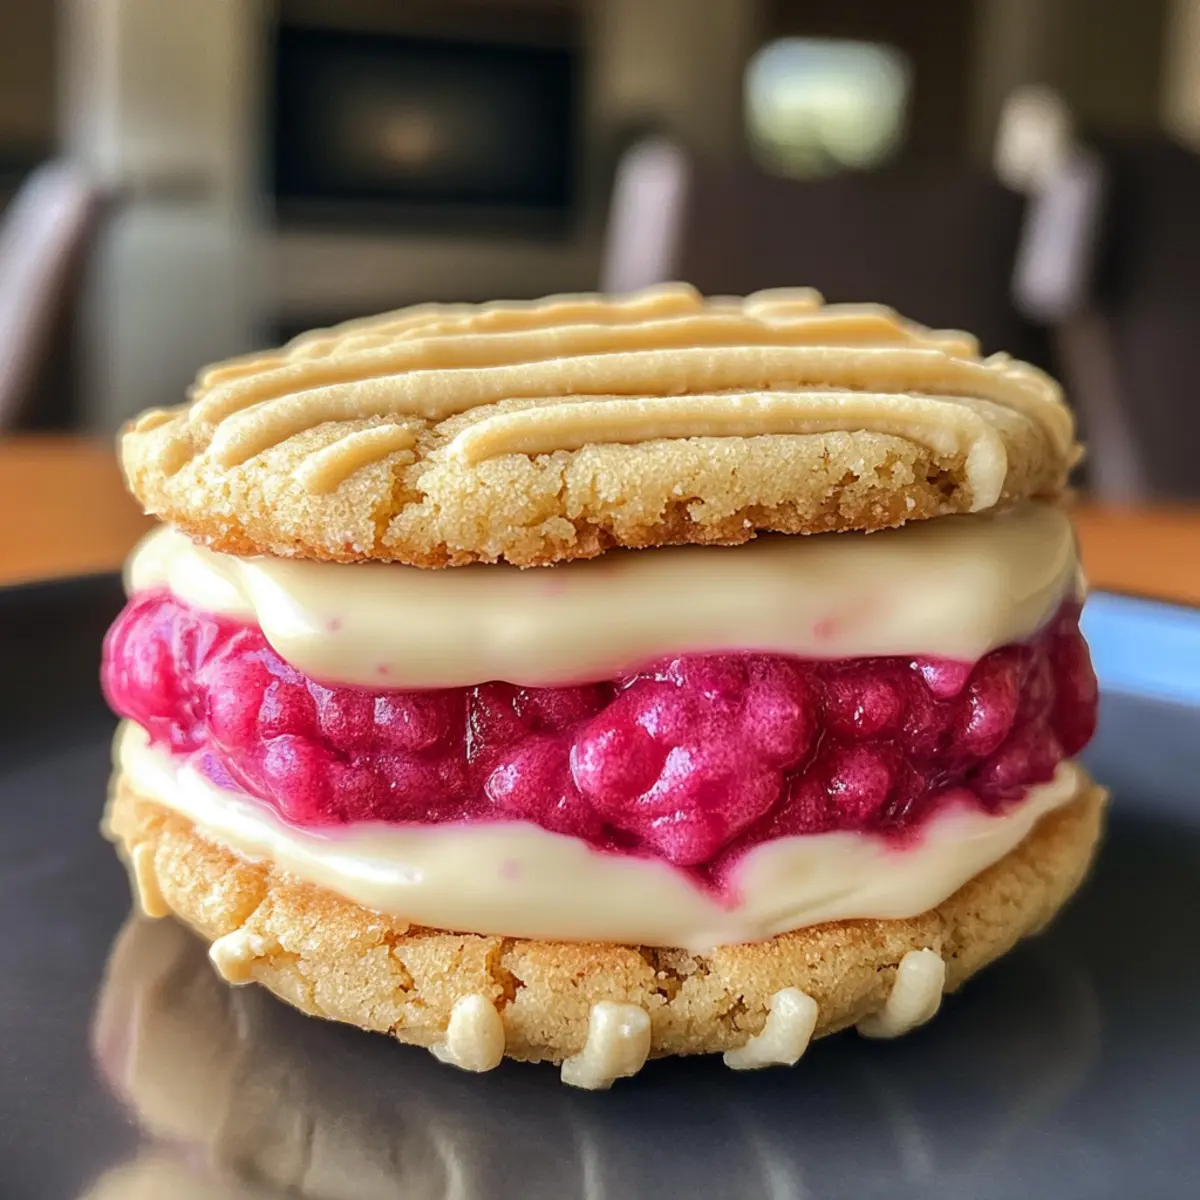
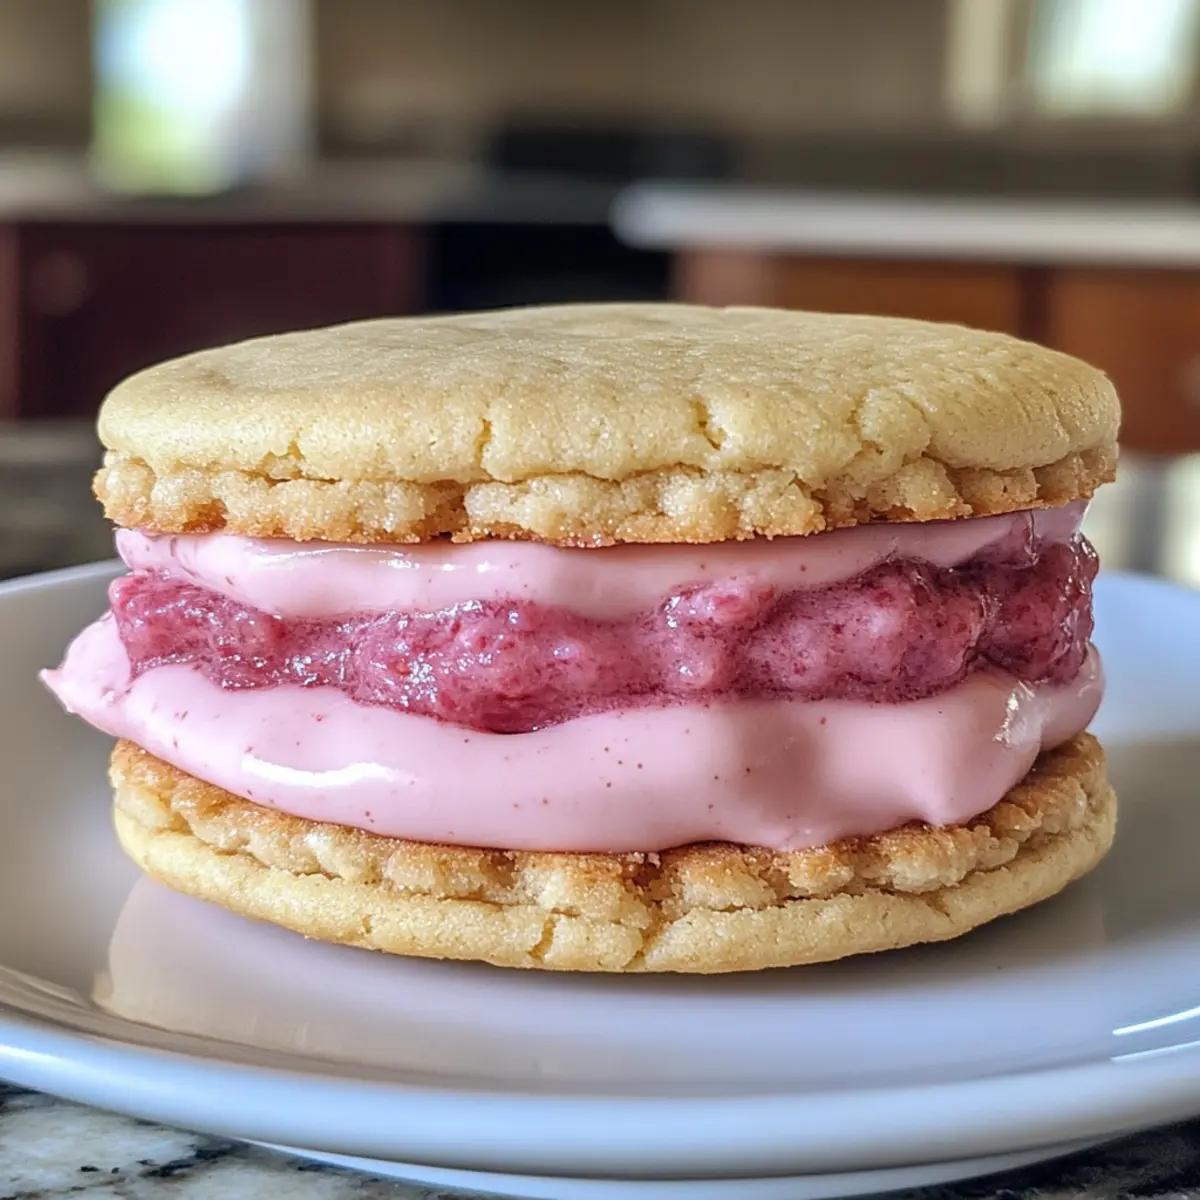
Step 7: Top & Serve
Just before serving, carefully remove the cheesecake from the springform pan. Generously top it with honeycomb pieces for a delightful crunch, and drizzle with honey or a vegan honey alternative if desired. Garnish with additional lemon zest and a sprinkle of lavender buds to enhance both visual appeal and flavor, creating an unforgettable final touch!
What to Serve with Vegan Lemon Lavender Cheesecake
Create a delightful meal experience when you pair this creamy, floral dessert with complementary flavors and textures.
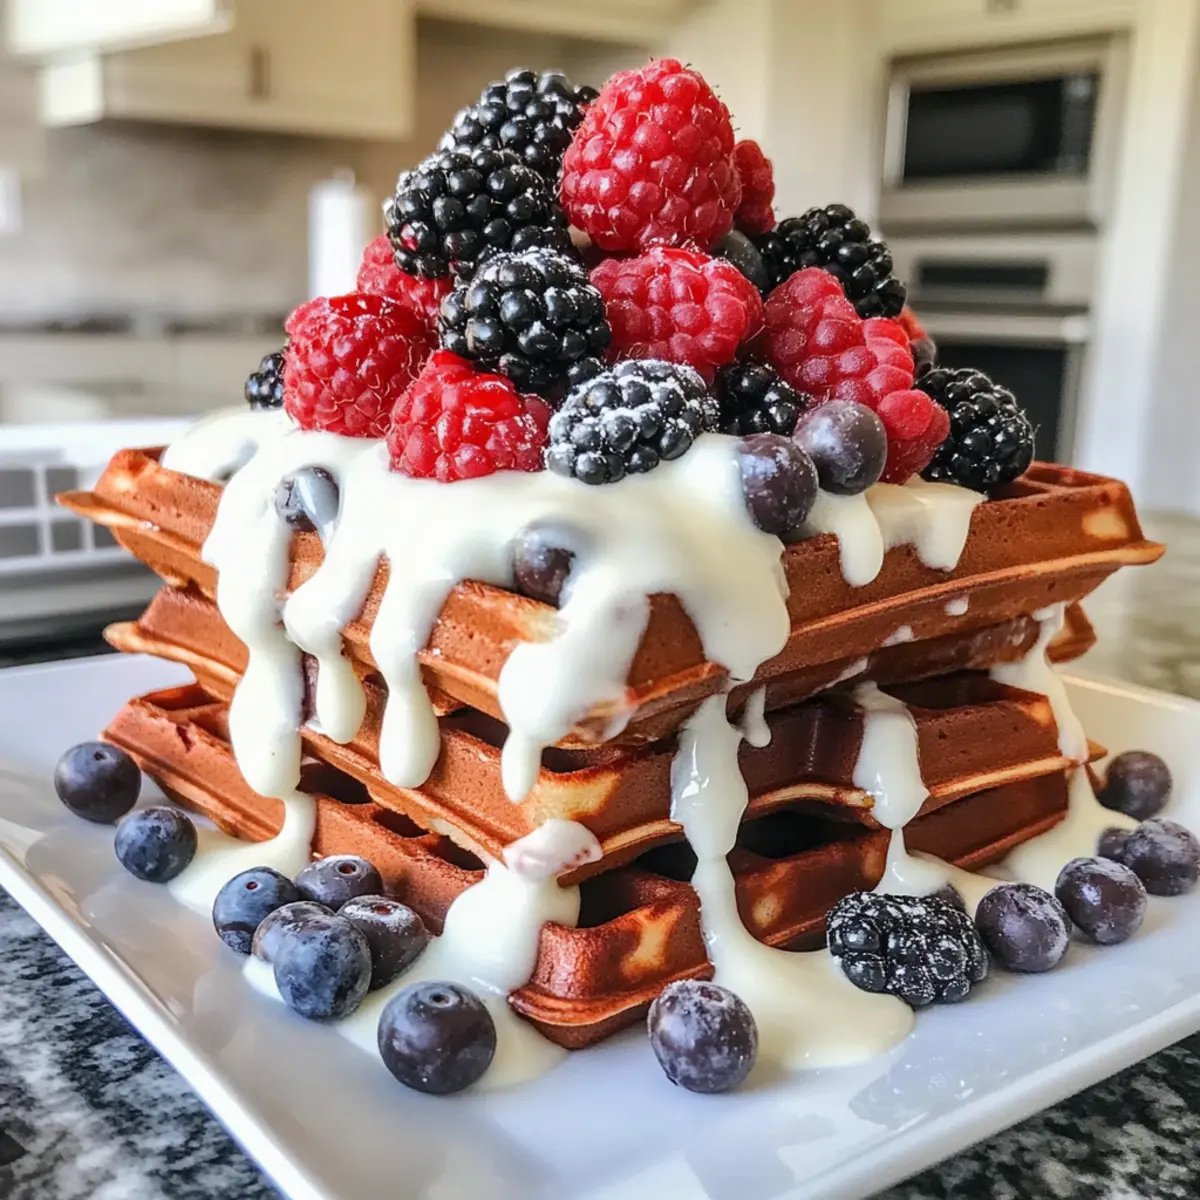
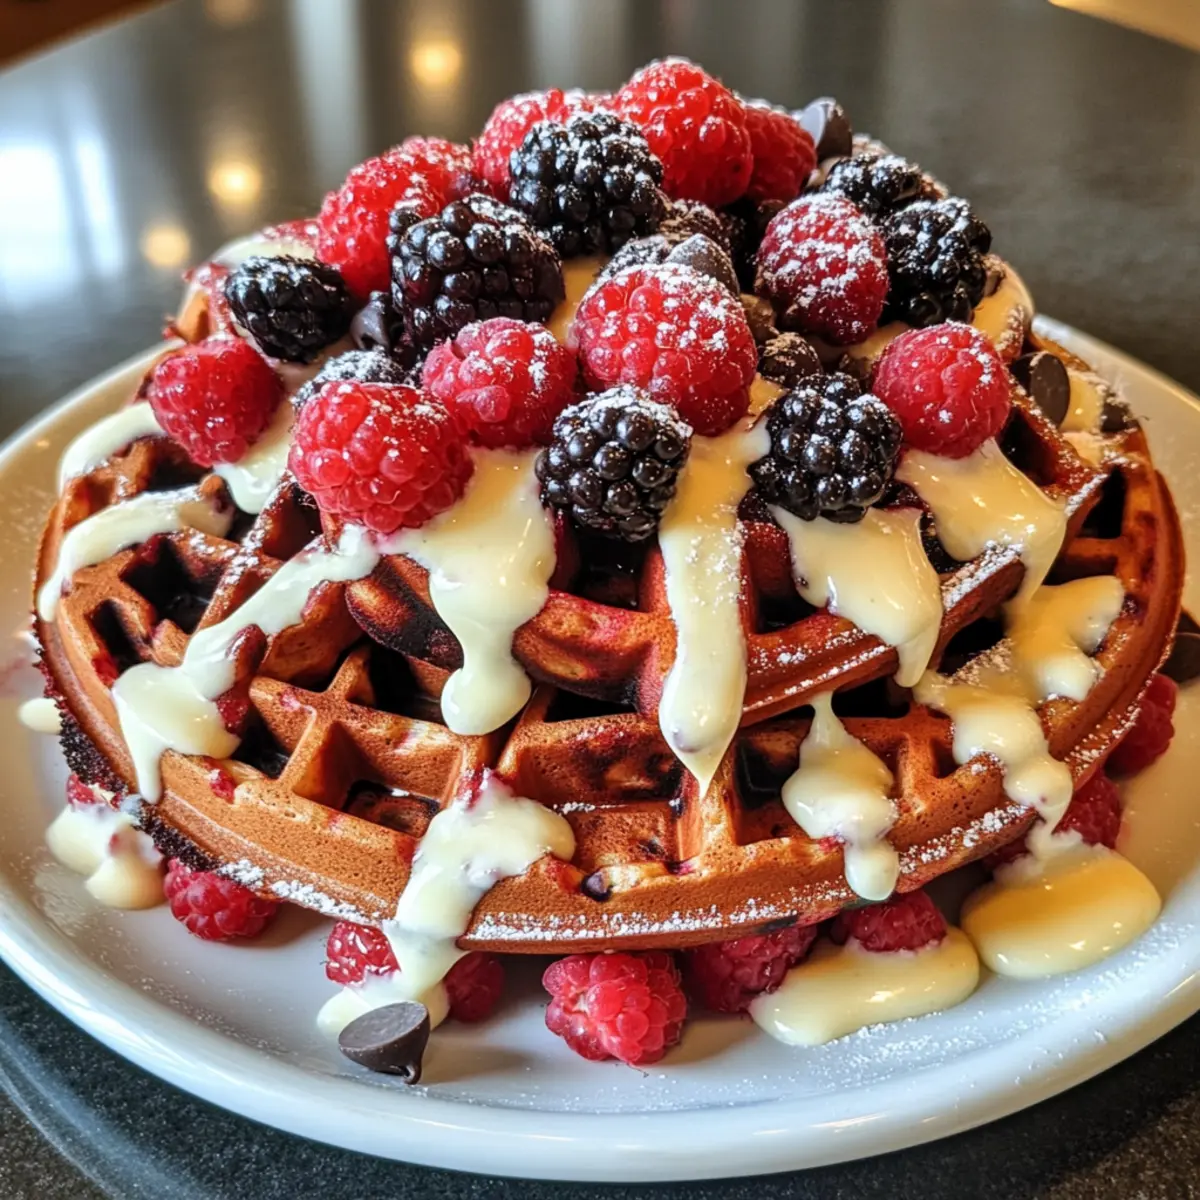
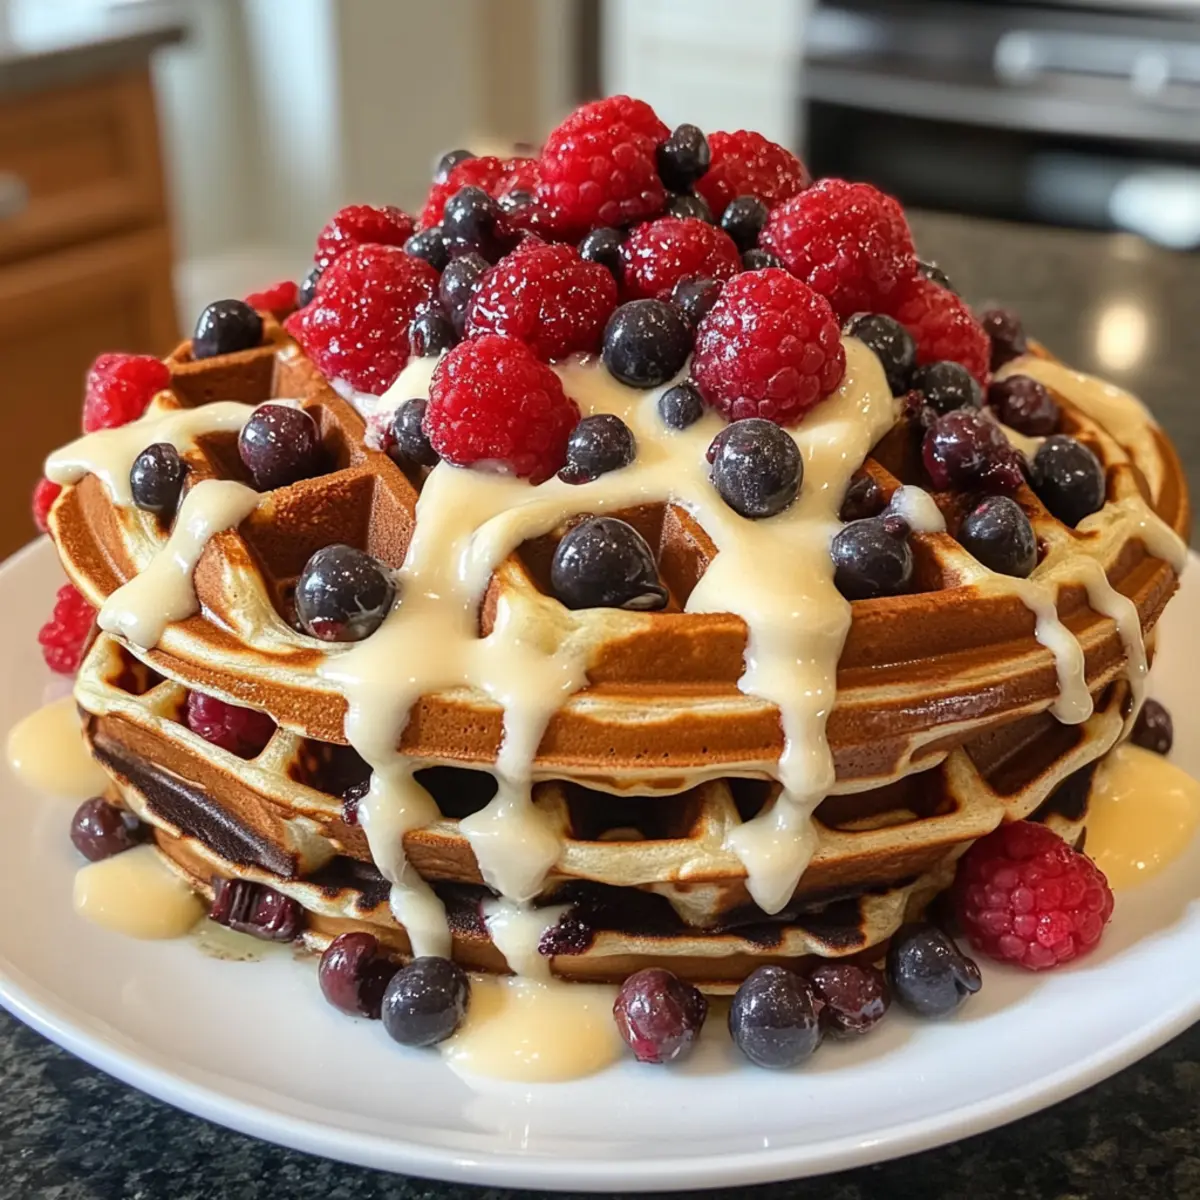
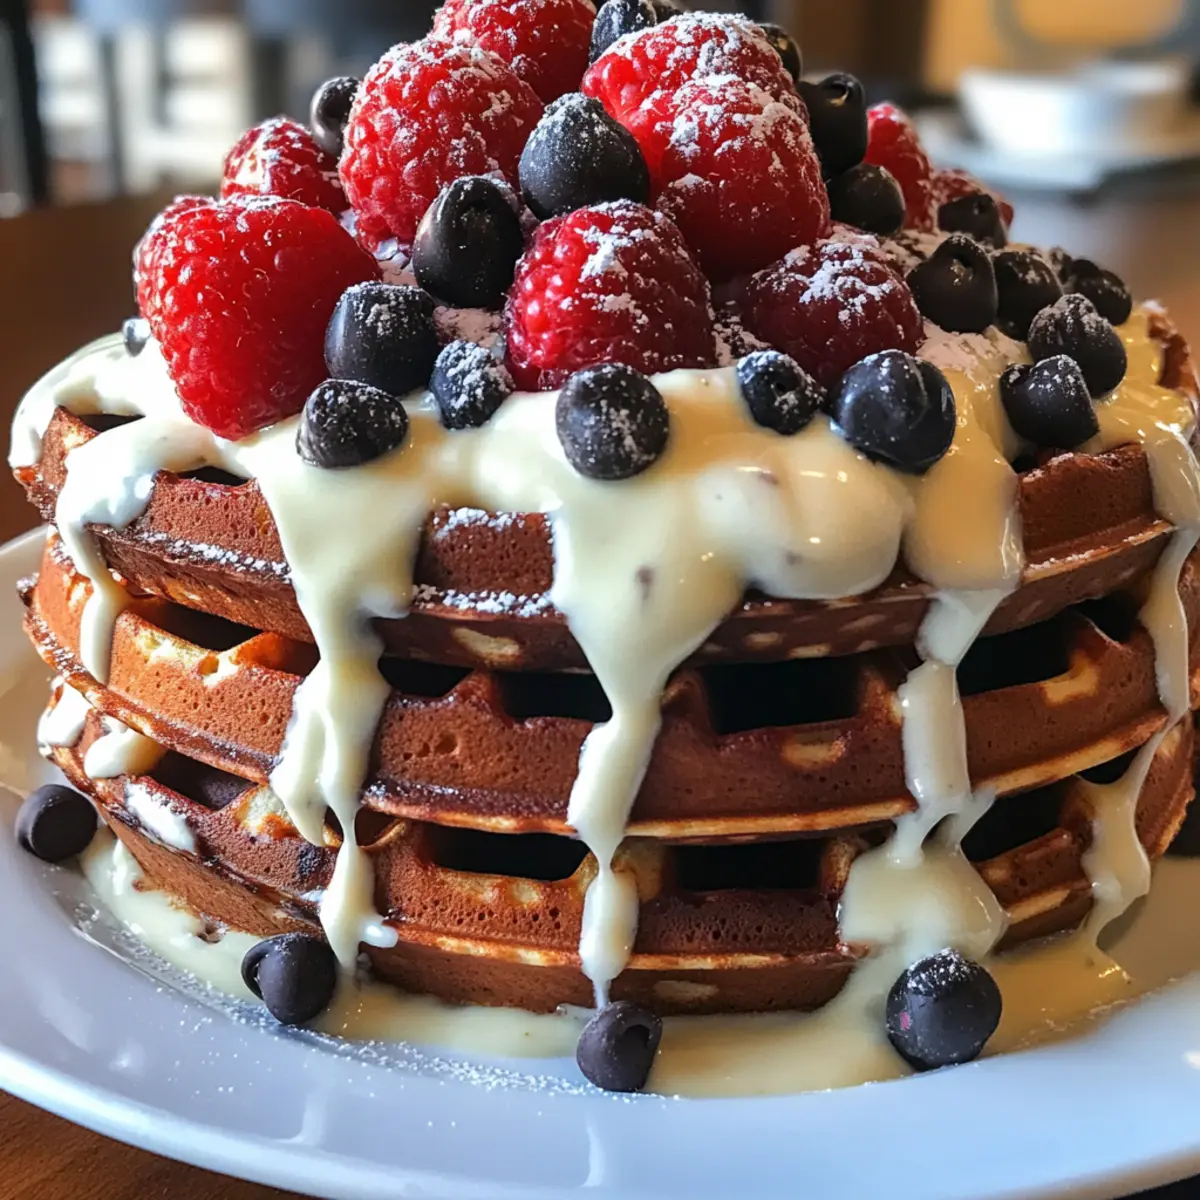
- Fresh Berries: A medley of strawberries, blueberries, and raspberries adds a vibrant touch, enhancing the dessert’s elegant presentation and freshness.
- Mint Infused Iced Tea: This light and refreshing drink cleanse the palate, aligning perfectly with the cheesecake’s rich profile and zesty elements.
- Chocolate Drizzle: A rich, glossy chocolate sauce brings a decadent chocolate flavor that contrasts beautifully with the lightness of the cheesecake.
- Toasted Almonds: The crunch of toasted almonds adds a nutty depth, creating a wonderful textural contrast with the smoothness of the cheesecake.
- Coconut Whipped Cream: Light and airy, this vegan topping echoes the cheesecake’s creamy elements while introducing a tropical twist that charm the tastebuds.
- Lemon Sorbet: A tangy sorbet brightens the dessert experience, echoing the lemon notes and providing a refreshing bite to balance the sweetness.
- Sparkling Water with Citrus: Fizz with a twist of lemon or lime gives a refreshing element that pairs nicely, invigorating your taste buds after each decadent bite.
- Floral Herbal Tea: A warm cup of chamomile or lavender tea ties the flavors together, enhancing the cheesecake’s delicate floral notes for a soothing finish.
- Dark Chocolate Latte: The richness of coffee enhanced with dark chocolate complements the cheesecake’s elegant taste, creating a harmonious end to your meal.
Expert Tips for Lemon Lavender Cheesecake
-
Room Temperature Ingredients: Ensure all ingredients, especially the cream cheese and sour cream, are at room temperature before mixing. This helps achieve a smoother filling.
-
Bake with Care: Keep an eye on the baking time; the cheesecake should have a slight jiggle in the center when done. Overbaking will lead to a dry texture.
-
Water Bath Wisdom: Use a water bath to prevent cracking. Make sure the pan is sealed well to avoid any water leaks into the cheesecake during baking.
-
Lavender Levels: Adjust the amount of culinary lavender according to taste preference. A little goes a long way, so taste after infusion before adding more.
-
Cooling Time: Post-baking, allow the cheesecake to cool in the oven with the door ajar for 30 minutes. This gradual cooling helps prevent cracks and ensures a smooth finish.
-
Chill for Texture: Be patient and refrigerate for at least four hours or overnight. This resting period is essential for the flavors to meld and the filling to set perfectly in this Lemon Lavender Cheesecake.
Variations & Substitutions for Lemon Lavender Cheesecake
Feel free to unleash your culinary creativity by customizing this delightful cheesecake to fit your unique tastes and preferences.
-
Lime Twist: Swap fresh lemon juice for lime for a zesty change. The bright lime flavor pairs beautifully with the floral notes of lavender.
-
Herbal Infusion: Instead of lavender, experiment with fresh herbs like thyme or rosemary. They bring an unexpected yet delightful twist to your cheesecake.
-
Nutty Crust: Use crushed nuts or almond flour instead of graham cracker crumbs for a gluten-free and grain-free option. The nutty flavor adds a lovely depth to the dessert.
-
Coconut Cream: For extra creaminess, substitute half of the vegan cream cheese with coconut cream. This will enhance the tropical vibe while keeping it plant-based.
-
Fruit-Filled Cheesecake: Fold in fresh blueberries or raspberries into the cheesecake batter before baking. The bursts of fruit bring a refreshing element to every bite.
-
Spiced Up: Add a pinch of cinnamon or nutmeg to the filling for an aromatic kick. This subtle addition can elevate the flavor profile to a cozy level.
-
Vegan Whipped Topping: Top slices with a dollop of whipped coconut cream instead of honeycomb for a lighter option that still feels indulgent.
-
Chocolate Drizzle: Drizzle a rich dark chocolate ganache over the finished cheesecake. The contrast of chocolate with lemon and lavender can be a game-changer!
These variations not only enhance the versatility of your Lemon Lavender Cheesecake but also create delightful new experiences! If you’re looking for more dessert inspiration, why not try the exquisite Sumptuous Lemon Caramel or whip up a decadent Crisp Cabbage Cucumber for a refreshing side?
Storage Tips for Lemon Lavender Cheesecake
Fridge: Store any leftover Lemon Lavender Cheesecake in an airtight container for up to 5 days to maintain its creamy texture and freshness.
Freezer: For longer storage, freeze the cheesecake for 1-2 months. Wrap it tightly in plastic wrap and then in foil to prevent freezer burn.
Thawing: When you’re ready to enjoy your cheesecake again, thaw it in the refrigerator overnight for the best results, allowing the flavors to rejuvenate.
Reheating: This cheesecake is best served chilled, so there’s no need to reheat. Simply slice and serve cold for a delightful treat!
Make Ahead Options
These Vegan Lemon Lavender Cheesecakes are perfect for meal prep enthusiasts! You can prepare the crust up to 3 days in advance; simply store it tightly wrapped in the refrigerator to maintain its crunch. The filling can also be mixed and refrigerated for up to 24 hours—this allows the flavors to develop beautifully. When you’re ready to bake, pour the filling over the chilled crust and proceed with the baking instructions as usual. For the best results, let the cheesecake chill overnight after baking, ensuring it’s perfectly set. With these make-ahead tips, you’ll have a luscious dessert ready to impress with minimal last-minute effort!
Lemon Lavender Cheesecake Recipe FAQs
What kind of graham cracker crumbs should I use for the crust?
Absolutely! You’ll want to use finely crushed graham cracker crumbs for a perfect base. If you’re looking for a gluten-free option, simply choose gluten-free graham cracker crumbs or even crushed nuts for a delicious alternative. Whichever you choose, just ensure they combine well with the melted vegan butter, creating a cohesive texture.
How should I store leftover Lemon Lavender Cheesecake?
Very important! Store any leftover cheesecake in an airtight container in the fridge for up to 5 days. This keeps it fresh and maintains that creamy texture. If you want to save it for later, you can freeze it for 1-2 months. Just remember to wrap it tightly in plastic wrap before placing it in a freezer-safe container to prevent freezer burn.
Can I freeze the Lemon Lavender Cheesecake?
Definitely! To freeze your cheesecake, first allow it to cool completely after baking. Then, wrap it tightly in plastic wrap, followed by aluminum foil to seal it from air. You can freeze it for up to 2 months. When you’re ready to enjoy it, simply transfer it to the refrigerator and let it thaw overnight. This gentle thawing helps preserve the flavor and texture beautifully.
What should I do if my cheesecake cracks while baking?
Not to worry! Cracking can happen to the best of us. To avoid this, make sure to use a water bath during baking, which helps maintain an even temperature. If a crack does appear, don’t fret! You can cover it up with a beautiful layer of honeycomb or even a drizzle of a fruit sauce to conceal it. Remember, it’s all about that creamy filling—flaws can still taste fabulous!
Is it safe for pets and people with allergies?
Great question! This Vegan Lemon Lavender Cheesecake is typically safe for most people, as it’s made without dairy or animal products. However, be cautious with the honeycomb topping, as honey should not be given to pets, especially dogs. If anyone has nut allergies, be mindful of the cream cheese substitutes; always check ingredient labels to ensure no cross-contamination occurs.
Can I adjust the flavors in this Lemon Lavender Cheesecake?
Absolutely! One of the joys of baking is experimenting with flavors. If you want to change things up, you can replace the lemon with lime for a zesty twist or swap out the lavender for fresh herbs like thyme. Each variation will create a unique twist on this already delightful dessert, making it even more special for your gatherings!
Lemon Lavender Cheesecake that Transforms Every Bite!
Ingredients
Equipment
Method
- Preheat your oven to 325°F (163°C) and line a springform pan with parchment paper.
- In a mixing bowl, combine graham cracker crumbs, sugar, and salt. Melt vegan butter and mix it in until it resembles wet sand. Press into the bottom of the pan and bake for 10 minutes. Let cool.
- Steep culinary lavender in lemon juice for about 10 minutes. Strain to remove the lavender buds.
- In a large mixing bowl, beat vegan cream cheese until creamy. Gradually add sugar and then fold in infused lemon juice, zest, sour cream, and vanilla extract gently.
- Pour the filling over the cooled crust, and bake in a water bath for 50 to 60 minutes until edges are set but center is jiggly. Cool in the oven for 30 minutes with the door cracked.
- Transfer cheesecake to the refrigerator, cover lightly, and chill for at least four hours or overnight.
- Remove from the springform pan, top with honeycomb, drizzle with honey or a vegan alternative, and garnish with lemon zest and lavender buds before serving.