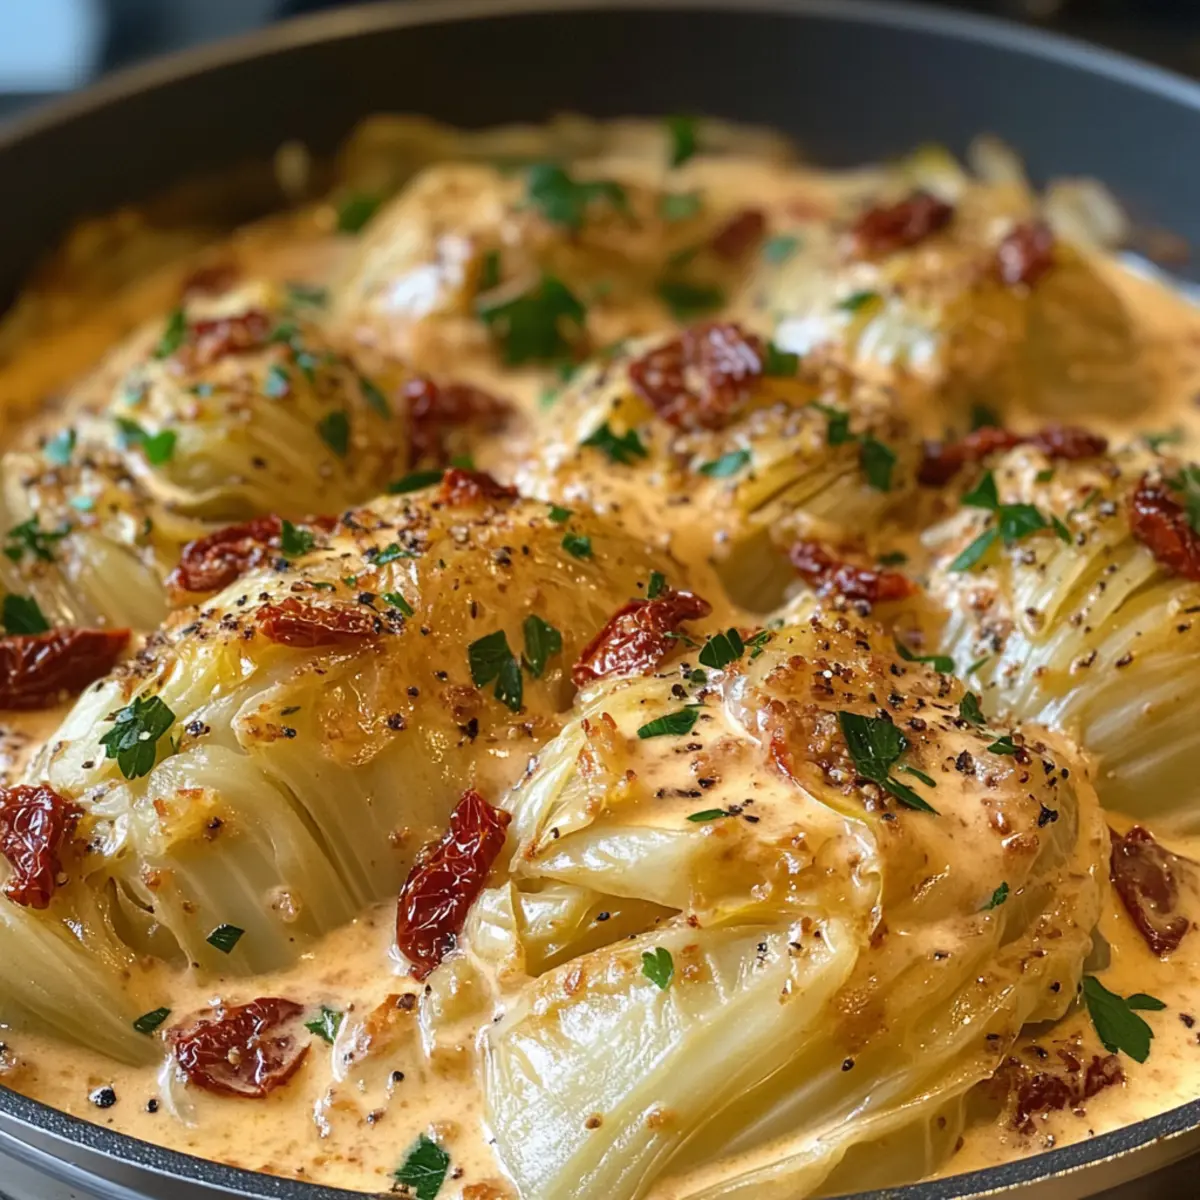
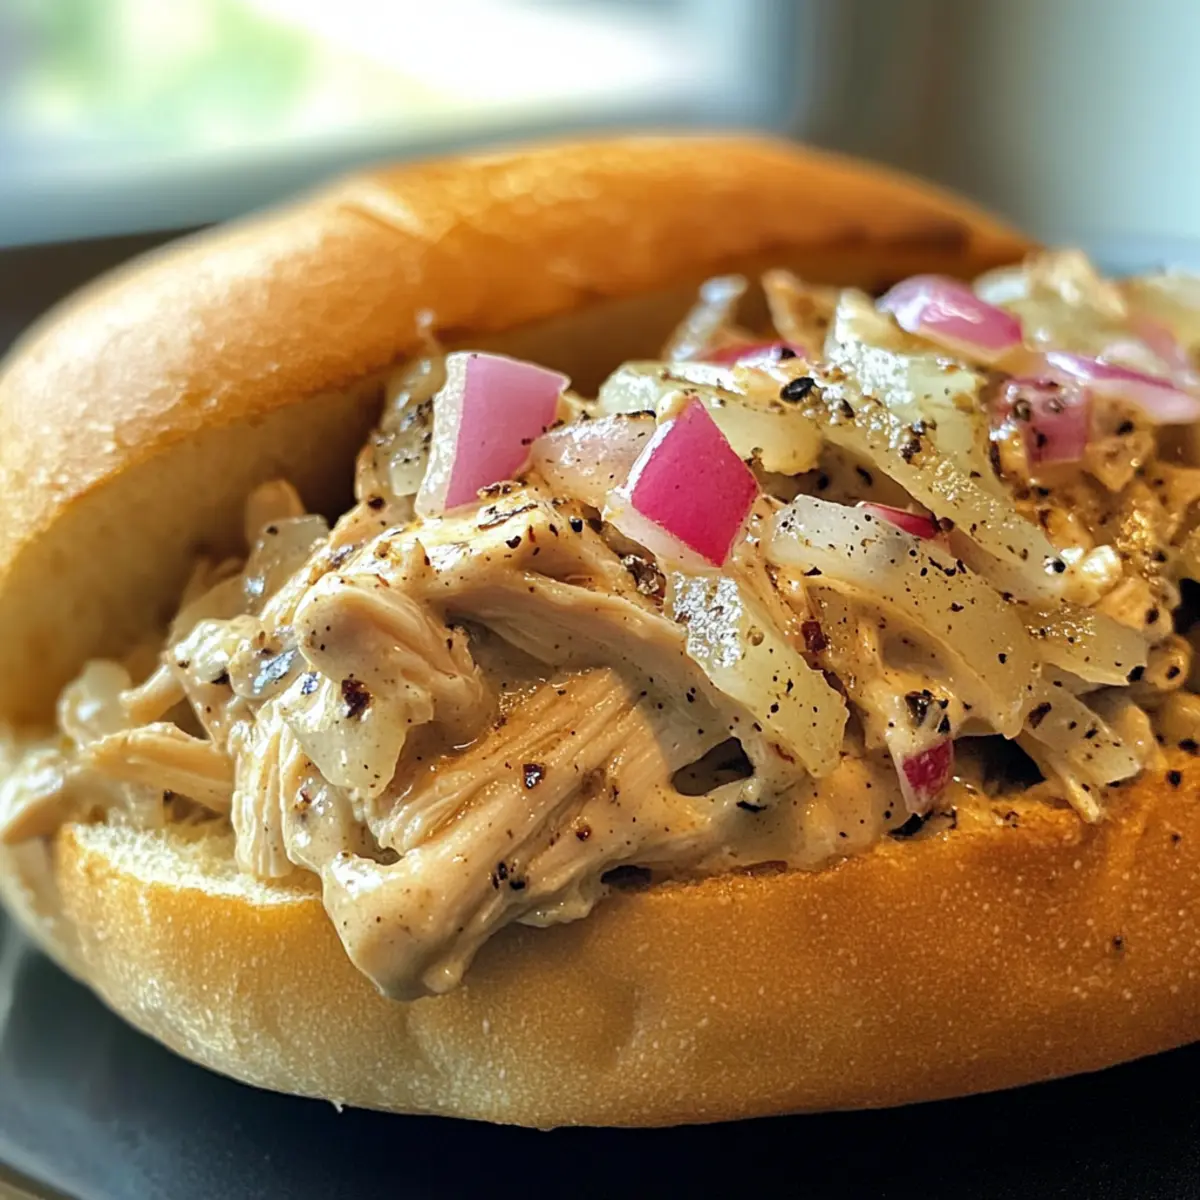
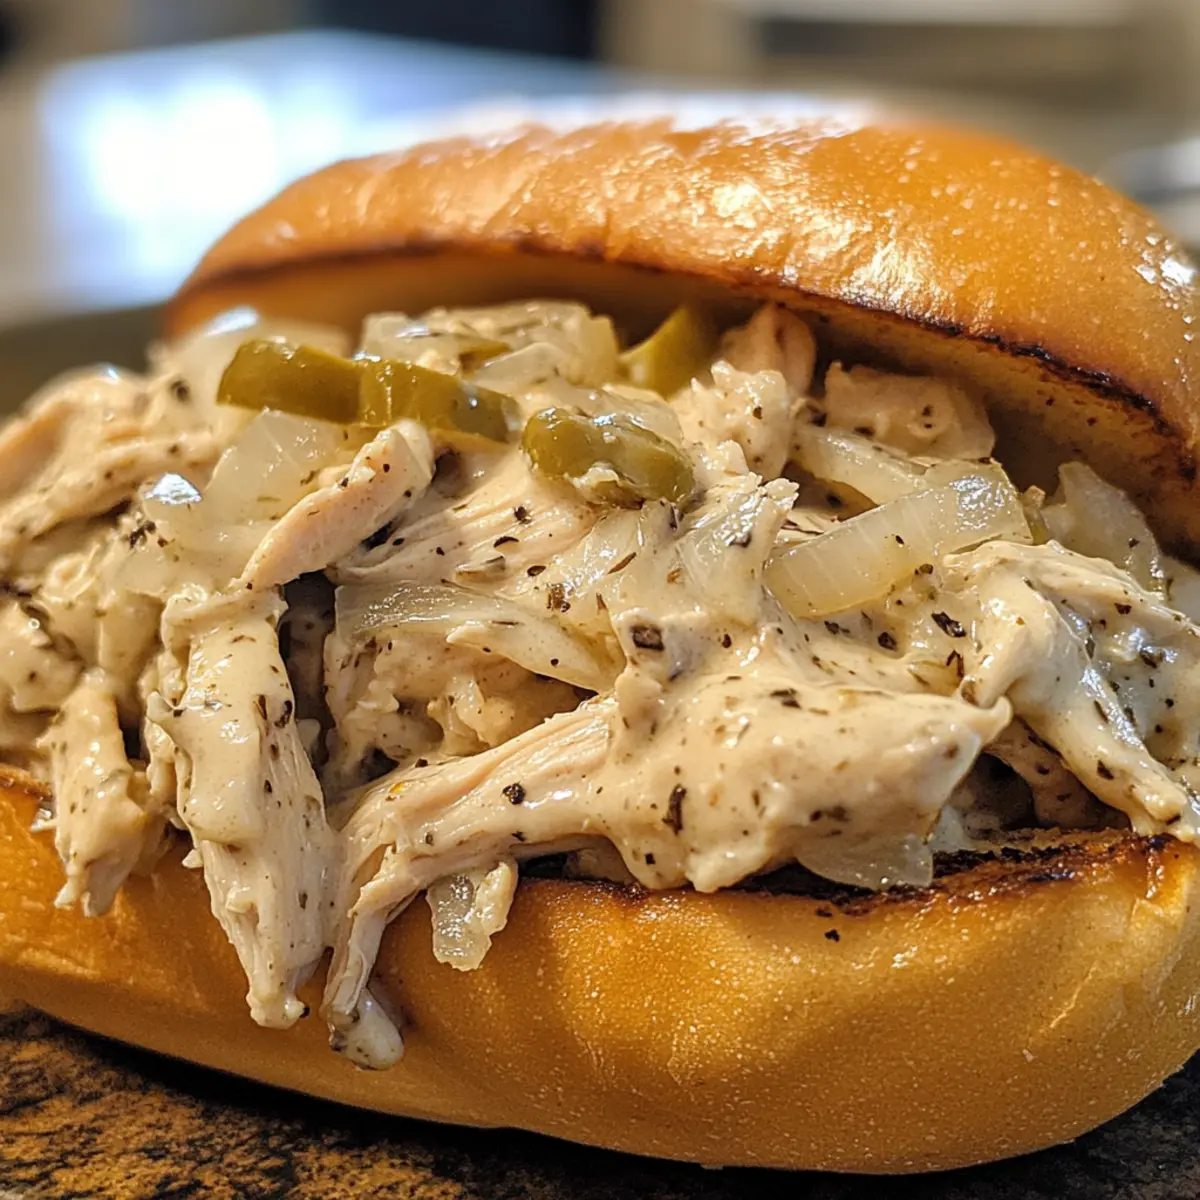
As I scoured my pantry on a particularly busy weeknight, a comforting thought struck me: why not let my slow cooker work its magic? Enter the Easy Slow Cooker Creamy Pepperoncini Chicken—a dish that transforms a few humble ingredients into something truly delightful. With minimal prep time, you can set it, forget it, and come back to tender, shredded chicken enveloped in a creamy, tangy sauce with just the right amount of kick. The best parts? This crowd-pleaser is completely customizable for your desired spice level and makes mealtime a breeze—serve it on toasted buns or lay it over fluffy rice for a satisfying dinner. Are you ready to join the ranks of slow-cooking pros and create something special tonight?
Why is Creamy Pepperoncini Chicken a Must-Try?
Simplicity at its Finest: This recipe requires minimal prep and easily fits into a busy lifestyle.
Rich and Tangy Flavor: The combination of cream cheese and pepperoncini brings a creamy texture with a delicious zing.
Customizable Heat Level: Adjust the spiciness to suit your taste; swap out pepperoncini for milder peppers if desired!
Versatile Serving Options: Whether on toasted buns or over rice, this dish adapts to your meal preferences.
Crowd-Pleasing Comfort Food: Perfect for family dinners or gatherings; it’s a dish that everyone will love!
For other delicious chicken recipes, you might also enjoy Homemade Chicken Pot or Honey Chili Chicken.
Creamy Pepperoncini Chicken Ingredients
For the Chicken Base
• Chicken Breasts – Boneless and skinless make for easy shredding.
• Salt & Pepper – Essential for enhancing flavor; adjust to your liking.
• Diced Onion – Sweetens the dish; shallots are a good substitute.
• Pimentos – Adds tang; feel free to omit if you’re short on time.
For the Tangy Sauce
• Pepperoncini Peppers (jarred with brine) – Delivers the tangy heat in creamy pepperoncini chicken; can swap with banana peppers for a milder flavor.
• Cream Cheese – Provides creaminess and binds the lovely flavors together; low-fat options work too.
For Serving
• Butter – Perfect for toasting your buns; skip if you enjoy them soft.
• Buns (optional) – For serving the chicken mixture; gluten-free alternatives are available.
Imagine the joy of savoring this creamy pepperoncini chicken, a dish that’s not just about the ingredients, but about the memories you’ll create around the dinner table!
Step‑by‑Step Instructions for Creamy Pepperoncini Chicken
Step 1: Season the Chicken
Start by seasoning the boneless, skinless chicken breasts with salt and pepper on both sides for enhanced flavor. Once seasoned, place the chicken into the slow cooker, ensuring the pieces sit snugly at the bottom. This method allows them to absorb all the delightful flavors that will develop during cooking.
Step 2: Add Vegetables
Next, layer the diced onion and pimentos evenly over the chicken. The onion will caramelize beautifully, adding a sweet depth to the dish. The pimentos contribute a sweet and tangy flavor profile, so don’t skip this step! Make sure they cover the chicken nicely to aid in even cooking.
Step 3: Pour the Brine
Pour the pepperoncini brine carefully around the chicken, avoiding the chicken’s surface to retain the seasoning. This brine is key to the tangy taste that defines Creamy Pepperoncini Chicken. If you prefer a milder flavor, consider using low-sodium chicken broth or water to balance the heat level.
Step 4: Layer the Peppers and Cheese
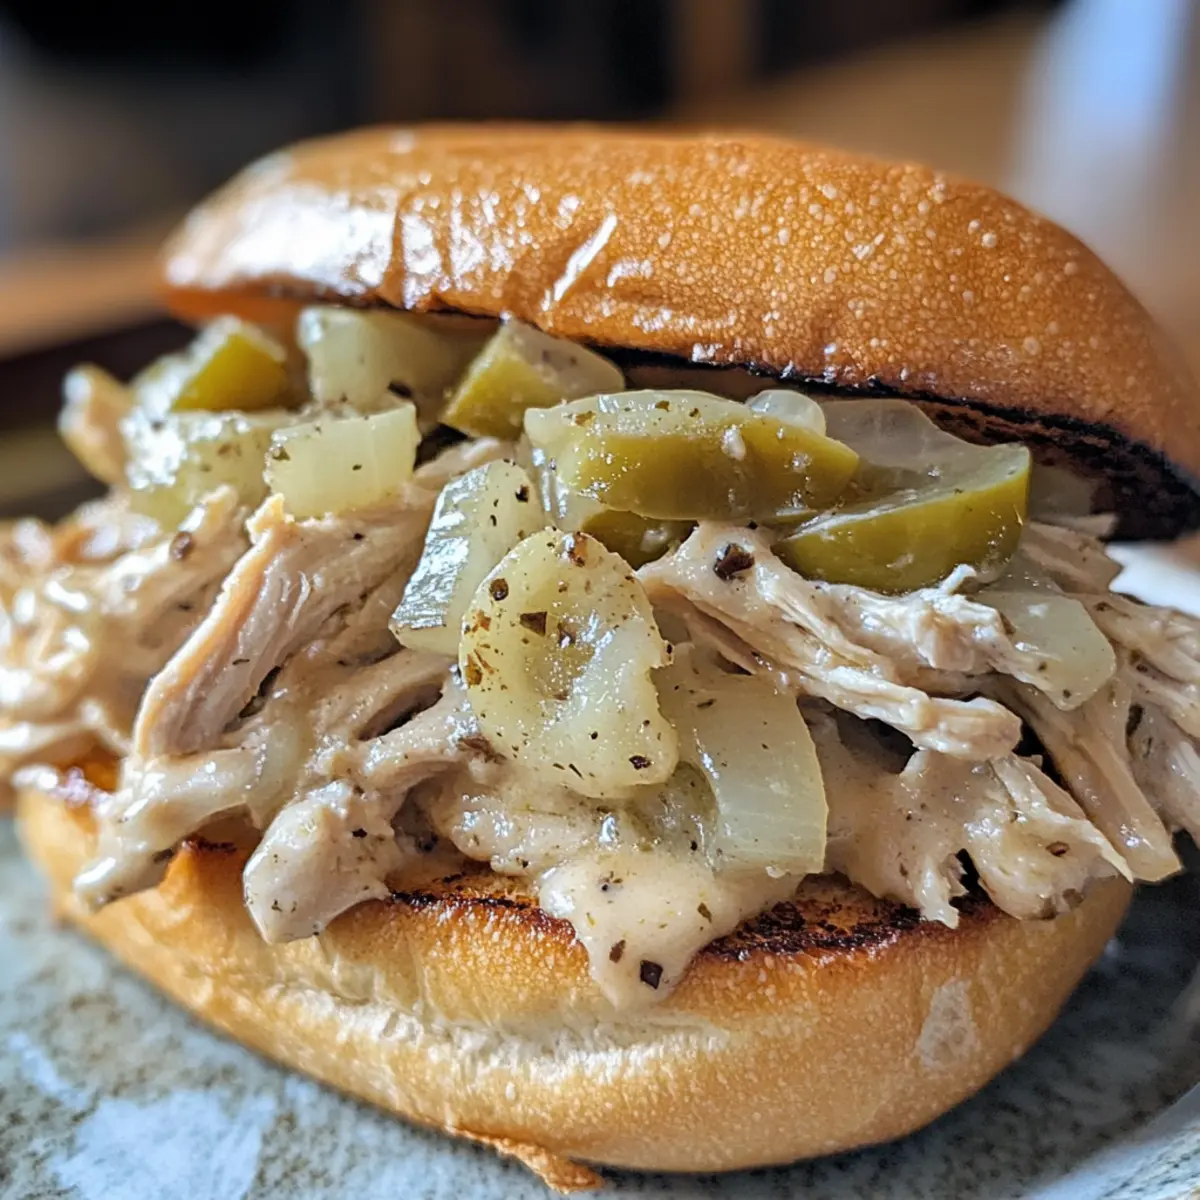
Now it’s time to add the pepperoncini peppers on top of the mixture, spreading them out over the onions and pimentos. Then, dot the cream cheese over the top of the peppers. As the dish cooks, the cream cheese will melt into a luscious, creamy sauce, tying all the flavors together.
Step 5: Slow Cook to Perfection
Cover the slow cooker and set it to cook on LOW for 6 hours. During this time, the chicken will become tender and easily shred. Check occasionally to enjoy the aroma that fills your kitchen, signaling that your Creamy Pepperoncini Chicken is nearly ready!
Step 6: Shred the Chicken
Once the cooking time is up, open the slow cooker and use two forks to shred the chicken directly in the pot. If you’re cautious about scratching the crock, transfer the contents to a bowl first. The chicken will soak up the creamy sauce, creating a delightful shredded mixture perfect for serving.
Step 7: Toast Your Buns (Optional)
If you’d like to elevate the experience, take a moment to butter the insides of your buns. Grill them on a skillet until they’re golden brown and crispy. This step will provide a lovely contrast to the creamy chicken and enhance your serving experience when you assemble your sandwiches.
Step 8: Serve and Relish
Finally, serve the shredded Creamy Pepperoncini Chicken generously on the toasted buns. Make sure to spoon over some of the creamy sauce for extra flavor. This comforting meal can also be enjoyed over rice or in lettuce wraps if you prefer a lighter option. Enjoy the food, and savor the memories made around your table!

Creamy Pepperoncini Chicken Variations
Feel free to sprinkle your personal touch on this dish, exploring flavors and textures that suit your family’s tastes!
- Milder Spice: Substitute banana peppers for a more subdued heat without sacrificing flavor.
- Healthier Swap: Use Greek yogurt instead of cream cheese for a lighter, protein-packed twist.
- Flavor Boost: Add garlic powder or fresh garlic for an aromatic lift that deepens the overall flavor profile.
- Vegetable Inclusions: Toss in spinach or kale during the last hour of cooking for a nutrient-boosting, colorful addition!
- Grain Variations: Serve it over quinoa or farro for an unexpected but delicious base, adding texture and nutrition.
- Creamy Alternative: Switch to coconut cream for a dairy-free option that adds a hint of tropical sweetness.
- Savory Infusion: Incorporate smoked paprika for a delightful smoky flavor that pairs beautifully with chicken.
- Heat Level Customization: Mix in a few sliced jalapeños for an added kick, perfect for those who enjoy their meals spicy.
If you’re delighted by these culinary possibilities, you might also want to try serving this lovely chicken with a side of Homemade Chicken Rolls or some delicious Tropical Chicken Pineapple. Happy cooking!
Expert Tips for Creamy Pepperoncini Chicken
- Brine Adjustment: Tailor the heat: Adjust the amount of pepperoncini brine to control spiciness; using low-sodium broth can mellow the flavor.
- Avoid Scratches: Protect your slow cooker: If using a mixer to shred the chicken, transfer contents to a bowl first to prevent scratching the crock.
- Cream Cheese Alternatives: Lighten up: Swap cream cheese for low-fat versions or Greek yogurt to create a lighter sauce without sacrificing creaminess.
- Bun Prep: Toast for texture: Butter and toast the buns for a crispy texture that complements the creamy pepperoncini chicken beautifully.
- Versatile Serving: Explore options: This dish is not limited to buns—try it over rice, pasta, or in lettuce wraps for varied meals.
What to Serve with Creamy Pepperoncini Chicken
Set the stage for a memorable meal by pairing the creamy warmth of this dish with delightful accompaniments.
- Garlic Bread: The buttery crunch of garlic bread perfectly complements the creamy chicken and adds a comforting touch.
- Coleslaw: A crisp slaw adds a refreshing contrast, balancing the tangy flavors while bringing a delightful crunch to each bite.
- Steamed Broccoli: Bright green broccoli brings a lovely color and nutrients to your plate, enhancing the meal without overpowering the flavors.
- Crispy French Fries: Golden fries dipped in the creamy sauce make for a fun and indulgent side; who could resist that combination?
- Creamy Mashed Potatoes: Soft and buttery, mashed potatoes soak up the sauce wonderfully, creating a truly comforting experience.
- Cucumber Salad: A light cucumber salad offers a cool, crisp contrast that brightens the meal, making it feel wholesome and fresh.
This combination of flavors and textures will elevate your dining experience, ensuring it becomes a cherished family favorite.
How to Store and Freeze Creamy Pepperoncini Chicken
Fridge: Store any leftovers in an airtight container for up to 3 days. Make sure the chicken has cooled down before sealing to maintain its texture.
Freezer: Freeze Creamy Pepperoncini Chicken in a freezer-safe container for up to 2 months. Allow it to cool, then portion for easy defrosting later.
Reheating: To reheat, thaw overnight in the fridge and heat on the stovetop or in the microwave until warmed through, adding a splash of water if needed to maintain creaminess.
Serving Suggestions: The frozen chicken can be served on toasted buns, over rice, or in lettuce wraps, giving you options for delicious meals any day.
Make Ahead Options
These Creamy Pepperoncini Chicken preparations are perfect for busy home cooks looking to save time! You can season the chicken, layer it with onions and pimentos, and refrigerate everything up to 24 hours before cooking. Just assemble the chicken in the slow cooker, pour the pepperoncini brine, and place the cream cheese on top. For best quality, store the mixture in an airtight container to maintain freshness. When you’re ready to enjoy your meal, simply add everything to the slow cooker and proceed with cooking on LOW for 6 hours. This method ensures a delicious, hassle-free dinner awaits you at the end of your busy day!
Creamy Pepperoncini Chicken Recipe FAQs
How do I select the right pepperoncini peppers?
Absolutely! When choosing pepperoncini peppers, look for those that are bright in color and firm to the touch. Avoid any with dark spots or a wrinkled appearance, as these can indicate that they are past their prime. If you prefer a milder flavor, you can substitute pepperoncini with banana peppers, which provide a similar texture without the heat.
What’s the best way to store leftovers?
Very! To store leftover Creamy Pepperoncini Chicken, let it cool completely before transferring it to an airtight container. Store it in the fridge for up to 3 days. If you’re short on time during the week, you can prep it ahead of time and enjoy a delicious meal right away!
Can I freeze Creamy Pepperoncini Chicken?
Of course! To freeze this dish, allow it to cool down, then transfer it to a freezer-safe container. It’ll keep well in the freezer for up to 2 months. When you’re ready to enjoy, thaw it overnight in the fridge, then reheat on the stovetop or in the microwave until heated through, adding a splash of water to restore creaminess.
What if my chicken doesn’t shred easily?
Oh no! If your chicken is not shredding easily, it may need more cooking time. Ensure that it’s cooked for a total of 6 hours on the LOW setting. You can also try using two forks or a hand mixer (just be cautious if you’re using it in the slow cooker to avoid scratching). If it seems too dry, adding a little more brine or a splash of chicken broth can help!
Is this recipe suitable for those with dietary restrictions?
Absolutely! To cater to gluten-free diets, you can easily swap regular buns for gluten-free options. If there are allergies, be cautious with the cream cheese and consider alternatives like low-fat cream cheese or Greek yogurt. Always check the labels for any hidden allergens if you’re cooking for someone with dietary restrictions.
How spicy is Creamy Pepperoncini Chicken?
Very! The spice level in this dish can be adjusted to suit your taste buds. If you’re sensitive to spice, start with a smaller amount of pepperoncini or use low-sodium chicken broth instead of the brine. You can always add more heat later if you desire!
Savory Creamy Pepperoncini Chicken for Comforting Meals
Ingredients
Equipment
Method
- Season the chicken with salt and pepper on both sides, then place in the slow cooker.
- Layer the diced onion and pimentos evenly over the chicken.
- Pour the pepperoncini brine carefully around the chicken.
- Add the pepperoncini peppers on top of the mixture and dot with cream cheese.
- Cover and cook on LOW for 6 hours.
- Once cooked, shred the chicken in the pot using two forks.
- Optional: Butter and toast the insides of your buns until golden brown.
- Serve the shredded chicken on the toasted buns, spooning over some creamy sauce.