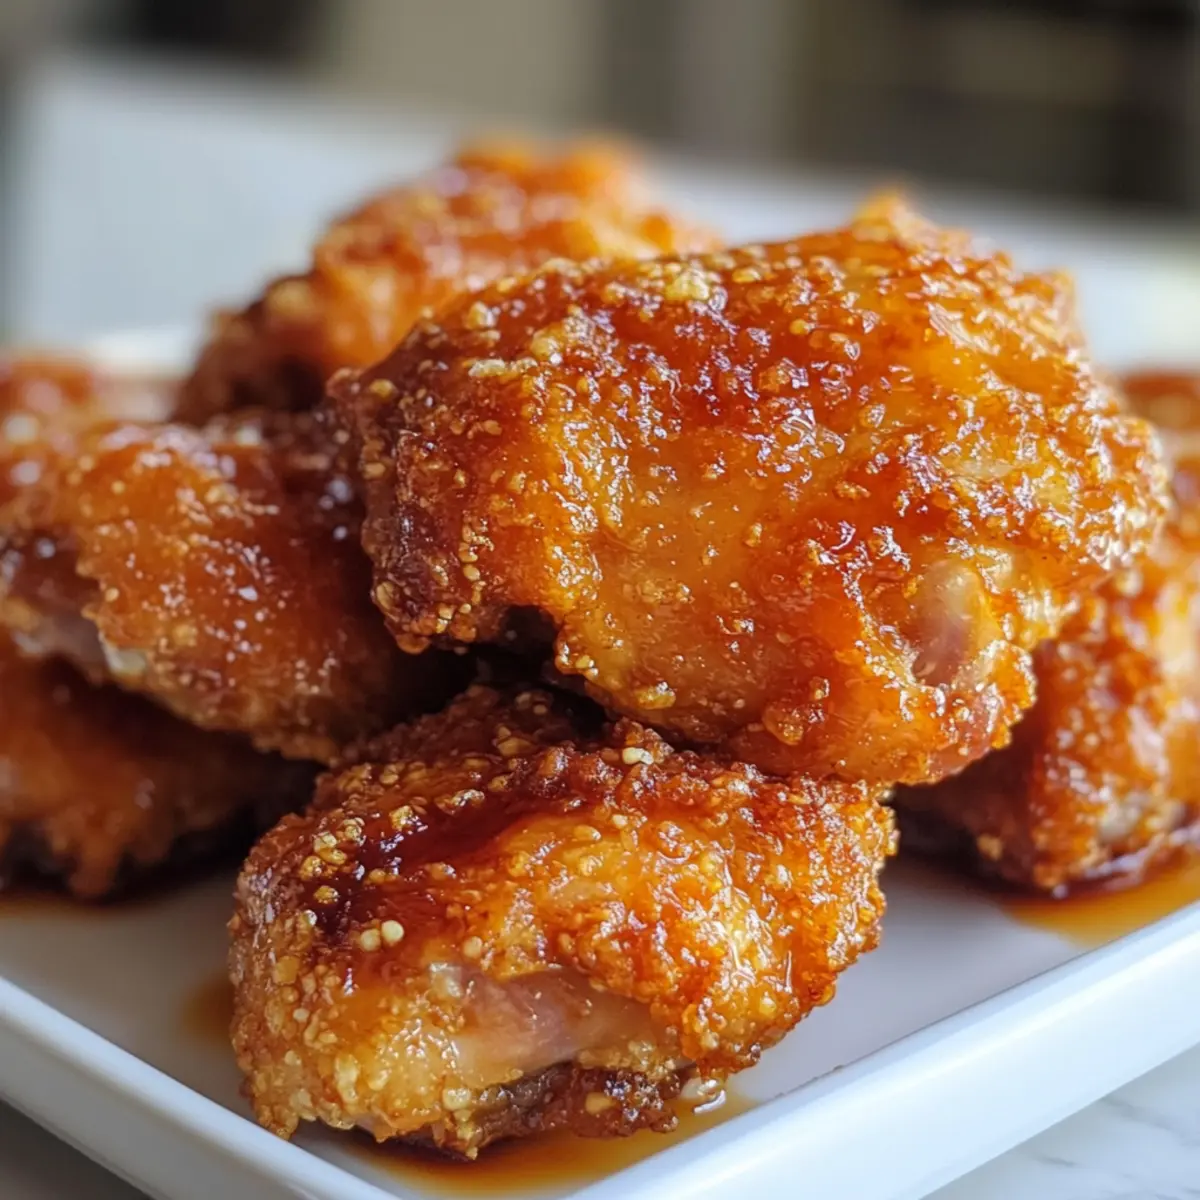
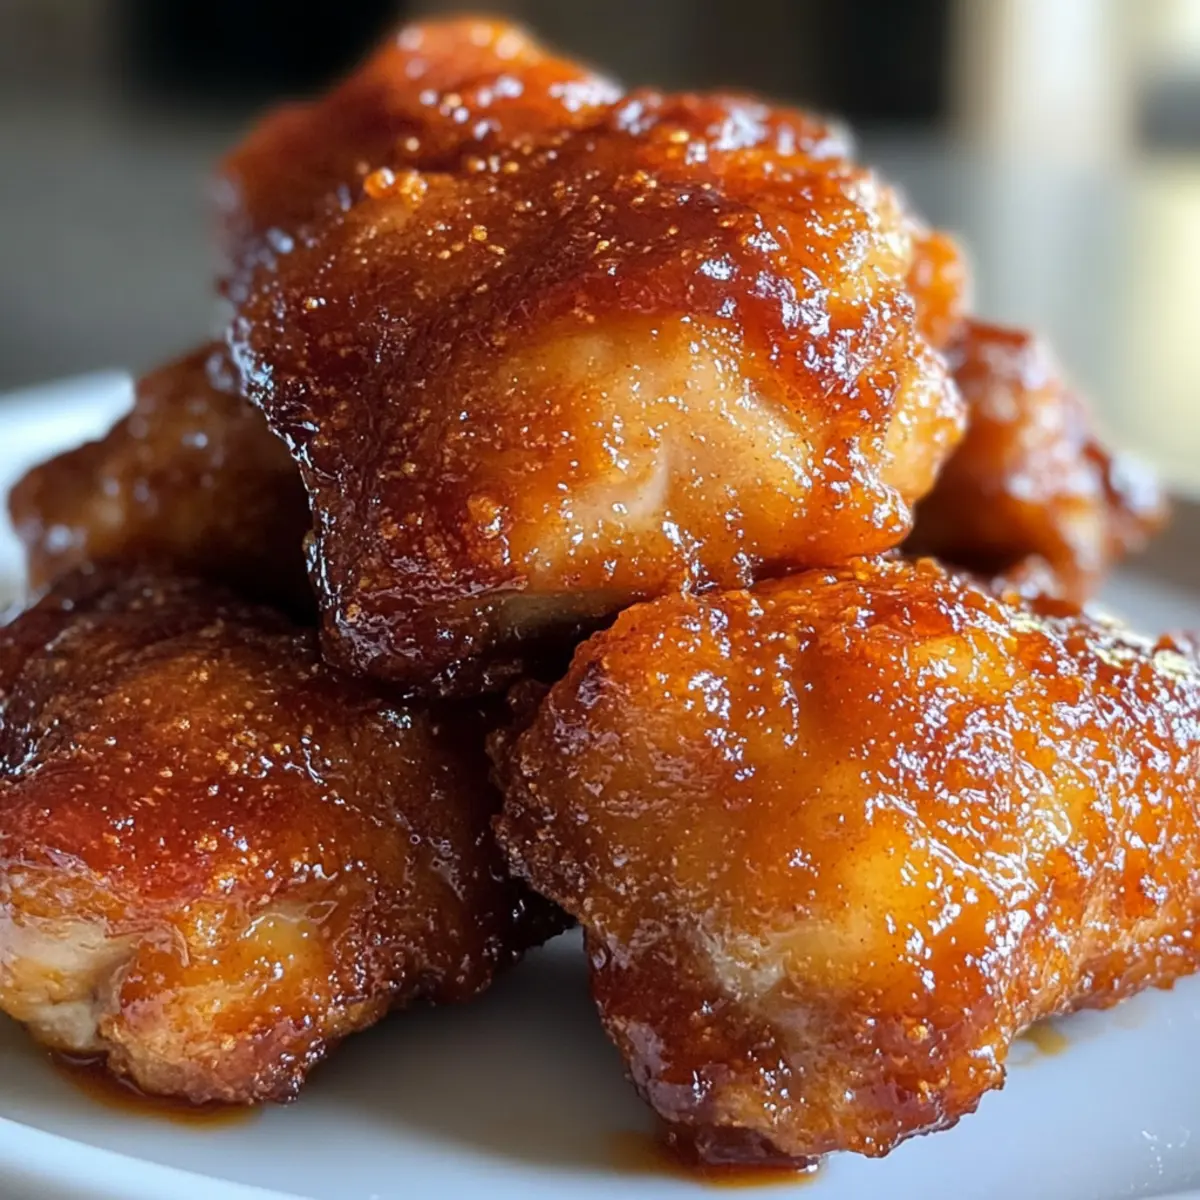
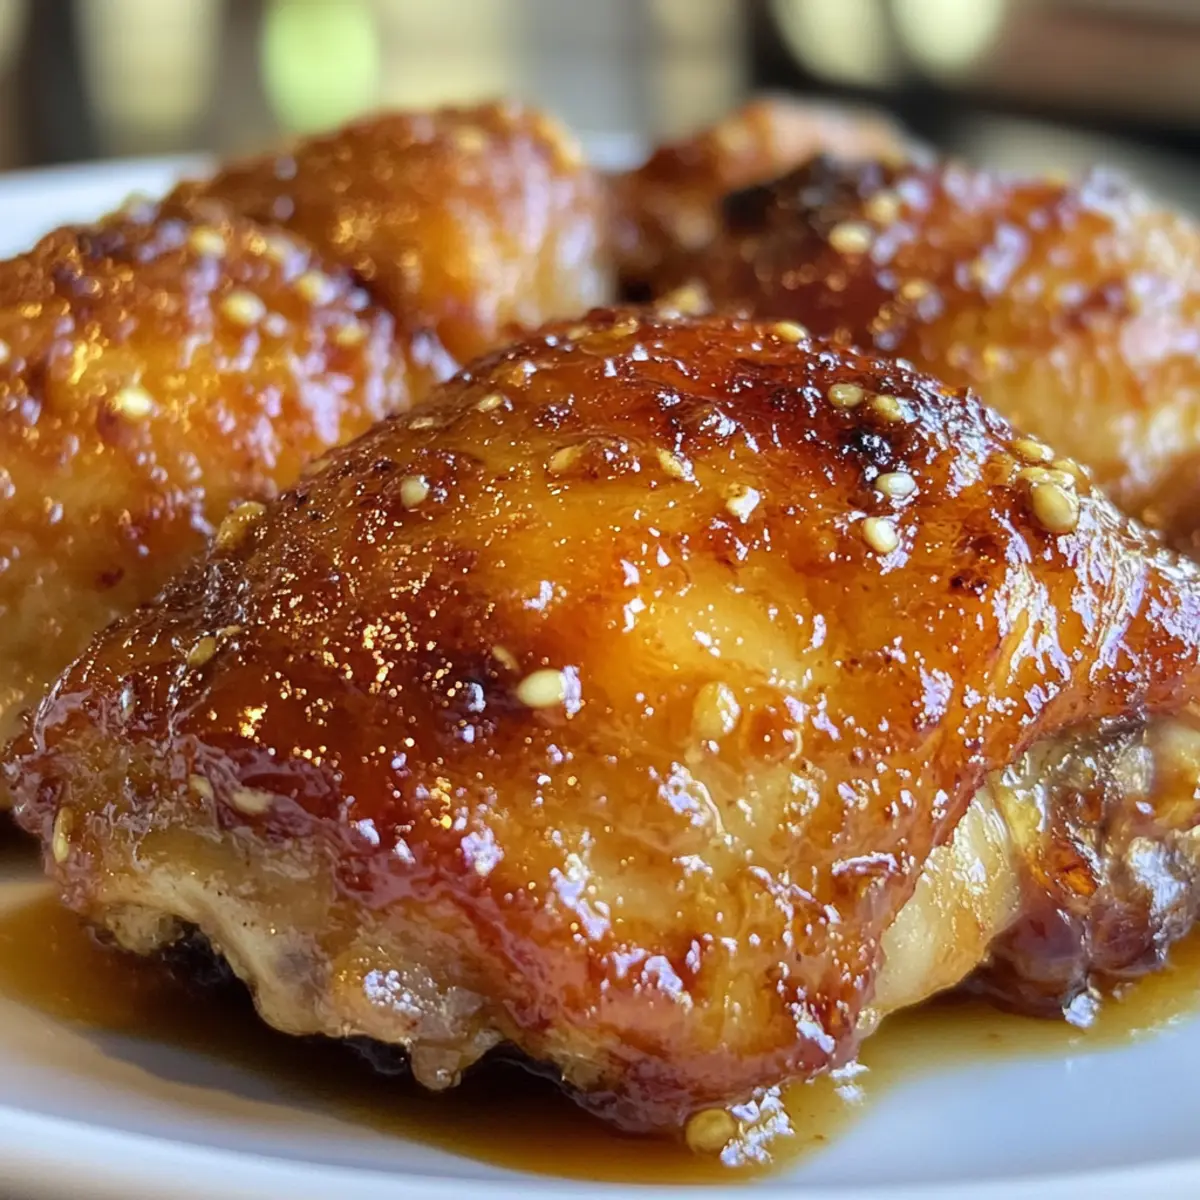
As I was whisking together the hot honey for my latest culinary adventure, a comforting memory hit me—those cozy Friday nights spent unwinding with takeout, indulging in crispy chicken that perfectly balanced sweet and spicy. Yet, there was something that sparked my creativity; what if I could recreate that magic at home? Enter my Better Than Takeout Baked Crunchy Hot Honey Chicken. This recipe is a game-changer for anyone looking for quick weeknight meals that don’t skimp on flavor. With a delightful crunch and a sticky glaze that leaves your taste buds dancing, it’s everything we love about takeout, but baked to perfection! Plus, it’s healthier, freezer-friendly, and so easy to whip up. Are you ready to surprise yourself with this homemade feast? Let’s get cooking!
Why Choose This Hot Honey Chicken?
Crispy and Golden: Experience a crunch that rivals your favorite takeout, thanks to a panko breadcrumb coating that bakes up beautifully.
Sweet Meets Spicy: The blend of hot honey adds a mouthwatering glaze that perfectly balances flavors, igniting your taste buds.
Quick Prep Time: With only a few simple ingredients, this recipe comes together in a flash, making it ideal for busy weeknights.
Versatile Dish: Serve it with steaming rice or fresh side salads for a balanced meal, and don’t forget to check out my Honey Chili Chicken for another fantastic flavor boost!
Crowd-Pleasing Delight: This dish is sure to impress family and friends, giving you that takeout vibe without the hassle. You’ll be the go-to chef in no time!
Baked Crunchy Hot Honey Chicken Ingredients
For the Chicken
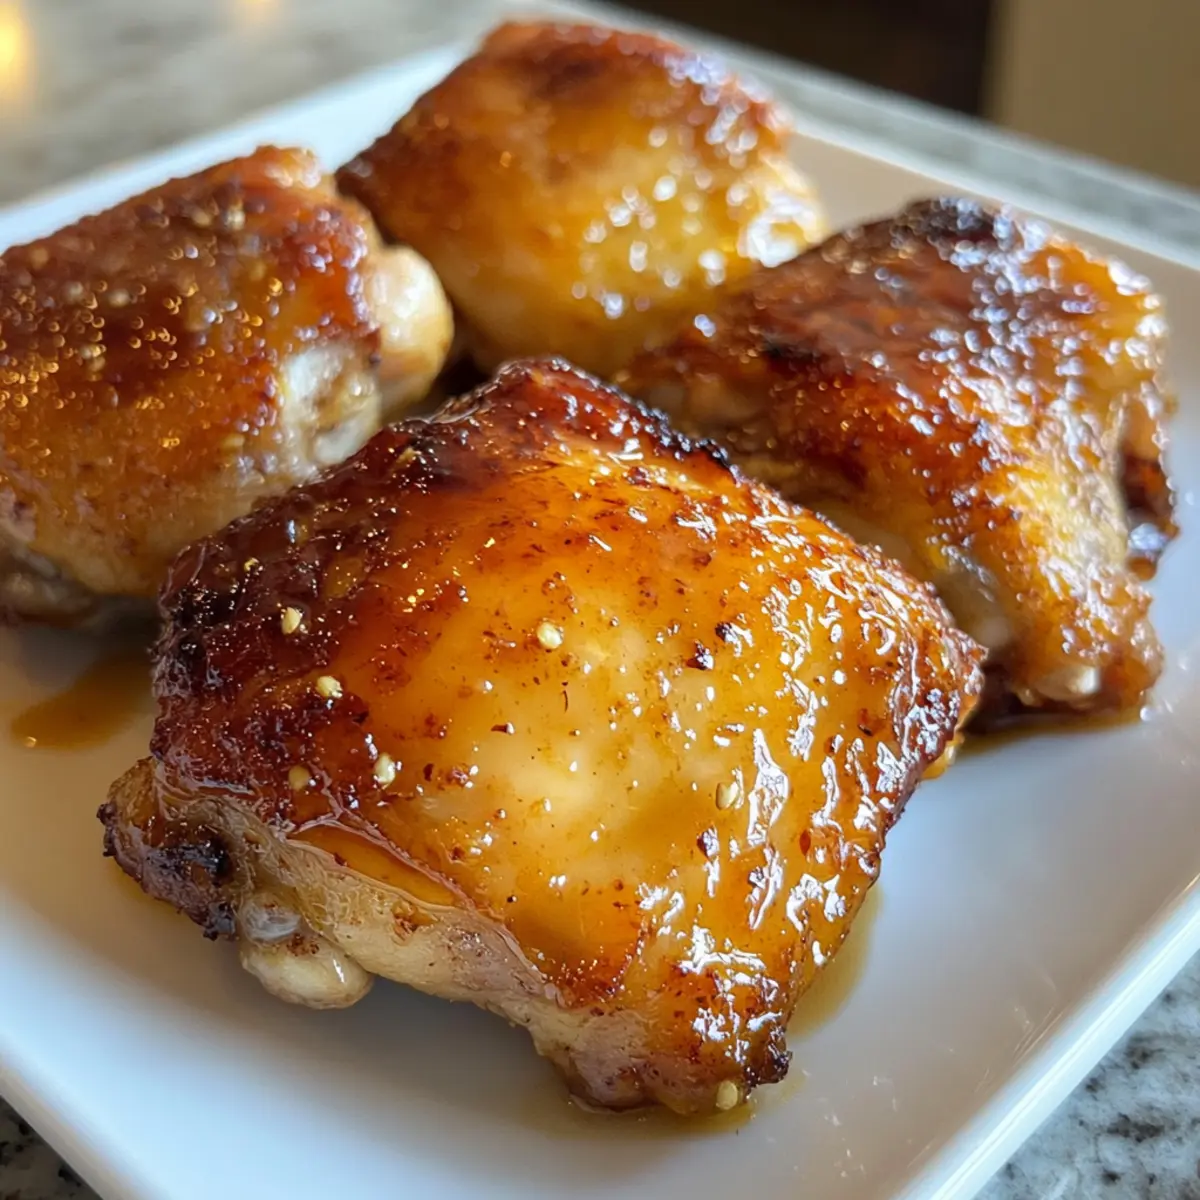
• Chicken Thighs – Juicier than breasts; using skin-on enhances crispiness.
• Olive Oil – Helps achieve a golden-brown exterior; substitute with avocado oil if preferred.
For the Coating
• Breadcrumbs – Offers a satisfying crunch; panko is best for extra crispiness, and gluten-free options work too.
For the Sauce
• Hot Honey – Adds both sweetness and heat; regular honey mixed with chili flakes can be an excellent substitute.
For Seasoning
• Salt and Pepper – Essential for flavor; adjust to your personal taste.
Now that you have everything ready, get ready to cook up a storm with this Baked Crunchy Hot Honey Chicken recipe that promises takeout-quality delight right in your kitchen!
Step‑by‑Step Instructions for Baked Crunchy Hot Honey Chicken
Step 1: Preheat the Oven
Begin your culinary adventure by preheating your oven to 375°F (190°C). This ensures that your Baked Crunchy Hot Honey Chicken cooks evenly and achieves that delightful golden-brown color. Once the oven reaches temperature, grab a baking sheet and line it with parchment paper for easy cleanup.
Step 2: Prepare the Chicken
Next, take your chicken thighs and give them some love! Trim any excess fat and season generously with salt and pepper. This adds a flavorful base that enhances the chicken’s natural juices. Lay the seasoned thighs out on a plate, ready to be coated for baking.
Step 3: Coat the Chicken
Now, dip each seasoned chicken thigh into olive oil, ensuring they are thoroughly coated. This step is crucial for achieving that crispy exterior! After the oil bath, roll the thighs in panko breadcrumbs, pressing gently so they’re well-coated. You’ll want that satisfying crunch with each bite of your Baked Crunchy Hot Honey Chicken.
Step 4: Bake the Chicken
Place the breaded chicken thighs on your prepared baking sheet, making sure they’re spaced out for optimal crispiness. Slide the sheet into the preheated oven and bake for 20-25 minutes. Halfway through, flip the chicken to ensure both sides get equally golden and crispy, making your meal irresistible.
Step 5: Apply the Hot Honey Sauce
Once the chicken is beautifully baked, it’s time to elevate the flavor! Brush a generous amount of hot honey sauce over each thigh, ensuring they’re well-glazed. Return the chicken to the oven for another 5 minutes. This final touch will caramelize the sauce, creating a stunning, sticky finish.
Step 6: Check for Doneness
After the last bake, it’s essential to ensure your chicken is safe to eat. Use a meat thermometer to check that the internal temperature of the chicken reaches a perfect 165°F (74°C). This guarantees that your Baked Crunchy Hot Honey Chicken is juicy and delicious, ready for serving!
Make Ahead Options
These Baked Crunchy Hot Honey Chicken thighs are a fantastic option if you’re looking to save time during busy weeknights! You can marinate the chicken in the hot honey sauce for up to 24 hours in advance, which intensifies the flavor while keeping it tender. Additionally, you can coat the chicken in breadcrumbs and store it in the fridge for an easy prep. When you’re ready to serve, simply bake the chicken directly from the refrigerator, adjusting the baking time by a few minutes if necessary. To maintain that irresistible crunch, store any leftovers in an airtight container and reheat in the oven for the best results. This way, you’ll enjoy restaurant-quality chicken with minimal effort!
Variations & Substitutions for Baked Crunchy Hot Honey Chicken
Feel free to mix things up and make this dish your own, creating delightful surprises for your taste buds!
-
Chicken Breasts: Swap chicken thighs for breasts if you prefer a leaner option; just ensure to monitor cooking time as they can dry out faster.
-
Spicy Alternative: Add a sprinkle of cayenne pepper or chili powder to your breadcrumbs for a fiery kick that will wake up your palate!
-
Gluten-Free: Use gluten-free breadcrumbs instead of traditional ones for a diet-friendly option that still offers fantastic crunchiness.
-
Hot Sauce Twist: Replace the hot honey with your favorite hot sauce for a tangy flavor explosion, giving it a delightful twist that can be combined with a honey drizzle.
-
Sweet & Tangy: Mix in some pineapple juice with your hot honey for a bright and tropical flare; it balances beautifully with the spices, reminiscent of the flavors in my Tropical Chicken with Pineapple.
-
Different Proteins: Try using boneless pork chops or even firm tofu as a satisfying alternative, making this dish versatile, no matter your protein preference.
-
Herb Infusion: Stir in fresh herbs like rosemary or thyme into the breadcrumbs for an aromatic flavor; it elevates the dish while adding an earthiness!
-
Flavor Bomb Sauce: Consider marinating the chicken in an herbaceous sauce like teriyaki before baking for an unexpected flavor profile—perfect for fans of Asian cuisine. Don’t forget to explore my delicious Homemade Chicken Pot recipe for further inspiration!
Expert Tips for Baked Crunchy Hot Honey Chicken
• Watch the Time: Monitor your baking closely to prevent dry chicken; using a meat thermometer ensures perfect doneness.
• Marinate for Flavor: Consider marinating the chicken in hot honey sauce before baking for a deeper flavor profile that enhances the baked crunchiness.
• Cooling Rack Secret: Elevate your baking by placing a cooling rack on the baking sheet; this promotes airflow and maximizes the crispiness of your chicken.
• Breadcrumb Choice: Opt for panko breadcrumbs for an extra crunchy texture; ensure they’re well-distributed for even coating during preparation.
• Adjust Spice Levels: Feel free to customize the heat by adjusting the amount of hot honey or adding your chili flakes; this allows the Baked Crunchy Hot Honey Chicken to suit your personal taste.
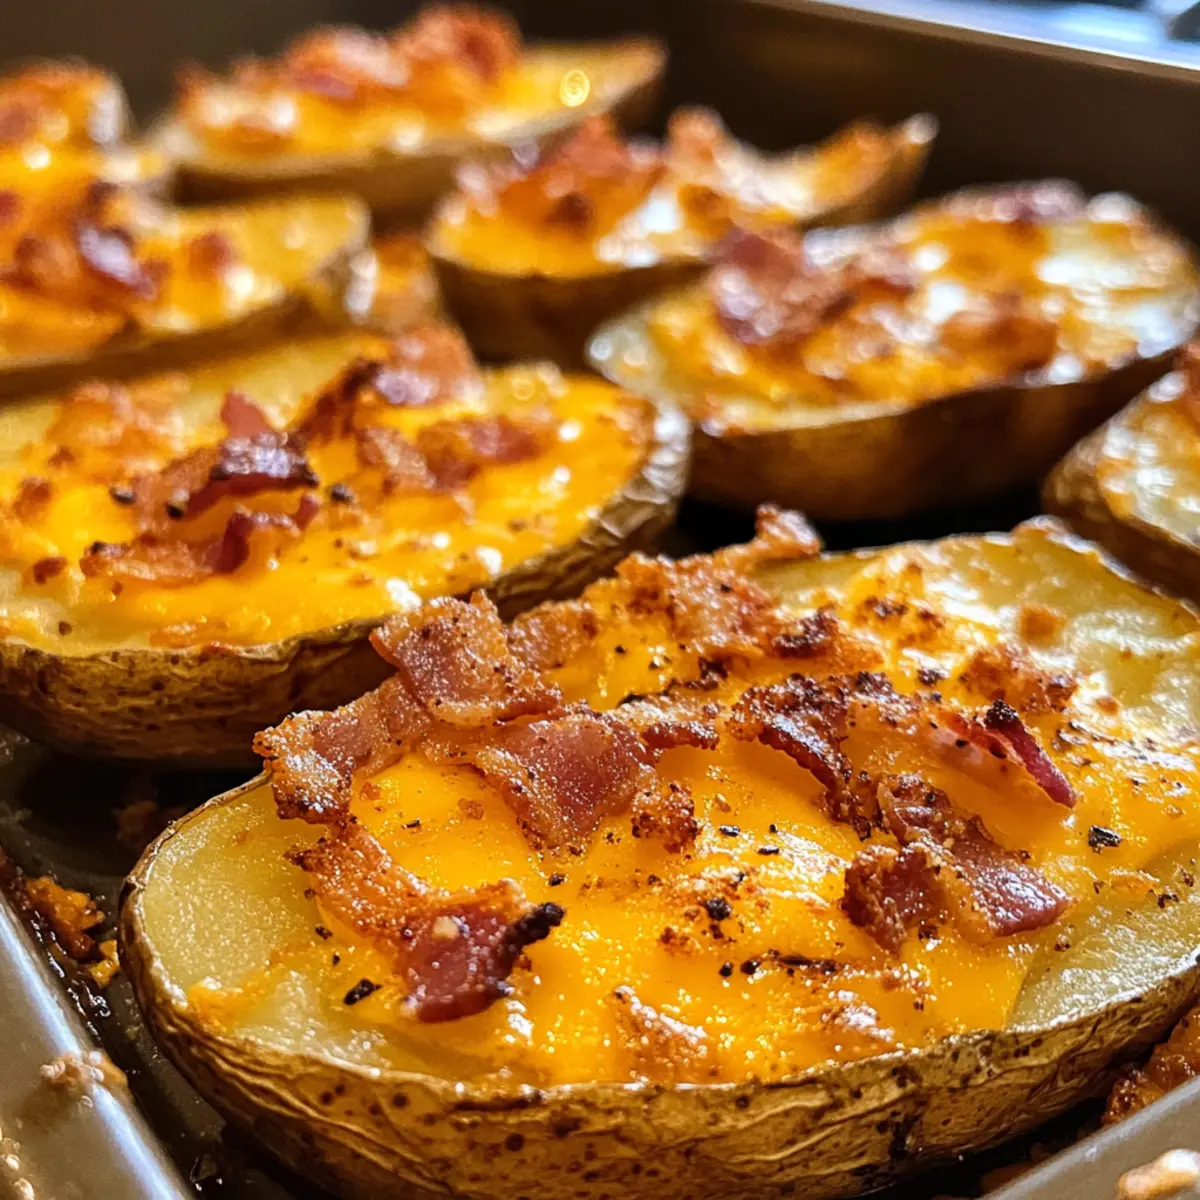
How to Store and Freeze Baked Crunchy Hot Honey Chicken
Fridge: Keep your Baked Crunchy Hot Honey Chicken in an airtight container for up to 3 days. This ensures it stays flavorful and moist for your next meal.
Freezer: For longer storage, wrap the chicken tightly in plastic wrap or aluminum foil, then place it in a freezer-safe bag. It can be kept frozen for up to 2 months.
Reheating: To retain the crunch, reheat in the oven at 375°F (190°C) for about 15-20 minutes or until heated through. Avoid microwaving, as it can make the coating soggy.
Thawing: If frozen, thaw the chicken overnight in the fridge before reheating, which helps maintain its delicious texture and flavor.
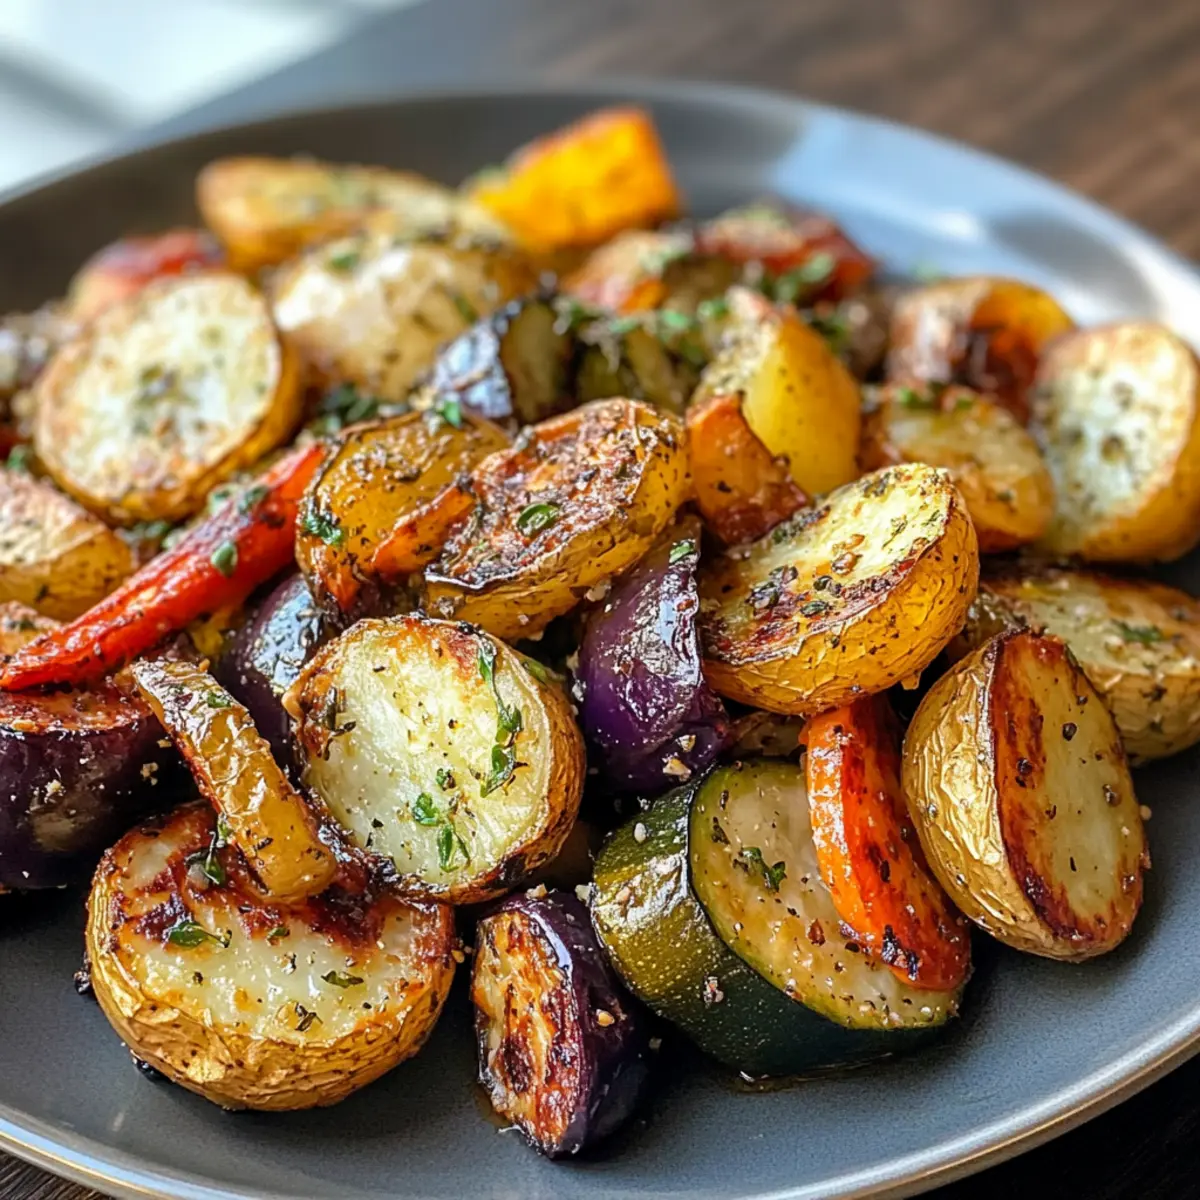
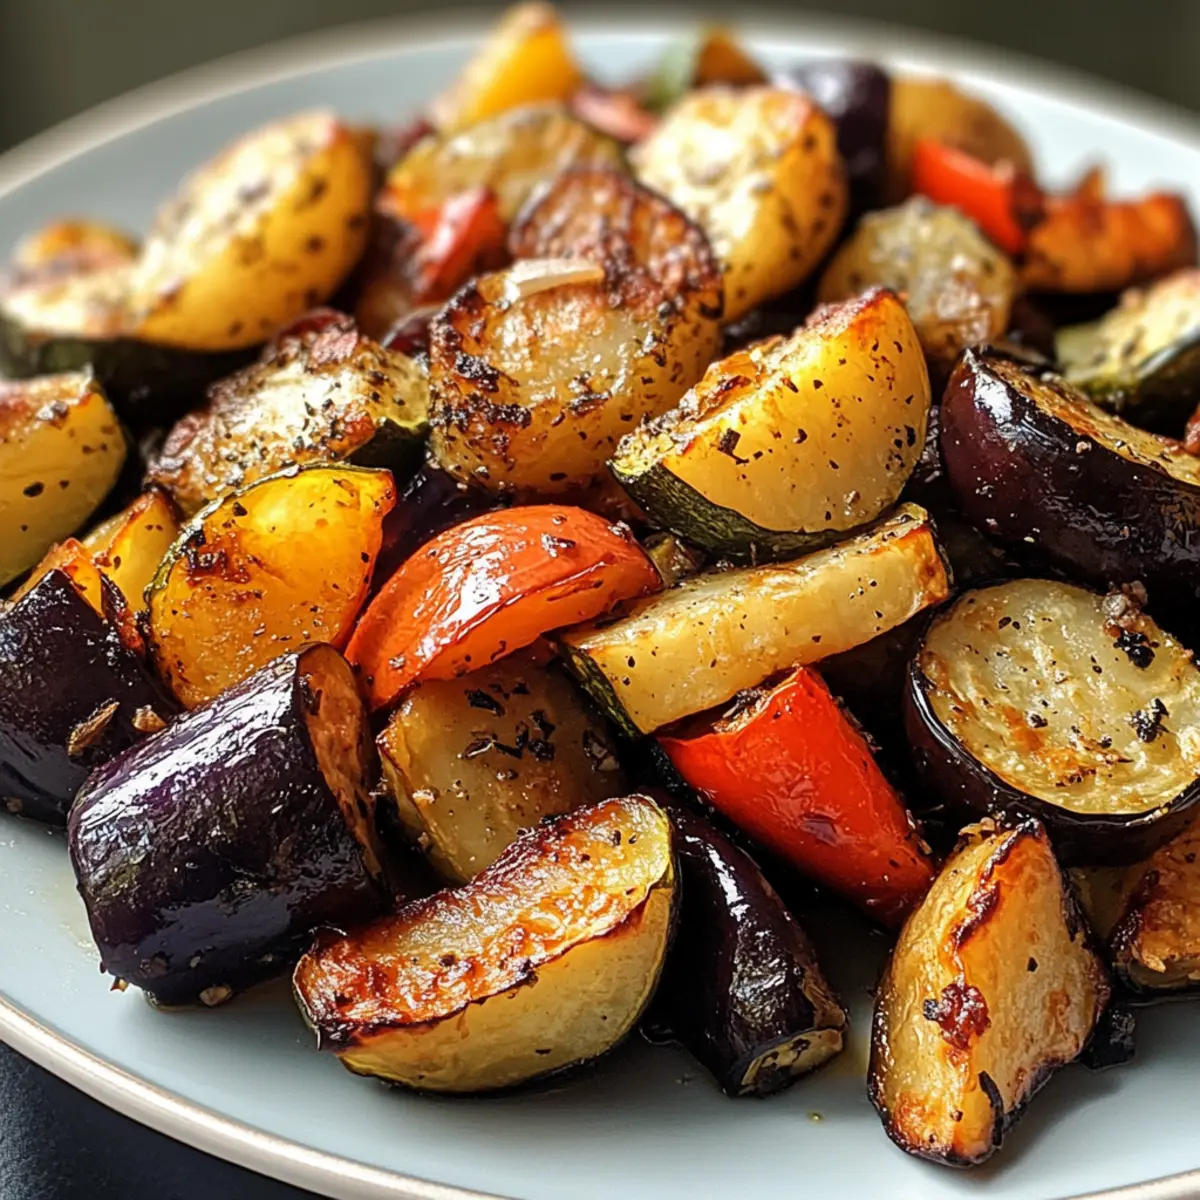
What to Serve with Better Than Takeout Baked Crunchy Hot Honey Chicken
Picture a delightful meal that brings the comforting tastes of takeout right to your table, all while complementing the sweet and spicy notes of your chicken.
-
Steamed Jasmine Rice: A fragrant base that soaks up the hot honey glaze, making each bite aromatic and satisfying.
-
Crispy Noodle Salad: The crunch of fresh vegetables and noodles adds texture and lightness, balancing the rich flavors of the chicken. Toss with a tangy dressing for an extra zing!
-
Roasted Broccoli: Their smoky, caramelized edges create a beautiful contrast to the sweet chicken. Plus, they add a lovely green touch to your plate.
-
Garlic Mashed Potatoes: Creamy and buttery, these potatoes provide a comforting side that perfectly complements the crunch of the chicken.
-
Coleslaw: A crunchy and refreshing salad that adds a bright and tangy touch, providing a delightful contrast to the sweetness of the hot honey.
-
Sweet Potato Fries: These offer a slightly sweet and subtly spiced companion that pairs wonderfully with the chicken’s flavors—perfect for those weekend indulgences!
-
Sparkling Water with Lime: A refreshing drink that cleanses the palate between bites, enhancing the meal with a refreshing twist.
-
Chocolate Chip Cookies: For dessert, the warmth of freshly baked cookies makes for a delightful ending, pairing beautifully with the lingering flavors of the dish.
Enjoy your culinary journey with these perfect pairings!
Baked Crunchy Hot Honey Chicken Recipe FAQs
How do I choose the best chicken thighs for this recipe?
Absolutely! When selecting chicken thighs, aim for those that are plump and have a good amount of fat. Skin-on thighs will yield a crispier texture during baking. Look for thighs that are pale pink and free from dark spots or bruises. Freshness is key, so choose packages with a sell-by date that’s a few days out!
What’s the best way to store leftovers of Baked Crunchy Hot Honey Chicken?
To keep your delicious Baked Crunchy Hot Honey Chicken fresh, store it in an airtight container in the refrigerator for up to 3 days. Make sure it’s completely cooled before sealing to avoid condensation, which can lead to sogginess. I often place a paper towel inside the container to help absorb any excess moisture!
Can I freeze Baked Crunchy Hot Honey Chicken?
Yes! To freeze, wrap each piece of chicken tightly in plastic wrap or foil and then place them in a freezer-safe bag. This method prevents freezer burn and can keep your chicken good for up to 2 months. When you’re ready to enjoy, thaw it overnight in the refrigerator before reheating to maintain its crispy texture.
What should I do if the coating isn’t crispy enough?
If your coating isn’t achieving that perfect crunch, consider checking a few things. First, ensure you’re using panko breadcrumbs, as they offer more texture than regular ones. Second, placing the chicken on a cooling rack set over the baking sheet allows air to circulate around the chicken, making it crispier. Lastly, broil for an additional 1-2 minutes at the end of baking for that extra crunchy finish—just keep a close eye to prevent burning.
Is this dish suitable for those with dietary restrictions?
Certainly! For gluten-free options, substitute regular breadcrumbs with gluten-free breadcrumbs to accommodate any gluten sensitivity. Additionally, if you’re avoiding honey, you can sweeten your sauce with agave syrup or maple syrup mixed with your preferred spicy element, making it a versatile option perfect for various dietary preferences!
Baked Crunchy Hot Honey Chicken That Beats Takeout Delightfully
Ingredients
Equipment
Method
- Preheat your oven to 375°F (190°C) and line a baking sheet with parchment paper.
- Trim excess fat from the chicken thighs and season generously with salt and pepper.
- Dip each chicken thigh in olive oil, ensuring they are coated, then roll in panko breadcrumbs.
- Place the chicken on the baking sheet, spaced for crispy texture, and bake for 20-25 minutes, flipping halfway through.
- Brush hot honey sauce over each thigh and bake for an additional 5 minutes to caramelize.
- Check the internal temperature of the chicken to ensure it reaches 165°F (74°C) before serving.