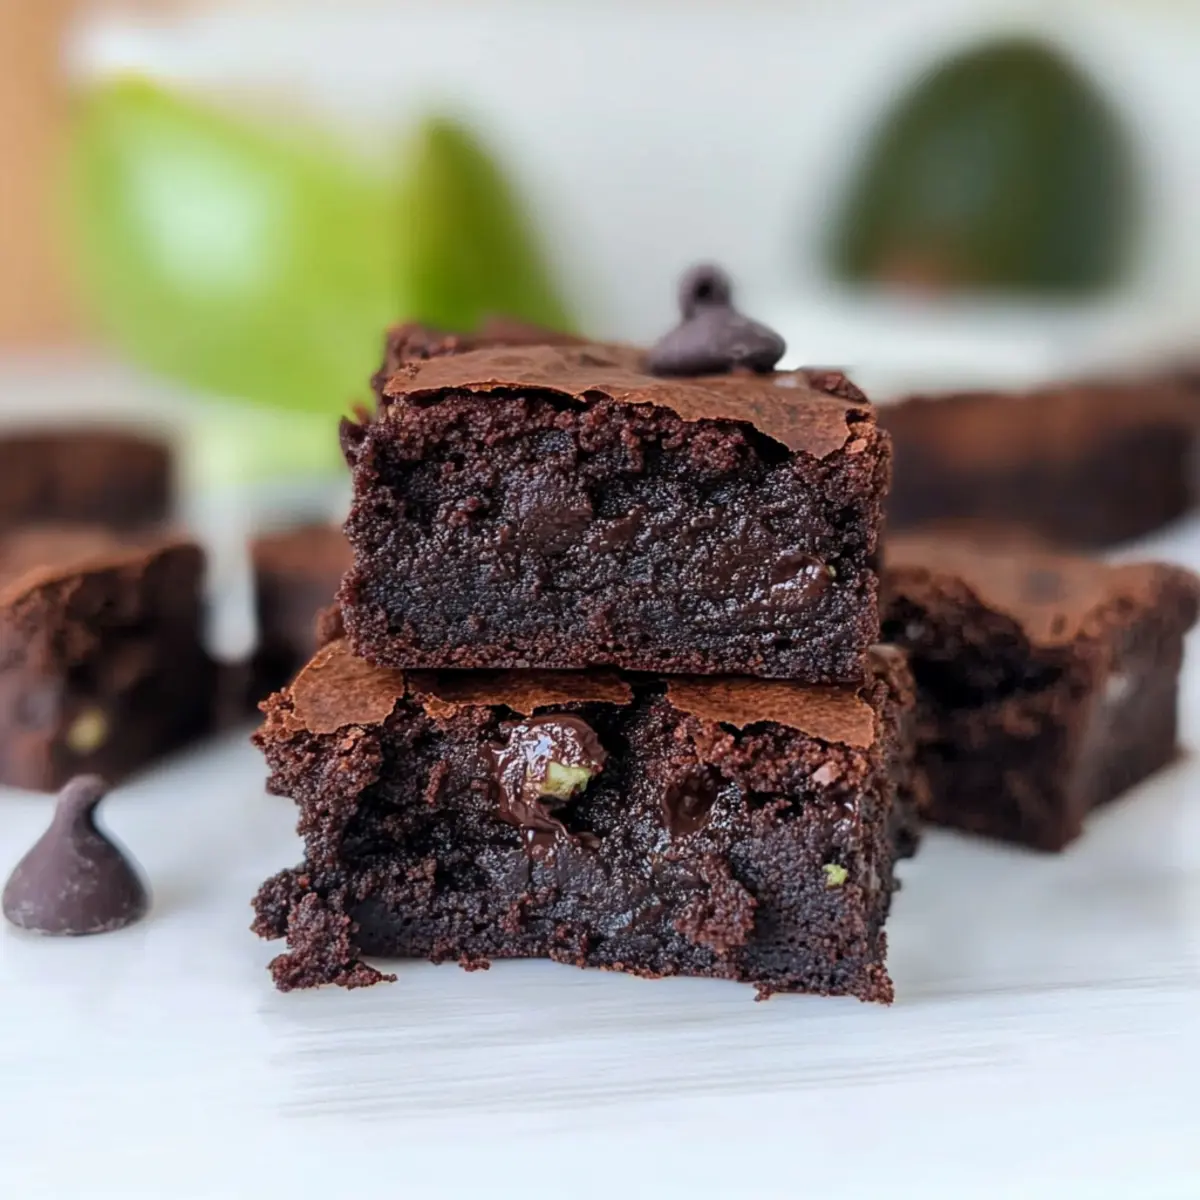
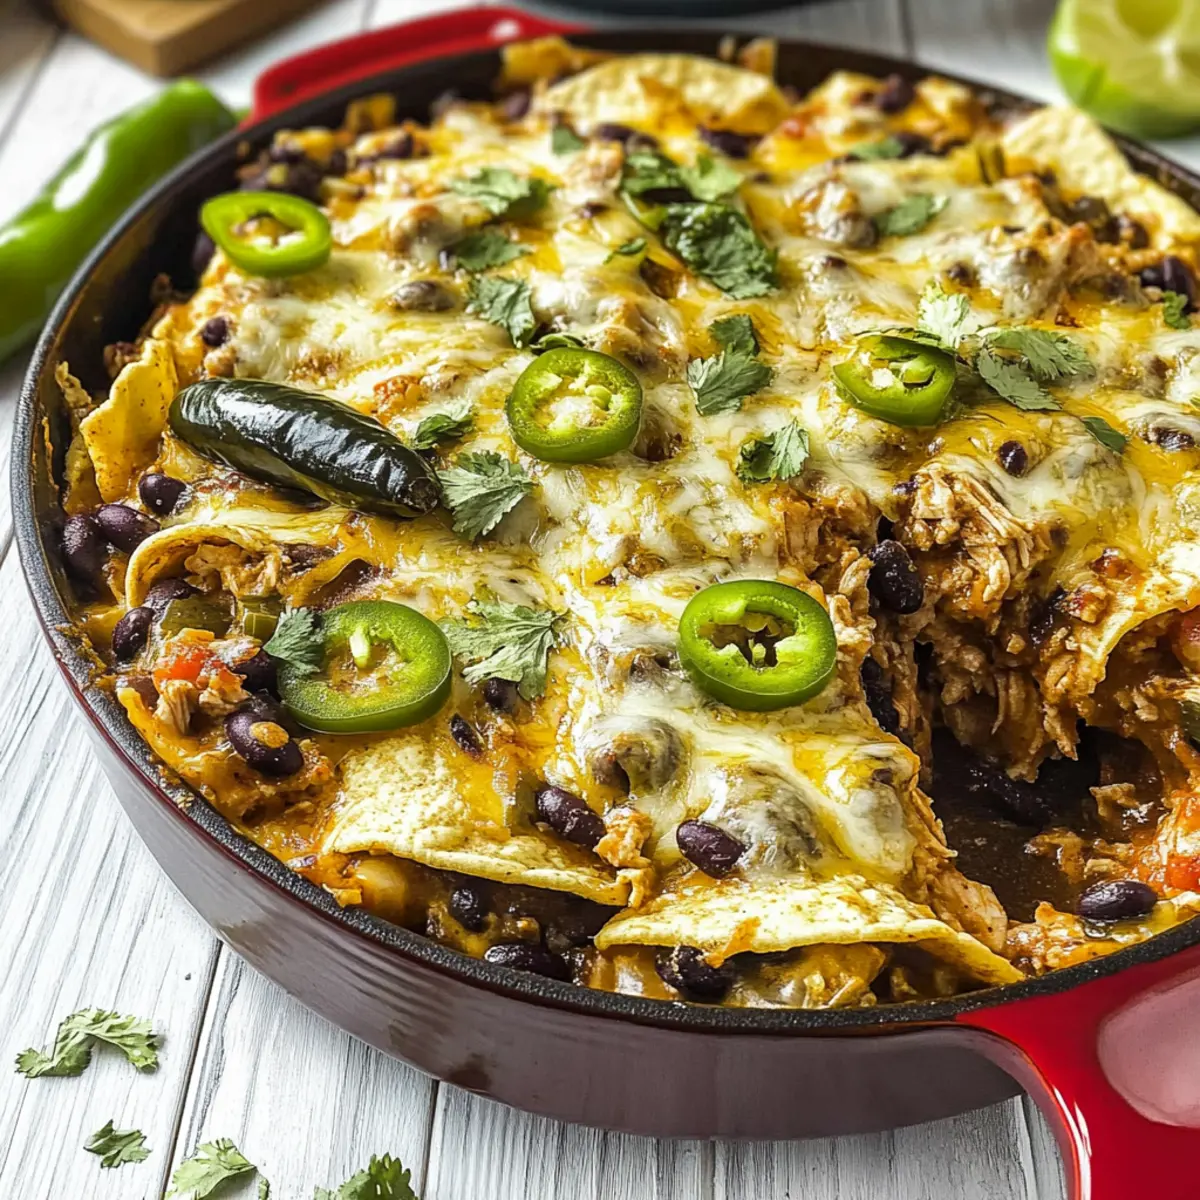
As I stood in my kitchen, the enticing aroma of seasoned chicken sizzling with earthy poblano peppers engulfed the room, instantly transporting me to a cozy Mexican cantina. My One-Pot Chicken Enchilada Casserole combines all the rich flavors we crave in a simple and hearty dish, perfect for those weeknight dinners when time is tight but love for homemade food runs deep. With its quick prep and satisfying layers, this casserole not only fills hungry bellies but also warms the heart, thanks to the vibrant tomatillo salsa and perfectly melted cheese. Whether you’re cooking for a family gathering or just a cozy night in, this delightful dish will have your loved ones asking for seconds. Are you ready to dive into a flavorful fiesta with each bite?
Why is This Enchilada Casserole Irresistible?
Simplicity at Its Best: The one-pot preparation means less cleanup, making it a true weeknight hero.
Flavor Explosion: Each bite reveals tender chicken mingling with zesty tomatillo salsa and smoky poblano peppers.
Versatile Options: Easily adjust for vegetarians by swapping chicken for extra black beans or fresh veggies.
Crowd-Pleasing Appeal: Perfect for both cozy family dinners and entertaining guests, everyone will love this hearty dish!
Quick to Whip Up: With minimal prep time, you’ll have a delicious meal ready in no time, allowing you to enjoy more time with loved ones.
For more delicious ideas, check out our Savory Chicken Cheesy or Tropical Chicken Pineapple recipes!
Chicken Enchilada Casserole Ingredients
For the Chicken Mixture
- Chicken – Provides hearty protein; feel free to substitute with shredded pork or turkey for variety.
- Olive Oil – Essential for sautéing, adding richness; can be swapped with avocado oil for a different flavor.
- Taco Seasoning – Infuses the dish with spice and depth; make your own blend if preferred!
- Mexican Style Beer/Chicken Broth – Moistens the chicken and enhances flavor; opt for vegetable broth for a non-alcoholic option.
- Onion – Brings aromatic sweetness; use yellow or white onions depending on your preference.
- Poblano Peppers – Key for authentic flavor; can substitute with bell peppers, though it will alter the taste.
- Jalapeño Peppers (optional) – Adds a kick of heat; adjust based on how spicy you like it.
- Garlic – Elevates flavor; always opt for fresh garlic for the best results.
- Salt and Pepper – Fundamental seasonings; taste and adjust according to your preference.
- Ground Cumin – Offers warmth; absolutely crucial for that enchilada flavor.
For Assembly
- Dried Oregano – Provides herbal notes; using Mexican oregano adds authenticity.
- Tomatillo Salsa – The star of your casserole; opt for homemade or store-bought for convenience.
- Black Beans – Adds creaminess and fiber; drain well before adding to the mix.
- Corn Tortillas – Forms delicious layers; can use flour tortillas for a softer bite if desired.
- Shredded Cheese (White Cheddar or alternatives) – Binds the casserole together with creamy goodness; Monterey Jack is a delightful alternative.
- Fresh Cilantro – For garnish and brightness; feel free to omit or use your favorite herbs instead.
Embrace the vibrancy of a Chicken Enchilada Casserole that brings a fiesta to your dinner table tonight!
Step‑by‑Step Instructions for Chicken Enchilada Casserole
Step 1: Prepare the Chicken
In an oven-safe skillet, heat 2 tablespoons of olive oil over medium-high heat. Season the chicken with taco seasoning, then sear for about 2 minutes per side until golden brown. Pour in the Mexican style beer or chicken broth, reducing the heat to low, and let it simmer for 15-20 minutes, or until the chicken is fully cooked and juices run clear. Once cooked, remove the chicken and shred it with two forks.
Step 2: Cook Vegetables
Using the same skillet, add another splash of olive oil, then sauté 1 diced onion and 1 chopped poblano pepper over medium heat for about 5 minutes, or until softened. Stir in 2 minced cloves of garlic, then season the mixture with salt, pepper, ground cumin, and dried oregano. Cook for another minute until fragrant, ensuring those rich aromas fill your kitchen.
Step 3: Combine Ingredients
In a large bowl, mix together the shredded chicken, sautéed vegetables, 1 cup of tomatillo salsa, and 1 can of drained black beans. Stir until all components are well incorporated, allowing the vibrant flavors of your Chicken Enchilada Casserole to meld beautifully. This mixture will serve as the delicious filling that layers inside your casserole.
Step 4: Assemble the Casserole
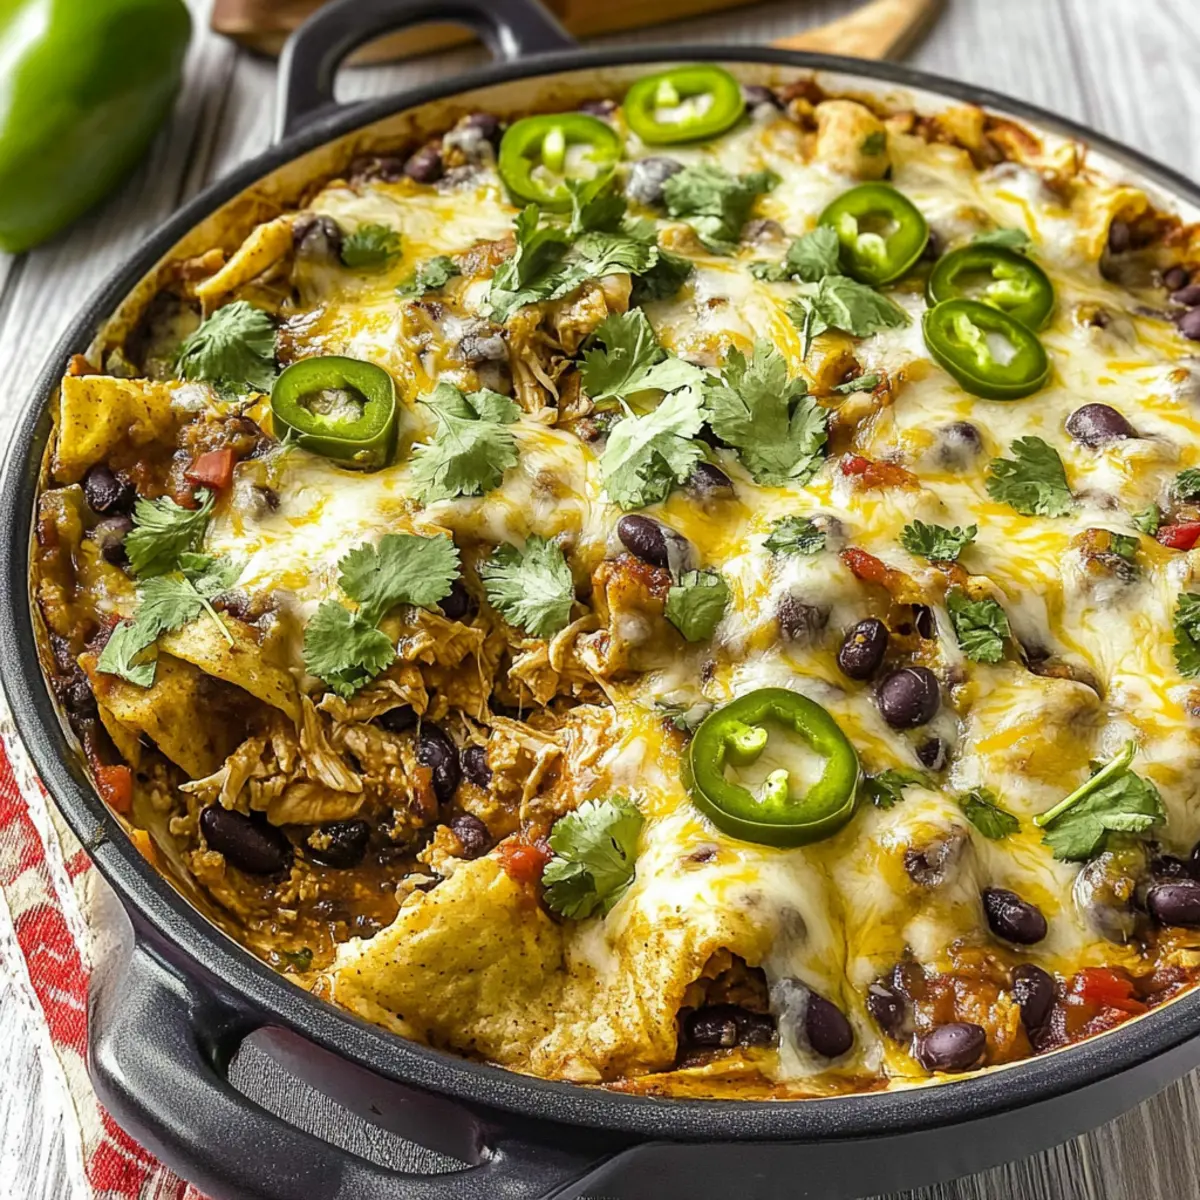
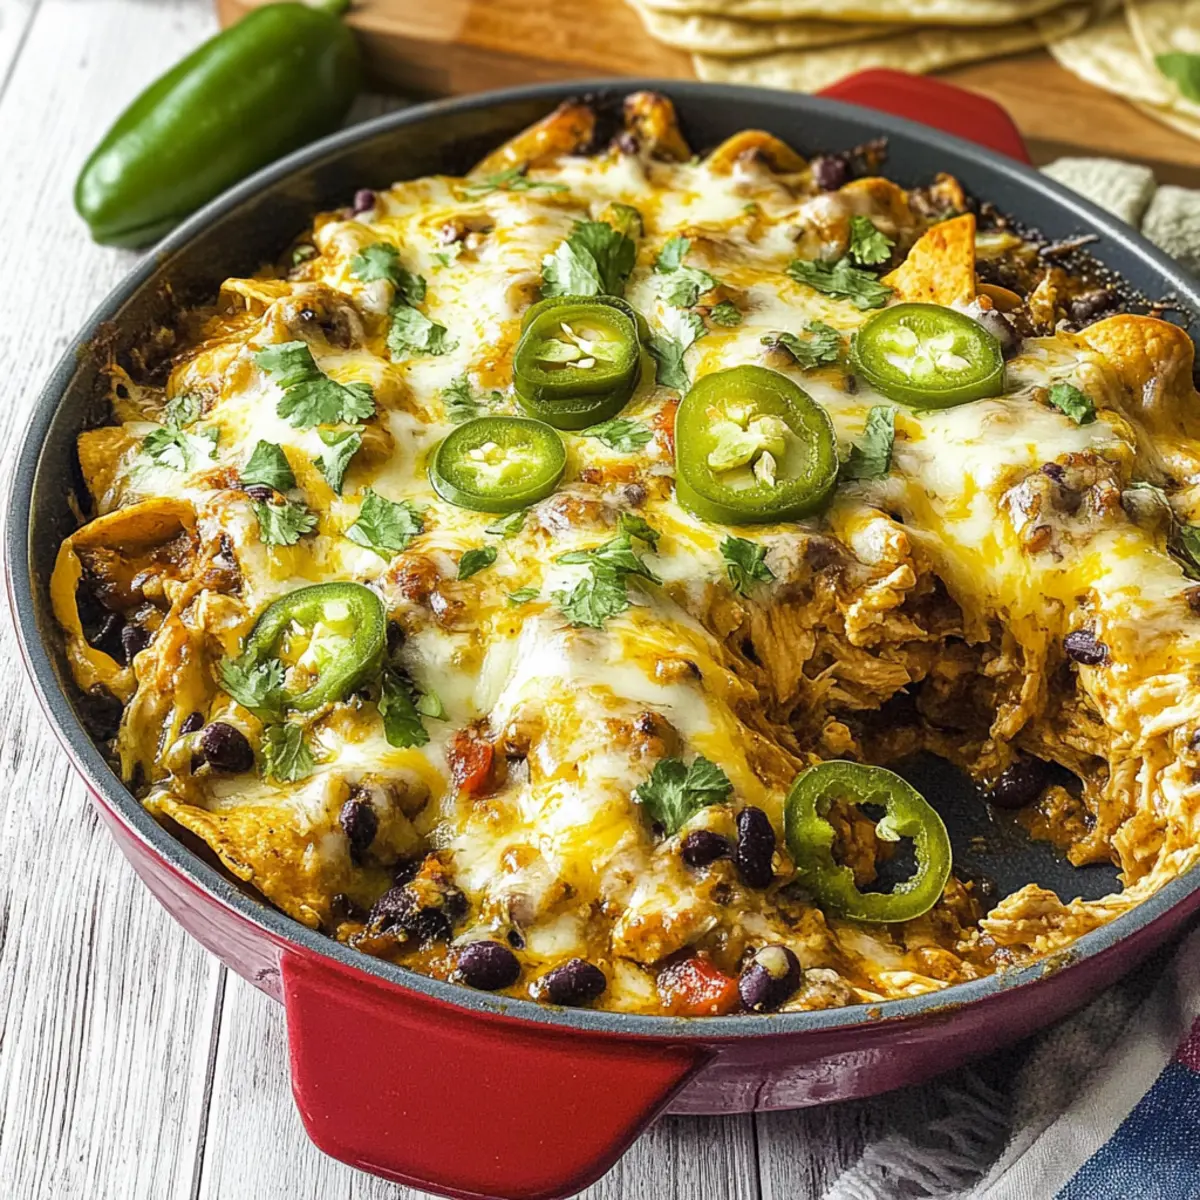
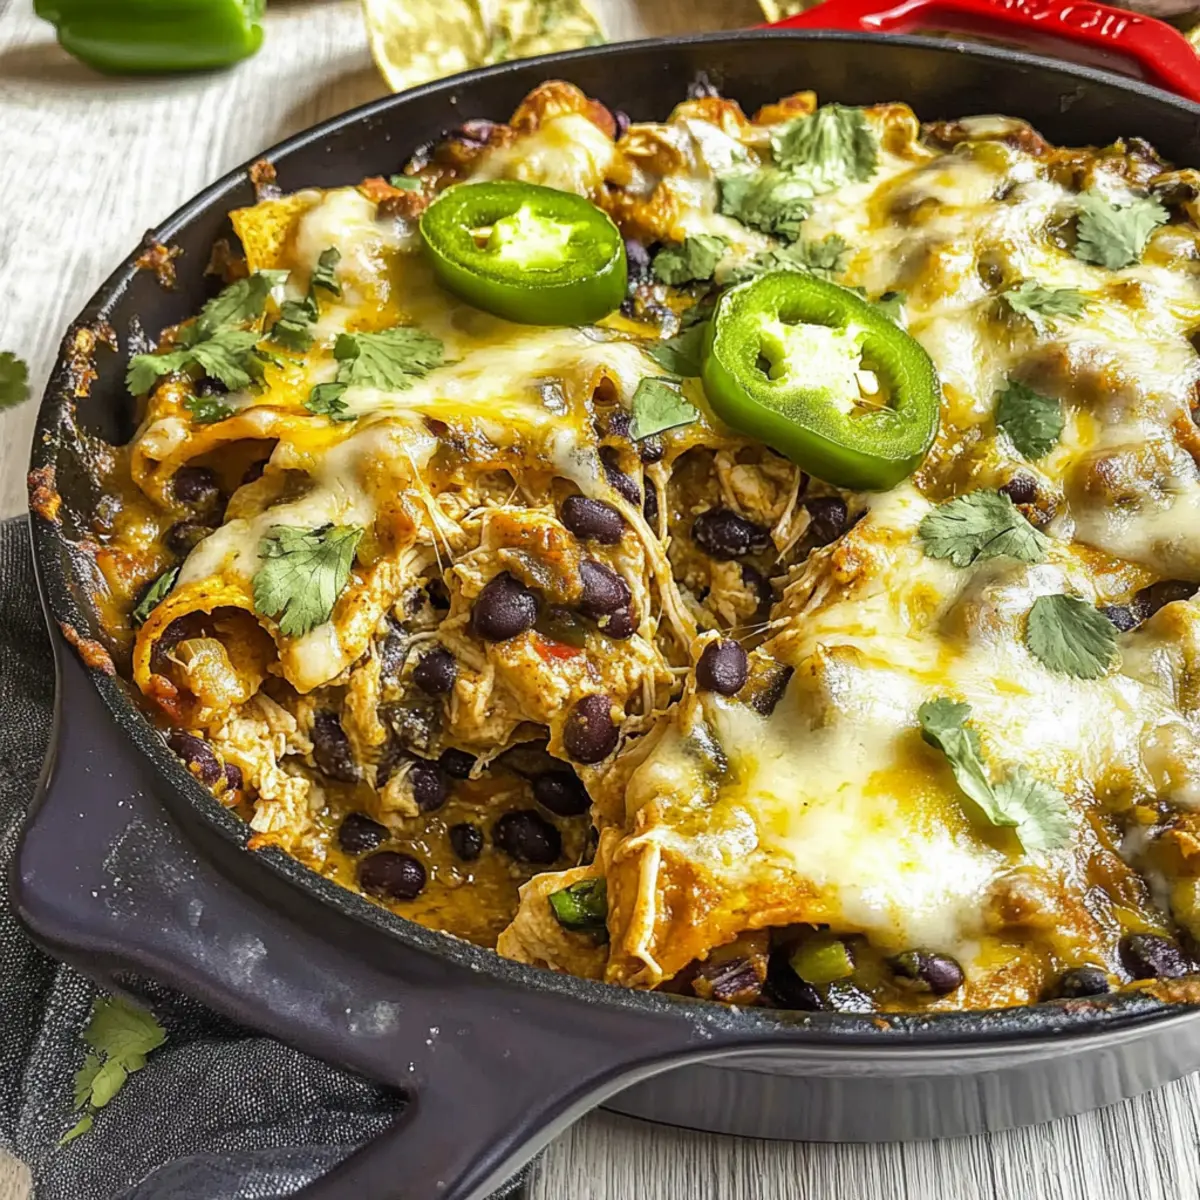
Spread a thin layer of the chicken mixture in the bottom of your skillet. Arrange half of the corn tortillas on top, tearing them to fit if necessary. Sprinkle half of the shredded cheese over the tortillas, then repeat layers with the remaining chicken mixture, remaining tortillas, and top with the rest of the cheese. This layering creates a hearty dish, perfectly balanced in flavor and texture.
Step 5: Cook
Preheat your oven to 350°F if you’re baking instead of broiling. For the broiling method, simply position your skillet beneath the broiler for about 5 minutes or until the cheese is bubbly and golden. If baking, allow it to cook for 15 minutes until everything is heated through and the cheese is melted and slightly browned. This final step gives your Chicken Enchilada Casserole that desirable crust.
Step 6: Serve
Once cooked, remove the skillet from the oven and let the casserole cool for a minute. Garnish with fresh cilantro for a pop of color and flavor. Using a spatula, cut into generous portions and serve hot, paired with a dollop of sour cream or a sprinkle of tortilla chips for added crunch. The delicious layers await, ready to delight your family and friends!
How to Store and Freeze Chicken Enchilada Casserole
Fridge: Store leftovers in an airtight container for up to 3 days. Reheat in the microwave or oven until warmed through.
Freezer: For long-term storage, freeze the casserole in a freezer-safe container for up to 3 months. Thaw in the fridge overnight before reheating.
Reheating: Reheat individual portions in the microwave or warm the whole casserole in the oven at 350°F for about 20-30 minutes until hot and bubbly.
Expert Tips for Chicken Enchilada Casserole
-
Perfectly Shredded Chicken: Allow the chicken to rest for a few minutes after cooking before shredding; this helps retain moisture for a juicier result.
-
Layer Wisely: For better texture, avoid overfilling and ensure you get even layers of chicken mixture, tortillas, and cheese in your Chicken Enchilada Casserole.
-
Adjust the Heat: If you’re unsure about spice levels, start with a small amount of jalapeño and add more as needed; this way, you can customize the heat to your family’s liking!
-
Fresh Ingredients: Use fresh garlic and onions for enhanced flavor; these aromatic ingredients make a world of difference in your casserole.
-
Watch the Broil: If broiling for a crispy top, keep a close eye on the cheese to prevent burning; it can go from perfectly golden to charred in just moments!
What to Serve with One-Pot Chicken Enchilada Casserole
Complement your delightful casserole with these perfect pairings that elevate your dining experience into something truly special.
-
Creamy Guacamole: This cool, creamy dip adds a refreshing contrast to the spice of the casserole and enhances its flavor profile.
-
Mexican Street Corn Salad: A tangy, sweet corn salad topped with cheese and spices brings a burst of fresh flavor and crunch to your meal.
-
Refried Beans: Rich and smooth, refried beans provide satisfying creaminess that pairs wonderfully with the casserole’s textures. They are also packed with protein.
-
Cilantro Lime Rice: The zesty freshness of cilantro lime rice beautifully complements the casserole, offering a light and tangy base to soak up the delicious sauce.
-
Sour Cream: A little dollop of sour cream balances the spices and adds creaminess, making every bite a delightful experience.
-
Tortilla Chips: Crunchy tortilla chips add texture and can be served alongside salsa for a fun and interactive appetizer before the main event.
-
Margaritas: The refreshing lime and subtle sweetness of margaritas elevate the meal, perfectly harmonizing with the vibrant flavors of the casserole.
-
Churros: End the meal on a sweet note with these crispy, sugar-coated treats. Their cinnamon-sugar flavor adds a fantastic contrast to the savory dinner.
Chicken Enchilada Casserole Variations
Feel free to let your culinary creativity shine by personalizing this delicious casserole to suit your taste!
-
Vegetarian Version: Omit chicken entirely; increase black beans and add a variety of colorful veggies for a nutritious twist. Adding sweet corn and zucchini will create a delightful texture and flavor balance.
-
Cheese Options: Substitute with pepper jack for an extra kick or use a dairy-free cheese alternative to cater to different dietary needs. This allows everyone to indulge, making it a truly inclusive meal!
-
Tortilla Options: Try using flour tortillas for a softer texture or crumbled tortilla chips on the top layer for a nice crunch. This adds a playful layer that your family and friends will love.
-
Spicy Twist: Add more jalapeños or a dash of hot sauce to the chicken mixture for those who love heat. The spices will infuse excitement in every bite, quickly becoming a new favorite!
-
Beans & Legumes: Experiment with different beans, like pinto or kidney beans, or even chickpeas, to mix up the texture and flavor. This can satisfy those looking for new tastes while still being hearty and filling.
-
Grain-Filled Layers: Swap out the tortillas for cooked quinoa or brown rice for a gluten-free and wholesome option. Layering grains will keep the casserole hearty while giving it a unique twist.
-
Fresh Herb Mix: Consider adding fresh herbs like oregano or cilantro to the chicken mixture for an extra burst of flavor. A sprinkle on top before serving will give your casserole an aromatic finish.
For more delicious variations, you might enjoy experimenting with our Honey Chili Chicken or trying a comforting Homemade Chicken Pot dish next!
Make Ahead Options
These Chicken Enchilada Casserole components are perfect for meal prep, allowing you to save time during busy weeknights! You can prepare the shredded chicken and sautéed vegetable mixture up to 24 hours in advance; simply store them in an airtight container in the refrigerator to maintain their freshness. Additionally, you can layer the casserole in your skillet as instructed, covering it tightly and refrigerating it for up to 3 days. When you’re ready to enjoy, just bake or broil it directly from the fridge, ensuring to add a few extra minutes to the cooking time. This way, your casserole remains just as delicious and satisfying, allowing you to savor homemade comfort with minimal effort!
Chicken Enchilada Casserole Recipe FAQs
How do I choose ripe poblano peppers?
When selecting poblano peppers, look for ones that are firm and shiny, with a deep green color. Avoid any that have wrinkles or dark spots all over, as these can indicate overripeness. The best poblanos are slightly soft to the touch but still hold their shape.
How should I store leftover Chicken Enchilada Casserole?
Absolutely! Store any leftovers in an airtight container and keep them in the refrigerator for up to 3 days. I recommend reheating in the oven at 350°F for about 15-20 minutes or until thoroughly warmed. This helps maintain the casserole’s delicious textures.
Can I freeze Chicken Enchilada Casserole?
Yes, you can! To freeze, allow the casserole to cool completely, then place it in a freezer-safe container. It’ll keep well for up to 3 months. When you’re ready to enjoy it, thaw it in the fridge overnight, and reheat in the oven at 350°F for 20-30 minutes until it’s hot and bubbly.
What should I do if my casserole is too dry?
If you find that your casserole is too dry, it’s likely due to overcooking or not having enough moisture in the ingredients. Next time, ensure you’re using enough salsa and broth, and consider covering it with foil while baking to trap moisture. If you’ve already cooked it, try adding a splash of chicken broth or salsa on top before reheating.
Are there any dietary considerations for Chicken Enchilada Casserole?
Certainly! This casserole can be easily customized for various dietary needs. For a vegetarian option, simply omit the chicken and increase the amount of black beans or add more vegetables. If you have allergies, be mindful of the cheese, which can be substituted with a dairy-free alternative. Always check labels for any pre-packaged ingredients to avoid allergens.
Can I substitute the chicken in this recipe?
Yes, you can! While shredded chicken is the classic choice, you can easily use shredded pork, turkey, or even make it meatless by utilizing more black beans or a variety of veggies like zucchini or bell peppers. The more, the merrier! Adjust seasonings accordingly to suit the new ingredients.
Savor the Comfort of Chicken Enchilada Casserole Tonight
Ingredients
Equipment
Method
- Heat 2 tablespoons of olive oil in an oven-safe skillet over medium-high heat. Season chicken with taco seasoning and sear for about 2 minutes per side until golden brown. Pour in Mexican style beer or chicken broth and let simmer for 15-20 minutes until chicken is fully cooked. Shred the chicken after removal.
- In the same skillet, add another splash of olive oil and sauté 1 diced onion and 1 chopped poblano pepper until softened (about 5 minutes). Add 2 minced cloves of garlic, seasoning with salt, pepper, ground cumin, and dried oregano. Cook for another minute.
- In a large bowl, mix the shredded chicken, sautéed vegetables, 1 cup of tomatillo salsa, and drained black beans until well combined.
- Spread a thin layer of the chicken mixture in the bottom of your skillet. Arrange half of the corn tortillas on top, sprinkle with half of the shredded cheese, and repeat layers. Finish with the remaining cheese on top.
- Preheat the oven to 350°F. Bake for 15 minutes or broil for 5 minutes until cheese is bubbly and golden. Let cool before serving.
- Garnish with fresh cilantro and serve hot, optionally with sour cream or tortilla chips.