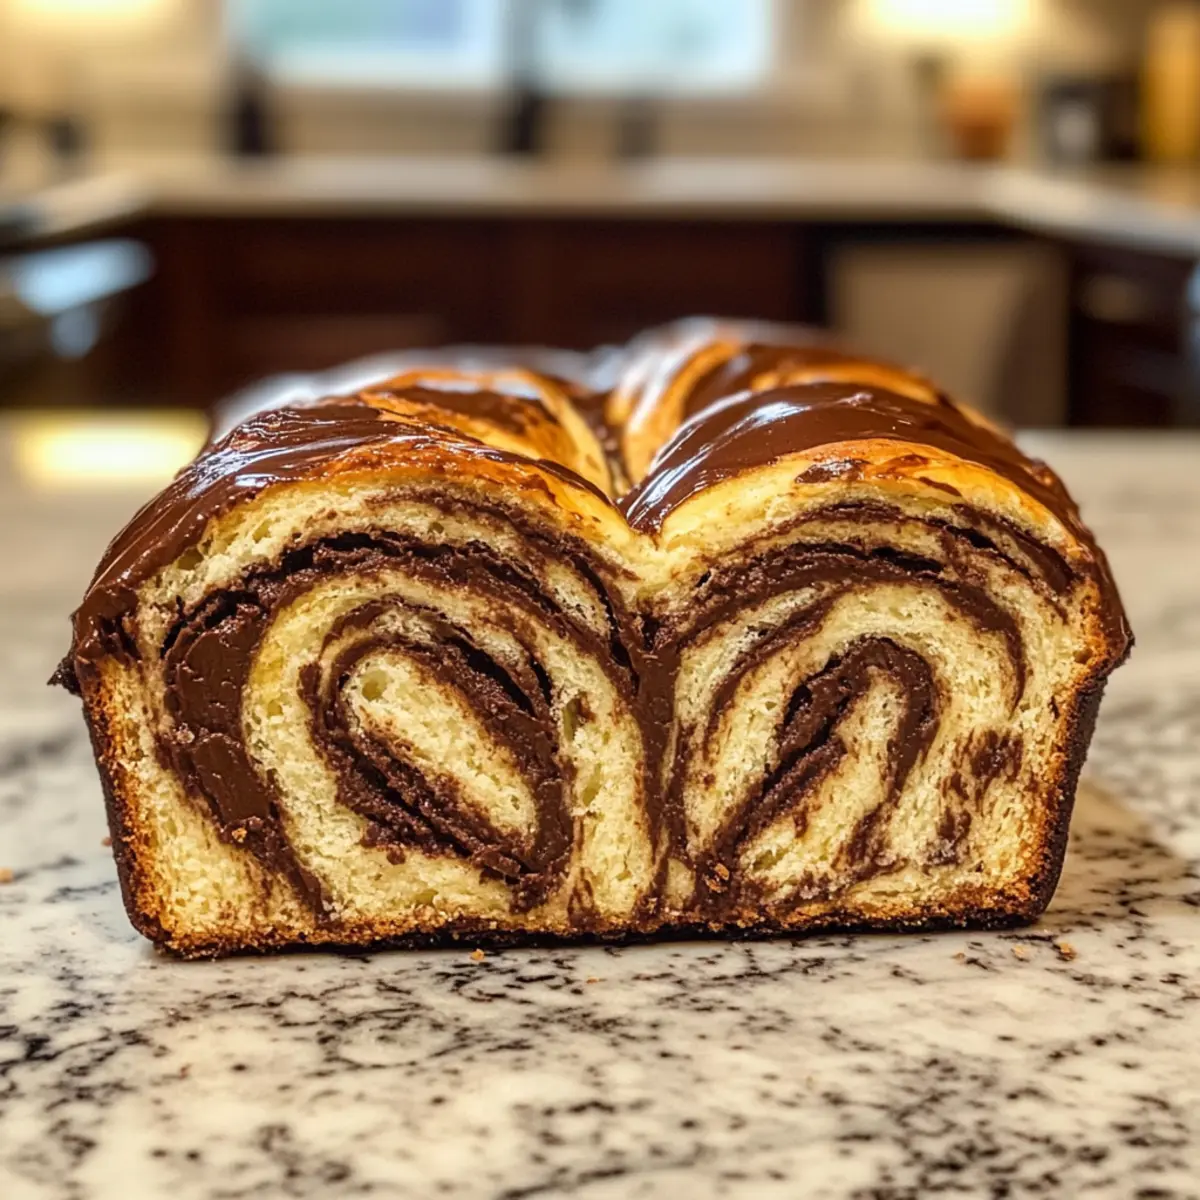
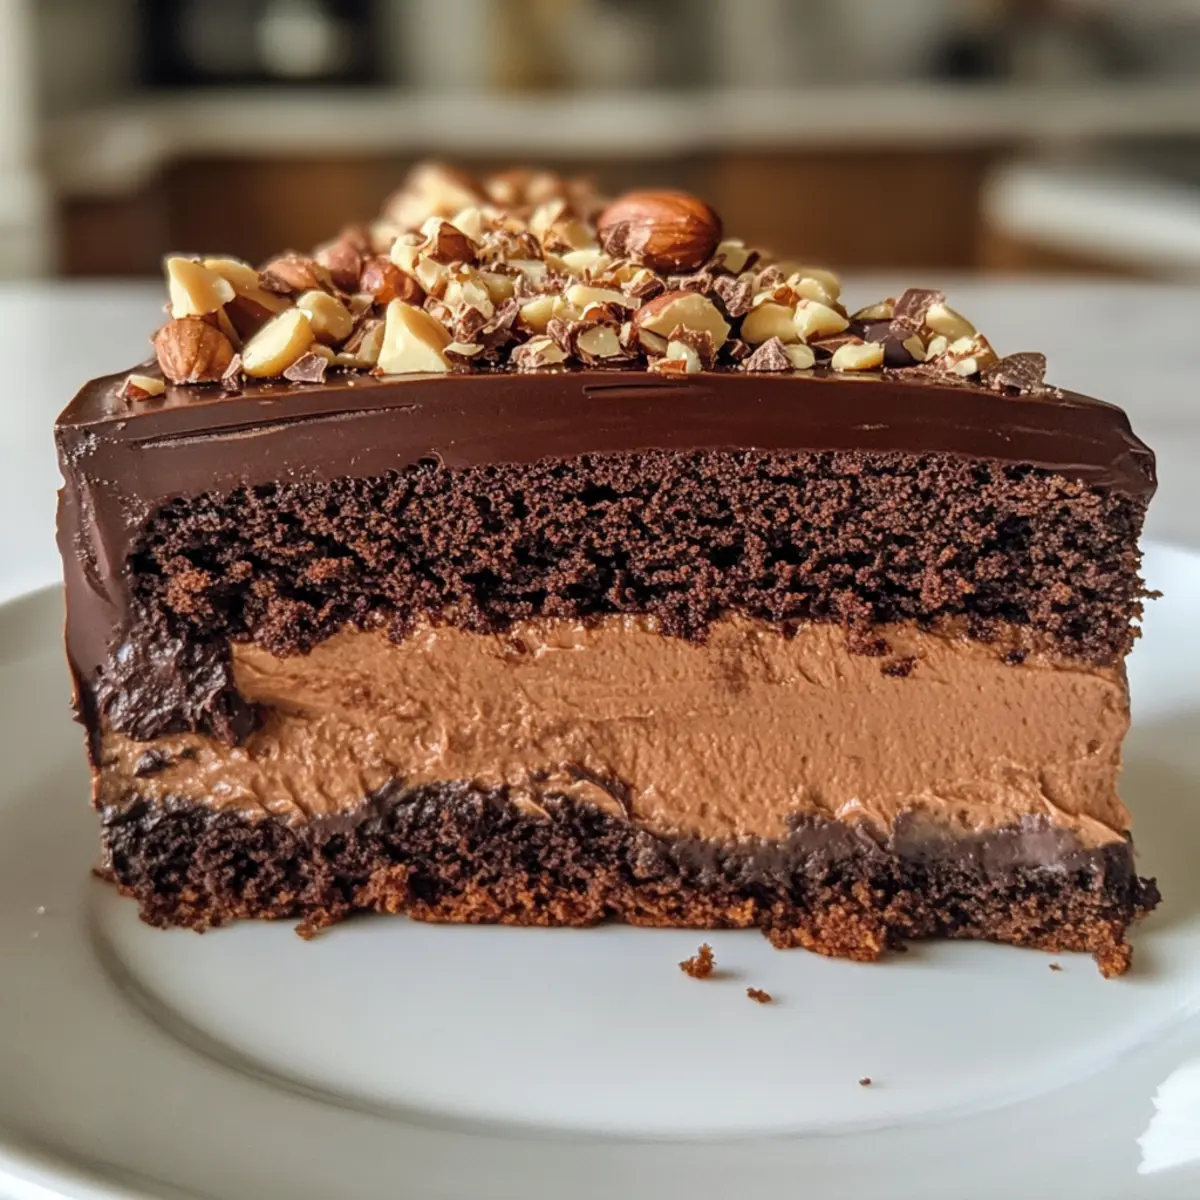
As I stood in my kitchen, the rich aroma of melting chocolate wafted through the air, transporting me straight to a quaint café in Italy, where every bite of dessert felt like a delicious secret. This delight? Torta Gianduia—a flourless chocolate hazelnut cake that’s pure bliss. It’s the perfect balance of creamy indulgence with just the right hint of nutty goodness. Not only is it gluten-free, making it a fabulous option for dessert lovers, but its mousse-like texture can turn any ordinary day into a special occasion. Whether served at a gathering or enjoyed solo with a warm cup of coffee, this cake is bound to impress. Ready to create your own slice of heaven? Let’s dive into how to make this decadent treat!
Why is Torta Gianduia a must-try?
Decadent, rich chocolate: The deep, indulgent flavor of dark chocolate paired with the nutty essence of hazelnuts creates a truly luxurious experience.
Gluten-free delight: Perfect for those with dietary restrictions, this flourless cake ensures everyone can indulge without worry.
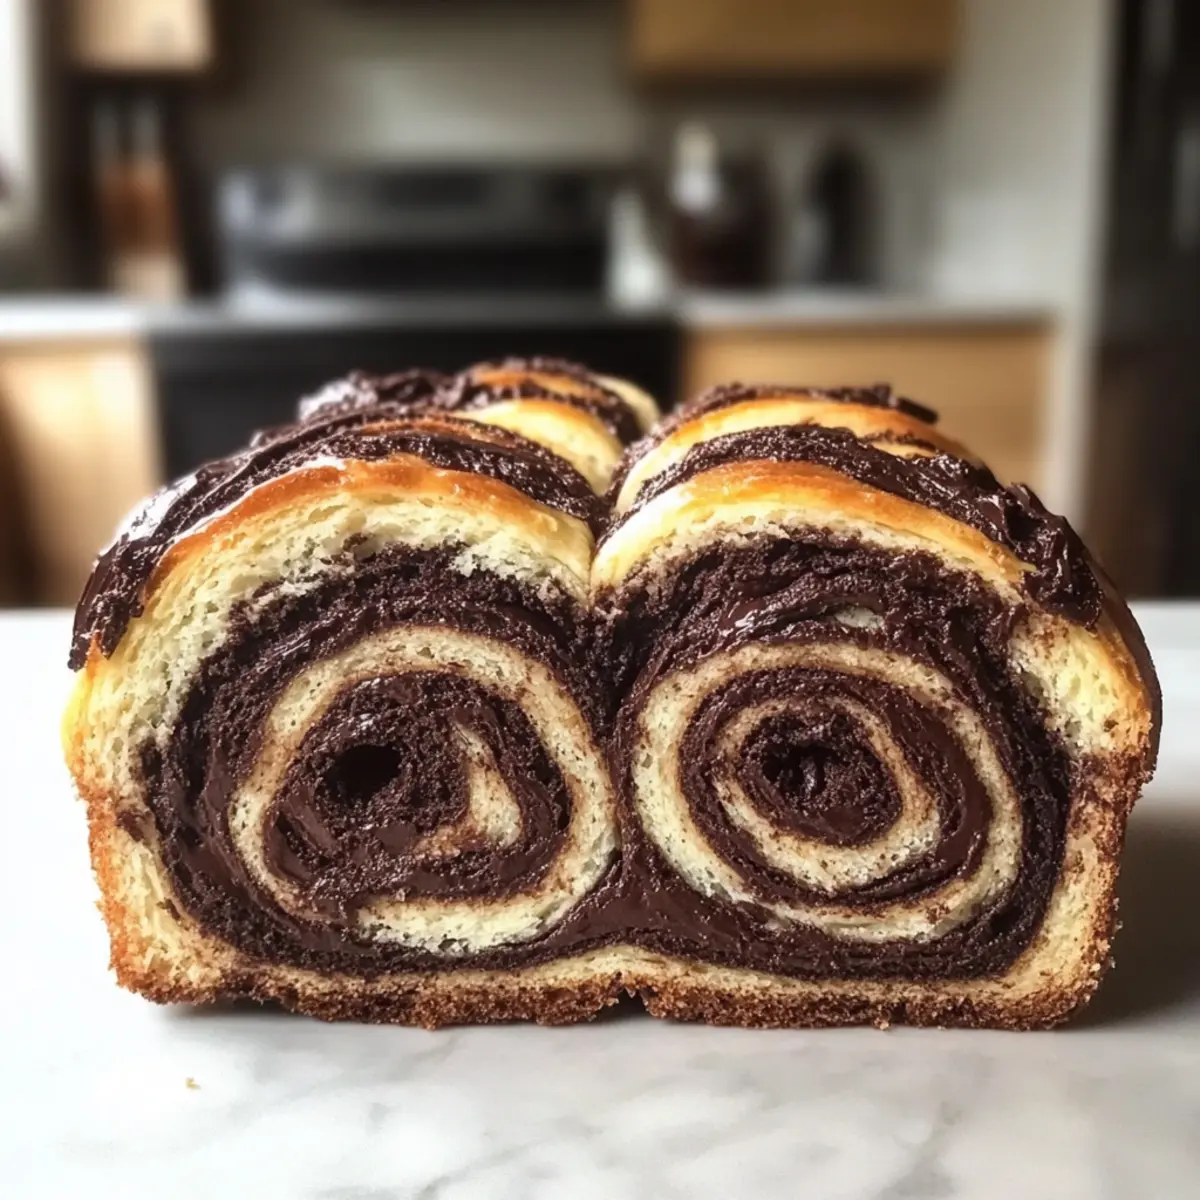
Mousse-like texture: Light yet satisfying, each bite melts in your mouth, making it an unforgettable dessert.
Simple ingredients: With just a handful of components, you can whip up an impressive dish that looks and tastes gourmet.
Crowd-pleasing treat: Whether you’re hosting friends or treating yourself, this cake is a guaranteed showstopper! For more delightful gluten-free options, don’t miss my Gluten-Free Desserts post!
Torta Gianduia Ingredients
For the Cake
• Toasted Ground Hazelnuts – The heart of the cake, providing a rich, nutty flavor; you can substitute with almonds if needed.
• Dark Chocolate – Ensure you use high-quality chocolate for a decadent taste that elevates this flourless dessert.
• Butter – Adds moisture; choose unsalted butter for better control over the cake’s flavor profile.
• Eggs – Essential for structure and lightness; make sure they are at room temperature for easier mixing.
• Sugar – Sweetens the cake perfectly; adjust according to your taste preference for the ideal balance with the chocolate’s bitterness.
Optional Topping
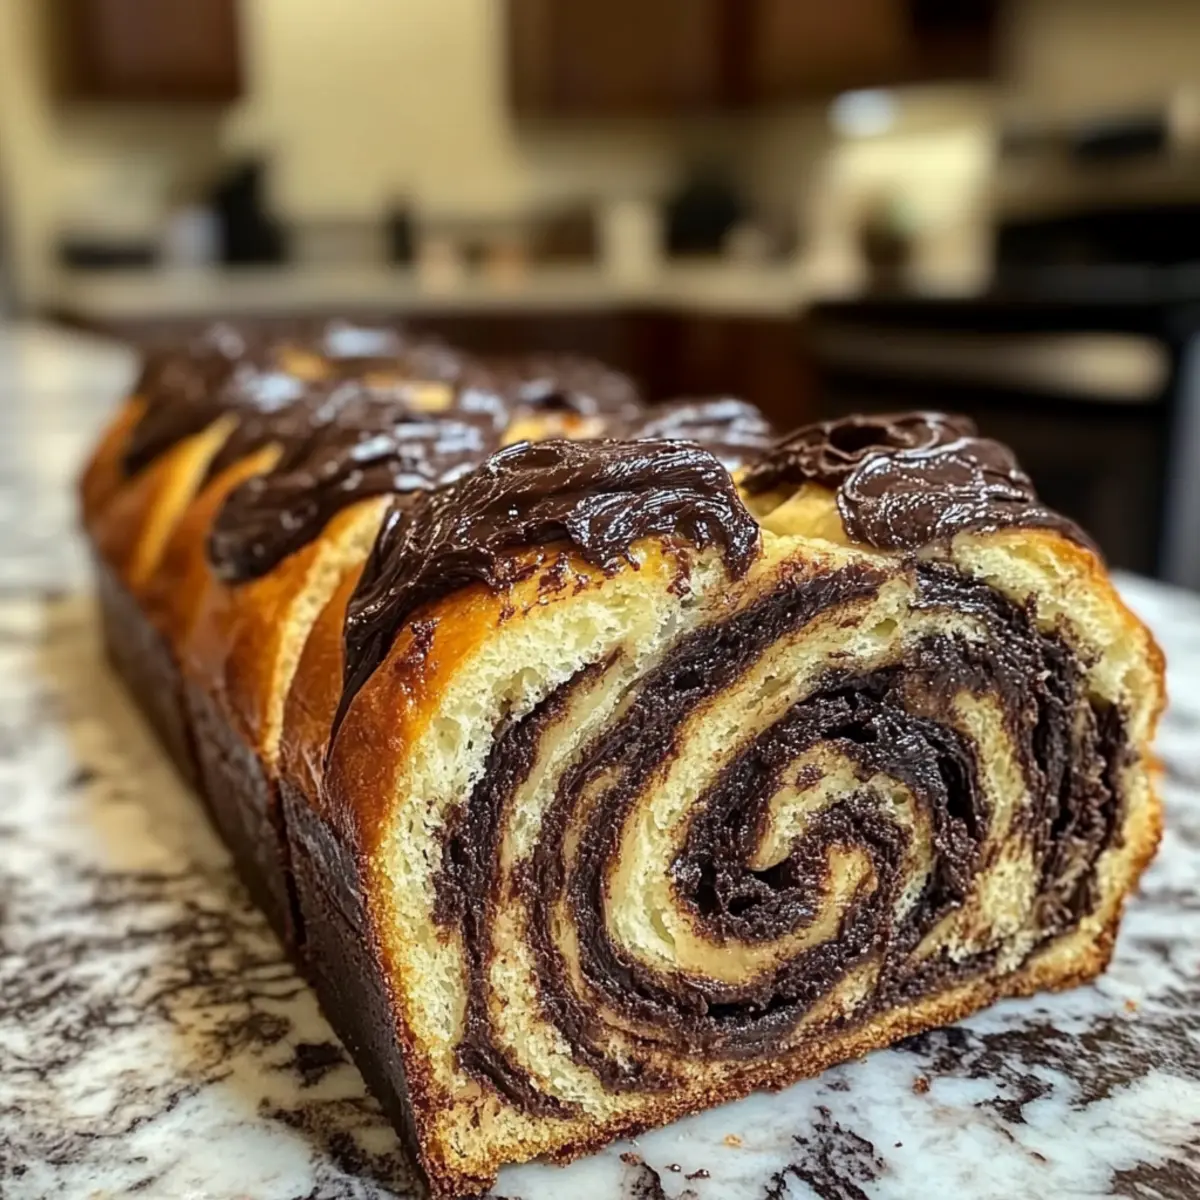
• Chocolate-Hazelnut Ganache – Drizzle it over the cake to add a glossy finish and extra indulgence to your Torta Gianduia.
Dive into the world of Torta Gianduia and let this flourless wonder sweep you off your feet!
Step‑by‑Step Instructions for Torta Gianduia
Step 1: Preheat and Prepare
Begin by preheating your oven to 180°C (350°F). While the oven warms up, prepare a 15cm (6-inch) loose-bottomed or springform cake tin by greasing it lightly with butter, then lining the bottom with parchment paper. This will ensure your Torta Gianduia slides out effortlessly once baked.
Step 2: Melt the Chocolate and Butter
In a heatproof bowl, combine 150g of finely chopped dark chocolate and 100g of unsalted butter. Set this bowl over a small pot of simmering water, creating a double boiler. Stir gently until both the chocolate and butter are fully melted and combined into a smooth, glossy mixture. Remove from heat and let it cool slightly.
Step 3: Mix in the Hazelnuts
Once your chocolate-butter mixture has cooled to room temperature, add 150g of toasted ground hazelnuts. Stir vigorously until the hazelnuts are fully integrated into the chocolate mixture, creating a rich and aromatic base for your Torta Gianduia.
Step 4: Whisk the Eggs and Sugar
In a separate bowl, whisk together 3 large eggs and 100g of sugar using an electric mixer on high speed. Continue whisking for about 5 to 7 minutes, or until the mixture is pale, thick, and frothy. This step is crucial for achieving the light, airy texture of the cake.
Step 5: Gently Combine the Mixtures
Carefully fold the egg and sugar mixture into the chocolate-hazelnut mixture. Use a spatula to combine gently, being cautious not to deflate the batter. Continue folding until no streaks remain, ensuring a uniform blend that will give your Torta Gianduia its desired mousse-like texture.
Step 6: Bake the Cake
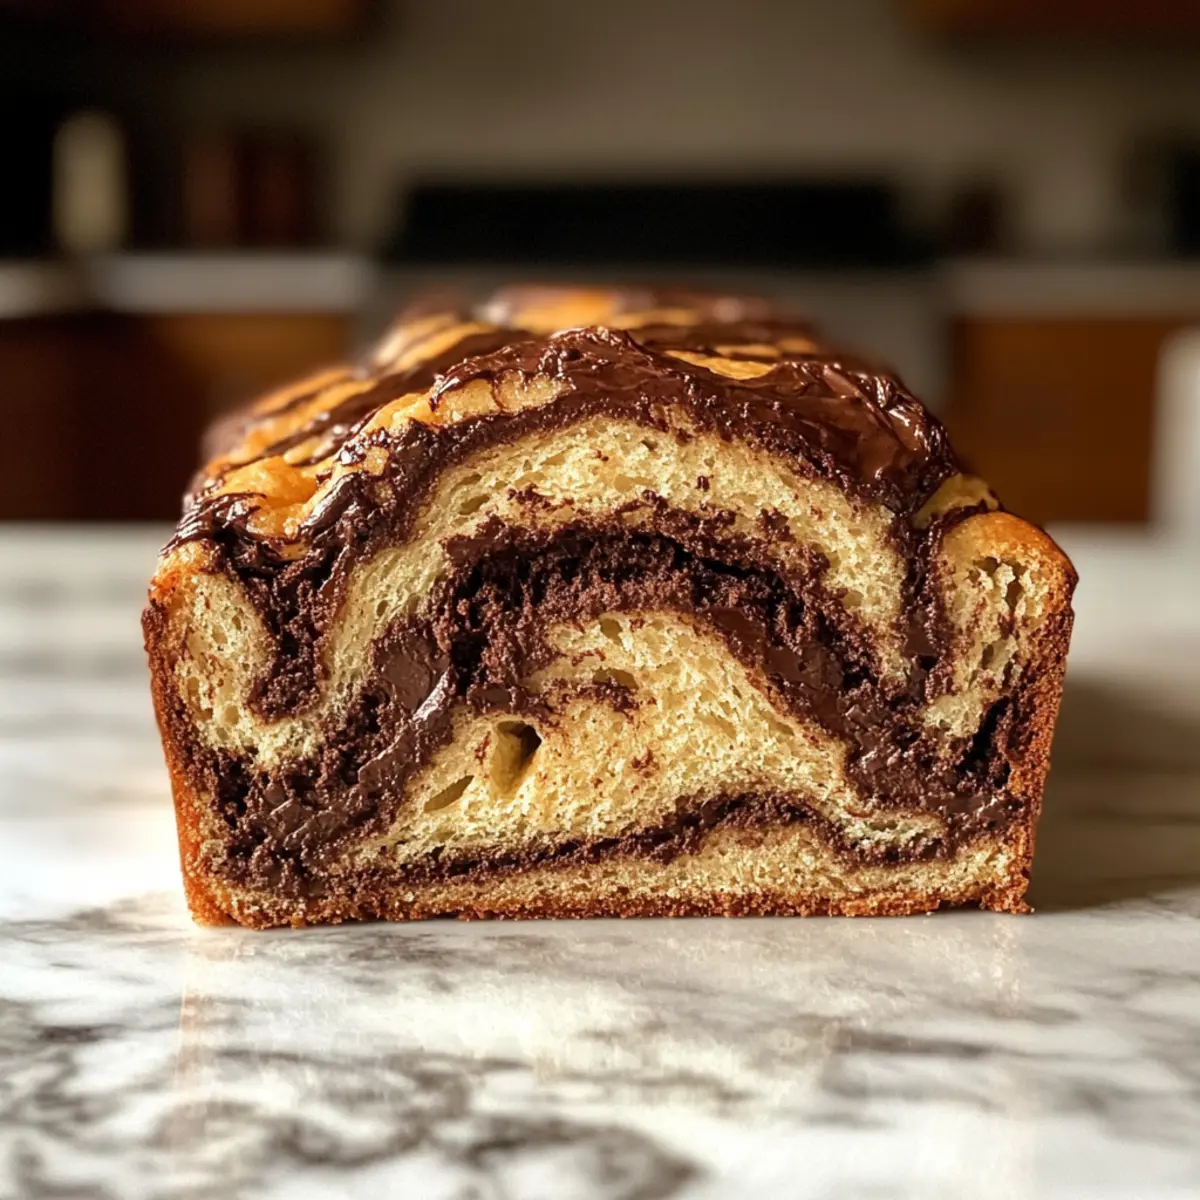
Pour the velvety batter into the prepared cake tin, smoothing the top if necessary. Bake in the preheated oven for about 25 to 30 minutes, until the edges are set but the center remains slightly wobbly. The top should appear firm with a slight sheen when done.
Step 7: Cool and Serve
Remove your Torta Gianduia from the oven and allow it to cool in the tin for at least 10 minutes. Then, carefully release the sides of the tin and let the cake cool completely on a wire rack. For an extra touch, consider topping it with a glossy chocolate-hazelnut ganache before serving.
Torta Gianduia Variations & Substitutions
Don’t be afraid to make this cake your own; there are endless ways to customize its delightful flavor and texture!
- Nut-Free: Substitute ground hazelnuts with almond flour or a blend of gluten-free flours for an equally indulgent cake.
- Rich Mocha: Add a teaspoon of instant coffee or espresso powder to the chocolate mixture for a coffee-chocolate twist.
- Vegan Delight: Use flax eggs (1 tablespoon ground flaxseed + 3 tablespoons water per egg) and coconut oil instead of butter for a plant-based version.
- Spicy Kick: Incorporate a pinch of cayenne pepper or chili powder to the batter for a warm, spicy surprise that complements the chocolate beautifully.
- Fruit Fusion: Fold in some fresh raspberries or cherries before baking for a burst of fruity flavor and color.
For an unexpected topping, consider drizzling it with caramel sauce for a sweet burst. Or, brighten up the plate with fresh berries and a dollop of whipped cream to balance the richness. This cake is versatile! You can also enjoy it with a warm cup of coffee or tea, enhancing that cozy atmosphere. If you’re interested in more delectable ideas for chocolate lovers, check my post on Decadent Chocolate Desserts!
What to Serve with Torta Gianduia
Elevate your dessert experience with enchanting pairings that beautifully complement the rich flavors of this indulgent cake.
- Fresh Berries: Their tartness balances the sweetness of the cake, offering a refreshing contrast to the creamy, chocolatey goodness.
- Whipped Cream: A dollop of lightly sweetened whipped cream adds a fluffy texture that enhances every bite while providing a lightness against the dense cake.
- Vanilla Ice Cream: The creamy sweetness of vanilla ice cream creates a delightful melt-in-your-mouth experience when paired with the rich Torta Gianduia.
- Espresso: A strong, aromatic cup of espresso can cut through the cake’s sweetness, enhancing the chocolate flavors and making for a well-rounded experience.
- Hazelnut Liqueur: A splash of this nutty liqueur echoes the cake’s flavors, creating an elegant pairing that’s perfect for special occasions.
- Chocolate Ganache: Drizzling extra ganache over each slice not only elevates the dessert but intensifies the chocolate experience, making it utterly divine.
- Caramel Sauce: A light drizzle of salted caramel adds a sweet and salty contrast, elevating the overall flavor profile of Torta Gianduia.
- Sautéed Apples: Warm, caramelized apples introduce a fruity note that complements the chocolate and hazelnut, offering a deliciously cozy feel.
- Mint Tea: A soothing cup of mint tea refreshes the palate between bites, making elements of indulgence and lightness unite harmoniously.
Make Ahead Options
These Torta Gianduia cake preparations are perfect for busy home cooks craving convenience! You can prepare the batter up to 24 hours in advance; just mix it and store it in an airtight container in the fridge to keep the flavors intact. The toasted ground hazelnuts can also be ground ahead of time and kept in an airtight container for up to 3 days. When you’re ready to bake, simply pour the chilled batter into your prepared tin and bake as directed. This way, you’ll have a delightful dessert ready to impress with minimal effort—just as delicious and satisfying as if freshly made!
How to Store and Freeze Torta Gianduia
Room Temperature: Keep your Torta Gianduia in an airtight container at room temperature for up to 3 days. This keeps the cake beautifully moist and flavorful.
Fridge: If you prefer a chilled dessert, store the cake in the refrigerator for up to a week. Make sure it’s covered to maintain its delicious texture.
Freezer: For longer storage, freeze slices of Torta Gianduia in an airtight container for up to 3 months. Allow the slices to thaw in the fridge overnight before serving.
Reheating: To enjoy the cake warm, simply microwave a slice for about 10-15 seconds on low power. This will enhance the sumptuous melt-in-your-mouth experience.
Expert Tips for Torta Gianduia
-
Perfect Hazelnuts: Use a food processor: Grinding the hazelnuts finely ensures a smooth texture and enhances the flavor in your Torta Gianduia.
-
Eggs at Room Temperature: Essential for fluffiness: Allowing the eggs to warm up helps them whip to a fluffy consistency, creating that desired lightness.
-
Gentle Folding Technique: Preserve airiness: When combining the mixtures, fold slowly and gently to avoid deflating the batter, which can lead to a denser cake.
-
Cooling Time Matters: Don’t rush it: Let your cake cool in the tin for at least 10 minutes to set before removing. This prevents cracks and helps maintain its shape.
-
Ganache for Extra Indulgence: Elevate with ganache: A simple chocolate-hazelnut ganache drizzle not only adds flavor but also gives your Torta Gianduia a stunning presentation.
Torta Gianduia Recipe FAQs
How do I know if my hazelnuts are ripe or fresh?
For the best flavor, look for hazelnuts that are firm and have a slightly glossy appearance. Avoid those with dark spots or an off smell, as they may be rancid. If you can, taste one; fresh hazelnuts should have a pleasant, nutty flavor.
How should I store my Torta Gianduia and how long will it last?
Store your Torta Gianduia in an airtight container at room temperature for up to 3 days. If you prefer it chilled, refrigerate it for up to a week; just make sure it’s well-covered to keep its delicious texture.
Can I freeze Torta Gianduia, and if so, how?
Absolutely! To freeze, slice the Torta Gianduia and place the slices in an airtight container separated by parchment paper to prevent sticking. It can be frozen for up to 3 months. When you’re ready to enjoy, simply thaw the slices in the refrigerator overnight before serving.
What should I do if my cake is too dense?
If your Torta Gianduia turns out too dense, it could be due to over-mixing when you combined the chocolate-hazelnut mixture with the whisked eggs. Next time, gently fold the mixtures to retain airiness. Also, ensure that your eggs are whipped to a pale foam consistency, which helps achieve that light, mousse-like texture.
Is Torta Gianduia safe for individuals with allergies?
This cake is gluten-free, making it great for those with gluten sensitivities. However, it does contain nuts, chocolate, and eggs, so anyone with nut allergies should avoid it. Always check the ingredients used to ensure everyone can enjoy this delightful treat!
Indulge in Torta Gianduia: A Chocolate Hazelnut Dream
Ingredients
Equipment
Method
- Preheat your oven to 180°C (350°F) and prepare a 15cm (6-inch) cake tin by greasing with butter and lining the bottom with parchment paper.
- Melt 150g of dark chocolate and 100g of butter using a double boiler until fully combined.
- Once cooled, mix in 150g of toasted ground hazelnuts until fully integrated.
- In a separate bowl, whisk together 3 large eggs and 100g of sugar on high speed for 5-7 minutes until pale and frothy.
- Gently fold the egg mixture into the chocolate-hazelnut mixture until no streaks remain.
- Pour the batter into the prepared cake tin and bake for 25-30 minutes until set at the edges but slightly wobbly at the center.
- Cool in the tin for 10 minutes, then release it and cool completely on a wire rack before serving.