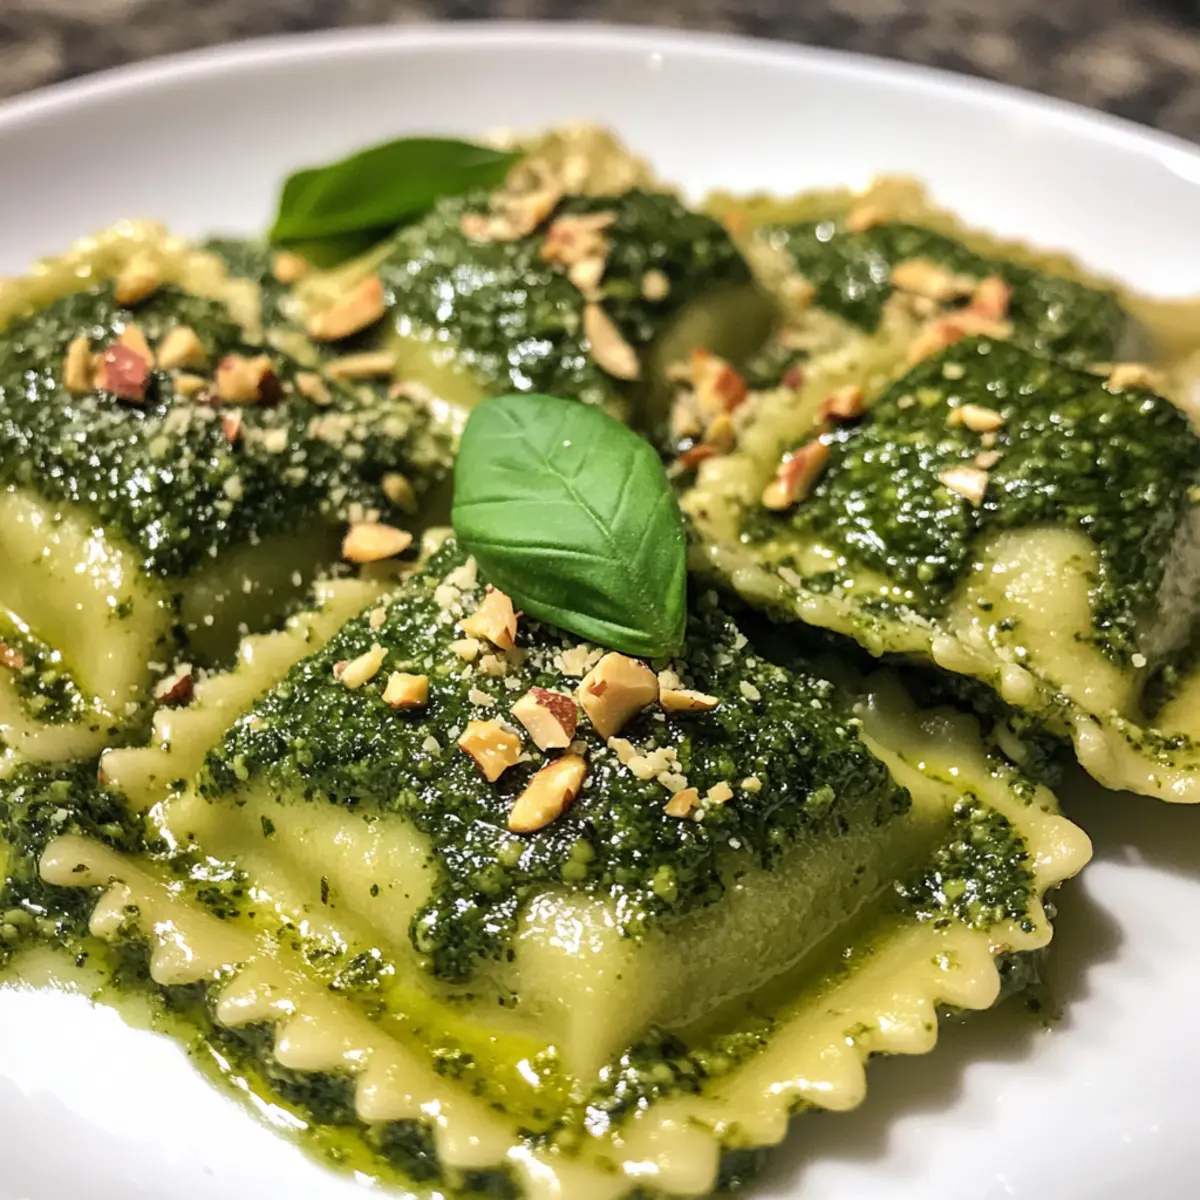
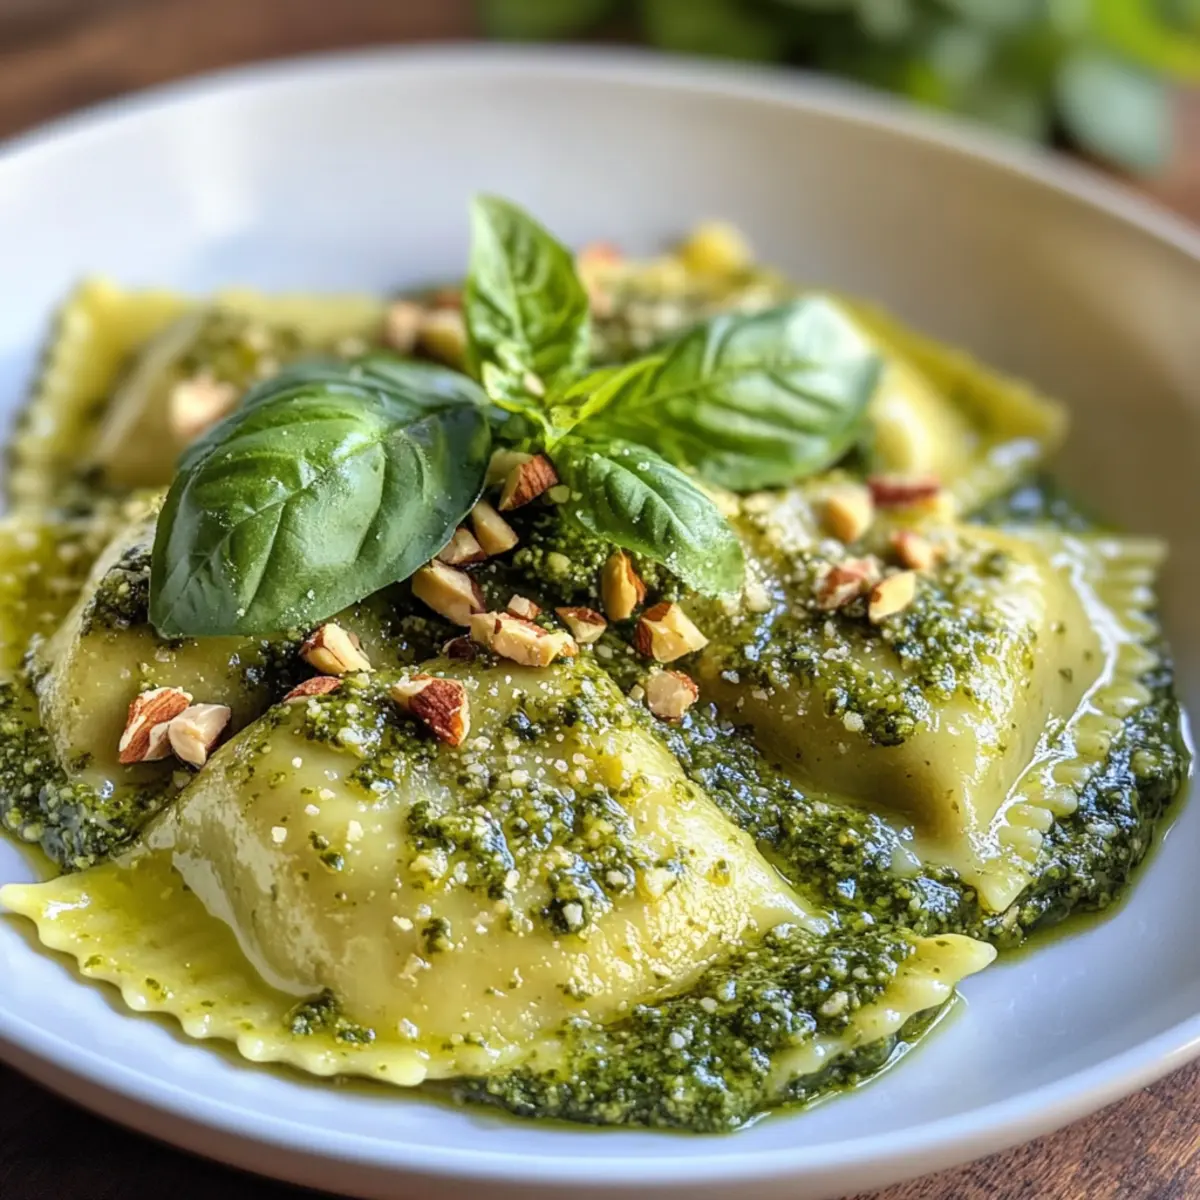
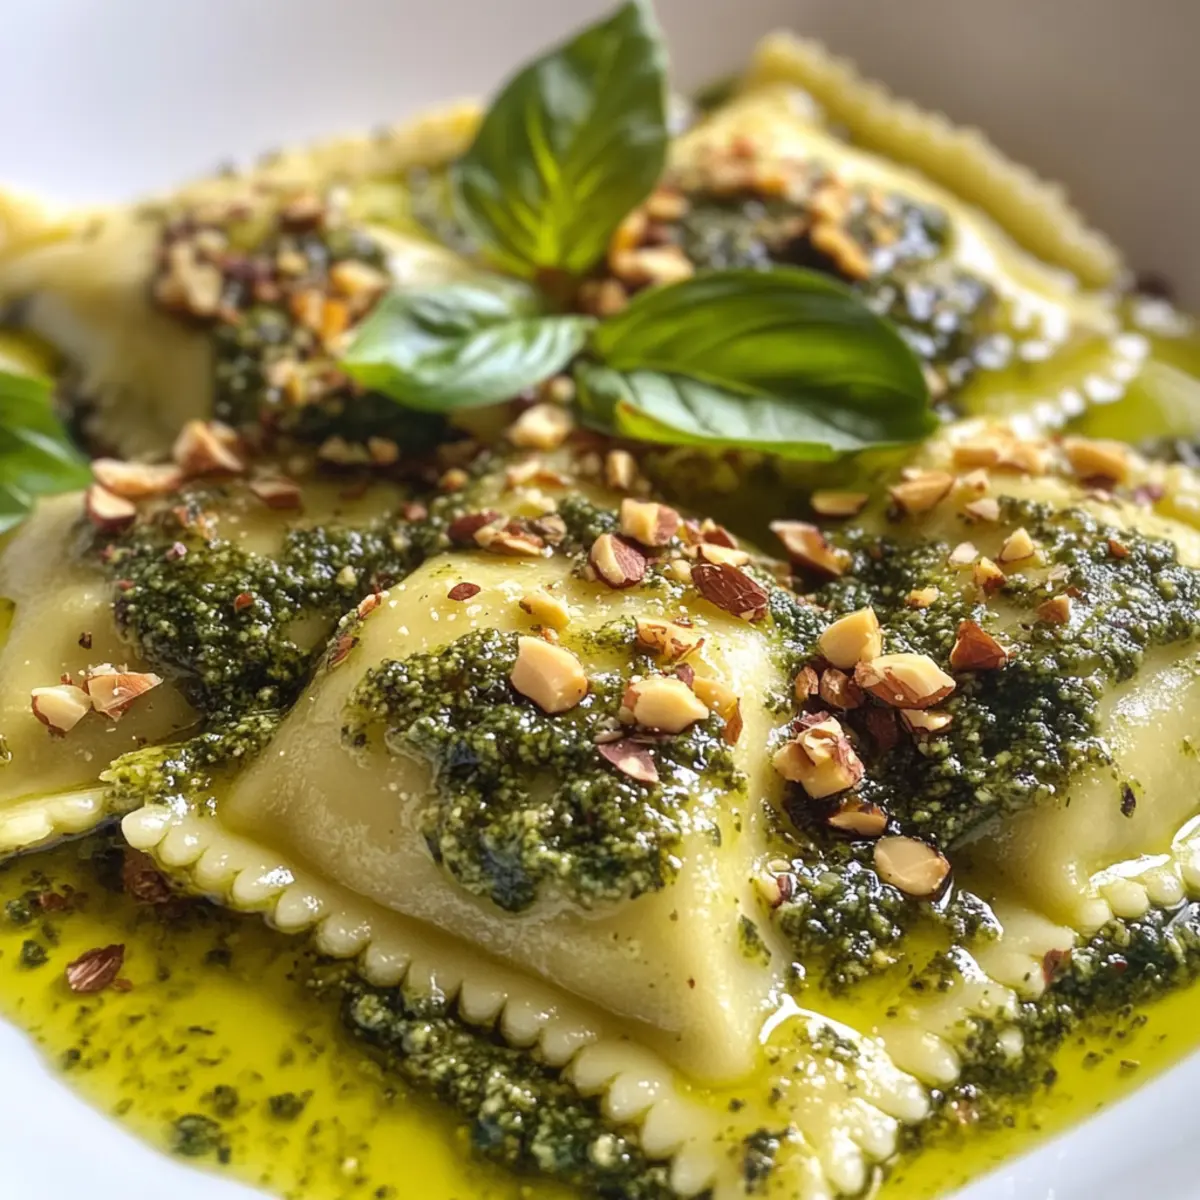
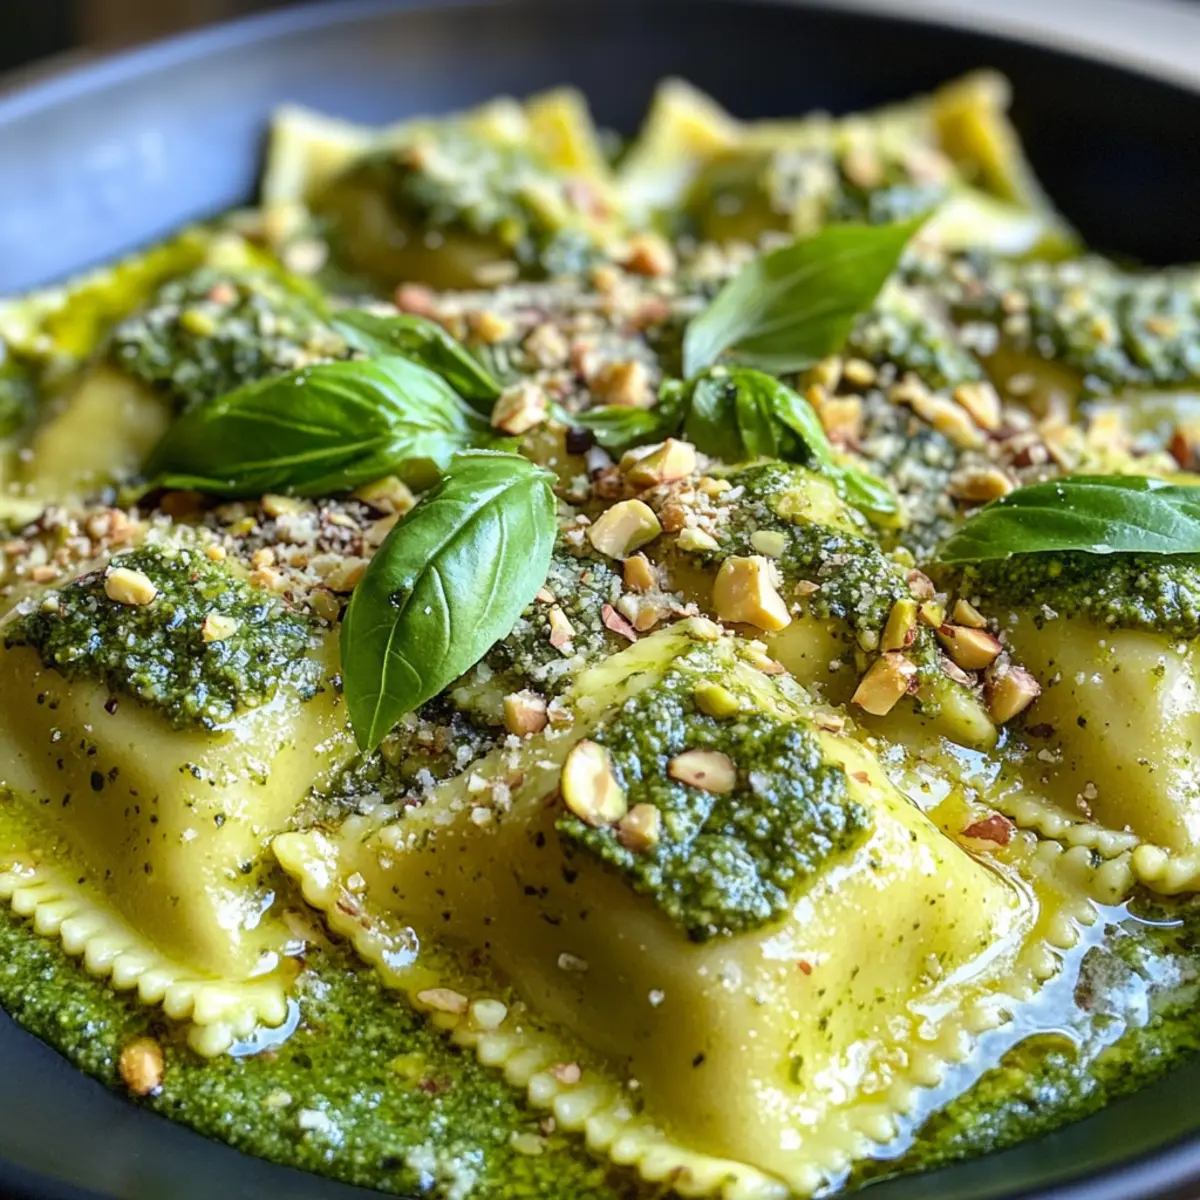
As I stood in the kitchen, the clock ticking too fast for my dinner plans, I suddenly craved a meal that was both satisfying and quick to prepare. Enter my Ravioli with Pistachio Pesto—a delightful solution! This vibrant dish magically comes together in under 15 minutes, making it perfect for any weeknight rush or unexpected guests. The creamy pistachio pesto, infused with fresh lemon and a hint of garlic, offers a flavor explosion you won’t forget. Plus, it’s vegetarian and so versatile; you can easily adapt it depending on what you have on hand. Are you ready to whip up a meal that steals the show without stealing your time?
Why is this Ravioli with Pistachio Pesto special?
Quick Preparation: This dish comes together in under 15 minutes, making it a perfect choice for busy weeknights.
Nutty & Creamy: The pistachio pesto delivers a delightful nutty flavor that perfectly complements the softness of ravioli.
Versatile Ingredients: Use what you have! Swap in different nuts or add veggies like spinach or cherry tomatoes for added nutrition and color.
Crowd-Pleasing Dish: Impress your family or guests with a gourmet meal that tastes like it took hours to prepare, yet is incredibly simple!
Fresh & Flavorful: With lemon zest and garlic, every bite brings a burst of freshness, ideal for those who appreciate homemade goodness over fast food.
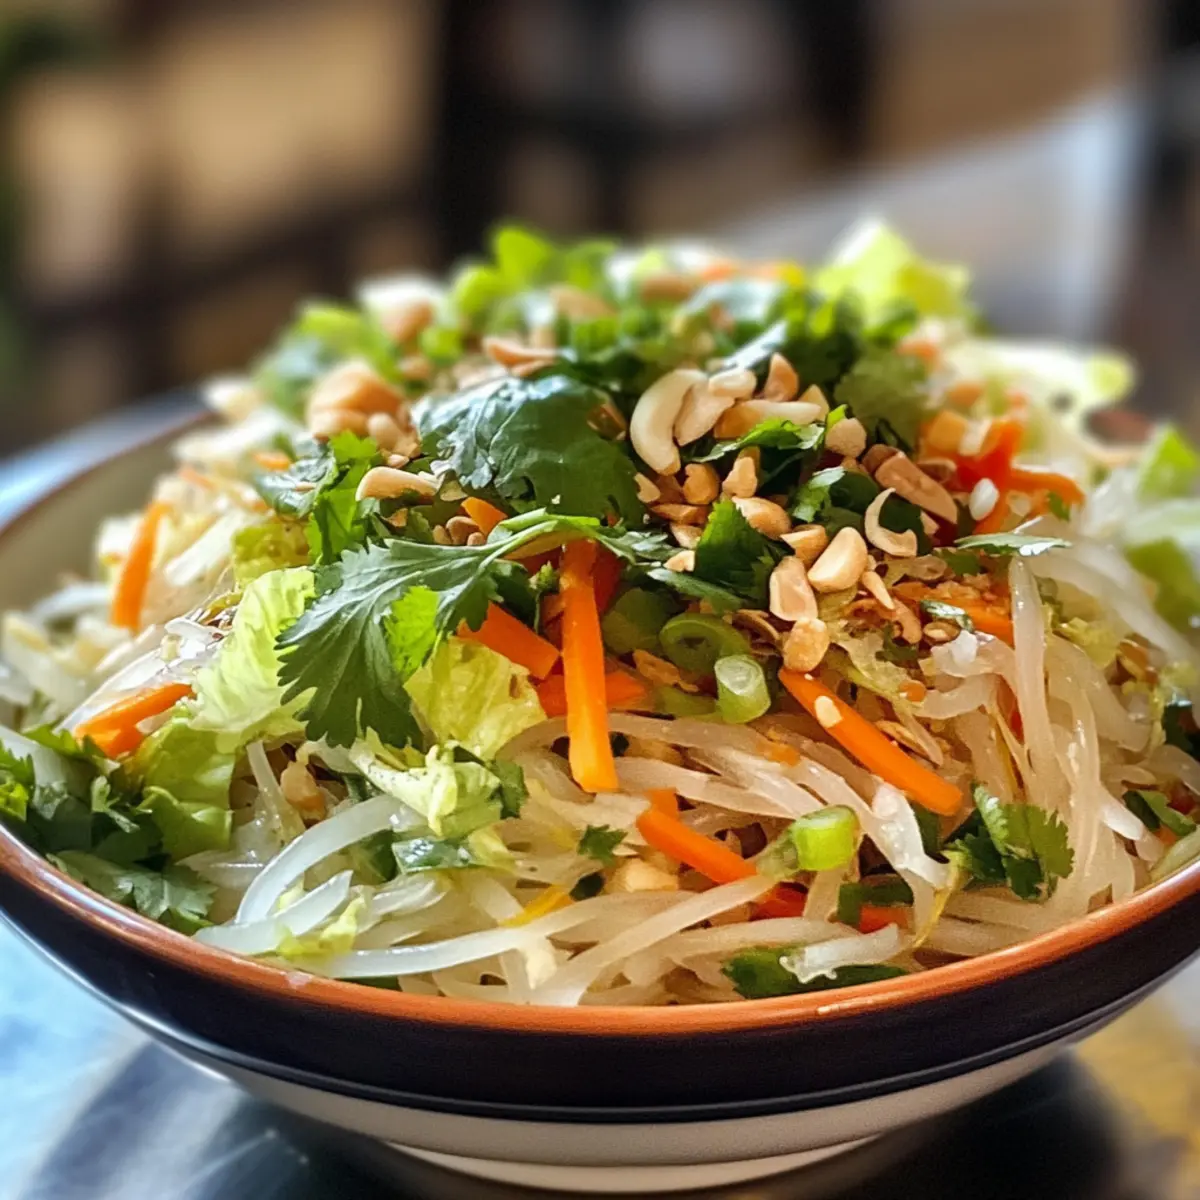
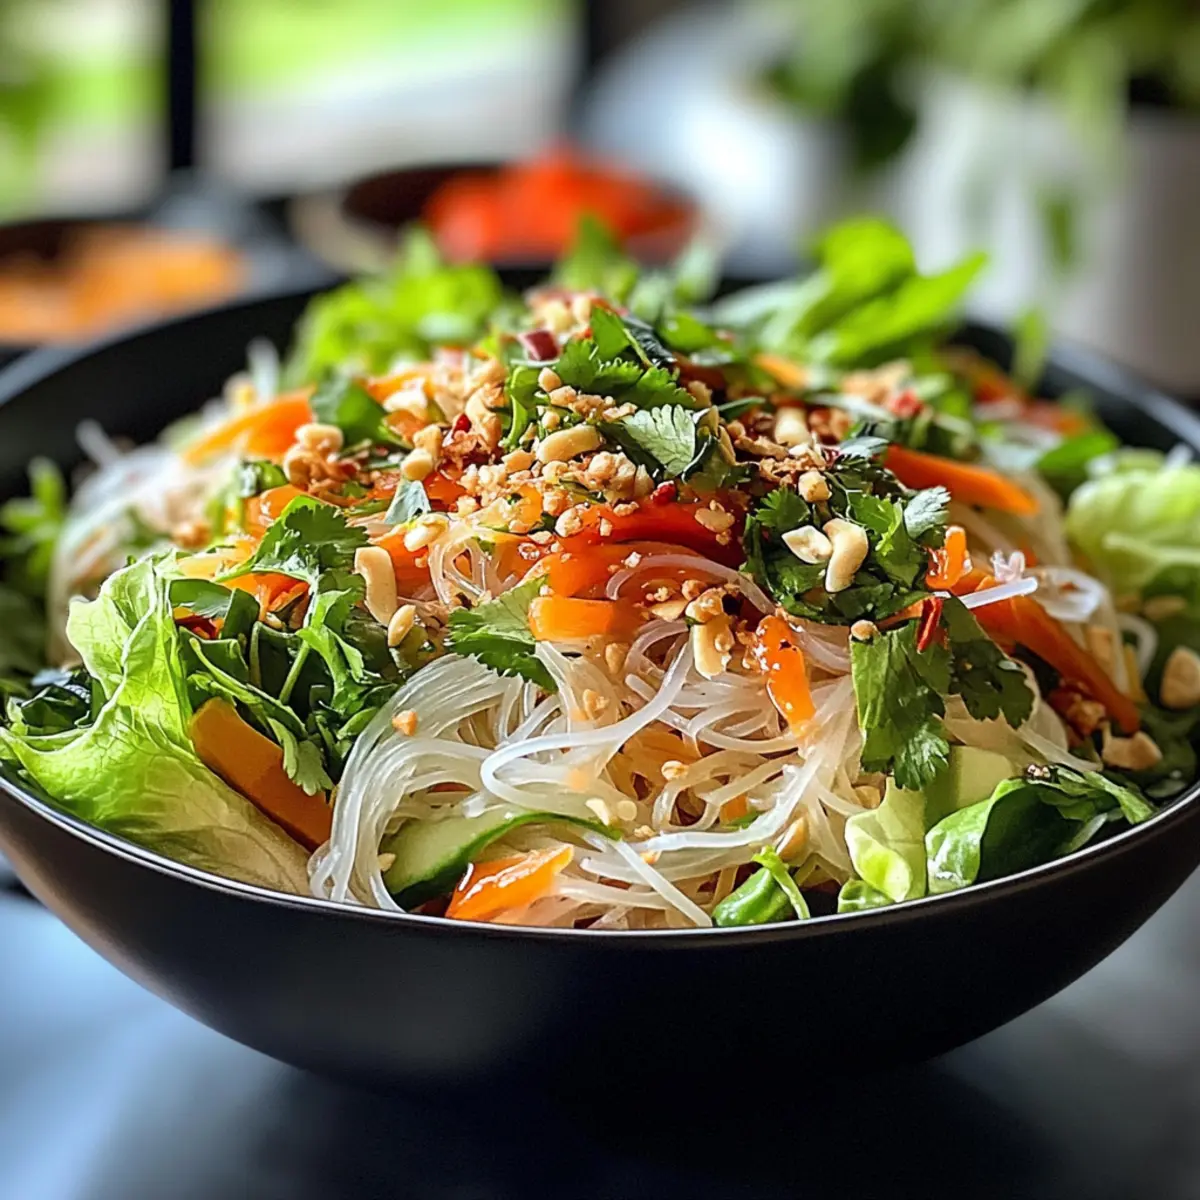
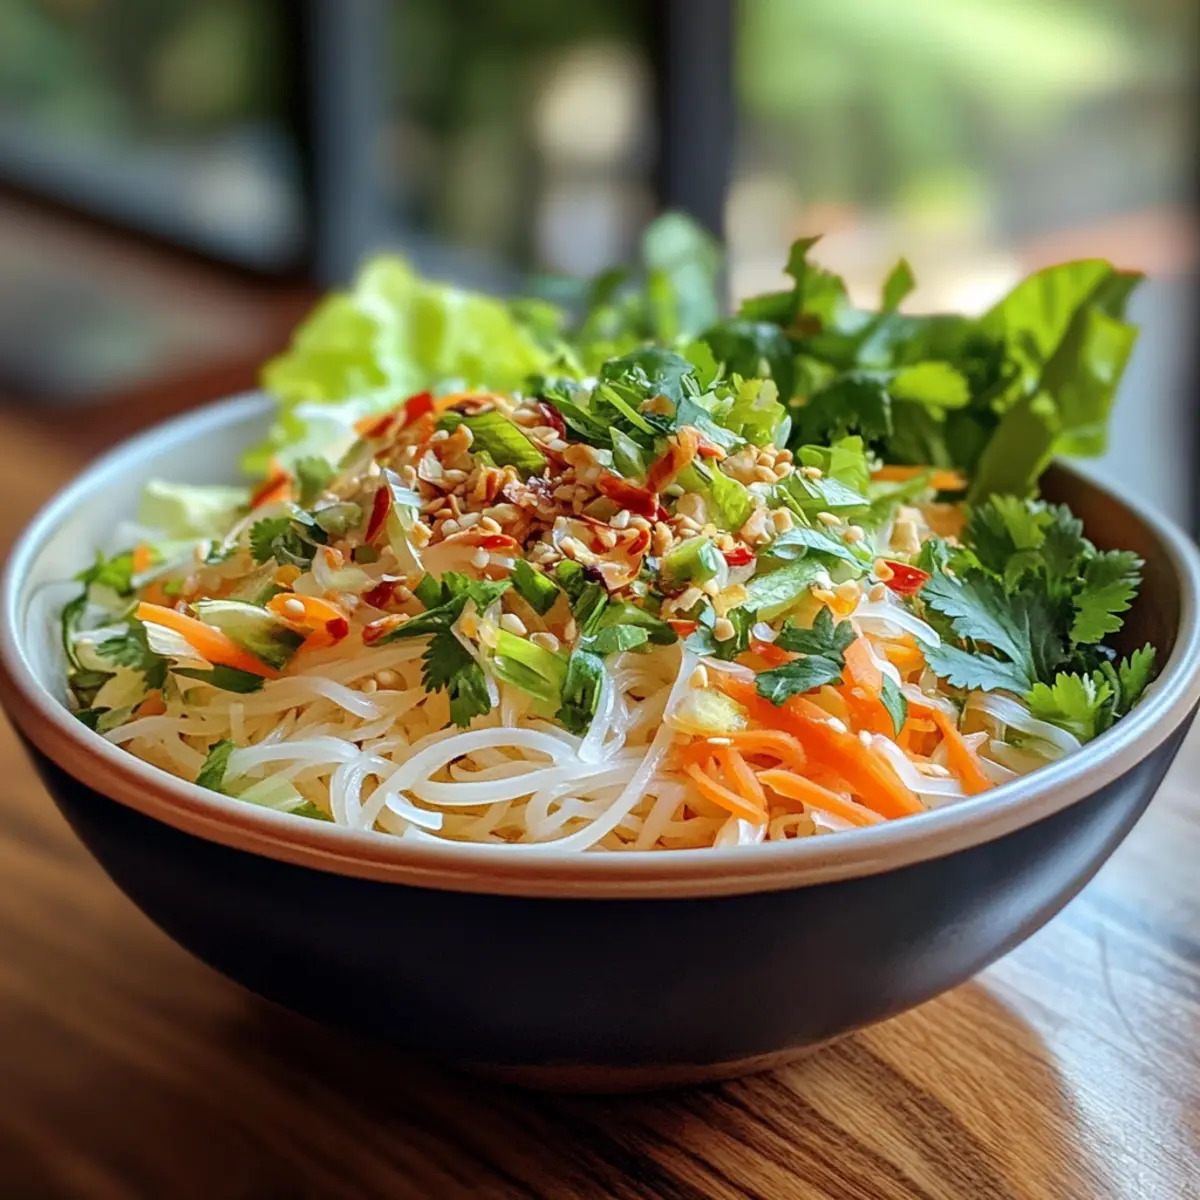
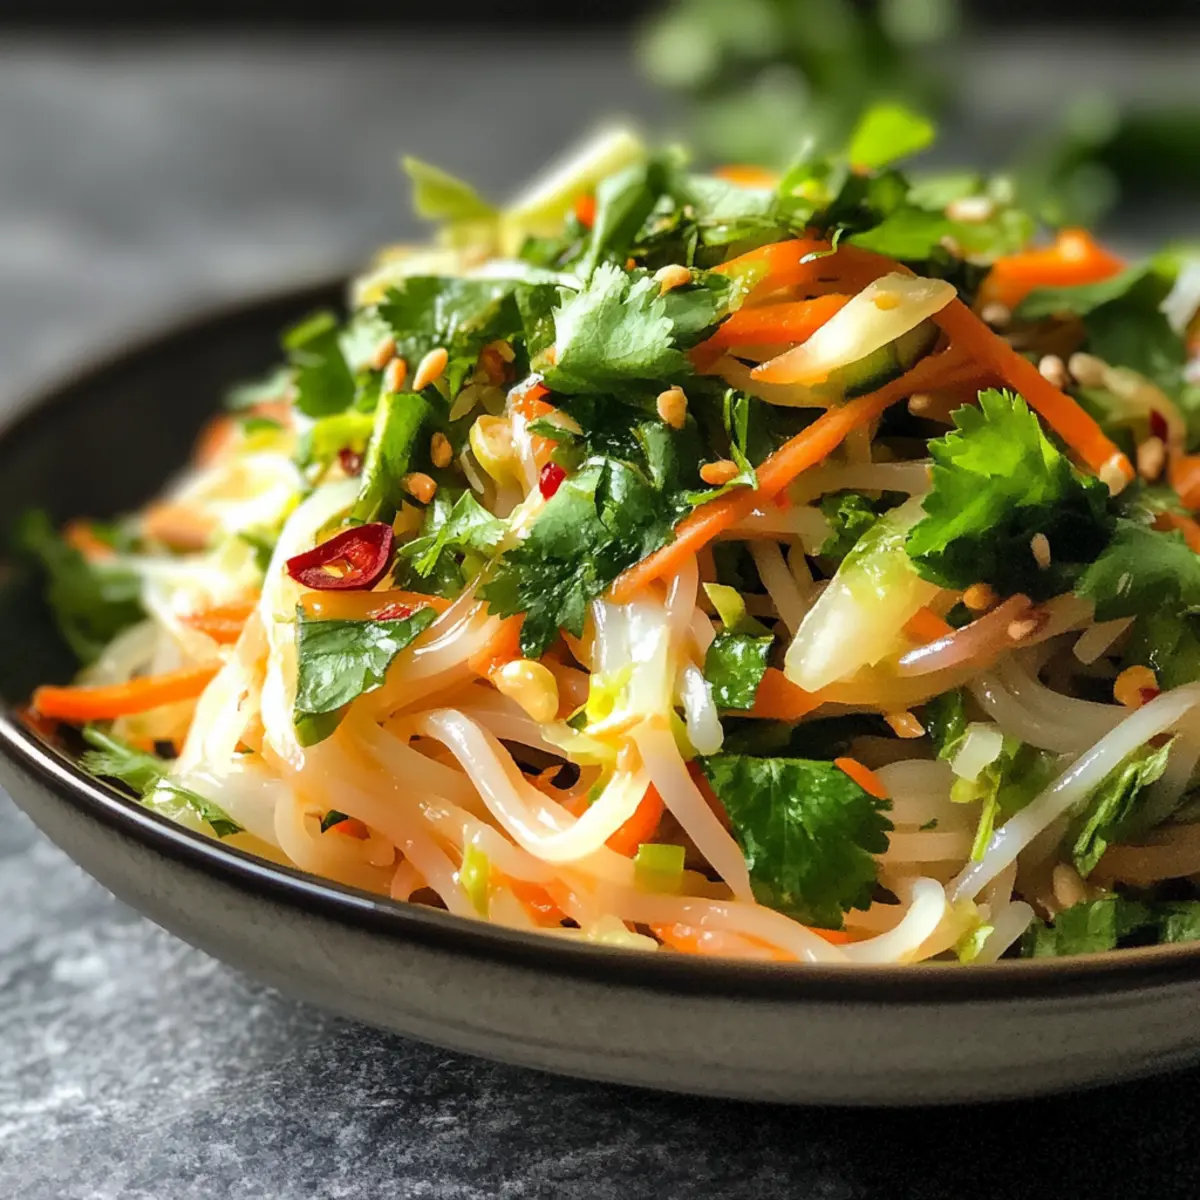
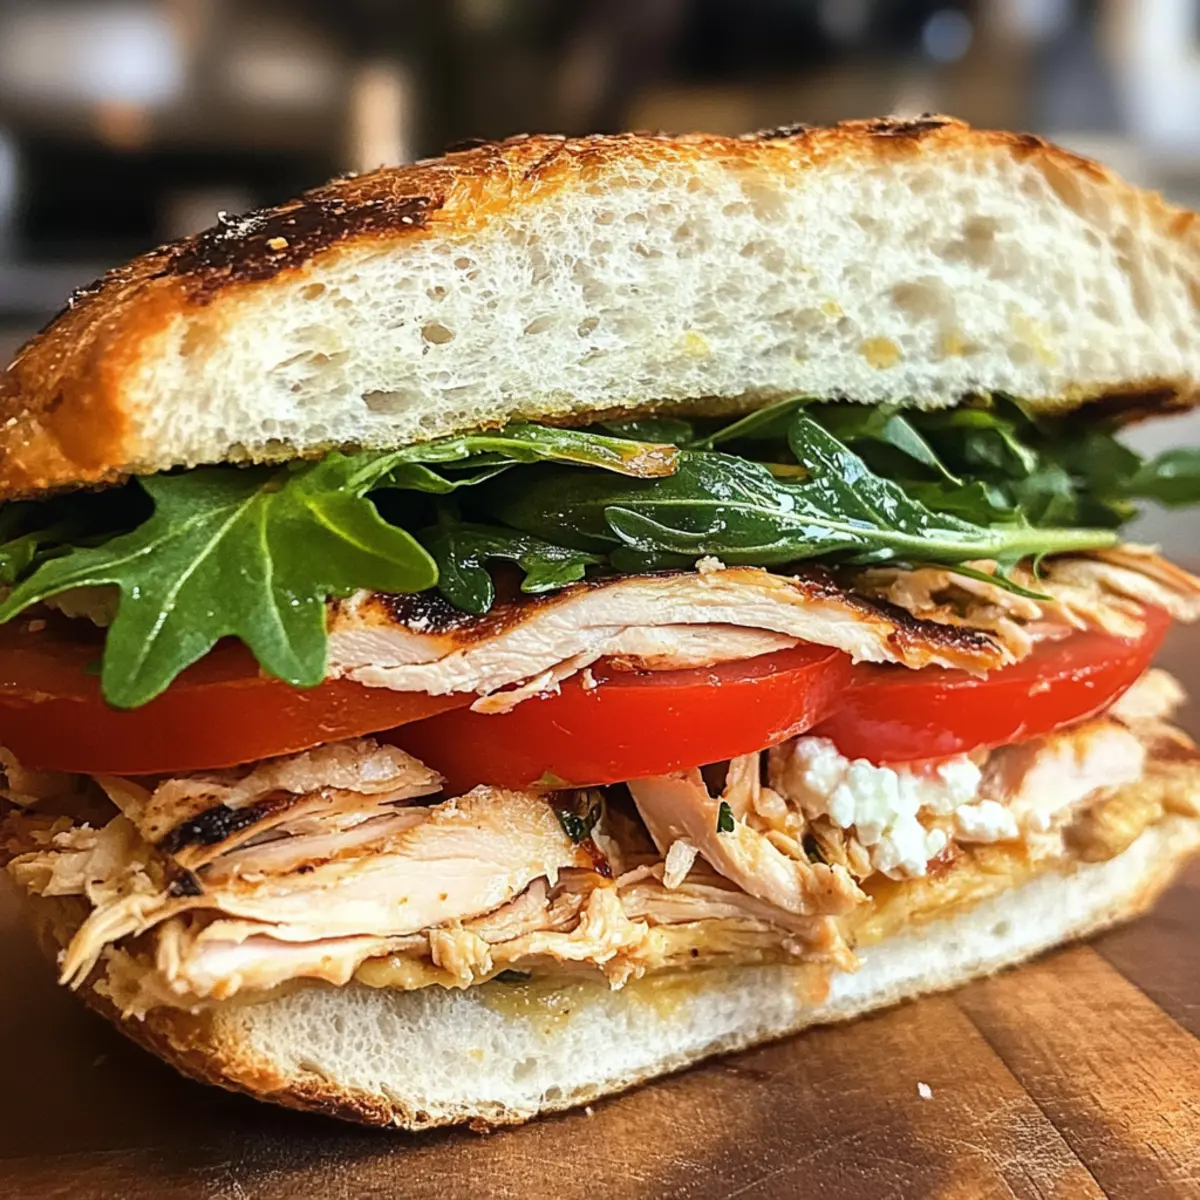
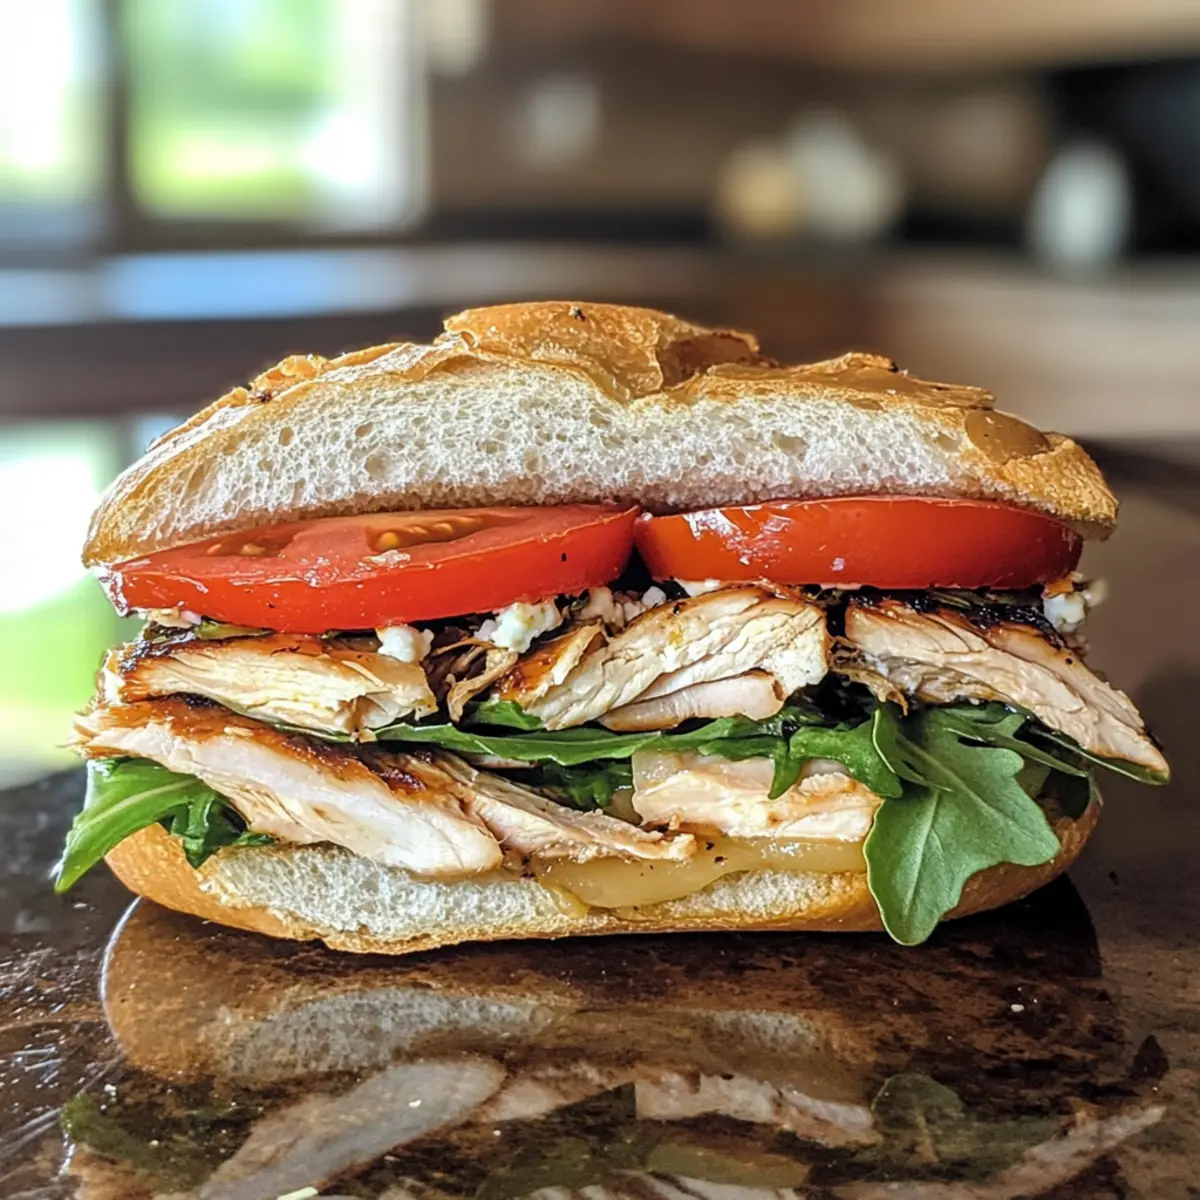
Pair it with a Refreshing Cucumber Carrot Salad for a complete meal that’s as colorful as it is delicious!
Ravioli with Pistachio Pesto Ingredients
Get ready to create a flavor-packed delight!
For the Pistachio Pesto
- Pistachios – A nutty base for the pesto sauce; walnuts or almonds can be used for a tasty twist.
- Pecorino Cheese – Adds creaminess and a salty kick; Parmesan works well as a substitute if needed.
- Lemon Juice – Brightens the pesto; always use fresh juice for the best flavor.
- Salt – Enhances the flavor; adjust according to taste to complement salty ingredients.
- Black Pepper – Offers a mild spice; feel free to add more for an extra zing.
- Basil Leaves – Provides a fresh herbal note; parsley can be substituted if necessary.
- Olive Oil – Emulsifies the pesto; choose a high-quality for optimal flavor.
- Unsalted Butter – Elevates the garlic flavor; can be omitted for a dairy-free version.
- Garlic Cloves – Imparts aromatic depth; garlic powder can be used in a pinch.
For the Ravioli
- Ravioli (with your favorite filling) – The delicious base of the dish; both store-bought or homemade options are fantastic.
- Crushed Red Pepper Flakes – Adds optional heat to your dish for an extra kick at serving time.
With these ingredients, your Ravioli with Pistachio Pesto will shine on your dinner table in no time!
Step‑by‑Step Instructions for Ravioli with Pistachio Pesto
Step 1: Boil the Water
Begin by bringing a large pot of salted water to a rolling boil over high heat. This is the stage where your ravioli will cook to perfection. Ensure the water bubbles vigorously before adding the ravioli, as this will help prevent them from sticking together. The boiling water will be ready for the next step in about 8-10 minutes.
Step 2: Prepare the Pistachio Pesto
While the water boils, grab your food processor. Pulse the pistachios until coarsely chopped, then add the pecorino cheese, lemon juice, salt, black pepper, and fresh basil leaves. Blend while gradually drizzling in 3 tablespoons of olive oil until the mixture is smooth but still has some texture. Set this delightful pistachio pesto aside while the ravioli cooks.
Step 3: Sauté the Garlic
In a skillet, heat 1 tablespoon of unsalted butter and another tablespoon of olive oil over low heat. Once the butter is melted, add minced garlic and sauté for about 2 minutes. Stir frequently to soften the garlic without letting it brown, which can cause bitterness. This step adds a delicious aromatic base for your pesto.
Step 4: Cook the Ravioli
Once your water is boiling, carefully add the ravioli and cook for approximately 3 minutes. They should float to the top when they are done, signaling that they’re ready. Reserve ½ cup of the pasta water before draining the ravioli into a colander. This starchy water will be useful for adjusting the sauce later.
Step 5: Combine and Toss
With the skillet still over low heat, add the pistachio pesto to the sautéed garlic, stirring for about 1 minute to warm it through. Then, toss in the drained ravioli along with ¼ cup of the reserved cooking water. Gently combine everything, ensuring each ravioli is coated in the creamy pistachio pesto, creating a luscious and inviting dish.
Step 6: Adjust and Serve
Assess the consistency of your sauce; if it seems too thick, add a bit more of the reserved pasta water until you reach your desired creaminess. Season with additional black pepper and sprinkle crushed red pepper flakes if you like a touch of heat. Serve your beautiful Ravioli with Pistachio Pesto immediately, garnished with extra nuts or basil, creating a feast for the eyes and the palate!
Ravioli with Pistachio Pesto Variations
Feel free to let your creativity flow and customize this dish to match your taste preferences!
-
Nut-Free: Swap pistachios for sunflower seeds or pumpkin seeds to make a nut-free pesto option.
-
Dairy-Free: Substitute pecorino cheese with nutritional yeast to keep that cheesy flavor while avoiding dairy.
-
Vegetable Boost: Add sautéed cherry tomatoes or spinach to the dish for an added burst of nutrition and color.
-
Herb Swap: Try fresh arugula or parsley instead of basil for a different herby flavor profile that’s equally delightful.
-
Extra Heat: Increase the crushed red pepper flakes to add spice or drench the finished dish with a drizzle of sriracha.
-
Creamy Touch: Stir in a spoonful of silken tofu or a splash of coconut cream to create an ultra-creamy texture in your pesto.
-
Alternative Pasta: Instead of ravioli, use your favorite pasta shape like penne or farfalle for a fun twist on the meal.
-
Seasonal Additions: Incorporate roasted summer squash or autumn pumpkin for a seasonal flair that enhances both texture and taste.
For more delightful pairings, consider enjoying a slice of homemade bread made with sunflower seed oil as a side, or refreshing cucumber and carrot salad to enhance your already exquisite ravioli experience!
How to Store and Freeze Ravioli with Pistachio Pesto
Fridge: Store any leftover Ravioli with Pistachio Pesto in an airtight container in the refrigerator for up to 3 days. This keeps the flavors fresh and the pasta tender.
Freezer: Freeze the pasta with pistachio pesto by laying it flat in a single layer on a baking sheet. Once frozen, transfer to a sealed freezer bag for up to 2 months for easy meals later on.
Reheating: To reheat, thaw if frozen and gently warm in a skillet over low heat, stirring in a splash of reserved cooking water for extra moisture.
Pesto Storage: If you have extra pistachio pesto, store it in a separate airtight container in the fridge for up to 7 days. Reheat gently before using, as this keeps the flavors vibrant.
Make Ahead Options
These Ravioli with Pistachio Pesto are a fantastic choice for meal prep, helping you save time during busy weeknights. You can prepare the pistachio pesto up to 3 days in advance; simply store it in an airtight container in the refrigerator to maintain its vibrant flavor and prevent browning. Cooked ravioli can also be made ahead and refrigerated for up to 24 hours; just toss them lightly in olive oil to prevent sticking. When you’re ready to serve, simply reheat the ravioli in boiling water for a minute or two, combine with the pesto and reserved pasta water, and savor a gourmet meal that feels just as fresh as if you made it on the spot!
Expert Tips for Ravioli with Pistachio Pesto
- Garlic Perfection: Ensure the garlic is softened but not browned; burnt garlic can turn bitter and spoil the flavor of your dish.
- Pesto Texture: Blend the pistachio pesto until smooth but not completely puréed—keep some texture for richness in every bite.
- Adjust Sauce Consistency: Use the reserved cooking water to achieve your desired consistency. Too thick? Add more; too thin? Just toss in a bit of ravioli!
- Storing Pesto: Make extra pesto and store it in an airtight container in the fridge for up to a week—it’s versatile and delicious in other dishes!
- Experiment Freely: Feel free to swap pistachios for walnuts or use a different pasta filling to customize your ravioli with pistachio pesto experience!
What to Serve with Ravioli with Pistachio Pesto
Elevate your meal with these delightful pairings that bring texture and flavor to your dining experience.
-
Creamy Mashed Potatoes: The buttery, smooth texture of mashed potatoes pairs beautifully with the nutty pesto, making each bite delightful.
-
Garlic Bread: Warm, toasted garlic bread adds a crunchy contrast that complements the creamy ravioli while soaking up every drop of sauce.
-
Refreshing Cucumber Carrot Salad: A crisp side salad not only brightens the plate but adds a refreshing crunch to balance the rich pesto. A touch of lemon would tie it all together perfectly!
-
Roasted Cherry Tomatoes: The sweetness of roasted cherry tomatoes creates a vibrant contrast against the pistachio pesto and enhances the overall flavor profile.
-
Sautéed Spinach: Lightly sautéed garlic spinach offers a nutritious, colorful addition that complements the pasta without overpowering its flavors.
-
Chilled White Wine: A glass of crisp Sauvignon Blanc or Pinot Grigio brings a refreshing acidity that cuts through the creaminess of the dish, making it a match made in heaven.
-
Italian Gelato: Finish your meal with a scoop of creamy gelato—its cool, smooth texture and sweetness will be a delightful finale after the savory pasta.
-
Limoncello: For a tangy twist, a small glass of this Italian lemon liqueur cleanses the palate and adds a fresh citrus note that pairs wonderfully with the dish.
Ravioli with Pistachio Pesto Recipe FAQs
How do I choose ripe ingredients for my ravioli with pistachio pesto?
Absolutely! When selecting pistachios, choose shelled nuts that are bright green with no dark spots; these indicate freshness. For the basil, select vibrant green leaves free from browning. When it comes to lemons, opt for those that feel heavy for their size, indicating juiciness.
What’s the best way to store leftover ravioli with pistachio pesto?
To maintain the fresh flavor, store any leftovers in an airtight container in the fridge for up to 3 days. Make sure the container is sealed tightly to avoid moisture loss. If you find the pasta has absorbed too much of the pesto, you can drizzle a touch of olive oil before serving to bring back its creaminess.
Can I freeze ravioli with pistachio pesto?
Very! To freeze, first place the ravioli in a single layer on a baking sheet and let them freeze completely. Once frozen, transfer the ravioli into a sealed freezer bag and store them for up to 2 months. For reheating, simply thaw and warm them gently in a skillet with a splash of reserved cooking water, stirring until warmed through.
What should I do if my pesto is too thick?
No worries at all! If you find your pistachio pesto too thick after blending, simply add a little more olive oil or a tablespoon of warm water until you achieve a creamier texture. Blend again, and test the consistency until it’s to your liking. A splash of reserved pasta cooking water can also work wonders for thick sauces!
Are there any dietary considerations I should keep in mind?
Yes, definitely! This recipe is vegetarian-friendly, but keep in mind the possibility of nut allergies when serving pistachio pesto. For a dairy-free option, you can omit the butter and substitute the pecorino cheese with a plant-based alternative. Also, ensure that your ravioli filling complies with dietary needs if you’re serving guests.
How long can I store extra pistachio pesto?
You’ll be pleased to know that homemade pistachio pesto can be kept in an airtight container in the refrigerator for up to 7 days. It’s best to drizzle a thin layer of olive oil on top to prevent oxidation. When ready to use, simply give it a stir and enjoy its vibrant flavors!
Ravioli with Pistachio Pesto for a Quick Gourmet Delight
Ingredients
Equipment
Method
- Begin by bringing a large pot of salted water to a rolling boil over high heat.
- While the water boils, pulse the pistachios in a food processor until coarsely chopped. Add pecorino cheese, lemon juice, salt, black pepper, and basil leaves. Blend while drizzling in olive oil until smooth yet textured.
- In a skillet, heat unsalted butter and olive oil over low heat. Add minced garlic and sauté for about 2 minutes.
- Once the water is boiling, add the ravioli and cook for approximately 3 minutes until they float. Reserve ½ cup of pasta water before draining.
- Add the pistachio pesto to the sautéed garlic, stirring for about 1 minute. Toss in the drained ravioli and ¼ cup of reserved pasta water.
- Adjust the sauce consistency with reserved water as necessary, then serve immediately, garnished with extra nuts or basil.