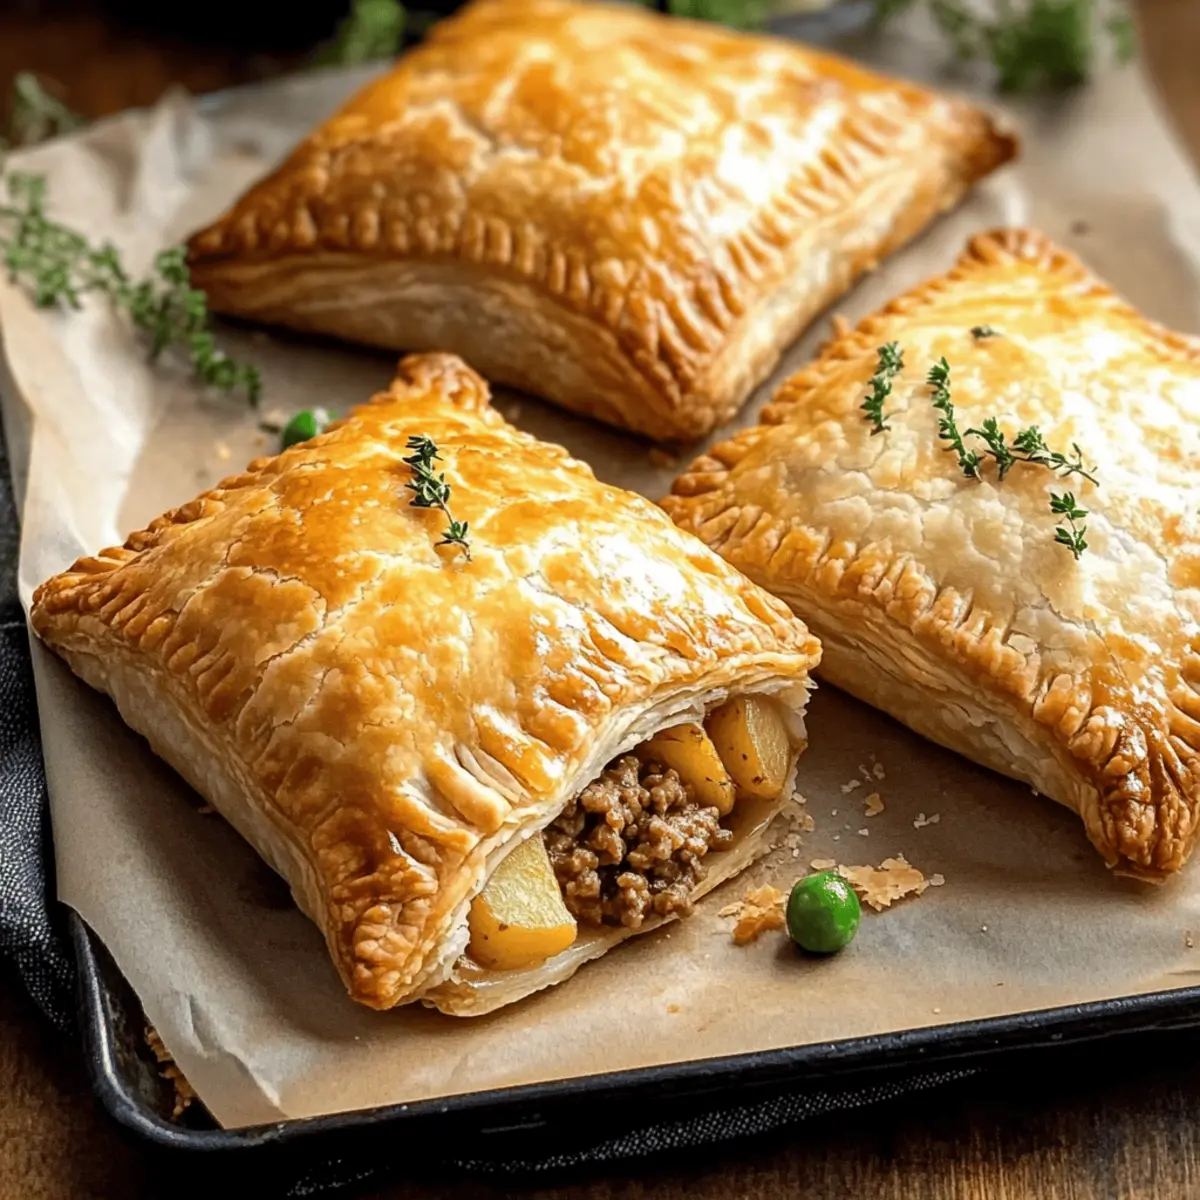
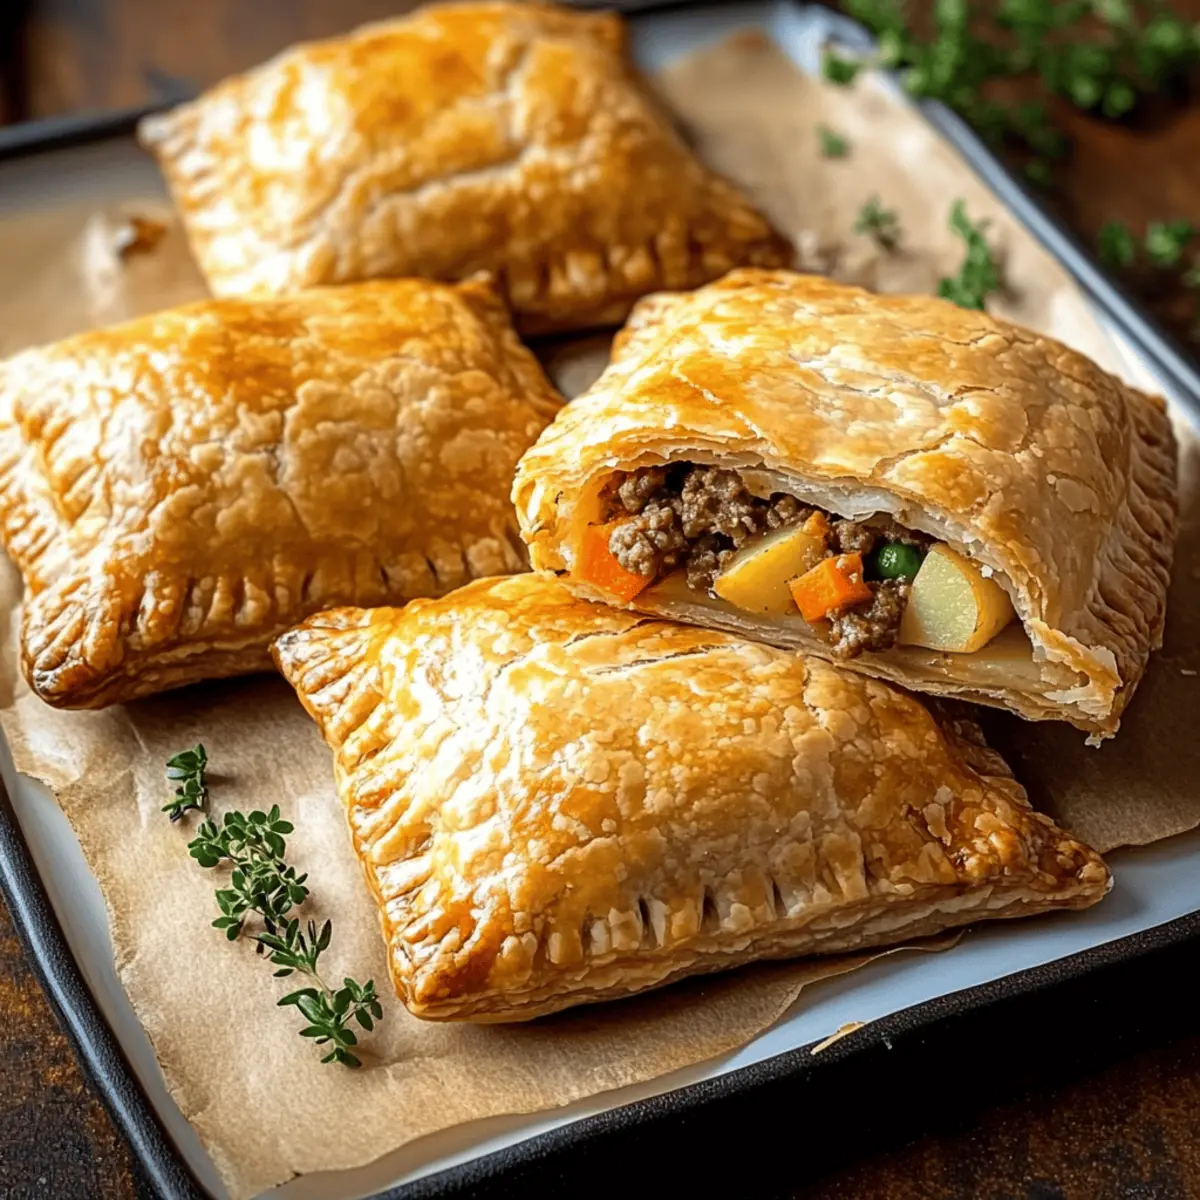
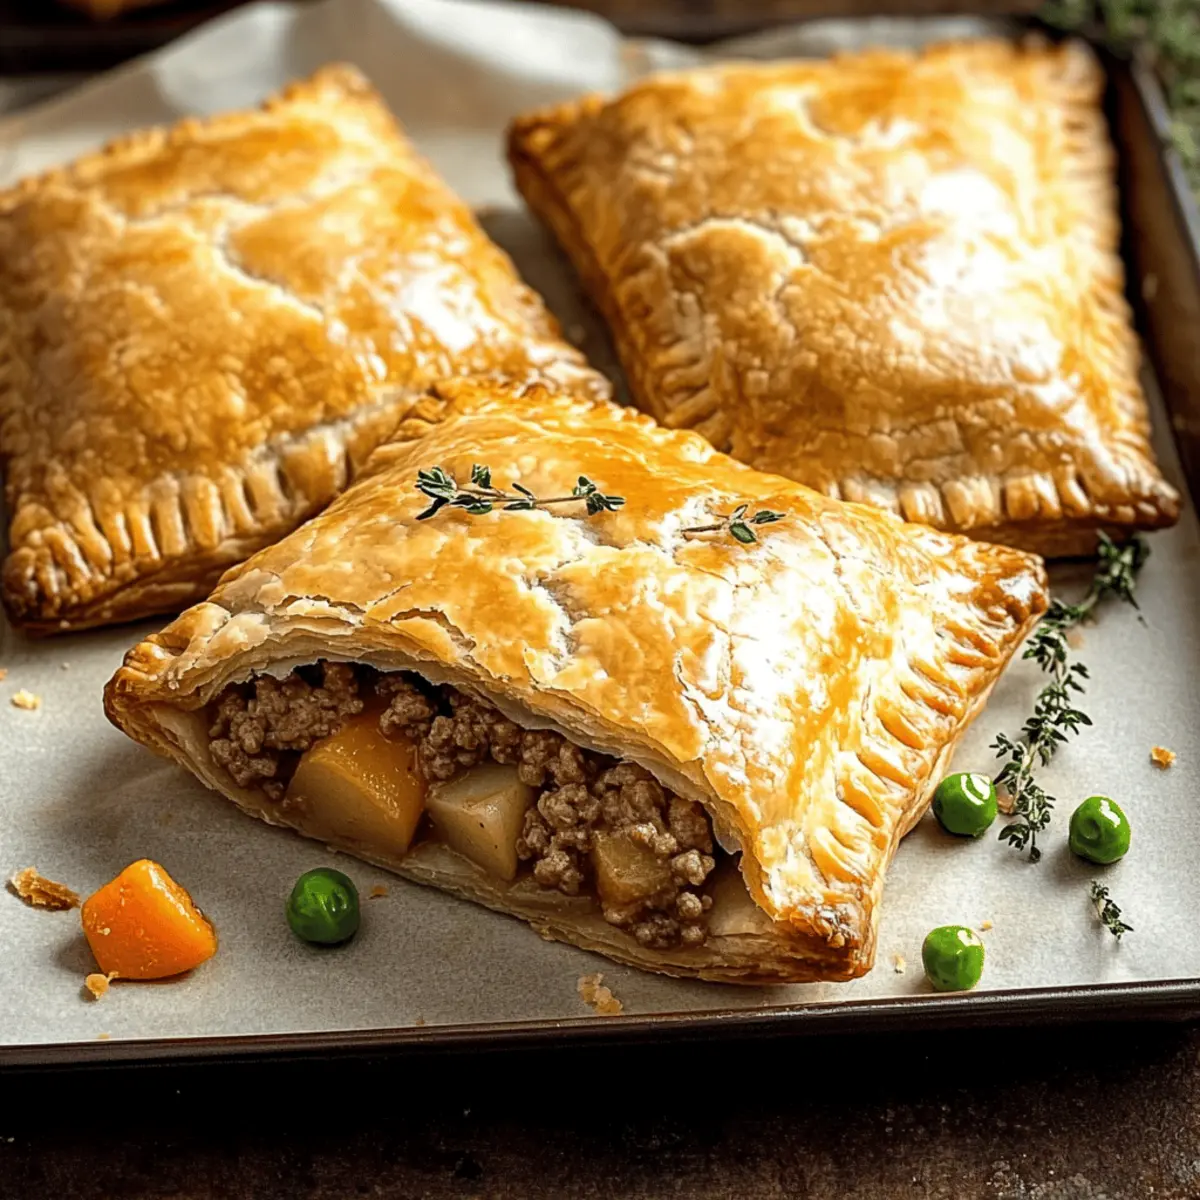
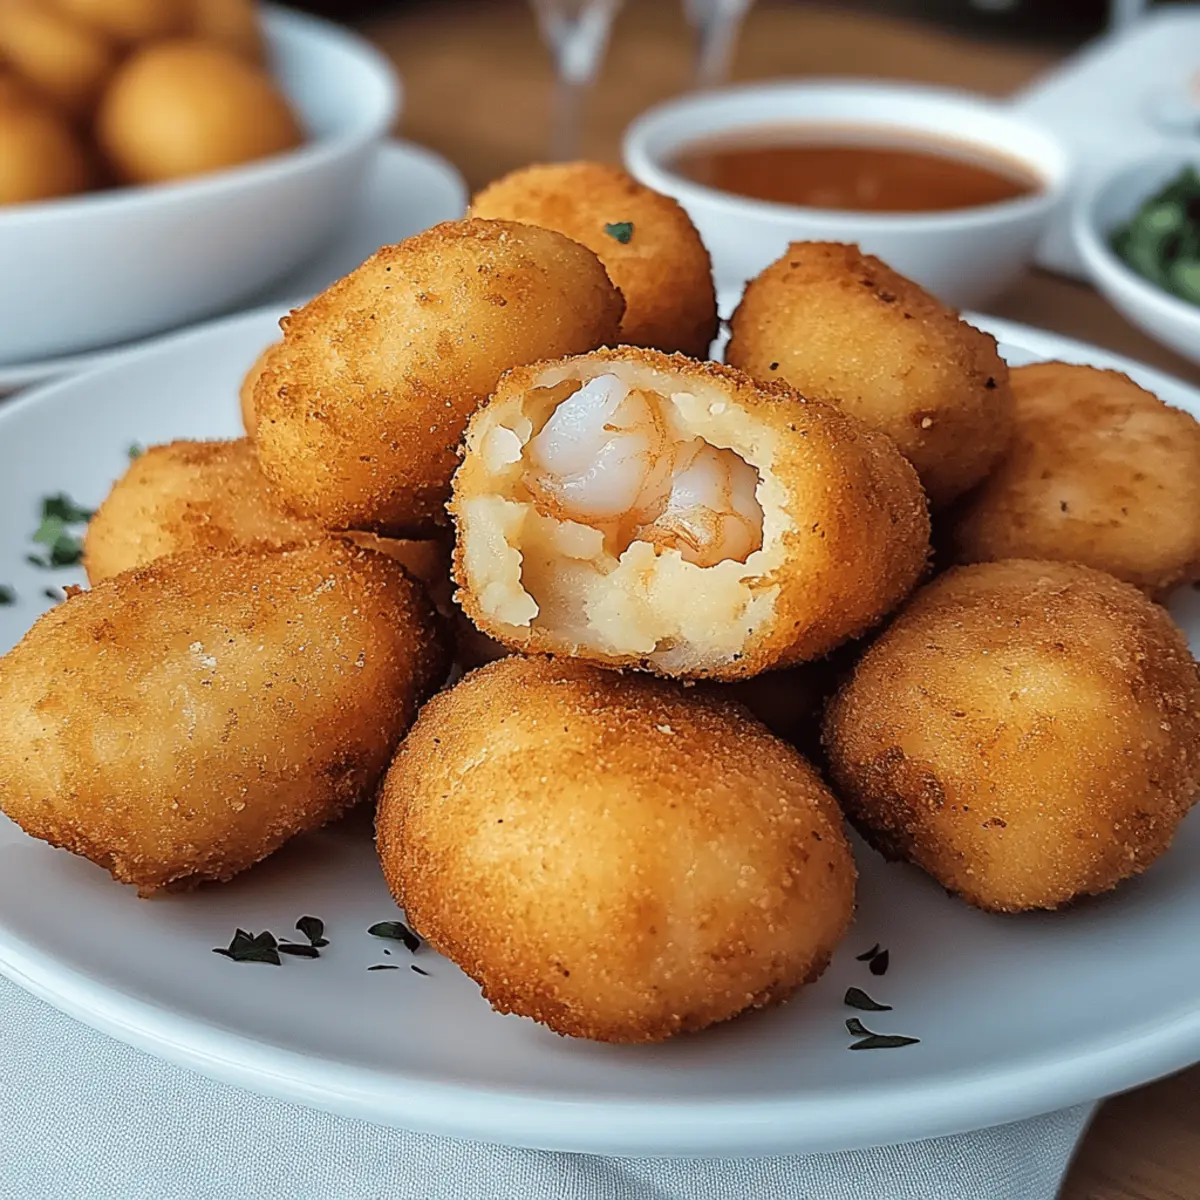
As I watched the golden-brown treasures bubbling away in the hot oil, the aroma transported me straight to the sun-kissed coasts of Portugal. Crispy Portuguese Shrimp Croquettes are not just an appetizer; they are a celebration of flavors that brings family and friends together. With their creamy shrimp filling and a perfectly crunchy exterior, these little bites are quick to whip up, making them the ultimate crowd-pleaser for any gathering. Plus, they can even be made ahead of time and pop into the freezer for those spontaneous cravings! Are you ready to dive into this culinary adventure and savor the taste of Portugal right in your kitchen?

Why Are These Croquettes So Irresistible?
Flavor Explosion: Each bite of these Crispy Portuguese Shrimp Croquettes bursts with the rich taste of tender shrimp and fragrant herbs, making them a delicious alternative to fast food.
Quick Prep Time: With simple steps, you can have them ready in no time, perfect for those busy weeknights or last-minute gatherings.
Versatile Treat: Whether as an appetizer or a late-night snack, these croquettes can satisfy any craving. You can even customize them by substituting shrimp with crab or adding a kick of spice!
Freezer Friendly: Make a batch ahead of time and just freeze them for future munching—simply fry from frozen, and they’ll be golden in minutes!
Crowd-Pleasing Appeal: Imagine serving these beauties at your next gathering—guests won’t be able to resist the crispy, golden delight! If you love seafood, don’t miss out on these shrimp treats! For more delicious seafood ideas, check out our recipe for Crispy Fish Tacos.
Portuguese Shrimp Croquettes Ingredients
Discover what makes these Portuguese Shrimp Croquettes a culinary delight!
For the Filling
• Shrimp – Fresh or thawed shrimp provides a flavorful base; ensure to chop them finely for even distribution.
• Mashed Potatoes – Adds a creamy texture; sweet potatoes can be a delightful twist for a different flavor profile.
• Garlic – Enhances the aromatic experience; garlic powder can be used in a pinch if fresh isn’t available.
• Fresh Herbs (like parsley or cilantro) – Imparts a burst of fresh flavor; if fresh herbs are unavailable, dried herbs work well too.
For the Coating
• Breadcrumbs – Essential for that delightful crispy exterior; using panko will make them extra crunchy.
• Egg – Acts as a binding agent; consider using a flax egg for a vegan adaptation (1 tbsp ground flaxseed + 2.5 tbsp water).
With these ingredients at your fingertips, you’re ready to create a batch of irresistible Crispy Portuguese Shrimp Croquettes that will surely become a family favorite!
Step‑by‑Step Instructions for Crispy Portuguese Shrimp Croquettes
Step 1: Prepare Shrimp
Start by heating a skillet over medium heat, adding a drizzle of olive oil. Sauté about 1 pound of shrimp, minced garlic, and a handful of fresh herbs like parsley for around 5-7 minutes, or until the shrimp turns pink and opaque. Remove from heat and chop the shrimp finely. This combination will create a flavorful base for your Portuguese shrimp croquettes.
Step 2: Mix Filling
In a large bowl, combine the chopped shrimp with 2 cups of creamy mashed potatoes, seasoning generously with salt and pepper. Mix thoroughly until the shrimp and potatoes are well incorporated. This mixture should be smooth yet slightly chunky, creating a delightful filling that showcases the shrimp’s flavor. Set aside to cool slightly before forming into croquettes.
Step 3: Form Croquettes
Using your hands, scoop out small portions of the filling and shape them into small balls or patties, about 2-3 inches in diameter. Place the formed croquettes on a baking sheet lined with parchment paper. Ensure they are uniform in size for even cooking. This step is crucial for achieving the ideal texture in your crispy Portuguese shrimp croquettes.
Step 4: Coat Croquettes
Prepare a shallow bowl with one beaten egg for binding. In another bowl, spread out breadcrumbs. Dip each croquette into the egg, allowing the excess to drip off, and then roll them in the breadcrumbs until completely coated. This double coating provides the perfect crunch when frying the Portuguese shrimp croquettes to golden perfection.
Step 5: Fry or Bake
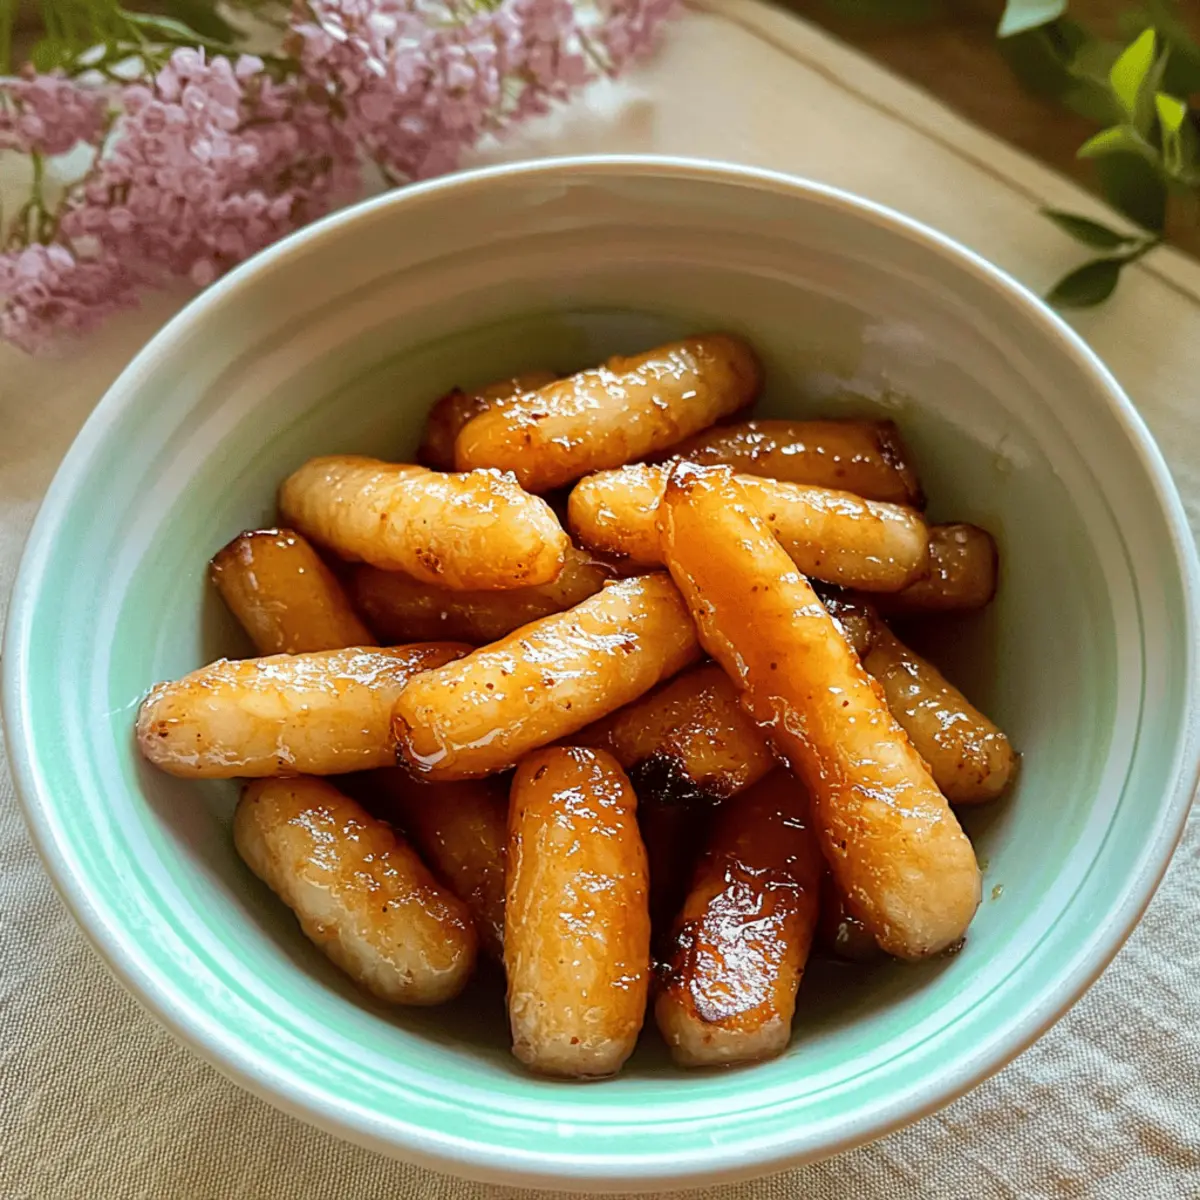
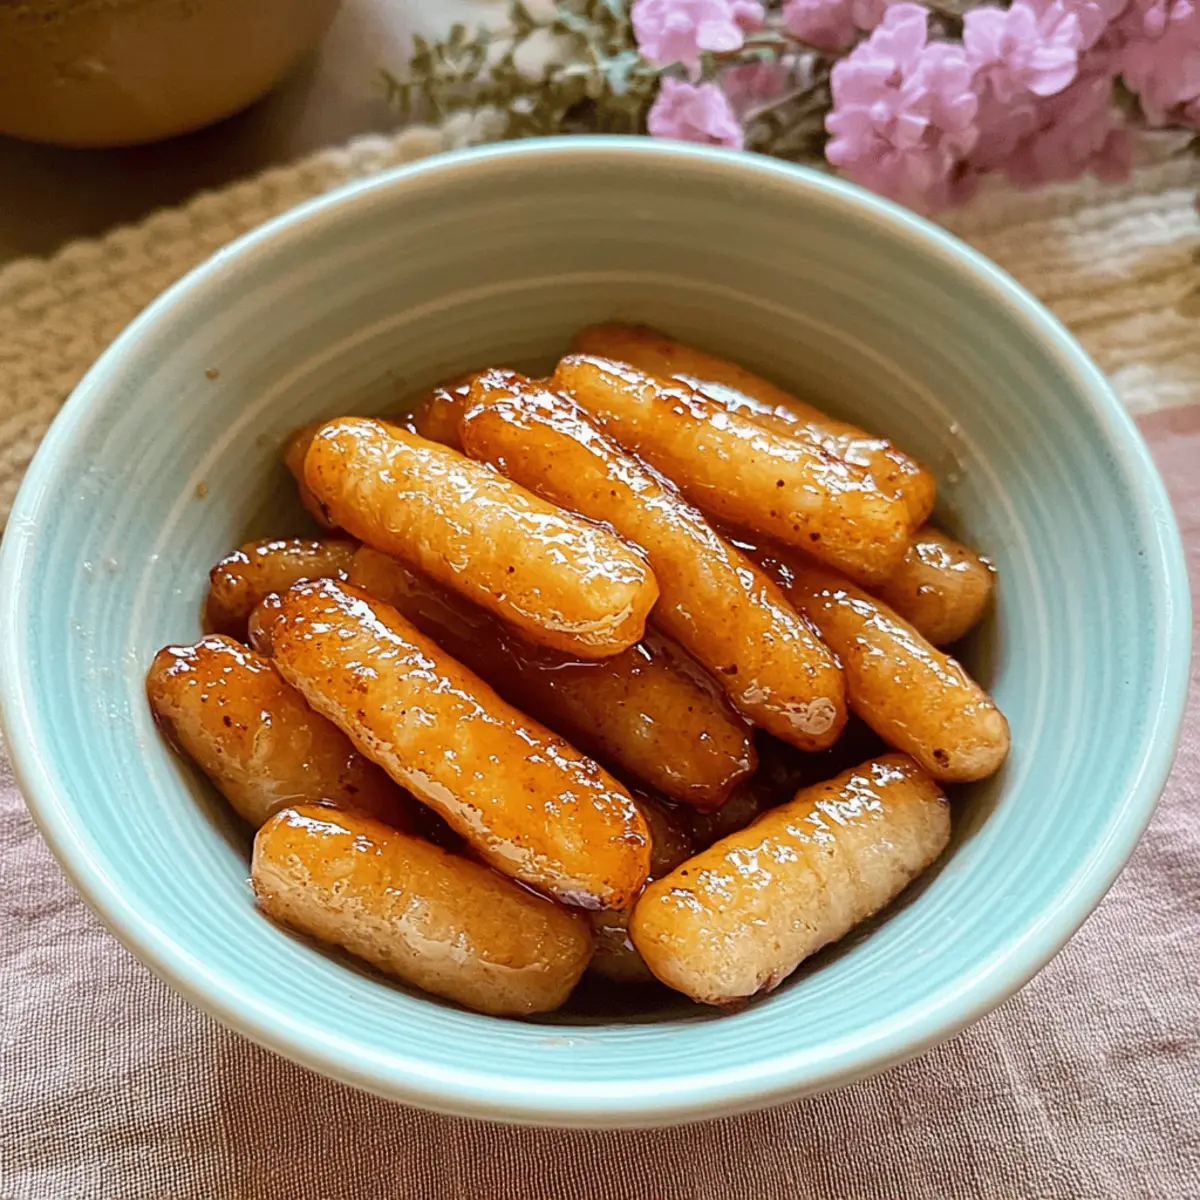
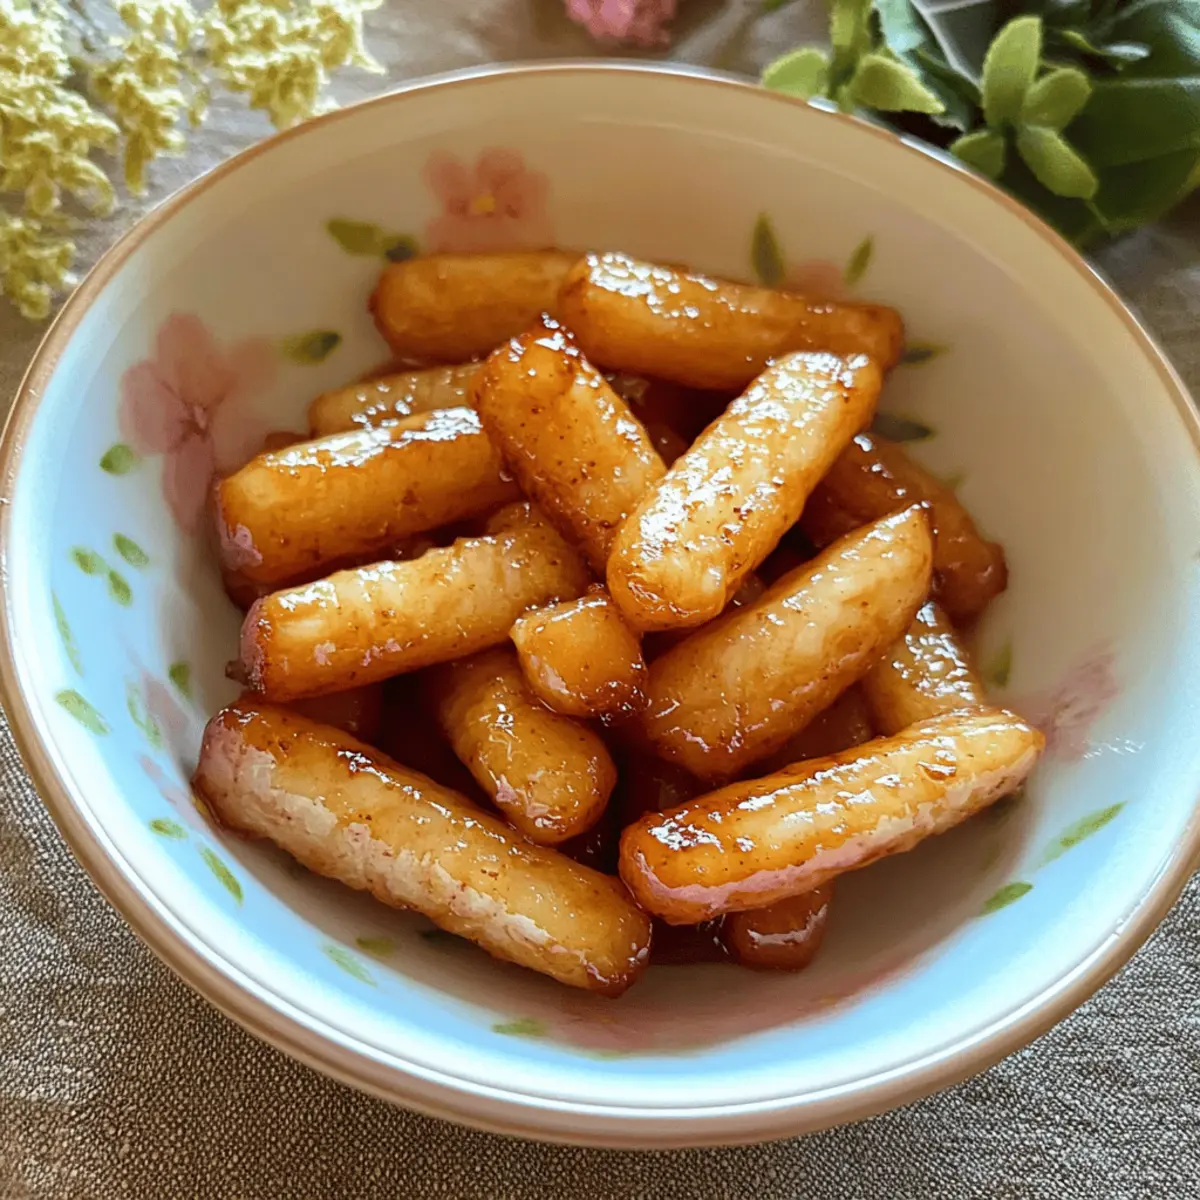
Heat a deep skillet with about 1 inch of vegetable oil over medium-high heat until shimmering. Fry the croquettes in batches for about 3-4 minutes per side, or until they develop a deep golden-brown crust. Alternatively, for a lighter option, arrange them on a baking sheet and bake in a preheated oven at 400°F for 20-25 minutes, flipping halfway through until crispy.
Step 6: Serve
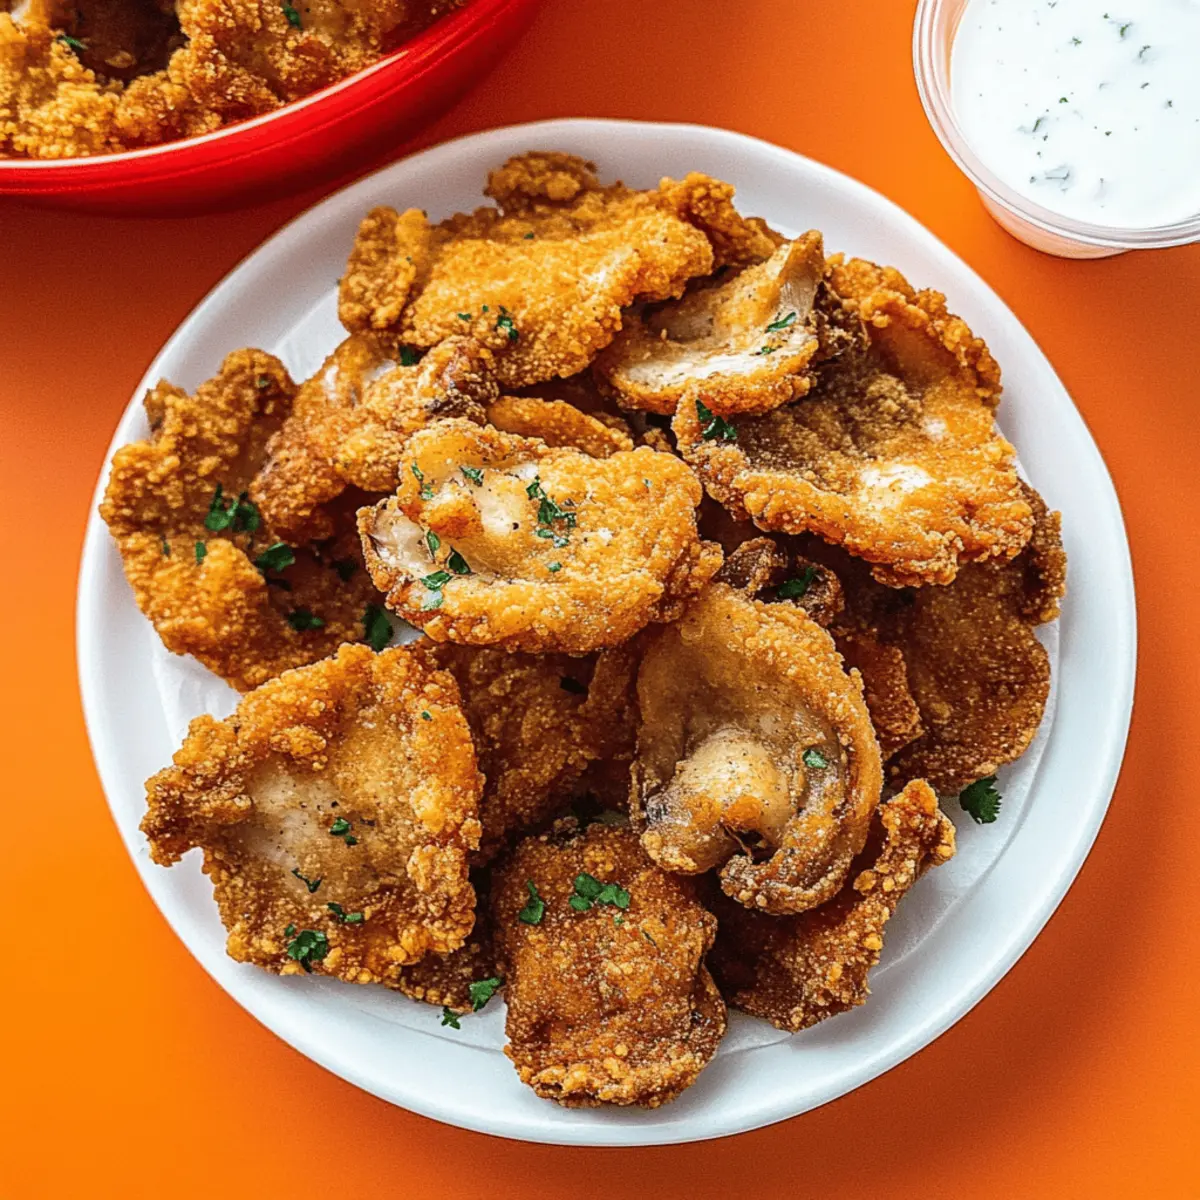
Once golden and crispy, transfer the croquettes to a plate lined with paper towels to absorb any excess oil. Let them cool for a couple of minutes before serving. These delightful Portuguese shrimp croquettes are best enjoyed warm, accompanied by a tangy dipping sauce like aioli or spicy marinara to enhance their rich flavors.

How to Store and Freeze Portuguese Shrimp Croquettes
Fridge: After cooking, store leftover croquettes in an airtight container in the fridge for up to 3 days. Reheat in the oven for best results, ensuring they regain their crispiness.
Freezer: Uncooked croquettes can be frozen for up to a month. Place them on a baking sheet until firm, then transfer to a freezer-safe bag. Fry them directly from frozen, adding a few minutes to the cooking time.
Reheating: For reheating cooked croquettes, place them in a preheated oven at 375°F for 10-15 minutes or until heated through. This will help keep your Portuguese shrimp croquettes crispy and delicious!
Expert Tips for Perfect Croquettes
Chill Your Mixture: Ensure to chill the shrimp filling for at least 30 minutes before forming croquettes. This helps them maintain their shape during cooking and enhances texture.
Oil Temperature Check: Always test the oil’s temperature by dropping in a breadcrumb; if it sizzles immediately, your oil is ready! This ensures a perfectly crispy exterior on your Portuguese shrimp croquettes.
Don’t Overcrowd the Pan: When frying, work in batches. Overcrowding lowers the oil temperature, resulting in soggy croquettes instead of the desired crunch.
Use Quality Breadcrumbs: Opt for panko or homemade breadcrumbs for a crunchier finish. This makes all the difference in the texture of your Portuguese shrimp croquettes.
Experiment with Spices: Feel free to add a pinch of cayenne or smoked paprika to the filling for an exciting flavor twist that elevates your croquettes!
Portuguese Shrimp Croquettes Variations
Customize your cooking adventure with these delightful twists on the classic croquettes that will tantalize your taste buds!
-
Seafood Swap: Substitute shrimp with crab, scallops, or fish for a different seafood experience. Each option brings its own unique flavor profile, making the croquettes versatile and delightful. Imagine the taste of sweet crab mingling with creamy potatoes—simply irresistible!
-
Spice Infusion: Add a pinch of cayenne pepper or smoked paprika to the filling for an extra kick. This subtle heat beautifully complements the shrimp, creating a delightful contrast. Don’t hesitate to spice things up; savory and spicy can go hand in hand!
-
Cheesy Goodness: Fold in some shredded cheese like cheddar or mozzarella for a rich, gooey filling. The cheese melts perfectly, adding a comforting layer to each bite. Who can resist the blend of seafood and cheese in a crispy shell?
-
Herb Fusion: Experiment with fresh herbs like dill or basil instead of parsley or cilantro. Each herb brings its own fresh uniqueness, brightening the dish beautifully. The flavor evolution from one herb to another can transform your dish completely.
-
Vegetarian Twist: For a delightful vegetarian version, replace shrimp with finely diced vegetables like mushrooms, zucchini, or bell peppers. Season well and sauté for a flavorsome filling. You won’t miss the shrimp when taste and creativity shine through!
-
Zesty Citrus: Add lemon or lime zest to the filling for a refreshing citrus kick. The zesty notes elevate the flavor profile and provide a perfect balance against the rich filling. It’s a simple tweak that can transform the mood of your croquettes!
-
Nutty Crunch: Incorporate crushed nuts like almonds or pistachios into the croquettes for an unexpected textural twist. This nutty crunch introduces a new flavor layer that pairs beautifully with the creamy filling. A crunchier texture creates a delightful surprise in every bite.
-
Baking Boost: For a healthier version, consider baking the croquettes instead of frying them. Brush them lightly with olive oil before baking to ensure a crispy finish. This method offers the same delightful crunch without the extra calories!
Feel inspired to try out these variations that will make your Portuguese Shrimp Croquettes even more exciting and tailored to your family’s tastes! If you’re looking for more creative ways to enjoy seafood, why not check out my recipe for Crispy Fish Tacos?
Make Ahead Options
These Portuguese Shrimp Croquettes are a fantastic meal prep option for busy home cooks! You can prepare the filling (shrimp and mashed potatoes) up to 24 hours in advance by simply mixing the cooked shrimp with the mashed potatoes and refrigerating it in an airtight container. Additionally, you can form the croquettes and freeze them for up to 3 months, ensuring they’re ready to cook whenever a craving strikes. Just remember to freeze them in a single layer on a baking sheet before transferring them to a bag to prevent sticking. When you’re ready to enjoy, fry the frozen croquettes directly from the freezer, adding a couple of minutes to the cooking time for perfect, crispy results. By prepping ahead, you’ll save time and have delicious appetizers at your fingertips!
What to Serve with Crispy Portuguese Shrimp Croquettes
Elevate your culinary experience by pairing these delightful bites with dishes that complement their unique flavors and textures.
-
Garlic Aioli: A creamy dip that enhances the savory shrimp filling with its rich, garlicky goodness. Perfect for a tasty contrast!
-
Crispy Green Salad: Fresh greens tossed in a zesty vinaigrette add a refreshing crunch, balancing the richness of the croquettes with every bite.
-
Tomato Salsa: Bright and tangy, this vibrant salsa brings a fresh kick that cuts through the savory flavors, creating a harmonious combination.
-
Roasted Sweet Potatoes: The natural sweetness of roasted sweet potatoes complements the savory croquettes beautifully, adding extra flavor and comfort to your meal.
-
Seared Asparagus: Tender yet crisp, this seasonal vegetable brings a delightful crunch and earthy notes that pair wonderfully with the shrimp.
-
Chilled White Wine: A glass of dry Sauvignon Blanc enhances both the coastal flavors of the shrimp croquettes and the fresh elements on your plate.
-
Lemon Wedges: A simple squeeze of lemon over the croquettes elevates their flavor profile, adding brightness that’s sure to awaken your taste buds!
-
Creamy Coleslaw: The crunchy texture and creamy dressing provide a delightful contrast, elevating your dining experience alongside the croquettes.
Portuguese Shrimp Croquettes Recipe FAQs
What type of shrimp should I use for these croquettes?
Absolutely! Fresh or thawed shrimp is ideal for these croquettes. Look for shrimp that has a firm texture and a slight ocean scent. If frozen, ensure they are well-thawed and patted dry to avoid excess moisture in your mixture.
How should I store leftover croquettes?
You can keep any leftover Portuguese Shrimp Croquettes in an airtight container in the fridge for up to 3 days. To reheat, I recommend using the oven at 375°F for about 10-15 minutes to ensure they retain their crispy exterior while heating through.
Can I freeze the croquettes before cooking?
Absolutely! To freeze uncooked croquettes, place them on a baking sheet in a single layer until firm. Then, transfer them to a freezer-safe bag. They can be frozen for up to a month! When you’re ready to cook, fry them directly from frozen, just adding a few minutes to the cooking time.
What if the croquettes fall apart while frying?
If you find your croquettes breaking apart, they may not have enough binding agent. Check that you’ve used enough egg to coat them. Additionally, chilling your croquettes for at least 30 minutes before frying will help them hold their shape better in the hot oil.
Are these croquettes safe for people with shellfish allergies?
No, those with shellfish allergies should avoid these Portuguese Shrimp Croquettes as they contain shrimp. For an alternative, consider using finely chopped vegetables or potato-based filling to achieve a similar texture without any seafood.
How can I make these croquettes vegan-friendly?
To adapt this recipe for vegan diets, substitute fresh shrimp with mixed vegetables like zucchini and bell peppers, and use flax eggs (1 tbsp ground flaxseed + 2.5 tbsp water) in place of egg for binding. You’ll also want to ensure your breadcrumbs are vegan-friendly. Enjoy experimenting!

Delicious Portuguese Shrimp Croquettes for Perfect Snacking
Ingredients
Equipment
Method
- Heat a skillet over medium heat, adding olive oil. Sauté shrimp, minced garlic, and fresh herbs for about 5-7 minutes until shrimp is pink and opaque, then chop finely.
- In a large bowl, combine chopped shrimp with mashed potatoes, seasoning with salt and pepper. Mix until smooth yet slightly chunky and set aside to cool.
- Shape small portions of the filling into balls or patties, about 2-3 inches in diameter, and place on a baking sheet.
- Dip each croquette into the beaten egg, letting excess drip off, then roll in breadcrumbs until fully coated.
- Heat vegetable oil in a deep skillet to medium-high. Fry croquettes for 3-4 minutes per side until golden brown, or bake at 400°F for 20-25 minutes.
- Transfer croquettes to a plate lined with paper towels, let cool for a couple of minutes before serving.