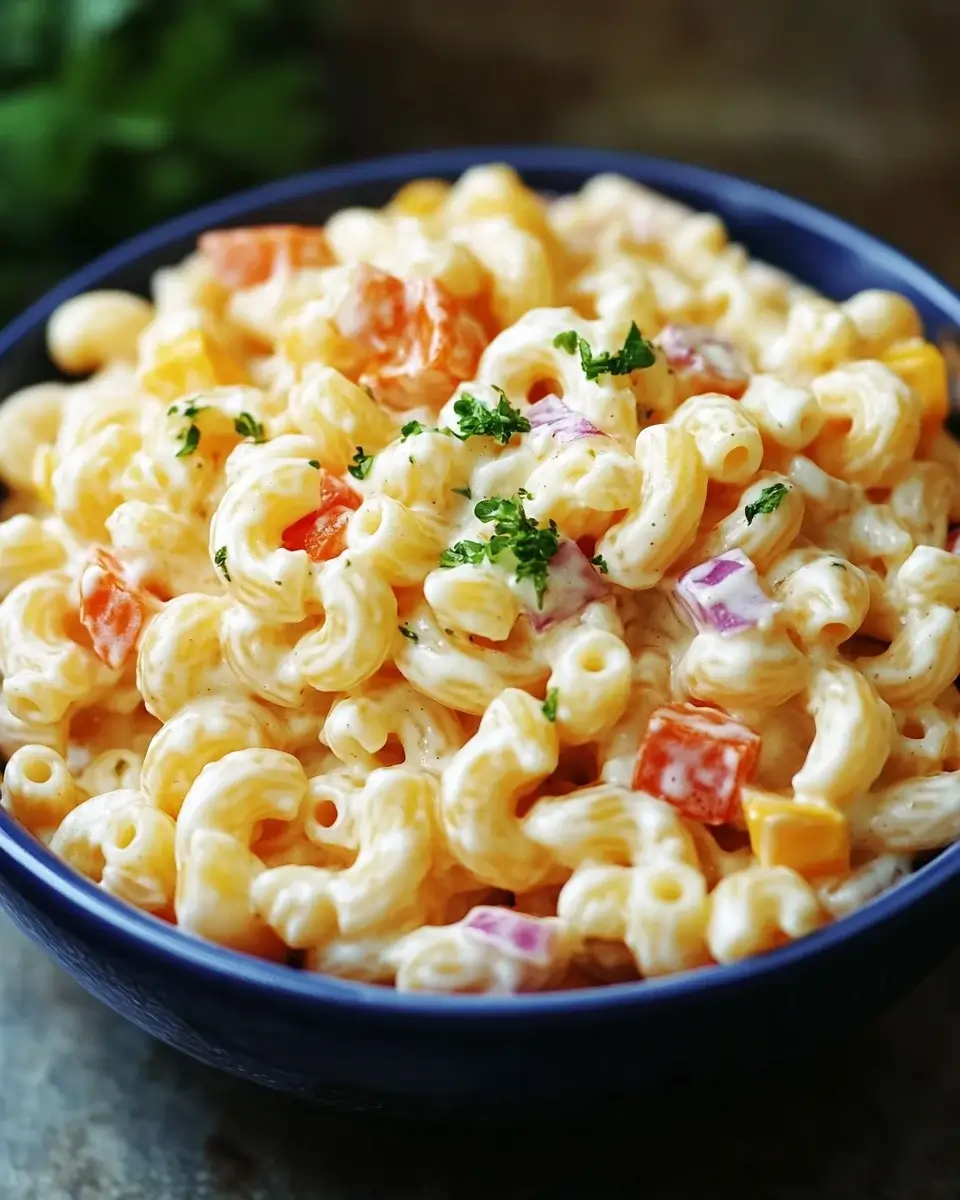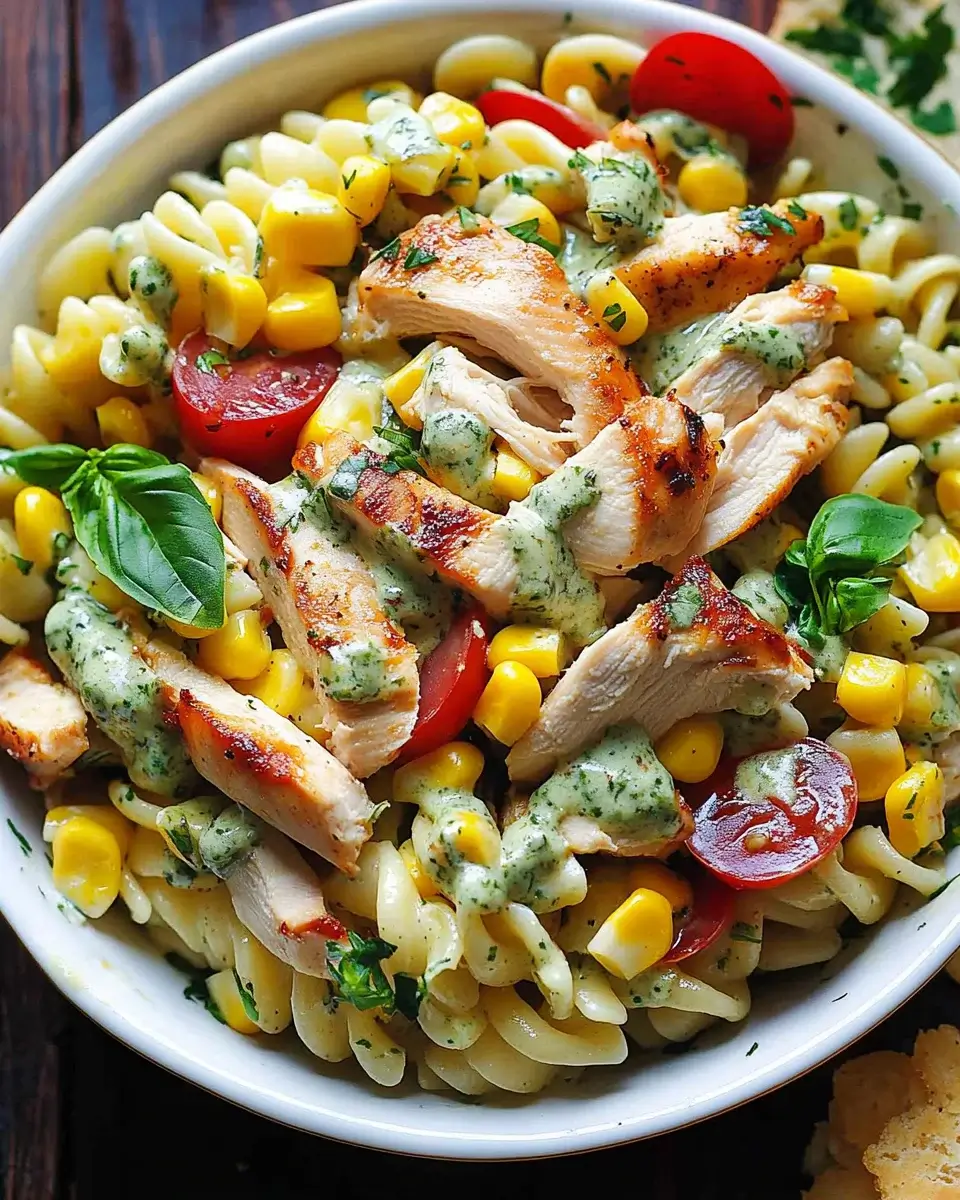
Introduction to Creamy Chicken and Corn Pasta Salad
There’s something comforting about a bowl of creamy chicken and corn pasta salad. It reminds me of summer picnics and family gatherings, where laughter mingles with the aroma of good food. This dish is not just a meal; it’s a quick solution for those busy days when you need something delicious without the fuss. With its vibrant colors and rich flavors, this creamy chicken and corn pasta salad is sure to impress your loved ones. Plus, it’s easy to whip up, making it a go-to recipe for any occasion.
Why You’ll Love This Creamy Chicken and Corn Pasta Salad
This creamy chicken and corn pasta salad is a lifesaver for busy weeknights. It comes together in just 45 minutes, making it perfect for those evenings when time is tight. The combination of tender chicken, sweet corn, and a creamy dressing creates a flavor explosion that’s hard to resist. Plus, it’s versatile enough to serve as a main dish or a side, ensuring it fits any meal plan effortlessly.
Ingredients for Creamy Chicken and Corn Pasta Salad
Gathering the right ingredients is the first step to creating this delightful creamy chicken and corn pasta salad. Here’s what you’ll need:
- Rotini pasta: This spiral-shaped pasta holds onto the dressing beautifully, making every bite flavorful.
- Cooked chicken: Shredded chicken adds protein and heartiness. You can use leftover rotisserie chicken for convenience.
- Sweet corn: Whether canned or frozen, corn brings a pop of sweetness and color to the dish.
- Cherry tomatoes: Halved for freshness, these juicy gems add a burst of flavor and a lovely visual appeal.
- Red bell pepper: Diced for crunch and sweetness, it complements the other ingredients perfectly.
- Red onion: Finely chopped, it adds a mild sharpness that balances the creaminess of the dressing.
- Mayonnaise: This creamy base gives the salad its rich texture. You can opt for light mayo if you prefer.
- Greek yogurt: Adds tanginess and creaminess while boosting the nutritional value. A great substitute for some mayo!
- Dijon mustard: Just a tablespoon adds a subtle kick that elevates the overall flavor.
- Apple cider vinegar: A splash of acidity brightens the dish and balances the creaminess.
- Garlic powder: For a hint of savory depth, this is a must-have in the dressing.
- Salt and pepper: Essential for seasoning, adjust to your taste for the perfect flavor.
- Fresh parsley: Chopped for garnish, it adds a pop of color and freshness right before serving.
For those looking to add a bit of crunch, consider mixing in some chopped celery or cucumber. If you want a lighter dish, simply swap half of the mayonnaise with more Greek yogurt. You can find the exact quantities for each ingredient at the bottom of the article, ready for printing!
How to Make Creamy Chicken and Corn Pasta Salad
Creating this creamy chicken and corn pasta salad is a breeze. Follow these simple steps, and you’ll have a delicious meal ready in no time. Let’s dive in!
Step 1: Cook the Pasta
Start by boiling a pot of salted water. Once it’s bubbling, add the rotini pasta. Cook it according to the package instructions until it’s al dente. This usually takes about 8-10 minutes. When it’s done, drain the pasta and rinse it under cold water. This stops the cooking process and cools it down quickly.
Step 2: Combine the Ingredients
In a large mixing bowl, combine the cooled pasta, shredded chicken, sweet corn, halved cherry tomatoes, diced red bell pepper, and finely chopped red onion. This colorful mix not only looks great but also packs a punch of flavor. Give it a gentle stir to combine everything evenly.
Step 3: Prepare the Dressing
In a separate small bowl, whisk together the mayonnaise, Greek yogurt, Dijon mustard, apple cider vinegar, garlic powder, salt, and pepper. Mix until smooth and creamy. This dressing is the heart of your creamy chicken and corn pasta salad, so make sure it’s well blended.
Step 4: Mix Everything Together
Pour the dressing over the pasta mixture. Toss gently to coat all the ingredients evenly. You want every piece to be enveloped in that creamy goodness. Be careful not to break the pasta or squish the tomatoes!
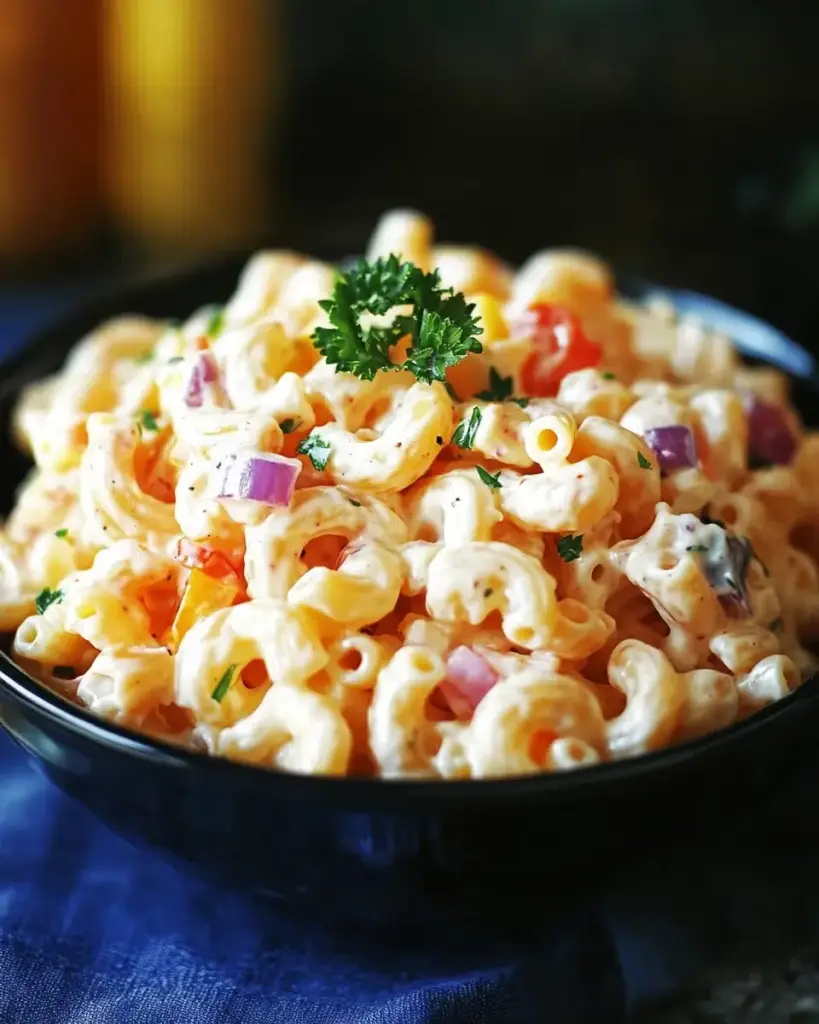
Step 5: Chill and Serve
Cover the salad with plastic wrap or a lid and refrigerate it for at least 30 minutes. This chilling time allows the flavors to meld beautifully. When you’re ready to serve, give it a gentle stir and garnish with chopped fresh parsley. Enjoy your creamy chicken and corn pasta salad!

Tips for Success
- Always rinse the pasta under cold water to stop cooking and prevent clumping.
- Use leftover chicken or store-bought rotisserie chicken for a quick prep.
- Let the salad chill for at least 30 minutes to enhance the flavors.
- Adjust the seasoning to your taste; a little extra salt can make a big difference.
- Feel free to add your favorite veggies for extra crunch and nutrition.
Equipment Needed
- Large pot: For boiling pasta. A deep skillet can work in a pinch.
- Colander: To drain the pasta. A slotted spoon can also do the job.
- Mixing bowls: One large for the salad and a smaller one for the dressing.
- Whisk: For blending the dressing. A fork can suffice if you’re in a hurry.
- Measuring cups and spoons: Essential for accuracy, but eyeballing can work too!
Variations
- Spicy Kick: Add diced jalapeños or a dash of hot sauce for a spicy twist.
- Herb Infusion: Mix in fresh herbs like basil or dill for an aromatic touch.
- Vegetarian Option: Substitute chicken with chickpeas or grilled tofu for a plant-based version.
- Cheesy Delight: Stir in shredded cheese, like cheddar or feta, for extra creaminess and flavor.
- Whole Grain Goodness: Use whole wheat rotini for a healthier pasta choice.
Serving Suggestions
- Pair with a crisp green salad: A simple side salad with mixed greens complements the creamy pasta salad perfectly.
- Serve with garlic bread: The warm, buttery flavor of garlic bread is a delightful addition.
- Drink options: A chilled lemonade or iced tea balances the richness of the dish.
- Presentation tip: Serve in a large bowl garnished with extra parsley for a fresh touch.
FAQs about Creamy Chicken and Corn Pasta Salad
Can I make this creamy chicken and corn pasta salad ahead of time?
Absolutely! This salad is perfect for meal prep. You can make it a day in advance and store it in the fridge. Just give it a good stir before serving to refresh the flavors.
What can I substitute for mayonnaise in this recipe?
If you’re looking for a lighter option, you can replace half of the mayonnaise with more Greek yogurt. This keeps the creaminess while adding a tangy flavor.
How long does this pasta salad last in the fridge?
This creamy chicken and corn pasta salad can last up to 3 days in the fridge. Just make sure to store it in an airtight container to keep it fresh.
Can I add other vegetables to the salad?
Definitely! Feel free to mix in your favorite veggies like cucumbers, peas, or even avocado for added flavor and nutrition. The more, the merrier!
Is this recipe suitable for a low-calorie diet?
Yes! With the right ingredient choices, like using light mayonnaise and Greek yogurt, this creamy chicken and corn pasta salad can fit well into a low-calorie diet while still being satisfying.
Final Thoughts
Creating this creamy chicken and corn pasta salad is more than just cooking; it’s about bringing joy to the table. Each bite is a delightful blend of flavors and textures, reminding me of sunny days and shared meals. Whether you’re whipping it up for a family dinner or a casual gathering with friends, this dish is sure to be a hit. It’s quick, easy, and oh-so-satisfying. So, roll up your sleeves, gather your ingredients, and let this creamy chicken and corn pasta salad become a staple in your kitchen. Trust me, your taste buds will thank you!
Creamy Chicken and Corn Pasta Salad for Easy Meals
Ingredients
Method
- Cook the rotini pasta according to package instructions until al dente. Drain and rinse under cold water to cool.
- In a large mixing bowl, combine the cooked pasta, shredded chicken, sweet corn, cherry tomatoes, red bell pepper, and red onion.
- In a separate small bowl, whisk together the mayonnaise, Greek yogurt, Dijon mustard, apple cider vinegar, garlic powder, salt, and pepper until smooth.
- Pour the dressing over the pasta mixture and toss gently to combine, ensuring everything is evenly coated.
- Cover the salad and refrigerate for at least 30 minutes to allow the flavors to meld.
- Before serving, give the salad a gentle stir and garnish with chopped fresh parsley.
Notes
- For added crunch, mix in 1/2 cup of chopped celery or cucumber.
- To make it a lighter dish, substitute half of the mayonnaise with additional Greek yogurt.