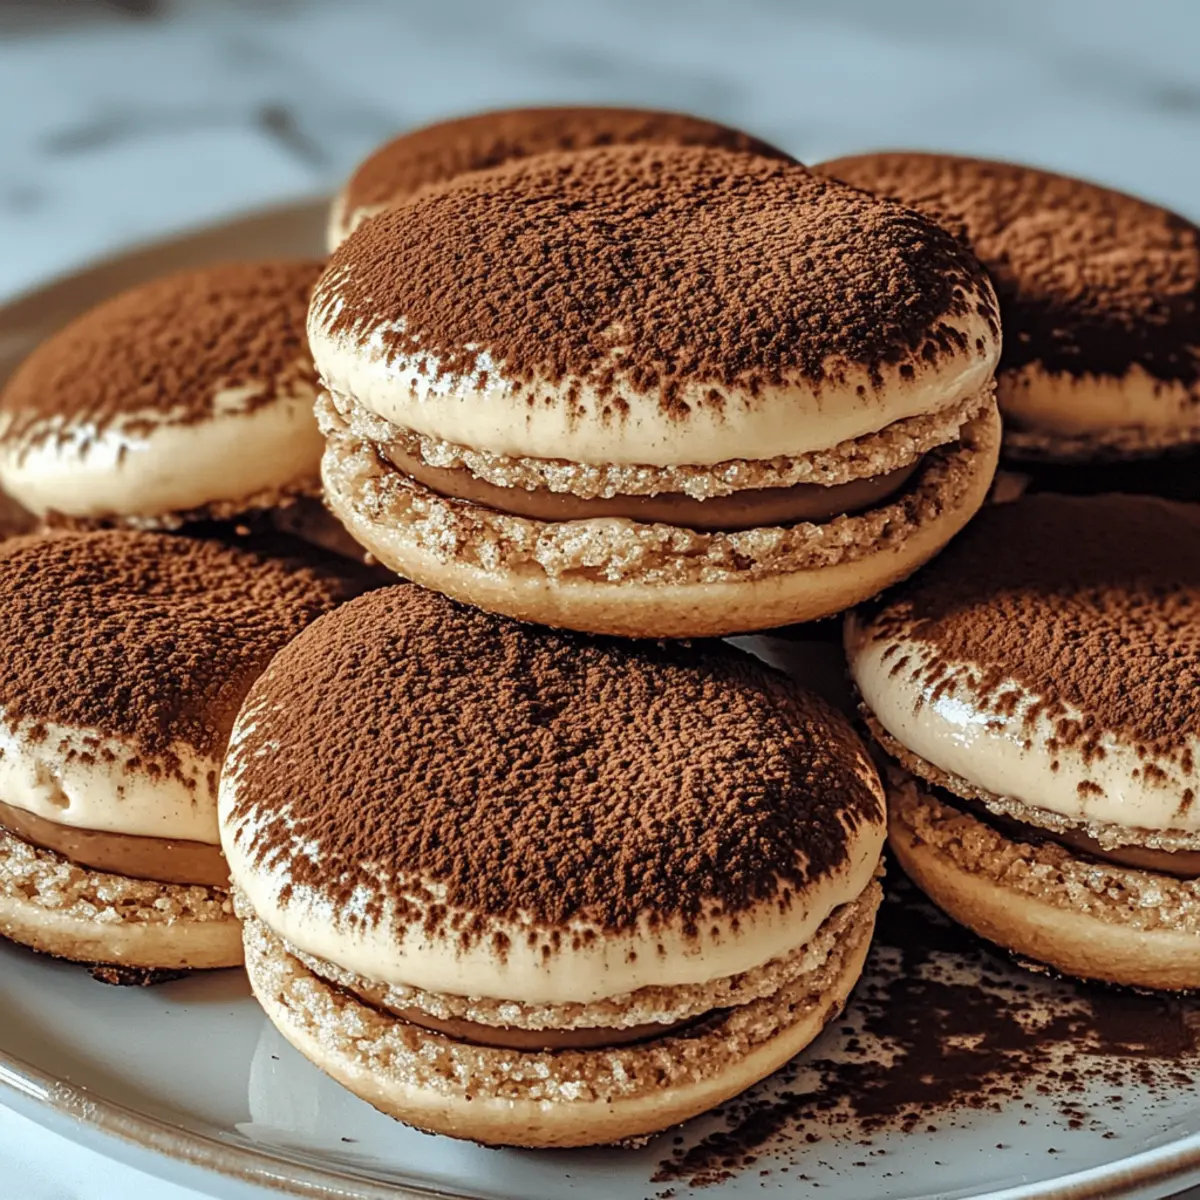
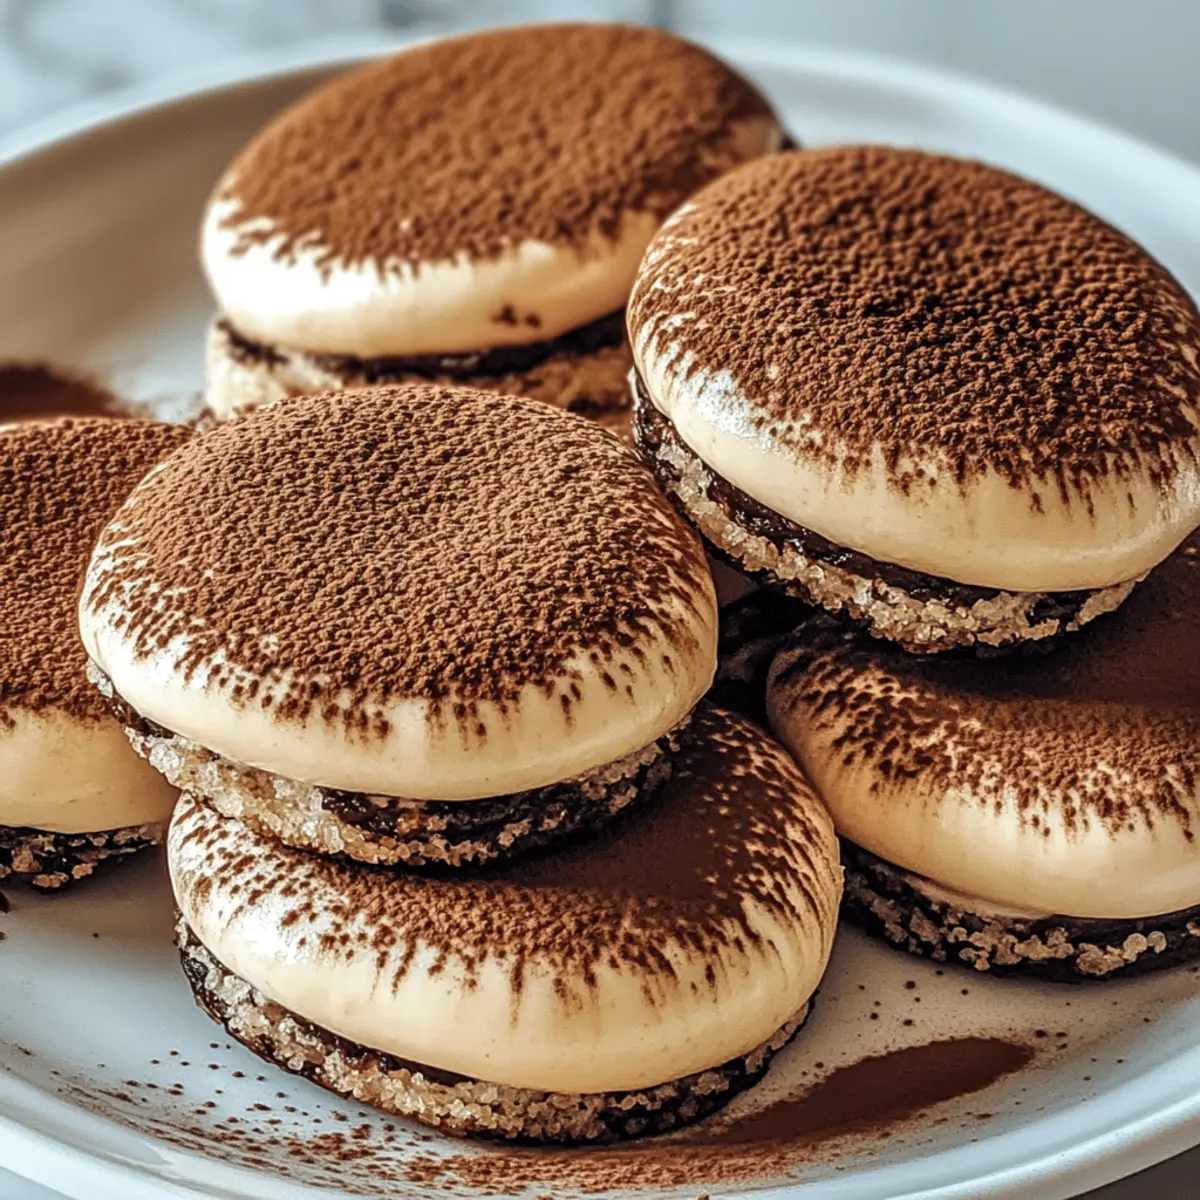
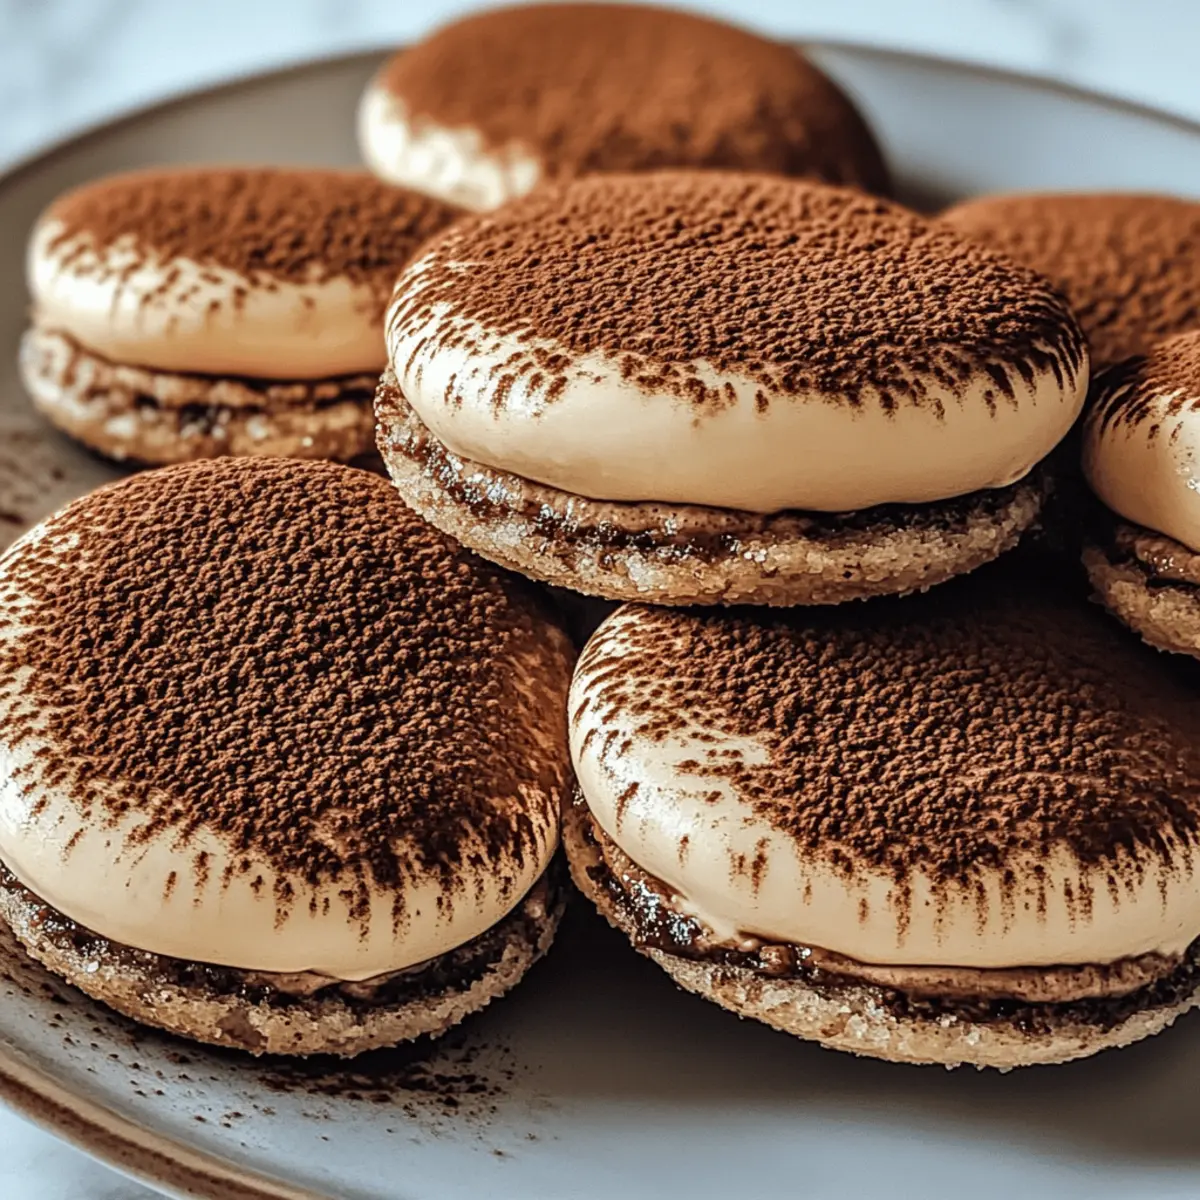
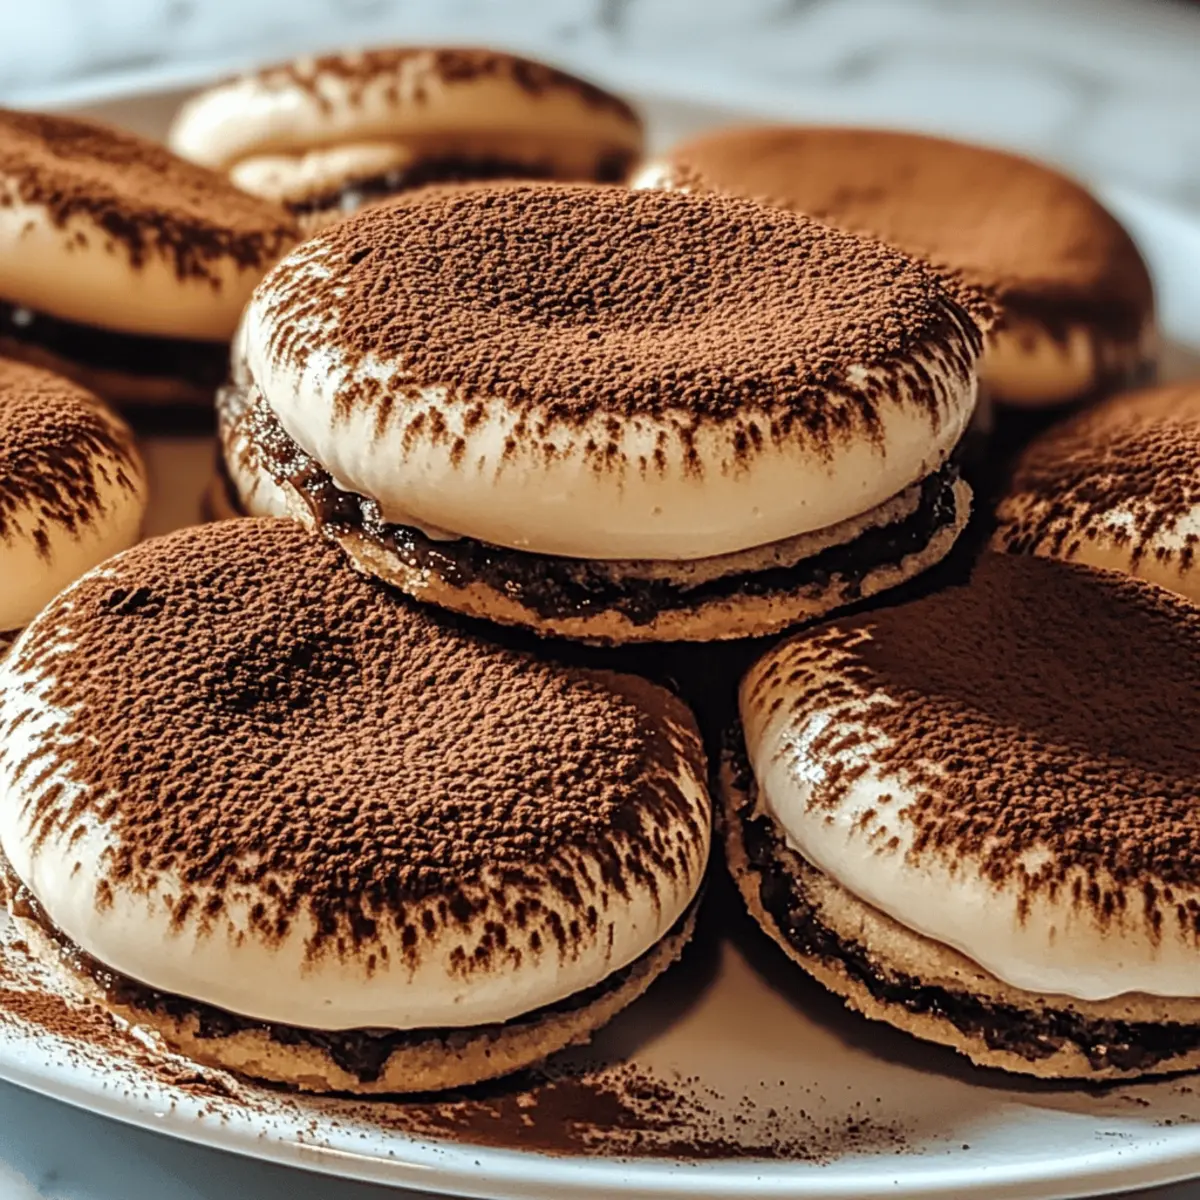
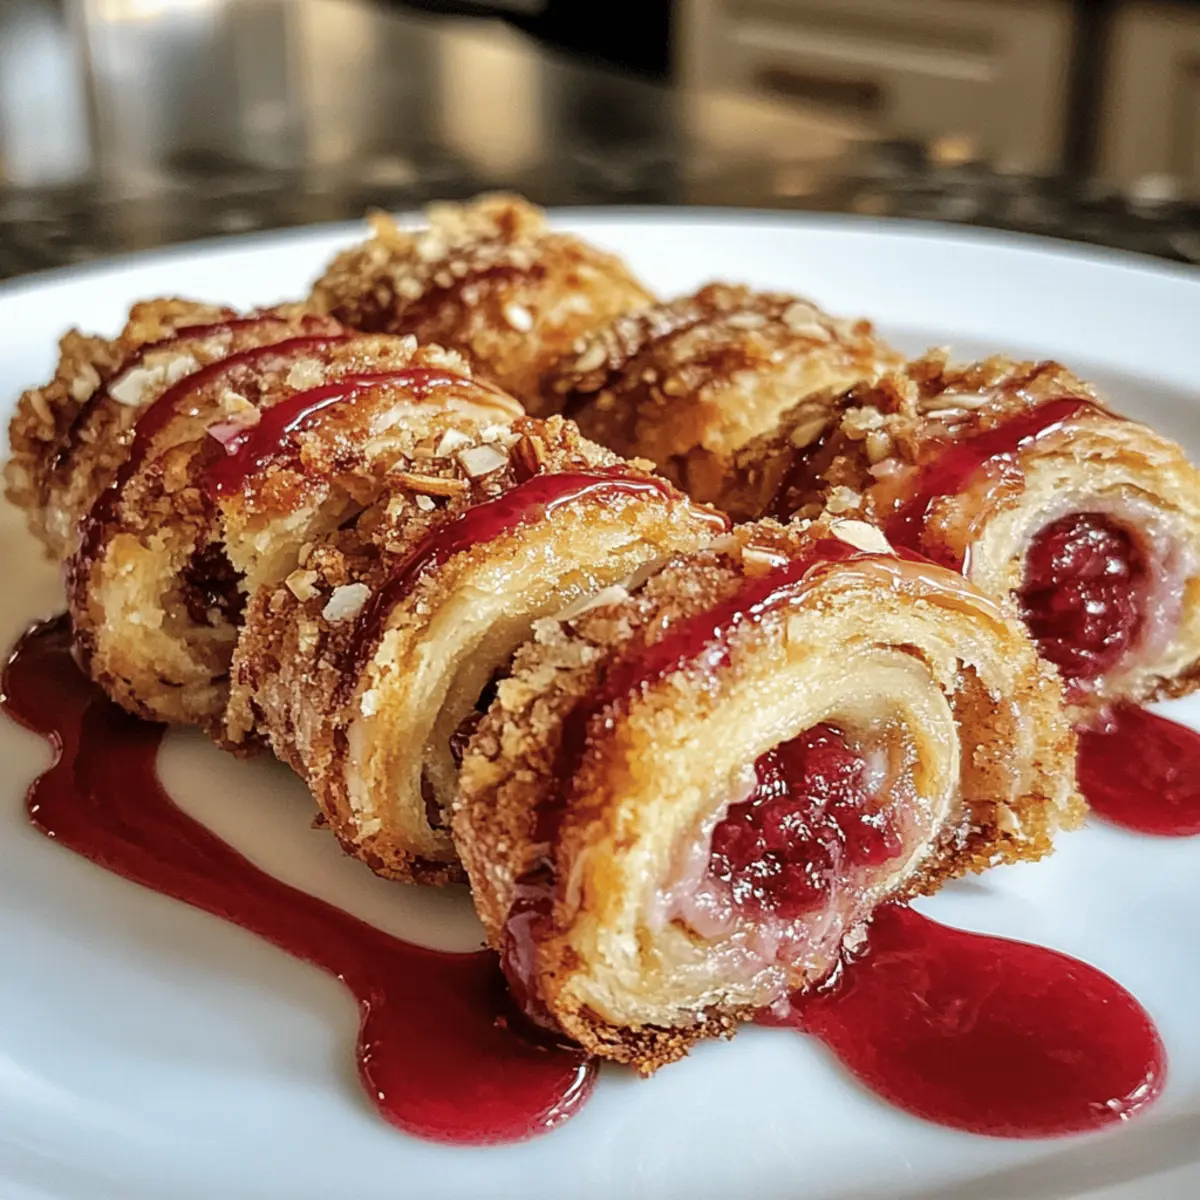
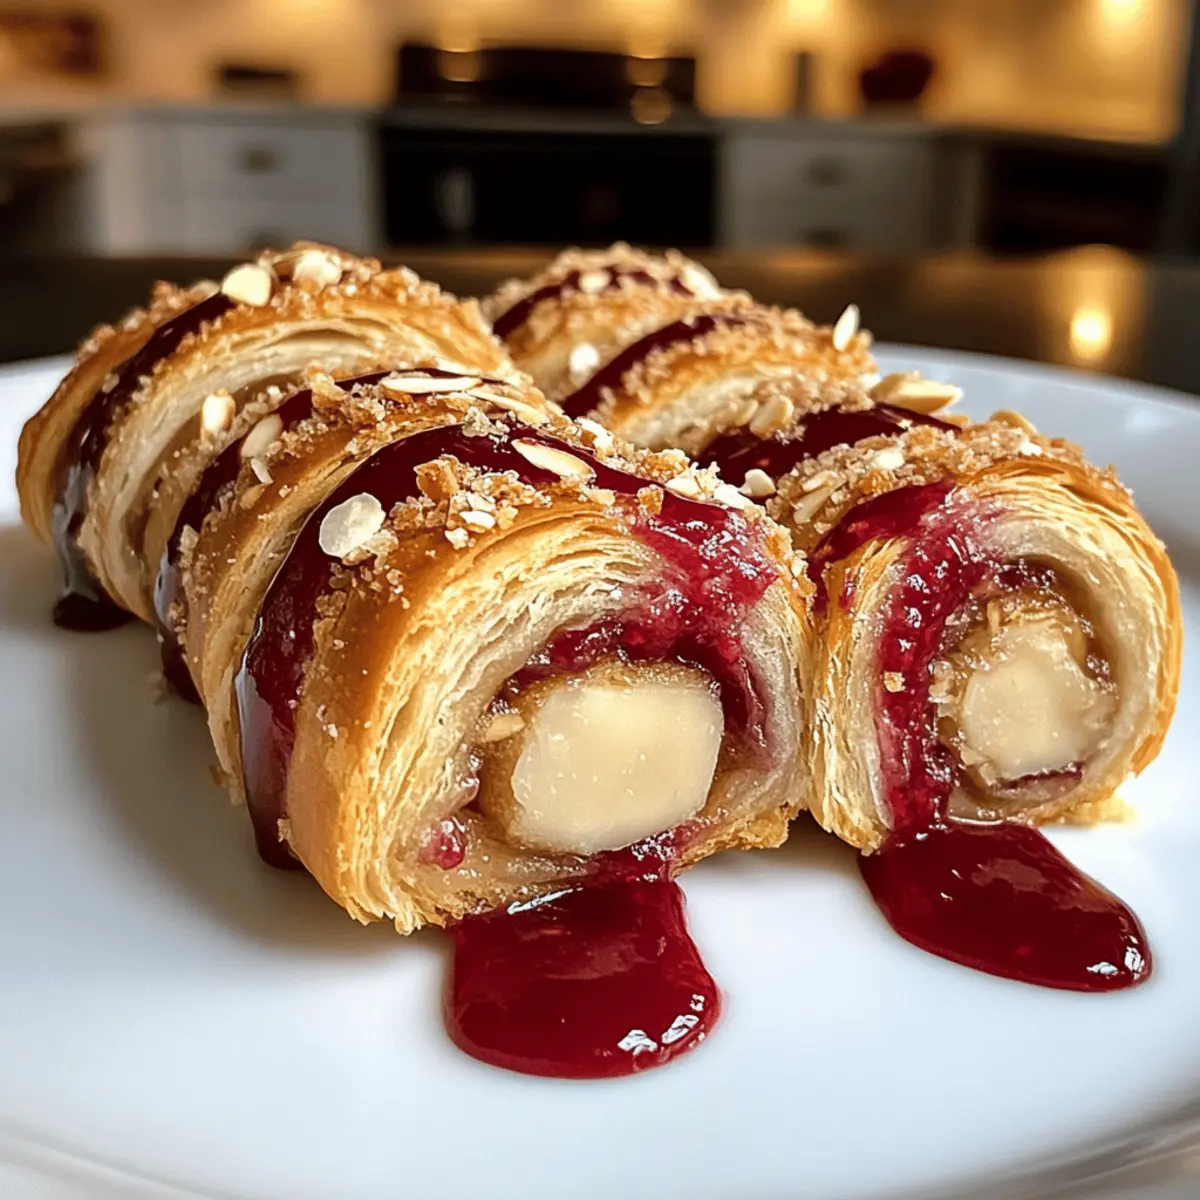
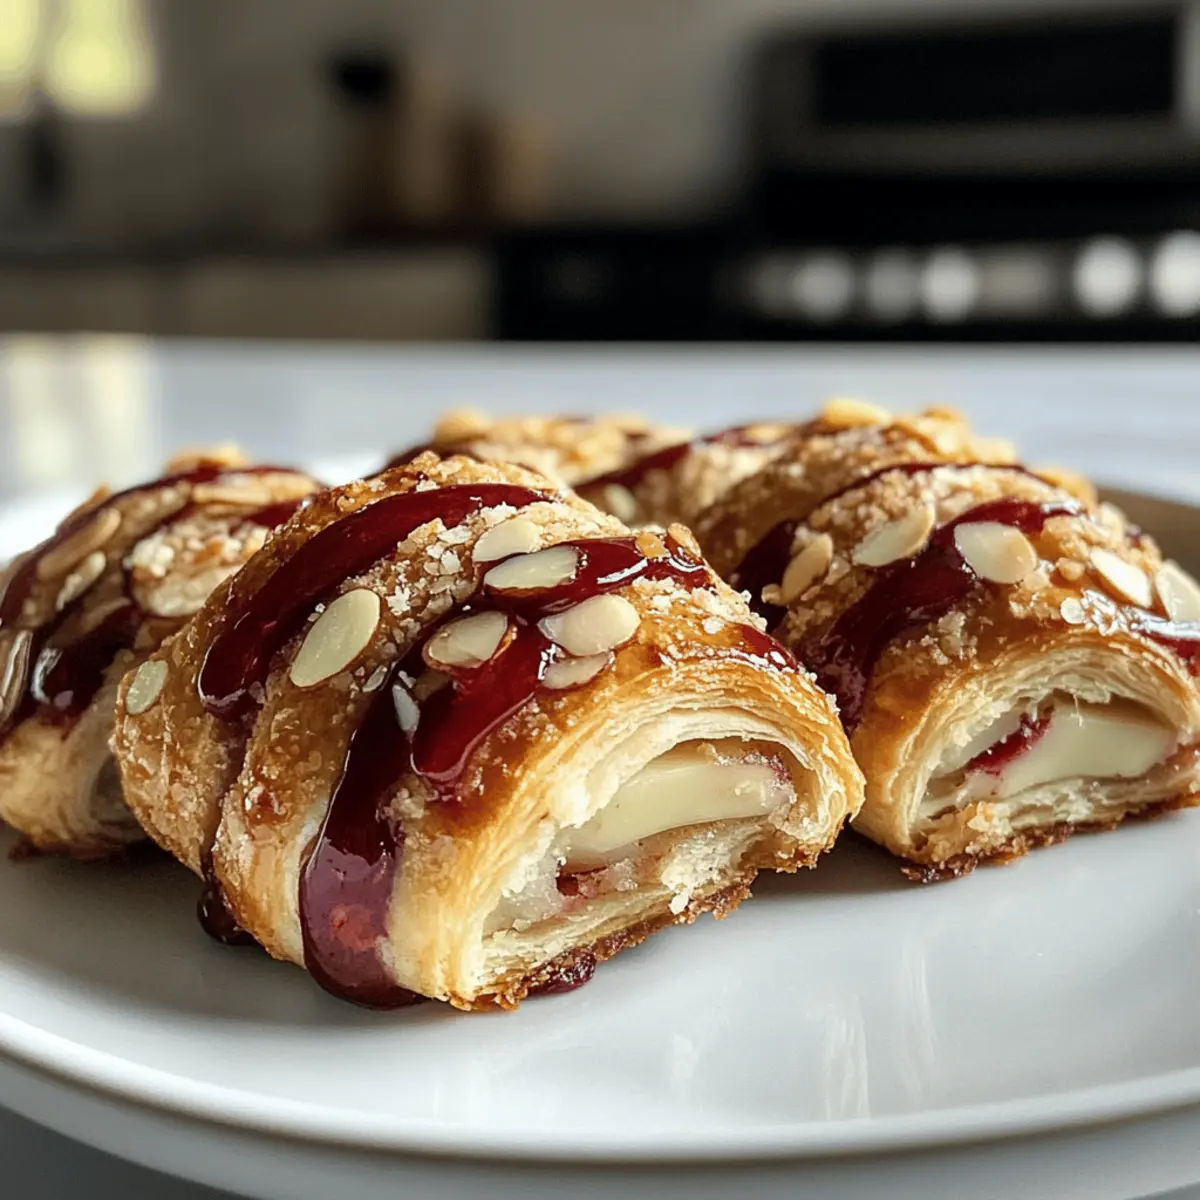
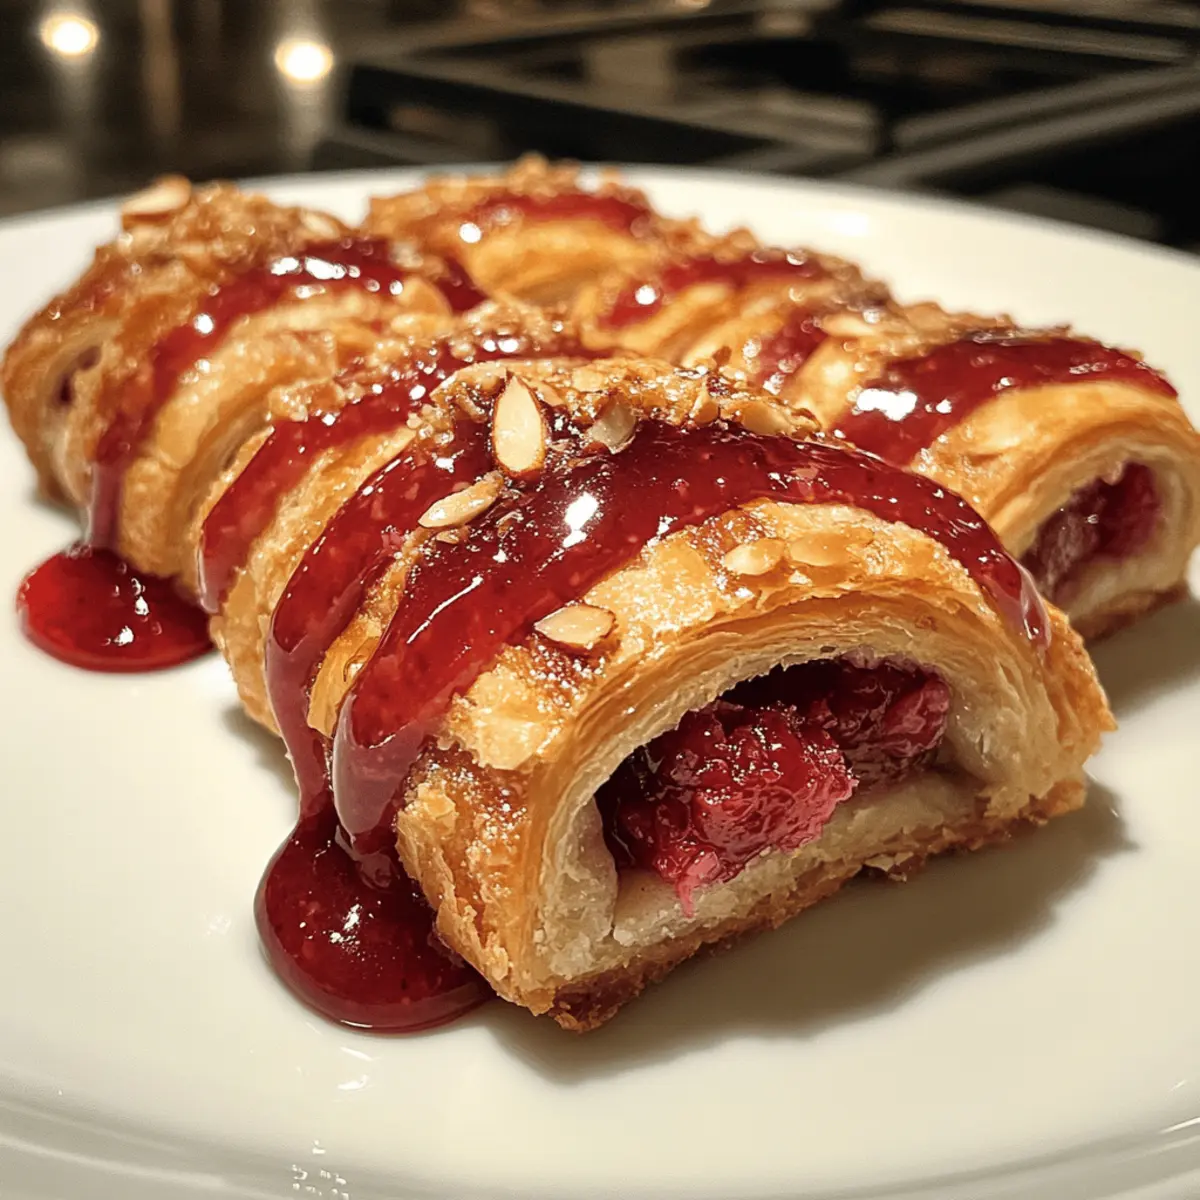
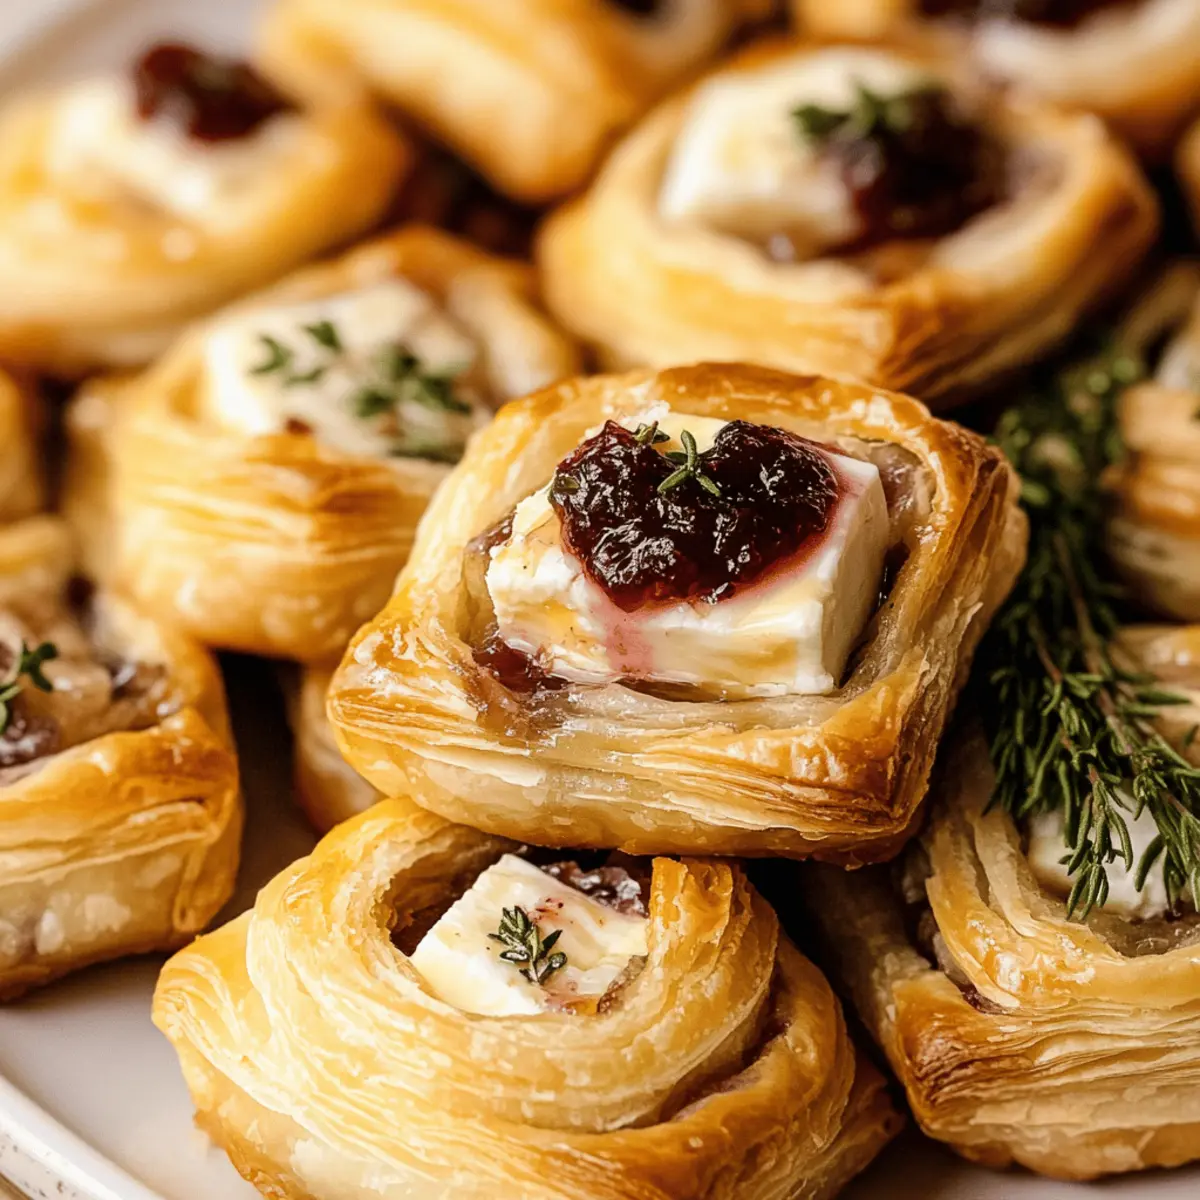
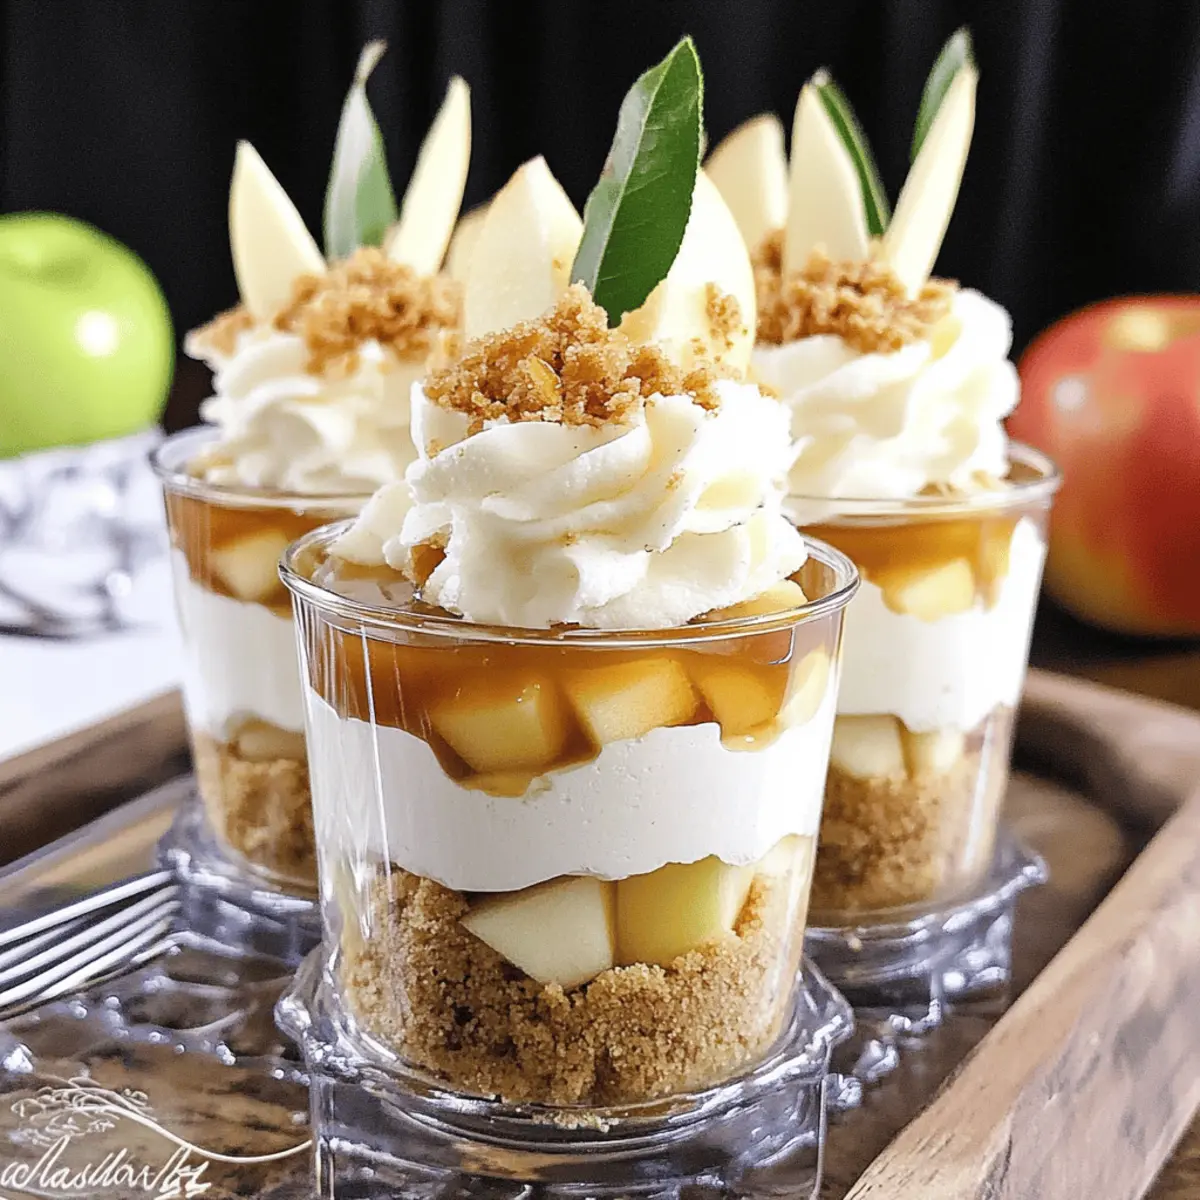
There’s something magical about fall—crisp leaves, cozy sweaters, and the comforting aroma of cinnamon wafting through the air. As the season shifts, I find myself wanting to create desserts that highlight its warm, inviting flavors, like these No Bake Caramel Apple Cheesecake Parfaits. The beauty of this layered delight lies in its effortless preparation; no oven is required! In just 25 minutes, you can whip up a creamy, dreamy dessert that combines sweet, spiced apples and velvety cheesecake, all wrapped in buttery graham cracker goodness. Perfect for gatherings or a quiet night at home, these parfaits offer the nostalgic taste of caramel apple pie without the fuss. So, are you ready to treat yourself to a fall-inspired indulgence that will have everyone coming back for seconds?
Why Are These Parfaits a Must-Try?
Simplicity makes these parfaits a breeze to prepare, with no baking required! Rich flavors from a perfect blend of creamy cheesecake, cinnamon-spiced apples, and luscious caramel will have your taste buds dancing. Versatility allows you to customize ingredients easily—swap in pears or berries for a twist! Time-saving preparation means you can enjoy this delightful dessert in just 25 minutes, leaving you with more time to savor the moment. Whether it’s a cozy family gathering or a festive celebration, these parfaits are sure to impress. Don’t miss out on the chance to enjoy a dessert that’s as much fun to make as it is to eat!
No Bake Caramel Apple Cheesecake Parfaits Ingredients
For the Graham Cracker Crust
• Graham Crackers – Perfectly forms the crust base; try gluten-free options for dietary needs.
• Unsalted Butter – Helps bind the graham crumbs together; ensure it’s softened for easy mixing.
• Organic Sugar – Sweetens both the crust and cheesecake layer; substitute with any granulated sugar on hand.
For the Cheesecake Filling
• Cream Cheese – Gives the creamy texture; remember to soften to avoid lumps.
• Heavy Whipping Cream – Adds richness; keep it cold for the best whipping results.
• Organic Light Brown Sugar – Enhances the caramel notes; feel free to use regular brown sugar instead.
• Ground Cinnamon – Complements the apple flavor beautifully; don’t skip this for added warmth.
• Sea Salt – Balances the overall sweetness for flavor depth.
• Xanthan Gum – Acts as a thickening agent for the apple filling; optional, but recommended.
• Vanilla Extract – Introduces aromatic richness; use pure vanilla for the best taste.
For the Apple Topping
• Granny Smith Apples – Provides a tart contrast; you can use other tart varieties if preferred.
• Organic Caramel Dip – Essential for delicious drizzling; homemade caramel works wonderfully too.
These No Bake Caramel Apple Cheesecake Parfaits are the epitome of fall-inspired sweet indulgence. With an array of flavors and creamy textures, they’re sure to become a favorite at your dessert table!
Step‑by‑Step Instructions for No Bake Caramel Apple Cheesecake Parfaits
Step 1: Prepare the Apple Filling
In a medium bowl, combine organic light brown sugar, ground cinnamon, sea salt, and xanthan gum to create a dry mixture. Chop the Granny Smith apples into small pieces, then add them to the bowl, along with the vanilla extract. Toss gently to coat the apples evenly. Pour the mixture into a saucepan and simmer over medium heat for 2 minutes, until the apples soften slightly. Let cool while you prepare the other layers.
Step 2: Make Graham Cracker Crust
In a food processor, pulse the graham crackers until they resemble fine crumbs. Transfer the crumbs to a mixing bowl and stir in melted unsalted butter and organic sugar until well combined. The mixture should feel slightly damp and resemble wet sand. Set this aside as you prepare the creamy cheesecake layer.
Step 3: Prepare Cheesecake Batter
In a large mixing bowl, beat softened cream cheese with organic sugar using an electric mixer on medium speed until smooth and creamy, which should take about 2 minutes. Add in the vanilla extract, mixing until incorporated. Next, pour in cold heavy whipping cream and continue to beat until the mixture thickens and holds stiff peaks, about 3-5 minutes. This luscious cheesecake filling is the star of your No Bake Caramel Apple Cheesecake Parfaits.
Step 4: Assemble Parfaits
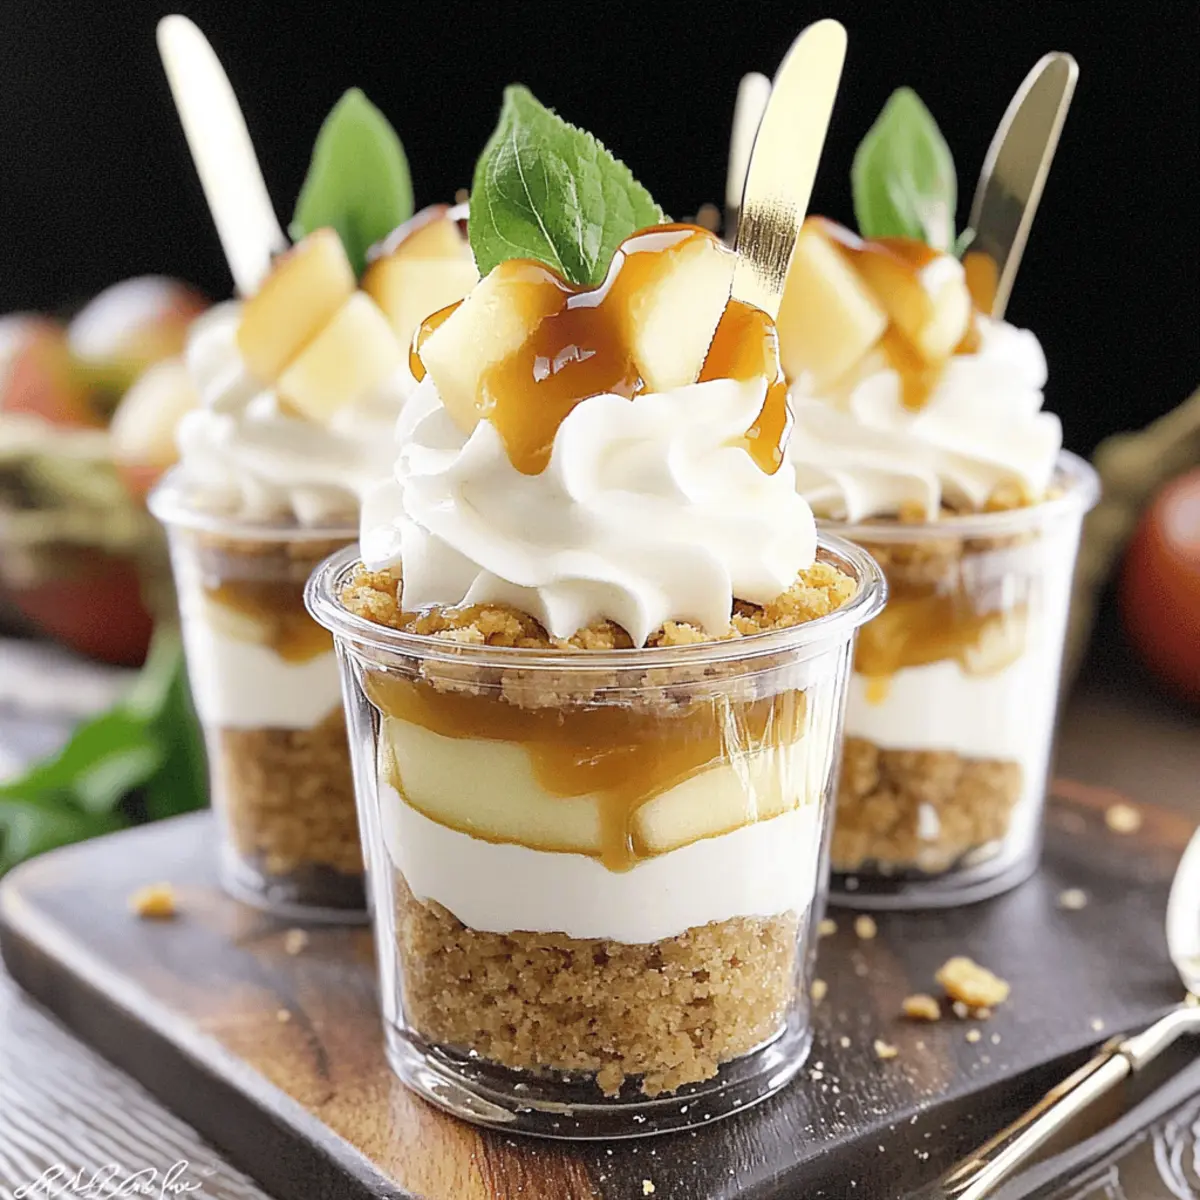
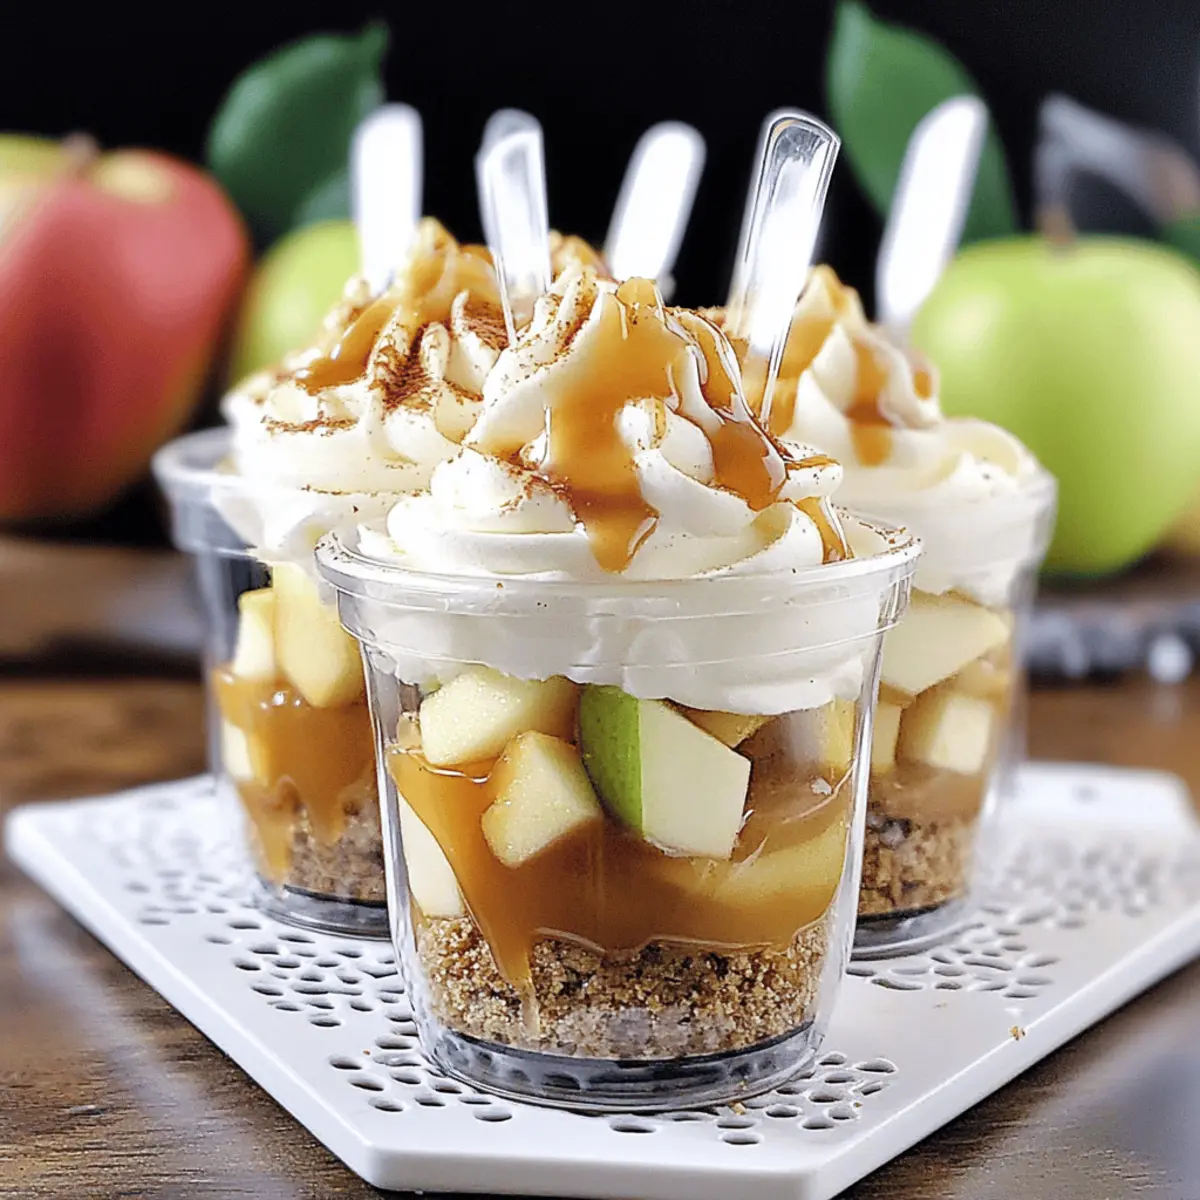
To create beautiful layers in your parfaits, start by spooning 2 tablespoons of graham cracker crust into the bottom of serving cups or jars. Next, layer in a generous portion of the creamy cheesecake batter, smoothing it out with a spatula. Drizzle with organic caramel sauce for a sweet touch, then add a layer of the caramel apple filling. Repeat the layering process, finishing with a dollop of whipped cream on top.
Step 5: Garnish and Chill
After assembling your No Bake Caramel Apple Cheesecake Parfaits, sprinkle some remaining graham cracker crumbs on top for added texture. You can also arrange thin slices of fresh apples for a decorative touch. Cover the cups with plastic wrap and refrigerate for at least 30 minutes or until you’re ready to serve, allowing the flavors to meld together beautifully.
Expert Tips for No Bake Caramel Apple Cheesecake Parfaits
-
Apple Preparation: To keep your apple slices from browning, soak them in lemon juice mixed with water for about 5 minutes before using.
-
Cream Consistency: Make sure your heavy whipping cream is well-chilled before whipping; cold cream whips up better, giving you a fluffier cheesecake layer.
-
Layering Technique: For beautiful layers in your parfaits, use a piping bag to layer the cheesecake filling—this allows for precision and an eye-catching presentation.
-
Customize Toppings: Feel free to swap out the apples for other fruits; pears and berries work wonderfully! Just remember to adjust the sweetness as needed.
-
Serving Freshness: These No Bake Caramel Apple Cheesecake Parfaits are best served fresh or chilled but should not be frozen, as the texture may change.
Make Ahead Options
These No Bake Caramel Apple Cheesecake Parfaits are a fantastic choice for meal prep, saving you precious time on busy days! You can prepare the graham cracker crust and apple filling up to 24 hours in advance. Simply store the crust in an airtight container and the cooled apple filling in the fridge. The cheesecake batter, too, can be made ahead but should be assembled just before serving to maintain its fluffy texture. When ready to enjoy, layer the crust, cheesecake, and apple filling, finishing with whipped cream and a drizzle of caramel. With these simple steps, you’ll have a delightful dessert ready with minimal effort!
What to Serve with No Bake Caramel Apple Cheesecake Parfaits
Creating a beautiful and delicious meal is all about the perfect balance of flavors, textures, and presentations to elevate your dessert experience.
-
Spiced Apple Cider: Warm, aromatic cider with hints of cinnamon enhances the autumn ambiance and complements the apple flavor beautifully.
-
Vanilla Ice Cream: A scoop of creamy vanilla ice cream alongside adds a lovely contrast in temperature and a delightful richness that pairs well with the parfaits.
-
Whipped Cream Topping: Adding a dollop of homemade whipped cream elevates your parfait’s creaminess while providing a light, airy texture that cuts through the sweetness.
-
Ginger Snap Cookies: Serving these crunchy, spiced cookies as a side creates a lovely textural contrast, offering a satisfying crunch with each bite.
-
Pecan Pie Bars: Rich, gooey pecan pie bars bring nutty sweetness to the table, completing the fall theme with a special touch of deliciousness.
-
Pumpkin Spice Latte: Sipping on a cozy pumpkin spice latte alongside will warm your heart and perfectly balance the flavors of the cheesecake parfaits.
-
Chocolate Drizzle: A drizzle of chocolate sauce accents the dessert with a touch of indulgent decadence, enhancing both the visual appeal and flavor.
-
Fruit Salad: A refreshing fruit salad with berries and citrus offers a bright, zesty contrast, lightening the richness of the parfaits while celebrating fall fruits.
These pairing suggestions will complement your No Bake Caramel Apple Cheesecake Parfaits, creating a memorable meal that celebrates the flavors of the season and leaves your guests feeling satisfied!
No Bake Caramel Apple Cheesecake Parfaits Variations
Feel free to let your creativity shine and tailor these delightful parfaits to your taste!
- Fruit Swaps: Swap out Granny Smith apples for tart pears or sweet peaches to create a new flavor profile that still celebrates the season.
- Dairy-Free Option: Use vegan cream cheese and coconut whipped cream to make this dessert suitable for dairy-free friends, without sacrificing taste.
- Gluten-Free Twist: Replace graham crackers with gluten-free cookie crumbs or crushed oats to accommodate gluten sensitivities.
- Added Crunch: Sprinkle crushed toffee or nuts between layers for a delightful crunch that contrasts with the creamy cheesecake.
- Spiced Up: Add a pinch of nutmeg or allspice to the apple filling for an additional layer of warmth and flavor that encapsulates fall.
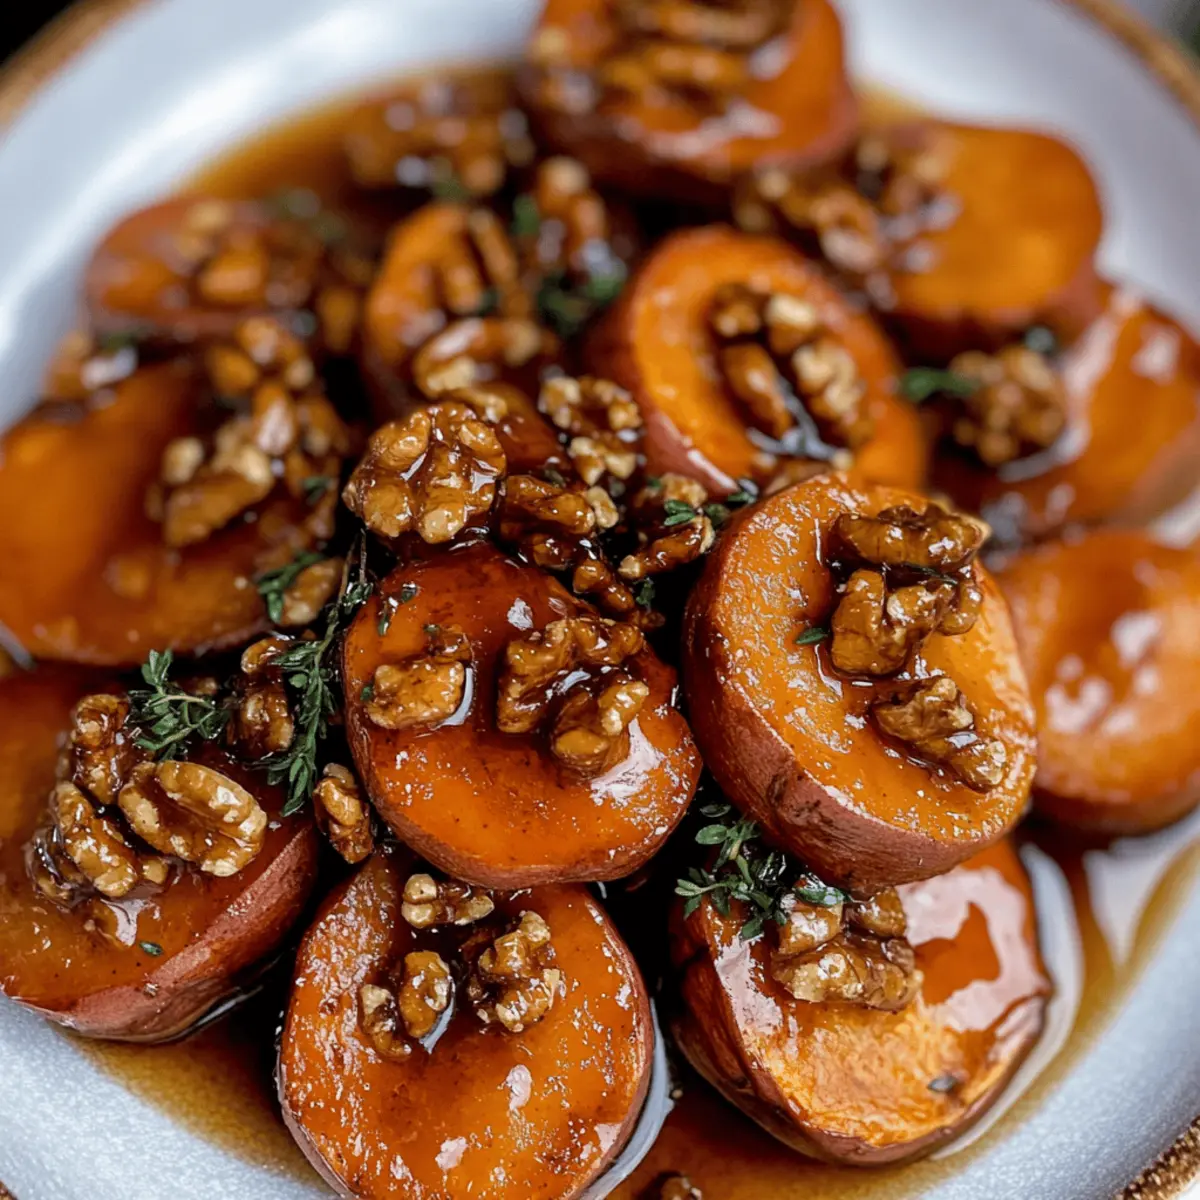
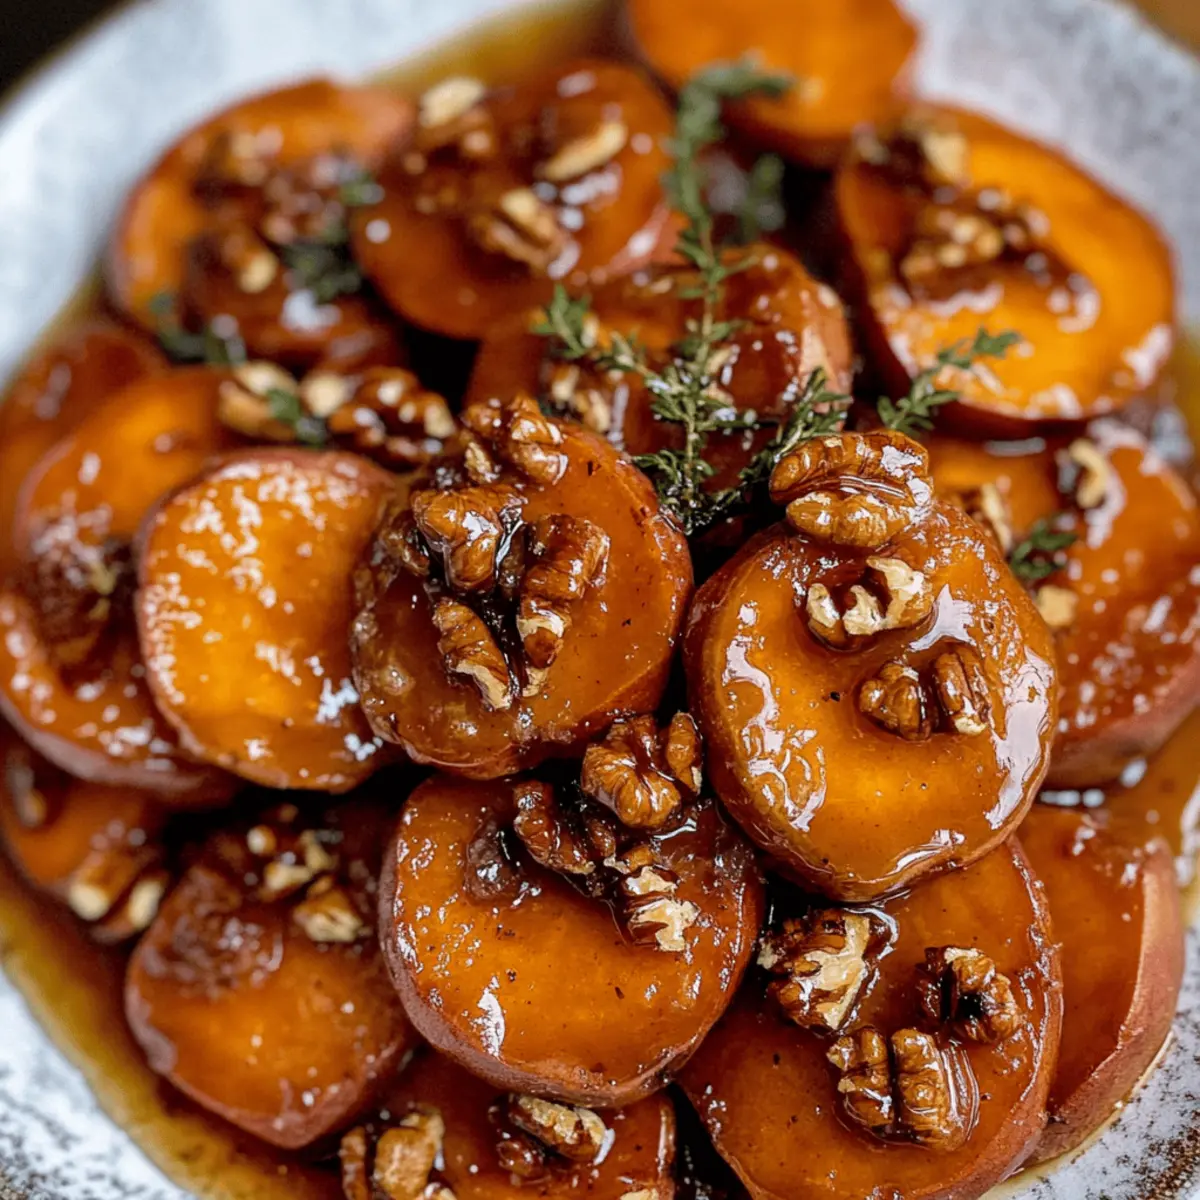
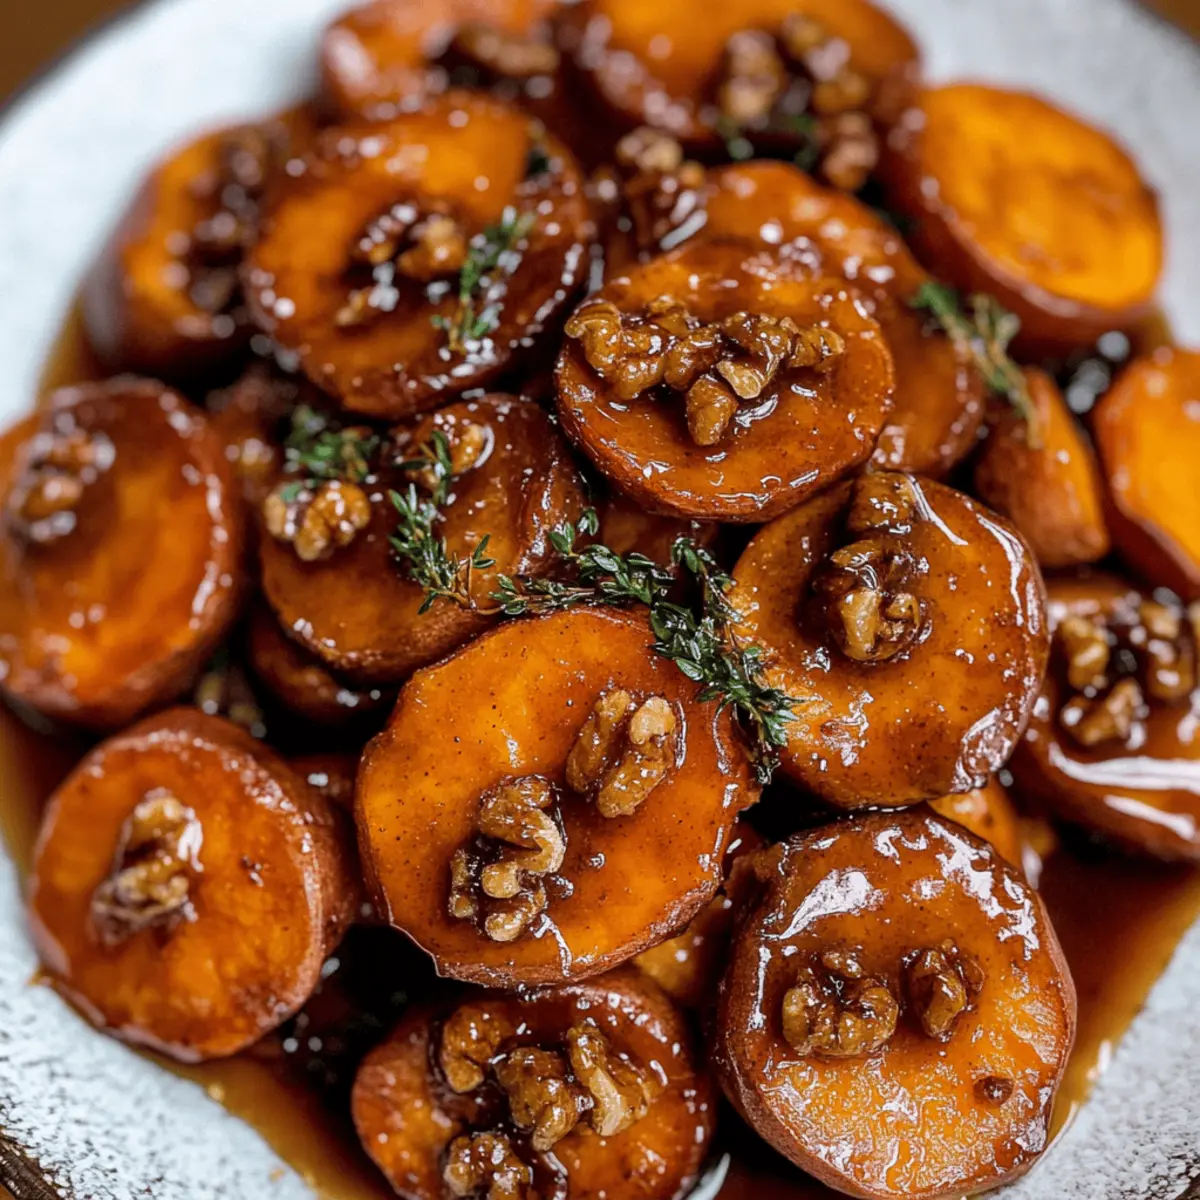
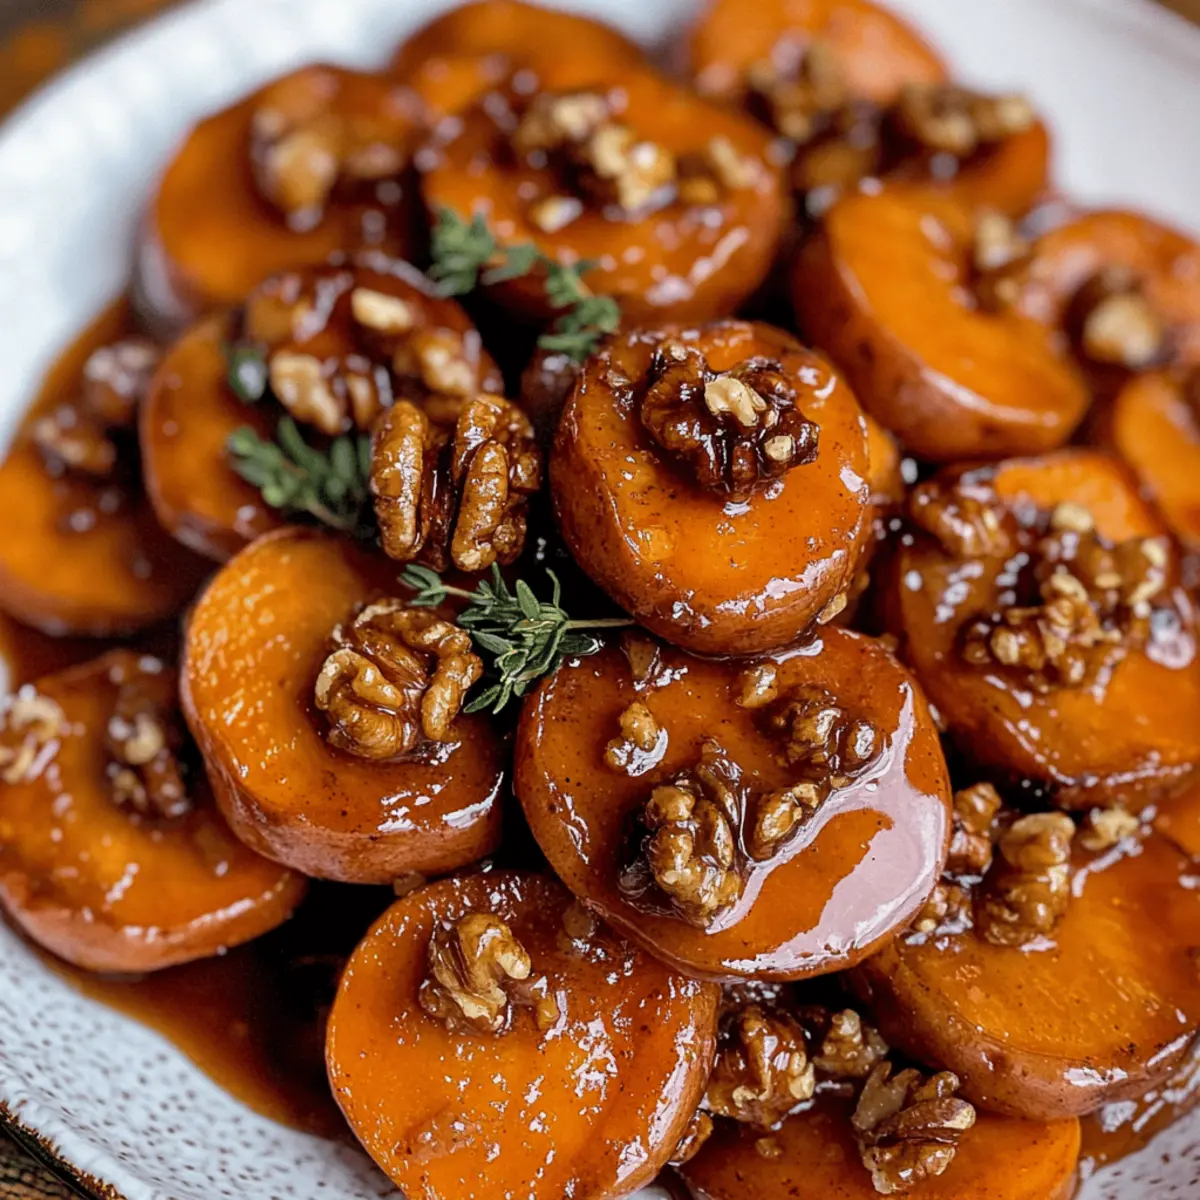
These parfaits are incredibly versatile, much like the comforting flavors found in other fall favorites, such as Rustic Apple Walnut or Crisp Cabbage Apple.
-
Chocolate Drizzle: Elevate with a drizzle of chocolate sauce atop the whipped cream for those chocolate lovers in your life!
-
No-Bake Cheesecake Base: If you want to change the texture, use a traditional no-bake cheesecake recipe and let it set, then crumble it over the parfait layers for a different experience.
With all these options, every taste preference will be satisfied, turning these no-bake caramel apple cheesecake parfaits into a beloved family recipe. You’re sure to create something special each time!
Storage Tips for No Bake Caramel Apple Cheesecake Parfaits
-
Fridge: Store assembled parfaits in the refrigerator for up to 2 days. Cover them tightly with plastic wrap to keep them fresh and prevent odors from affecting the flavor.
-
Enjoy Fresh: For the best taste and texture, it’s recommended to enjoy the No Bake Caramel Apple Cheesecake Parfaits fresh. The layers remain beautifully distinct when eaten soon after preparation.
-
Reheating: These parfaits are best served chilled, so there’s no need for reheating. Simply take them out of the fridge and enjoy!
-
Ingredient Separation: If you need to prepare components ahead of time, store the apple filling and cheesecake batter separately in airtight containers for up to 2 days to maintain freshness.
No Bake Caramel Apple Cheesecake Parfaits Recipe FAQs
How do I select the best apples for the parfaits?
Absolutely! For these parfaits, Granny Smith apples are a fantastic choice due to their tartness, which beautifully contrasts the sweetness of the caramel and cheesecake. Look for apples that are firm, sturdy, and free of dark spots. If Granny Smith isn’t available, other tart varieties like Honeycrisp or Cortland also work wonderfully.
How should I store the parfaits?
Very! These parfaits can be kept in the refrigerator for up to 2 days. It’s best to cover them tightly with plastic wrap to keep them fresh and prevent any unwanted odors from affecting the flavor. However, they will taste best if enjoyed fresh, as the layers remain beautifully distinct when eaten soon after preparation.
Can I freeze the No Bake Caramel Apple Cheesecake Parfaits?
I often recommend that these parfaits not be frozen, as the texture of the cheesecake filling and the apple topping can change upon thawing. However, if you want to prepare components ahead of time, you can freeze the apple filling separately in an airtight container for up to 3 months. Just thaw it in the refrigerator overnight before assembling the parfaits.
What should I do if my whipped cream doesn’t thicken properly?
Don’t worry; this can happen! Ensure that your heavy whipping cream is super cold when you start whipping. Use a clean bowl and beaters, and whip until stiff peaks form, which should take about 3-5 minutes. If it still doesn’t thicken, it might be over-whipped, or the cream wasn’t cold enough. Instead, start over with freshly chilled cream.
Can pets eat the ingredients in these parfaits?
Very! While the parfaits are delicious for humans, remember that dairy and sweets aren’t great for pets. Cream cheese and heavy cream can cause stomach upset in cats and dogs. It’s best to enjoy these decadent No Bake Caramel Apple Cheesecake Parfaits yourself and keep them away from your furry friends!
What if someone has a gluten allergy?
Absolutely! You can easily make these parfaits gluten-free by substituting regular graham crackers with gluten-free graham crackers or oats blended into crumbs. Just make sure to check the labels as some brands may have cross-contamination.

No Bake Caramel Apple Cheesecake Parfaits You’ll Adore
Ingredients
Equipment
Method
- In a medium bowl, combine organic light brown sugar, ground cinnamon, sea salt, and xanthan gum. Chop the Granny Smith apples and add to the bowl with vanilla extract. Toss gently. Pour into a saucepan and simmer over medium heat for 2 minutes. Let cool.
- In a food processor, pulse the graham crackers into fine crumbs. Transfer to a mixing bowl, stir in melted unsalted butter and organic sugar until combined. Set aside.
- In a large mixing bowl, beat softened cream cheese with organic sugar on medium speed until smooth. Add vanilla extract and mix. Pour in cold heavy whipping cream and beat until thick and holds stiff peaks.
- In serving cups, spoon 2 tablespoons of graham cracker crust, layer with the cheesecake batter, drizzle with caramel sauce, and add a layer of apple filling. Repeat and finish with whipped cream.
- Sprinkle remaining graham cracker crumbs and arrange fresh apple slices. Cover with plastic wrap and refrigerate for at least 30 minutes.