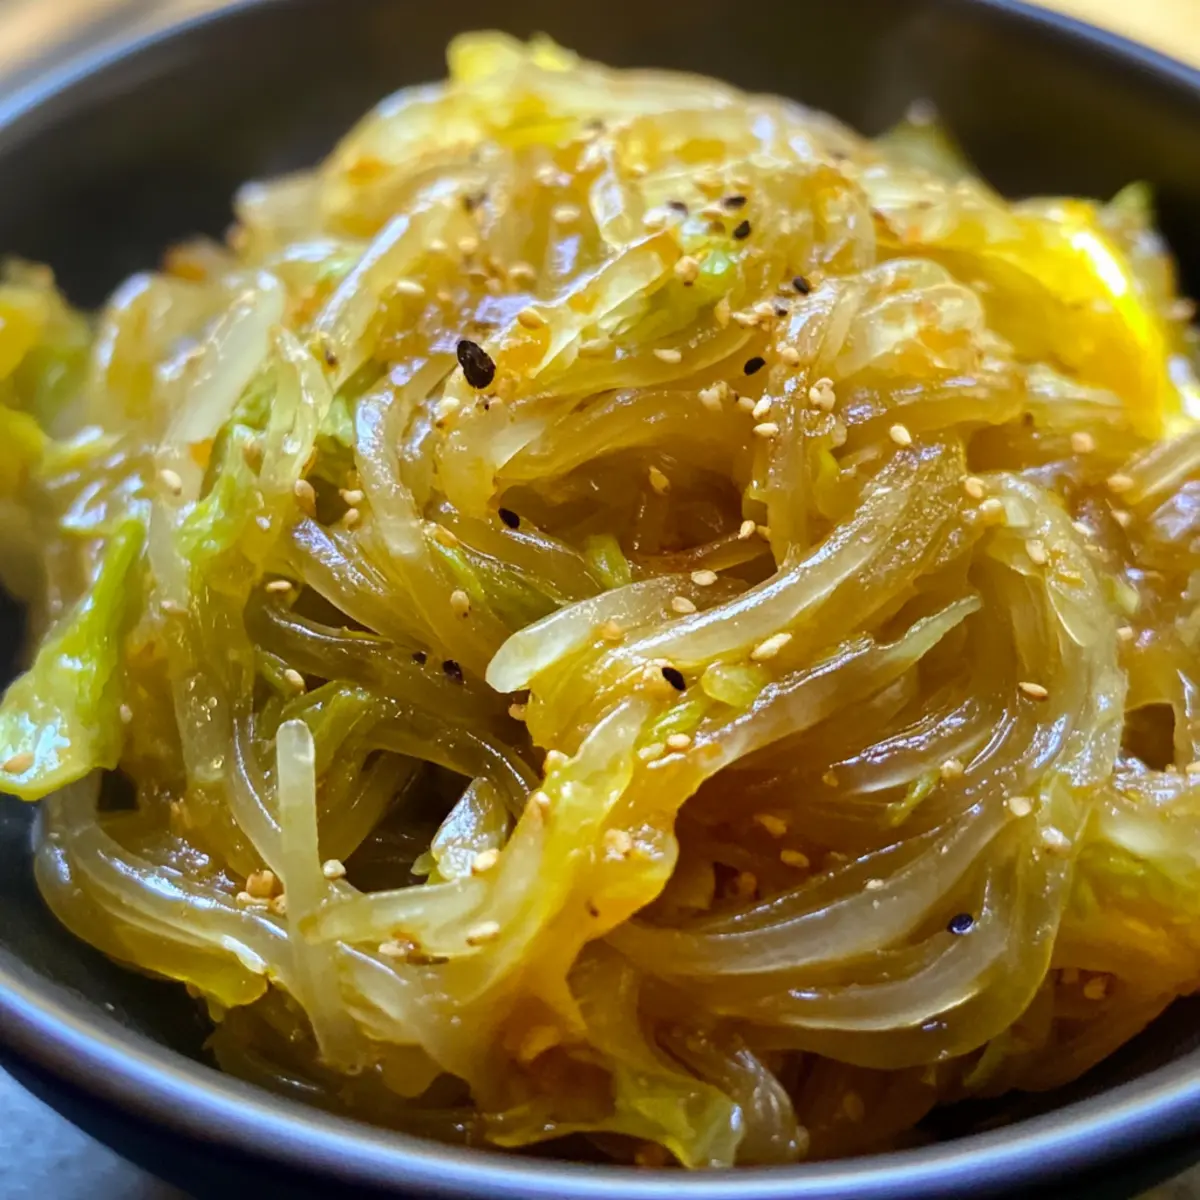
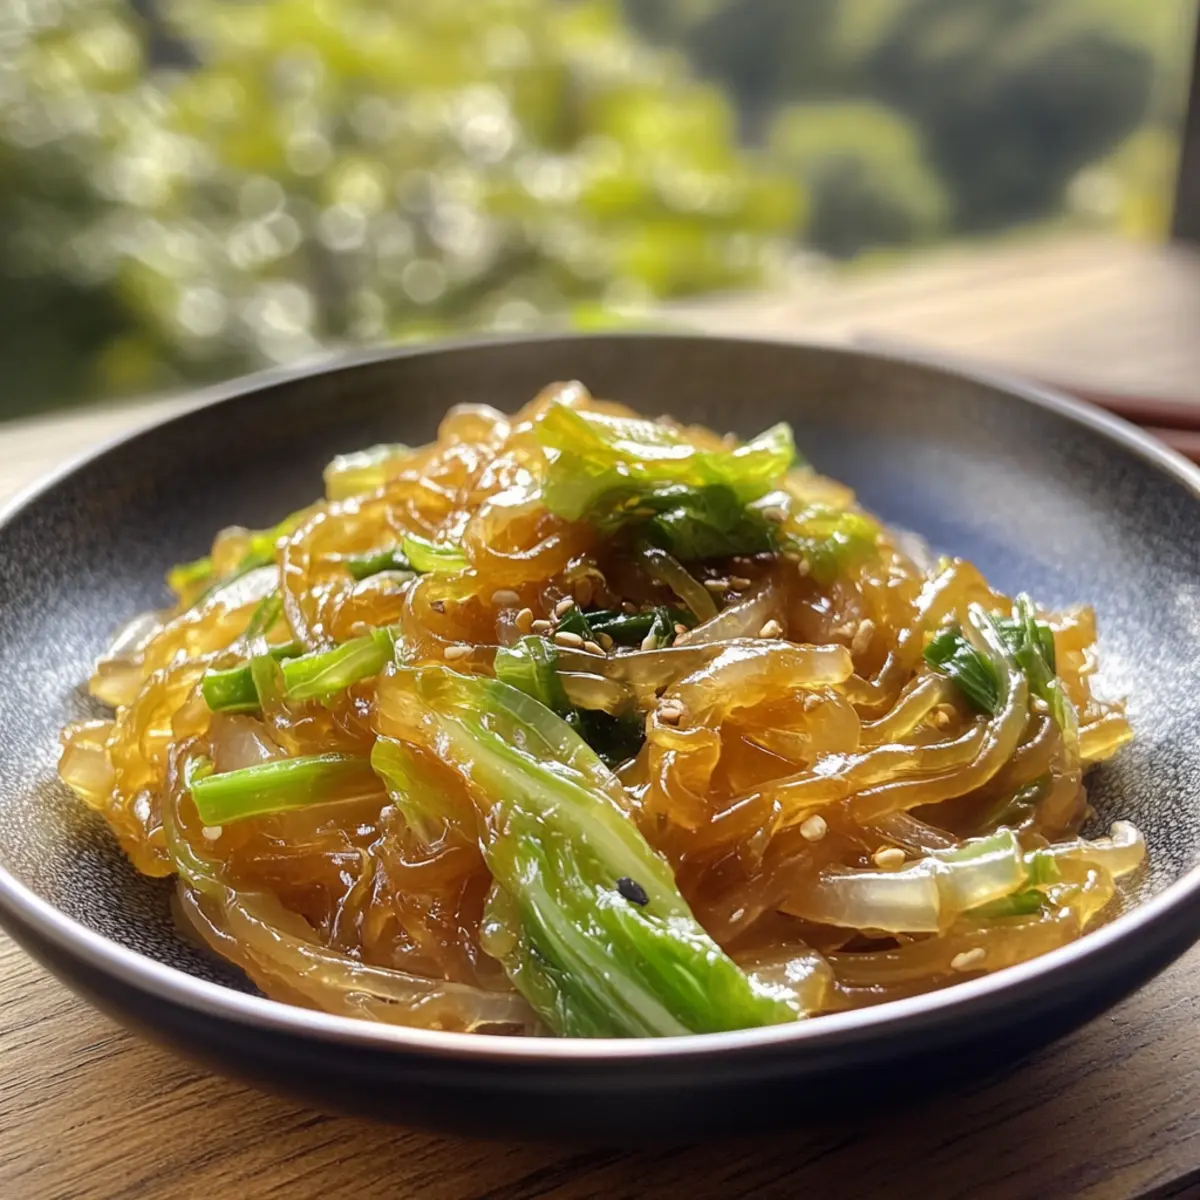
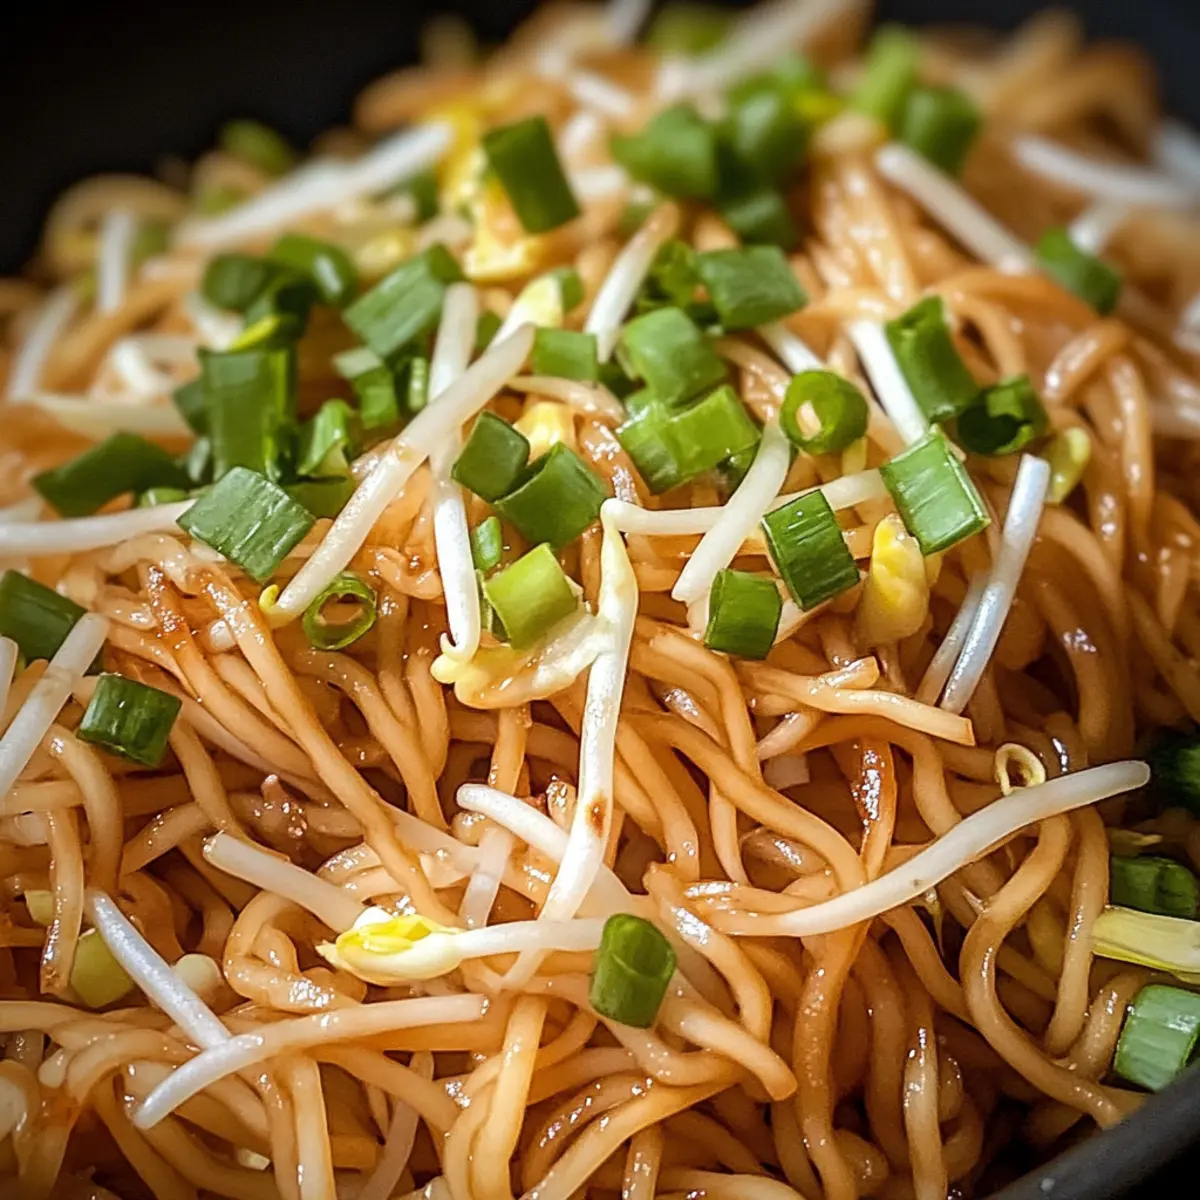
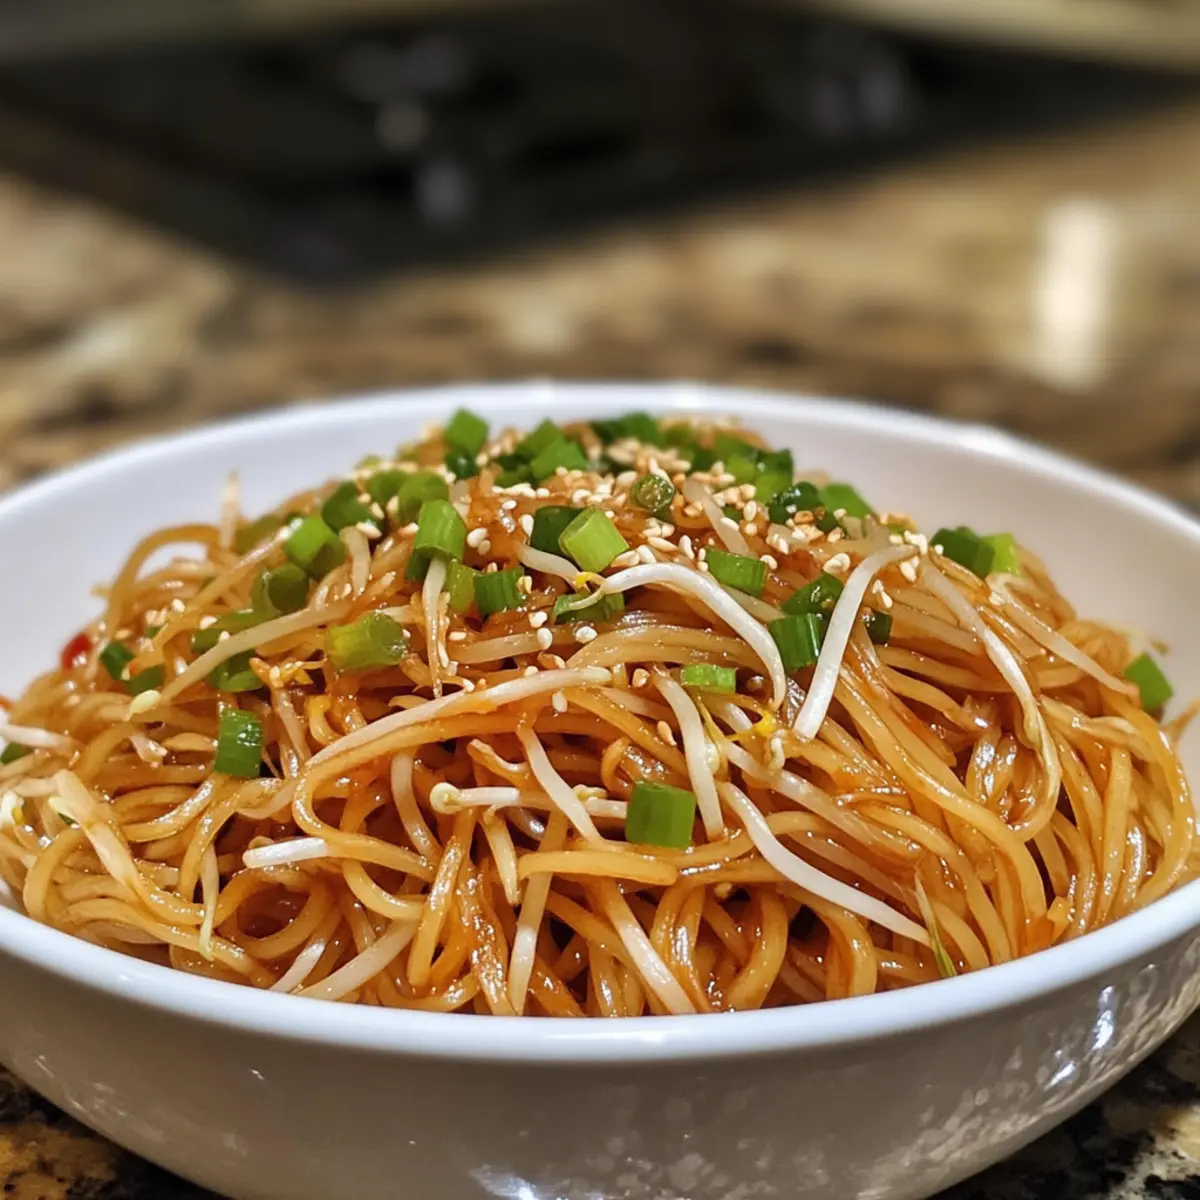
The sizzling sound of noodles hitting a hot pan is music to my ears—especially when it means a quick dinner is just moments away. These Quick & Crispy Soy Sauce Pan Fried Noodles come together in just 10 minutes, offering a delightful solution for those busy weeknights when takeout seems tempting but you crave that homemade touch. With the perfect balance of savory flavors and a delightful crispy texture, this dish isn’t just fast; it has the authenticity of classic Chinese cuisine right at your fingertips. Plus, it’s incredibly versatile: you can customize it with your choice of protein, be it tofu or meat, making it a true crowd-pleaser. Are you ready to bring a little restaurant magic into your kitchen?
Why Are These Noodles So Irresistible?
Speedy Preparation: Whipping up these Soy Sauce Pan Fried Noodles takes just 10 minutes—perfect for hectic weeknights!
Authentic Flavor: The rich combination of soy sauces and Shaoxing wine gives you an authentic taste of classic Chinese cuisine that can’t be beaten.
Crispy Perfection: Searing the noodles creates an amazingly crispy texture that elevates your meal beyond standard stir-fried dishes.
Protein Versatility: Enjoy these noodles with your choice of tofu or meat—an ideal way to cater to various dietary preferences!
Simple Ingredients: The key elements are pantry staples, making it easy to whip up this dish at any time. Check out my Homemade French Sauce for another quick recipe!
Crowd-Pleasing Appeal: Serve it topped with a sunny-side-up egg for a delightful twist, making it a hit for the whole family!
Soy Sauce Pan Fried Noodles Ingredients
• Here’s what you’ll need to create this quick and tasty dish!
For the Noodles
- 8 oz fresh Hong Kong pan fry noodles – This serves as the dish’s base and brings a satisfying chewiness; if you’re in a pinch, dried egg noodles work too!
For the Sauces
- 1 tablespoon light soy sauce – This ingredient adds the necessary saltiness and depth; don’t skip it!
- 1 tablespoon vegetarian oyster sauce – Enhances the richness; regular oyster sauce can be substituted if needed.
- 1 teaspoon dark soy sauce – Provides an alluring color and intense flavor.
- ½ tablespoon Shaoxing wine – A fantastic ingredient that adds layers of complexity; dry sherry makes a fine alternative.
- ½ teaspoon sugar – This little touch balances out the savory elements beautifully.
For the Frying and Vegetables
- 3 tablespoons peanut oil (or vegetable oil) – Essential for frying; it supports that golden, crispy texture.
- 4 green onions – Adds freshness and delightful crunch; remember to chop and quarter them.
- 2 cups bean sprouts – They add a pleasant texture that’s softened during cooking; if you prefer, thinly sliced bok choy can be swapped in.
Optional Garnish
- Homemade chili oil – For those who love a spicy kick, this is the cherry on top of your soy sauce pan fried noodles!
Get ready to experience the depth of flavors and the quick cooking time that will make these Soy Sauce Pan Fried Noodles a family favorite!
Step‑by‑Step Instructions for Soy Sauce Pan Fried Noodles
Step 1: Prepare the noodles
Begin by boiling the fresh Hong Kong pan fry noodles in salted water for about 30 seconds until just tender. Carefully drain them in a colander and give them a gentle toss to remove excess water, ensuring they are not sticky. This step is crucial for achieving that delightful texture in your Soy Sauce Pan Fried Noodles.
Step 2: Make the sauce
In a small bowl, combine the light soy sauce, vegetarian oyster sauce, dark soy sauce, Shaoxing wine, sugar, and 1 tablespoon of water. Stir well until the sugar dissolves completely. This sauce blend will infuse your noodles with savory depth, enhancing the overall flavor of your Soy Sauce Pan Fried Noodles.
Step 3: Cook the noodles
Heat 2 tablespoons of peanut oil in a large skillet or wok over high heat until it shimmers. Add the prepared noodles to the pan, spreading them out to ensure even contact with the hot surface. Fry them for about 2-3 minutes, stirring occasionally, until they turn a golden brown and start to crisp up, which adds a delightful texture.
Step 4: Add flavor
Once the noodles achieve a beautiful golden color, reduce the heat to medium-low. Carefully swirl in the sauce mixture prepared earlier, stirring gently to coat the noodles evenly. Continue to cook for another 2 minutes, allowing the sauce to absorb and intensify the flavors in your Soy Sauce Pan Fried Noodles.
Step 5: Stir-fry vegetables
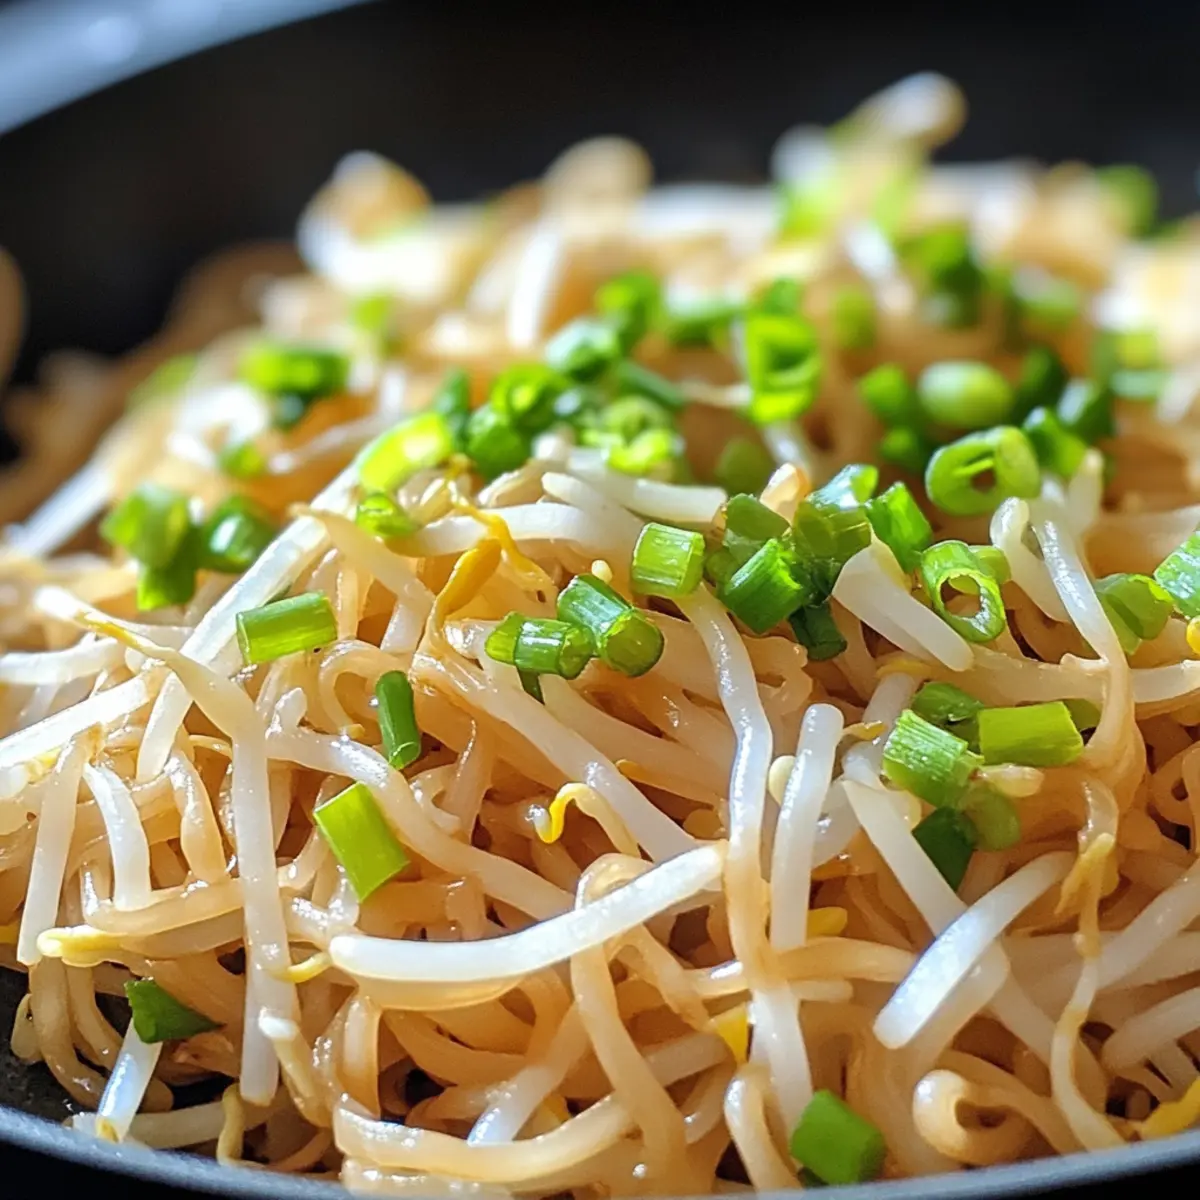
Next, push the noodles to one side of the skillet and add the remaining tablespoon of peanut oil to the empty space. Toss in the chopped green onions and bean sprouts on that side, stir-frying them for about 30 seconds. This will soften the vegetables while keeping their bright color and crunch, enhancing the dish’s overall appeal.
Step 6: Combine and serve
Finally, mix everything together in the skillet until the noodles and vegetables are well combined. Once heated through, transfer your delicious Soy Sauce Pan Fried Noodles to serving plates. Drizzle some homemade chili oil on top for an added kick, if desired, and serve hot for the ultimate homemade meal that’s sure to impress!
Soy Sauce Pan Fried Noodles Variations
Feel free to explore exciting twists on this classic dish, turning every meal into a delightful experience!
-
Dairy-Free: Use vegetable oil instead of butter to keep it plant-based and nutritious. You’ll still enjoy that crunchy texture without sacrificing taste!
-
Extra Veggies: Toss in some thinly sliced carrots or mushrooms for added nutrition and crunch. These colorful additions bring balance and freshness to your noodles.
-
Gluten-Free: Substitute regular soy sauce with tamari or coconut aminos for a gluten-free variation. This swap maintains the delicious umami flavor while adhering to gluten-free diets.
-
Spicy Kick: Add fresh sliced chilies or a spoonful of chili paste to the sauce for an extra layer of heat. This fiery twist is perfect for anyone who craves a little adventure in their meals.
-
Protein Options: Experiment with ½ block of crispy tempeh or 4 oz of sliced marinated tofu for a vegetarian alternative. It’s a delightful way to enjoy plant-based protein!
-
Fragrant Herbs: Enhance the dish with fresh cilantro or basil before serving. These aromatic herbs add an inviting fragrance and elevate the overall flavor profile.
-
Noodle Variety: Switch to rice noodles or udon for a different texture. Each type adds its unique charm to the dish, offering new culinary experiences.
-
Homemade Sauce Boost: Create a sweet and tangy sauce by adding orange juice and zest. This refreshing twist transforms your noodles into an exotic delight, reminiscent of Asian-inspired dishes found in restaurants.
Don’t forget to check out my recipe for Tropical Chicken Sauce for more sauce ideas that can elevate your noodles!
Expert Tips for Soy Sauce Pan Fried Noodles
-
Choose the Right Noodles: Use fresh Hong Kong pan fry noodles for optimal chewiness; if unavailable, reduce water for dried egg noodles to avoid sogginess.
-
Heat is Key: Ensure your skillet or wok is super hot before adding the noodles for that irresistible crispy texture in your Soy Sauce Pan Fried Noodles.
-
Don’t Overcrowd: Fry the noodles in batches if necessary; overcrowding the pan can lead to steaming instead of frying, making them less crispy.
-
Vegetable Timing: Add green onions and bean sprouts towards the end of cooking to keep them vibrant and crunchy—no one likes limp veggies!
-
Customize with Care: When adding protein, like tofu or meat, keep the quantity reasonable to maintain the noodles’ integrity and avoid a soggy dish.
-
Serve Fresh: For best results, enjoy your Soy Sauce Pan Fried Noodles immediately. Leftovers can lose their crispiness but can be reheated with a little oil.
Make Ahead Options
These Soy Sauce Pan Fried Noodles are perfect for meal prep enthusiasts! You can prepare the sauce and chop your vegetables up to 24 hours in advance; this keeps flavors fresh and saves valuable time during busy weeknights. Simply mix the soy sauces, Shaoxing wine, sugar, and water in a bowl for the sauce, and store it in an airtight container. Additionally, you can cook the noodles, drain them well, and toss them with a little oil to maintain their texture. When it’s time to serve, heat up some oil, fry the noodles until crispy, then add the prepped sauce and veggies. This way, you’ll have delicious, homemade noodles ready to enjoy without any hassle!
Storage Tips for Soy Sauce Pan Fried Noodles
Fridge: Store any leftovers in an airtight container in the fridge for up to 2 days. This helps maintain some flavor, although the noodles may lose their crispy texture.
Freezer: For longer storage, you can freeze the prepared noodles for up to 2 months. Ensure they are well-wrapped to prevent freezer burn.
Reheating: Reheat in a skillet over medium heat with a splash of oil to help restore some of the crispiness before serving again.
Serving Fresh: For the best experience, enjoy your Soy Sauce Pan Fried Noodles immediately after cooking to savor their delightful texture and flavor!
What to Serve with Quick & Crispy Soy Sauce Pan Fried Noodles
These delightful noodles create a wonderful centerpiece for any meal, allowing you to build a delicious and satisfying dining experience.
-
Stir-Fried Broccoli: The slight crunch and vibrant green of stir-fried broccoli add a fresh contrast to the savory noodles. This healthy option also boosts your meal’s nutritional value.
-
Garlic Green Beans: These tender, seasoned green beans provide a wonderful side with a garlicky punch that complements the umami-rich flavors of the noodles. A delightful combination for your palate!
-
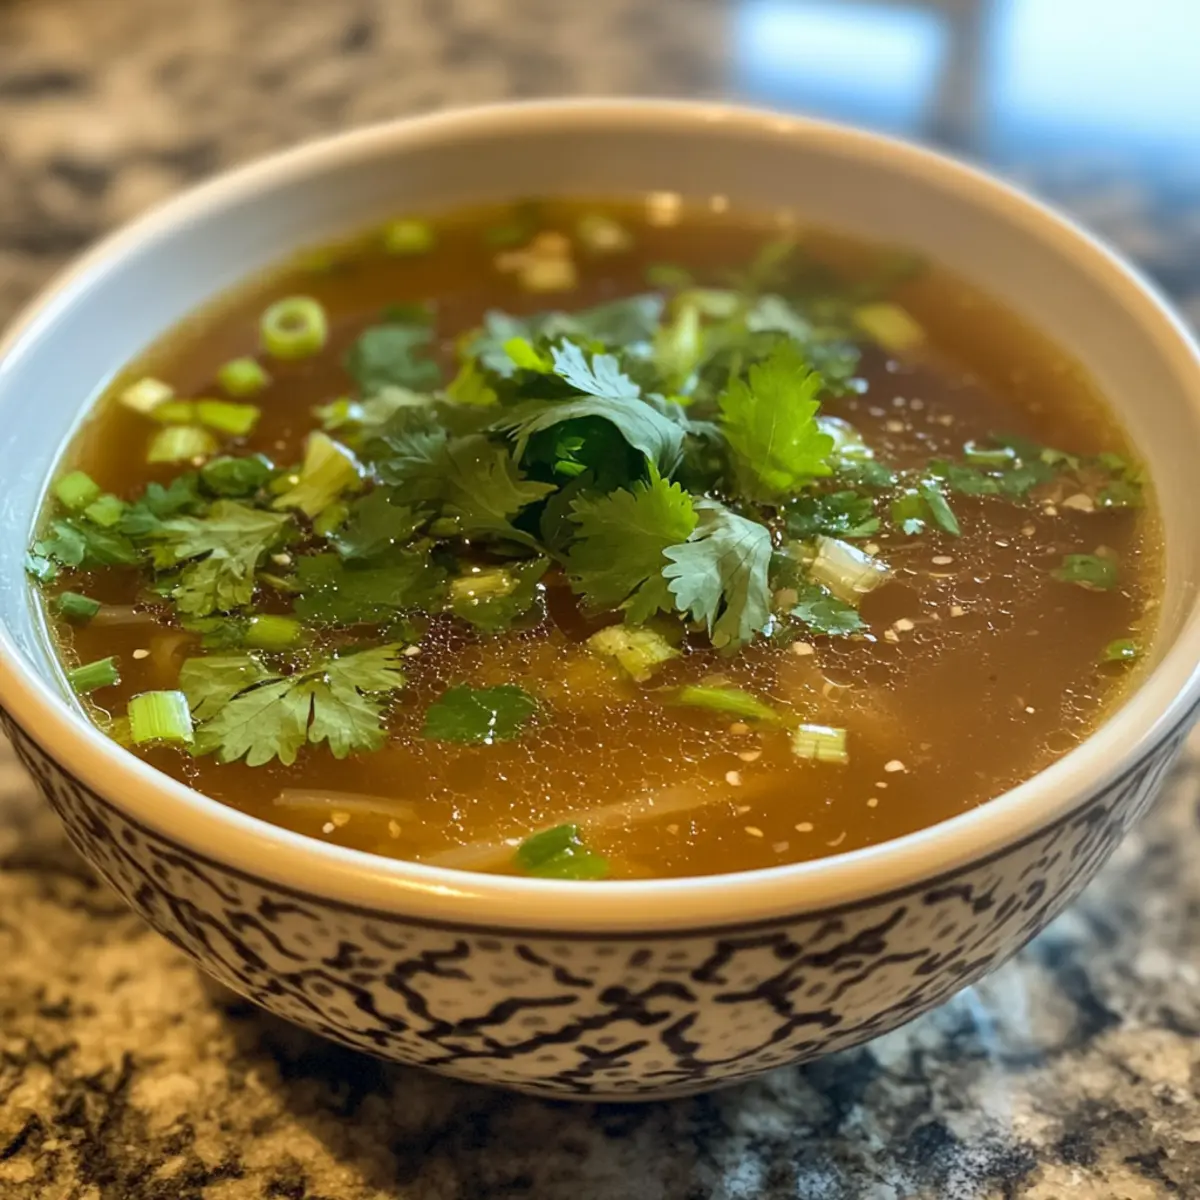
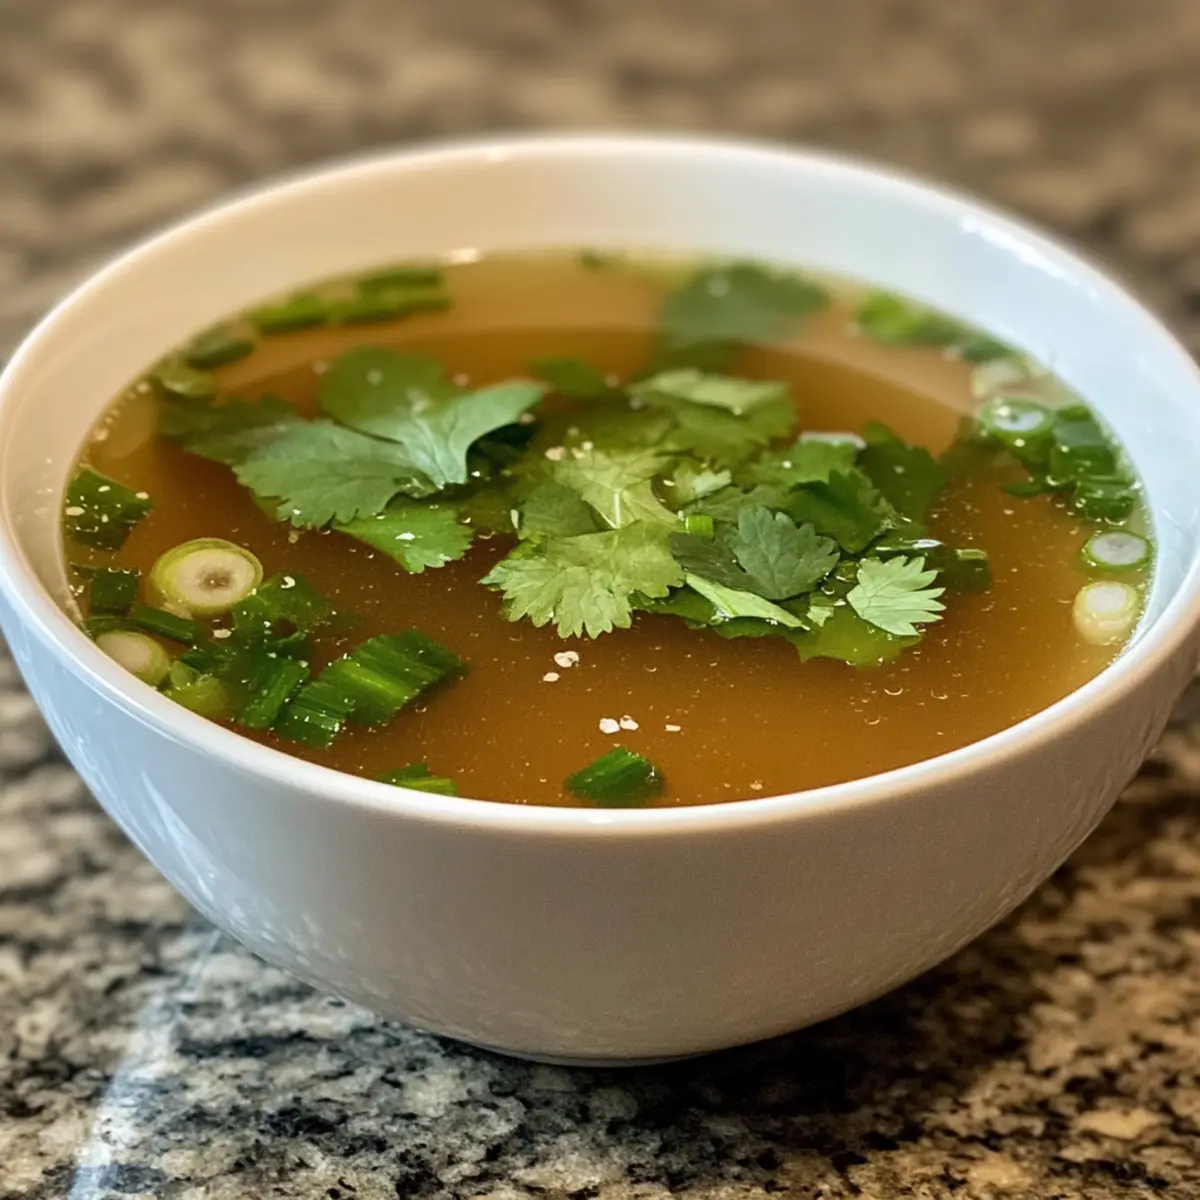
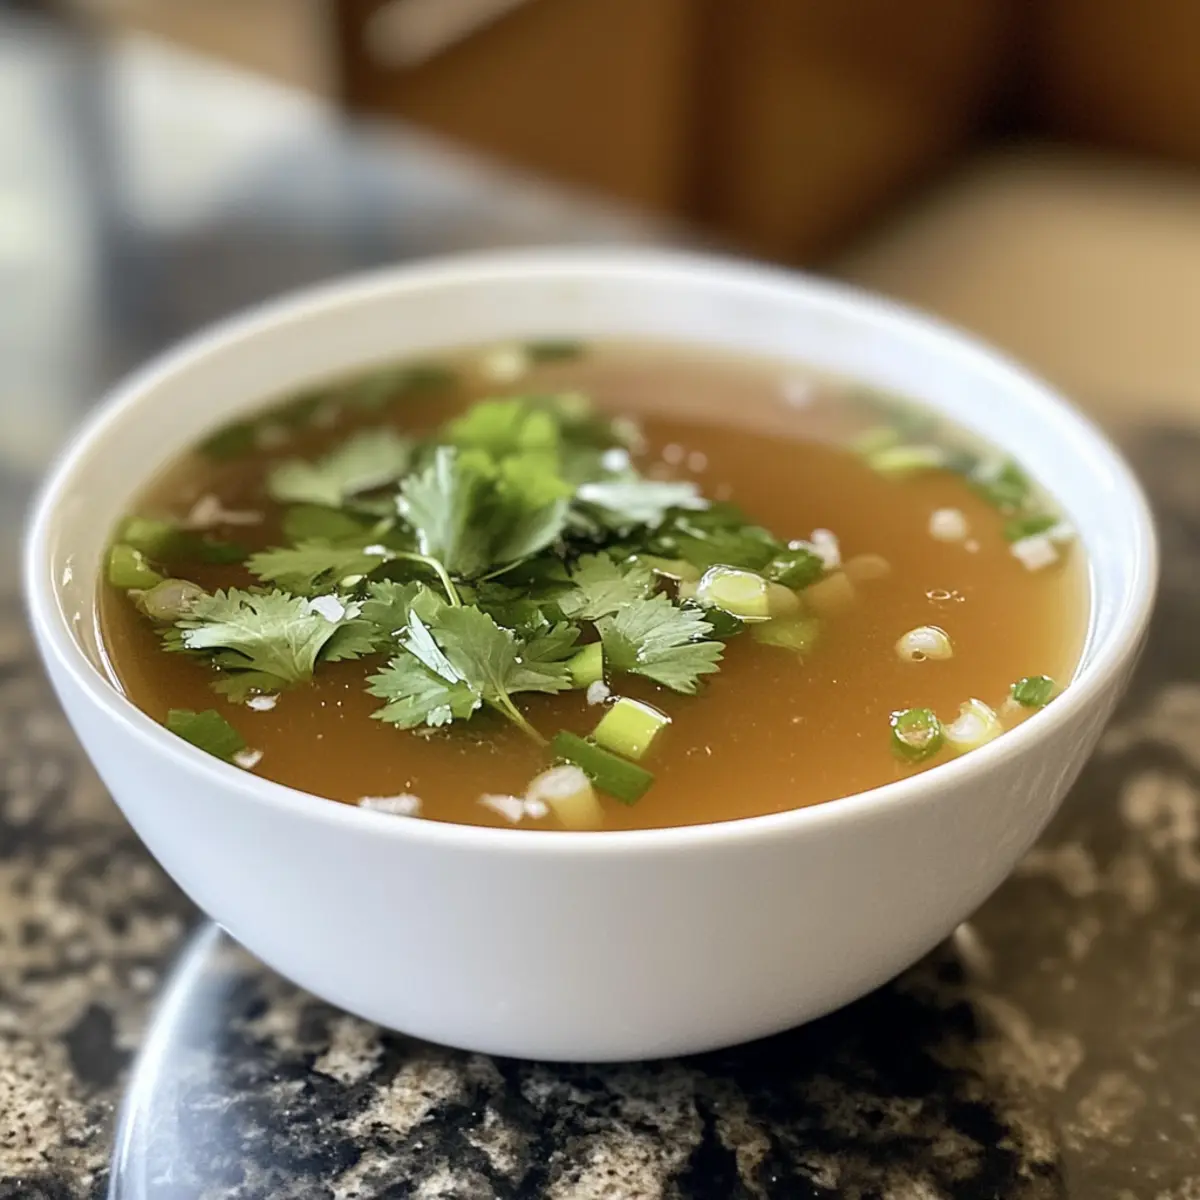
Hot and Sour Soup: A warm bowl of hot and sour soup brings a tangy kick, perfect for pairing with your Soy Sauce Pan Fried Noodles. This pairing creates a balance of textures and flavors that elevate your meal.
-
Spring Rolls: Crispy vegetable spring rolls make a delightful starter, adding crunch and a burst of freshness that perfectly complements the smoothness of your noodles.
-
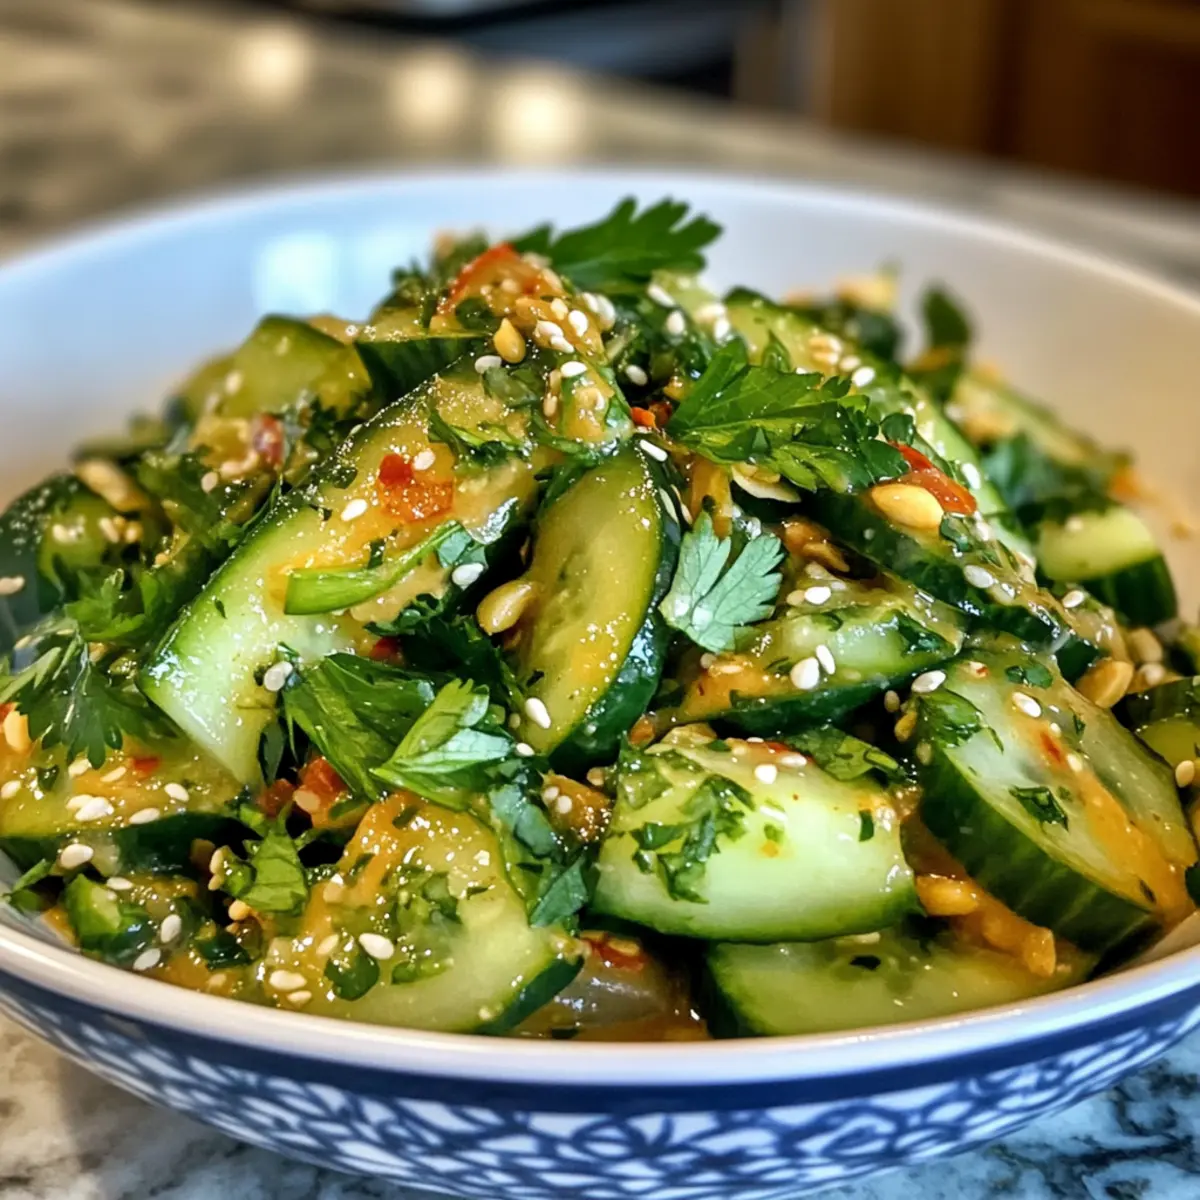
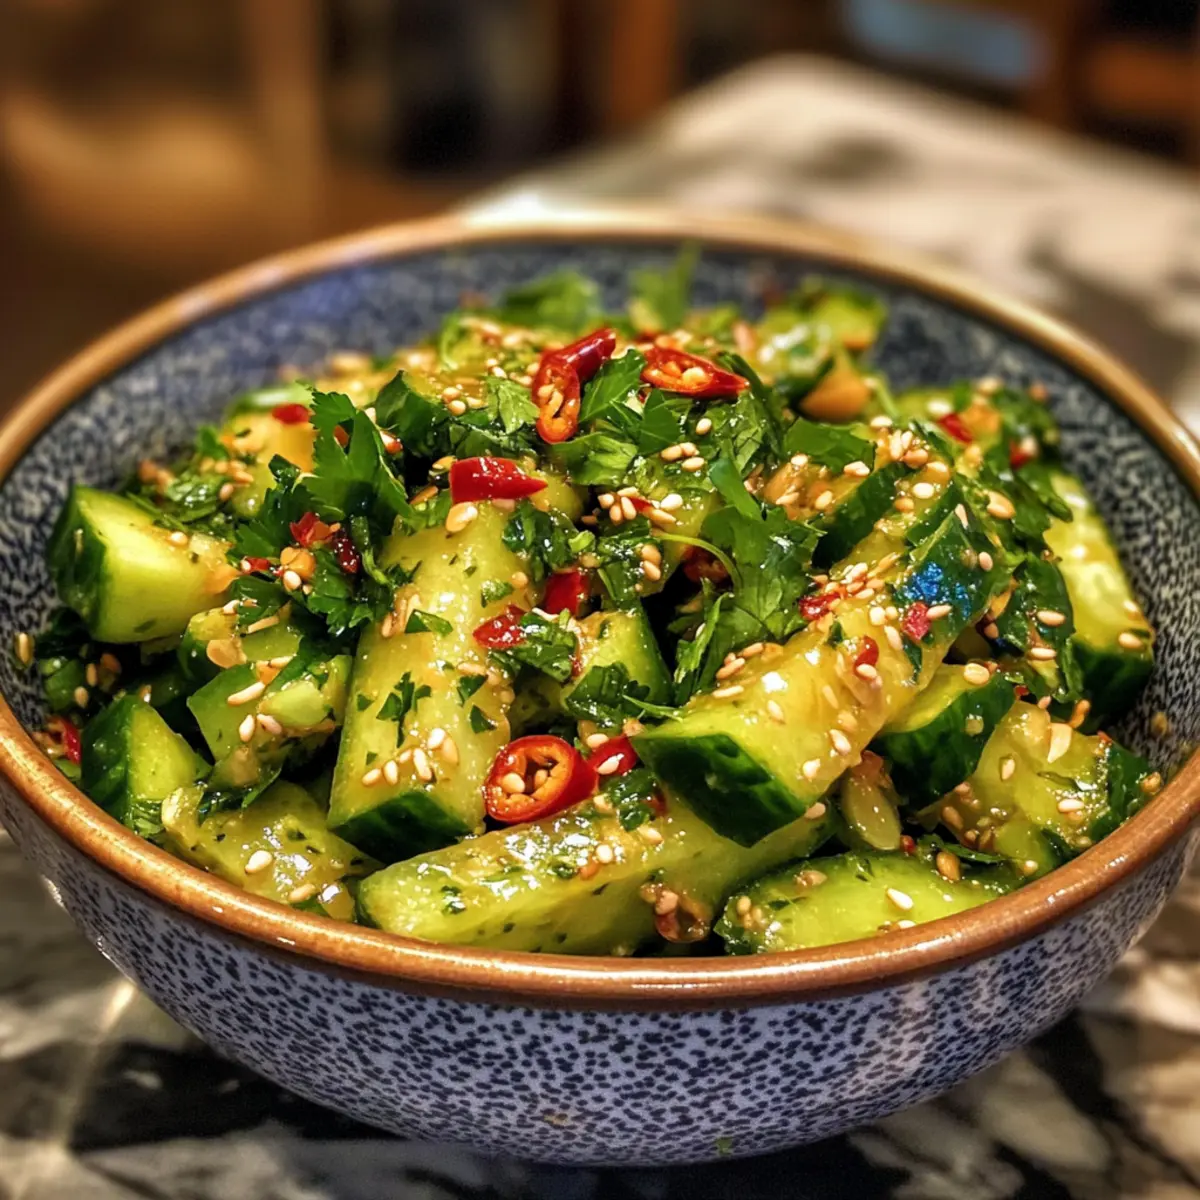
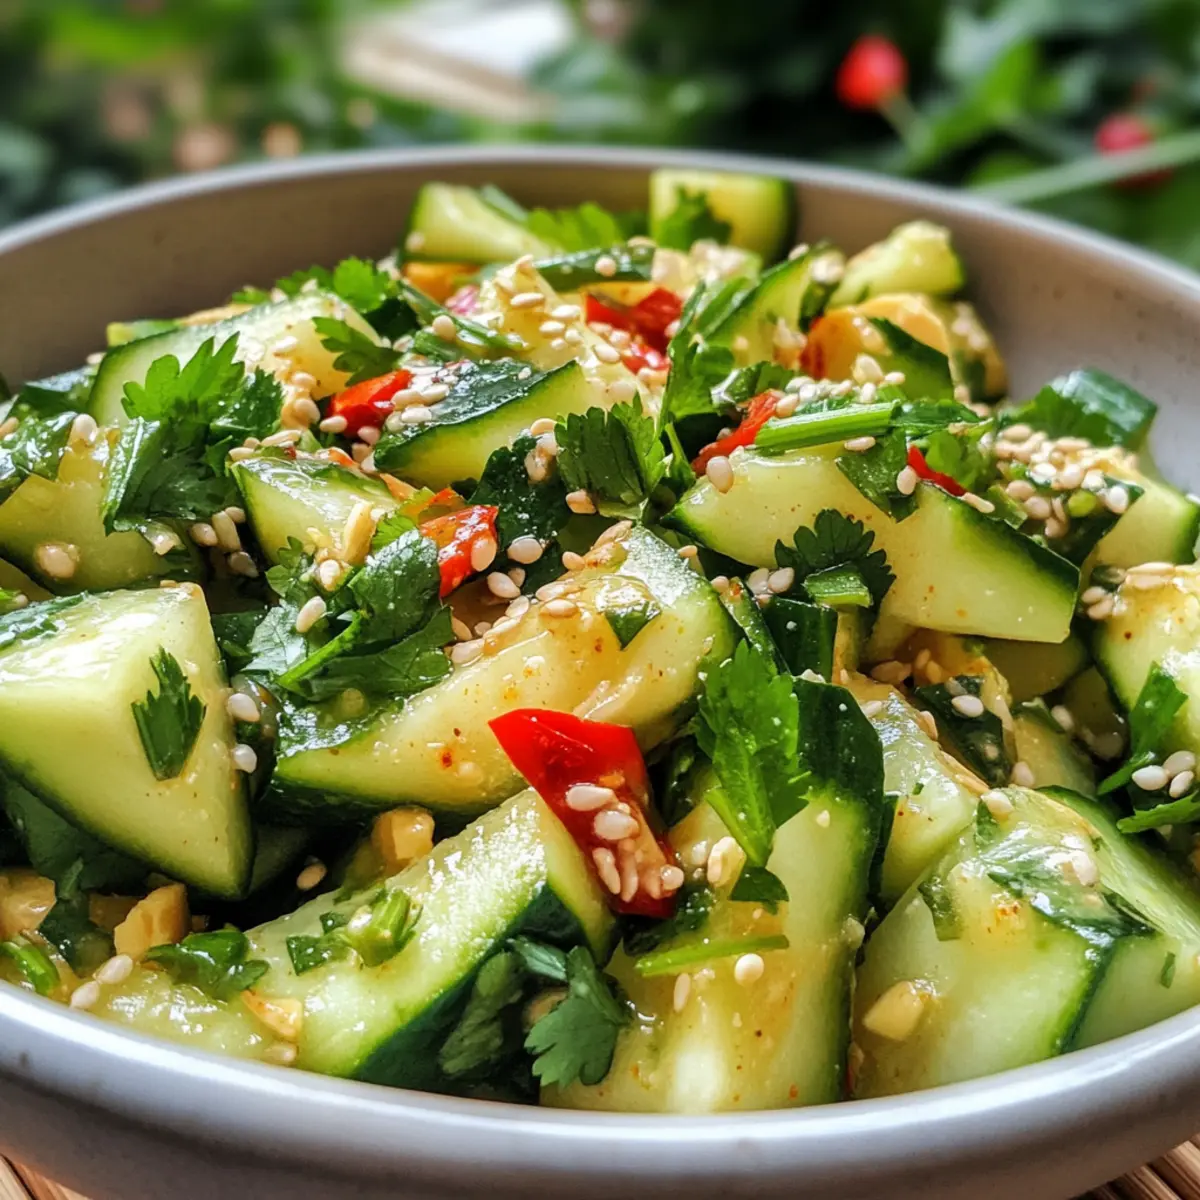
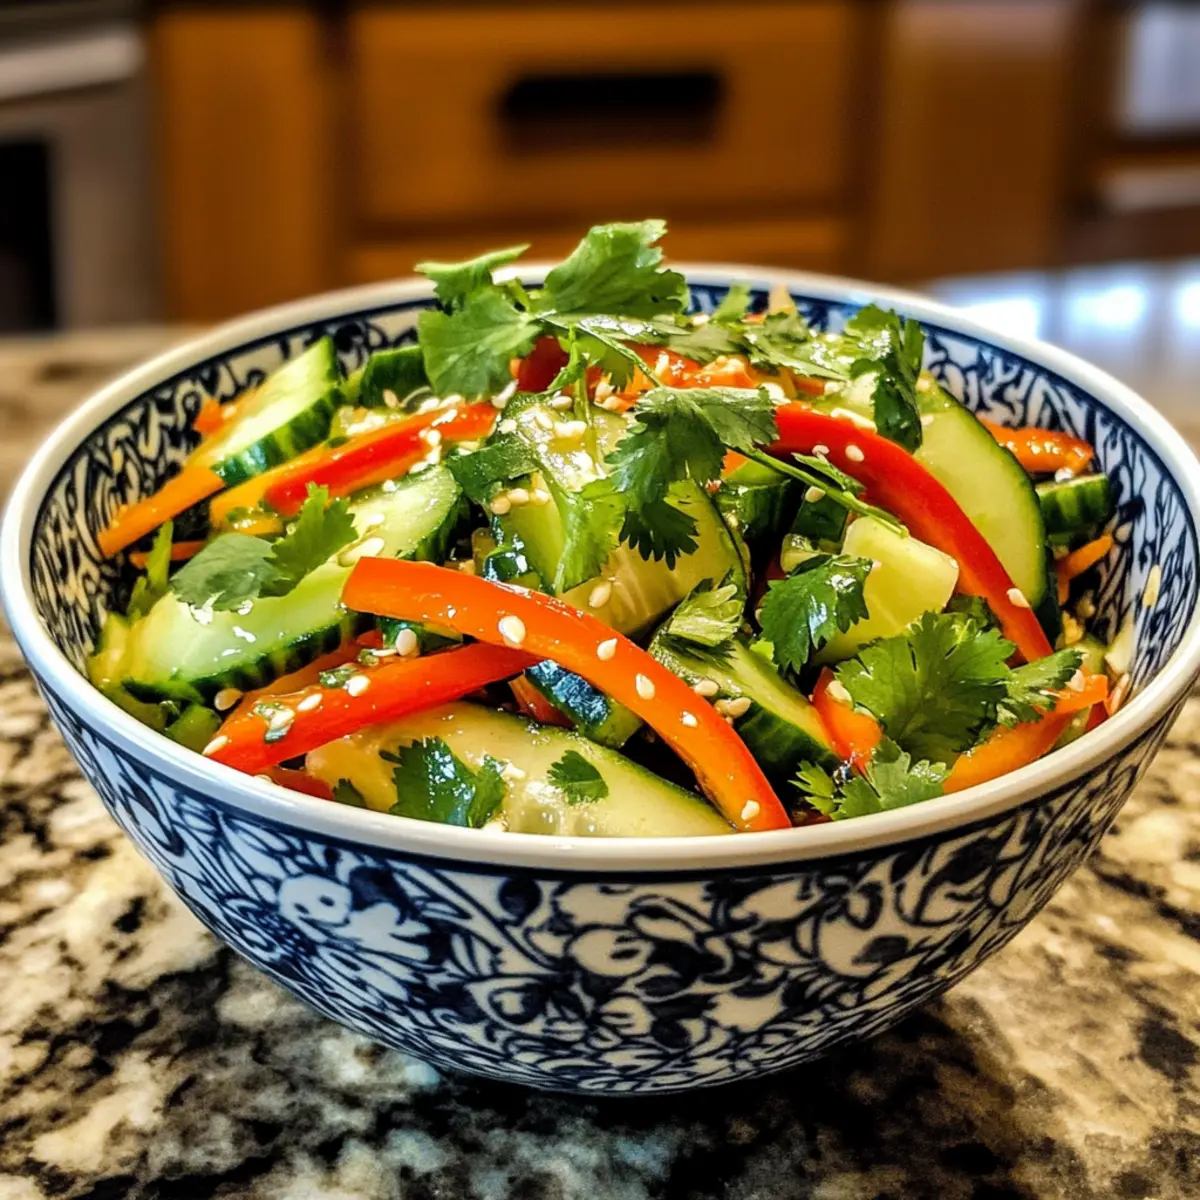
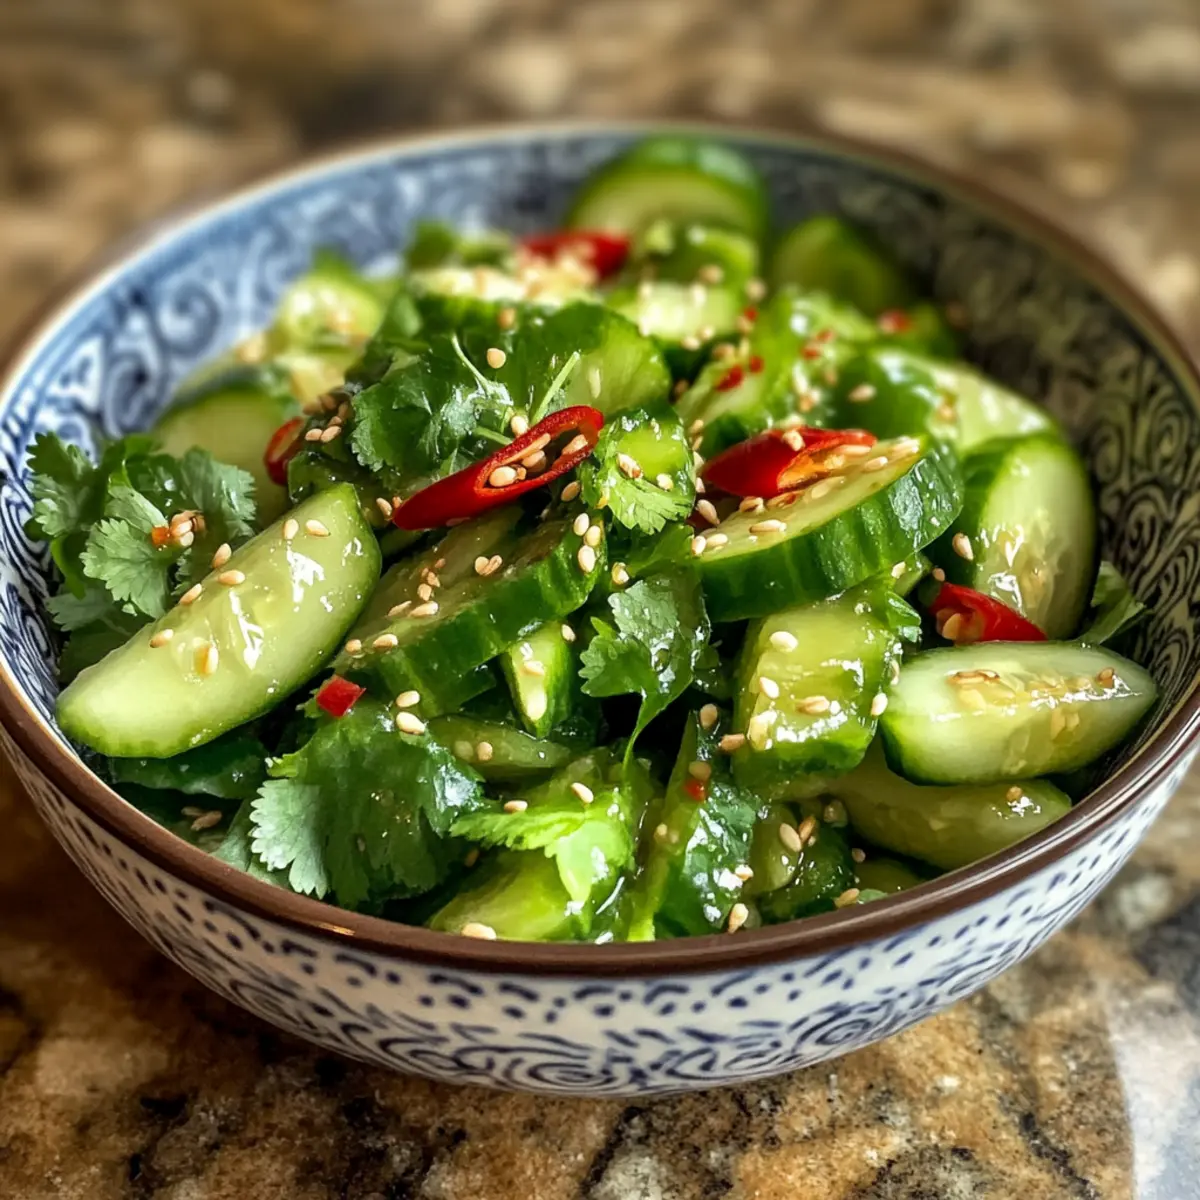
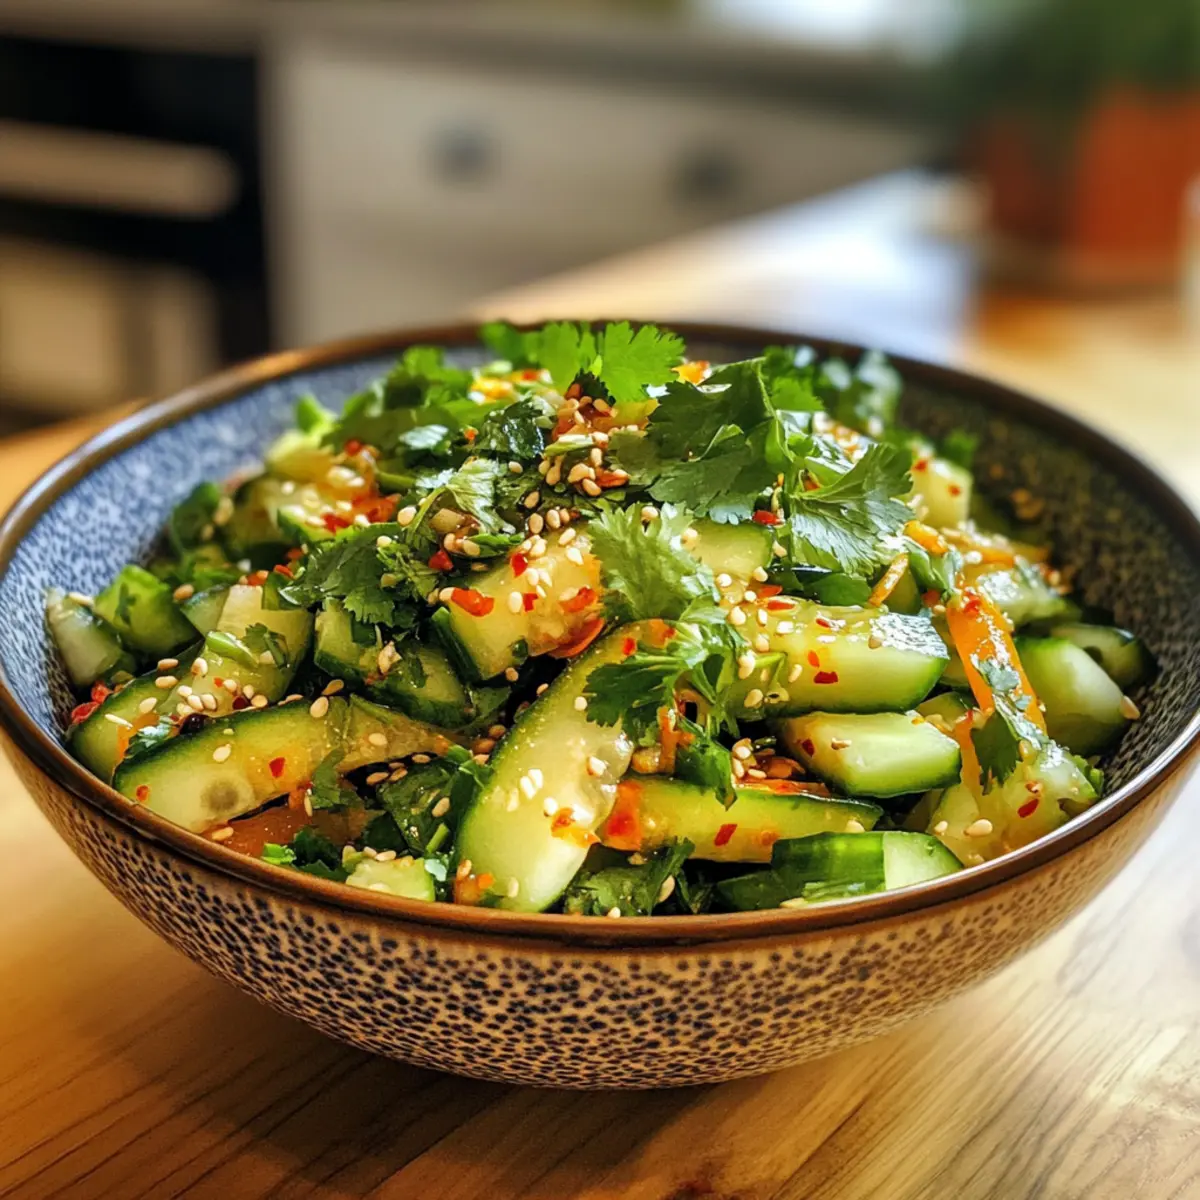
Sesame Seed Cucumber Salad: A refreshing salad with a sesame dressing offers a crisp and tangy element, brightening the meal and cutting through the richness of the soy sauce noodles.
-
Lemonade or Iced Tea: Quench your thirst with a light beverage like freshly brewed iced tea or homemade lemonade. Their refreshing flavors create a perfect harmony with the savory dish.
-
Mango Sticky Rice: For a sweet finish, indulge in the creamy and tropical taste of mango sticky rice. This decadent dessert adds an exciting sweet contrast to your savory meal!
-
Chili Oil Drizzle: Serve alongside homemade chili oil for those who like an extra kick. Just a drizzle brings a new depth of flavor to your noodles, making every bite a pleasure.
Soy Sauce Pan Fried Noodles Recipe FAQs
What type of noodles should I use?
Absolutely! Fresh Hong Kong pan fry noodles are the best choice for this dish, as they provide a wonderful chewy texture and fry beautifully. If they’re unavailable, you can use dried egg noodles, but be mindful to reduce the amount of water when cooking to avoid a soggy consistency.
How long can I store leftovers?
Very good question! Leftovers should be placed in an airtight container and refrigerated for up to 2 days. Keep in mind that the noodles may lose their crispy texture over time, so enjoy them fresh if you can!
Can I freeze Soy Sauce Pan Fried Noodles?
Yes, you can freeze the prepared noodles! Just make sure they are well-wrapped in an airtight container or freezer bag to prevent freezer burn. They will hold up for up to 2 months. When you’re ready to enjoy them again, throw them in a skillet on low heat, adding a splash of oil to help revive the texture.
What if my noodles are too sticky or soggy?
No problem! If your noodles are sticky, it’s often due to excess water after boiling. Make sure to drain them thoroughly and gently toss them in a bit of oil after boiling to keep them separated. If they turn out soggy, cooking them in a super hot skillet for longer can help achieve that crispy texture you’re looking for.
Are there any dietary considerations for this dish?
Absolutely! This dish can easily be made vegetarian by opting for tofu or leaving out any meat altogether. Be careful with the sauces—check for allergens if you’re sensitive to certain ingredients like seafood in oyster sauce. Always read labels, especially if you’re catering to allergies or dietary restrictions. And of course, ensure your homemade chili oil doesn’t contain any unwanted ingredients if you’re serving it to pets.

Savor Easy Soy Sauce Pan Fried Noodles in 10 Minutes!
Ingredients
Equipment
Method
- Boil the fresh Hong Kong pan fry noodles in salted water for about 30 seconds until just tender. Drain and toss to remove excess water.
- In a small bowl, combine the light soy sauce, vegetarian oyster sauce, dark soy sauce, Shaoxing wine, sugar, and 1 tablespoon of water. Stir until the sugar dissolves.
- Heat 2 tablespoons of peanut oil in a skillet over high heat. Add the noodles and fry for 2-3 minutes until golden brown and crispy.
- Reduce heat to medium-low and swirl in the sauce mixture, stirring to coat the noodles evenly. Cook for another 2 minutes.
- Push the noodles to one side and add the remaining tablespoon of peanut oil. Add green onions and bean sprouts, stir-frying for about 30 seconds.
- Combine everything in the skillet, mix well, and serve hot. Drizzle with homemade chili oil if desired.