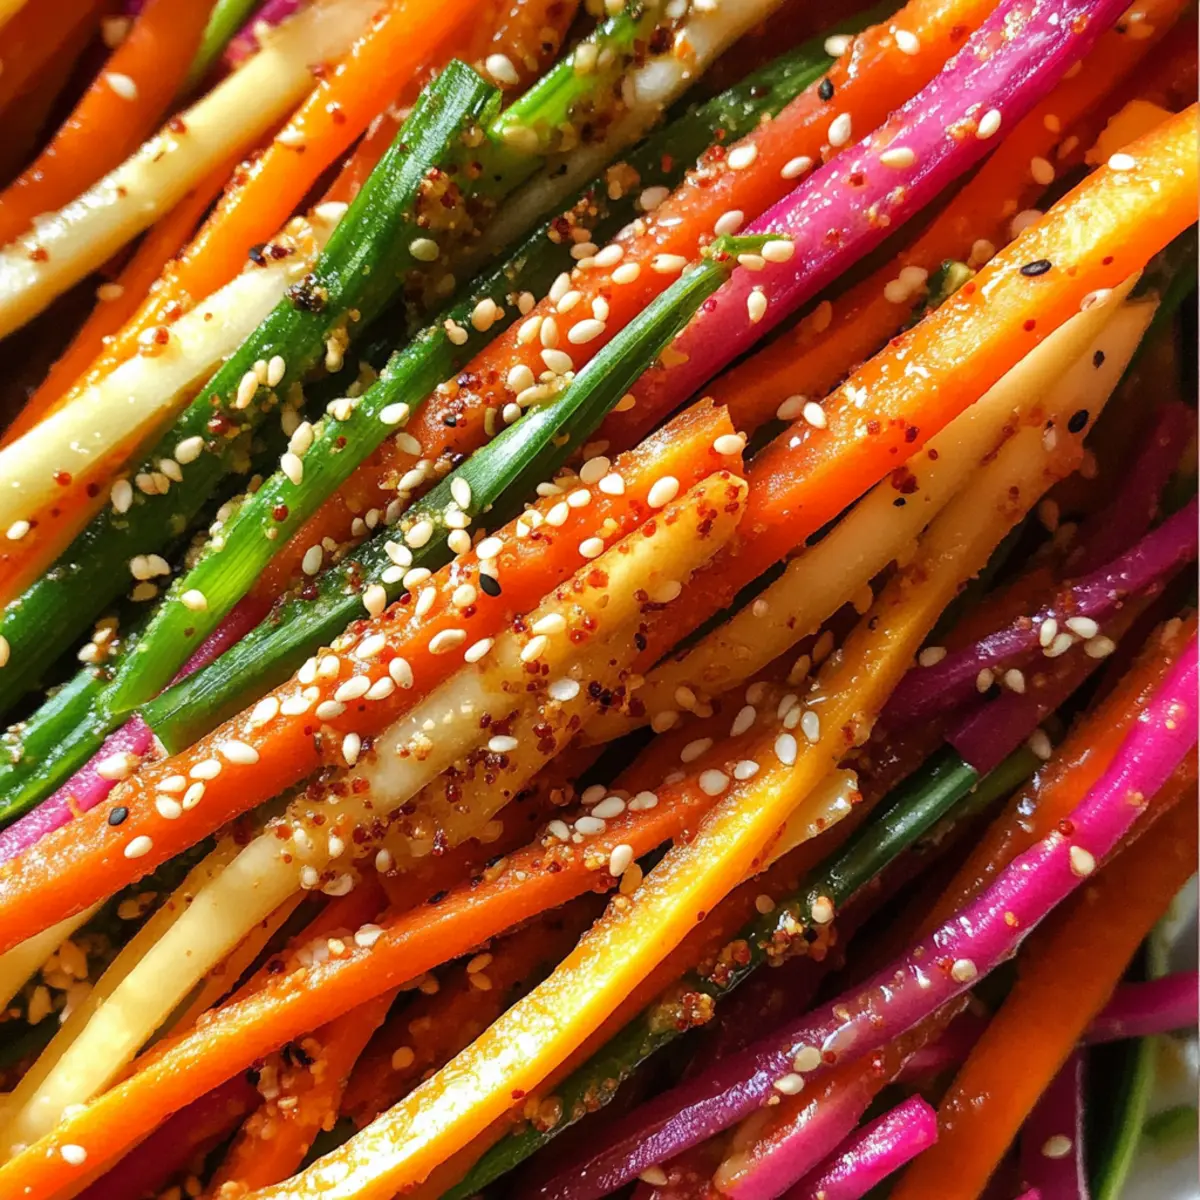
As I julienned those vibrant rainbow carrots, the kitchen transformed into a canvas of colors—think orange, purple, and golden hues dancing in the bowl. This Shaved Rainbow Carrot Sesame Salad is my go-to for a refreshing crunch that balances busy days with healthy eating. Not only is it a feast for the eyes, but its quick prep time makes it an ideal companion for those hectic weeknights or meal-prepping weekends. Plus, with gluten-free options using Tamari, this salad is perfect for everyone at the table. Who knew that such a delightful dish could be so effortlessly made? Are you ready to experience the vibrant joy of this healthy creation?
Why is This Salad So Appealing?
Vibrant Colors: The Shaved Rainbow Carrot Sesame Salad bursts with an array of colors that not only looks beautiful on your plate but also showcases an exciting variety of nutrients.
Quick & Easy: With minimal preparation, this salad can be whipped up in mere minutes, making it ideal for busy weeknights or casual gatherings with friends.
Versatile Dish: Perfect as a side for grilled chicken or fish, or simply toss in some quinoa for a satisfying vegan meal. It’s a canvas for your culinary creativity!
Make-Ahead Friendly: This salad stores beautifully in the fridge and can be prepped in advance, just keep the dressing separate until serving to maintain its freshness.
Healthy Ingredients: Loaded with vitamins and healthy fats from sesame oil, it’s a guilt-free indulgence that satisfies without sacrificing flavor.
For a refreshing pairing, consider adding a side of Cucumber Carrot Salad!
Shaved Rainbow Carrot Sesame Salad Ingredients
For the Salad
- Rainbow Carrots – Provide a crunchy texture and vibrant color; substitute regular carrots for a similar taste.
- Scallions (1/4 cup, chopped) – Add a mild onion flavor and freshness; use green onions or chives as an alternative.
- Cilantro (2 tbsp, chopped) – Contributes a bright, herbal note; can be substituted with parsley for those who prefer a different herb.
- Basil (2 tbsp, chopped) – Offers a sweet aromatic flavor; replace with mint if desired.
For the Dressing
- Sesame Oil – Adds rich nuttiness; can use any neutral oil if sesame oil is unavailable.
- Tamari or Soy Sauce – Brings saltiness; Tamari is gluten-free, while soy sauce can be used for a non-gluten-free version.
- Rice Vinegar – Provides acidity; can substitute with apple cider vinegar or white vinegar.
- White Miso – Offers umami flavor; substitute with tahini for a vegan alternative.
- Sriracha – Adds heat; adjust to taste or leave out for a milder sauce.
- Coconut Sugar – Provides sweetness; can substitute with regular sugar or maple syrup.
- Minced Garlic – Infuses flavor; can use garlic powder as an alternative.
- Grated Ginger – Adds a spicy kick; substitute with ground ginger if needed.
- Sesame Seeds (1.5 tbsp) – Enhance flavor and add crunch; can substitute with hemp seeds for a nut-free option.
With these ingredients, you’re on your way to creating a refreshing Shaved Rainbow Carrot Sesame Salad that will brighten up your meals!
Step‑by‑Step Instructions for Shaved Rainbow Carrot Sesame Salad
Step 1: Toast the Sesame Seeds
Begin by preheating a medium skillet over medium heat. Add 1.5 tablespoons of sesame seeds to the pan and toast them for 5–7 minutes, stirring frequently until they turn lightly browned and fragrant. This step enhances the nutty flavor of the seeds, making your Shaved Rainbow Carrot Sesame Salad even more delicious.
Step 2: Prepare the Carrots
While the sesame seeds are toasting, wash and peel your rainbow carrots. Using either a sharp knife or a food processor fitted with a julienne blade, shave the carrots into thin strips and transfer them to a large bowl. The vibrant colors of the carrots will immediately brighten your kitchen, setting the stage for this fresh salad.
Step 3: Add the Fresh Greens
Next, chop 1/4 cup of scallions, along with 2 tablespoons each of cilantro and basil. Sprinkle these fresh herbs over the julienned carrots in the bowl. Gently toss the mixture together, allowing the flavors to intermingle, and preparing your salad for the flavorful dressing to come.
Step 4: Create the Dressing
In a blender, combine all the dressing ingredients: sesame oil, Tamari or soy sauce, rice vinegar, white miso, sriracha, coconut sugar, minced garlic, and grated ginger. Blend on high until the mixture is smooth and well combined. If you prefer, you can whisk the ingredients together in a bowl for a chunky texture—both options will work beautifully for your Shaved Rainbow Carrot Sesame Salad.
Step 5: Combine Salad and Dressing
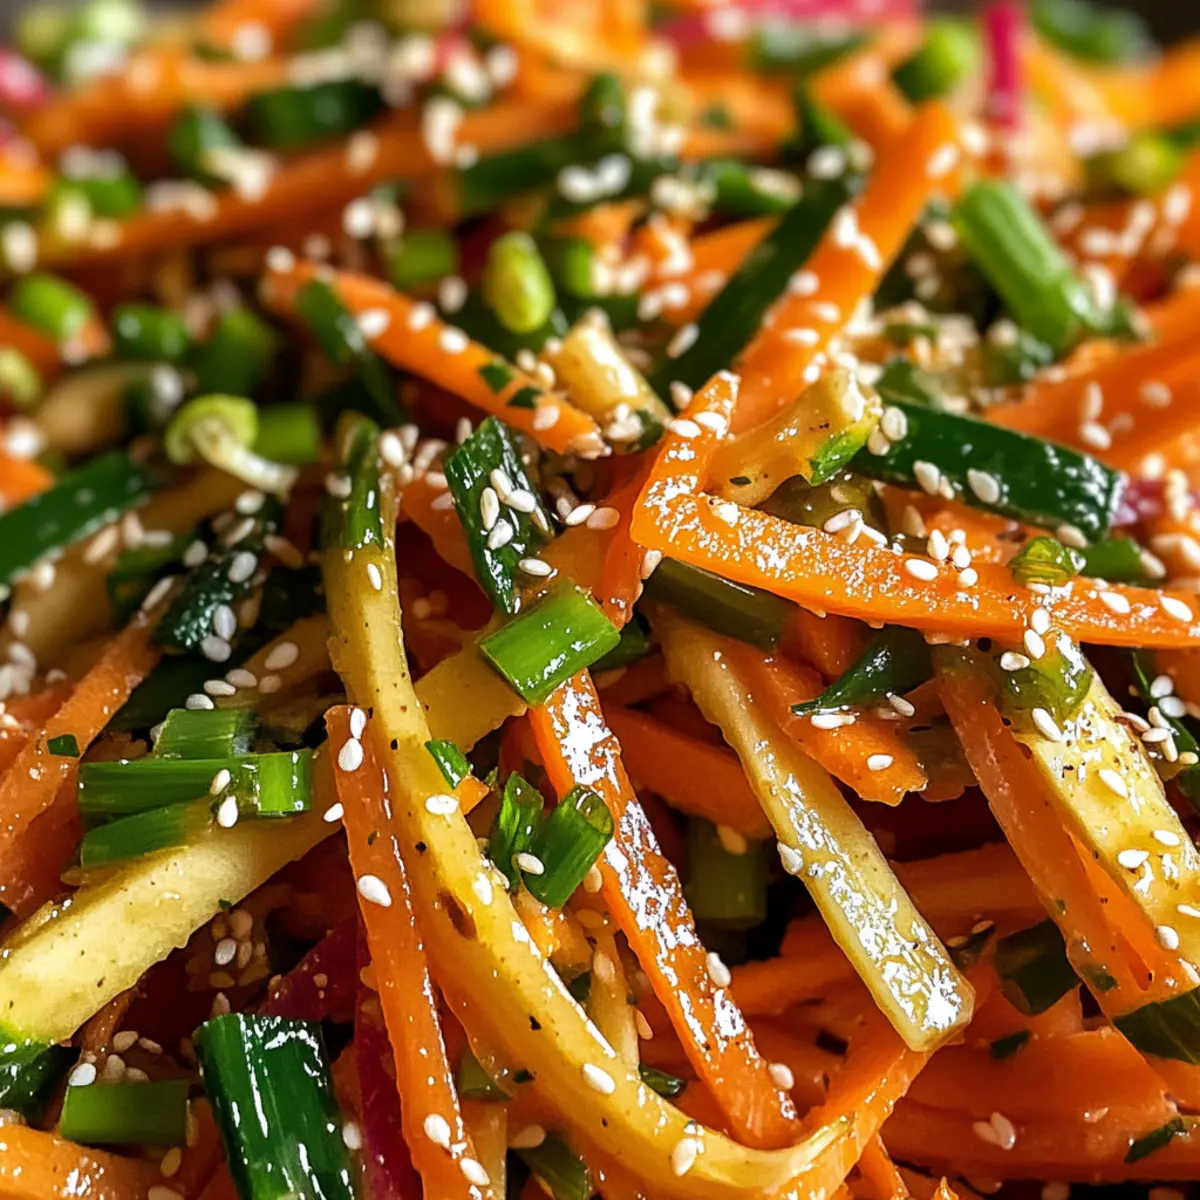
Now that your dressing is ready, pour it over the carrot mixture in the bowl. Toss everything together thoroughly, ensuring that every piece of carrot and herb is coated with the zesty dressing. This step will elevate the flavors, making sure that your salad bursts with fresh notes in every bite.
Step 6: Chill for Best Flavor
Cover the salad and refrigerate it for at least 1 hour before serving. This allows the flavors to meld beautifully, creating a more cohesive taste in your Shaved Rainbow Carrot Sesame Salad. Chilling also gives a refreshing crunch when you sit down to enjoy this vibrant dish.
Step 7: Serve and Garnish
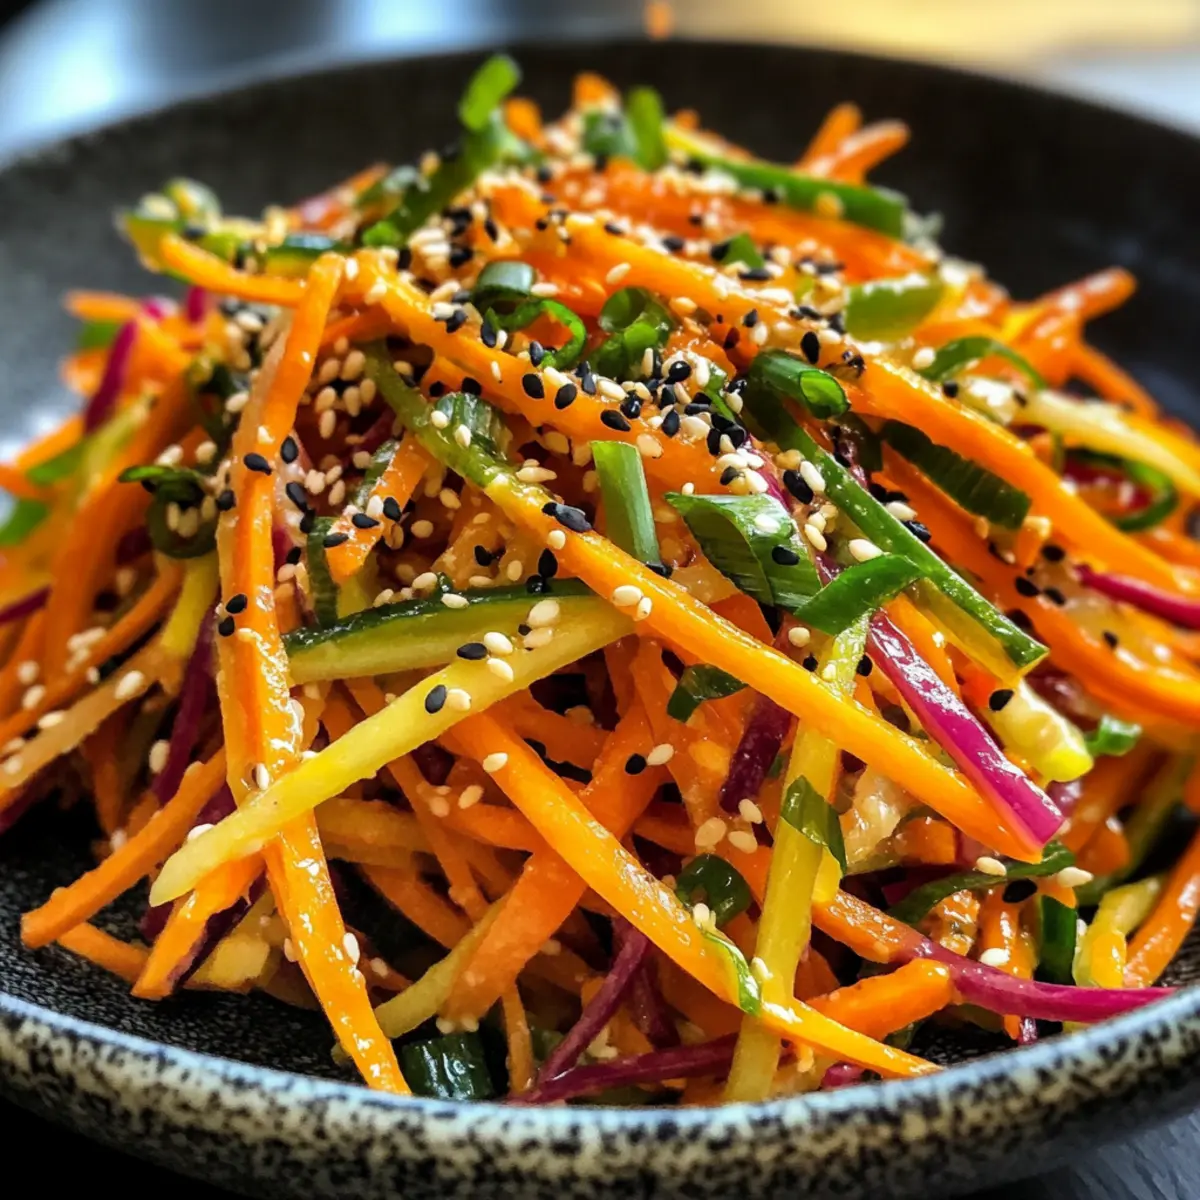
Finally, before serving, give the salad a quick toss to redistribute the dressing. Plate the salad and top it with additional toasted sesame seeds and a sprinkle of red pepper flakes if you desire some heat. This colorful presentation will impress your guests and family alike, making your meal a feast for both the eyes and the palate.
Variations & Substitutions for Shaved Rainbow Carrot Sesame Salad
Feel free to let your creativity shine by customizing this vibrant salad to suit your tastes and dietary needs!
- Nut-Free: Replace sesame seeds with hemp seeds for a nut-free, protein-packed option that still adds crunch.
- Herb Swap: Use parsley instead of cilantro for a milder herbal flavor that complements the carrots beautifully.
- Citrus Zest: For an extra layer of freshness, add lime or lemon zest to the dressing—this brightens the flavors irresistibly!
- Heat Level: If you enjoy a spicy kick, increase the amount of sriracha or substitute fresh chili peppers for added heat.
- Vegan Creaminess: Blend in some avocado with the dressing for a rich, creamy texture without losing its vegan status.
- Grain Boost: Mix in cooked quinoa to turn this side dish into a filling main course, giving it a hearty protein punch.
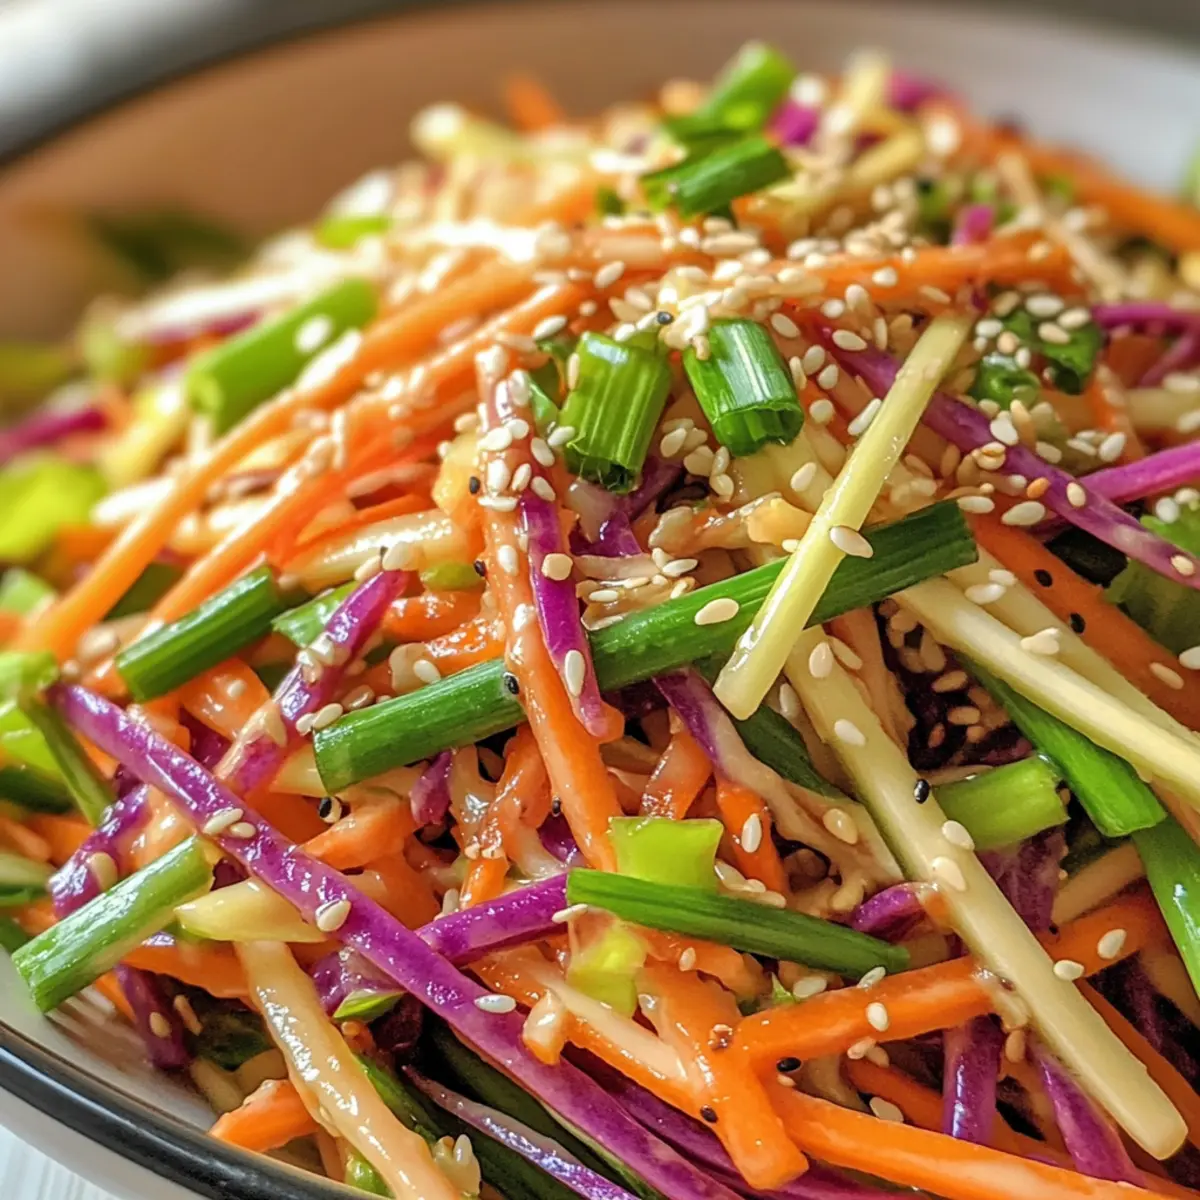
- Extra Crunch: Toss in some chopped bell peppers or cucumbers for additional crunch and a pop of color—perfect for summer!
- Sweeten Up: If you prefer a sweeter dressing, swap out coconut sugar for maple syrup which adds its own unique flavor and richness.
For a stunning addition, why not try complementing this salad with a side of Crunchy Cabbage Carrot? The blend of textures and flavors will elevate your meal!
Expert Tips for Shaved Rainbow Carrot Sesame Salad
-
Keep It Crisp: Mix the dressing separately and add only before serving to ensure your carrots maintain their crunch in the Shaved Rainbow Carrot Sesame Salad.
-
Substitution Savvy: If you don’t have one of the ingredients, feel free to substitute! For example, use apple cider vinegar if you’re out of rice vinegar.
-
Chill for Flavor: Refrigerating the salad for at least an hour enhances the flavors. Don’t rush this step; it makes a world of difference!
-
Avoid Freezing: Do not freeze the salad; carrots lose their texture and flavor when thawed, ruining your refreshing dish.
-
Taste and Adjust: Always taste your dressing before adding it to the salad to balance sweetness and spiciness according to your preference.
How to Store and Freeze Shaved Rainbow Carrot Sesame Salad
Fridge: Store the salad in an airtight container in the refrigerator for up to 3 days. To keep the ingredients fresh, keep the dressing separate until you’re ready to serve.
Freezer: Avoid freezing the salad, as the carrots and fresh herbs will lose their crisp texture and vibrant flavor upon thawing.
Reheating: This salad is best enjoyed cold, so there’s no need to reheat. Serve it chilled for the most refreshing experience.
Preparation Tips: If you’re prepping in advance, chop the vegetables and mix the dressing separately, combining them just before serving to preserve the freshness of the Shaved Rainbow Carrot Sesame Salad.
What to Serve with Shaved Rainbow Carrot Sesame Salad
Elevate your dining experience with vibrant pairings that complement the fresh, zesty notes of this salad.
-
Grilled Lemon Chicken: Juicy and tangy, this chicken will add a delightful contrast to the salad’s crunch while echoing its refreshing flavors.
-
Teriyaki Salmon: The sweet and savory glaze of teriyaki salmon brings a lovely umami element that pairs perfectly with the salad’s bright notes.
-
Tofu Skewers: Marinated and grilled, tofu skewers provide a hearty, protein-rich option that balances well with the lightness of the salad.
-
Quinoa Pilaf: This nutritious grain dish adds a delightful nutty flavor and chewy texture, making your meal satisfyingly wholesome.
-
Egg Drop Soup: A warm, comforting bowl of egg drop soup can serve as a perfect starter, contrasting beautifully with the cold crunch of the salad.
-
Peanut Sauce Spring Rolls: Fresh, crispy spring rolls with a creamy peanut sauce offer an amazing textural contrast and a dip that enhances the savory elements.
-
Spicy Szechuan Noodles: The spice from Szechuan noodles will awaken your palate and harmonize with the sesame dressing, adding excitement to your meal.
-
Mango Sticky Rice: For dessert, the sweetness of mango sticky rice rounds out the meal beautifully, providing a luscious finish to a fresh dining experience.
-
Lychee Iced Tea: Refreshing and floral, this drink complements the salad’s flavors while offering a cooling sip to balance any spicy dishes.
Make Ahead Options
This Shaved Rainbow Carrot Sesame Salad is a fantastic choice for meal prep, saving you time on busy days! You can prepare the salad components—julienned carrots, chopped scallions, cilantro, and basil—up to 24 hours in advance. Simply store them in an airtight container in the refrigerator to maintain their freshness. While you can make the dressing ahead, it’s best to keep it separate until serving to prevent the vegetables from wilting. When you’re ready to enjoy your salad, toss the prepared ingredients with the dressing, allow it to chill for about an hour for the flavors to meld, and you’ll have a delicious, crisp salad ready to go!
Shaved Rainbow Carrot Sesame Salad Recipe FAQs
How do I choose ripe and fresh carrots?
Absolutely! When selecting rainbow carrots, look for ones that are firm and have smooth skin without dark spots or blemishes. The more vibrant the color, the richer the flavor, so opt for bright orange, purple, and yellow hues. If you find any carrots with dark spots or soft spots, it’s best to skip them for a fresher salad.
How should I store the Shaved Rainbow Carrot Sesame Salad?
To keep your salad fresh, store it in an airtight container in the refrigerator for up to 3 days. For best results, keep the dressing separate to maintain the crispness of the carrots. When ready to serve, simply combine and enjoy!
Can I freeze the Shaved Rainbow Carrot Sesame Salad?
I wouldn’t recommend freezing this salad. Freezing alters the texture of carrots and fresh herbs, leading to a mushy consistency once thawed. Instead, it’s best enjoyed fresh. If you’re meal prepping, just keep the salad and dressing separate in the fridge until you’re ready to serve!
What should I do if my salad dressing is too thick?
If your dressing turns out too thick, don’t fret! Simply add a splash of water or a little extra rice vinegar to thin it out to your desired consistency. Blend again or whisk it until fully combined. This will help the dressing coat the veggies more evenly and enhance your salad experience!
Are there any allergy considerations with this salad?
Yes, if you have nut allergies, you might want to ensure that you use hemp seeds as a substitute for sesame seeds. Additionally, double-check the labels on your tamari or soy sauce to avoid gluten if that’s a concern. Always taste your ingredients and adjust the recipe based on any dietary restrictions to keep everyone safe and happy!
How can I customize this salad for different tastes?
Very! This salad is fantastic for customization. Consider adding extra vegetables like bell peppers or cucumbers for added crunch and flavor. You can also toss in cooked quinoa or beans for more protein, or even add some toasted nuts for a delightful crunch. It’s versatile, so feel free to make it your own!
Shaved Rainbow Carrot Sesame Salad: A Colorful Crunch Delight
Ingredients
Equipment
Method
- Toast the sesame seeds in a medium skillet over medium heat for 5–7 minutes until lightly browned and fragrant.
- Wash and peel the rainbow carrots, then julienne them into thin strips and place them in a large bowl.
- Chop the scallions, cilantro, and basil; sprinkle them over the carrots and toss gently.
- Blend all dressing ingredients together until smooth, or whisk them for a chunkier texture.
- Pour the dressing over the carrot mixture; toss thoroughly to coat.
- Cover and refrigerate for at least 1 hour before serving.
- Toss again before serving and garnish with additional sesame seeds and red pepper flakes if desired.