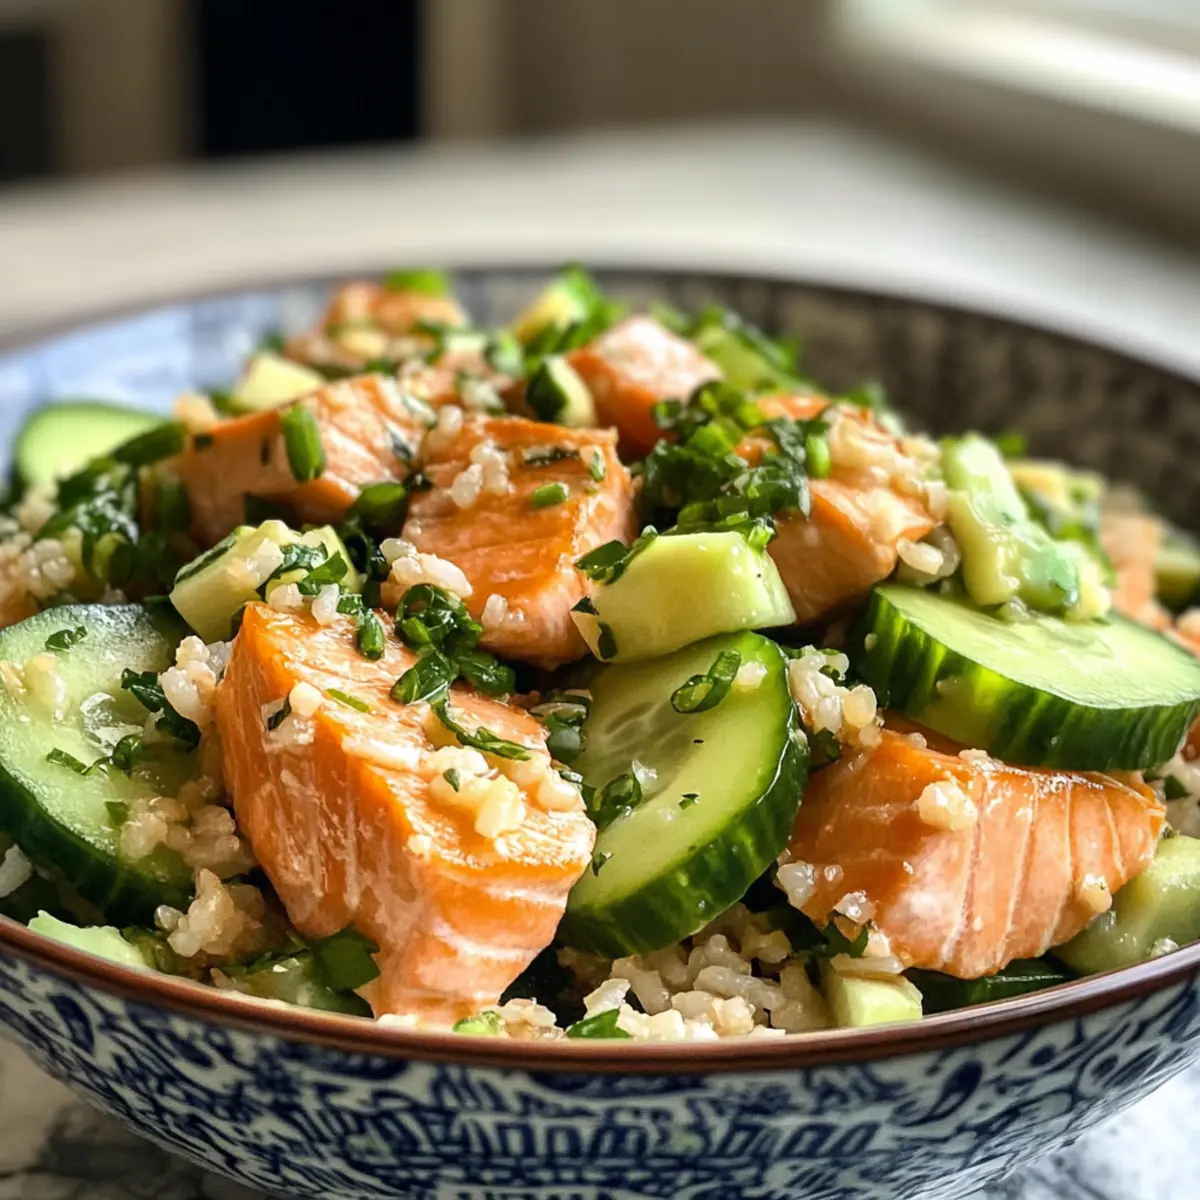
As I took my first bite of this Crispy Rice Salmon Cucumber Salad with Creamy Asian Dressing, the delightful crunch of the crispy rice paired with the tender flaky salmon took me on a flavor journey like no other. The vibrant mix of crunchy cucumbers, creamy avocado, and protein-packed edamame makes this dish not just a meal but a celebration of textures and tastes. It’s the perfect solution for those hectic weeknights when you crave something satisfying yet light, and wonderfully adaptable for meal prep. Plus, this gluten-free and dairy-free salad brings a refreshing twist to your usual dining routine. Are you ready to experience a salad that doesn’t skimp on excitement? Let’s dive in!

Why is this salad a game-changer?
Flavor Explosion: Each bite is packed with vibrant flavors that will awaken your taste buds.
Crispy & Crunchy: The combination of crispy rice and fresh cucumbers creates a satisfying texture that keeps you coming back for more.
Meal Prep Friendly: Perfect for busy weeks, this salad holds up well in the fridge—just store the dressing separately.
Nutrition Boost: With nutrient-dense ingredients like salmon, avocado, and edamame, you’re not just enjoying a salad; you’re fueling your body right.
Versatile Delight: Swap out salmon for grilled chicken or tofu to cater to your cravings or dietary needs. Transform your meals with flavors from other salads, like a refreshing Cabbage Cucumber Salad or Cucumber Carrot Salad.
Embrace the excitement of healthy eating with this Crispy Rice Salmon Cucumber Salad!
Crispy Rice Salmon Cucumber Salad Ingredients
For the Salad Base
• Cooked Rice – Use jasmine rice or any rice type as the foundation for this dish.
• Salmon (8 oz) – Provides rich protein; can be swapped with chicken or tofu for alternatives.
• Persian Cucumbers – Offer a refreshing crunch; substitute with English cucumbers if needed.
• Edamame (1 cup) – Adds a punch of protein and vibrant color; use peas or chickpeas as alternatives.
• Green Onions – Bring freshness and crunch; chives can be used as a substitute.
• Avocado (2) – Offers creaminess that beautifully balances flavors; tahini can replace for a nut-free option.
For the Flavor Enhancers
• Soy Sauce – Infuses umami richness; opt for tamari to keep it gluten-free.
• Sesame Oil – Adds a nutty aroma and flavor; use toasted sesame oil for an extra punch.
• Chili Crisp – Introduces a spicy crunch; omit if you prefer no heat.
• Dried Onion & Garlic – Elevate the flavor profile; fresh versions bring a bolder taste.
• Smoked Paprika – Offers warmth and depth; optional for those who enjoy milder flavors.
• Sea Salt & Ground Black Pepper – Essential seasonings for enhancing the salmon.
For the Dressing
• Creamy Asian Dressing – Mix olive oil, toasted sesame oil, soy sauce, rice vinegar, honey, ground ginger, and kosher salt; adjust honey for vegan options.
As you gather these ingredients and prepare to create your Crispy Rice Salmon Cucumber Salad with Creamy Asian Dressing, you’ll be amazed at how these simple yet flavorful components come together to deliver a dish overflowing with texture and delight!
Step‑by‑Step Instructions for Crispy Rice Salmon Cucumber Salad with Creamy Asian Dressing
Step 1: Preheat Oven
Begin by preheating your oven to 400°F (200°C). This ensures it’s hot enough to create the perfect crispy texture for your rice. While the oven is heating, gather your baking sheets and parchment paper, preparing for the next steps of the Crispy Rice Salmon Cucumber Salad with Creamy Asian Dressing.
Step 2: Prepare Rice
Cook your rice according to package instructions, then allow it to cool completely. Once cooled, combine the rice with soy sauce, chili crisp, and sesame oil in a mixing bowl, ensuring each grain is flavorful and coated. This will form the crispy base of your salad, enhancing the overall taste and texture.
Step 3: Bake Rice
Spread the seasoned rice evenly on a lined baking sheet in a single layer. Bake in the preheated oven for 30–40 minutes, flipping the rice halfway through to achieve even crispiness. You’re looking for a golden brown color and a delightful crunch that will beautifully contrast with the creamy elements of the salad.
Step 4: Prepare Salmon
As the rice bakes, season the salmon fillets with sea salt and ground black pepper. Place them on a separate baking sheet and bake in the oven for 13–14 minutes, or until the salmon easily flakes with a fork. This step adds a savory protein that will elevate your Crispy Rice Salmon Cucumber Salad.
Step 5: Shred Salmon
Once the salmon is cooked through, remove it from the oven and let it rest for a couple of minutes. Using a fork, shred the salmon into bite-sized pieces, ensuring a nice fluffy texture. This will allow the salmon to meld beautifully with the other salad ingredients.
Step 6: Assemble Salad
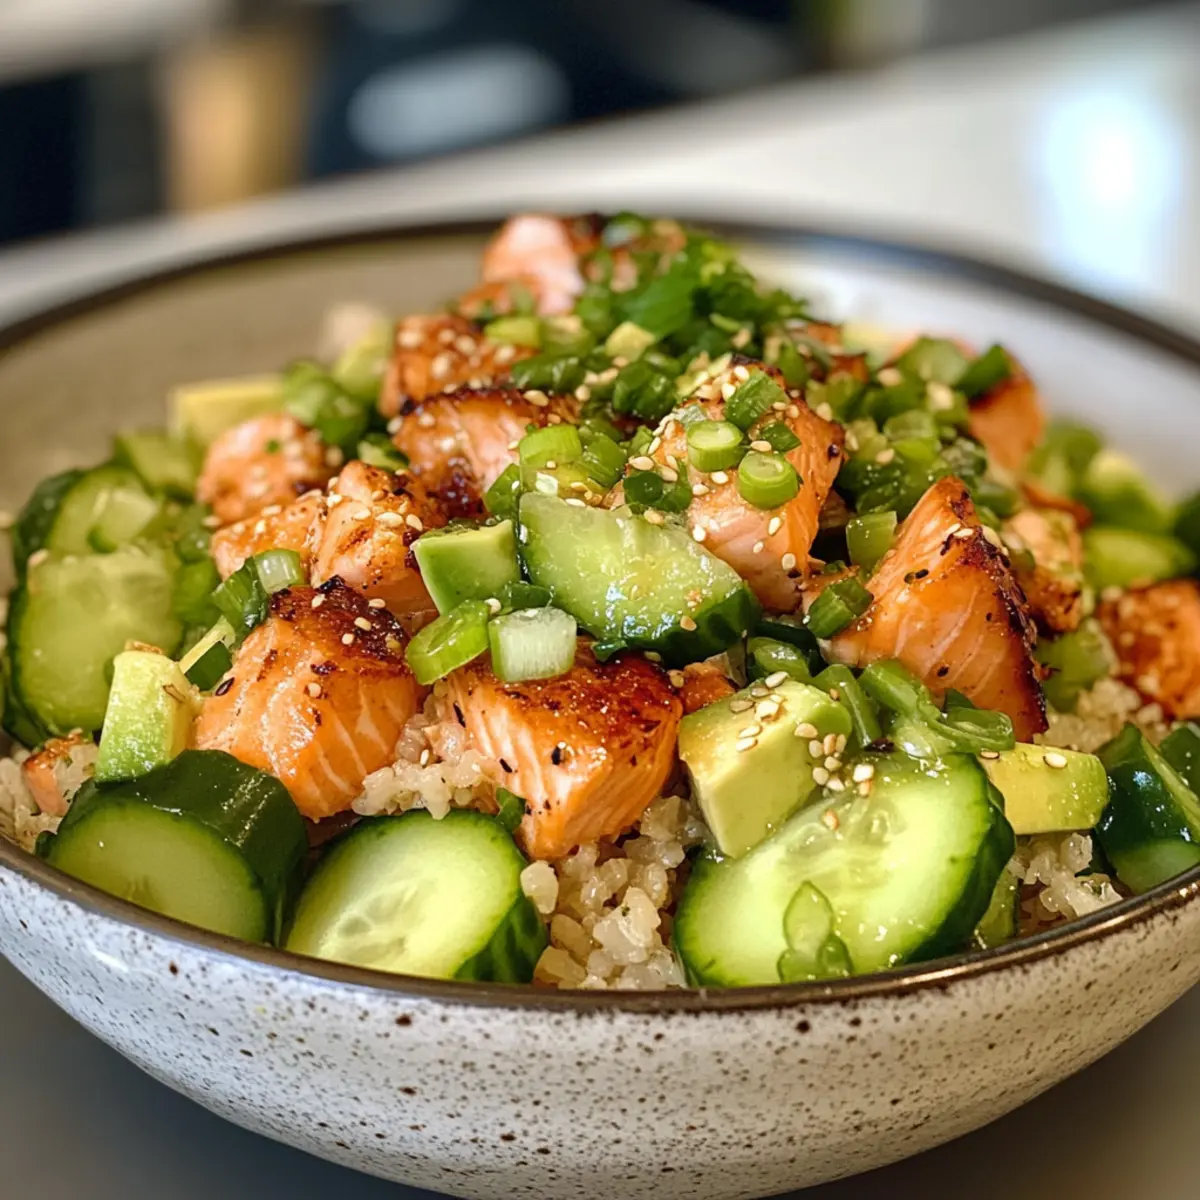
In a large mixing bowl, combine chopped Persian cucumbers, edamame, green onions, avocado, shredded salmon, and the crispy rice. Gently toss all the ingredients together, creating a medley of colors and textures that promises a tasty bite of the Crispy Rice Salmon Cucumber Salad with Creamy Asian Dressing.
Step 7: Make Dressing
For the creamy Asian dressing, blend together olive oil, toasted sesame oil, soy sauce, rice vinegar, honey, ground ginger, and kosher salt until smooth. Taste and adjust the sweetness as needed, especially for those opting for vegan options. This dressing adds a luscious finish to your beautiful salad.
Step 8: Serve & Store
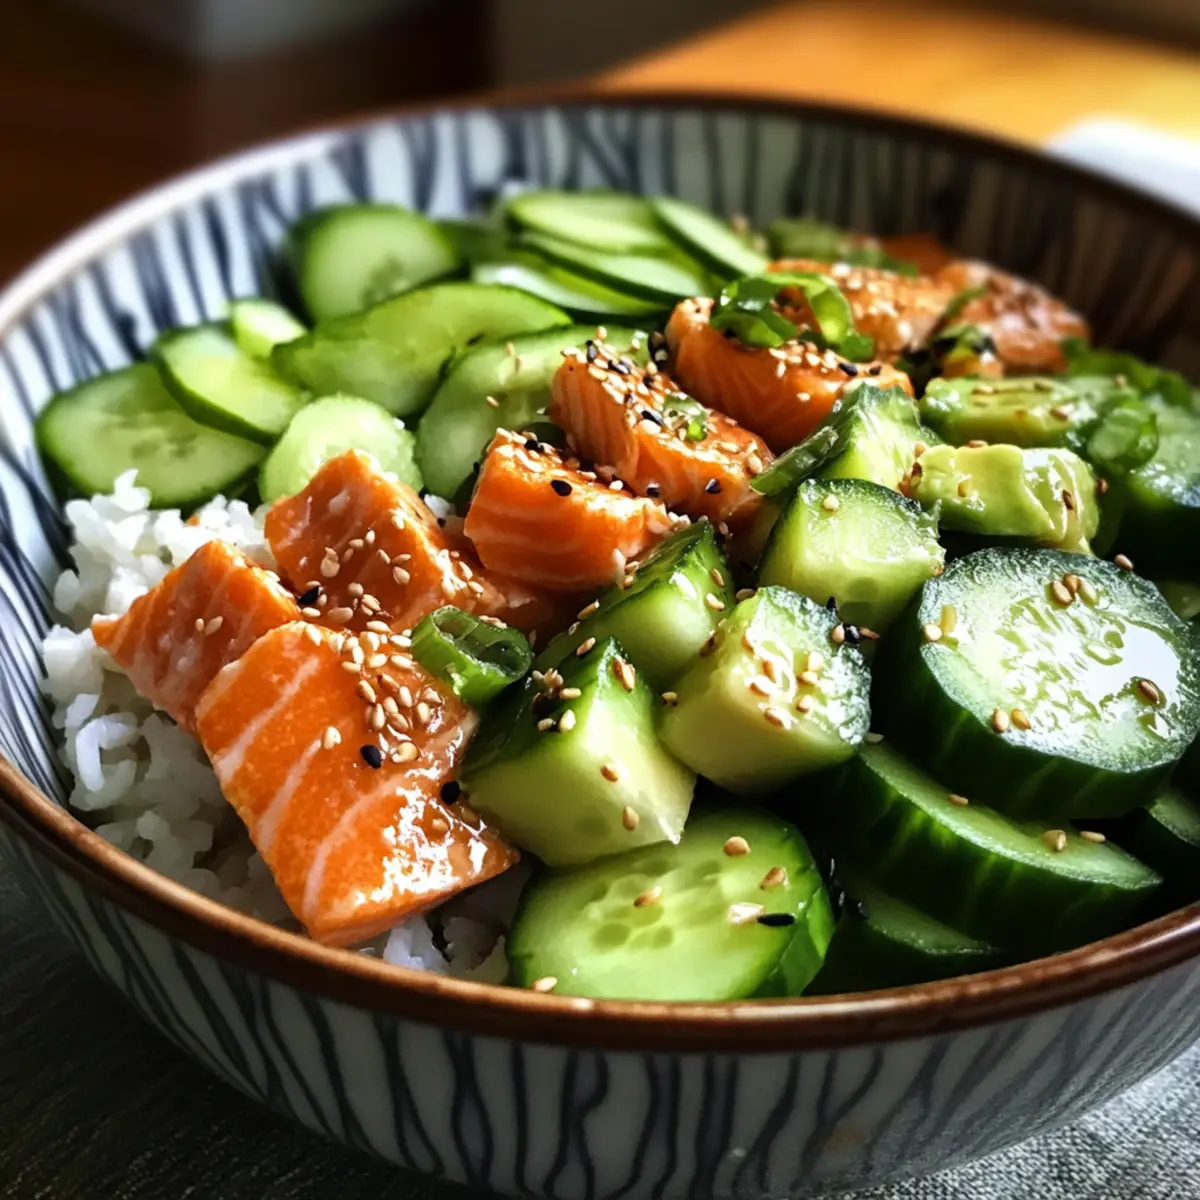
Drizzle the creamy dressing over the salad and carefully toss once more to combine. Serve immediately for the best texture, or store in an airtight container in the fridge for up to three days, keeping the dressing separate until you’re ready to enjoy your Crispy Rice Salmon Cucumber Salad.
Storage Tips for Crispy Rice Salmon Cucumber Salad
- Fridge: Store the assembled salad in an airtight container for up to 3 days. Keep the dressing separate to maintain the salad’s crispiness and vibrant flavors.
- Freezer: This salad is best enjoyed fresh but can be frozen for up to 1 month if stored without the dressing. It’s recommended to freeze only the salmon and rice components.
- Reheating: If you wish to use frozen ingredients, thaw in the fridge overnight and reheat the rice in the oven until crispy again; the salad is best served chilled or at room temperature.
- Dressing Storage: Keep the creamy Asian dressing in a separate jar in the fridge for up to a week. Shake well before using to ensure a smooth consistency.
What to Serve with Crispy Rice Salmon Cucumber Salad
Elevate your meal experience with delightful sides that complement the vibrant flavors of this refreshing salad.
-
Citrus Quinoa Salad: Bright flavors balance the richness of salmon. The nutty quinoa pairs with fresh herbs for an added zing.
-
Miso Soup: A warm, savory start that enhances the umami notes in the salad. Enjoy it alongside for a comforting meal.
-
Steamed Asparagus: Tender and lightly seasoned, its earthy flavor adds a wonderful contrast to the creamy dressing and crispy rice.
-
Sesame Noodles: These flavorful noodles provide a delightful chewiness that matches the texture of the crispy rice, creating a satisfying duo.
-
Spicy Edamame: This dish brings an exciting kick to your meal, echoing the salad’s edamame while adding a new layer of spice.
-
Ginger Tea: A soothing beverage that complements the flavors of the salad and aids in digestion, making it a perfect pairing.
-
Mango Sorbet: For dessert, this fruity treat offers a refreshing finish that cleanses the palate after your savory meal.
Each of these sides creates a delightful harmony, turning your meal into a vibrant experience!
Crispy Rice Salmon Cucumber Salad Variations
Feel free to take this delicious salad to new heights with these creative twists and substitutions!
- Dairy-Free: Swap avocado with tahini to maintain creaminess while keeping it nut-free.
- Low-Carb: Use cauliflower rice in place of regular rice for a lighter option that retains the crunch.
- Extra Crunch: Toss in shredded carrots or radishes for a vibrant, crunchy addition that’s both nutritious and eye-catching.
- Protein Boost: Trade salmon for grilled chicken or marinated tofu for a satisfying protein-packed alternative.
- Vegan Delight: Replace honey in the dressing with maple syrup for a completely vegan option.
- Spicy Kick: Increase the chili crisp in the crispy rice for additional heat, or sprinkle some crushed red pepper on top.
- Umami Punch: Add a drizzle of sriracha or a sprinkle of seaweed flakes to enhance the savory flavors.
- Herb Infusion: Toss in some fresh herbs like cilantro or mint to brighten the salad and boost freshness.
As you explore these variations, consider placing them alongside something delightful like a refreshing Crunch Cucumber Salad or even a zesty Cucumber Egg Salad for a truly memorable meal!
Expert Tips for Crispy Rice Salmon Cucumber Salad
• Cool the Rice: Ensure the rice cools completely before baking to achieve optimal crispiness without any sogginess.
• Watch the Salmon: Carefully monitor the salmon while baking; adjust cooking time based on thickness to avoid overcooking and dryness.
• Marinate for Flavor: For an extra flavor boost, consider marinating the salmon briefly before baking, enhancing the overall depth of your Crispy Rice Salmon Cucumber Salad.
• Texture Balance: Feel free to mix and match vegetables; adding shredded carrots or radishes can add extra crunch and freshness.
• Separate Storage: Store the dressing separately from the salad until ready to eat, keeping your salad’s fresh texture intact for longer.
Make Ahead Options
These Crispy Rice Salmon Cucumber Salad with Creamy Asian Dressing are perfect for busy home cooks looking to save time during hectic weeks! You can prepare the cooked rice and let it cool, then mix it with soy sauce and sesame oil up to 24 hours in advance. Additionally, the salmon can be baked and shredded up to 3 days before serving, ensuring it remains tender and flavorful. Store the crispy rice and salmon separately in airtight containers to maintain their textures. When you’re ready to enjoy your salad, simply toss the prepped ingredients with fresh cucumbers, edamame, and the Creamy Asian Dressing for a vibrantly fresh meal in minutes!
Crispy Rice Salmon Cucumber Salad with Creamy Asian Dressing Recipe FAQs
How do I choose the best salmon for this salad?
Absolutely! When selecting salmon, look for fillets that are bright in color, have a fresh smell, and are free of any dark spots. If you’re buying it fresh, aim for salmon with firm flesh that bounces back when pressed. If you’re opting for frozen, ensure it’s evenly frozen without any freezer burn, indicating it was properly stored.
What’s the best way to store leftovers, and how long do they last?
The assembled salad can be stored in an airtight container in the fridge for up to 3 days. However, to maintain the salad’s crispiness, I recommend storing the dressing separately from the salad. This method keeps the crunchy textures intact and enhances your next serving’s freshness!
Can I freeze the salad components, and how should I do it?
Certainly! You can freeze the salmon and crispy rice components of this salad—just not the entire salad itself. To do so, allow the cooked components to cool completely. Pack the salmon in a freezer-safe bag or container, and do the same for the rice. You can store them for up to 1 month. When ready to use, thaw them in the fridge overnight and reheat the rice in the oven until crisp again, while the salmon can be enjoyed cold or at room temperature.
What should I do if my crispy rice isn’t turning out as expected?
Very! If your crispy rice isn’t getting crispy enough, check to ensure that it spread evenly on the baking sheet in a single layer and isn’t overcrowded. Also, make sure the rice has cooled completely before baking—this step is critical for achieving that delightful crunch. If it’s still soggy, increasing the baking time by a few minutes may help achieve the desired texture.
Are there any dietary considerations I should be aware of?
Absolutely! This salad is naturally gluten-free and dairy-free, making it a fantastic option for those with specific dietary needs. If you or your guests have allergies, always double-check ingredient labels, especially for sauces like soy or tamari, which can sometimes have hidden gluten. Additionally, anticipate that the creamy dressing may need a honey replacement for vegan diets—using maple syrup works beautifully!
Crispy Rice Salmon Cucumber Salad with Creamy Asian Dressing Delight
Ingredients
Equipment
Method
- Preheat your oven to 400°F (200°C).
- Cook your rice according to package instructions, then allow it to cool completely. Combine with soy sauce, chili crisp, and sesame oil in a bowl.
- Spread the rice on a lined baking sheet and bake for 30–40 minutes, flipping halfway through.
- Season salmon fillets with salt and pepper, place them on a baking sheet, and bake for 13–14 minutes until flaky.
- Shred cooked salmon into bite-sized pieces.
- In a bowl, combine chopped cucumbers, edamame, green onions, avocado, shredded salmon, and crispy rice. Toss gently.
- For the dressing, blend olive oil, toasted sesame oil, soy sauce, rice vinegar, honey, ground ginger, and kosher salt until smooth.
- Drizzle the dressing over the salad and toss once more. Serve immediately or store in the fridge with dressing separate.