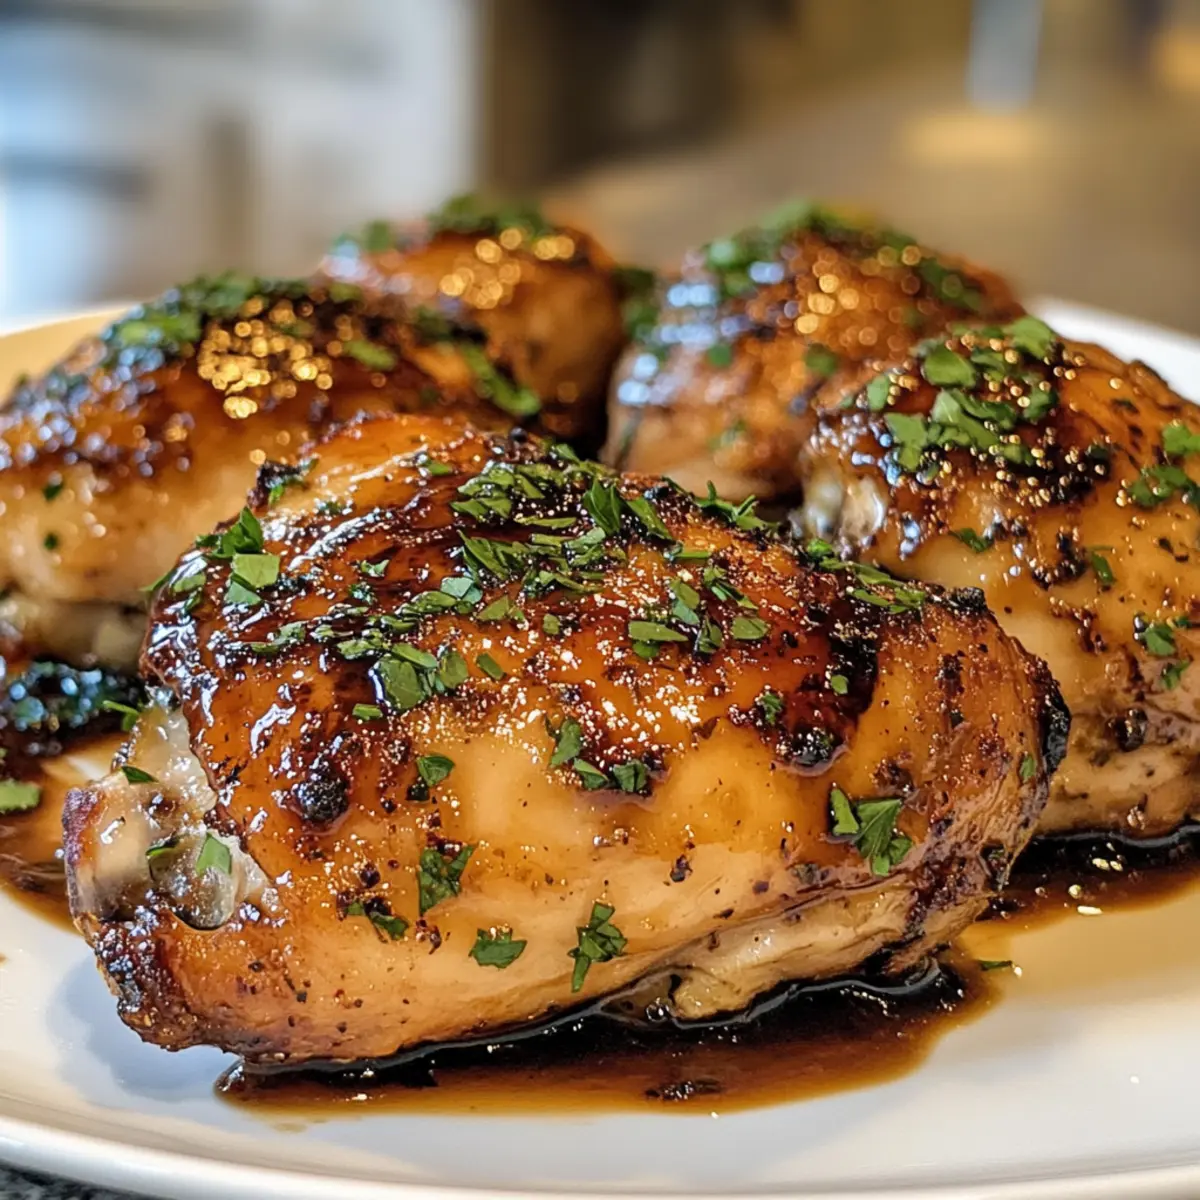
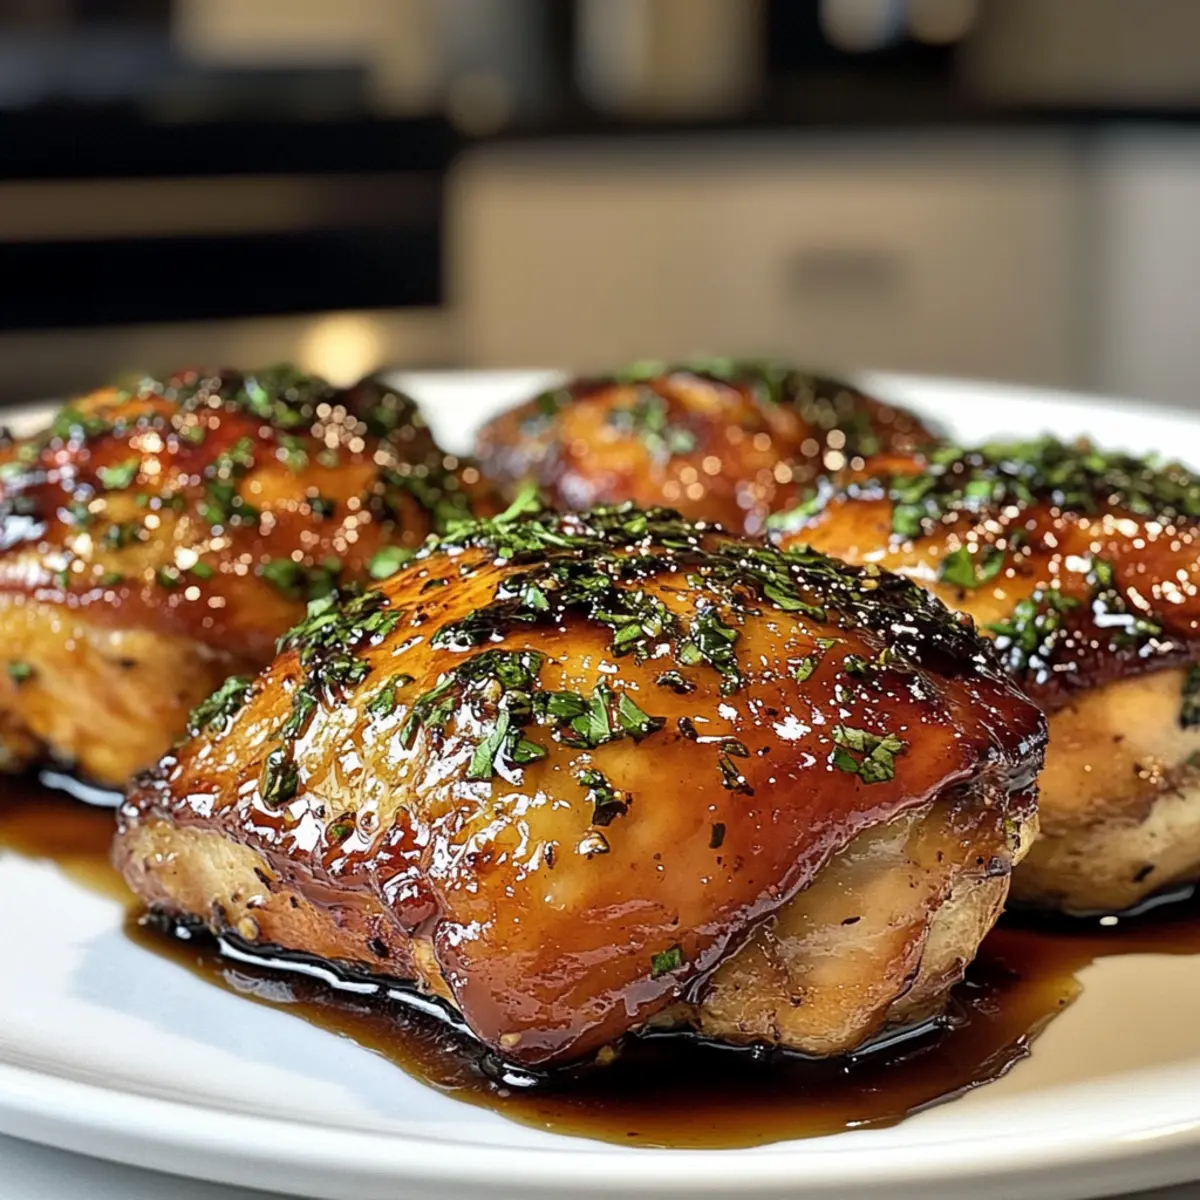
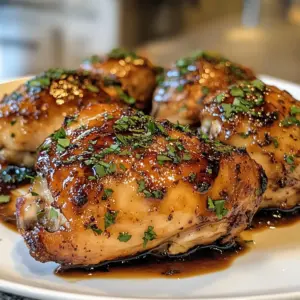
There’s nothing quite like the aroma of meatballs sizzling in a skillet, is there? As I tossed my Chicken Romano Meatballs into the pan, I knew I was crafting something special. These delightful little bites are bursting with the savory richness of Romano cheese and a perfect blend of fresh herbs and garlic, all brought together in a zingy lemon white wine sauce that’ll elevate your dinner from ordinary to extraordinary. Whether you’re tossing them over pasta, piling them into a hearty sandwich, or enjoying them on their own, these high-protein meatballs are bound to impress. Plus, the gluten-free breadcrumbs ensure everyone can enjoy them without worry. Are you ready to indulge in this comforting Italian favorite? Let’s dive into the recipe!
Why Will You Love Chicken Romano Meatballs?
Flavor Explosion: These meatballs are truly a flavor sensation, with Romano cheese and fragrant herbs that create a mouthwatering experience.
Quick & Easy: With simple ingredients and straightforward steps, you can have a delicious dinner on the table in no time.
Versatile Serving Options: Enjoy them over pasta, in a sandwich, or alongside a fresh salad for an equally delightful meal.
Crowd-Pleasing Treat: Perfect for family dinners or entertaining, these meatballs are sure to be a hit with everyone at the table! For an extra comfort food twist, try pairing them with Homemade Chicken Pot or a side of Savory Chicken Cheesy.
Gluten-Free Friendly: With options for gluten-free breadcrumbs, everyone can enjoy this hearty dish without worry!
Chicken Romano Meatballs Ingredients
• Enjoy making these high-protein Chicken Romano Meatballs with ease!
For the Meatballs
- Ground Chicken – Main protein source providing a light and moist texture; substitute with turkey for a leaner option.
- Garlic (2 cloves, minced) – Adds aromatic flavor; fresh garlic is recommended for best taste.
- Egg (1 large, lightly beaten) – Binds the meat mixture, ensuring the meatballs hold together.
- Seasoned Bread Crumbs (½ cup) – Provides structure and a slight crunch; use gluten-free breadcrumbs for a gluten-free version.
- Romano Cheese (⅓ cup) – Adds a rich, salty flavor; Parmesan cheese can be used as a substitute.
- Chopped Fresh Parsley (¼ cup) – Introduces freshness; alternatively, use basil or cilantro.
- Dried Basil (½ teaspoon) – Offers an herby backdrop; can be substituted with Italian seasoning.
- Dried Oregano (½ teaspoon) – Enhances the Italian flavor profile; thyme is a good alternative.
- Crushed Red Pepper Flakes (½ teaspoon) – Adds mild heat; adjust according to taste preference.
- Salt (½ teaspoon) – Essential for overall flavor.
- Pepper (½ teaspoon) – Enhances seasoning.
For the Sauce
- Shallot (1, diced) – Provides sweetness and depth of flavor in the sauce.
- Chicken Broth (1 cup) – Forms the base of the sauce, infusing the dish with flavor.
- Dry White Wine (⅓ cup, such as Chardonnay) – Adds acidity and balances the sauce; apple cider vinegar can be used for a non-alcoholic option.
- Lemon (1, sliced) – Freshness and acidity to brighten the dish.
Step‑by‑Step Instructions for Chicken Romano Meatballs
Step 1: Preheat the Oven
Begin by preheating your oven to 350°F (175°C). This ensures that your Chicken Romano Meatballs will bake evenly and thoroughly, achieving that perfect, juicy texture. While the oven heats, you can gather your ingredients to make the mixing process smoother and quicker.
Step 2: Mix the Meatball Ingredients
In a large mixing bowl, combine ground chicken, minced garlic, beaten egg, seasoned breadcrumbs, Romano cheese, chopped parsley, dried basil, dried oregano, crushed red pepper flakes, salt, and pepper. Use your hands to gently mix until just combined, being careful not to overmix, as this helps keep the meatballs tender and flavorful.
Step 3: Shape the Meatballs
With your mixture ready, use your hands to form the meat mixture into 1-inch meatballs. Aim for about 24 meatballs in total. Place the shaped meatballs on a plate or baking tray, ensuring they are evenly spaced. This allows for proper browning when cooked, enhancing their flavor.
Step 4: Brown the Meatballs
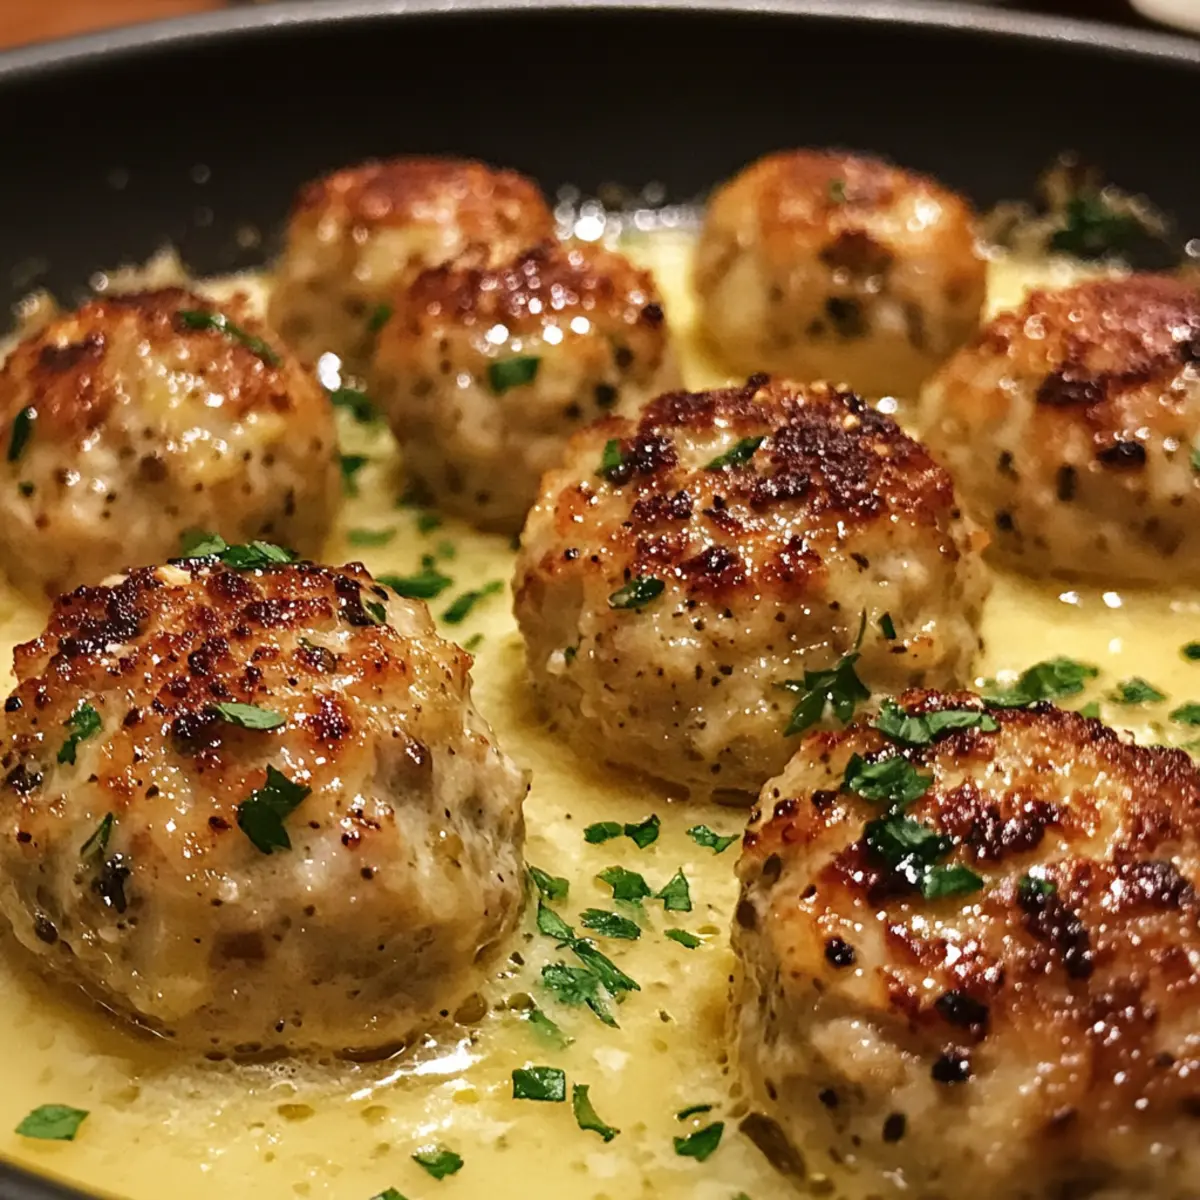
Heat a splash of olive oil in an oven-safe skillet over medium heat. Once hot, add the meatballs to the skillet, making sure they are not overcrowded. Sear them for about 5-6 minutes, turning occasionally until they are golden brown on the outside but not fully cooked through, as they will continue baking in the oven.
Step 5: Sauté the Aromatics
Carefully remove the browned meatballs from the skillet and set them aside on a plate. In the same skillet, add the diced shallot and sauté for a minute or two, followed by minced garlic and a pinch of salt, until they are softened and fragrant—about 3 minutes—creating a beautifully aromatic base for your sauce.
Step 6: Create the Sauce
Pour in the dry white wine and let it simmer for about 2 minutes, allowing the alcohol to cook off and the flavors to concentrate. Next, add the lemon slices and chicken broth, stirring well to combine, creating a zesty sauce that will elevate the Chicken Romano Meatballs to the next level.
Step 7: Finish Baking the Meatballs
Return the meatballs to the skillet, carefully nestling them into the sauce. Cover the skillet and transfer it to the preheated oven. Bake for about 15 minutes, or until the meatballs are cooked through and reach an internal temperature of 165°F (74°C), ensuring they’re both safe and delicious.
Step 8: Serve and Enjoy
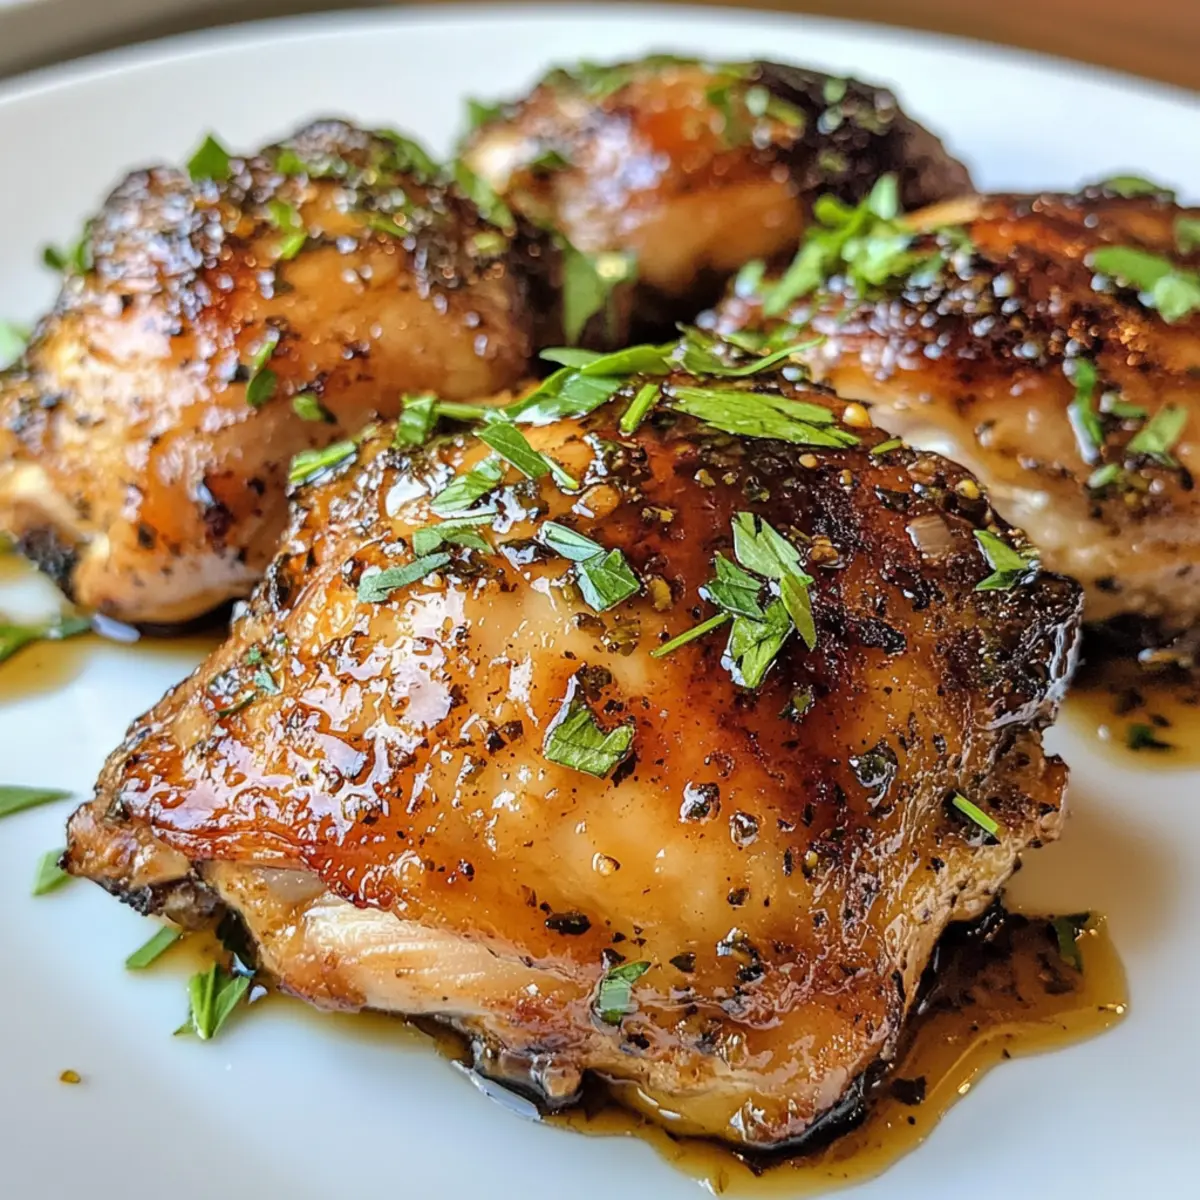
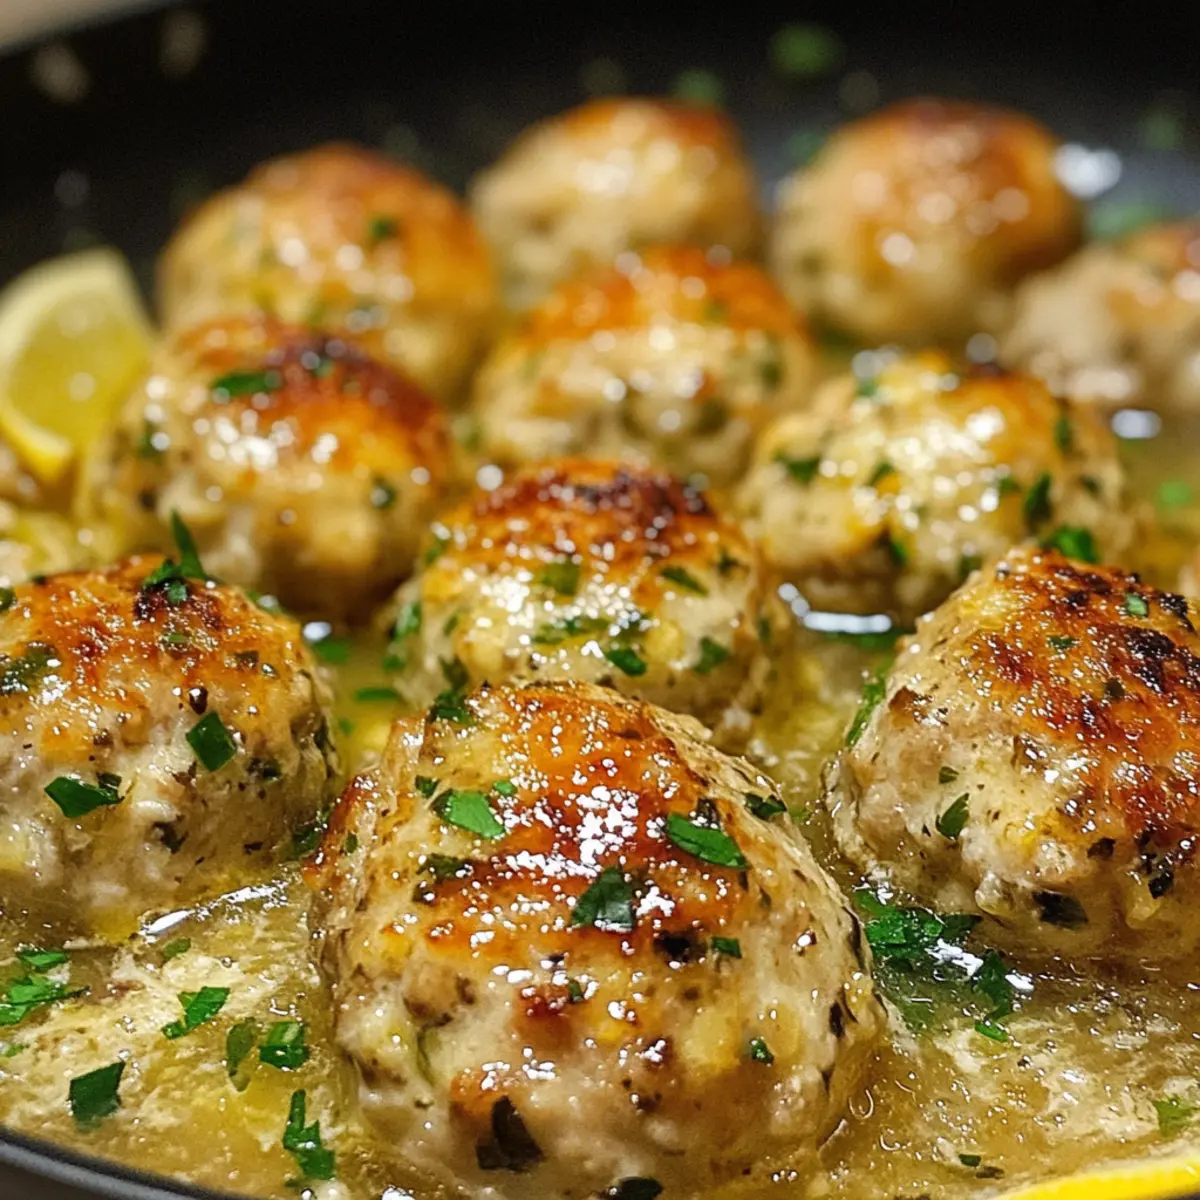
Once baked, remove the skillet from the oven and let it cool slightly before serving. You can enjoy the Chicken Romano Meatballs over pasta, in a sandwich, or alongside a fresh salad. The tender meatballs, combined with the zesty lemon white wine sauce, create a mouthwatering dish that is sure to impress!

Expert Tips for Chicken Romano Meatballs
- Don’t Overmix: Gently combine the ingredients to maintain a tender texture; overmixing can lead to tough meatballs.
- Preheat Properly: Ensure your oven is fully heated before baking to achieve optimal cooking results for your Chicken Romano Meatballs.
- Searing is Key: Brown the meatballs before baking to enhance flavor; avoid crowding them in the skillet for perfect browning.
- Check Temp: Always check the internal temperature; meatballs should reach 165°F (74°C) for safe eating.
- Experiment with Herbs: Feel free to substitute herbs based on what you have on hand; fresh herbs can really elevate the dish!
- Sauce Texture: Aim for a balanced sauce; if it’s too thick, add a splash more chicken broth for a silky finish.
What to Serve with Chicken Romano Meatballs?
There’s something magical about pairing your dinner with the perfect sides to enhance every bite and create an unforgettable meal experience.
-
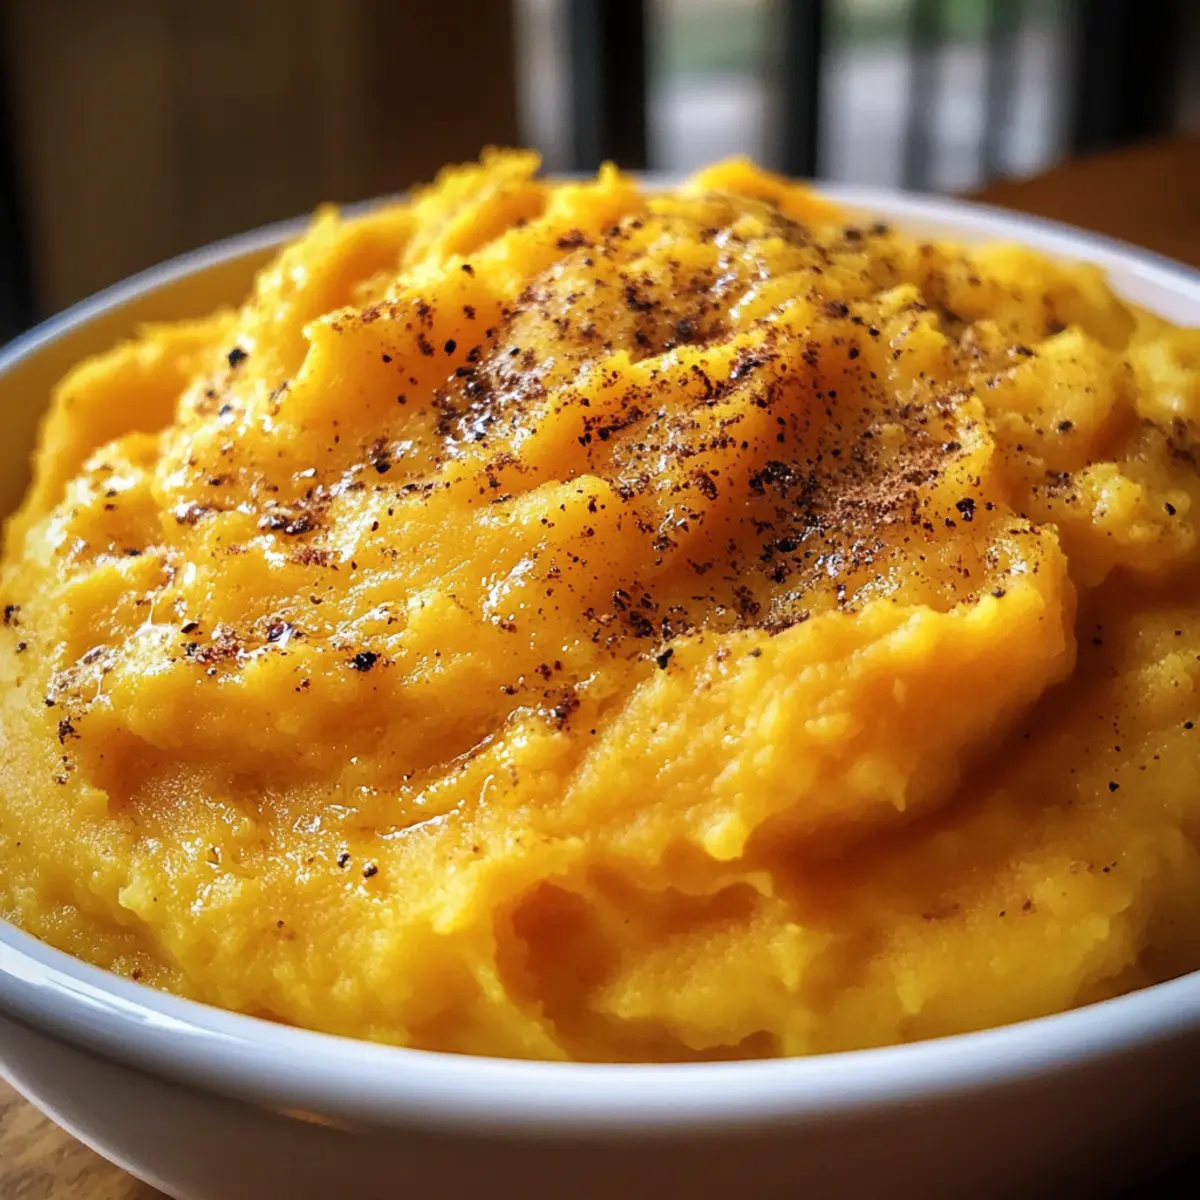
Creamy Mashed Potatoes: Their buttery richness provides a luscious contrast to the zesty meatballs, creating a mouthwatering combination that warms the soul.
-
Garlic Bread: Crunchy, warm slices of garlic bread offer a delightful crunch and make perfect vessels for sopping up that delicious lemon white wine sauce.
-
Zucchini Noodles: For a lighter, low-carb option, spiralized zucchini adds a fresh touch while effortlessly absorbing the flavors of the sauce.
-
Fresh Garden Salad: Crisp greens topped with cherry tomatoes and a tangy vinaigrette bring a refreshing balance, brightening up every savory bite.
-
Roasted Vegetables: Colorful medleys of roasted bell peppers, carrots, and asparagus add vibrant flavor and textures, creating a more wholesome meal.
-
Risotto: Creamy risotto, infused with herbs or lemon zest, transforms the plate into a cozy Italian delight that pairs brilliantly with the savory meatballs.
-
Chardonnay: A chilled glass of chilled Chardonnay echoes the wine in your sauce, enhancing the meal’s flavors for a harmonious dining experience.
How to Store and Freeze Chicken Romano Meatballs
Fridge: Keep leftover Chicken Romano Meatballs in an airtight container in the refrigerator for up to 3 days to retain their juicy flavor.
Freezer: For longer storage, freeze the meatballs in a single layer on a baking sheet, then transfer to a freezer-safe bag, where they’ll last up to 3 months.
Reheating: When ready to eat, reheat frozen meatballs straight from the freezer in the oven at 350°F (175°C) for about 20 minutes or until heated through.
Thawing: To thaw, place the meatballs in the refrigerator overnight before reheating or use the microwave for a quicker option; just ensure they reach 165°F (74°C) before serving.
Chicken Romano Meatballs Variations
Customize your Chicken Romano Meatballs to suit your tastes and dietary needs with these delicious twists!
- Ground Turkey: Swap out ground chicken for turkey for a leaner option without losing any flavor.
- Pork Alternative: Use ground pork instead of chicken to bring a rich, savory flavor to your meatballs.
- Gluten-Free Delight: Opt for gluten-free breadcrumbs easily to make this dish friendly for gluten sensitivities.
- Herb Change-Up: Replace fresh parsley with basil or cilantro for a different herbal signature that can bring a fresh vibe.
- Zucchini Noodles: For a low-carb option, serve your meatballs over spiralized zucchini noodles instead of traditional pasta.
- Extra Spice: If you like a bit more kick, increase the crushed red pepper flakes or add diced jalapeños to the mix!
- Pesto Infusion: Stir in some store-bought or homemade pesto into the meat mixture for a burst of herbaceous flavor.
- Creamy Sauce Twist: Add a splash of cream or a dollop of sour cream to the sauce for a richer, velvety texture that pairs beautifully with the meatballs.
Feel free to explore these options, and let your taste buds guide you! And if you’re looking for other chicken recipes, be sure to check out Honey Chili Chicken or the comforting Homemade Chicken Rolls. Enjoy your culinary adventure!
Make Ahead Options
These Chicken Romano Meatballs are perfect for meal prep enthusiasts! You can prepare the meatball mixture up to 24 hours in advance, simply combining all the ingredients and shaping the meatballs, then refrigerate them in an airtight container. The sauce can also be made ahead of time; sauté the shallots and garlic, then add the broth, wine, and lemon, and store it in the fridge for up to 3 days. When you’re ready to serve, just reheat the sauce in the skillet, add the chilled meatballs, and bake as directed for a dinner that’s just as delicious with minimal effort!

Chicken Romano Meatballs Recipe FAQs
What are the best tips for selecting ripe ingredients?
Absolutely! For the freshest flavor, choose firm, bright lemons with smooth skin to brighten your dish. When selecting garlic, opt for firm bulbs without dark spots for maximum aroma. Fresh herbs should be vibrant and fragrant; wilted ones won’t provide the same punch!
How do I properly store Chicken Romano Meatballs?
You can keep leftover Chicken Romano Meatballs in an airtight container in the refrigerator for up to 3 days. To maintain their flavor and moisture, ensure that they’re completely cooled before sealing them up. Reheat in the oven or microwave until hot throughout.
Can I freeze Chicken Romano Meatballs, and what’s the process?
Absolutely! For freezing, first, arrange the meatballs in a single layer on a baking sheet and freeze them for about 1-2 hours until solid. Once they’re frozen, transfer them to a freezer-safe plastic bag, where they can be stored for up to 3 months. Just remember to label the bag with the date!
What should I do if my meatballs are too dry?
If your Chicken Romano Meatballs turn out too dry, it could be from overmixing the ingredients or cooking them too long. For the next batch, gently mix the ingredients just until combined. If reheating leftovers, try adding a splash of chicken broth or the lemon white wine sauce while warming to keep them juicy.
Are there any dietary considerations for these meatballs?
For those concerned about allergies, this recipe can be made gluten-free by using gluten-free breadcrumbs instead of regular ones. The ingredients are otherwise fairly inclusive, but always check labels for hidden allergens, particularly when using pre-made items like breadcrumbs or sauces.
How long should I cook Chicken Romano Meatballs to ensure they’re safe to eat?
Make sure to cook your Chicken Romano Meatballs until they reach an internal temperature of 165°F (74°C). Using a meat thermometer is the best way to confirm this. Bake them for about 15 minutes after browning, and they should come out juicy and safe to enjoy!
Savory Chicken Romano Meatballs in Zesty Lemon Sauce
Ingredients
Equipment
Method
- Preheat your oven to 350°F (175°C).
- In a large mixing bowl, combine ground chicken, minced garlic, beaten egg, seasoned breadcrumbs, Romano cheese, chopped parsley, dried basil, dried oregano, crushed red pepper flakes, salt, and pepper. Use your hands to mix until just combined.
- Form the meat mixture into 1-inch meatballs and place them on a plate or baking tray.
- Heat olive oil in an oven-safe skillet over medium heat. Add the meatballs, sear them for about 5-6 minutes until golden brown.
- Remove the browned meatballs and set aside. In the same skillet, sauté diced shallot for a minute, then add minced garlic and a pinch of salt until softened.
- Pour in dry white wine, simmer for 2 minutes, then add lemon slices and chicken broth, stirring to combine.
- Return the meatballs to the skillet, cover, and bake for about 15 minutes until fully cooked and reach an internal temperature of 165°F (74°C).
- Let skillet cool slightly before serving. Enjoy over pasta, in a sandwich, or alongside a salad.