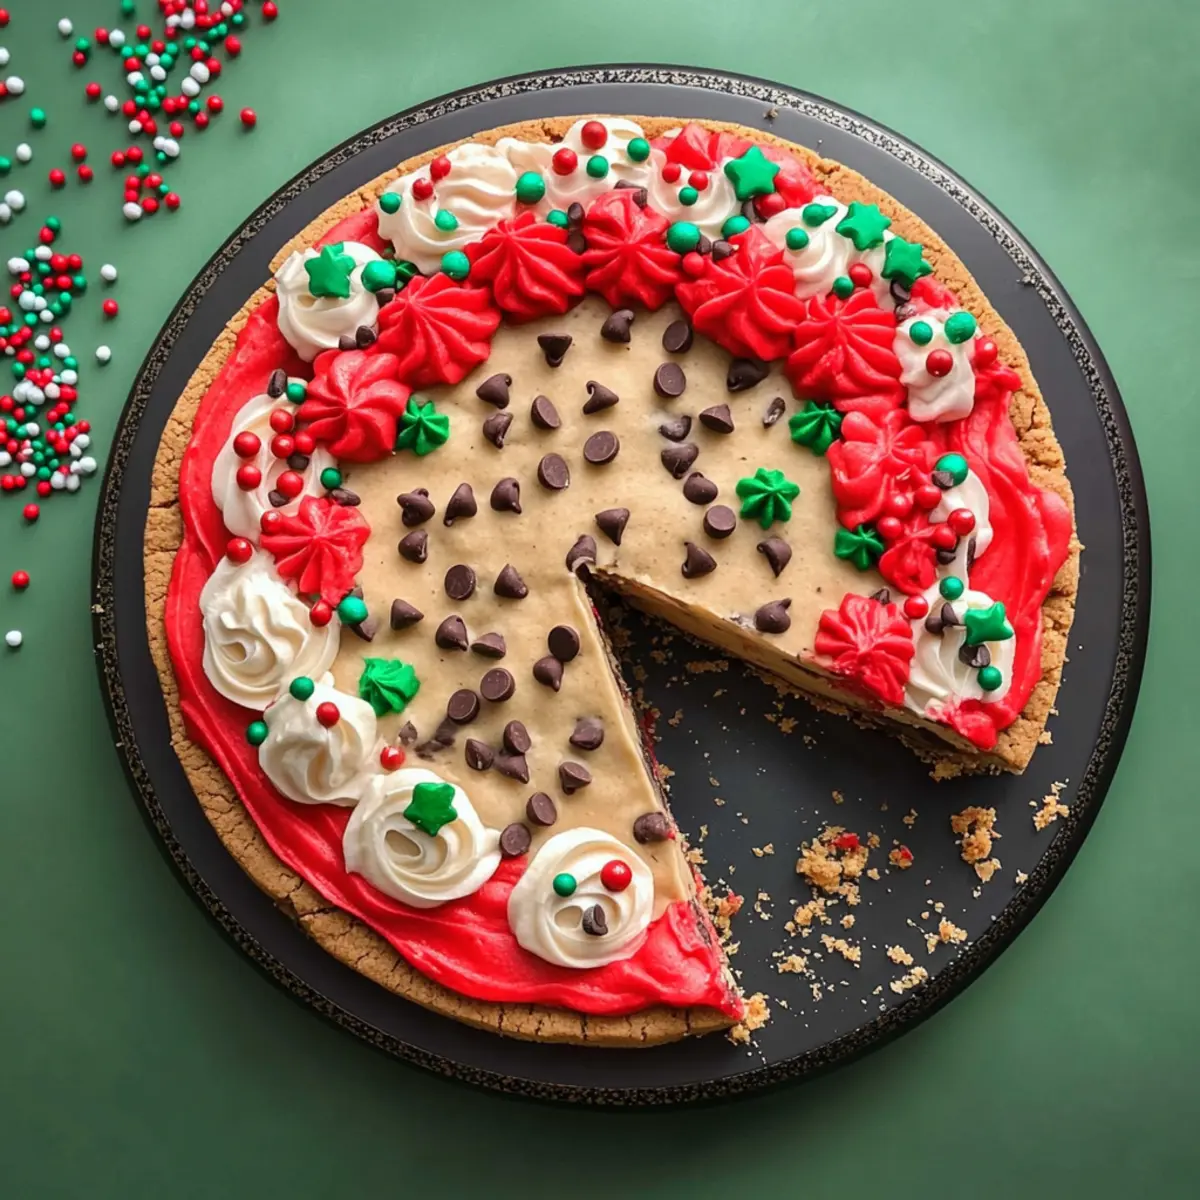
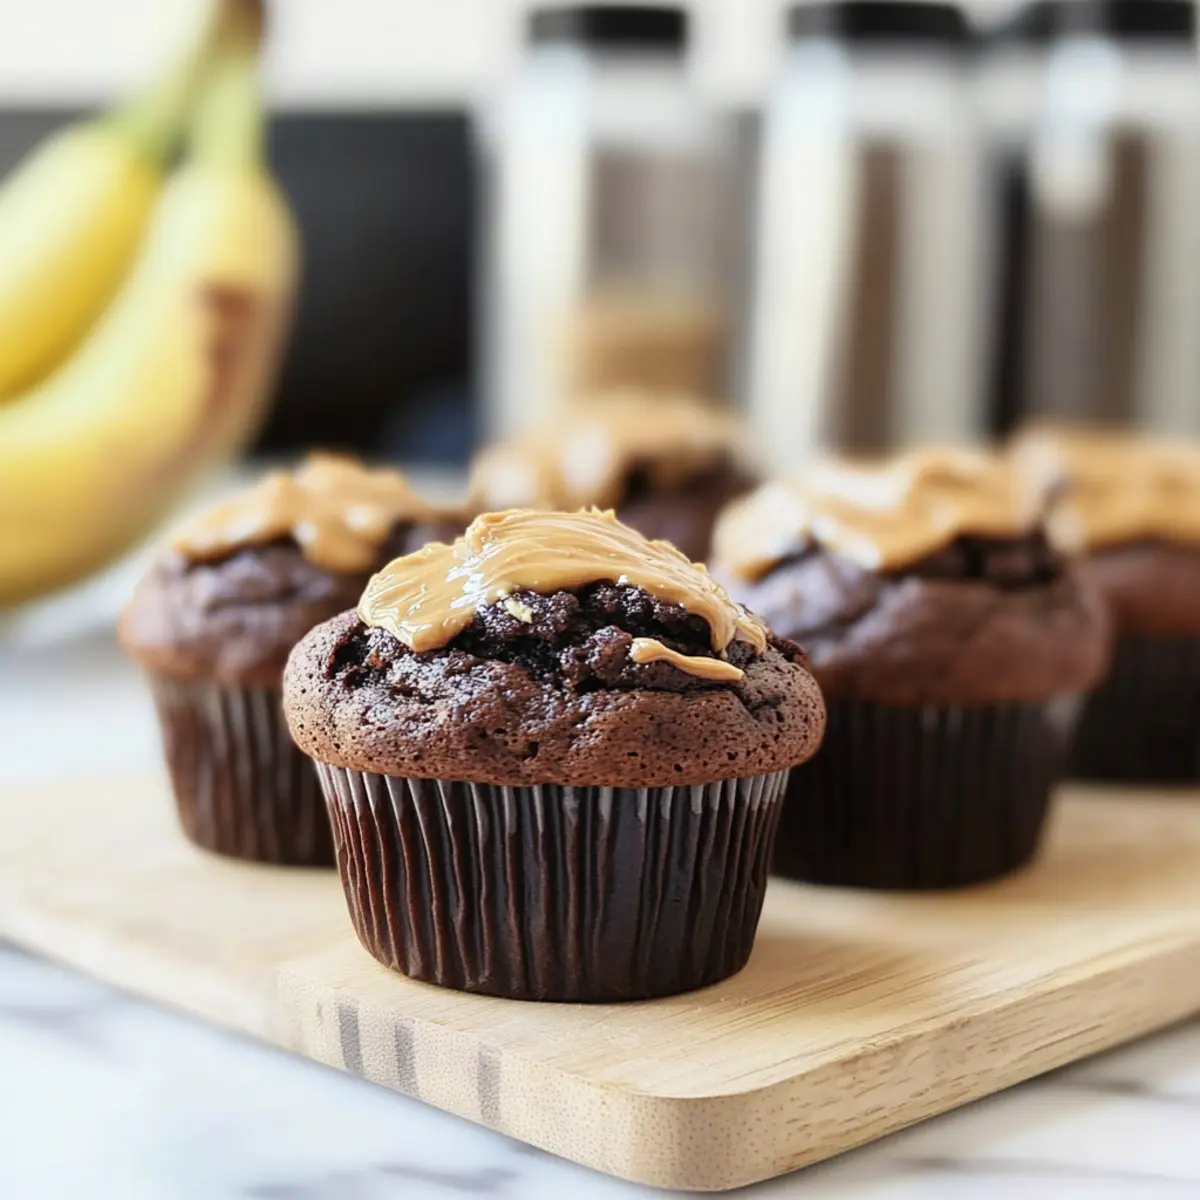
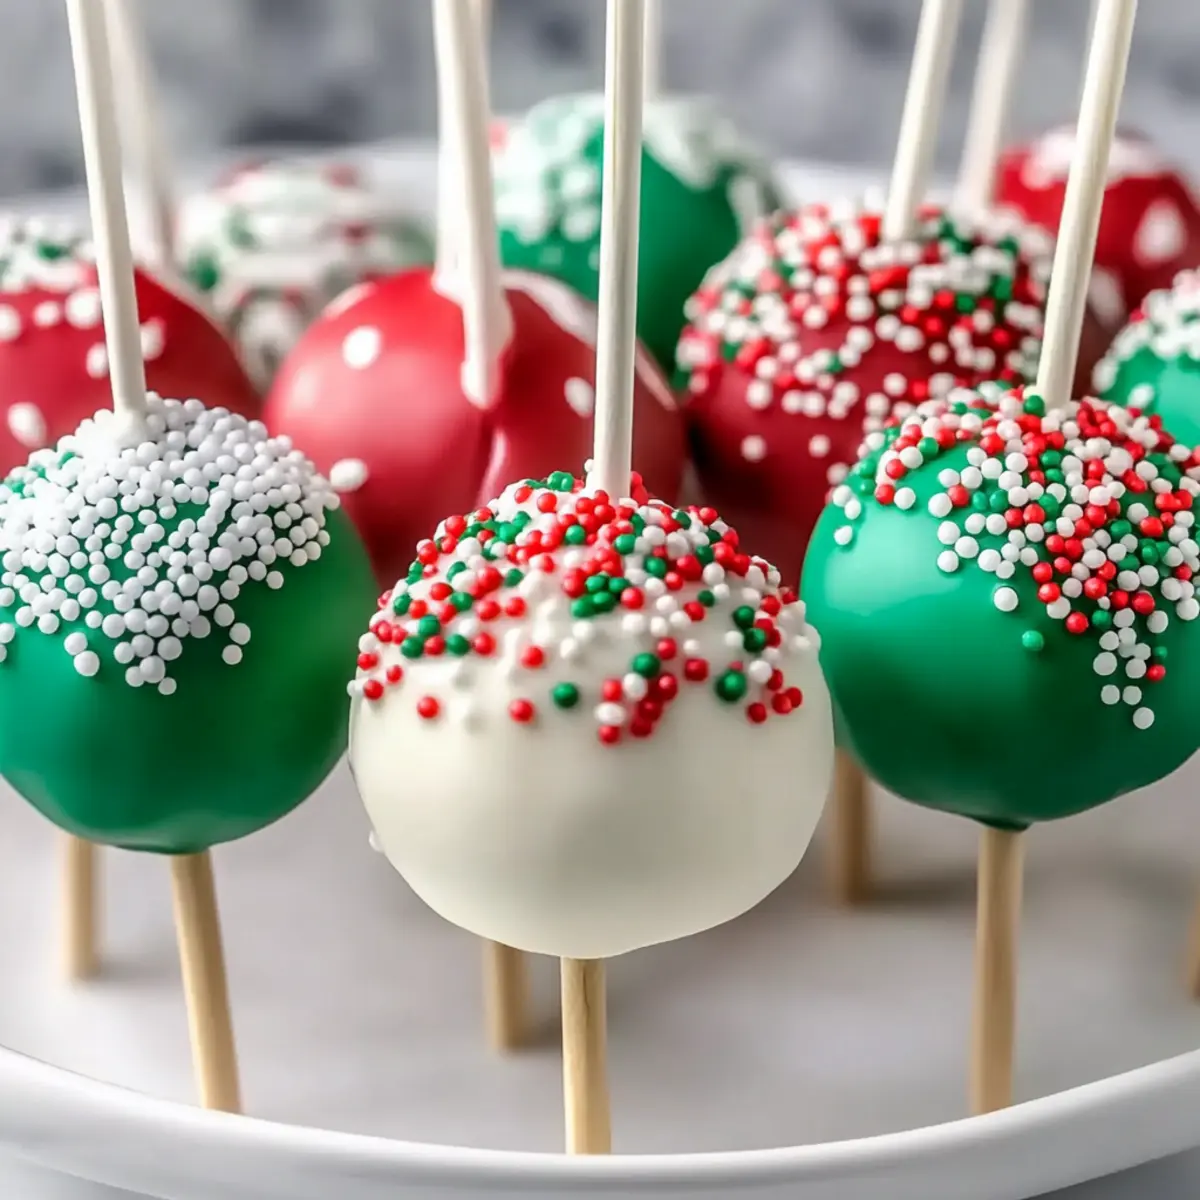
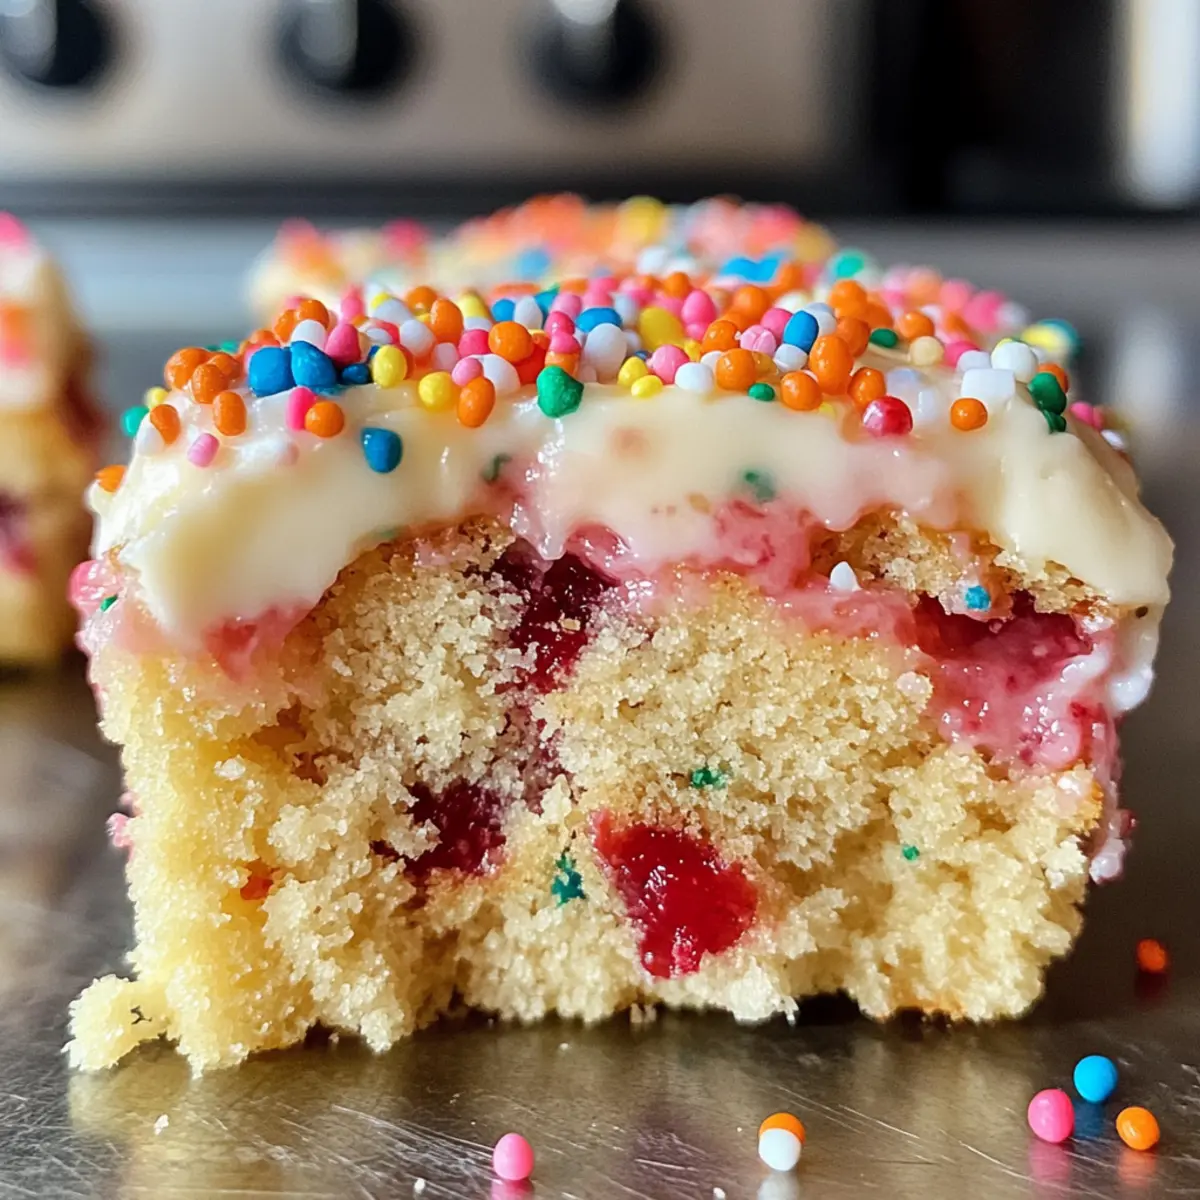
As I glanced at the festive spread on my dining table, I suddenly realized I needed a light, sweet treat to bring it all together. Enter the Easy No-Bake Nilla Holiday Cake Bites—delightfully moist and bursting with citrusy goodness. These little cakes cleverly transform Nilla wafers into a showstopping dessert that will steal the spotlight at any holiday gathering. With their simple preparation and endless topping possibilities, they’re perfect for creating lasting memories with loved ones. Whether it’s a cozy night in or a bustling cookie exchange, you’ll find that these Nilla Holiday Cake Bites are the ultimate festive treat that even the busiest home chef can whip up in no time. Ready to impress your friends and family this season? Let’s dive into this cheerful recipe together!
Why Are Nilla Cake Bites a Must-Try?
Easy Preparation: What’s better than a no-bake dessert? These Nilla Holiday Cake Bites require minimal effort, making them accessible for all home chefs.
Flavor Burst: The delightful combination of orange juice and raspberry jam offers a refreshing zing, elevating the classic dessert experience for everyone.
Versatile Toppings: Personalize each bite with your favorite toppings—sprinkles, drizzled chocolate, or crushed nuts—to cater to your guests’ tastes. Need ideas? Check out our Cream Puffs Vanilla for more festive inspiration!
Perfect for Sharing: Ideal for holiday parties or cozy gatherings, these bites are easy to serve and share, ensuring smiles all around.
Freshness Guaranteed: Store these treats in the fridge for a week, perfect for those last-minute cravings or unexpected guests! You’ll also love the light texture that won’t leave you feeling heavy after indulging.
These cake bites will undoubtedly become a cherished favorite, spreading joy this holiday season!
Nilla Holiday Cake Bites Ingredients
For the Cake Bites
• NILLA Wafers – Use 36 wafers—these create the layers.
• Orange Juice – Adds moisture and a hint of citrus flavor; substitutable with lemon juice for a different zest.
• Raspberry Jam – Fills the layers for sweetness and texture; various fruit jams can be used for flavor variety.
For the Coating
• Vanilla Candy Wafers – Coating for the cake bites that adds sweetness; chocolate melting wafers can be a substitute.
• Vegetable Oil – Mixed into melted candy wafers to achieve a smooth coating; can omit when using white baking chocolate.
For the Decorations
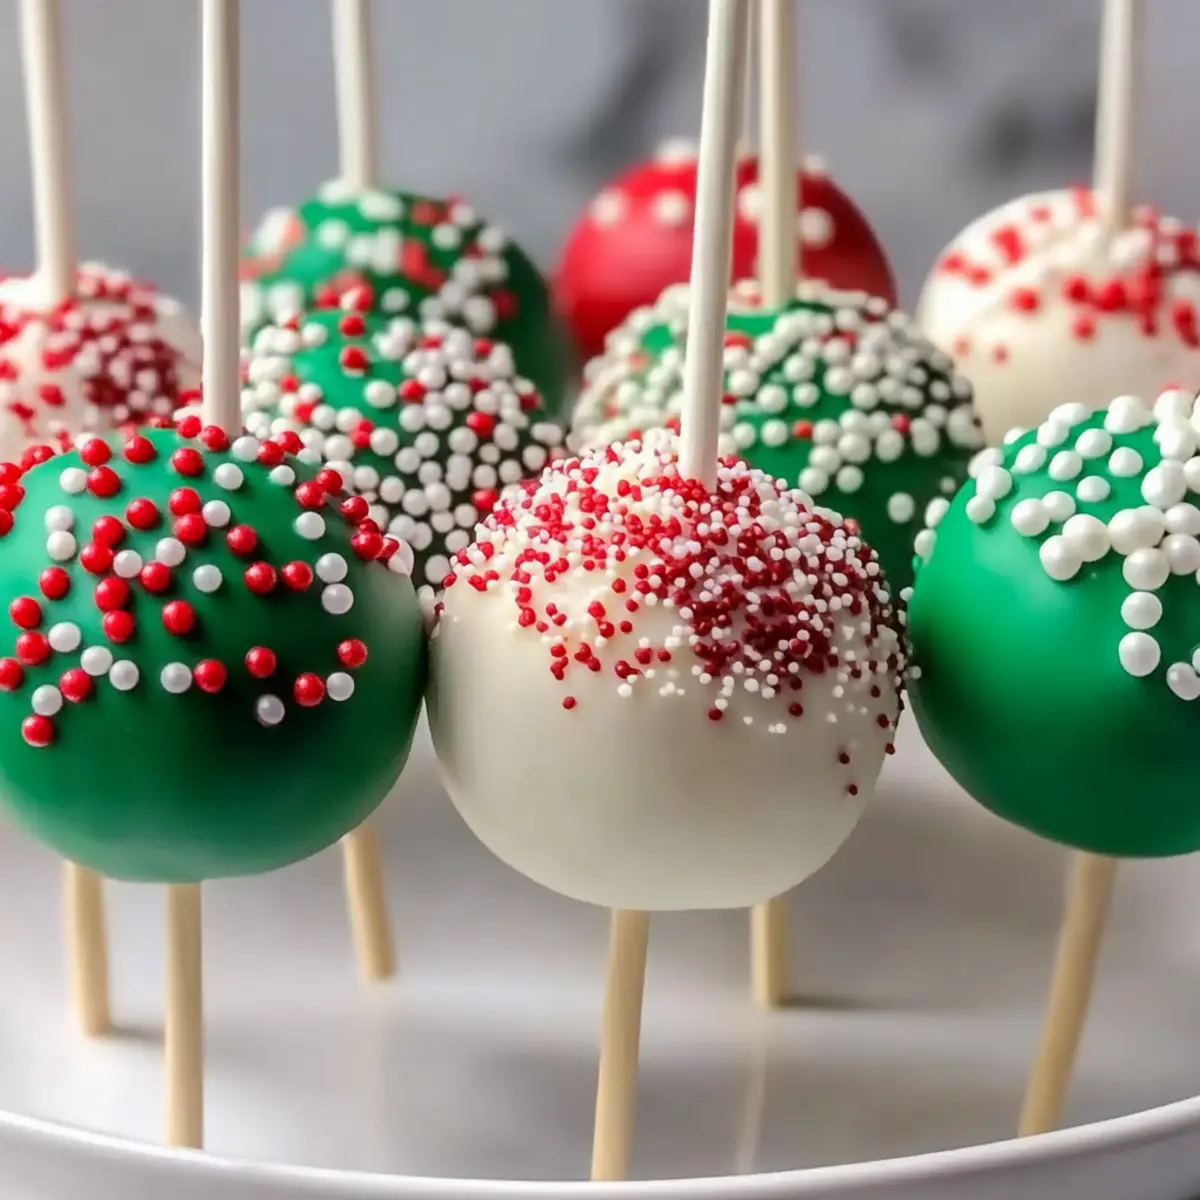
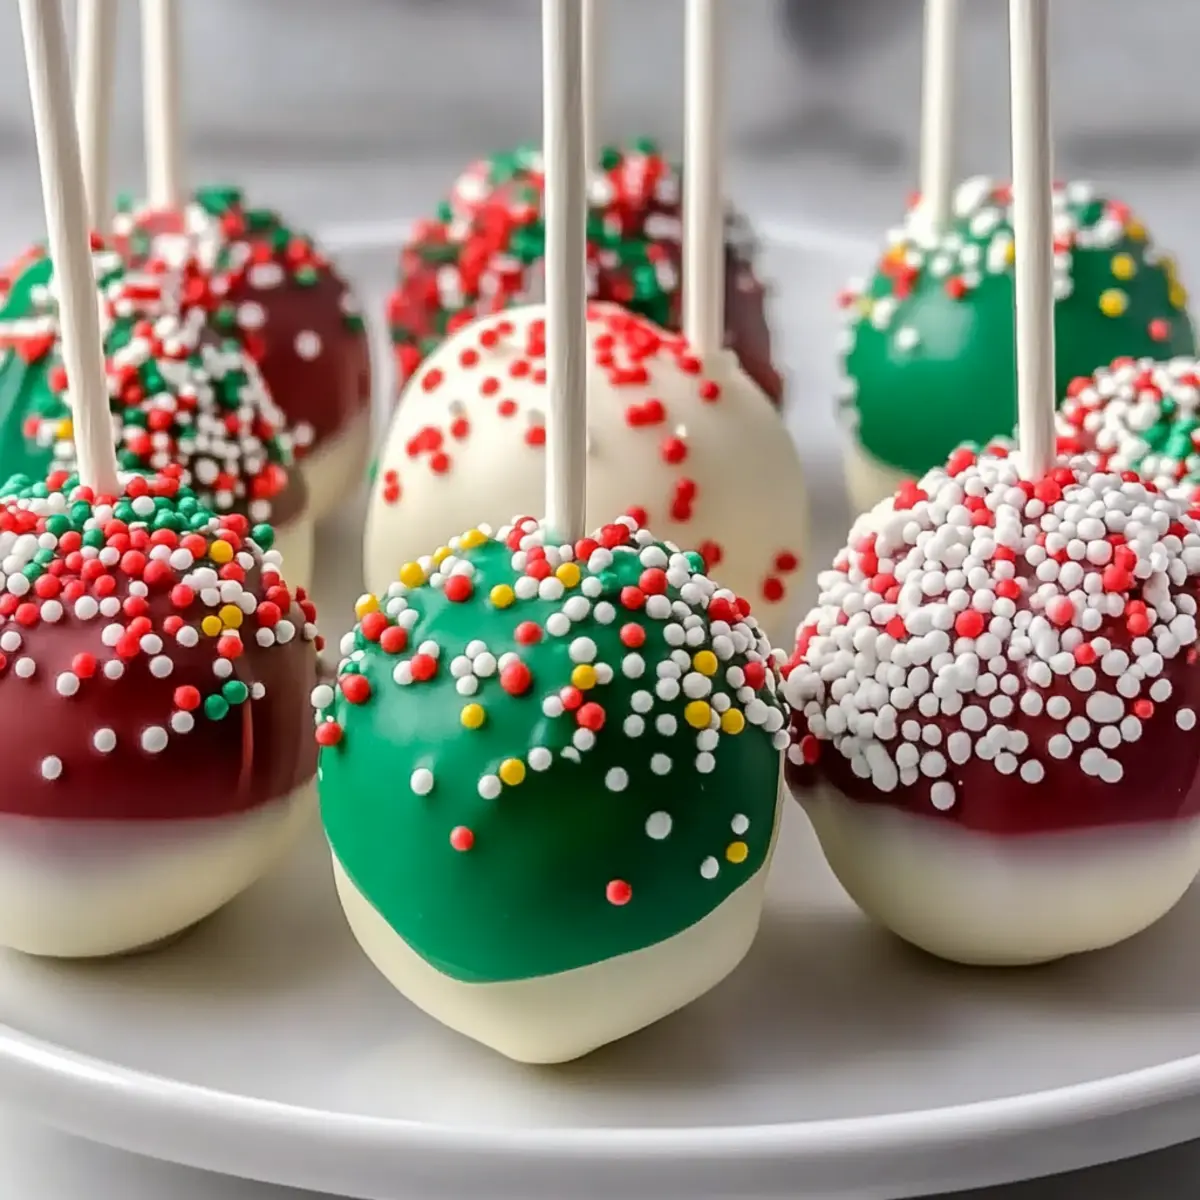
• Assorted Decorations – Custom toppings to personalize each cake bite; suggestions include sprinkles, drizzled chocolate, or crushed nuts.
These delightful Nilla Holiday Cake Bites are not only easy to prepare but also promise a delicious treat perfect for your holiday gatherings!
Step‑by‑Step Instructions for Nilla Holiday “Cake” Bites
Step 1: Prepare the Wafer Layers
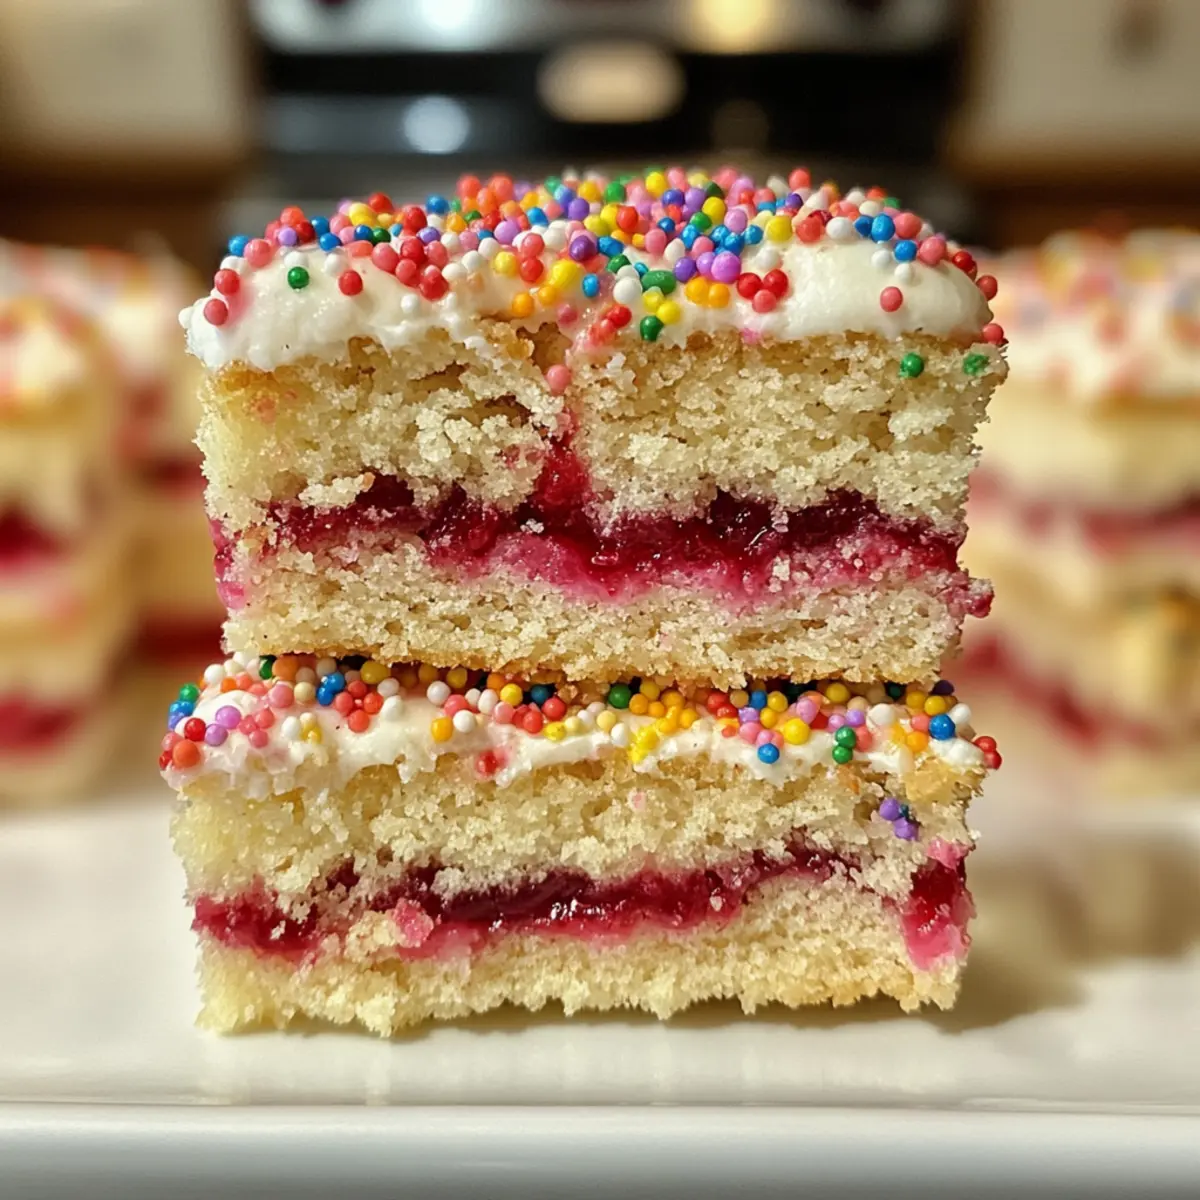
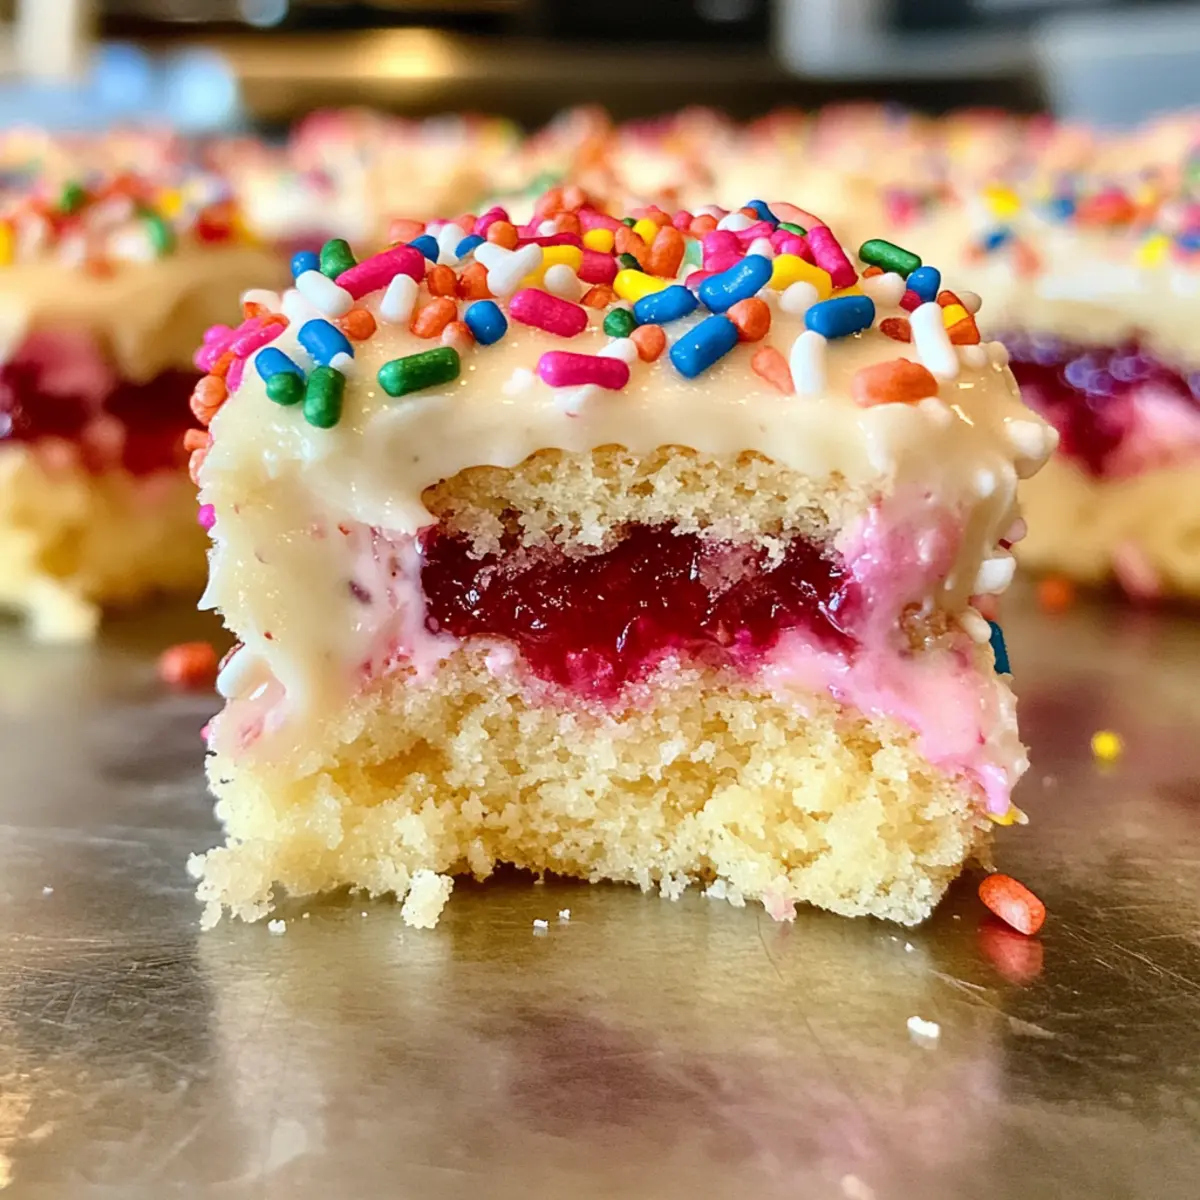
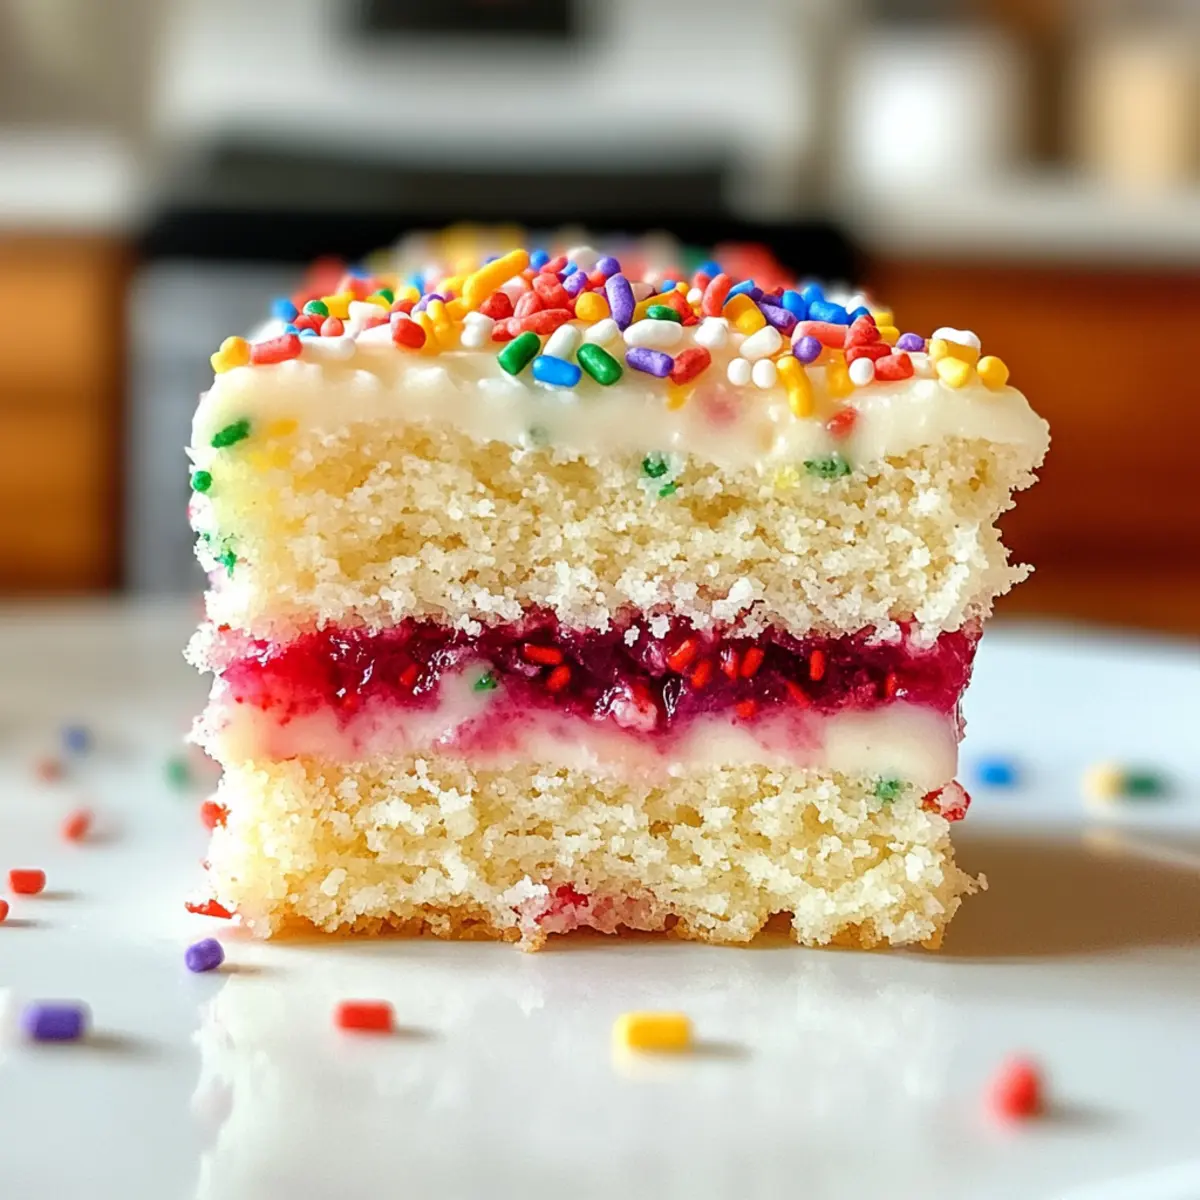
Start by laying out 24 NILLA Wafers on a clean work surface. Brush the flat sides lightly with orange juice for moisture, then carefully spread raspberry jam on half of them, ensuring a thin, even layer. The jam will add sweetness and tang to the Nilla Holiday “Cake” Bites, so be gentle but thorough!
Step 2: Stack the Wafer Layers
On a waxed paper-covered baking sheet, stack the remaining NILLA Wafers with the rounded sides facing up. Take two of the jam-topped wafers (jam sides down) and place them on top of each stacked wafer. Repeat this process until all wafers are used, and then refrigerate the stacks for 6 hours or overnight. This will help the layers firm up nicely.
Step 3: Melt the Coating
Once the wafers have chilled, it’s time to melt the vanilla candy wafers. Follow the package instructions to melt them in a microwave-safe bowl until smooth, stirring frequently. Mix in a touch of vegetable oil to enhance the texture of the coating. You want the mixture glossy and fluid for an even dip, ideal for the Nilla Holiday “Cake” Bites.
Step 4: Coat the Cake Bites
Take each stacked wafer carefully and dip it into the melted candy mixture, ensuring it’s fully coated. Allow any excess coating to drip off before returning the coated bites back onto the baking sheet. Work quickly, as the coating begins to set once it cools, and consider decorating them immediately with your desired toppings, like sprinkles or crushed nuts.
Step 5: Chill Until Firm
After coating all the Nilla Holiday “Cake” Bites, place the baking sheet back in the refrigerator for an additional 30 minutes. This will allow the candy coating to firm up, giving your bites a nice, crisp outside. Once set, they’ll be ready to enjoy as a sweet and festive treat!
Step 6: Store and Serve
Once the coating is firm, carefully transfer the Nilla Holiday “Cake” Bites to an airtight container. Store them in the refrigerator until you’re ready to serve. These delightful little cakes will stay fresh for up to a week, making them perfect for holiday gatherings or cozy nights in with loved ones!
Make Ahead Options
These Nilla Holiday Cake Bites are perfect for meal prep, allowing busy home cooks to save time during the festive season! You can assemble the wafer layers and let them chill in the refrigerator for up to 24 hours before coating, which helps the flavors meld beautifully. Just stack the NILLA Wafers with jam, refrigerate, and they’ll be ready when you are! When you’re ready to finish the recipe, simply melt the vanilla candy wafers, coat the chilled bites, and add your favorite decorations. For the best quality, keep the completed bites refrigerated in an airtight container for up to one week, ensuring they remain just as delicious and fresh when it’s time to serve!
How to Store and Freeze Nilla Holiday Cake Bites
Refrigerator: Store the Nilla Holiday Cake Bites in an airtight container in the fridge for up to one week. This keeps them fresh and ready for snacking anytime!
Freezer: If you’d like to enjoy these bites later, freeze them in a single layer on a baking sheet before transferring to a freezer-safe container. They can last for up to 3 months.
Thawing: To serve, simply remove the desired amount of Nilla Holiday Cake Bites from the freezer and let them thaw in the refrigerator for a few hours before enjoying.
Reheating: These delightful treats are best served chilled or at room temperature. Avoid reheating, as the texture can change after thawing.
What to Serve with Nilla Holiday Cake Bites
Delight your guests with a beautifully cohesive meal that perfectly complements the sweetness of these festive treats.
-
Creamy Vanilla Ice Cream: The smoothness of vanilla ice cream contrasts beautifully with the crunchy coatings, making for a delightful balance.
-
Spiced Apple Cider: Warm spiced apple cider adds a comforting touch that meshes well with the festive flavors of the cake bites.
-
Fresh Fruit Salad: Bright and refreshing, a fruit salad of seasonal berries and citrus provides a fresh counterpoint to the rich sweetness.
-
Chocolate-Covered Strawberries: These luscious berries offer a fun twist, echoing the cake bites’ decorative flair and adding another layer of sweetness.
-
Coffee or Hot Chocolate: Brewed coffee can enhance the flavors of the cake bites, while steaming hot chocolate invokes warmth and coziness on chilly evenings.
-
Sparkling Elderflower Punch: A refreshing and light drink, this punch adds a touch of festivity that beautifully complements the sweet, citrusy bites.
-
Gingerbread Cookies: The spiciness and crunch of gingerbread cookies harmonize nicely, adding a chewy texture that rounds out the dessert spread.
-
Cheesecake Bites: For an indulgent pairing, creamy cheesecake bites offer a rich, yet light dessert with contrasting flavors, enhancing the holiday vibes.
Serve these pairings for an unforgettable holiday gathering, where every bite feels like a celebration!
Expert Tips for Nilla Holiday Cake Bites
-
Layering Caution: Avoid overfilling the jam layers to prevent messy dipping and ensure that the cake bites hold together perfectly.
-
Chill Time Matters: Refrigerate stacked wafers for at least 6 hours to firm them up; this step makes dipping much smoother and less messy.
-
Melt Smoothly: Stir the vanilla candy wafers frequently while melting to avoid burning. The right texture will coat your Nilla Holiday “Cake” Bites effortlessly.
-
Decoration Delight: Get creative with toppings! Encourage the whole family to personalize their cake bites with sprinkles or drizzled chocolate.
-
Storage Secrets: Keep the coated bites in an airtight container in the fridge for a week. This ensures they stay fresh and ready to impress whenever guests arrive!
Nilla Holiday Cake Bites Variations
Feel free to let your creativity shine as you explore these delightful twists on the classic recipe!
-
Fruit Jam Swap: Switch raspberry jam for strawberry or apricot jam to create a unique flavor experience. The sweet and fruity essence will brighten your dessert table!
-
Chocolate Coating: Opt for white or dark chocolate instead of vanilla candy melts for a different taste. The richness of chocolate adds an indulgent layer to these already delightful bites.
-
Creamy Frosting: Enhance these treats with a layer of cream cheese frosting or flavored icing between the wafers. This extra creaminess elevates the flavor profile and makes for a truly luxurious experience!
-
Nutty Addition: Fold in a bit of crushed nuts, like almonds or hazelnuts, into the wafer layers. This little crunch will add texture and depth to your Nilla Holiday Cake Bites, making them irresistibly good!
-
Spiced Twist: Add a dash of cinnamon or nutmeg to the orange juice for a warm, festive touch. The spices will create a cozy atmosphere and complement the holiday flavors beautifully.
-
Snack-sized Treats: Cut the wafers into smaller sizes for bite-sized treats, perfect for sharing. These mini versions are great for gatherings and will vanish quickly!
-
Festive Sprinkles: Get creative with seasonal sprinkles on top for a joyful appearance. Make your dessert table extra colorful and appealing with these cheerful decorations!
For more inspiration, try out our Guilt-Free Energy Bites or indulge in a rich Nutty Vanilla Cake for a delightful holiday spread!
Nilla Holiday Cake Bites Recipe FAQs
How do I choose the right NILLA Wafers for this recipe?
Absolutely! Look for NILLA Wafers that are free of any breakage or dark spots all over. You want them intact to ensure they hold up during the stacking process and provide that perfect layer in your Nilla Holiday Cake Bites.
What is the best way to store Nilla Holiday Cake Bites?
These cake bites should be kept in an airtight container in the refrigerator, where they will stay fresh for up to one week. Make sure the container is sealed tightly to prevent moisture from affecting their delightful texture.
Can I freeze Nilla Holiday Cake Bites?
Very! To freeze, place the prepared Nilla Holiday Cake Bites in a single layer on a baking sheet and allow them to freeze until solid. Then, transfer them to a freezer-safe container or bag. They can last for up to 3 months.
How do I thaw frozen Nilla Holiday Cake Bites?
To thaw, simply remove the desired number of cake bites from the freezer and place them in the refrigerator for a few hours until they are soft. This helps maintain their texture and keeps them delicious.
What should I do if my candy coating isn’t smooth?
If your coating isn’t smooth, don’t worry! Try reheating the melted vanilla candy wafers gradually, stirring frequently, and adding a tiny bit of vegetable oil to improve the consistency. This can help make your Nilla Holiday Cake Bites look beautifully glossy.
Are there any dietary considerations for Nilla Holiday Cake Bites?
When making these Nilla Holiday Cake Bites, be mindful of dietary restrictions. For a nut-free alternative, avoid crushed nuts in your decorations. If allergies are a concern, check that your jam and candy wafers are free from common allergens like gluten, nuts, or dairy, depending on your guest’s needs.
Nilla Holiday Cake Bites: No-Bake Joy for the Season
Ingredients
Equipment
Method
- Prepare the Wafer Layers: Lay out 24 NILLA Wafers on a work surface. Brush flat sides with orange juice, spread raspberry jam on half of them.
- Stack the Wafer Layers: Stack remaining NILLA Wafers rounded sides up. Place jam-topped wafers on top, refrigerate for 6 hours or overnight.
- Melt the Coating: Melt vanilla candy wafers in a microwave-safe bowl until smooth, stirring frequently. Mix in vegetable oil.
- Coat the Cake Bites: Dip each stacked wafer in the melted candy mixture, let excess drip off, then decorate with toppings.
- Chill Until Firm: Refrigerate the coated bites for 30 minutes to firm up the coating.
- Store and Serve: Transfer to an airtight container and store in the fridge until ready to serve.