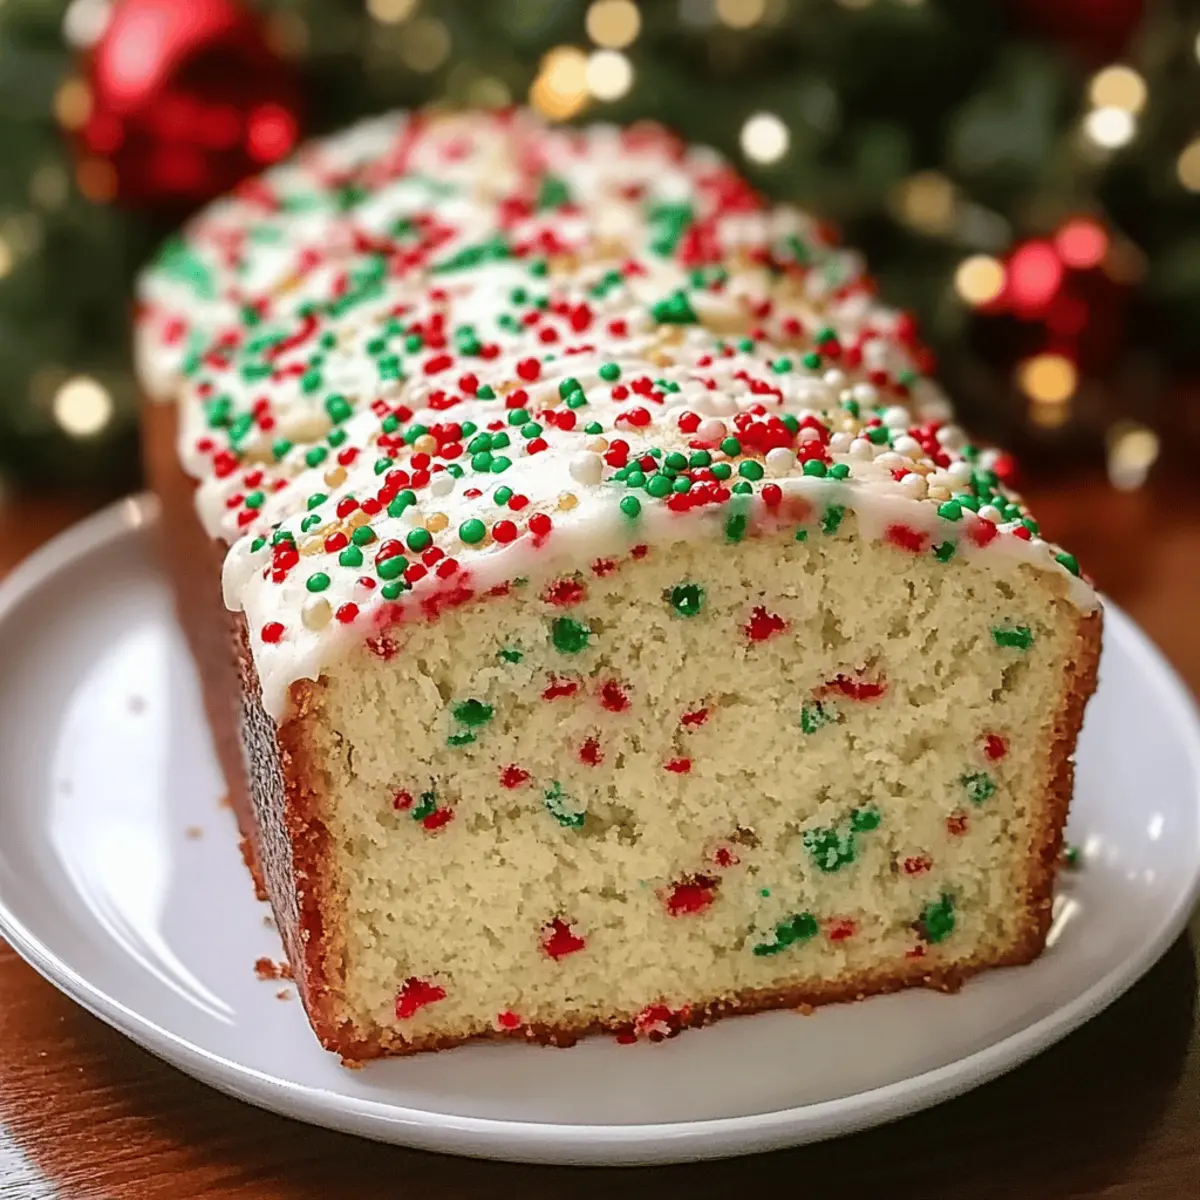
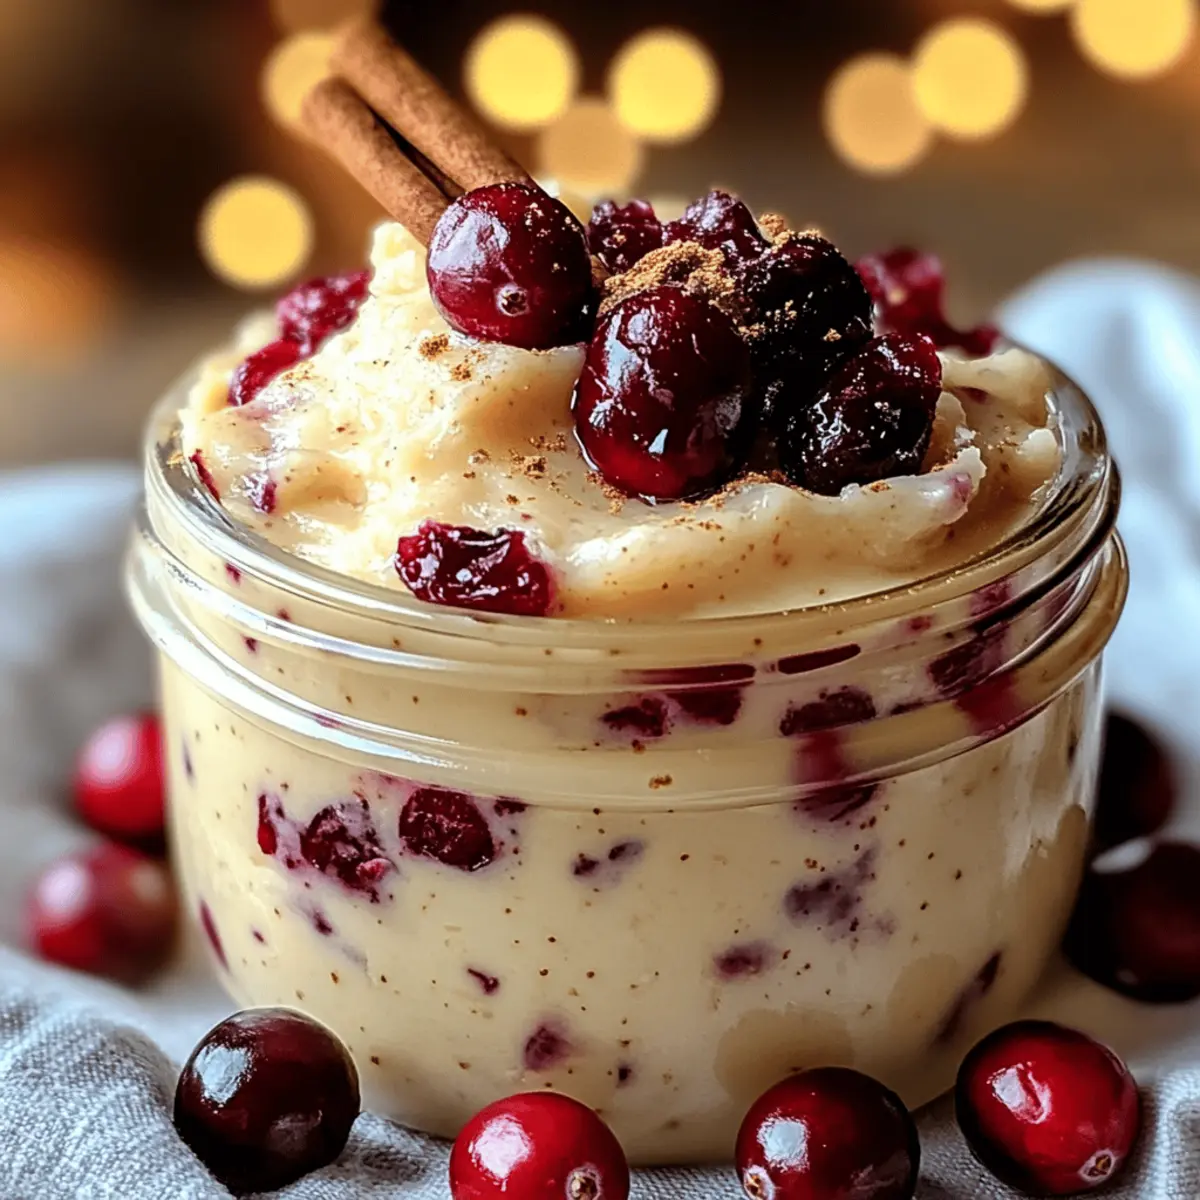
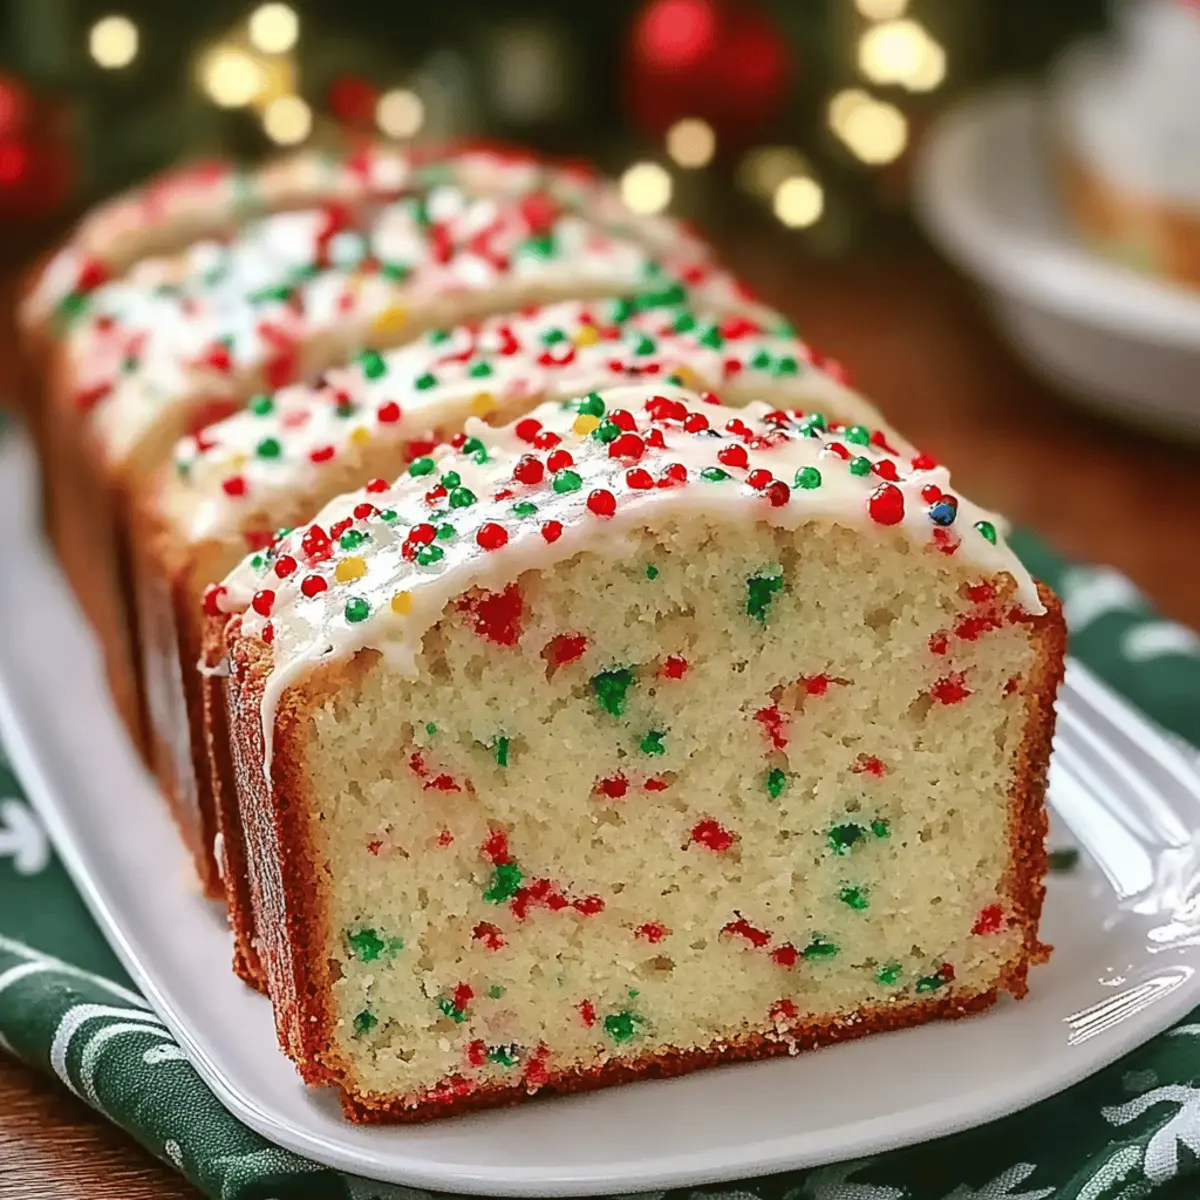
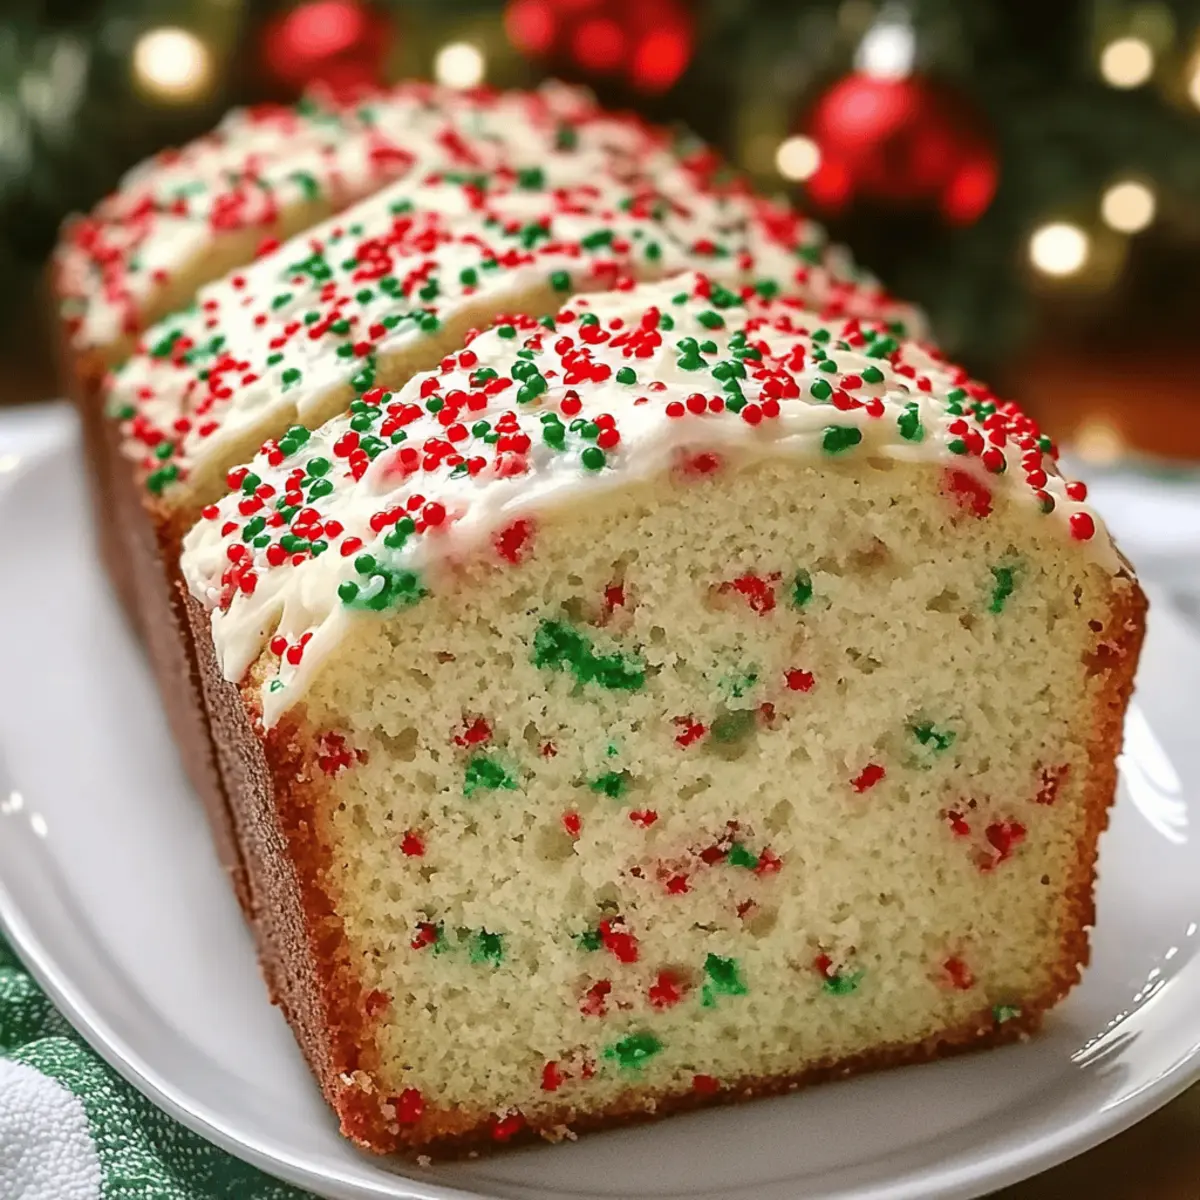
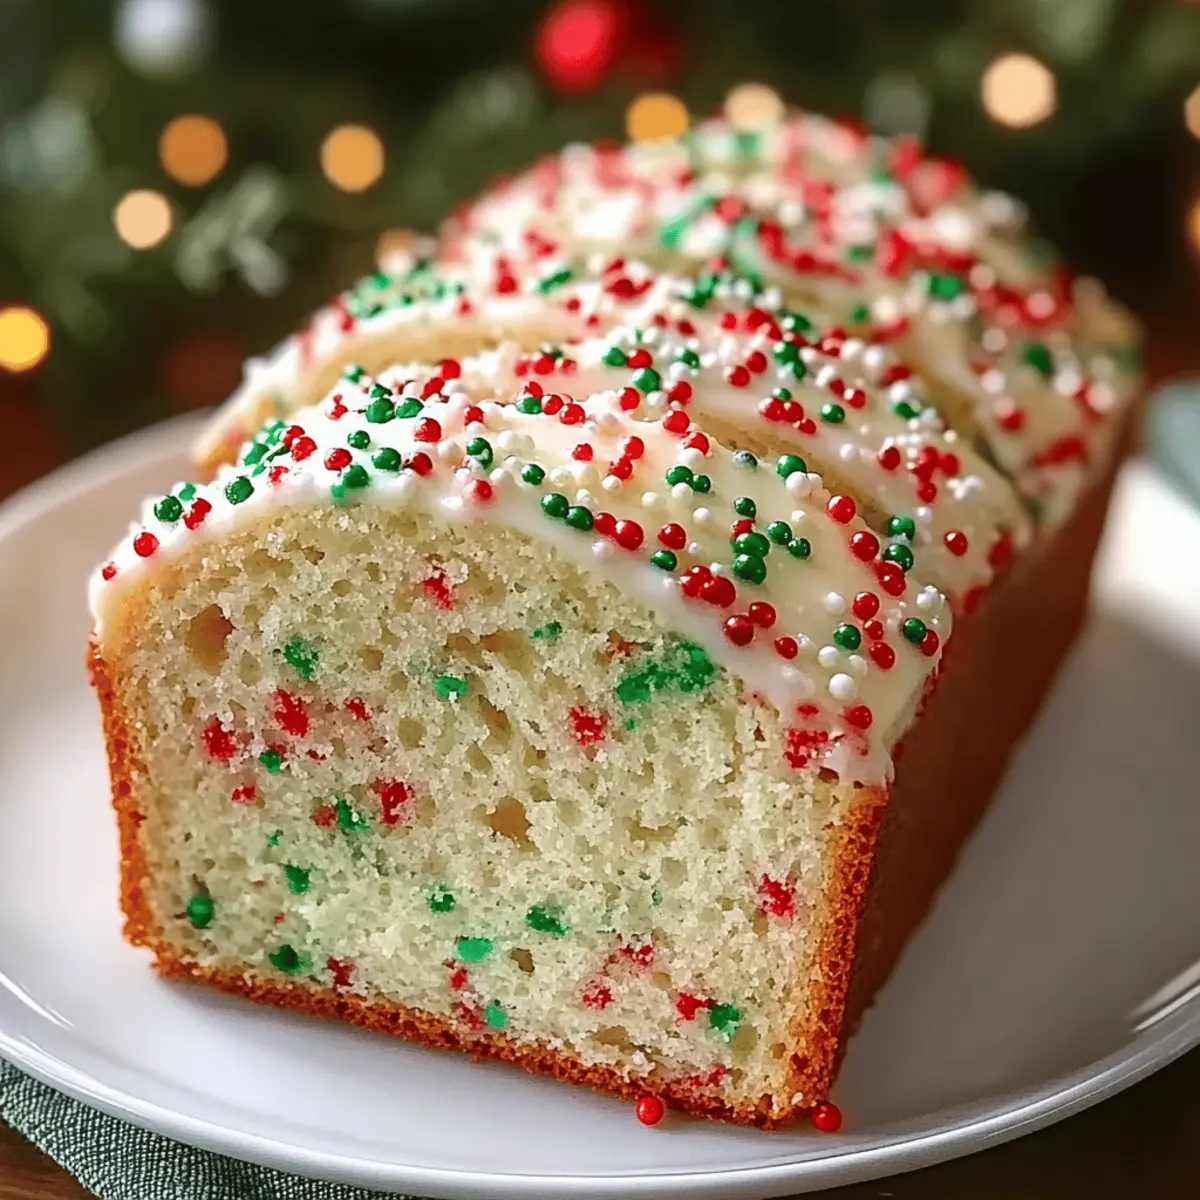
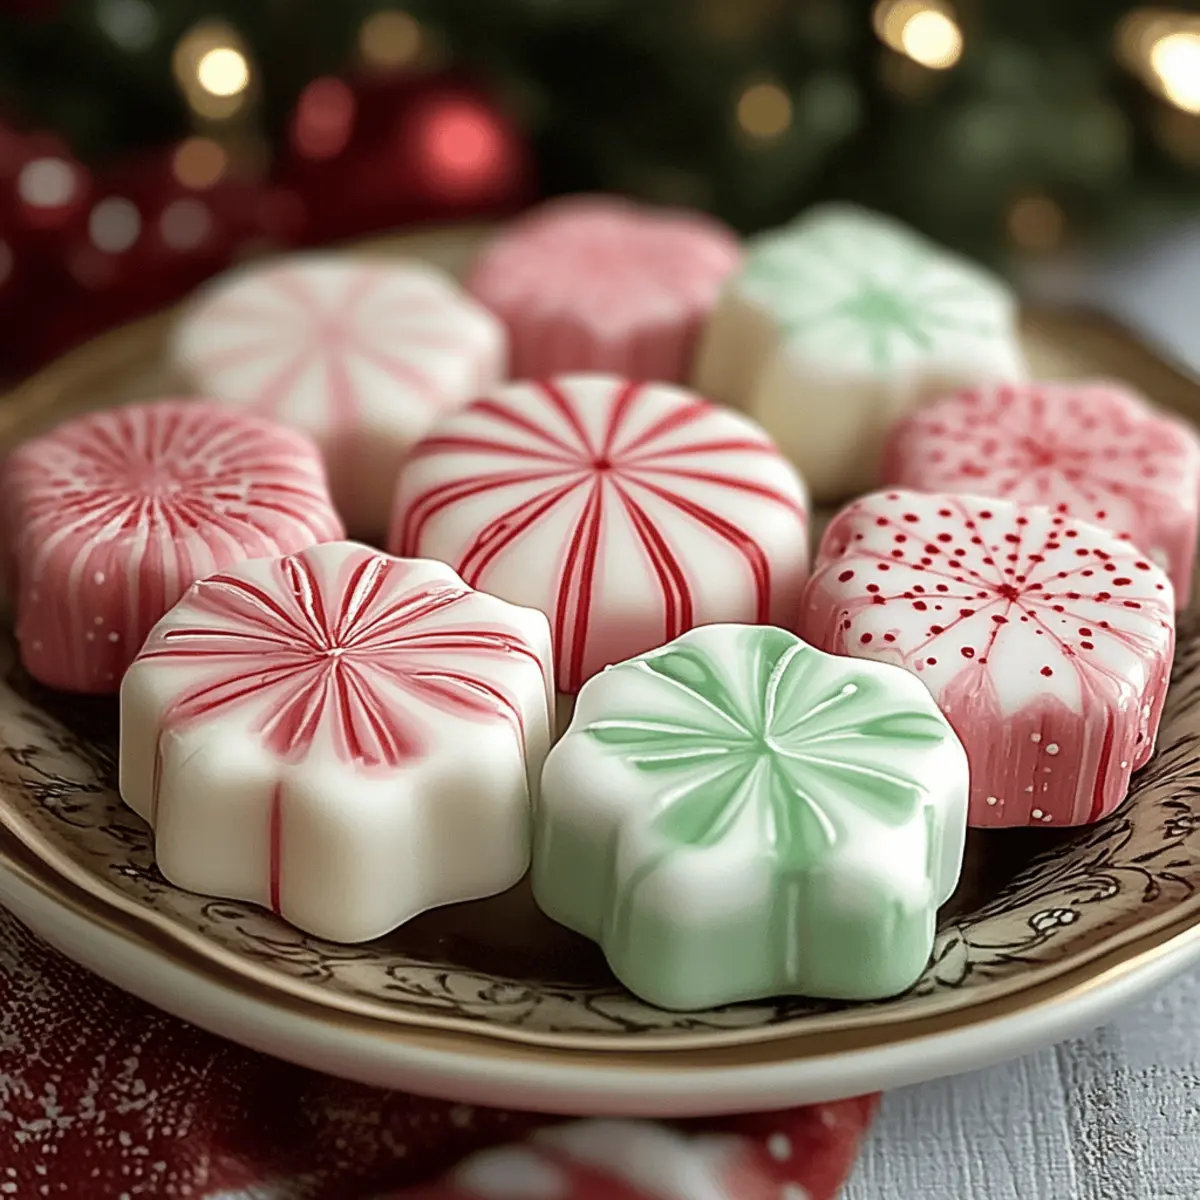
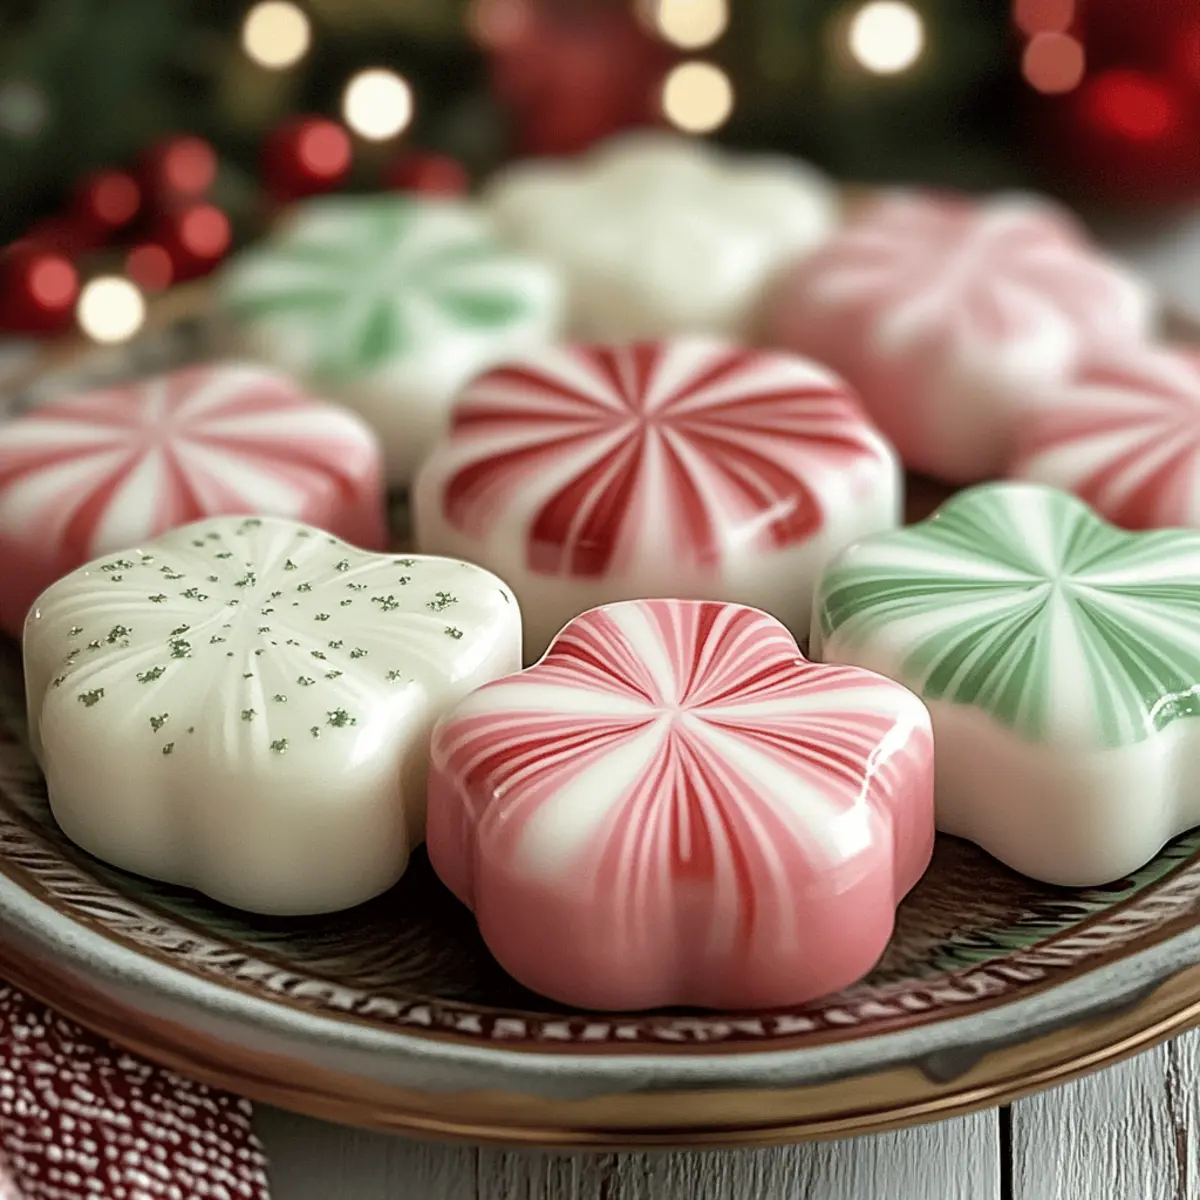
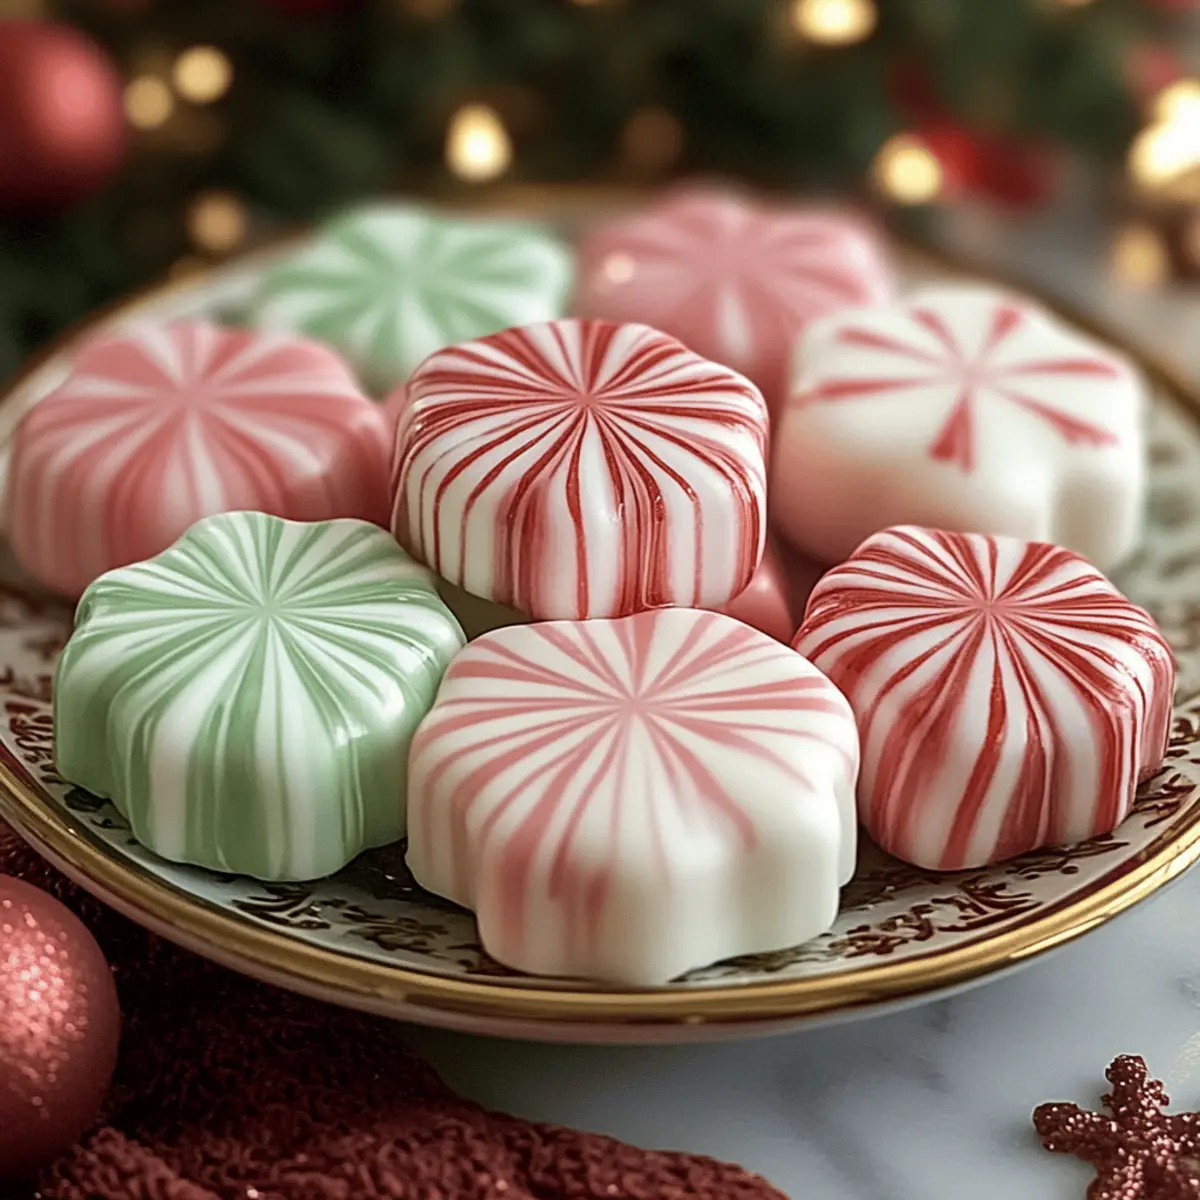
The aroma of peppermint wafts through the air, instantly transporting me to cozy holiday gatherings filled with laughter and joy. One treat that always takes center stage in our home during this festive season is Soft Christmas Peppermints, also known as Old-Fashioned Butter Mints. These delightful, no-bake confections are not only a breeze to whip up but are also gluten-free and vegetarian, making them a guilt-free indulgence for everyone. The creamy texture and minty fresh flavor create a perfect harmony that dances on your palate, leaving you wanting more. They’re ideal for gifting to friends and family or simply enjoying while curled up by the fire. Are you ready to create your own batch of these nostalgic holiday treasures?
Why Are These Peppermints So Irresistible?
Simplicity and Ease: With just a few ingredients, this no-bake recipe is quick to prepare, making it ideal for busy holiday seasons.
Creamy Delight: The combination of sweetened condensed milk and butter results in a rich, melt-in-your-mouth texture that you won’t forget.
Versatile Flavors: Feel free to customize with various extracts or colors, presenting a unique twist with every batch!
Nostalgic Treat: These Soft Christmas Peppermints evoke fond memories of festive gatherings, bringing a warm touch to any celebration.
Gifting Made Easy: Their adorable shapes and inviting flavors make them a delightful gift that friends and family will cherish! If you love easy holiday treats, you might also enjoy these Cloud Soft Condensed or Soft Milk Bread.
Ingredients for Soft Christmas Peppermints
• This section covers the essential elements for crafting these delightful treats!
For the Base
- Sweetened Condensed Milk – Provides creaminess and sweetness; do not substitute with powdered milk as it won’t yield the desired texture.
- Unsalted Butter – Contributes to the buttery flavor and smooth texture; margarine can be used but may slightly change the taste.
- Powdered Sugar – Acts as the primary sweetener and gives the mints their texture; ensure to sift it to avoid lumps for a smoother consistency.
For Flavoring
- Peppermint Extract – Infuses the mints with refreshing mint flavor; can be substituted with other extracts such as vanilla or almond for a different taste.
For Decoration (Optional)
- Food Coloring – Adds visual appeal and festive color; use different colors for variety in presentation.
Enjoy creating your Soft Christmas Peppermints this holiday season!
Step‑by‑Step Instructions for Soft Christmas Peppermints
Step 1: Prepare the Base
Start by taking a medium-sized mixing bowl and adding in the softened unsalted butter and sweetened condensed milk. Use a hand mixer or wooden spoon to blend them together until the mixture is creamy and smooth. This should take about 2-3 minutes. The goal is to ensure that no lumps remain, creating a silky foundation for your Soft Christmas Peppermints.
Step 2: Incorporate the Sugar
Gradually add the sifted powdered sugar into the butter mixture, mixing continuously to avoid lumps. You’ll need to mix for about 3-5 minutes until the sugar is fully integrated and a soft dough forms. The mixture will become denser yet very creamy, perfect for molding into delightful peppermint shapes.
Step 3: Add Flavor
Next, pour in the peppermint extract and stir it into the dough until evenly distributed. Mix for an additional 1-2 minutes to ensure the refreshing mint flavor permeates every bit of the creamy mixture. You’ll know it’s ready when the dough smells delightfully minty, inviting you to continue crafting your Soft Christmas Peppermints.
Step 4: Color the Dough
If you want to add visual flair to your treats, divide the dough into small sections and add a few drops of food coloring to each portion. Use a spatula to fold in the color until it’s blended thoroughly, creating a vibrant mix. The aim is to make the dough visually appealing while adding fun variations to your Soft Christmas Peppermints.
Step 5: Shape the Mints
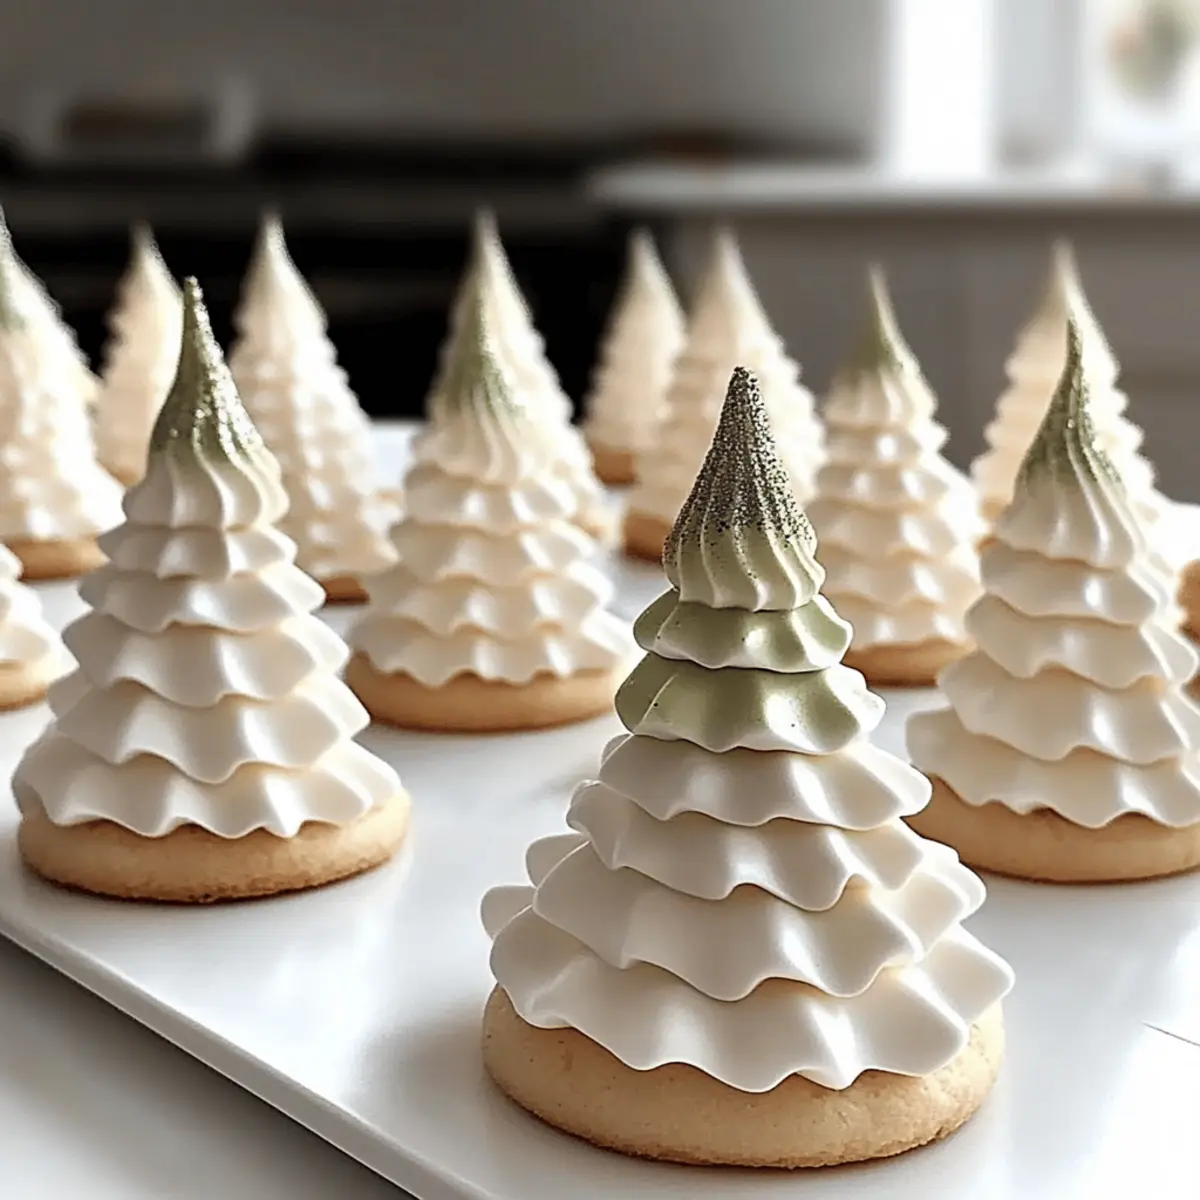
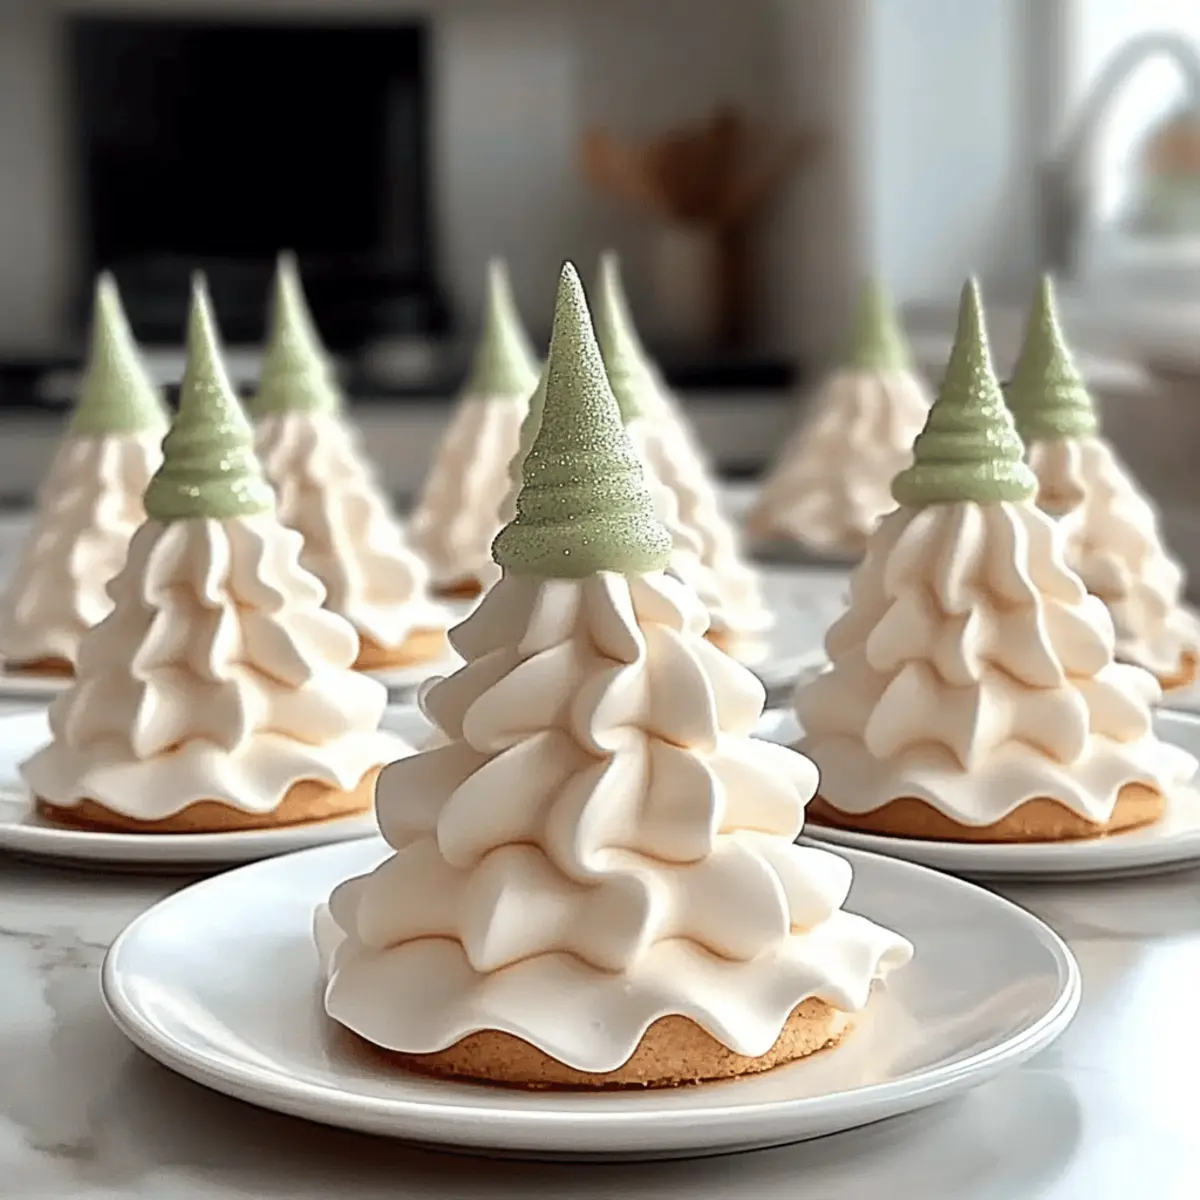
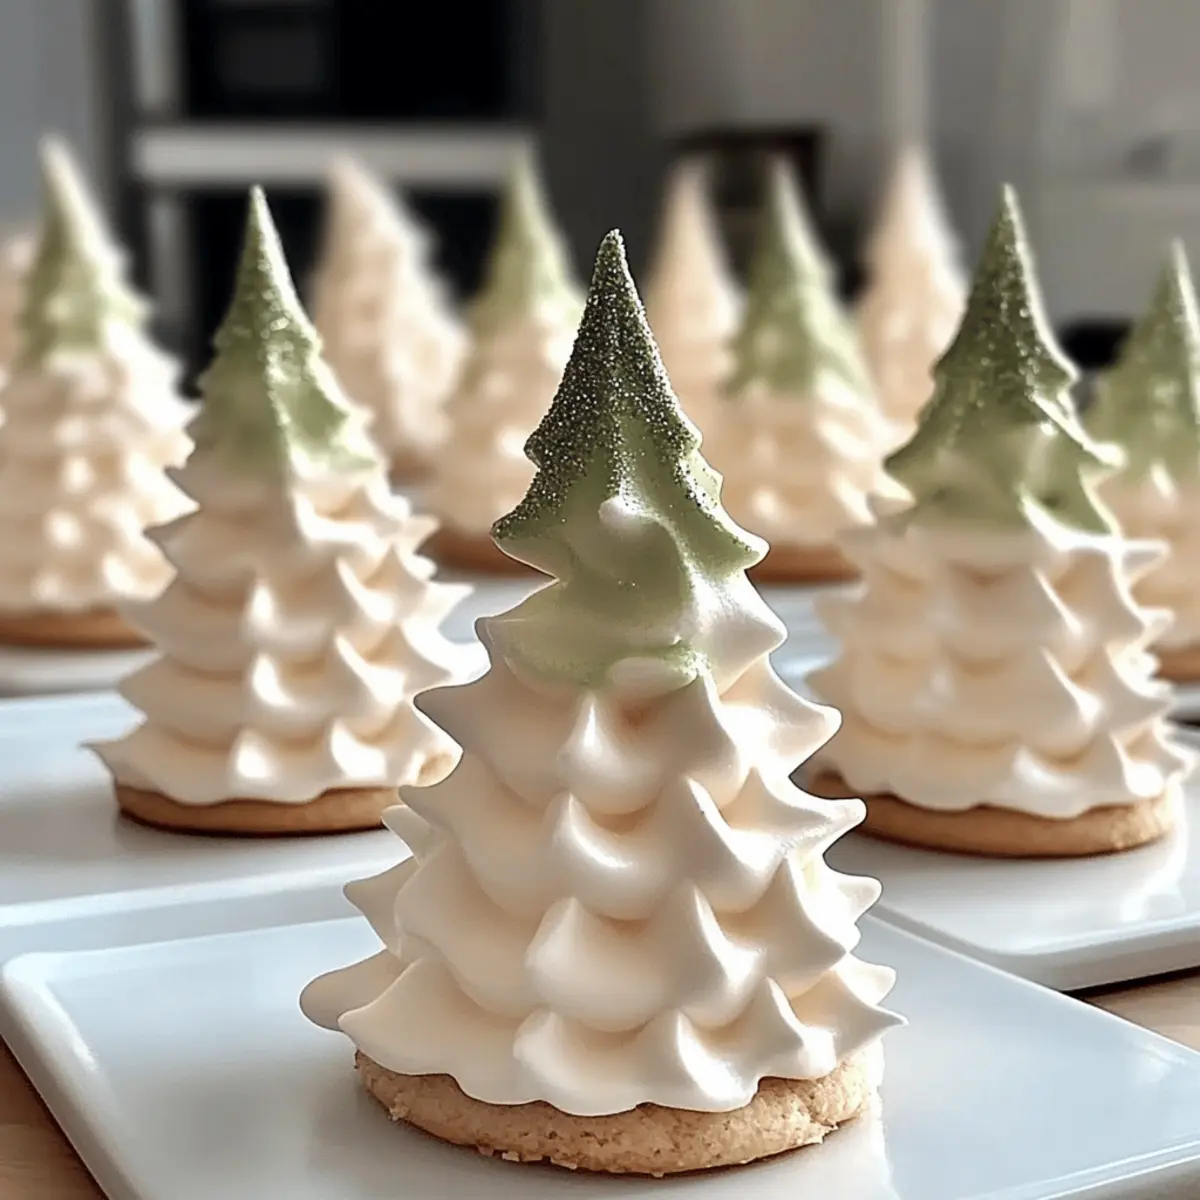
With your dough ready, you can either roll it into small balls, about 1 inch in diameter, or roll it out on a lightly dusted surface to cut into shapes with cookie cutters. If using cookie cutters, aim for festive holiday shapes like stars or trees. This is your chance to be creative and make each piece a unique Soft Christmas Peppermint.
Step 6: Set and Firm Up
Arrange the shaped mints on a sheet of parchment paper. Leave them out at room temperature for approximately 1 hour, allowing them to firm up. As they set, the delightful mint aroma will fill your kitchen, signaling that your Soft Christmas Peppermints are nearly ready to enjoy!
Step 7: Store and Enjoy
Once they’ve set, store your Soft Christmas Peppermints in an airtight container at room temperature for up to a week. This step is crucial to maintain their soft texture. When you’re ready to indulge or share, simply take out a few and relish the sweet, buttery, and minty goodness that embodies the spirit of the holiday season!

Storage Tips for Soft Christmas Peppermints
Room Temperature: Store your mints in an airtight container at room temperature for up to 1 week to keep their creamy texture intact.
Avoid Humidity: Make sure to keep the container sealed tightly and away from any moisture, as humidity can affect the softness of the Soft Christmas Peppermints.
Refrigeration Options: If you prefer a firmer texture, you can refrigerate the mints; this is great if you like a bit of chill on your candies. Just make sure to bring them to room temperature before serving.
Gifting: If you’re sharing these delightful mints as gifts, consider packing them in decorative tins or boxes with a small layer of parchment paper separated between layers to prevent sticking.
What to Serve with Soft Christmas Peppermints?
The delightful aroma of peppermint lingers, making your holiday gatherings all the more festive.
- Hot Chocolate: A steaming cup of rich hot chocolate complements the sweet mintiness, creating a cozy indulgence for chilly nights.
- Coffee or Espresso: The bold flavors of coffee heighten the sweet creaminess of the mints, creating a delicious contrast that’s hard to resist. Pair them after dinner for a delightful treat!
- Sugar Cookies: Soft, buttery sugar cookies delight in their simplicity and act as a perfect canvas for the vibrant flavors of peppermint.
- Fruit Platter: Fresh berries and citrus fruits offer a refreshing burst of flavor that balances the richness of the peppermint.
- Holiday Punch: A tangy holiday punch adds excitement to your spread and plays beautifully against the sweet, creamy mints.
- Chocolate Bark: Smooth chocolate bark enhances the bitterness that beautifully offsets the sweetness of Soft Christmas Peppermints, bringing an elegant balance.
- Decorative Bowls for Serving: Present your mints in beautiful bowls surrounded by nuts or candy canes, creating an appealing, festive display that guests will love.
- Gingerbread Houses: The classic flavors of gingerbread evoke the spirit of the season, as the soft mints serve as delightful decorations or simply enjoyed on the side.
Soft Christmas Peppermints Variations & Substitutions
Make these delightful mints your own by exploring various swaps and twists that enhance their flavor and texture!
-
Extract Swaps: Substitute peppermint extract with vanilla, almond, or orange extract for a unique taste experience. Each brings a different yet delightful fragrance.
-
Colorful Creations: Add food coloring to create vibrant variations. Use seasonal colors for a festive touch, enhancing their presentation for holiday gatherings.
-
Textural Twist: Roll the mints in crushed candy canes for an extra crunch and festive flair. The added texture is a delightful surprise with every bite!
-
Choco-Covered Mints: For a decadent treat, dip the shaped mints in melted chocolate after setting. This adds richness and makes for a beautiful gift presentation.
-
Nutty Delight: Incorporate finely chopped nuts into the dough for added flavor and a surprising crunch. Cashews or pecans complement the sweetness beautifully.
-
Creamy Variations: Experiment with different types of sweetened condensed milk, like coconut-flavored, for a tropical twist! This subtle change can transport you to a sunny beach even in winter.
-
Minty Heat: For those who crave a little kick, add a pinch of cinnamon or cayenne pepper to the mixture. It provides an unexpected warmth that beautifully contrasts the mint.
If you’re interested in exploring more delicious and soft recipes, consider trying out these Tropical Pineapple Soft or indulge in some Cloud Soft Condensed. Your creative journey in the kitchen just got a whole lot tastier!
Expert Tips for Soft Christmas Peppermints
-
Chill the Dough: If the dough feels too soft to shape, refrigerate it for 10-15 minutes. This will make it easier to mold into perfect peppermint shapes.
-
Sift Your Sugar: To achieve a smooth texture, always sift your powdered sugar before adding it to the mixture. This helps avoid lumps that can affect the final consistency of your Soft Christmas Peppermints.
-
Experiment with Flavors: Don’t hesitate to swap peppermint extract with vanilla or almond for a unique twist. It’s a fun way to create personalized flavors that everyone will love!
-
Color with Care: When adding food coloring, start with a few drops and gradually increase until you reach your desired hue. This ensures an eye-catching presentation without overpowering the mint flavor.
-
Storage Secrets: Keep your Soft Christmas Peppermints in an airtight container at room temperature, away from humidity, to maintain their delightful texture and freshness for up to a week.
Make Ahead Options
These Soft Christmas Peppermints are perfect for busy holiday planners looking to save time! You can prepare the dough up to 24 hours in advance. Simply mix the softened unsalted butter, sweetened condensed milk, and other ingredients until creamy, then shape the mints as desired, but leave them unformed. Wrap the dough tightly in plastic wrap and refrigerate it. When you’re ready to finish, simply take it out, roll it into balls or cut out your festive shapes, then let them set at room temperature for about an hour. This method ensures your Soft Christmas Peppermints remain just as delicious and fresh, allowing you more time to enjoy the festivities!
Soft Christmas Peppermints Recipe FAQs
How do I select the right ingredients for these Soft Christmas Peppermints?
Absolutely! For the best results, choose fresh sweetened condensed milk and unsalted butter. Ensure your butter is at room temperature for easy mixing. The peppermint extract should be pure for the most authentic flavor. I recommend avoiding food coloring that is too dark; it can overpower the minty flavor and create an artificial taste.
How should I store the Soft Christmas Peppermints?
Store your mints in an airtight container at room temperature for up to 1 week. It’s crucial to keep them sealed to maintain their creamy texture and avoid exposure to humidity. If they feel sticky, you can pop them in the fridge, but bring them back to room temperature before serving for the best texture.
Can I freeze Soft Christmas Peppermints?
Yes, you can! To freeze, place the mints in a single layer on a parchment-lined baking sheet and freeze for about 1-2 hours until firm. Once frozen, transfer them to an airtight container or resealable freezer bag, separating layers with parchment paper. They can be stored for up to 3 months. Simply thaw at room temperature when you’re ready to enjoy them.
What should I do if my peppermint dough is too soft?
If your dough seems overly soft and difficult to shape, no worries! Just refrigerate it for about 10-15 minutes. Chilling will make it firmer and easier to mold into shapes. Remember, the dough should be soft enough to handle but not too sticky!
Are there any dietary considerations for these mints?
These Soft Christmas Peppermints are naturally vegetarian and gluten-free, making them suitable for a variety of dietary restrictions. However, if you’re concerned about allergies, particularly with butter, consider using a dairy-free butter alternative. Just keep in mind that it may alter the texture slightly.
Can I customize the flavor of my Soft Christmas Peppermints?
Very much so! While peppermint is classic, feel free to experiment with other extracts like vanilla, almond, or even orange for a unique twist. Incorporating crushed candy canes or sprinkling colored sugar on top is also a delightful way to enhance the flavor and visual appeal!
Melting Soft Christmas Peppermints that Brighten Your Holidays
Ingredients
Equipment
Method
- Prepare the Base: In a mixing bowl, combine unsalted butter and sweetened condensed milk. Blend until creamy, around 2-3 minutes.
- Incorporate the Sugar: Gradually add sifted powdered sugar, mixing continuously for about 3-5 minutes until a soft dough forms.
- Add Flavor: Pour in peppermint extract and stir until evenly distributed, mixing for an additional 1-2 minutes.
- Color the Dough: Divide the dough into sections and add food coloring, folding it in until blended.
- Shape the Mints: Roll dough into small balls or roll out and cut into festive shapes.
- Set and Firm Up: Place shaped mints on parchment paper and leave at room temperature for approximately 1 hour.
- Store and Enjoy: Store in an airtight container at room temperature for up to a week.