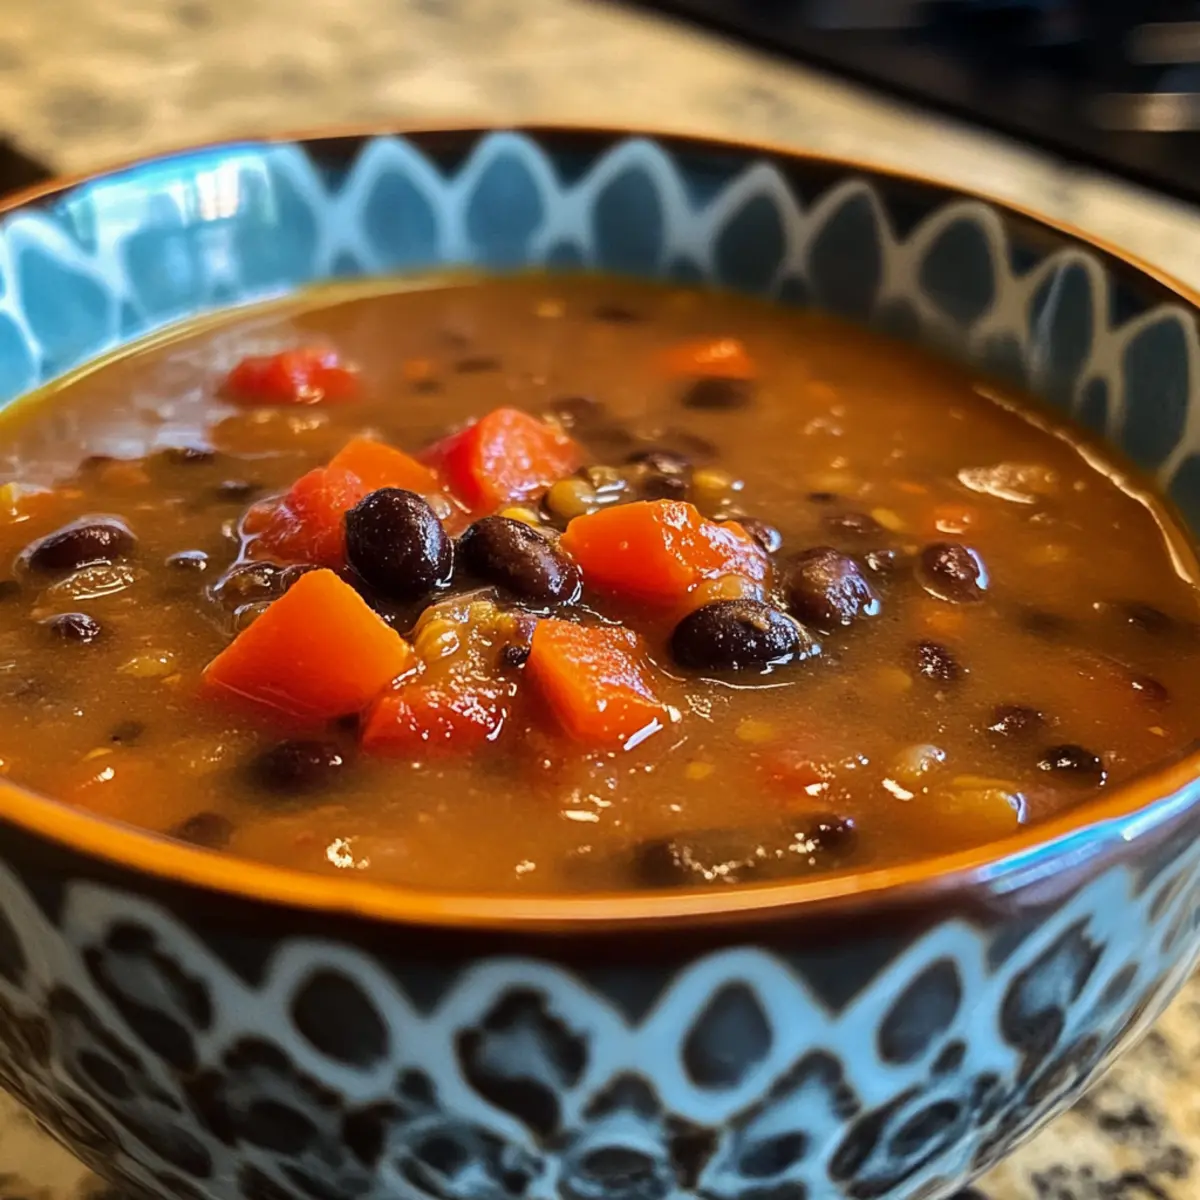
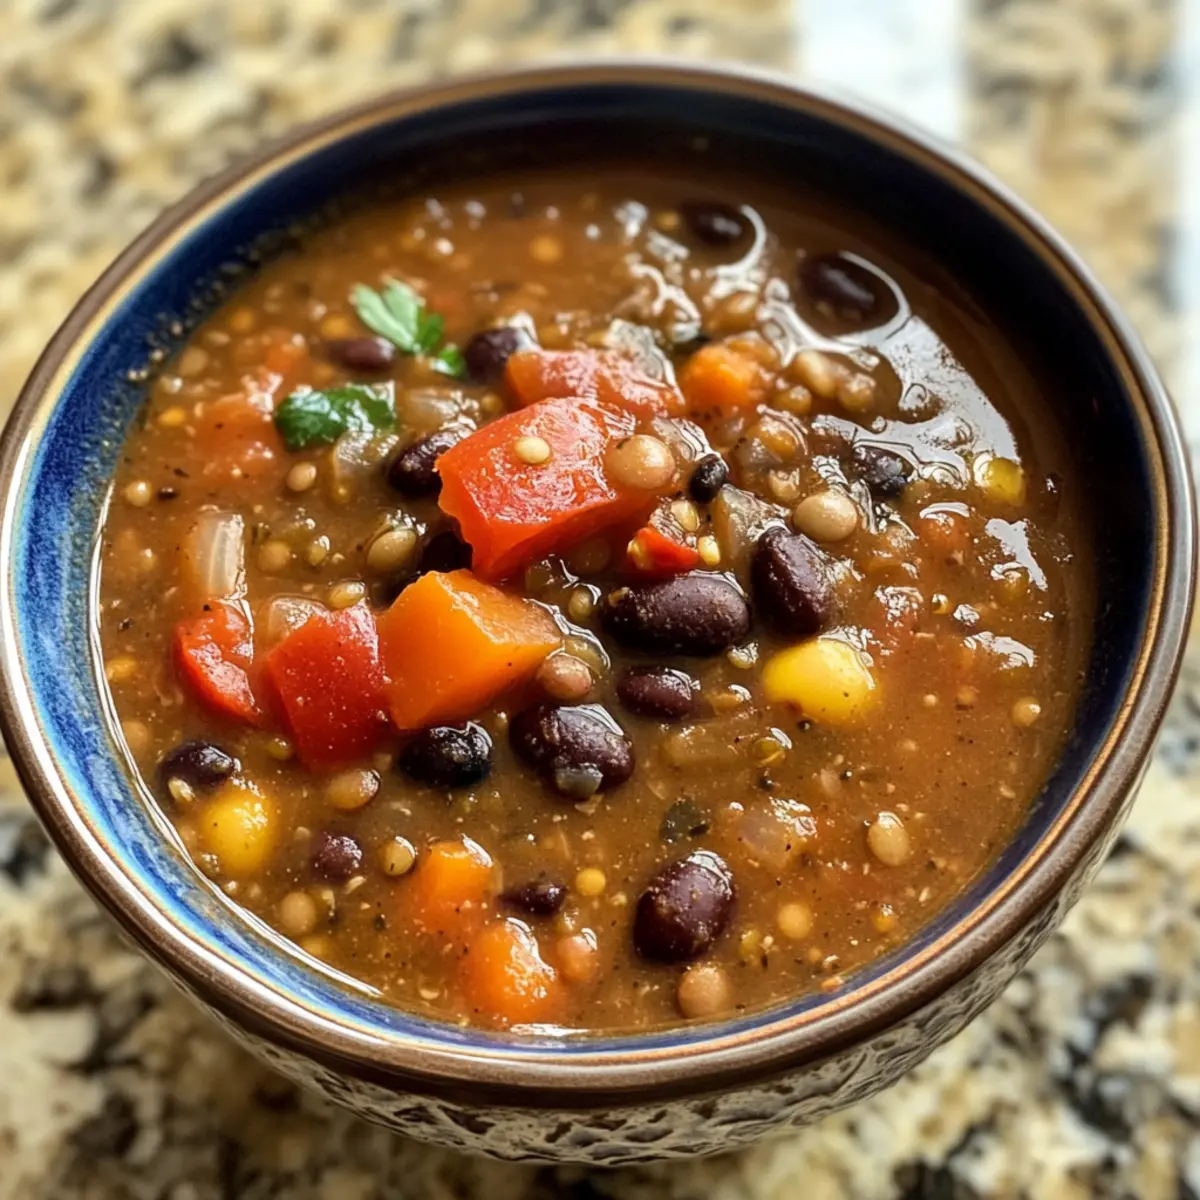
As the winter chill wraps around your home, nothing beats the warm embrace of a steaming bowl of soup. This Protein Packed Black Bean and Lentil Soup combines hearty black beans with nourishing lentils, spiced just right to create a delightful one-pot meal that even the busiest home cooks can savor. In under 45 minutes, you can whip up this vegan and gluten-free delight, perfect for anyone craving comfort food without the hassle. Imagine the joy of filling your kitchen with its tantalizing aroma while knowing you’re serving up a dish that’s not only budget-friendly but also brimming with protein and fiber. Curious to see how to make this wholesome treasure? Let’s dive into the recipe!
Why Make Black Bean and Lentil Soup?
Nutrient-Rich: This soup is not just a meal; it’s a powerhouse of plant-based protein and fiber, perfect for maintaining energy levels and staying full.
One-Pot Wonder: Simplify your cooking routine! With everything cooked in a single pot, cleanup is a breeze, leaving you more time to enjoy your meal.
Customizable: Have leftover veggies? Toss them in! This recipe easily adapts to what you have on hand, making it a great way to reduce food waste.
Budget-Friendly: Made with affordable ingredients, this dish supports healthy eating without breaking the bank. Pair it with a slice of crusty bread or Crisp Cabbage Apple for an unbeatable meal.
Crowd-Pleaser: Whether you’re feeding a family or hosting friends, this hearty soup never disappoints. It’s an inviting way to gather everyone around the table!
Protein Packed Black Bean and Lentil Soup Ingredients
Curious about what you need to whip up this delight? Here’s your ingredient list!
For the Base
• Extra Virgin Olive Oil – Adds healthy fat and enhances flavor; swap for vegetable broth if oil-free.
• Garlic (2 cloves, minced) – Infuses the dish with aromatic flavor; fresh garlic offers the best taste benefits.
• Yellow Onion (1, diced small) – Brings sweetness and depth to the soup base.
• Carrots (2, peeled and diced small) – Adds natural sweetness and texture; substitute with celery if preferred.
• Diced Tomatoes (15 ounces, canned) – Provides acidity and moisture; fresh tomatoes can also join the mix.
For the Protein Punch
• Dried Lentils (1 cup) – Packed with protein and fiber; red or green lentils work as substitutes, just watch the cooking time!
• Black Beans (15 ounces, canned, drained) – Boosts texture and protein content; try dry black beans, just pre-cook them first.
For the Flavor Boost
• Chili Powder (1 teaspoon) – Adds warmth and spice; adjust it to suit your taste!
• Cumin (1/2 teaspoon) – Offers an earthy flavor, beautifully complementing the other spices.
• Black Pepper (1/2 teaspoon) – Elevates overall flavor.
• Kosher Salt (1/2 teaspoon) – Essential for seasoning.
• Crushed Red Pepper (1/2 teaspoon) – Optional for added heat; use according to your spice preference.
For the Broth
• Vegetable Broth (4 cups) – Acts as the delicious soup base; choose low-sodium varieties for healthier choices.
This Protein Packed Black Bean and Lentil Soup will warm your heart and fill your belly! Happy cooking!
Step‑by‑Step Instructions for Protein Packed Black Bean and Lentil Soup
Step 1: Sauté Aromatics
In a large pot, heat 2 tablespoons of extra virgin olive oil over medium heat. Add 2 minced garlic cloves and sauté for about 1 minute until fragrant. This initial step will fill your kitchen with a delightful aroma, setting the perfect base for your Protein Packed Black Bean and Lentil Soup.
Step 2: Cook Vegetables
Next, incorporate 1 diced yellow onion and 2 small diced carrots into the pot. Sauté the mixture for approximately 5 minutes, stirring frequently, until the onion is translucent and the carrots have slightly softened. This step adds sweetness and depth to the soup, inviting everyone to gather in anticipation.
Step 3: Add Key Ingredients
Now, stir in 15 ounces of diced tomatoes, 1 cup of dried lentils, and 15 ounces of drained black beans. Then, sprinkle in 1 teaspoon of chili powder, 1/2 teaspoon of cumin, 1/2 teaspoon of black pepper, and 1/2 teaspoon of kosher salt. Finally, mix in 4 cups of vegetable broth. This hearty amalgamation forms the core of your Protein Packed Black Bean and Lentil Soup.
Step 4: Bring to a Boil
Turn up the heat and bring the mixture to a gentle boil, allowing the flavors to meld beautifully. Once bubbling, reduce the heat to a simmer, then cover the pot. This simmering stage is crucial for tender lentils and carrots—allow it to bubble away for about 25-30 minutes.
Step 5: Stir and Check Doneness
During the last few minutes of cooking, occasionally stir the soup to prevent sticking and promote even cooking. Check for the doneness of the lentils and carrots—they should be tender yet holding their shape. The soup should be thick and hearty by the end, embodying the essence of your Protein Packed Black Bean and Lentil Soup.
Step 6: Adjust Seasoning and Serve
Taste your marvelous creation and adjust the seasoning to perfection—consider adding more salt, pepper, or crushed red pepper if desired. Once satisfied, ladle the soup into bowls and serve hot. This comforting dish is best enjoyed with a side of crusty bread or a fresh salad for a complete meal experience.

Expert Tips for Protein Packed Black Bean and Lentil Soup
Cooking Time: Make sure to monitor the soup closely as cooking times can vary based on the heat level and type of lentils used.
Texture Control: If you prefer a creamier soup, you can blend a portion of it with an immersion blender before serving for a delightful twist on the classic Protein Packed Black Bean and Lentil Soup.
Spice Adjustment: Don’t hesitate to adjust the chili powder and crushed red pepper according to your family’s spice tolerance. Remember, you can always add more heat, but it’s hard to take it away!
Storage Made Easy: If you’re storing leftovers, let the soup cool completely before transferring it to airtight containers for freezing. This will help maintain its delicious flavor and texture.
Add Freshness: For an extra kick, consider squeezing a bit of fresh lime juice over your bowl just before serving—this brightens the dish and enhances the overall flavor!
What to Serve with Protein Packed Black Bean and Lentil Soup
A cozy bowl of this hearty soup deserves some delightful companions to create an inviting meal experience.
-
Warm Crusty Bread: Enhances the soup’s comforting nature; perfect for dipping and soaking up every delicious drop.
-
Fresh Avocado Toast: Creamy avocado adds richness, balancing the spices while bringing a fresh element to your meal.
-
Simple Green Salad: A crisp salad with a light vinaigrette provides a refreshing contrast, brightening each bite of the soup.
-
Cilantro Lime Rice: This zesty side complements the flavors of the soup, offering a bright and fragrant twist in every forkful.
-
Sweet Potato Wedges: Roasted sweet potatoes add a delightful sweetness, pairing beautifully with the savory soup for a satisfying bite.
-
Herbed Quinoa: Packed with protein and seasoned with fresh herbs, quinoa offers a nutty taste and fluffy texture that perfectly rounds out your plate.
-
Grilled Veggies: Charred vegetables bring another layer of flavor and texture, making your meal visually appealing and richly satisfying.
-
Citrus Sparkling Water: Opt for a refreshing drink that cleanses the palate, elevating the meal experience with light sparkling notes.
-
Chocolate Avocado Mousse: End on a high note with a creamy, rich dessert that’s still healthy—it’s a lovely surprise after the hearty soup!
Protein Packed Black Bean and Lentil Soup Variations
Feel free to get creative with this recipe and make it your own!
- Vegetable Boost: Add zucchini or spinach for extra nutrients and color, elevating the dish’s appeal and health benefits.
- Grain Addition: Incorporate quinoa or brown rice for a nutty flavor and heartier texture, making the soup even more filling.
- Citrus Twist: Squeeze fresh lime juice over the soup just before serving to brighten the flavors and add a refreshing zing.
- Herbal Infusion: Stir in fresh cilantro or parsley for a fragrant herbaceous touch that complements the soup beautifully.
- Creamy Delight: Blend a portion of the soup for a creamy texture while keeping some beans and veggies whole for contrast.
- Smoky Flavor: Add a dash of smoked paprika for a delightful smoky twist that provides depth to the overall flavor profile.
- Heat Level: Increase or decrease the amount of crushed red pepper to cater to your spice tolerance, creating your desired heat level.
For more inspiration, why not try pairing this soup with a side of Crisp Cabbage Apple for a lovely crunch? Or, if you’re in the mood for a heartier side, serve it alongside some Savory Chicken Cheesy. Happy cooking!
Storage Tips for Protein Packed Black Bean and Lentil Soup
Fridge: Store the soup in an airtight container for up to 5 days. Allow it to cool completely before sealing to maintain freshness and flavor.
Freezer: For longer storage, freeze the Protein Packed Black Bean and Lentil Soup for up to 3 months. Portion into individual containers for easy reheating later.
Reheating: Thaw frozen soup in the refrigerator overnight and reheat on the stovetop or microwave until heated through. Add a splash of vegetable broth if needed to restore creaminess.
Serving Reminder: Always taste the soup again after reheating and adjust seasoning if necessary; flavors can evolve and deepen during storage!
Make Ahead Options
These Protein Packed Black Bean and Lentil Soup delights are perfect for meal prep enthusiasts! You can chop the vegetables and store them in an airtight container in the refrigerator up to 3 days in advance, ensuring freshness and flavor retention. Additionally, the soup itself can be made ahead and stored in the fridge for up to 5 days or frozen for up to 3 months—just allow it to cool completely before portioning into containers. When ready to serve, simply reheat on the stove or in the microwave until piping hot. This will allow you to enjoy a hearty meal with minimal effort on busy weeknights!
Protein Packed Black Bean and Lentil Soup Recipe FAQs
What type of lentils should I use for this soup?
Absolutely! For this Protein Packed Black Bean and Lentil Soup, dried lentils are the best choice. You can use either green or red lentils; just keep in mind that cooking times might vary slightly. Typically, red lentils cook faster and will break down more, creating a creamier texture, while green lentils hold their shape better.
How should I store leftover soup?
Very well! Once your soup has cooled completely, you can store it in an airtight container in the refrigerator for up to 5 days. Make sure to let it cool down before sealing the container to keep all the delicious flavors intact. It’s a great option for meal prep!
Can I freeze this soup for later?
Of course! To freeze your Protein Packed Black Bean and Lentil Soup, let it cool completely. Portion the soup into airtight freezer-safe containers, leaving a little space at the top for expansion. It will keep well for up to 3 months. When you’re ready to enjoy it, just thaw it in the refrigerator overnight before reheating on the stovetop or in the microwave.
What if my soup is too thick or too thin?
Great question! If you find your soup is thicker than you’d like, simply stir in a bit more vegetable broth until it reaches your desired consistency. Conversely, if it’s too thin, you can let it simmer uncovered for a few more minutes to reduce it. Always give it a good stir throughout the cooking process to achieve a nice balance.
Are there any dietary considerations I should keep in mind?
Definitely! This soup is naturally vegan and gluten-free, making it suitable for a wide range of dietary needs. However, if you have allergies, always double-check the labels on canned ingredients like black beans and diced tomatoes, as they may contain additives or shared facilities warnings. Plus, if you have pets, be mindful of any spices you add, particularly garlic or onions, which can be harmful to them.
Can I use fresh vegetables instead of canned tomatoes?
Absolutely! If you prefer using fresh ingredients, feel free to replace the 15 ounces of canned diced tomatoes with about 3-4 fresh tomatoes, diced. Just remember that fresh tomatoes might add less acidity and moisture, so you may need to adjust the cooking time to ensure everything cooks evenly and thoroughly. Happy cooking!
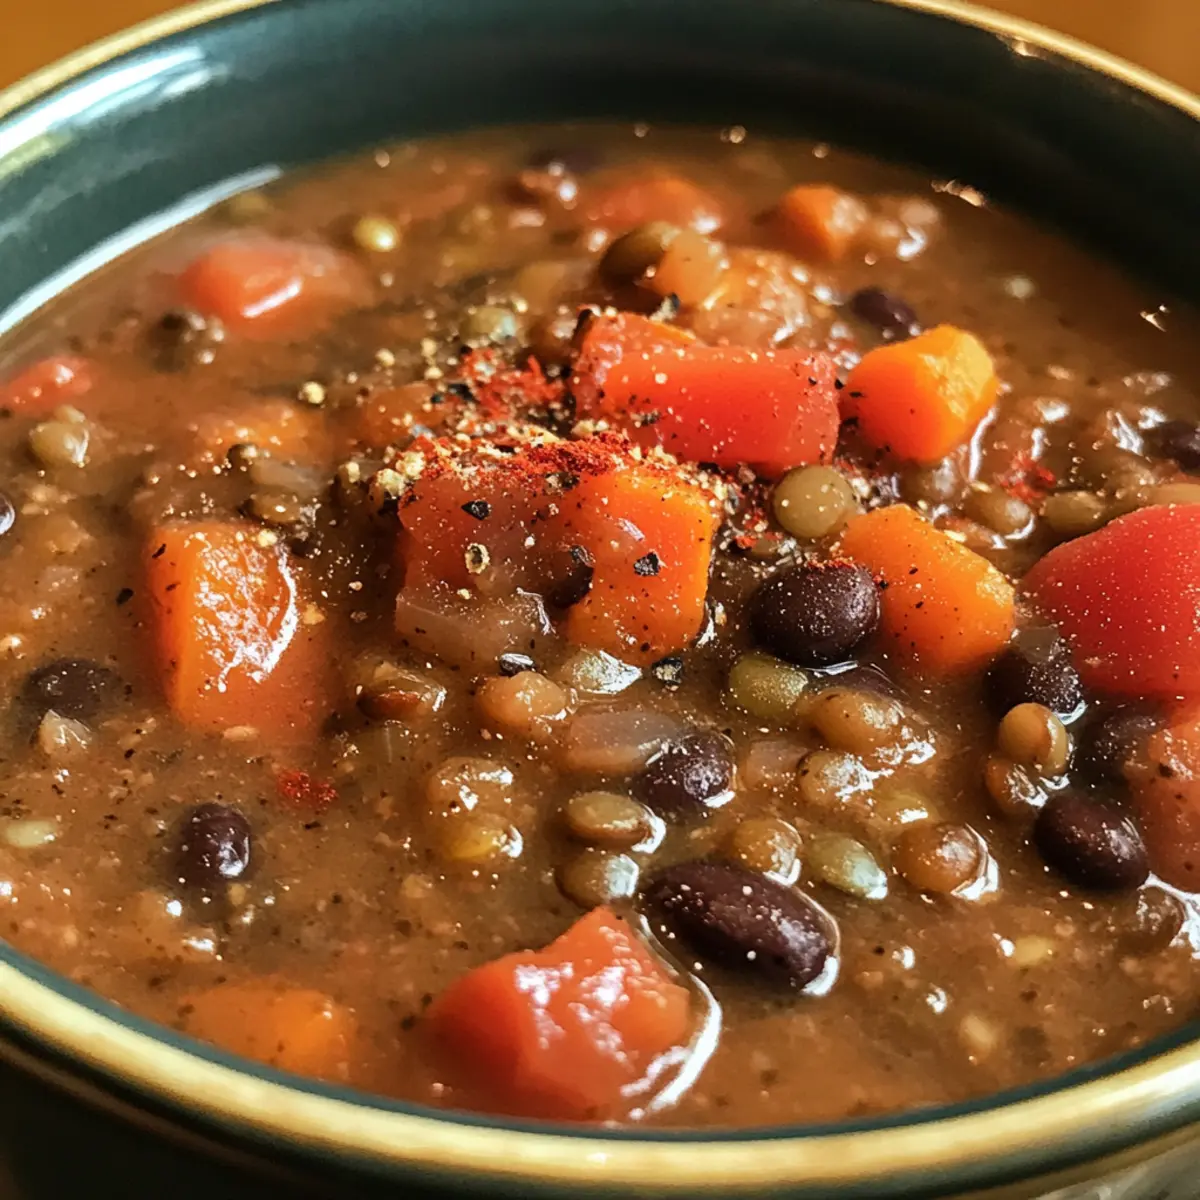
Protein Packed Black Bean and Lentil Soup for Cozy Nights
Ingredients
Equipment
Method
- In a large pot, heat 2 tablespoons of extra virgin olive oil over medium heat. Add 2 minced garlic cloves and sauté for about 1 minute until fragrant.
- Incorporate 1 diced yellow onion and 2 small diced carrots into the pot. Sauté the mixture for approximately 5 minutes, stirring frequently, until the onion is translucent and the carrots have slightly softened.
- Stir in 15 ounces of diced tomatoes, 1 cup of dried lentils, and 15 ounces of drained black beans. Then, sprinkle in 1 teaspoon of chili powder, 1/2 teaspoon of cumin, 1/2 teaspoon of black pepper, and 1/2 teaspoon of kosher salt. Mix in 4 cups of vegetable broth.
- Turn up the heat and bring the mixture to a gentle boil. Once bubbling, reduce the heat to a simmer, then cover the pot. Let it simmer for about 25-30 minutes.
- During the last few minutes of cooking, occasionally stir the soup to prevent sticking and check for the doneness of the lentils and carrots.
- Taste the soup and adjust seasoning as necessary. Ladle the soup into bowls and serve hot.