It’s interesting how the simplest of ingredients can transform into something truly delightful. That’s precisely what happens when you whip up this Easy 4-Ingredient Christmas Crack Recipe, a.k.a. Saltine Cracker Toffee. This delectable treat effortlessly combines crunchy saltine crackers with a heavenly mix of butter and brown sugar, topped off with rich chocolate. Not only is this recipe a breeze to prepare, but it’s also a guaranteed crowd-pleaser, leaving everyone craving just one more piece (or two). Plus, it makes for a perfect homemade gift during the festive season! So why not indulge in a little nostalgia and create a sweet experience that’s sure to brighten up your holiday gatherings? What toppings will you choose to make it your own?

Why is Saltine Cracker Toffee So Irresistible?
Simplicity at its finest: This easy recipe requires only four ingredients, making it perfect for busy days when you need a quick treat.
Perfectly balanced: The buttery richness of the caramel combines magically with crunchy saltines and smooth chocolate, creating a symphony of flavors that’s hard to resist.
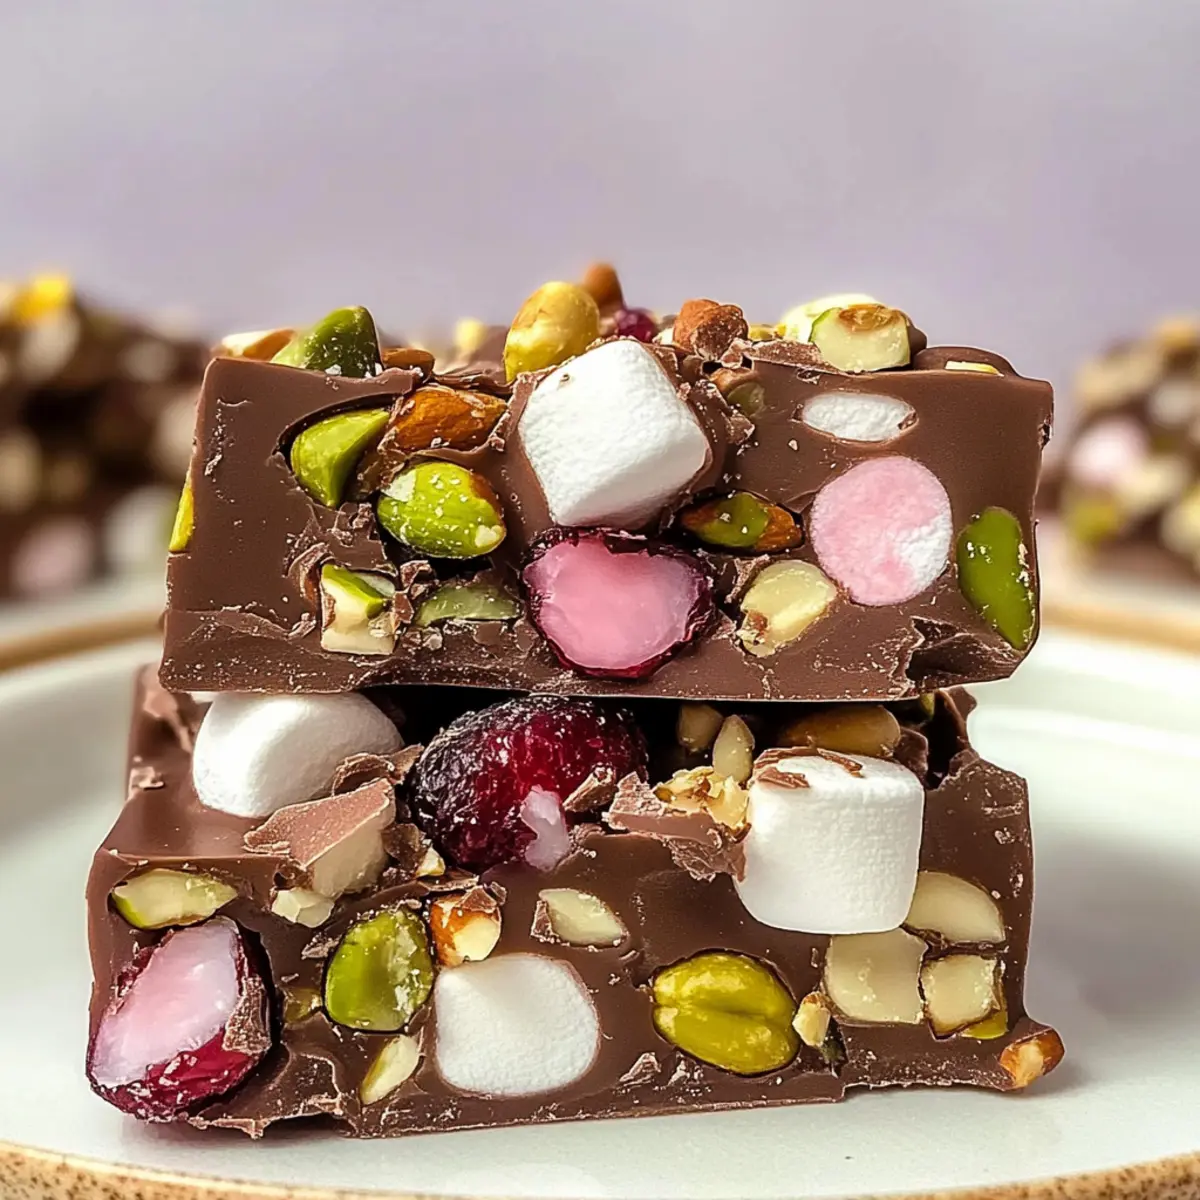
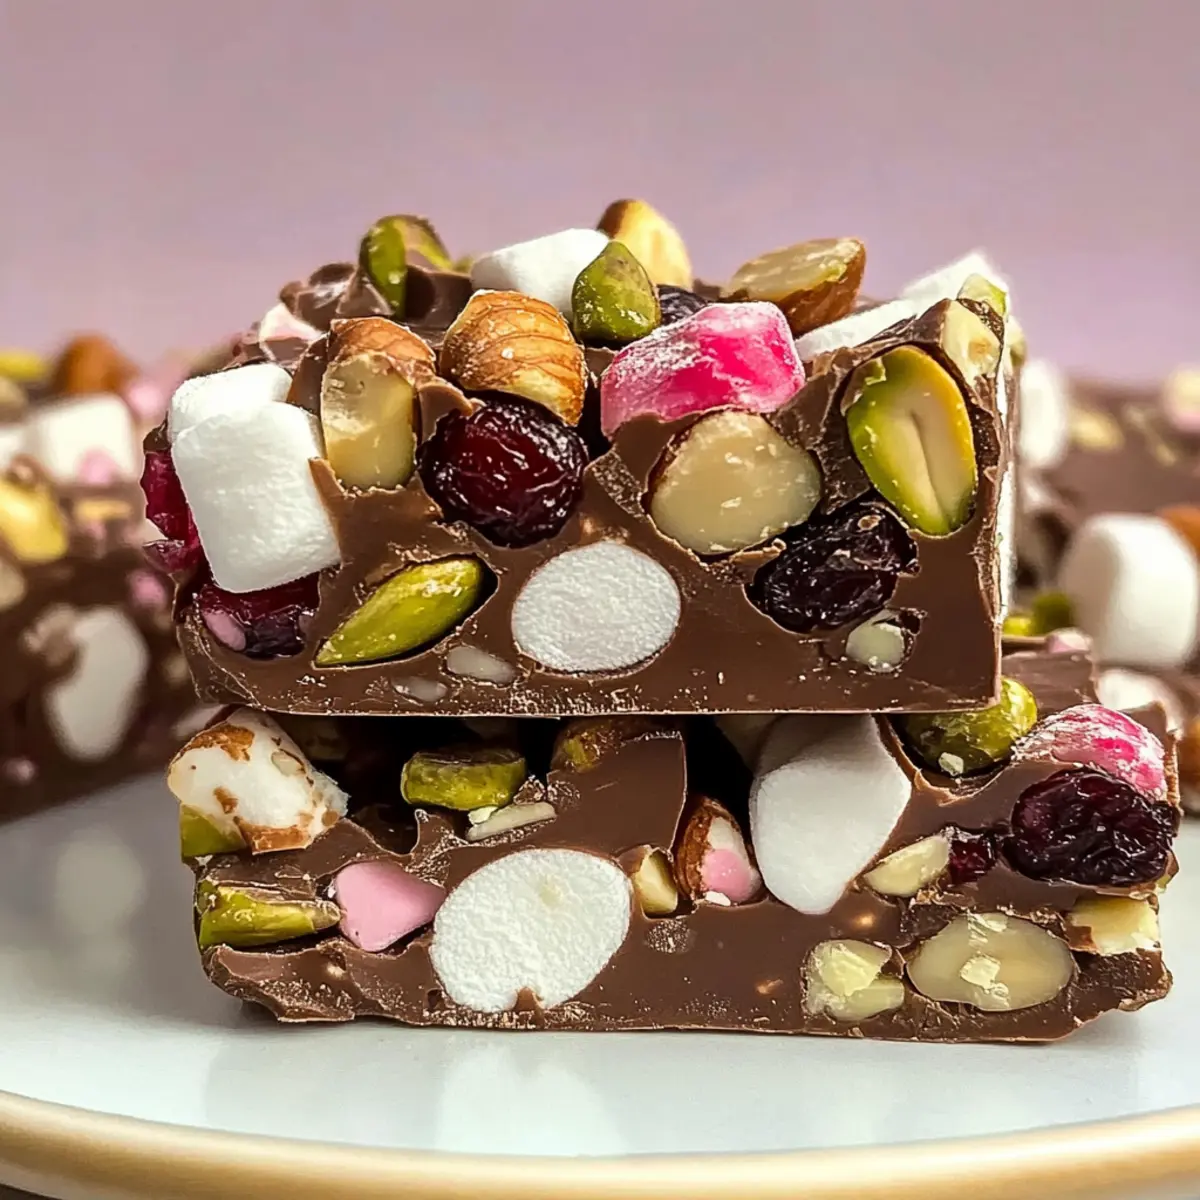
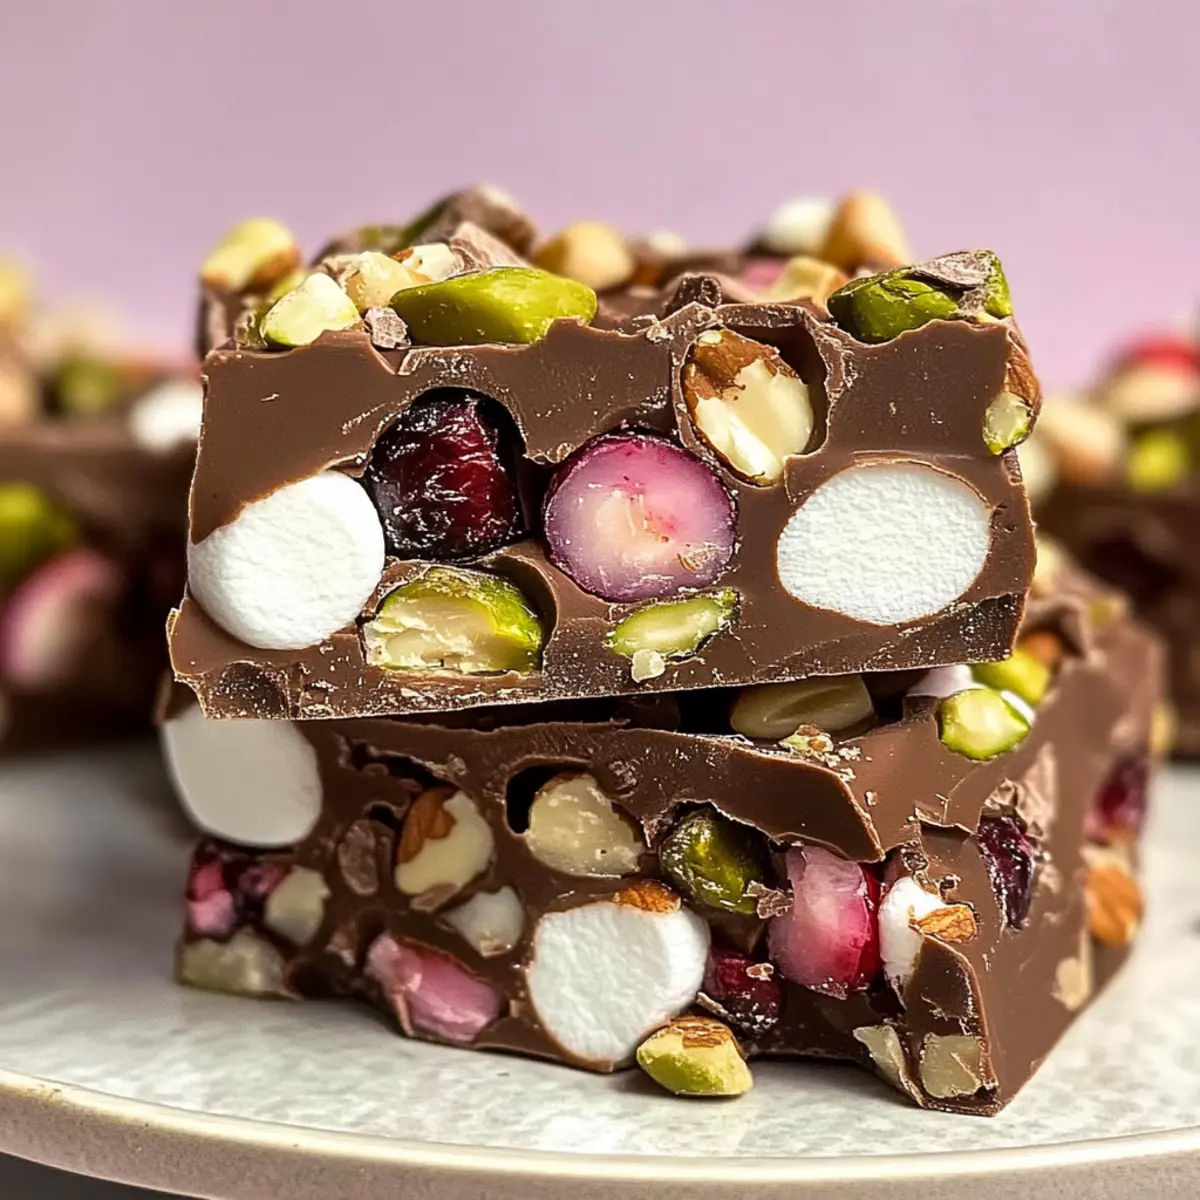
Endless creativity: Want to shake things up? Optional toppings like nuts or holiday sprinkles give you the freedom to personalize your toffee to match any occasion.
A crowd-pleaser: Whether you’re hosting a holiday party or just looking for a sweet snack, this toffee always draws rave reviews from friends and family.
Gift-worthy: Packaged in festive containers, this treat makes for a thoughtful, homemade gift that shows you care. Don’t miss out on the nostalgia and joy in every bite!
Saltine Cracker Toffee Ingredients
• Create the perfect batch of Saltine Cracker Toffee with these essential ingredients!
For the Toffee
- Dark Brown Sugar – Adds sweetness and a rich caramel flavor; substitute with light brown sugar if you prefer a milder taste.
- Butter – Provides richness and a buttery depth; using unsalted butter gives you better control over the overall saltiness of the treat.
- Chocolate Chips – Lends a smooth, luscious chocolate layer; feel free to swap in dark, semi-sweet, or even white chocolate based on your cravings.
- Saltine Crackers – Forms the crunchy base for the toffee; no substitutes needed unless you require gluten-free options—opt for gluten-free crackers in that case.
Step‑by‑Step Instructions for Saltine Cracker Toffee
Step 1: Preheat Your Oven
Begin by preheating your oven to 400°F (200°C). This is a crucial step for ensuring that your Saltine Cracker Toffee bakes evenly. While the oven heats up, gather your ingredients and prepare your baking pan to make the assembly process seamless.
Step 2: Prepare the Baking Pan
Line a 9 by 13-inch baking pan with aluminum foil, allowing some overhang for easy removal later. This will prevent the toffee from sticking to the pan, ensuring a perfect release once it’s set. Take a moment to smooth out any wrinkles in the foil for a smooth surface.
Step 3: Arrange the Crackers
Lay a single layer of saltine crackers evenly across the bottom of your prepared baking pan. This will serve as the base for your delicious Saltine Cracker Toffee. Ensure the crackers are tightly packed together to create a solid foundation for the toffee mixture.
Step 4: Make the Toffee Mixture
In a medium saucepan, combine the butter and dark brown sugar. Cook over medium heat while stirring continually until the mixture reaches a rolling boil. Allow it to boil for 3 minutes—watch for a bubbly texture forming, signaling that your caramel-like toffee is ready to pour over the crackers.
Step 5: Coat the Crackers
Once your toffee mixture has boiled for 3 minutes, immediately remove it from the heat. Carefully pour the bubbling mixture over the arranged saltine crackers, ensuring an even coating. Use a spatula to spread it gently if necessary, covering all corners for that delightful sweet and salty combination.
Step 6: Bake the Toffee
Place the baking pan in your preheated oven and bake for 7 minutes. During this time, you’ll see the toffee bubble and start to caramelize, which creates that perfect gooey consistency. Keep an eye on it to ensure it doesn’t burn, as you want it nice and golden.
Step 7: Add the Chocolate
Remove the pan from the oven and immediately sprinkle the chocolate chips over the hot toffee. Allow the heat from the toffee to melt the chocolate chips for about 2-3 minutes. The melted chocolate will form a luscious layer over your amazing Saltine Cracker Toffee.
Step 8: Spread the Chocolate
Using a spatula, gently spread the melted chocolate evenly across the top of the toffee. This chocolate layer adds a rich finish to your treat. If desired, sprinkle any optional toppings, such as chopped nuts, over the chocolate for added texture and flavor.
Step 9: Chill and Set
Place the baking pan in the refrigerator for about 1 hour or until the toffee is fully set. This chilling process allows the chocolate to firm up. Once set, you’ll be able to break the toffee into delightful pieces easily.
Step 10: Serve and Indulge
After chilling, lift the toffee out of the pan using the overhang of the foil. Break it into pieces and serve! Your homemade Saltine Cracker Toffee is now ready to share, delighting family and friends with its sweet and salty goodness.

Expert Tips for Saltine Cracker Toffee
Watch Your Boil: Ensure your butter and sugar mixture reaches a rolling boil without burning it. Stir constantly to prevent sticking and achieve the perfect texture.
Smooth Chocolate Layer: For easy spreading, melt chocolate in a double boiler instead of the microwave, particularly if you’re using toffee immediately after baking.
Cracker Arrangement: Lay the saltine crackers close together in a single layer to create a solid base. This will ensure even coverage of the caramel and chocolate.
Chill Completely: Allow the Saltine Cracker Toffee to chill in the refrigerator for at least 1 hour. This step is vital for achieving a perfect, breakable texture.
Experiment with Toppings: Don’t hesitate to add your favorite toppings, like chopped nuts or colorful sprinkles, to the melted chocolate for an extra flavor boost and festive flair.
Make Ahead Options
These Easy 4-Ingredient Christmas Crack (Saltine Cracker Toffee) treats are perfect for meal prep enthusiasts! You can prepare the toffee mixture and pour it over the crackers up to 24 hours in advance; simply cover the unbaked pan with foil and refrigerate it. When you’re ready to indulge, bake it as instructed, then add the chocolate layer and chill. For best results, avoid adding any toppings until shortly before serving, as this helps maintain their freshness. This simple prep will save you time during the busy holiday season, allowing you to enjoy delightful homemade treats without the last-minute rush!
How to Store and Freeze Saltine Cracker Toffee
Room Temperature: Store your Saltine Cracker Toffee in an airtight container at room temperature for up to 2 weeks. This keeps it crunchy and delicious!
Fridge: If you prefer a firmer texture, refrigerate the toffee in an airtight container for up to 3 weeks. Just bring it back to room temperature before enjoying for the best flavor.
Freezer: For long-term storage, freeze the toffee in a freezer-safe container or plastic wrap for up to 2 months. Thaw in the fridge before serving to retain its texture.
Reheating: Generally, there’s no need to reheat the toffee, as it’s best enjoyed at room temperature. If you’ve frozen it, simply let it sit out to soften before diving in!
Saltine Cracker Toffee Variations
Feel free to get creative with your Saltine Cracker Toffee—personalize it to suit your tastes!
-
Nutty Delight: Add chopped pecans or walnuts on top of the melted chocolate for an extra crunch. This not only enhances texture but also introduces a delightful nuttiness that complements the sweet and salty flavors perfectly.
-
Toffee Bit Swap: Swap out chocolate chips with toffee bits for a chewy twist. This variation still maintains the signature sweetness while delivering a rich toffee flavor that pairs beautifully with the crunchy saltines.
-
Spicy Kick: Sprinkle a pinch of cayenne pepper or red pepper flakes into the toffee mixture for a surprising heat. This will excite your palate and add a fun twist to the traditional recipe!
-
Holiday Cheer: Use festive sprinkles or crushed candy canes as a topping for the chocolate. This variation injects vibrant colors and seasonal flair onto your toffee, making it perfect for holiday celebrations.
-
White Chocolate Elegance: Replace dark or semi-sweet chocolate with white chocolate for a sweeter, creamy take. The delightful contrast between the salty base and sweet white chocolate creates a beautifully balanced treat.
-
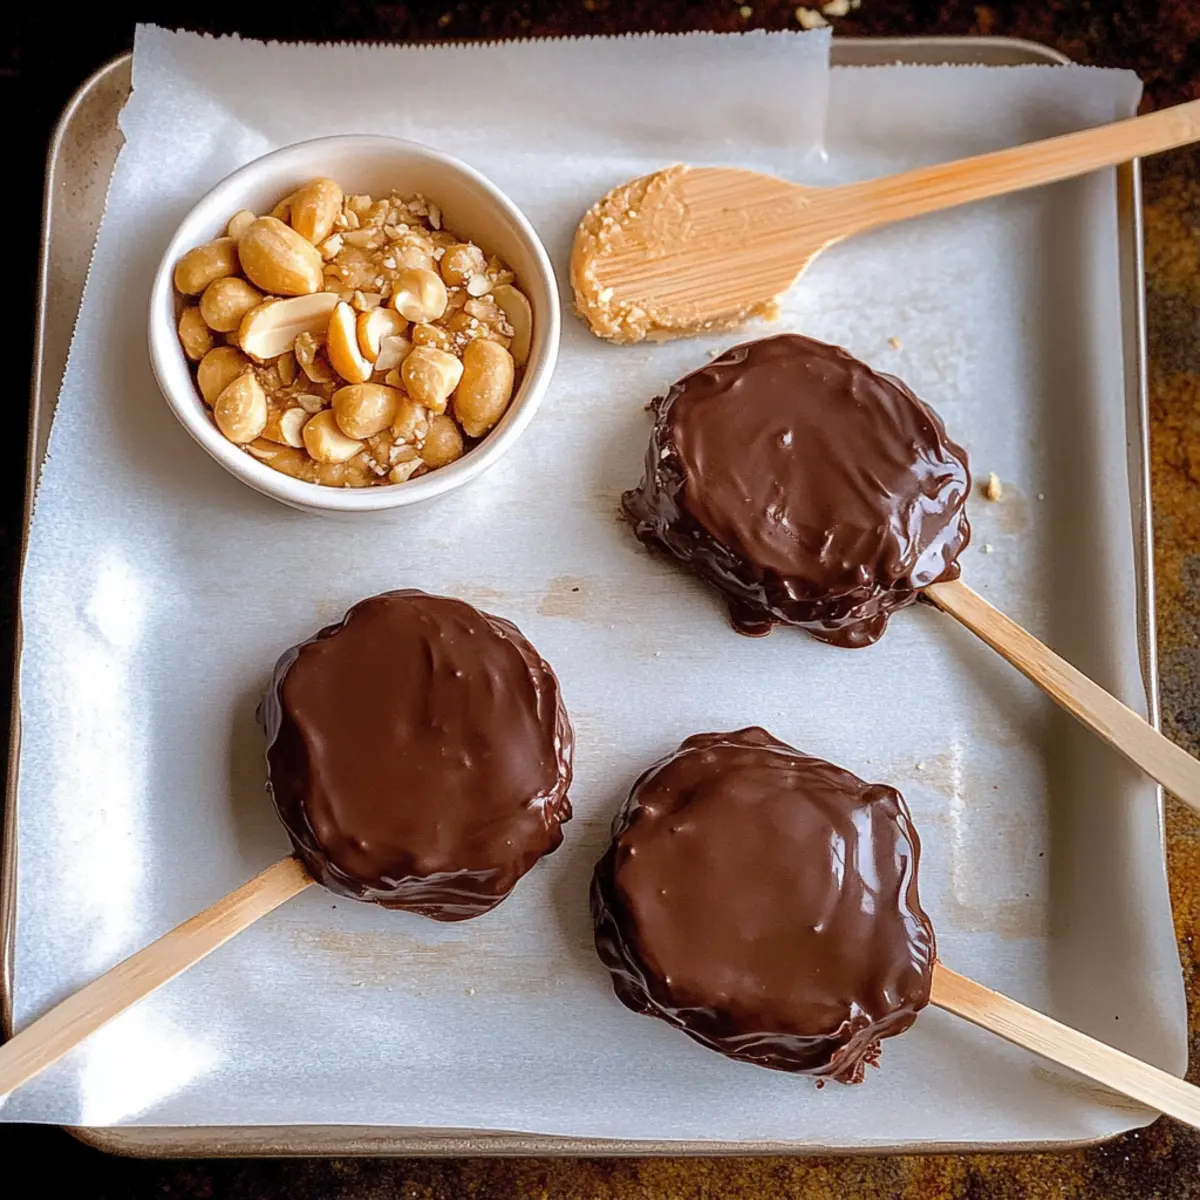
Peanut Butter Bliss: Swirl in some peanut butter with the melted chocolate layer for a rich, nutty flavor that takes your toffee to the next level. The combination of chocolate and peanut butter will have everyone coming back for more!
-
Coconut Crunch: For a tropical touch, sprinkle shredded coconut over the melted chocolate before it sets. This adds a chewy texture and a hint of flavor that will transport you to a sunny paradise with every bite.
-
Caramel Drizzle: Drizzle some caramel sauce over the set chocolate for an extra sweet and gooey layer. This indulgent option elevates your toffee to an even more luxurious treat that’s hard to resist.
Feel free to mix inspirations or create your unique variations! As always, your adaptability will make this easy 4-ingredient recipe even more fun and customizable. Why not check out tips for perfecting your toffee to ensure every batch turns out delightful?
What to Serve with Easy 4-Ingredient Christmas Crack?
Get ready to complete your festive spread with delightful pairings that elevate this sweet treat to new heights.
-
Creamy Hot Chocolate: A cozy cup that enhances the sweetness of the toffee, perfect for a chilly day.
-
Cozy Eggnog: The rich, creamy flavor pairs beautifully with the crunchy toffee, creating a holiday classic.
-
Savory Cheese Platter: Balance out the sweetness by serving with tangy cheeses like cheddar or creamy brie. This contrast enhances the flavors of both the cheese and the toffee.
-
Fresh Fruit Salad: Lighten up your dessert table with refreshing fruits like strawberries and apples to cleanse the palate.
-
Nutty Trail Mix: A crunchy mix of nuts offers a satisfying contrast to the toffee’s sweetness; it’s an excellent option for snacking alongside.
-
Festive Spritzer: A sparkling drink with cranberries or pomegranates adds a splash of color and a hint of tartness that complements the toffee perfectly.
-
Vanilla Ice Cream: Silky-smooth ice cream provides a deliciously creamy counterpart to the crunchy toffee, making each bite indulgently satisfying.
-
Chocolate-Covered Pretzels: This sweet-and-salty combination echoes the flavor profile of the Christmas Crack, creating a delectable snack duo.
-
Gingerbread Cookies: With their warm spice notes, these cookies create a wonderful holiday flavor experience alongside your toffee.

Saltine Cracker Toffee Recipe FAQs
How do I choose the right saltine crackers?
When selecting your saltine crackers, look for those that are fresh and crisp, with no broken pieces in the package. Aim for crackers that don’t have dark spots or excessive crumbs, as this can affect the overall texture of your toffee. If you’re gluten-sensitive, be sure to grab gluten-free saltine crackers instead, which can be found at most grocery stores!
How should I store Saltine Cracker Toffee?
Store your Saltine Cracker Toffee in an airtight container at room temperature for up to 2 weeks. This will help maintain its delightful crunchiness. If you prefer a firmer texture, placing it in the refrigerator can extend its life to about 3 weeks—just be sure to bring it back to room temperature before enjoying to experience the full flavor.
Can I freeze Saltine Cracker Toffee for later?
Absolutely! For long-term storage, freeze your Saltine Cracker Toffee by wrapping pieces in plastic wrap or placing them in a freezer-safe container. It will keep well for up to 2 months. When you’re ready to indulge, simply let it thaw in the fridge overnight or at room temperature for a couple of hours before serving.
What if my toffee mixture burns while boiling?
If your butter and sugar mixture has burned during boiling, the mixture will have a bitter taste, which is tough to salvage. It’s best to start over since the burnt flavor can overwhelm the entire toffee. When boiling, always stir continuously, and keep a close eye on it—you’re aiming for a nice caramel color and bubbling texture without straying into burnt territory.
Can I use different types of chocolate for the topping?
Very! Feel free to mix and match your chocolate toppings. Dark chocolate provides a rich contrast to the sweetness of the toffee, while semi-sweet and white chocolate can cater to different flavor preferences. You could even create a marbled effect by melting and swirling two kinds together for an eye-catching presentation!

Delicious Saltine Cracker Toffee You’ll Want to Share
Ingredients
Equipment
Method
- Preheat your oven to 400°F (200°C). Gather your ingredients and prepare your baking pan.
- Line a 9 by 13-inch baking pan with aluminum foil, allowing some overhang.
- Lay a single layer of saltine crackers evenly across the bottom of the baking pan.
- In a medium saucepan, combine the butter and dark brown sugar, cook over medium heat while stirring until boiling. Boil for 3 minutes.
- Remove from heat and pour the boiling mixture over the crackers, ensuring an even coating.
- Bake for 7 minutes in the preheated oven until bubbly and caramelized.
- Add the chocolate chips on top of the toffee, allowing them to melt for 2-3 minutes.
- Spread the melted chocolate evenly across the toffee. Add optional toppings if desired.
- Chill in the refrigerator for about 1 hour until set.
- Lift the toffee out of the pan, break into pieces, and serve.