As the oven warms up, a delightful aroma fills the kitchen, whisking me back to precious moments spent gathered around a table with loved ones. Today, I’m excited to share my recipe for a Quick and Delicious White Pizza with Garlic Pizza Sauce, which you can whip up in just 20 minutes! This vegetarian masterpiece pairs a crispy crust with a creamy garlic sauce, heavenly melted cheeses, and a sprinkle of fresh basil. It’s the perfect answer to those weeknights when you crave comfort food without the wait. Plus, this dish is not only a crowd-pleaser, but it also allows you to skip the takeout and indulge in homemade goodness. Ready to uncover the secrets behind this mouthwatering delight? Let’s dive in!
Why is this white pizza irresistible?
Quick preparation: With just 20 minutes from start to finish, this recipe fits perfectly into your busy schedule.
Bold flavors: The creamy garlic pizza sauce perfectly complements the gooey cheese and fresh basil, making every bite rich and satisfying.
Vegetarian delight: This pizza offers a meat-free option that doesn’t compromise on taste, sure to please friends and family alike.
Easy customization: Feel free to add your favorite toppings or experiment with different cheeses for a truly unique flavor. If you’re looking for more creative ideas, check out my Everyday Broccoli Dressing to add a fresh side!
Crowd-pleaser: Whether it’s a casual weeknight dinner or a gathering with friends, this dish guarantees smiles and satisfaction all around.
White Pizza with Garlic Pizza Sauce Ingredients
For the Garlic Pizza Sauce
• Butter – Adds richness and flavor; can substitute with olive oil for a dairy-free option.
• All-purpose Flour – Provides thickness to the sauce; for gluten-free, use cornstarch or gluten-free flour.
• Whole Milk – Creates a creamy texture; substitute with any plant-based milk for a lighter sauce.
• Sea Salt & Black Pepper – Essential seasonings; adjust to taste for your perfect balance.
• Garlic – Essential for flavor; fresh minced or jarred can be used to keep it simple.
• Parmesan Cheese – Adds nuttiness and creaminess to the sauce; substitute with nutritional yeast for a vegan version.
For the Pizza
• Pizza Crust – The base of the pizza, which can be homemade or store-bought for convenience.
• Low Moisture Mozzarella Cheese – Primary cheese that gives a gooey texture; substitute with provolone or a non-dairy alternative.
• Parmesan Cheese – For topping; it enhances flavor beautifully.
• Italian Seasoning – Adds a blend of herbs; can substitute with dried oregano if needed.
• Olive Oil – For brushing the crust; can use melted butter as an alternative for extra richness.
For Garnish
• Fresh Basil – Adds flavor and aroma; feel free to experiment with other fresh herbs based on your preference.
Get ready to create an unforgettable White Pizza with Garlic Pizza Sauce that your whole family will adore!
Step‑by‑Step Instructions for White Pizza with Garlic Pizza Sauce
Step 1: Prepare Garlic Pizza Sauce
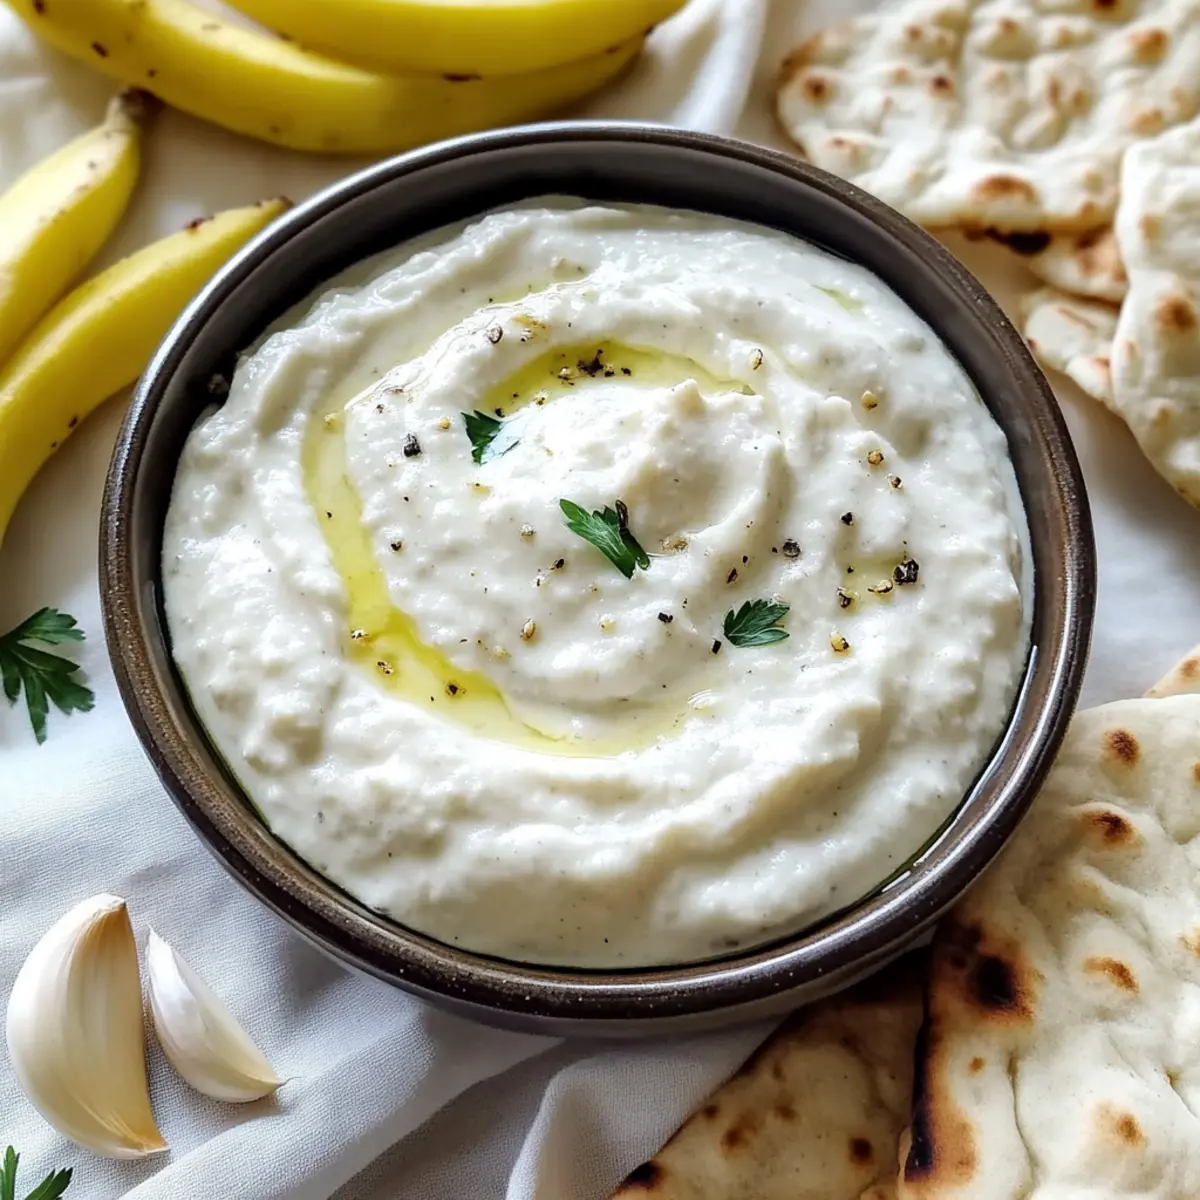
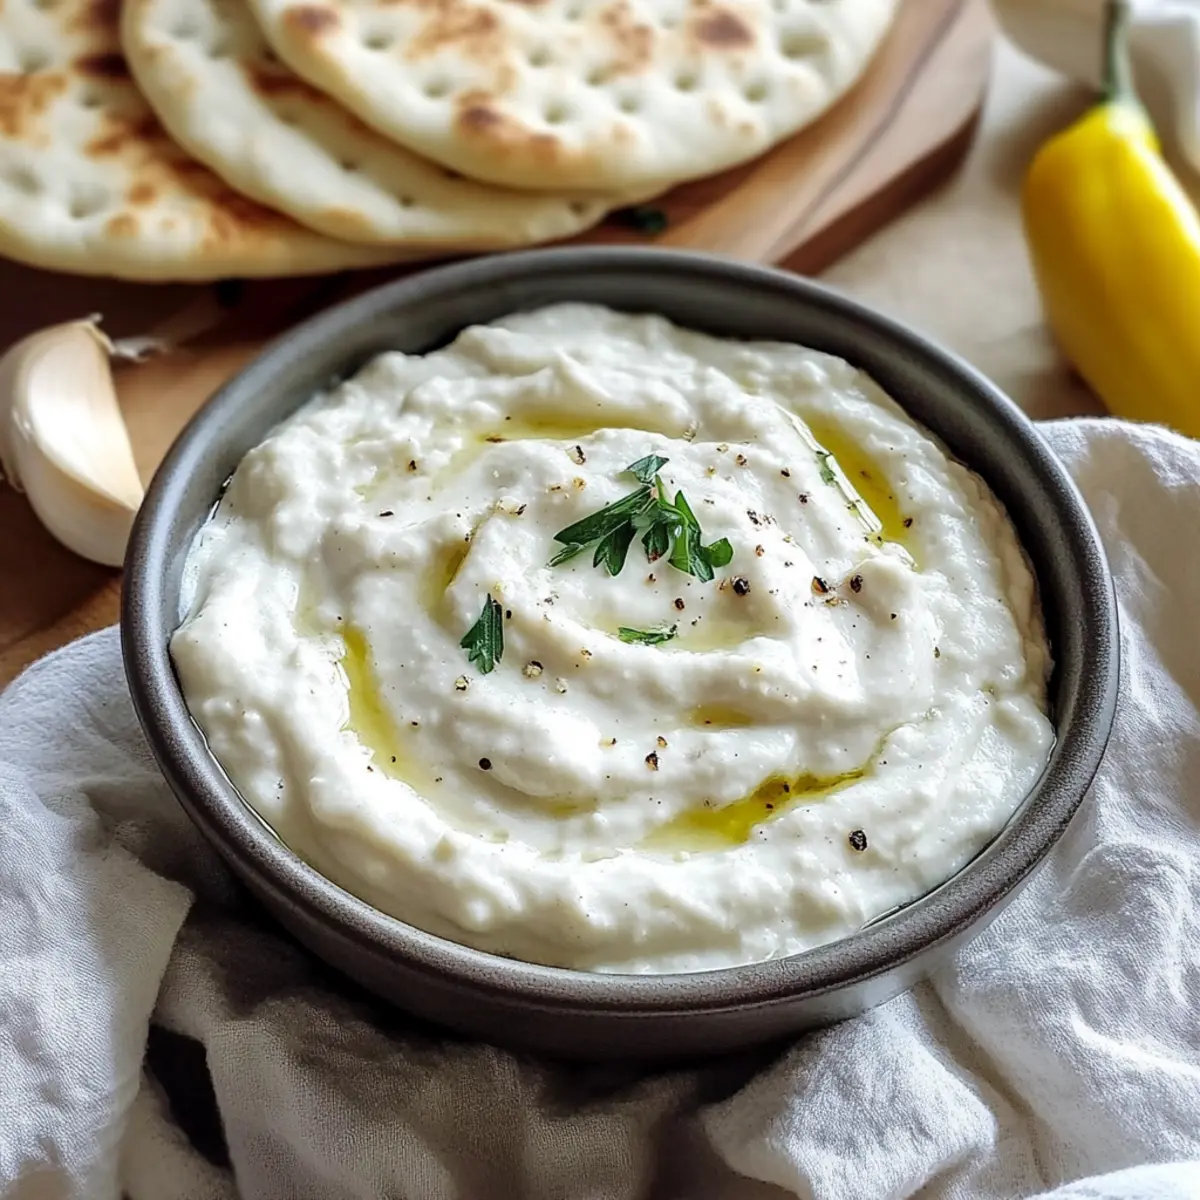
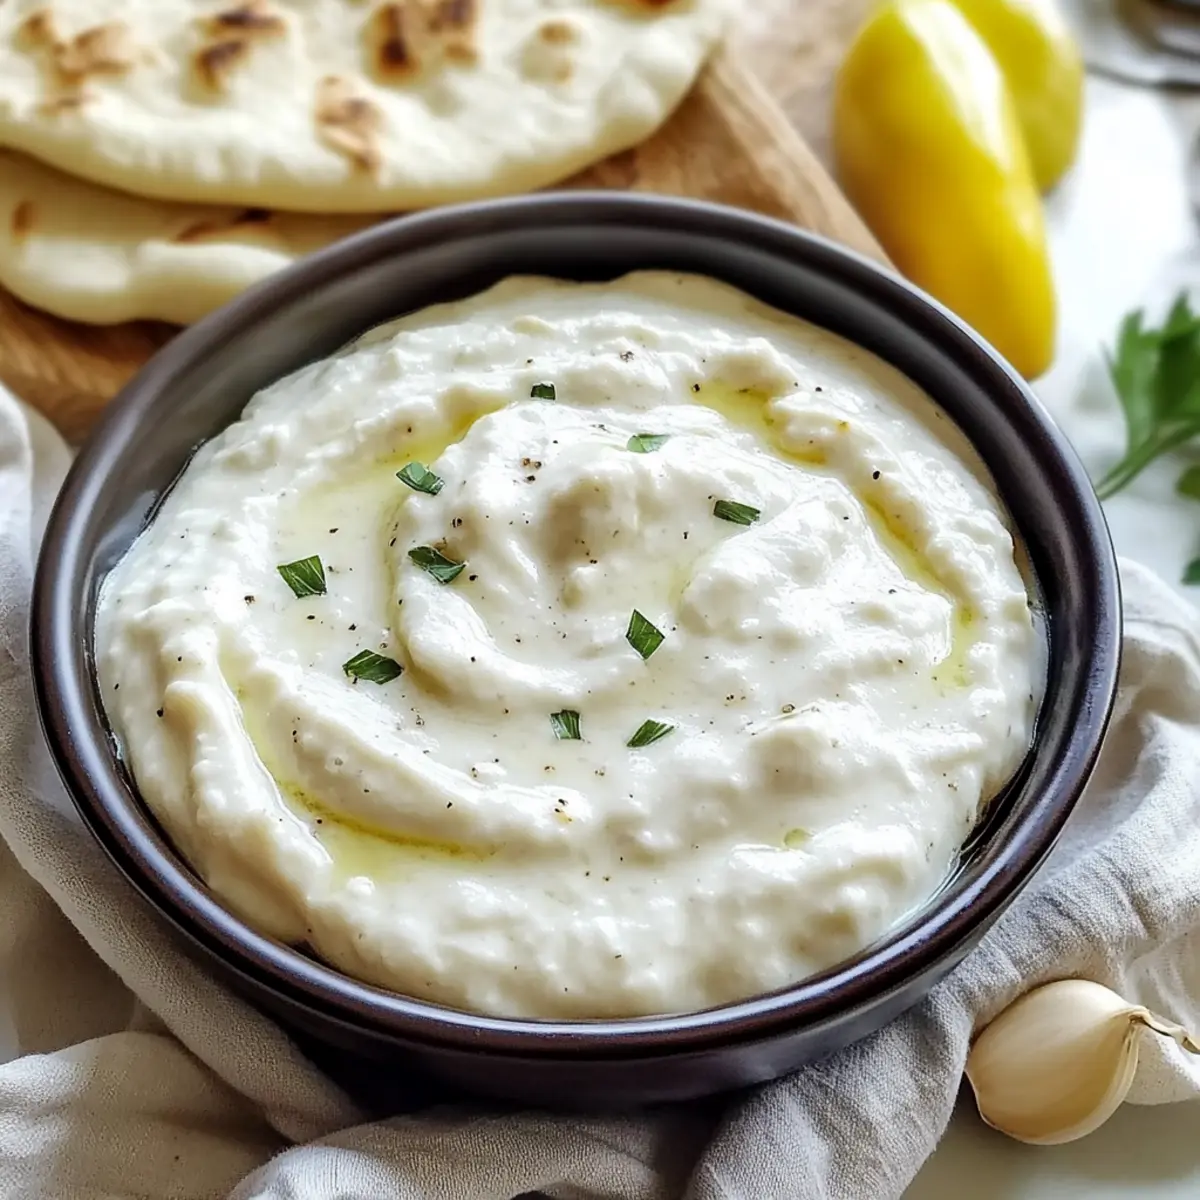
In a medium saucepan over low heat, melt 2 tablespoons of butter. Gradually whisk in 2 tablespoons of flour, stirring continuously for about 1 minute until smooth. Slowly pour in 1 cup of whole milk while whisking, allowing the mixture to thicken for 3–4 minutes. Stir in sea salt, black pepper, and 1/4 cup of grated Parmesan cheese, then set the sauce aside to cool slightly.
Step 2: Preheat Oven
While the sauce cools, preheat your oven to 450°F (232°C) to ensure a crispy crust. This high temperature is crucial for achieving that restaurant-quality pizza. Prepare a pizza stone or a baking sheet, ensuring it’s ready to receive your homemade white pizza.
Step 3: Prepare Pizza Crust
Take your pizza dough (store-bought or homemade) and stretch it onto a pizza pan or baking sheet, using your fingertips for better elasticity. Brush the surface lightly with olive oil, then evenly sprinkle Italian seasoning over the dough. Spread a generous layer of the cooled garlic pizza sauce right to the edges for maximum flavor.
Step 4: Add Cheese
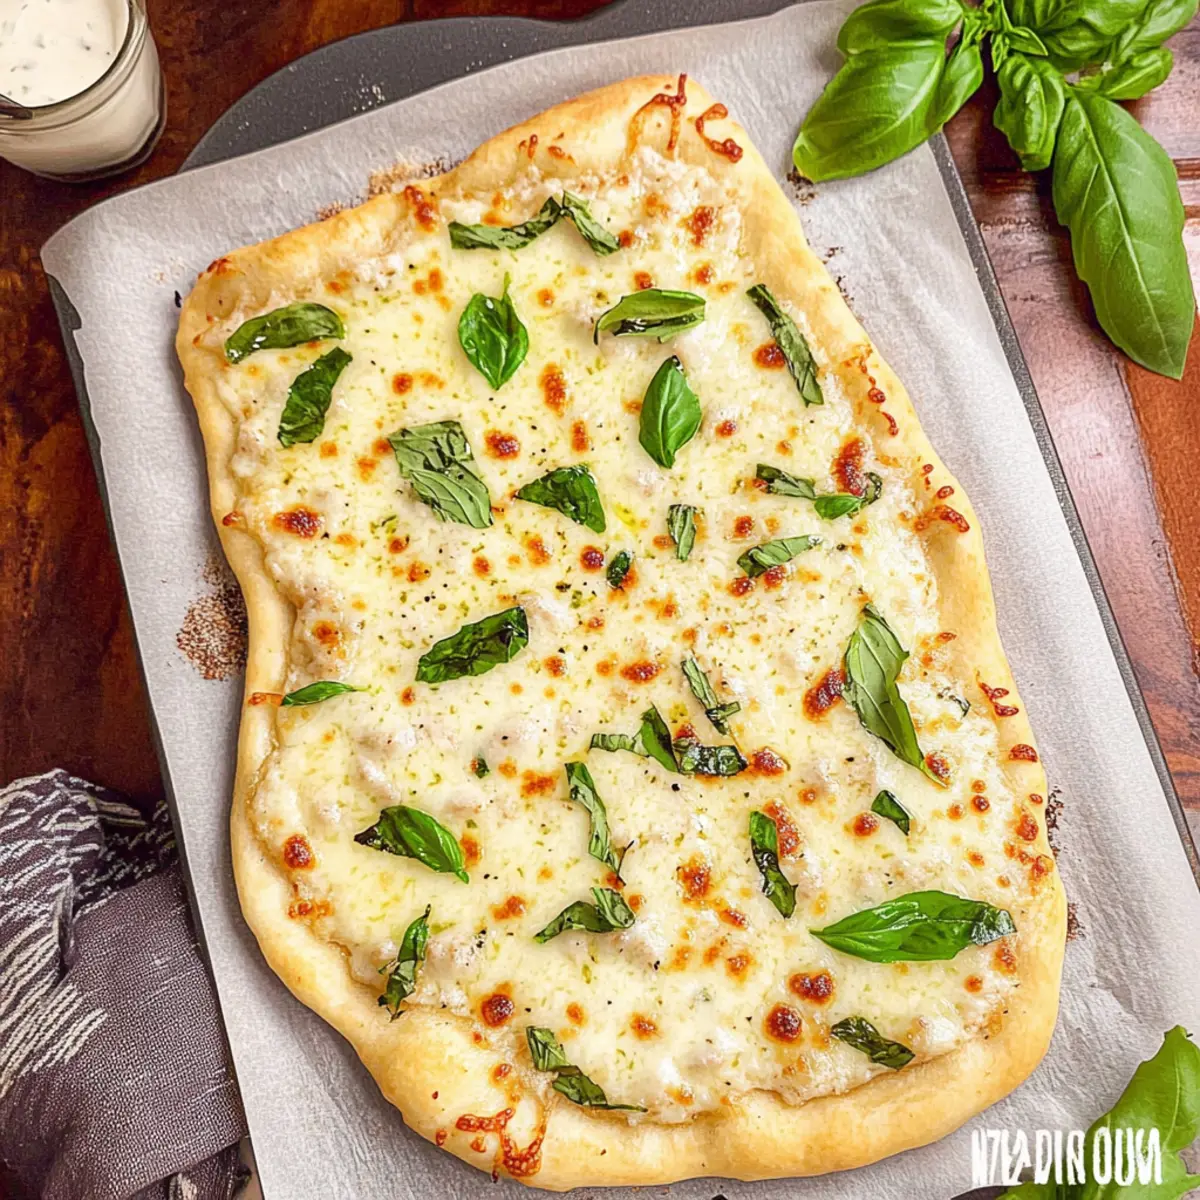
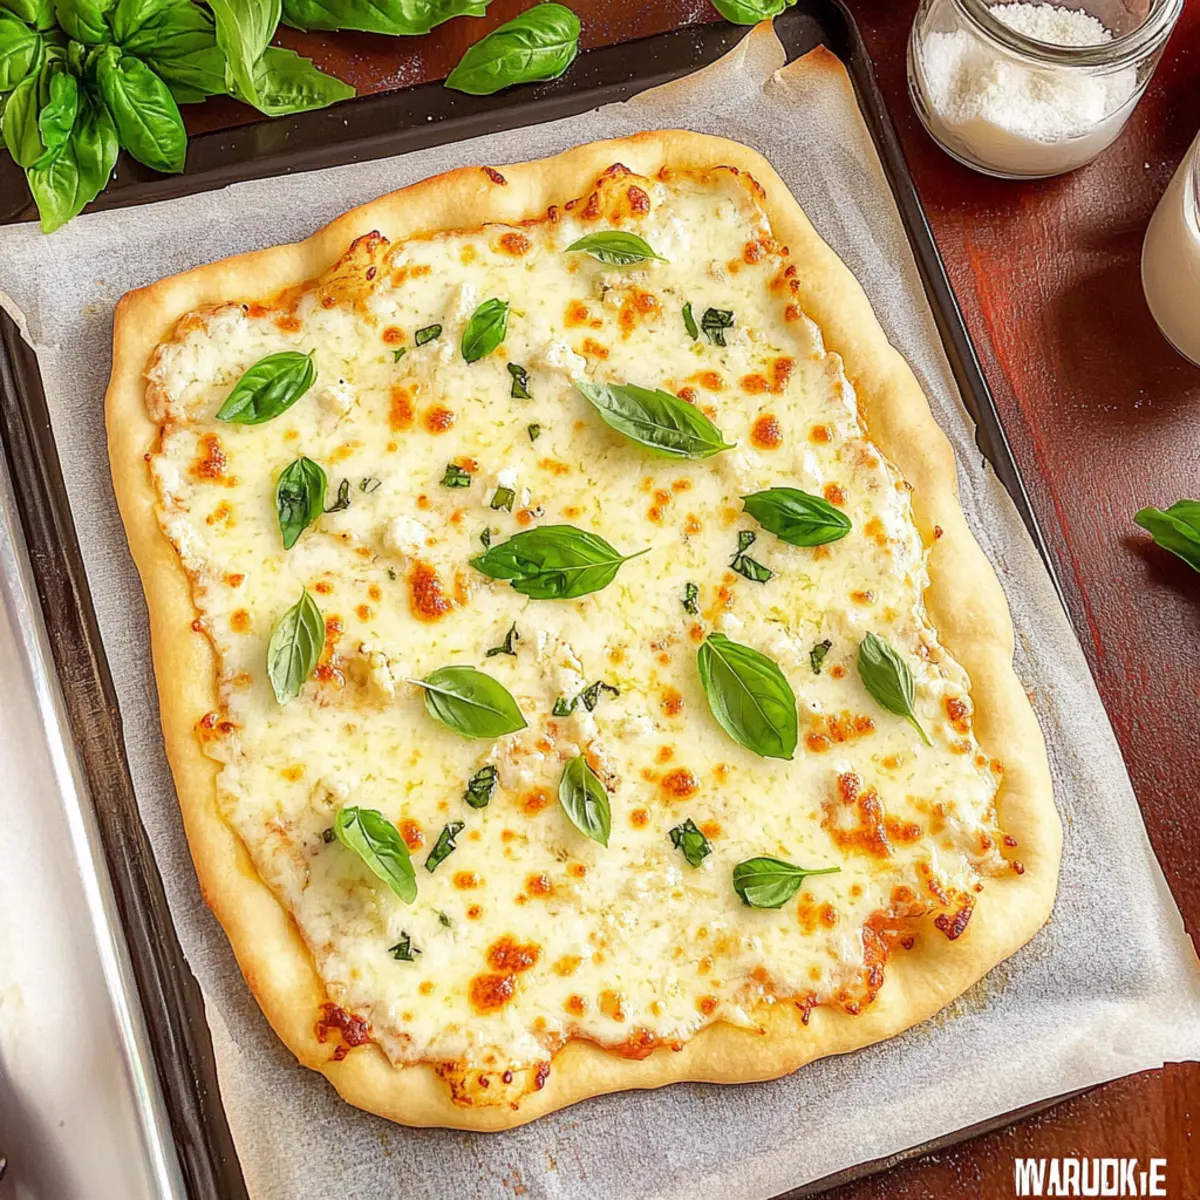
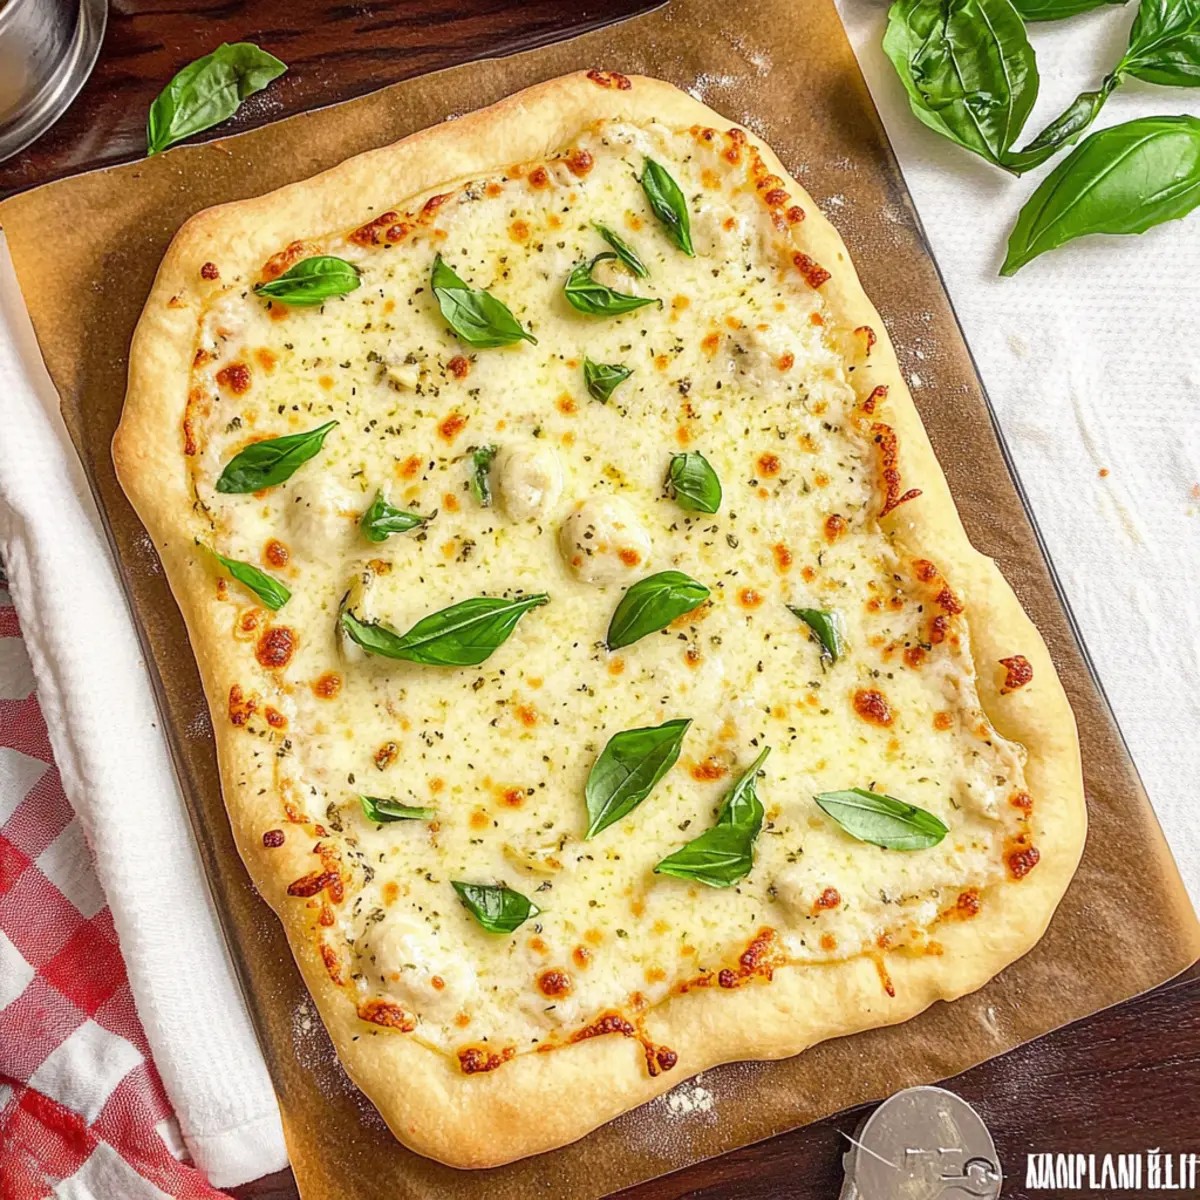
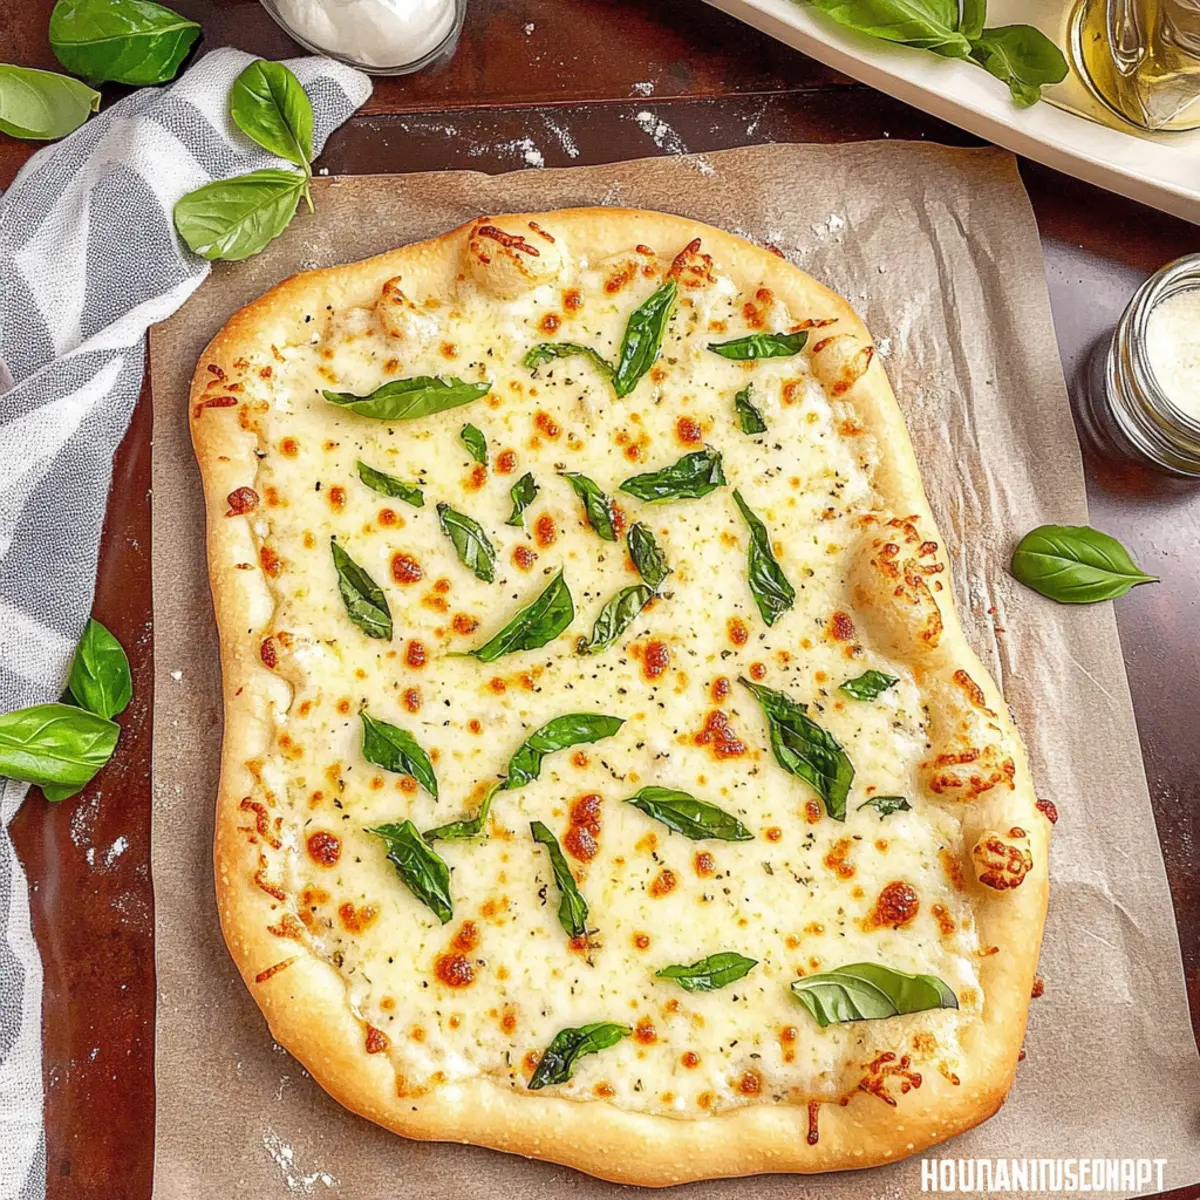
Next, sprinkle a generous amount of low moisture mozzarella cheese over the garlic sauce. Ensure you cover the entire surface for a gooey and satisfying melt. Finish it off with an additional sprinkle of Parmesan cheese for that extra savory depth, making this white pizza irresistible.
Step 5: Bake
Slide the prepared pizza into your preheated oven and bake for 10–12 minutes. Keep an eye on it—the pizza is done when the crust is golden brown and the cheese is bubbling and slightly browned. This creates a mouthwatering visual that tells you it’s ready for the next step.
Step 6: Garnish and Serve
Once out of the oven, let the pizza cool for a minute before garnishing it with fresh basil leaves. This adds a pop of color and freshness. Slice your delightful white pizza with garlic pizza sauce and serve immediately for the best taste and texture experience!
Expert Tips for White Pizza
-
Dough Stretching: Use your hands to stretch the dough, allowing for better elasticity. Avoid rolling pins, as they can compress the dough and lead to a denser crust.
-
Cheese Abundance: Don’t skimp on the cheese! Generous layers of mozzarella and Parmesan are key to achieving that gooey, mouthwatering texture that defines a great white pizza.
-
Cool the Sauce: Let the garlic pizza sauce cool slightly before spreading it on the dough. A cooled sauce helps maintain the pizza’s structure and prevents a soggy crust.
-
Watch the Oven: Keep a close eye on the pizza while it bakes. The baking time can vary based on your oven and pan; you’re aiming for a golden crust and bubbly cheese!
-
Herb Varieties: Feel free to mix different fresh herbs for garnish! Along with basil, try adding arugula or oregano to elevate the flavor of your white pizza with garlic pizza sauce.
Make Ahead Options
These Quick and Delicious White Pizza with Garlic Pizza Sauce are perfect for busy weeknights and meal prep! You can prepare the garlic pizza sauce and refrigerate it up to 3 days in advance—just store it in an airtight container to maintain its creamy texture. The pizza crust can also be rolled out ahead of time; keep it wrapped tightly in plastic wrap in the fridge for up to 24 hours. When you’re ready to enjoy, simply spread the prepped sauce over the crust, add your cheeses, and bake as directed for a freshly baked pizza that’s just as delightful as when made the same day!
White Pizza with Garlic Pizza Sauce Variations
Customize your white pizza adventure with these delightful tweaks that will invigorate your meal and satisfy your cravings.
- Gluten-Free: Substitute all-purpose flour with cornstarch or a gluten-free flour blend for the sauce. This ensures everyone can enjoy a slice without worry!
- Vegan: Swap butter for olive oil and use nutritional yeast instead of parmesan for a creamy, rich flavor without dairy. Your pizza will still shine with taste and whimsy!
- Extra Veggies: Enhance your white pizza by loading it with grilled zucchini, bell peppers, or spinach for a colorful and nutritious boost. These fresh ingredients add both flavor and texture to your pie.
- Spicy Kick: Add a sprinkle of red pepper flakes or sliced jalapeños to your garlic pizza sauce for a delightful heat that will excite your taste buds. It’s a fun way to enjoy a little extra zing!
- Herbed Crust: Mix dried basil and oregano into your pizza dough or crust before baking for an aromatic experience that will elevate every bite. This little twist is sure to impress family and friends.
- Cheese Medley: Experiment with combining mozzarella, provolone, and feta for a complex flavor profile that takes your pizza to the next level. Each cheese adds its own character and charm to the bite!
- BBQ Drizzle: For a unique fusion, drizzle a bit of BBQ sauce on top of the baked pizza before serving. The sweet and smoky notes combine beautifully with the garlic sauce.
- Fresh Greens: Top your finished pizza with fresh arugula or spinach right before serving for a burst of color and a peppery crunch. It pairs perfectly with the creamy garlic sauce!
Let your creativity run wild with these variations! For more ideas, you can also try the Honey Garlic Slow recipe for a heartwarming meal alongside your pizza.
What to Serve with White Pizza with Garlic Pizza Sauce
A warm, cheesy white pizza with garlic sauce is just the beginning of a delightful meal experience. Let’s explore wonderful pairings that will take your dinner to the next level.
-
Italian Salad: A refreshing mix of greens, tomatoes, and olives drizzled with balsamic vinaigrette adds a zesty contrast to the rich pizza. It brings a delightful crunch and balance to your plate.
-
Caprese Salad: Fresh mozzarella, ripe tomatoes, and basil dressed in olive oil highlight the flavors of your pizza while bringing a fresh, bright taste to the meal.
-
Garlic Breadsticks: Crunchy on the outside, soft on the inside, these sticks offer an extra dose of garlic flavor that complements the pizza beautifully, making them a favorite for dipping.
-
Roasted Vegetables: A medley of seasonal veggies tossed in olive oil and herbs brings a savory and slightly caramelized element that pairs perfectly with the creamy pizza.
-
Pasta Primavera: Light, vibrant pasta with vegetables provides a colorful and hearty option. The contrasting textures and flavors make every bite exciting and satisfying.
-
White Wine Spritzer: Refreshing and bubbly, this drink lightens the meal’s richness while offering a hint of fruity sweetness that complements the garlic and herbs.
-
Lemon Sorbet: A cool, creamy dessert is an excellent way to cleanse your palate after the savory pizza. Its bright citrus notes leave you feeling refreshed and satisfied.
You now have a feast of ideas to ensure your white pizza experience is truly unforgettable!
How to Store and Freeze White Pizza with Garlic Pizza Sauce
Fridge: Refrigerate any leftover white pizza within 2 hours in an airtight container. It will stay fresh for up to 3 days.
Freezer: For longer storage, wrap slices tightly in plastic wrap and aluminum foil, then place them in a freezer bag. White pizza can be frozen for up to 2 weeks.
Reheating: To reheat, thaw the pizza overnight in the fridge, then bake in a preheated oven at 375°F (190°C) for 10-15 minutes, or until heated through and the cheese is bubbly again.
Room Temperature: If you don’t refrigerate leftovers, consume them within 2 hours for safety.
White Pizza with Garlic Pizza Sauce Recipe FAQs
How do I choose the best garlic for the sauce?
Absolutely! For the most robust flavor, choose fresh garlic bulbs with firm, unblemished skin. Avoid bulbs with soft spots or mold, as these can indicate spoilage. You can use either fresh minced garlic or jarred garlic, though fresh tends to provide a stronger taste.
What is the best way to store leftover white pizza?
Very! To keep your leftover white pizza fresh, place it in an airtight container in the fridge within 2 hours of serving. It will stay good for up to 3 days. Don’t forget to place parchment paper between slices to prevent sticking!
Can I freeze white pizza with garlic pizza sauce?
Absolutely! To freeze, wrap each slice tightly in plastic wrap, then place them in a freezer bag to protect against freezer burn. White pizza can be frozen for up to 2 weeks. When you’re ready to enjoy, thaw overnight in the fridge, and reheat in the oven for that bubbly charm.
I’ve got a soggy crust; what went wrong?
A soggy crust is often caused by too much sauce or cheese moisture. To fix this, let your garlic sauce cool before applying it. Also, try baking the pizza longer and at a higher temperature to crisp up the crust. If using fresh toppings, make sure they’re not overly wet before adding them.
What if I have a dairy allergy?
No worries! You can make this white pizza dairy-free by substituting the butter with olive oil, using plant-based milk in the sauce, and opting for a non-dairy mozzarella alternative. Nutritional yeast can also replace parmesan for that cheesy flavor without the dairy.
Can I customize toppings on my white pizza?
Absolutely! The more, the merrier! Feel free to add favorites like grilled chicken, spinach, or any vegetables you love. Just remember to keep added ingredients to a minimum to avoid excess moisture that can affect the crust!
Irresistible White Pizza with Garlic Pizza Sauce in 20 Minutes
Ingredients
Equipment
Method
- In a medium saucepan over low heat, melt 2 tablespoons of butter. Gradually whisk in 2 tablespoons of flour, stirring continuously for about 1 minute until smooth. Slowly pour in 1 cup of whole milk while whisking, allowing the mixture to thicken for 3–4 minutes. Stir in sea salt, black pepper, and 1/4 cup of grated Parmesan cheese, then set the sauce aside to cool slightly.
- Preheat your oven to 450°F (232°C). Prepare a pizza stone or a baking sheet for receiving the pizza.
- Stretch your pizza dough onto a pizza pan or baking sheet, brush lightly with olive oil, and sprinkle with Italian seasoning. Spread a generous layer of garlic pizza sauce over the dough.
- Sprinkle a generous amount of low moisture mozzarella cheese over the garlic sauce, covering the entire surface. Finish with an additional sprinkle of Parmesan cheese.
- Slide the prepared pizza into your preheated oven and bake for 10–12 minutes until the crust is golden brown and the cheese is bubbling.
- Let the pizza cool for a minute before garnishing it with fresh basil leaves. Slice and serve immediately.