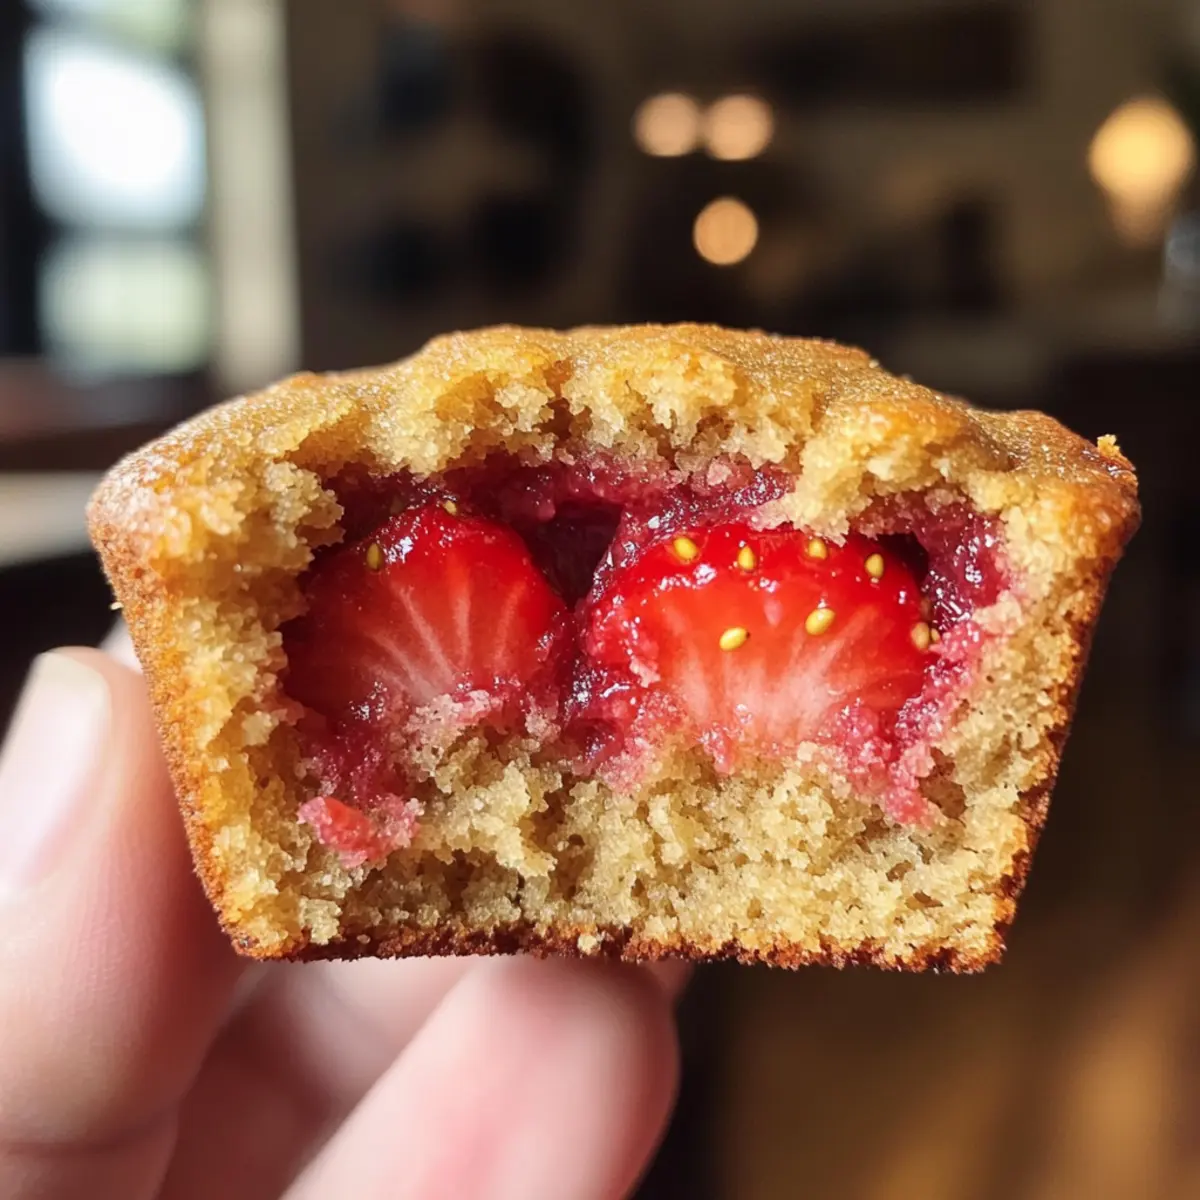
As the warm aroma of berry goodness filled my kitchen, I couldn’t help but smile at the delightful mess I was creating. If you’ve ever wanted a guilt-free treat that tastes indulgent, let me introduce you to my Strawberry Protein Muffins. These fluffy gems are not only low-carb and high-protein, making them perfect for any health-conscious foodie, but they’re also incredibly quick to whip up—a real lifesaver on busy mornings! Each muffin is packed with fresh strawberries, delivering that burst of fruity goodness while keeping your energy up throughout the day. Are you ready to embrace a delicious twist on your breakfast routine? Let’s get baking!
Why Are Strawberry Protein Muffins Amazing?
Guilt-Free Indulgence: You can enjoy these muffins without compromising your health goals. Packed with protein yet low in carbs, they are a satisfying snack that fuels your day.
Quick and Easy: Just a few simple steps and you’ll have a delightful batch ready to enjoy. Perfect for busy chefs and home cooks alike!
Versatile Flavor: While bursting with strawberry goodness, you can adapt the recipe with other berries or spices to keep things exciting. Check out our Strawberry Cheesecake Dump for more fruity inspiration!
Crowd-Pleasing Appeal: These muffins are not only delicious but impressive. Serve them at brunch or as a grab-and-go snack that everyone will rave about.
Wholesome Ingredients: Each bite is made with nourishing components like cottage cheese and almond flour, providing a boost of energy without the guilt. Enjoy the balance of indulgence and health all in one!
Strawberry Protein Muffin Ingredients
Here’s what you’ll need to create these delicious, guilt-free Strawberry Protein Muffins!
For the Muffins
- Eggs – Provides structure and moisture; use large eggs for best results.
- Cottage Cheese – Acts as a base, offering protein and moisture; opt for 2% or 4% milkfat for best texture.
- Almond Flour – Adds richness while keeping the recipe low-carb; can substitute with coconut flour (just adjust the amount).
- Vanilla Extract – Enhances sweetness and flavor complexity.
- Baking Powder – Serves as the leavening agent to ensure a fluffy muffin.
- Ground Cinnamon – Adds warmth and a subtle kick; totally optional for extra spice!
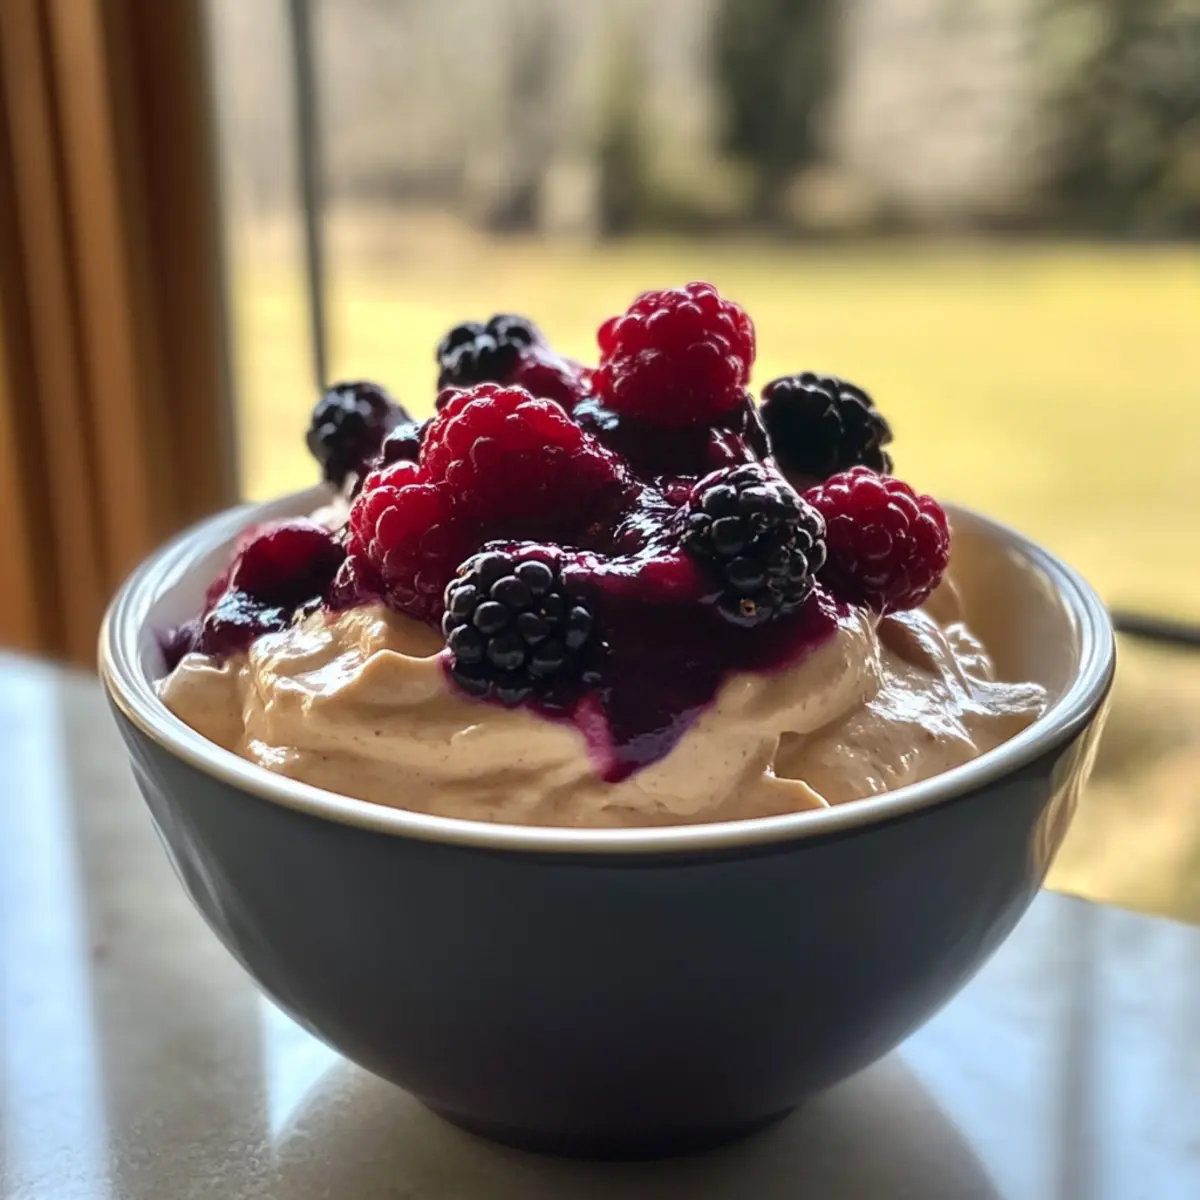
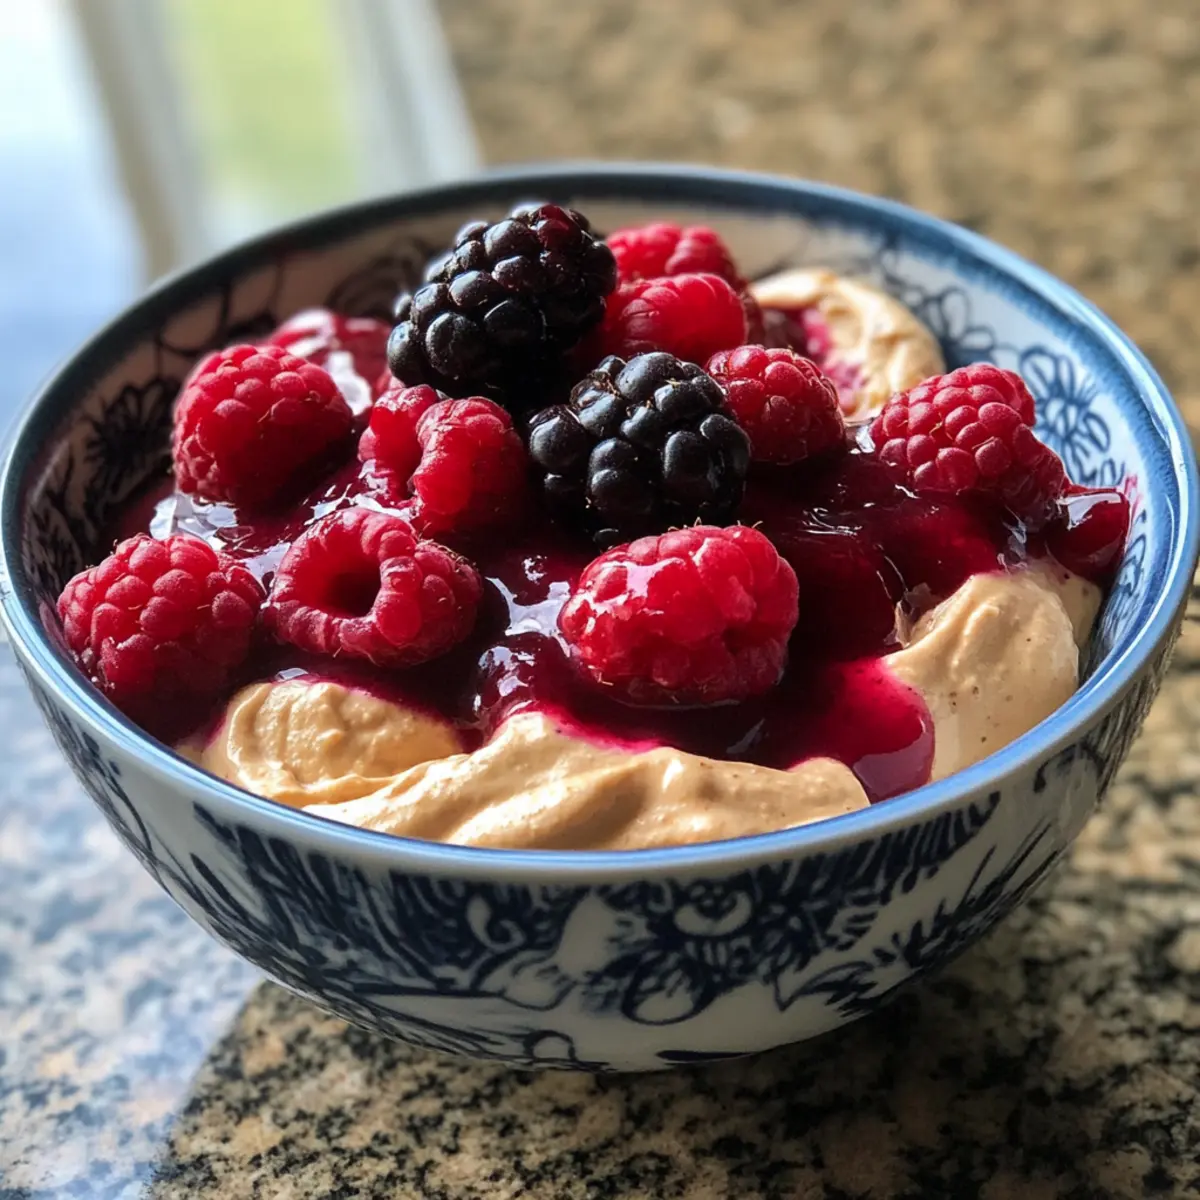
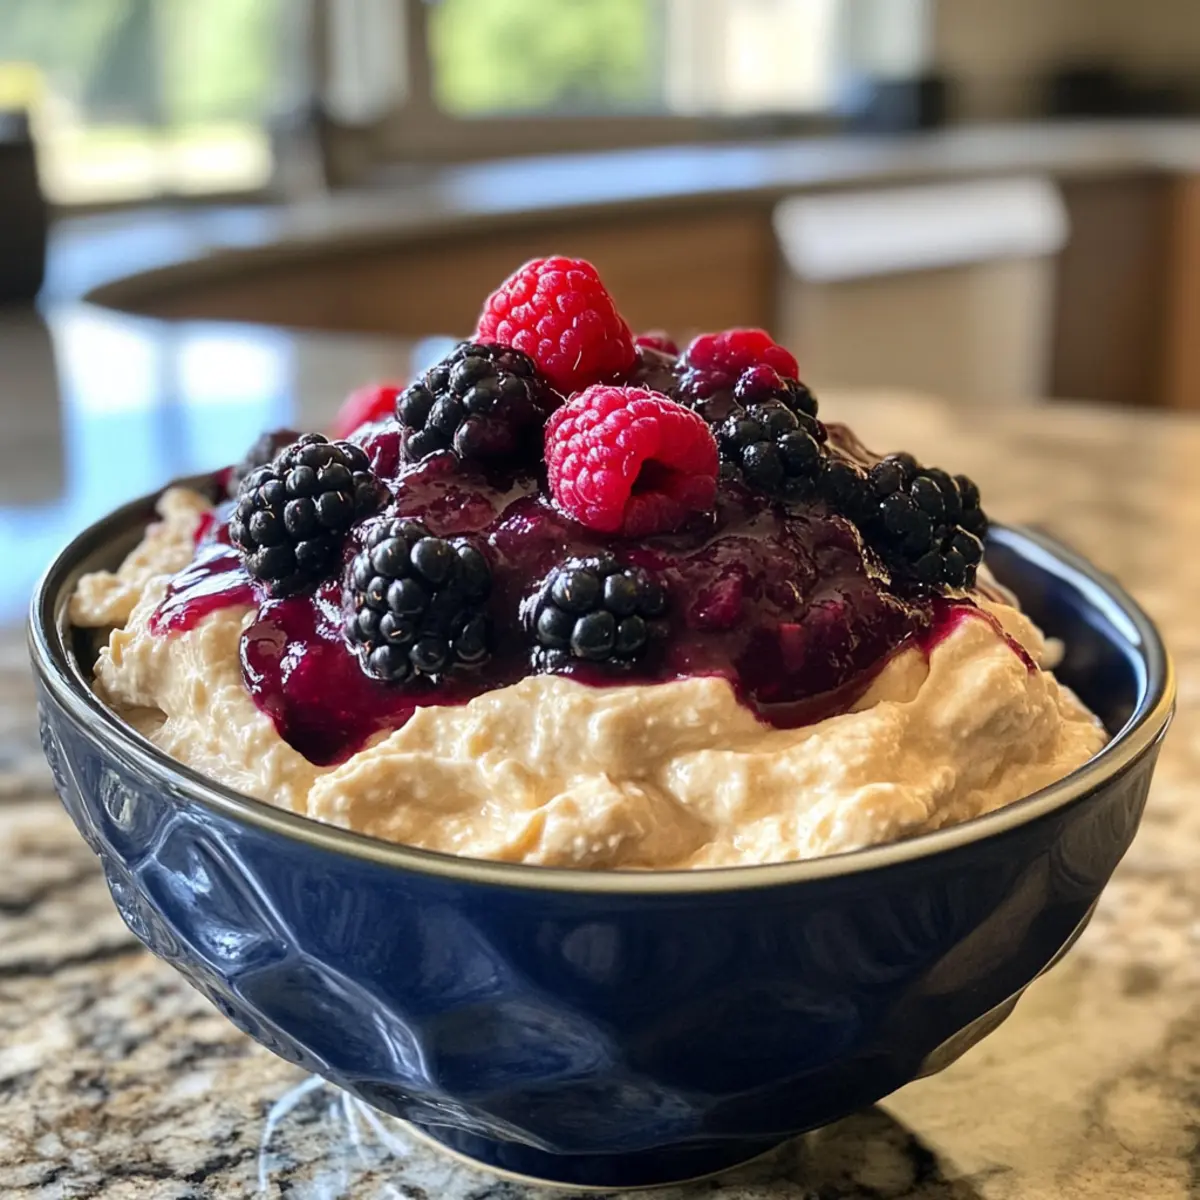
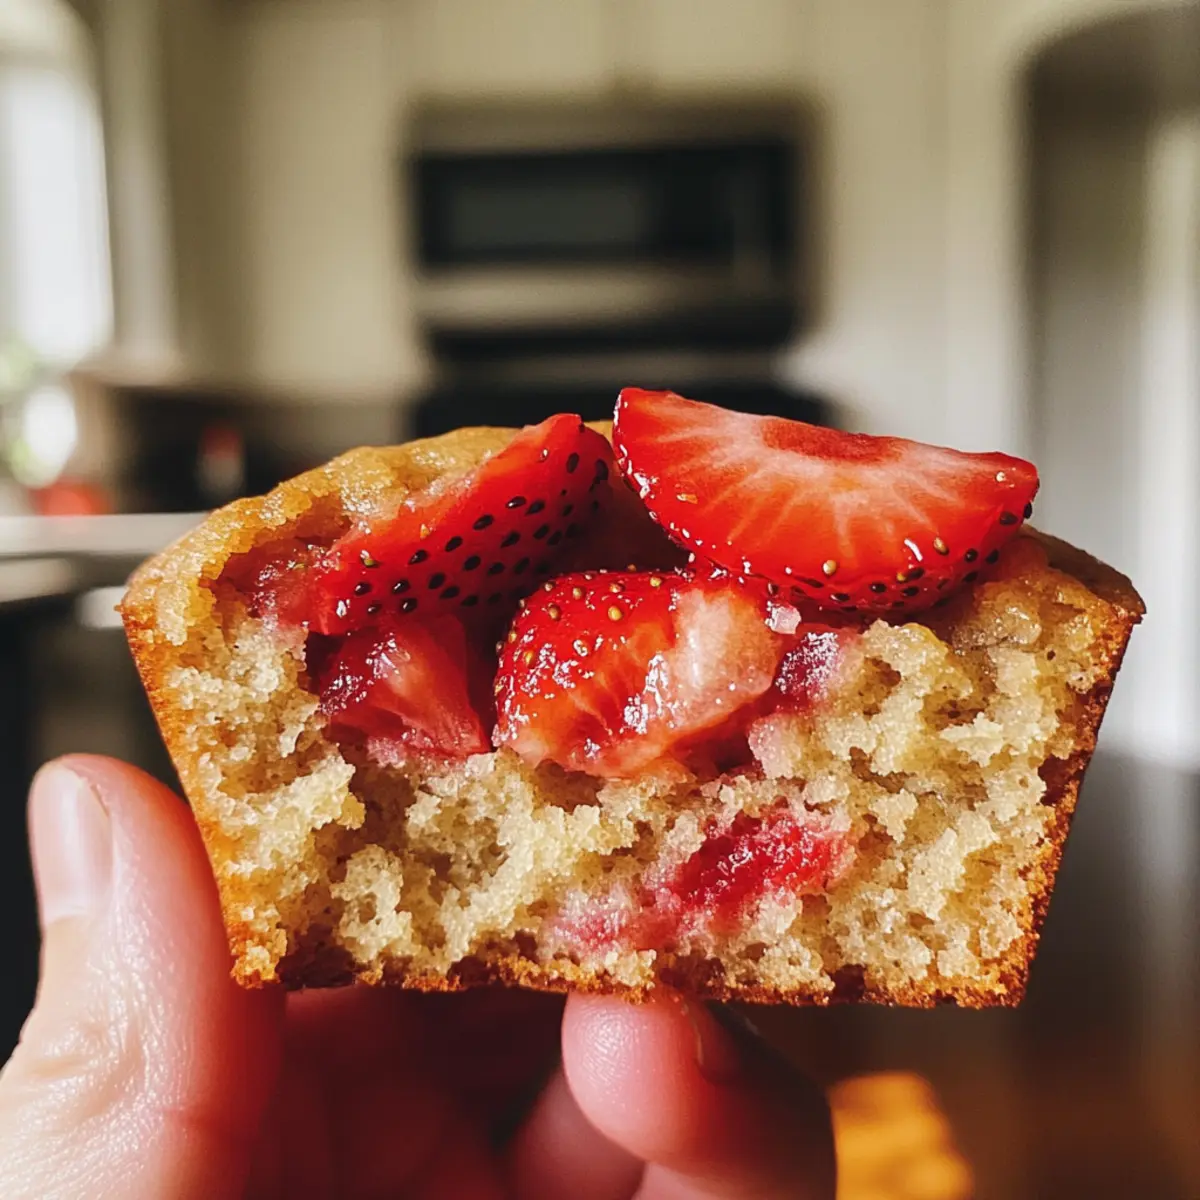
- Strawberries – Fresh strawberries provide natural sweetness and moisture; if using frozen, thaw and pat them dry first.
- Sweetener (optional) – Tailor the sweetness to your needs; use a sugar substitute if preferred.
Enjoy baking these Strawberry Protein Muffins that blend delightful taste with guilt-free nutrition!
Step‑by‑Step Instructions for Strawberry Protein Muffins
Step 1: Preheat the Oven
Begin by preheating your oven to 375°F (190°C). While the oven warms up, lightly grease a muffin tin with cooking spray or use silicone muffin liners to prevent sticking. This simple step sets the stage for perfectly baked Strawberry Protein Muffins that will rise beautifully and have a golden color.
Step 2: Whisk the Eggs
In a mixing bowl, crack and whisk together three large eggs until they are fully combined and frothy. Incorporate the cottage cheese into the eggs, stirring until the mixture is smooth and well-blended. This creamy base provides moisture and protein to your Strawberry Protein Muffins, ensuring they are both fluffy and satisfying.
Step 3: Combine Dry Ingredients
Next, add the almond flour, baking powder, vanilla extract, and ground cinnamon to the egg and cottage cheese mixture. Stir until well mixed, ensuring there are no lumps. If desired, incorporate your preferred sweetener to enhance the muffin’s flavor. Achieving a consistent batter is key to your Strawberry Protein Muffins rising evenly while baking.
Step 4: Fold in Strawberries
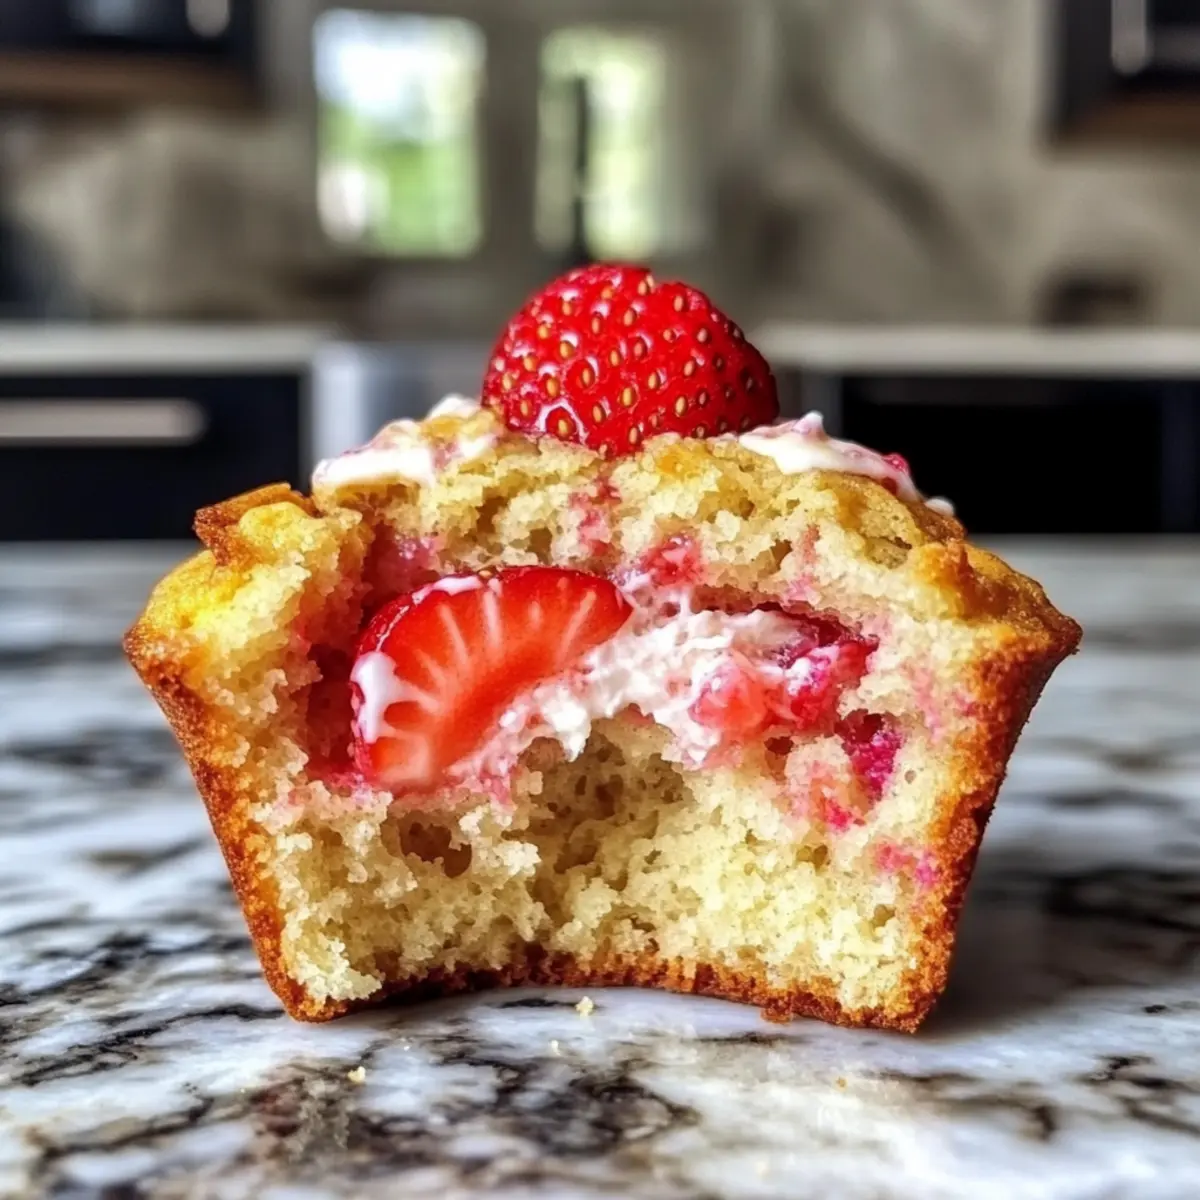
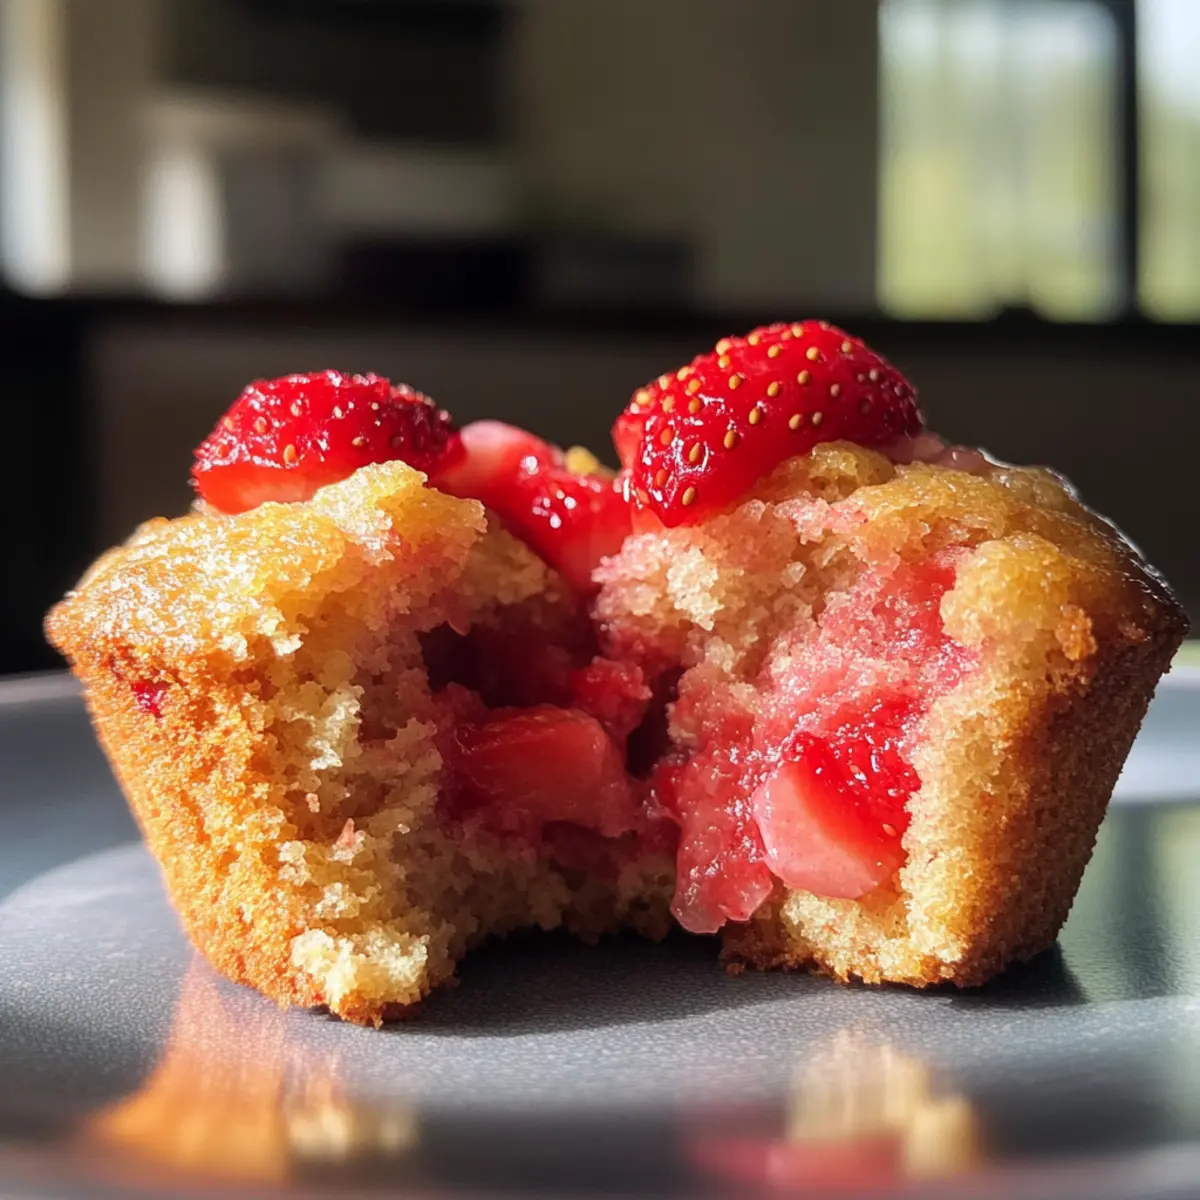
Carefully fold in the diced strawberries with a spatula, ensuring that they are evenly distributed throughout the batter without breaking down too much. The fresh strawberries will provide bursts of juicy sweetness in each bite of your Strawberry Protein Muffins, creating a delightful contrast to the fluffy texture.
Step 5: Fill the Muffin Tin
Spoon the batter evenly into each muffin cup, filling each one about three-quarters full. This ensures that the muffins have enough room to rise while baking. Gently smooth the tops with a spatula for a uniform look. Your muffin tin is now ready to create a batch of scrumptious Strawberry Protein Muffins.
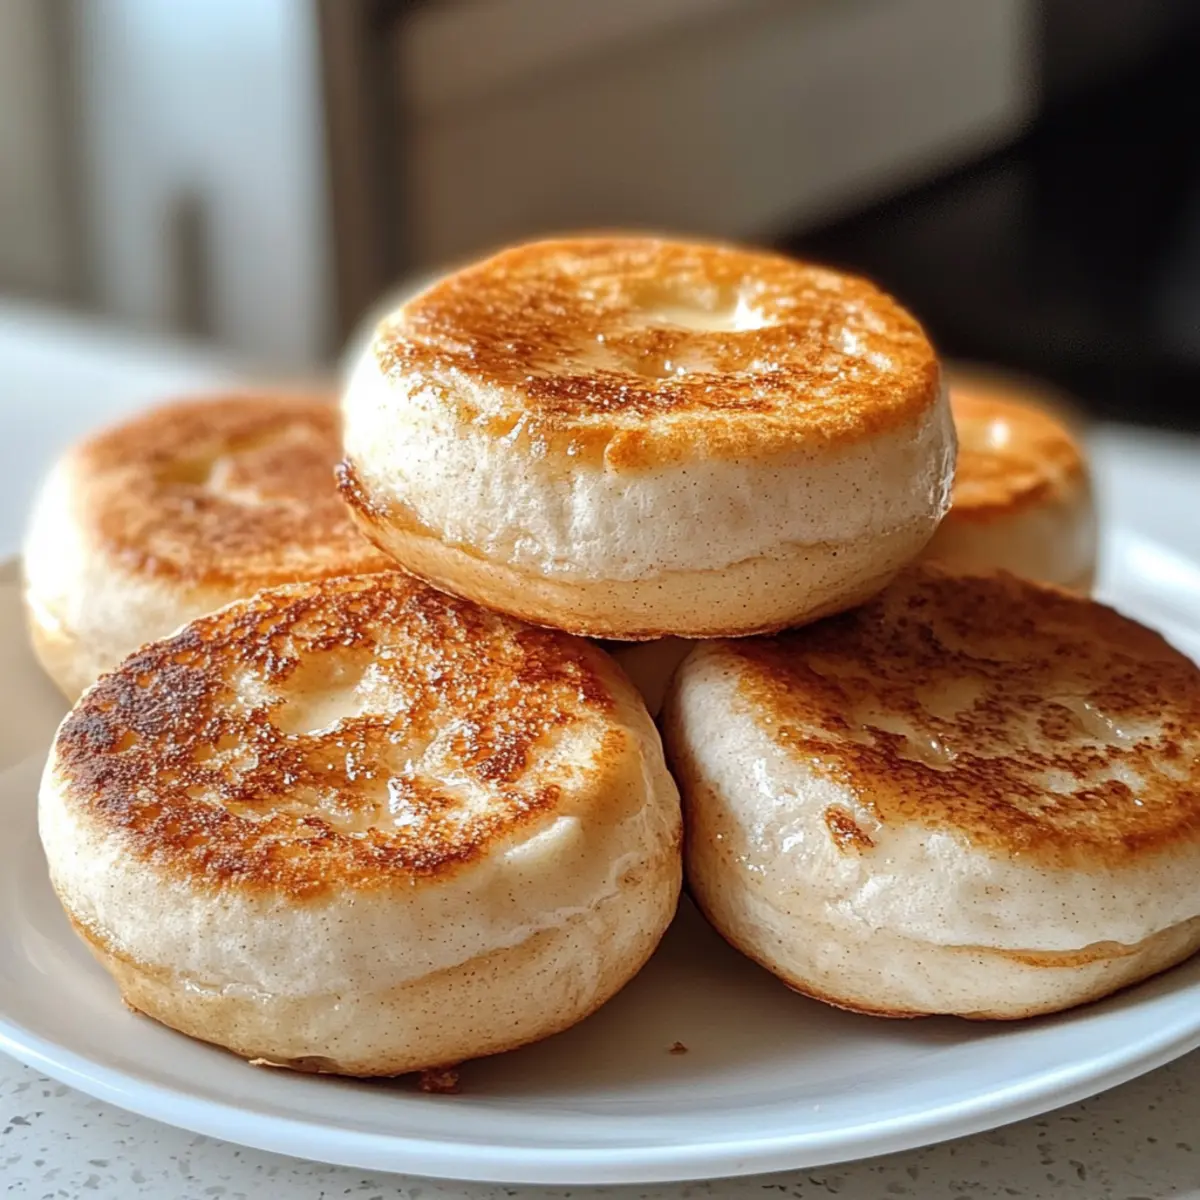
Step 6: Bake to Perfection
Place the muffin tin in the preheated oven and bake for 18 to 20 minutes, or until the muffins are golden brown on top and a toothpick inserted into the center comes out clean. Keep an eye on them towards the end to avoid overbaking. Your kitchen will be filled with the heavenly aroma of Strawberry Protein Muffins!
Step 7: Cool Before Serving
Once baked, remove the muffins from the oven and allow them to cool in the tin for about 5 minutes. Then, transfer them to a wire rack to cool completely. Enjoy warm or at room temperature, experiencing the wholesome goodness of your delicious Strawberry Protein Muffins!
Make Ahead Options
These Strawberry Protein Muffins are perfect for busy home cooks looking to streamline their meal prep! You can prepare the muffin batter up to 24 hours in advance by mixing the eggs, cottage cheese, almond flour, and other dry ingredients. Simply refrigerate the batter to keep it fresh. When you’re ready to enjoy your muffins, carefully fold in the diced strawberries, spoon the batter into the muffin tin, and bake. This method allows you to enjoy delicious, fresh muffins with minimal morning effort while maintaining their delightful fluffy texture. Just remember, for the best quality, avoid overmixing and refrigerate your batter until you’re ready to bake!
Storage Tips for Strawberry Protein Muffins
-
Room Temperature: Store muffins in an airtight container at room temperature for up to 3 days. This keeps them fresh and soft, ready for a quick snack or breakfast.
-
Fridge: For longer storage, place the muffins in the fridge, where they can last for about 5-7 days. Ensure they are in a sealed container to prevent them from drying out.
-
Freezer: For optimal long-term storage, freeze the muffins in a freezer-safe bag or airtight container for up to 3 months. Make sure they are completely cool before freezing to avoid ice crystals.
-
Reheating: To enjoy your Strawberry Protein Muffins after freezing, simply reheat them in the microwave for about 30 seconds. This will bring back their delightful fluffiness, just like they were freshly baked!
Strawberry Protein Muffins Variations & Substitutions
Feel free to let your creativity shine as you customize these muffins to suit your taste and dietary needs!
-
Nut-Free: Replace almond flour with sunflower seed flour for a nut-free option while keeping it low-carb. It’s perfect for those with nut allergies.
-
Dairy-Free: Use silken tofu or almond-based yogurt instead of cottage cheese for a creamy, dairy-free alternative. They’ll still be fluffy and delicious!
-
Sweetener Swap: Substitute your favorite sweetener with honey or agave if you prefer a natural option. It brings a lovely sweetness to the muffins.
-
Berry Medley: Try mixing blueberries and raspberries with the strawberries for a colorful berry mix that excites the taste buds. Each bite will be a burst of flavor!
-
Spice it Up: Enhance your muffins with a dash of cayenne pepper for a surprising kick. The heat balances beautifully with the sweet strawberries.
-
Chocolate Love: Fold in some dark chocolate chips for an indulgent twist. The rich chocolate pairs wonderfully with the fresh strawberries, satisfying your sweet tooth.
-
Protein Boost: Add a scoop of your favorite protein powder to the dry ingredients for an extra protein punch. It’s great for post-workout snacks!
-
Flavor Explosion: Incorporate a teaspoon of almond extract for a nutty, aromatic enhancement that complements the strawberry flavor beautifully.
With these variations, you can enjoy a delightful serving of Strawberry Protein Muffins that cater to your cravings and dietary requirements. Don’t forget to check out our Strawberry Cheesecake Dump for more fruity inspiration if you’re looking to explore even more berry delights!
Expert Tips for Strawberry Protein Muffins
-
Dry Strawberries Thoroughly: Ensure your strawberries are completely dry before chopping. Excess moisture can lead to soggy muffins, ruining your perfect Strawberry Protein Muffins.
-
Use Non-Stick Bakeware: Opt for a non-stick muffin tin or silicone liners. This prevents sticking and helps your muffins release effortlessly.
-
Adjust Bake Time: If your muffins feel wet after the minimum bake time, give them an extra 5 minutes in the oven. This guarantees the desired fluffiness without the risk of undercooking.
-
Experiment with Sweeteners: If using a sweetener, taste your batter before baking. Adjust according to your preference to ensure your Strawberry Protein Muffins shine with the perfect sweetness.
-
Store Properly: For optimal freshness, allow muffins to cool completely before storing in a freezer-safe bag. This keeps them moist and ready for your next snack!
What to Serve with Strawberry Protein Muffins
These delightful muffins are just the start of a wholesome breakfast or snack spread, ready to be accompanied by tasty sides and drinks.
-
Creamy Greek Yogurt: The tangy richness contrasts the sweetness of the muffins, creating a balanced bite that is both nourishing and satisfying. Add a drizzle of honey for a touch of sweetness!
-
Fresh Fruit Salad: A vibrant mix of seasonal fruits brightens up the plate and complements the strawberries in the muffins. The juiciness of watermelon or the zing of citrus can liven the meal!
-
Cinnamon Maple Oatmeal: Warm, spiced oatmeal provides a comforting texture alongside the fluffy muffins. The flavors harmonize beautifully, making for a hearty breakfast that will keep you energized.
-
Nut Butter Spread: A generous smear of almond or peanut butter enhances the muffins’ protein content and adds a nutty richness. This decadent option feels indulgent while staying nutritious.
-
Green Smoothie: A refreshing blend of spinach, bananas, and almond milk adds a refreshing touch. This nutritious drink complements the muffins perfectly while providing an extra boost of energy.
-
Herbal Tea: A warm cup of herbal tea, like chamomile or mint, accompanies the muffins with soothing flavors. It’s a wonderful way to relax and enjoy the comforting experience of homemade goodness.
-
Ricotta Cheese with Honey: This creamy delight pairs beautifully with the muffins, providing a luxurious counterpoint to their texture. Just spread a little ricotta and drizzle with honey for an irresistible combination!
-
Coconut Chia Pudding: This is a delightful, healthy side that adds a chewy texture and tropical flavor. The seeds bring in an extra hit of nutrition, creating a satisfying balance.
Strawberry Protein Muffins Recipe FAQs
What type of strawberries should I use for the muffins?
Absolutely! Fresh strawberries are ideal as they bring natural sweetness and moisture. If using frozen strawberries, ensure they are completely thawed and patted dry to avoid excess moisture in the batter. Look for strawberries that are vibrant and firm, without any dark spots or blemishes.
How should I store Strawberry Protein Muffins?
To keep your muffins fresh, store them in an airtight container at room temperature for up to 3 days. For longer storage, you can place them in the fridge for 5-7 days. If you want them to last even longer, freeze the muffins in a freezer-safe bag for up to 3 months—just remember to cool them completely first!
Can I freeze Strawberry Protein Muffins?
Absolutely! To freeze, ensure the muffins are completely cooled. Place them in a single layer on a baking sheet and freeze until solid. Then, transfer them to a freezer-safe bag or container. This way, you can enjoy delicious muffins anytime! Just reheat in the microwave for about 30 seconds when you’re ready to enjoy.
What if my muffins turn out soggy?
If you find your muffins are soggy, it could be due to excess moisture from the strawberries. Make sure to dry them well before chopping. If that’s not the issue and they still feel wet, they might need a little more time in the oven. Check for doneness by inserting a toothpick; if it comes out clean, they’re ready!
Are these muffins safe for dietary restrictions?
These Strawberry Protein Muffins are quite versatile! They are low-carb and can be adjusted for gluten-free diets by using a suitable almond flour. However, check that no one has allergies to eggs or dairy in your household since this recipe contains both. Always prioritize personal dietary needs when baking to ensure everyone can enjoy these delicious treats!
Strawberry Protein Muffins: Healthy, Guilt-Free Delight
Ingredients
Equipment
Method
- Preheat your oven to 375°F (190°C) and lightly grease a muffin tin.
- In a mixing bowl, whisk together three large eggs until frothy. Incorporate the cottage cheese until smooth.
- Add almond flour, baking powder, vanilla extract, and ground cinnamon to the mixture and stir until well mixed.
- Fold in the diced strawberries carefully to distribute evenly throughout the batter.
- Spoon the batter evenly into each muffin cup, filling each one about three-quarters full.
- Bake for 18 to 20 minutes or until golden brown and a toothpick comes out clean.
- Remove from oven and allow to cool in the tin for about 5 minutes, then transfer to a wire rack.