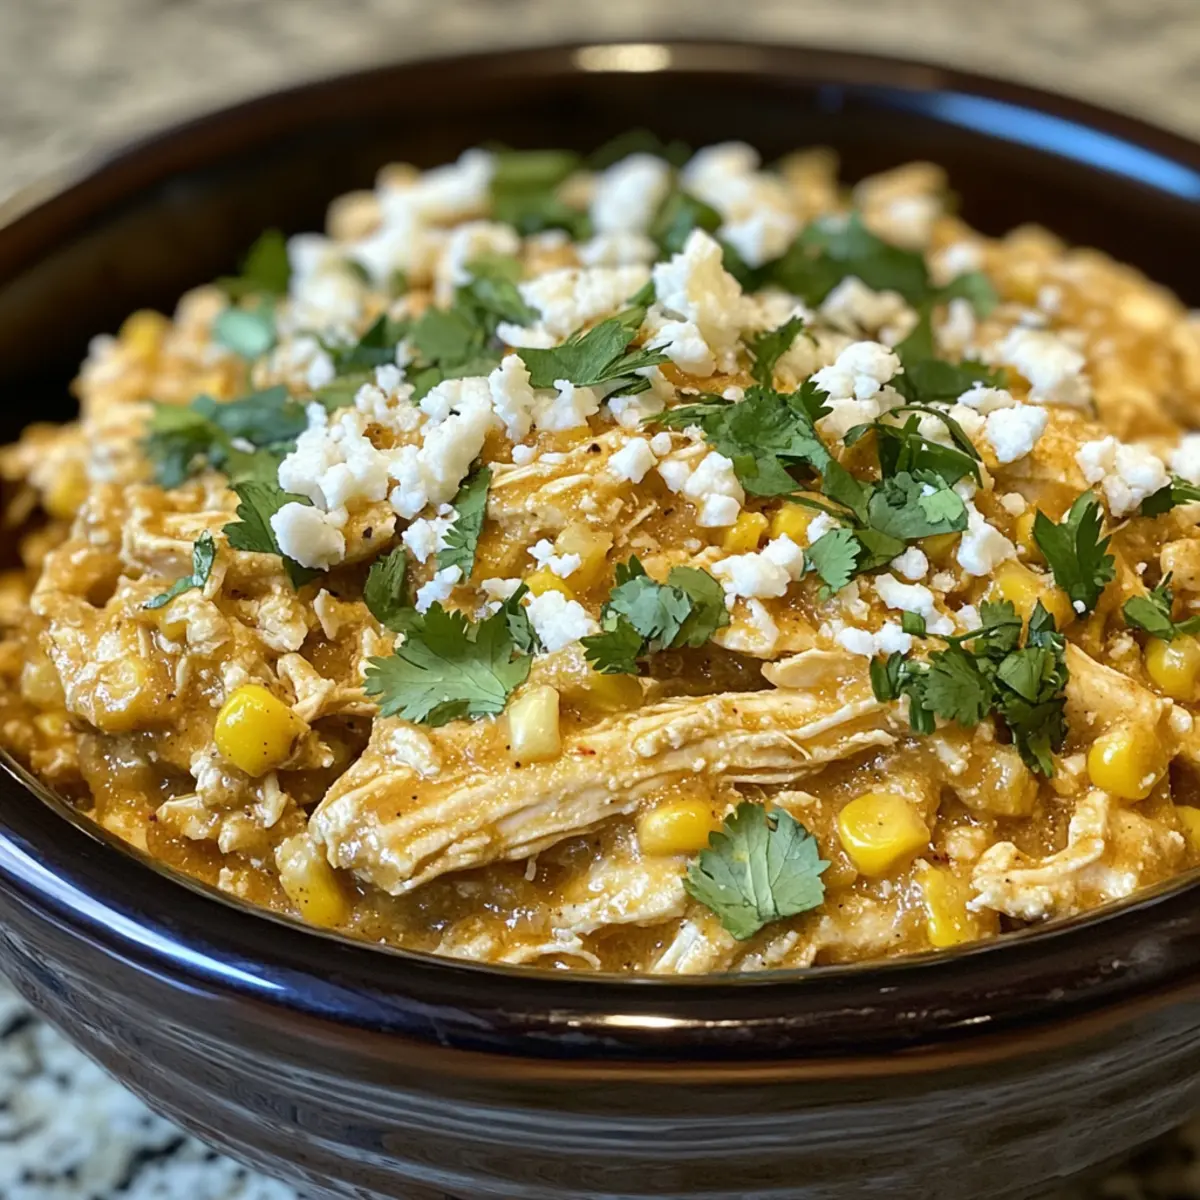
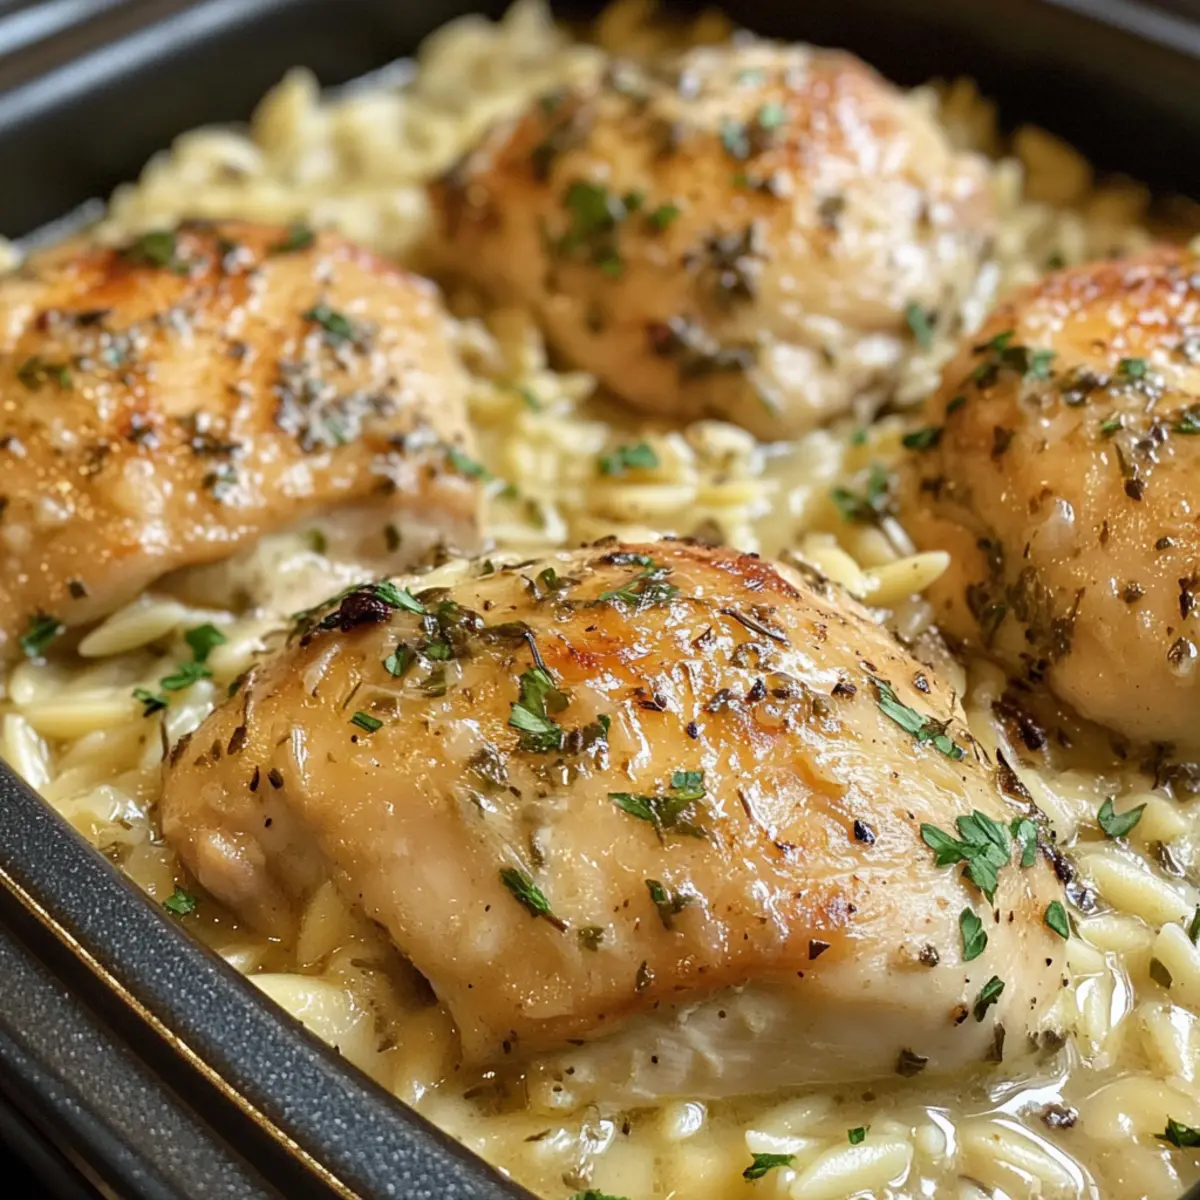
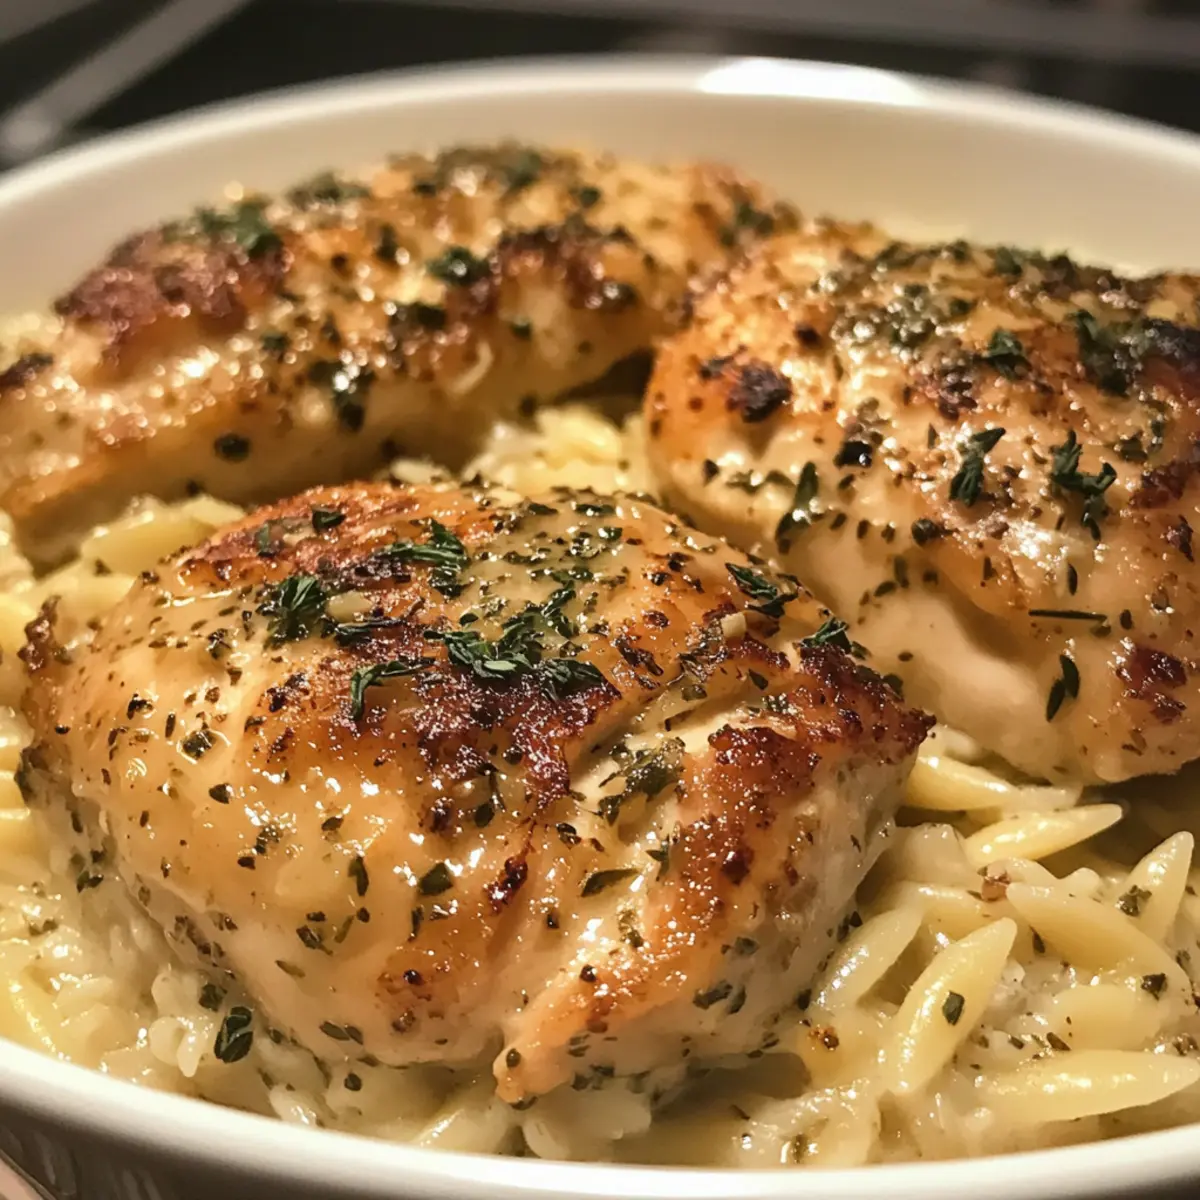
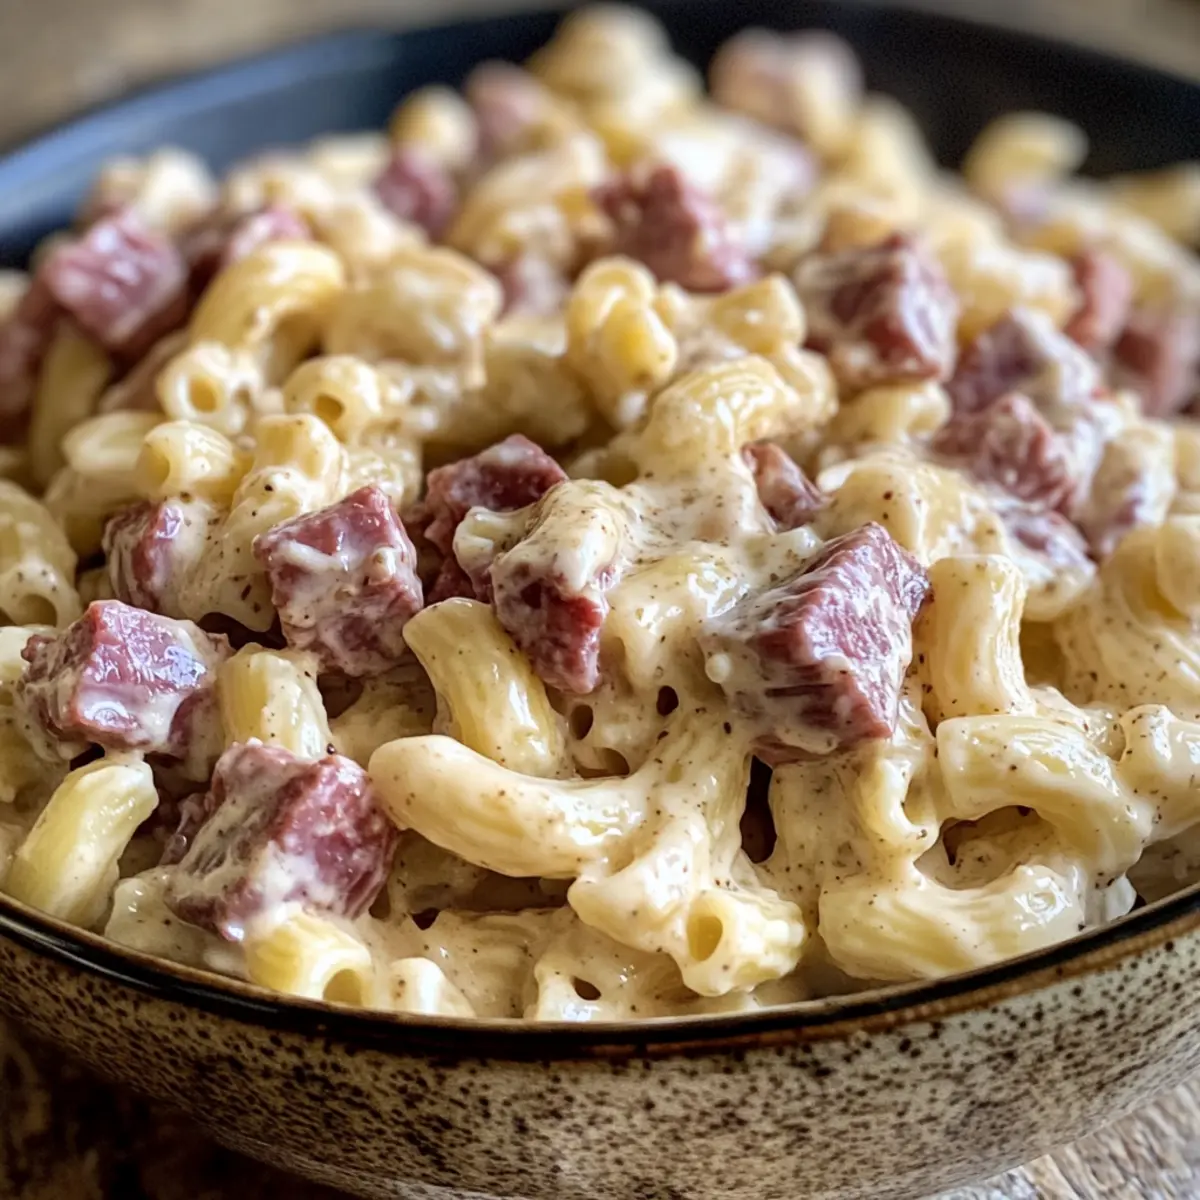
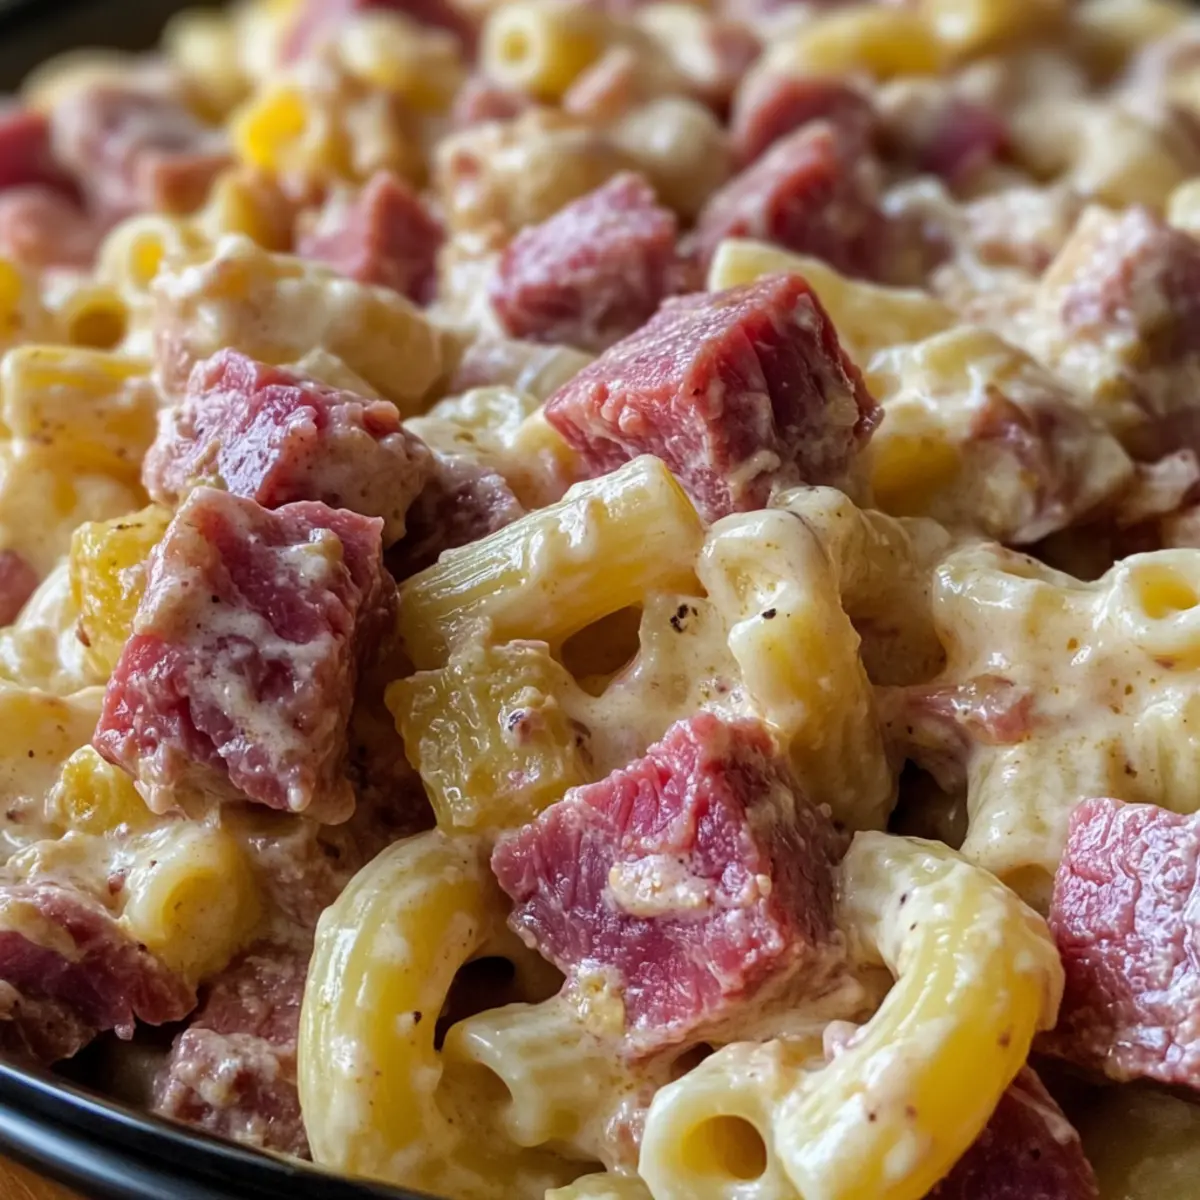
Every bite of this Easy Creamy Reuben Pasta Salad takes me back to joyful gatherings filled with laughter and excellent food. Marrying the beloved flavors of a classic Reuben sandwich with tender pasta, this dish blends savory corned beef, tangy sauerkraut, and rich Swiss cheese into a creamy delight. What makes this pasta salad a must-try? Not only is it potluck-friendly—ideal for impressing friends and family—but it’s also incredibly easy to whip up, giving you more time to enjoy the good company. The magic happens as you chill the salad, allowing the flavors to meld into a satisfying creamy masterpiece that tastes even better the next day. Ready to find out how to make this irresistible dish?
Why is This Reuben Pasta Salad a Must-Try?
Simplicity at Its Finest: This recipe comes together quickly and easily, using ingredients you likely have on hand.
Potluck Perfection: It’s the ultimate crowd-pleaser, guaranteed to impress at barbecues or family gatherings while remaining stress-free for you.
Flavorful Fusion: The traditional rewards of a Reuben sandwich shine through, with creamy dressing binding the savory and tangy elements beautifully.
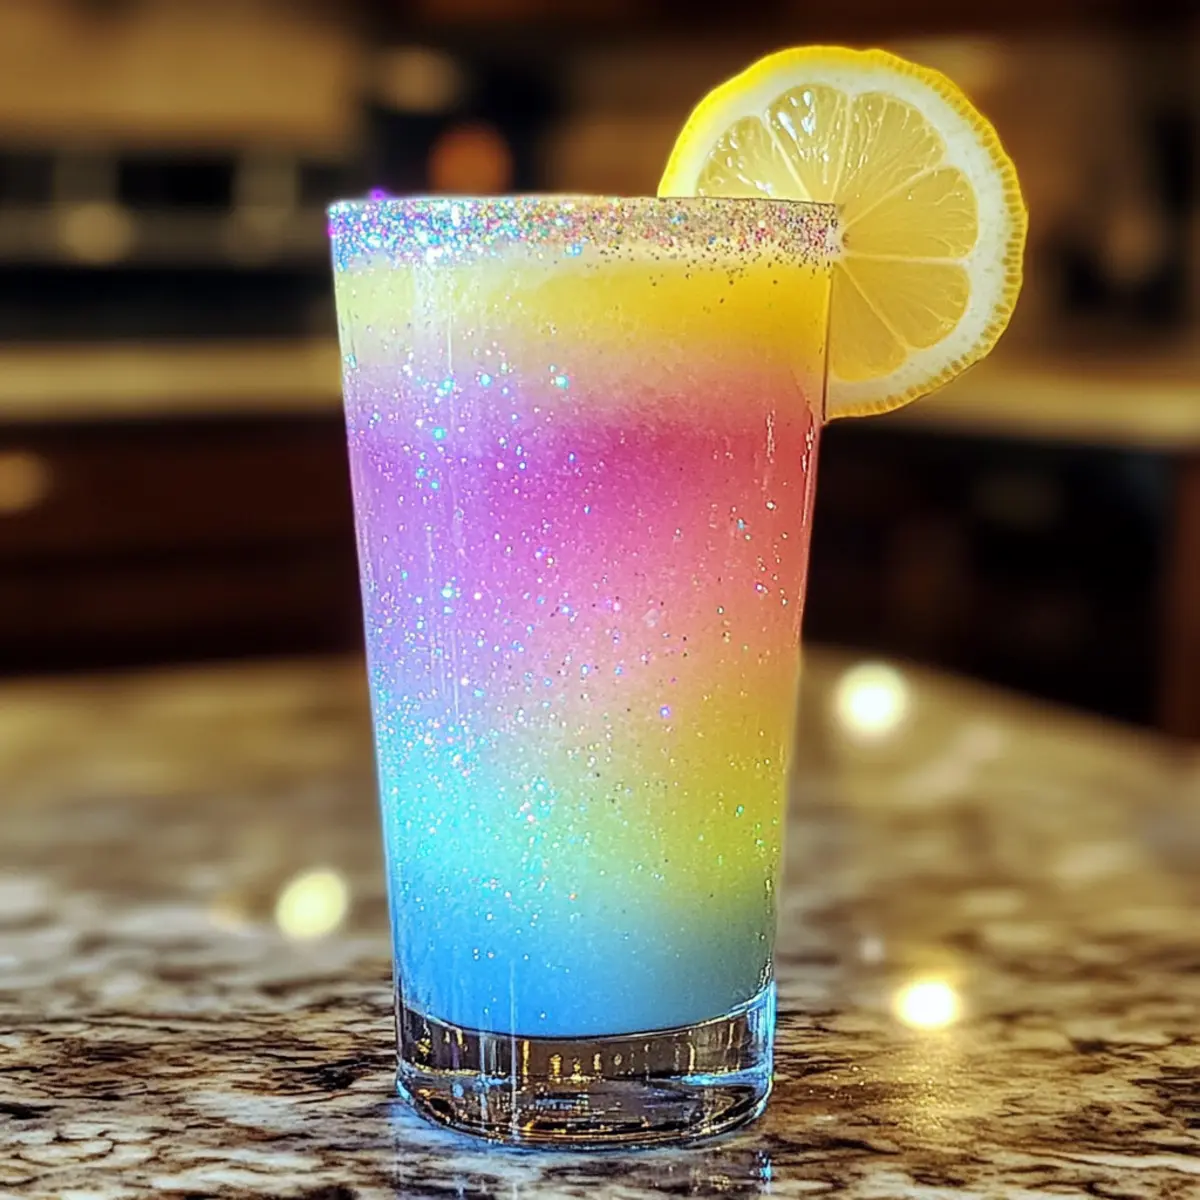
Chill and Serve: Best made ahead, chilling enhances the flavors, making meal prep a breeze. Pair it with a refreshing Cucumber Carrot Salad for a complete spread!
Creative Customization: Feel free to personalize it! Swap Swiss for cheddar or add a sprinkle of fresh herbs for an extra kick. This versatile dish ensures you keep your meals exciting!
Reuben Pasta Salad Ingredients
Transform your next meal with these delightful components!
For the Salad
- Dry Macaroni Noodles – A sturdy base that holds the ingredients together; cook according to package directions.
- Deli Corned Beef (thick sliced, diced) – Infuses a savory punch of traditional Reuben flavor; can be substituted with turkey or vegan deli meat.
- Swiss Cheese (cubed) – Adds a creamy richness; feel free to switch to cheddar for a sharper taste.
- Sauerkraut (drained) – Provides the signature tanginess; rinse and drain for a milder flavor if desired.
- Dill Pickles (diced) – Brings crunch and a delightful sourness; can easily be replaced with sweet pickles for a different twist.
For the Dressing
- Thousand Island Dressing – The creamy base that ties all the flavors together; homemade alternatives also work wonderfully.
- Mayonnaise – Enhances creaminess; use reduced-fat mayo for a lighter option.
- Dijon or Stone Ground Mustard – Adds depth and a hint of heat; yellow mustard is a great substitute if needed.
- Sauerkraut Brine – Boosts tanginess in the dressing; optional but highly recommended for added flavor.
- Salt and Pepper – Essential for adjusting seasoning to your taste.
Step‑by‑Step Instructions for Reuben Pasta Salad
Step 1: Cook the Macaroni
Begin by bringing a large pot of salted water to a rolling boil. Add the dry macaroni noodles and cook them according to package instructions, usually around 8-10 minutes, until they’re al dente. Drain the macaroni in a colander and run cold water over it to stop the cooking process. Set aside to cool completely.
Step 2: Mix the Salad Ingredients
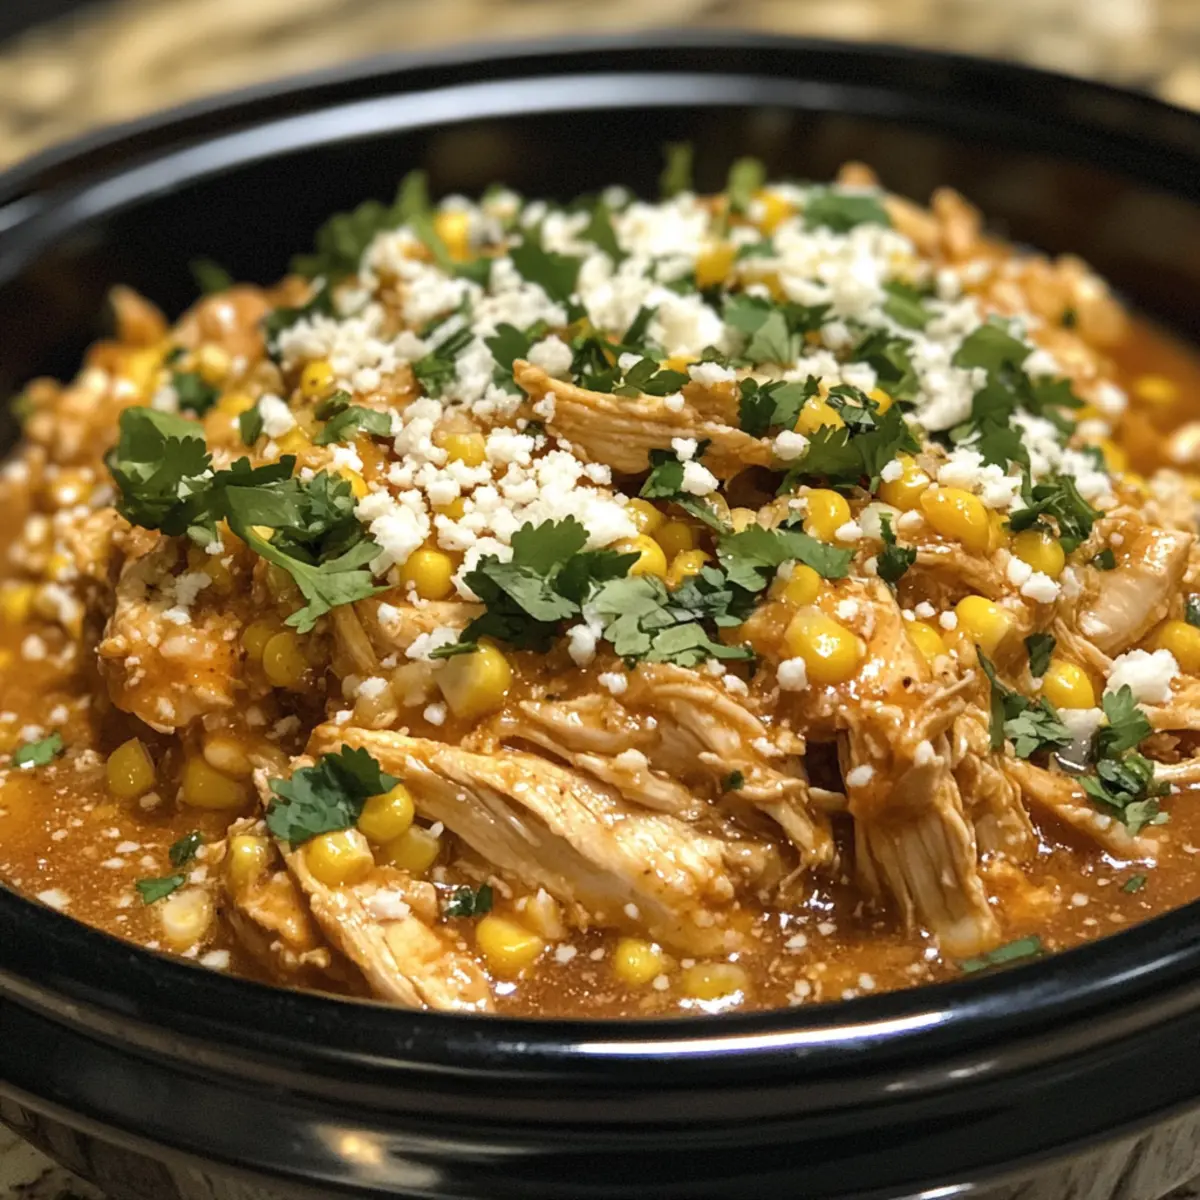
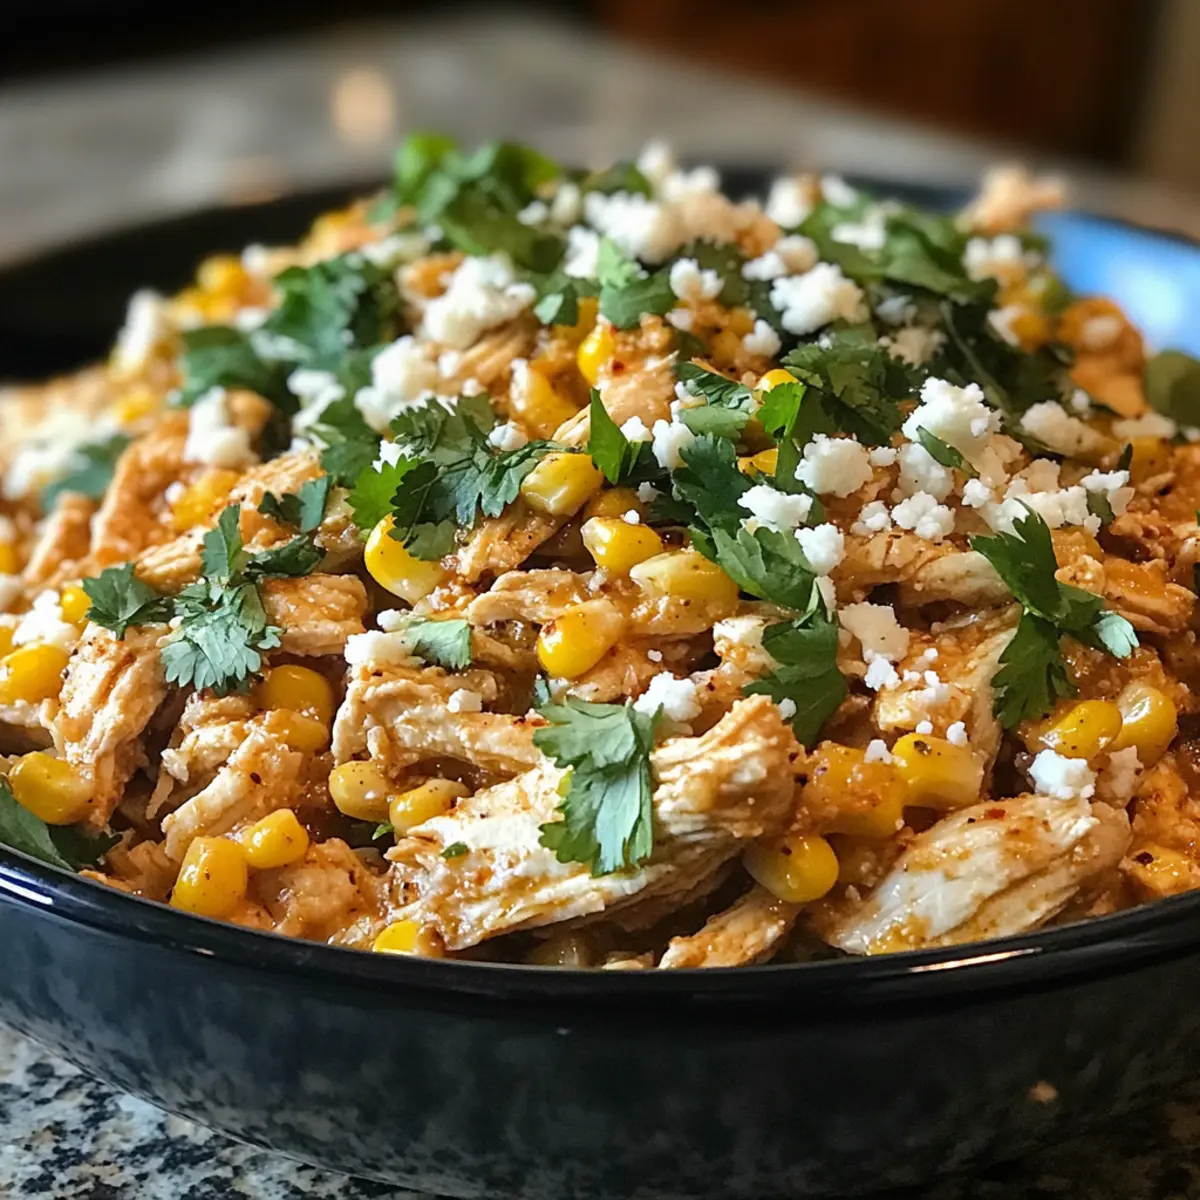
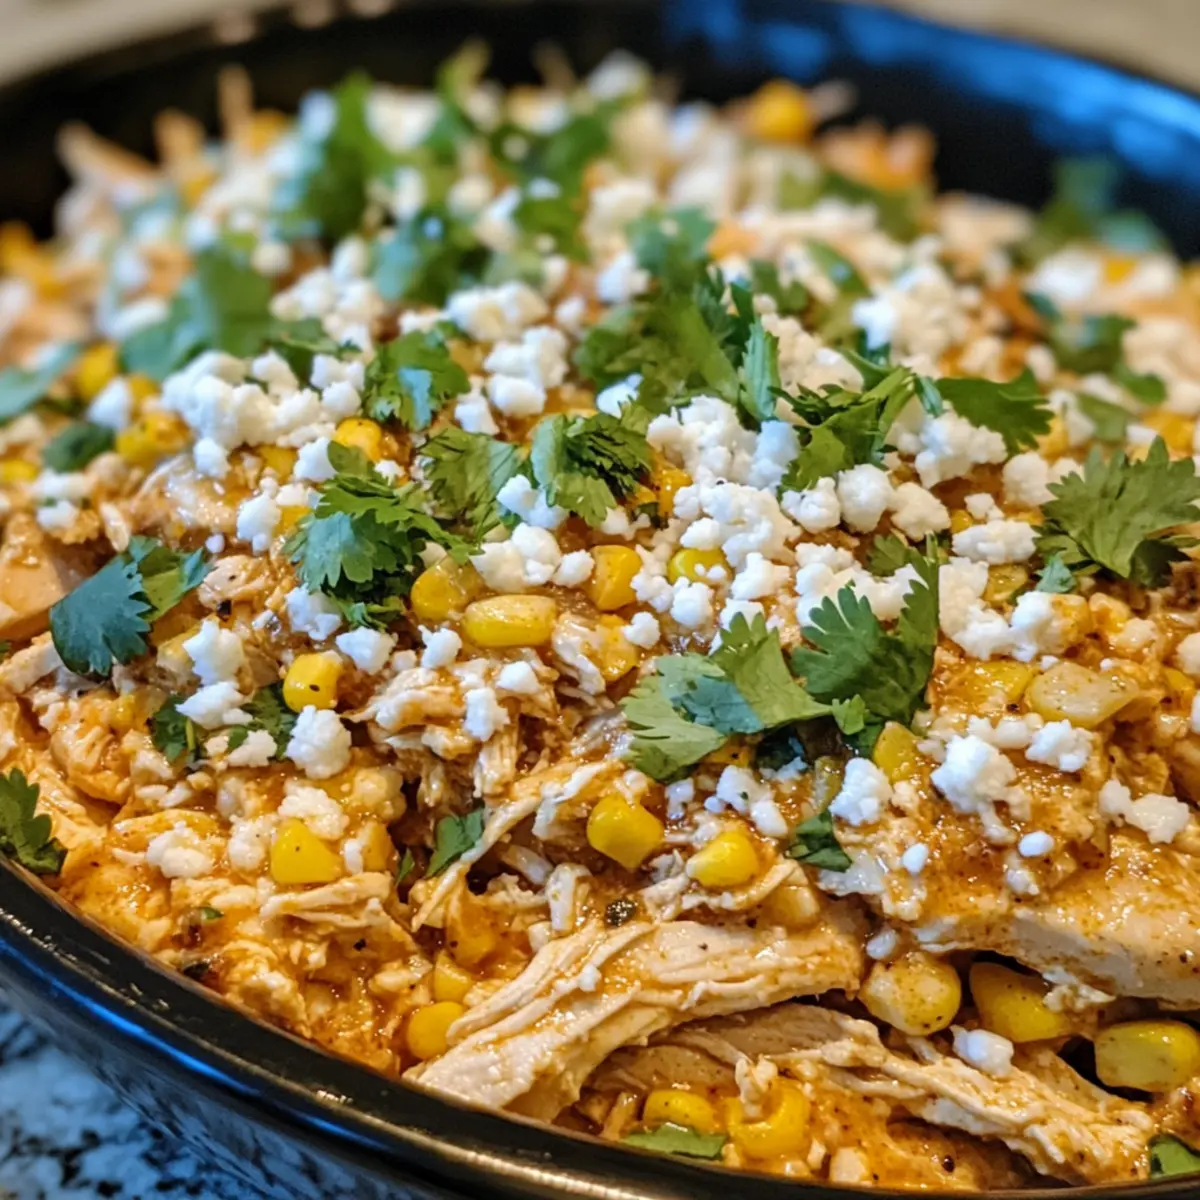
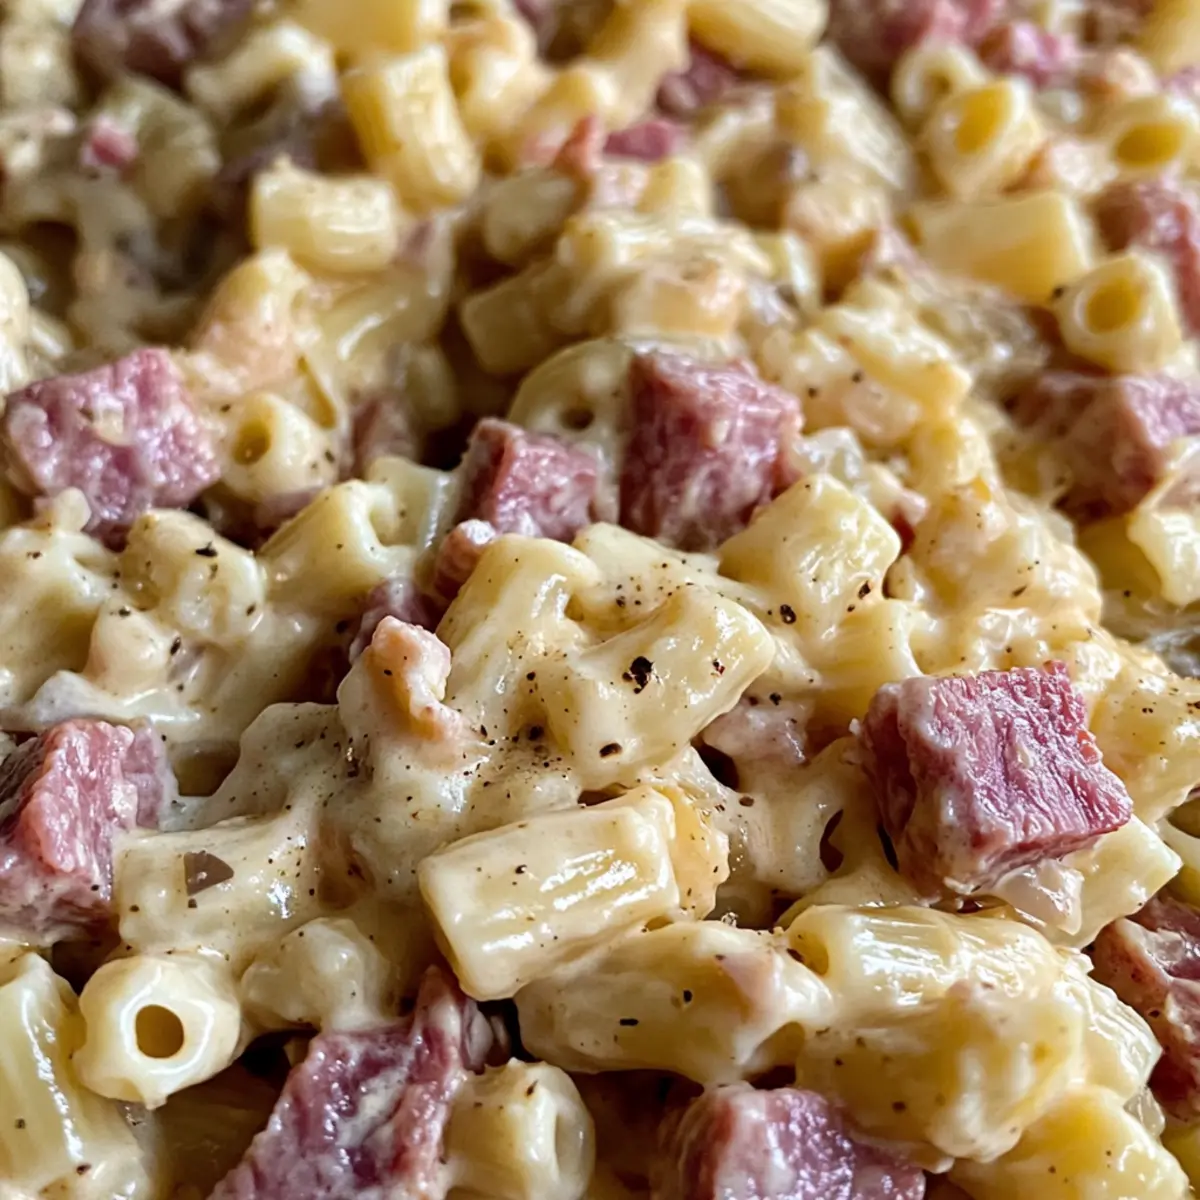
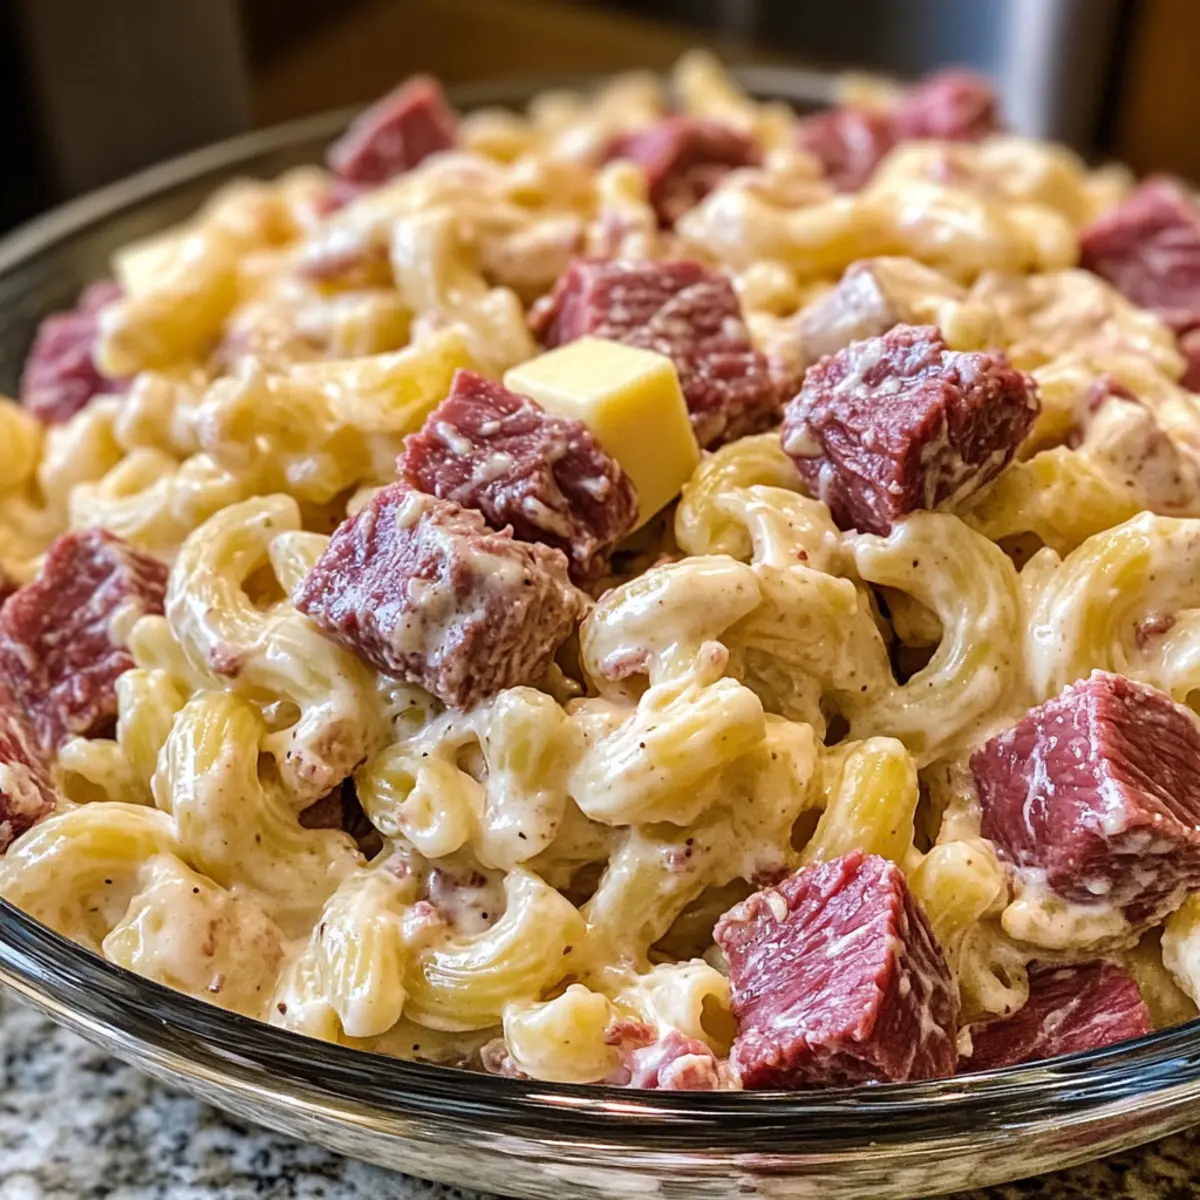
In a spacious mixing bowl, combine the cooled macaroni, diced corned beef, cubed Swiss cheese, drained sauerkraut, and diced dill pickles. Gently toss the ingredients together with a spatula until evenly mixed. This colorful blend of flavors and textures is the heart of your Reuben Pasta Salad, and the ingredients should be well-distributed.
Step 3: Prepare the Dressing
In a separate bowl, whisk together the Thousand Island dressing, mayonnaise, Dijon mustard, and, if using, sauerkraut brine. Keep mixing until the dressing is smooth and homogenous in texture. This creamy dressing will bring everything together, enhancing the Reuben flavors while keeping the pasta salad moist and delicious.
Step 4: Combine Pasta and Dressing
Pour the prepared dressing over the macaroni mixture. Using your spatula, fold the dressing into the pasta blend, ensuring every ingredient is coated evenly. Taste the mixture and adjust with salt and pepper as desired; the flavors should come alive with a perfect balance of creaminess and tang!
Step 5: Chill and Serve
Cover the bowl with plastic wrap or a lid, and place it in the refrigerator. Allow the Reuben Pasta Salad to chill for at least one hour, though letting it refrigerate overnight will deepen the flavors even more. When ready to serve, give the salad a good stir and enjoy this delightful celebration of Reuben flavors!
Reuben Pasta Salad Variations & Substitutions
Ready to make this tasty Reuben Pasta Salad your own? Get creative with these delightful swaps and twists, each promising a unique flavor experience!
-
Cheese Swap: Substitute Swiss cheese with cheddar or provolone for a sharper, punchier flavor profile. Each option brings its own delicious twist that works beautifully with the other ingredients.
-
Protein Options: Use cooked chicken or turkey in place of corned beef for a lighter take on this dish. It’s a great way to reinvent this classic while keeping it heartily satisfying.
-
Vegetable Boost: Add diced bell peppers or chopped green onions for an extra crunch and color. These fresh additions brighten the dish and lend a delightful extra layer of flavor.
-
Dressing Variation: Try homemade Russian dressing instead of Thousand Island for a nice twist. This change amplifies the vibrant flavors of your pasta salad and adds a touch of sophistication.
-
Pickle Variety: Switch out dill pickles for sweet pickles to achieve a hint of sweetness. This subtle change might just surprise your tastebuds in all the right ways!
-
Heat Factor: For those who like it spicy, add a dash of hot sauce or crushed red pepper flakes to the dressing. It’s an easy way to crank up the heat and make this dish stand out at your next gathering.
-
Creaminess Factor: Use Greek yogurt instead of mayonnaise to lighten it up while still providing that creamy base. This swap adds protein and tang, making the dish even healthier.
-
Herbal Touch: Toss in some fresh herbs like dill or parsley for a beautiful pop of color and fresh flavor. It elevates the dish from good to simply irresistible!
Feeling inspired? If you’re looking for more delightful salads to serve alongside, don’t miss out on the refreshing Cucumber Carrot Salad or the crunchy goodness of Garden Harvest Salad. Enjoy the journey of making this Reuben Pasta Salad your own!
What to Serve with Easy Creamy Reuben Pasta Salad
Elevate your meal with delicious pairings that perfectly complement this creamy, flavor-packed pasta salad.
-
Fresh Garden Salad: A light, refreshing mix of leafy greens and vibrant vegetables balances the richness of the pasta salad, adding a crisp texture.
-
Homemade Garlic Bread: The comforting crunch of roasted garlic bread enhances the creamy flavors while providing a satisfying contrast in texture.
-
Potato Chips: The salty, crispy chips make for a delightful contrast as a side, offering an enjoyable crunch that pairs well with the creamy pasta.
-
Fruit Salad: A vibrant medley of seasonal fruits adds a sweet, juicy touch. The bright colors and natural sweetness enhance the overall dining experience.
-
Coleslaw: A tangy, crunchy coleslaw complements the pasta salad’s richness, adding a refreshing bite; the textures mesh beautifully for the perfect side.
-
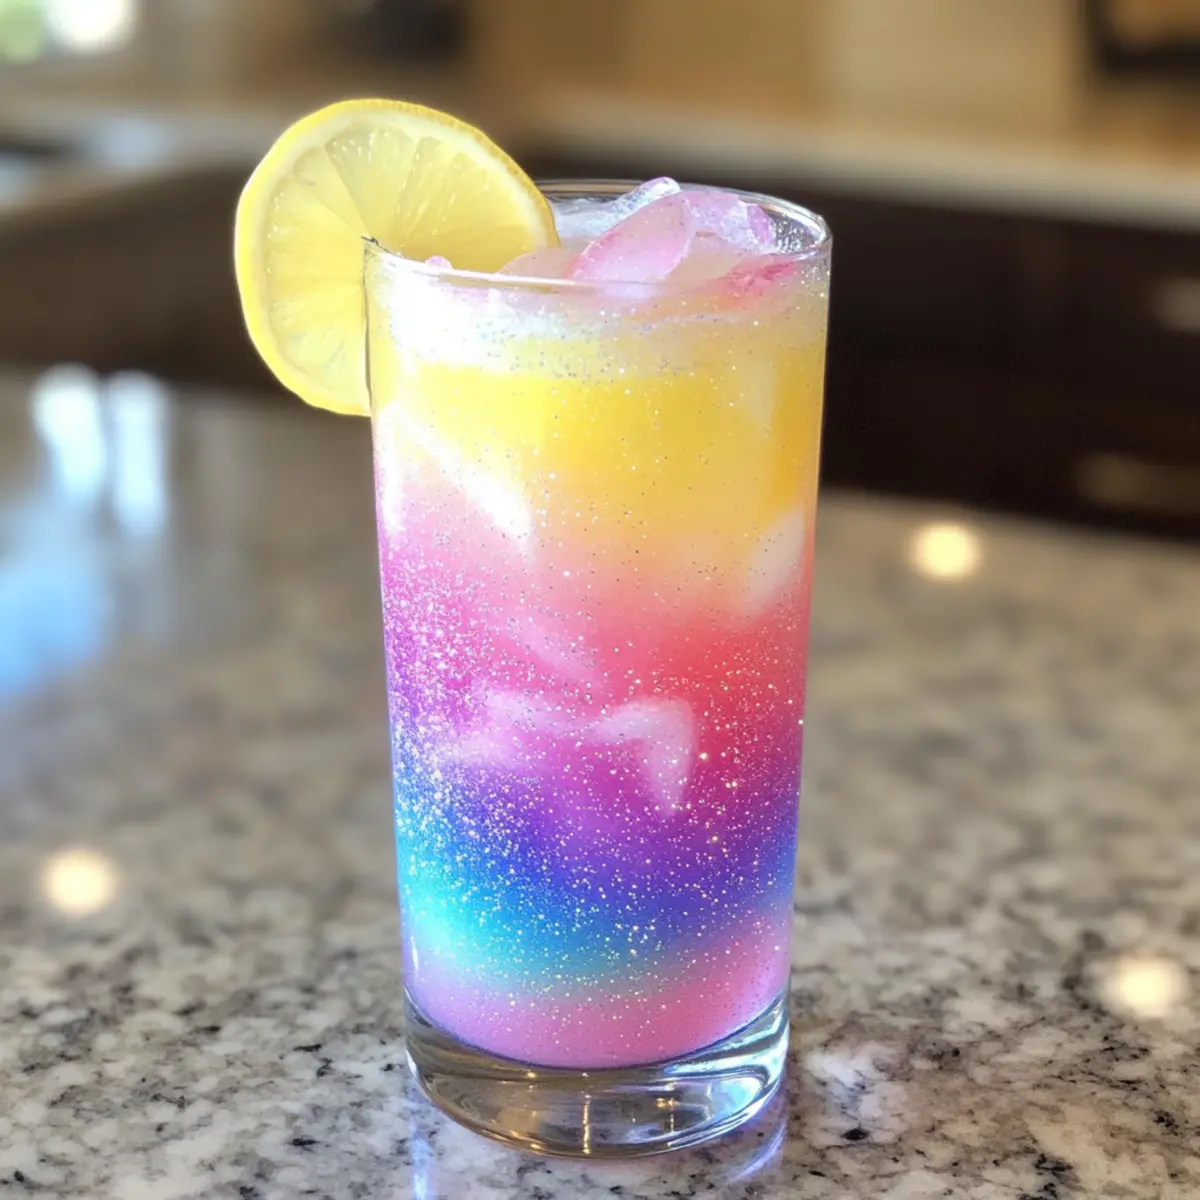
Craft Beer or Iced Tea: Refreshing drinks like a light craft beer or unsweetened iced tea harmonize with the rich flavors, cleansing the palate between bites.
-
Chocolate Chip Cookies: End your meal on a sweet note with gooey chocolate chip cookies; the dessert’s warmth and sweetness create a perfect finish to your Reuben-inspired feast.
Expert Tips for Reuben Pasta Salad
-
Chill Time Matters: Let the Reuben Pasta Salad sit in the refrigerator for at least an hour before serving. The flavors deepen and meld together beautifully, making each bite more delicious.
-
Perfectly Cooked Pasta: Avoid mushy macaroni by cooking it just to al dente. This provides the best texture and keeps your salad from becoming too soggy.
-
Adjust to Your Taste: Don’t hesitate to tweak the seasoning! Taste the salad after mixing in the dressing and adjust with salt and pepper as needed to achieve the perfect balance of flavors.
-
Herb Infusion: For an added pop of color and flavor, toss in fresh herbs like dill or parsley. They not only enhance the taste but also brighten the overall look of your Reuben Pasta Salad.
-
Alternative Add-ins: Feel free to get creative! Incorporating veggies like bell peppers or green onions can provide extra crunch and color, making your dish even more delightful.
Make Ahead Options
These Easy Creamy Reuben Pasta Salad is perfect for meal prep, allowing busy home cooks to save time during the week! You can prepare the salad ingredients—cooked macaroni, diced corned beef, cubed Swiss cheese, drained sauerkraut, and diced dill pickles—up to 24 hours ahead. Just mix everything in a bowl and cover it tightly to refrigerate. For the dressing, you can whisk together the Thousand Island dressing, mayonnaise, Dijon mustard, and sauerkraut brine and store it separately in the fridge for up to 3 days. When you’re ready to serve, simply combine the prepped ingredients with the dressing, allowing the flavors to meld beautifully. This way, you’ll enjoy a delicious Reuben Pasta Salad with minimal effort!
How to Store and Freeze Reuben Pasta Salad
Fridge: Store leftover Reuben Pasta Salad in an airtight container for up to 3 days. The flavors continue to develop, so it’s even tastier the next day!
Freezer: For longer storage, freeze the salad for up to one month. To prevent freezer burn, use a tightly sealed container.
Thawing: Thaw in the refrigerator overnight before serving. Stir well to restore creaminess, as dressing may thicken after freezing.
Reheating: Serve chilled straight from the fridge for the best taste. If you prefer it at room temperature, let it sit out for about 15-20 minutes before enjoying.
Reuben Pasta Salad Recipe FAQs
How do I choose the right macaroni?
Absolutely! For this Reuben Pasta Salad, I recommend using elbow macaroni or any similar small pasta shape. Look for pasta with a firm texture so it holds up well in the salad. Avoid overcooking the noodles; aim for al dente, which means they should be slightly firm when bitten.
How should I store leftover Reuben Pasta Salad?
Very! Leftover Reuben Pasta Salad can be stored in an airtight container in the refrigerator for up to 3 days. If the dressing thickens while sitting, don’t worry; just give it a good stir to restore its creaminess before serving.
Can I freeze Reuben Pasta Salad?
Yes, you can! To freeze your Reuben Pasta Salad, spoon it into a tightly sealed container or freezer bag. It will maintain its quality for up to 1 month. When you’re ready to enjoy it again, thaw overnight in the refrigerator. Stir well before serving, as the dressing may slightly separate.
What if I accidentally overcook the macaroni?
Oops! If you overcook the macaroni, don’t fret! You can salvage it by rinsing it under cold water to stop the cooking process and then mixing it in quickly with other ingredients. But to avoid mushy pasta next time, keep a close eye on the cooking time and test for that perfect al dente texture.
Are there any dietary concerns I should consider?
Great question! If you’re making this Reuben Pasta Salad for someone with dietary restrictions, remember that corned beef and Swiss cheese can be replaced with turkey meat or vegan deli options. Additionally, if anyone has a dairy allergy, use vegan mayonnaise and a dairy-free cheese alternative. Always double-check labels for any hidden allergens!
What’s the best way to enhance the flavors before serving?
Absolutely! After chilling, taste your salad before serving. You may want to add a little more salt, pepper, or even a splash of vinegar for some extra tanginess. Mixing in fresh herbs like dill or parsley not only enhances the taste but also adds a lovely, vibrant touch just before serving.
Creamy Reuben Pasta Salad That's Perfect for Potlucks
Ingredients
Equipment
Method
- Bring a large pot of salted water to a rolling boil. Add the dry macaroni noodles and cook according to package instructions for 8-10 minutes until al dente. Drain and cool completely.
- In a mixing bowl, combine cooled macaroni, diced corned beef, cubed Swiss cheese, drained sauerkraut, and diced dill pickles. Toss gently until evenly mixed.
- In a separate bowl, whisk together the Thousand Island dressing, mayonnaise, Dijon mustard, and sauerkraut brine until smooth.
- Pour the dressing over the macaroni mixture and fold gently to coat all ingredients evenly. Adjust seasoning with salt and pepper as needed.
- Cover the bowl and refrigerate for at least one hour, preferably overnight, before serving.