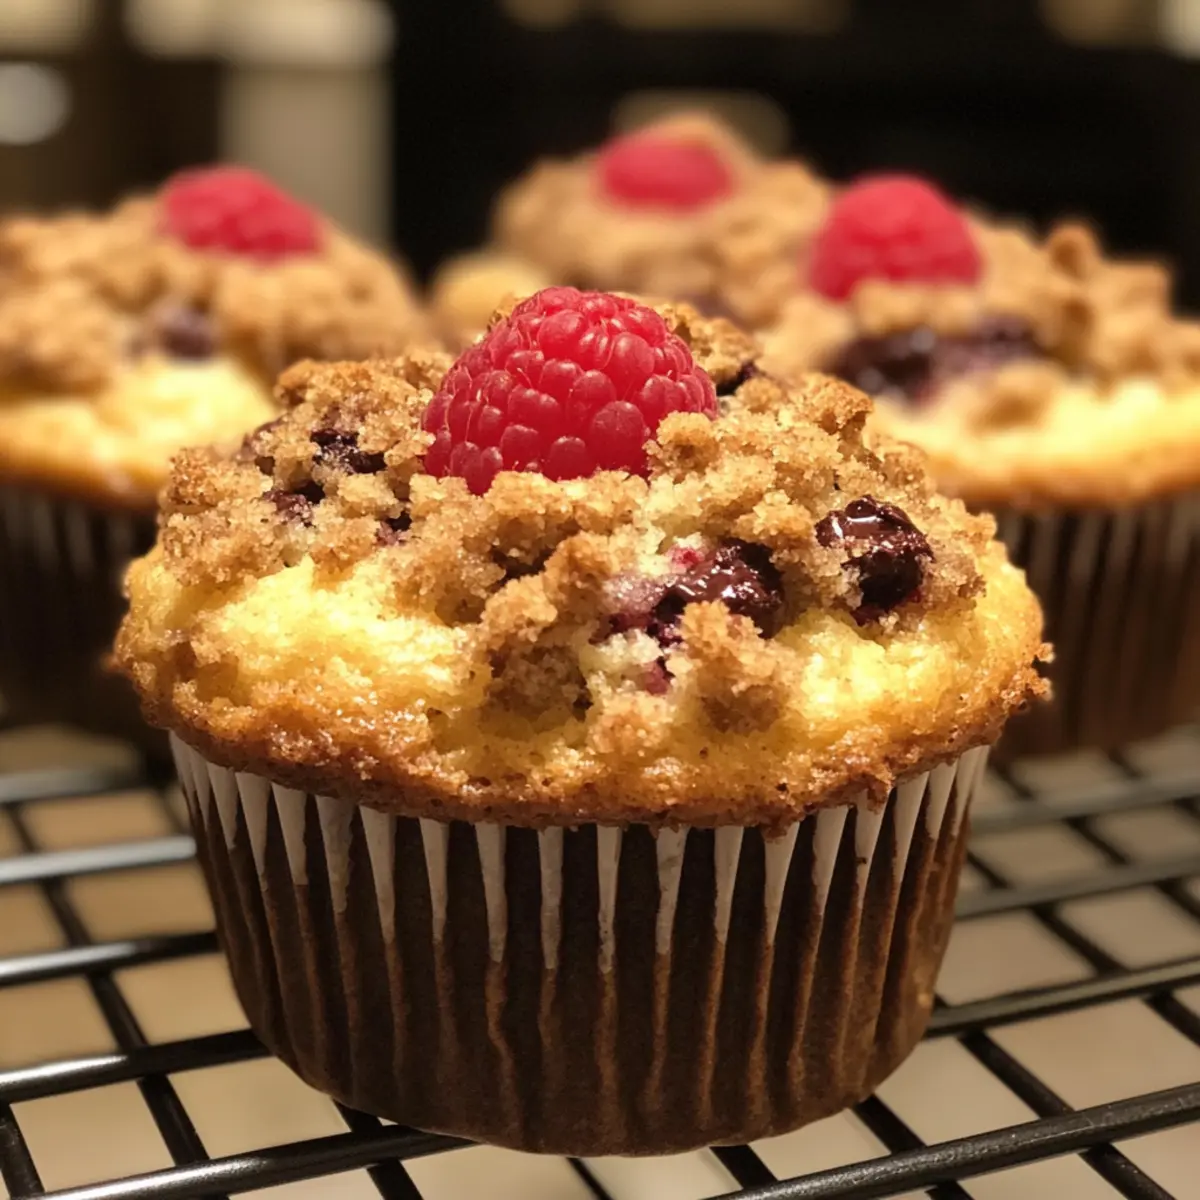
As I sifted through handfuls of plump raspberries, the tart sweetness mapping out a symphony in my mind, I knew I had to create something special. Enter the Dark Chocolate Chunk Raspberry Crumb Muffins—your new go-to treat that melds the luxurious richness of dark chocolate with the refreshing burst of juicy raspberries. Not only are these muffins irresistibly fluffy and moist, but they also offer the convenience of being a perfect make-ahead breakfast or brunch delight. Imagine serving them warm with a steaming cup of coffee; it’s bound to be a hit at your next gathering. Ready to elevate your morning routine? Let’s dive into the delightful world of muffin-making together!
Why Are These Muffins So Irresistible?
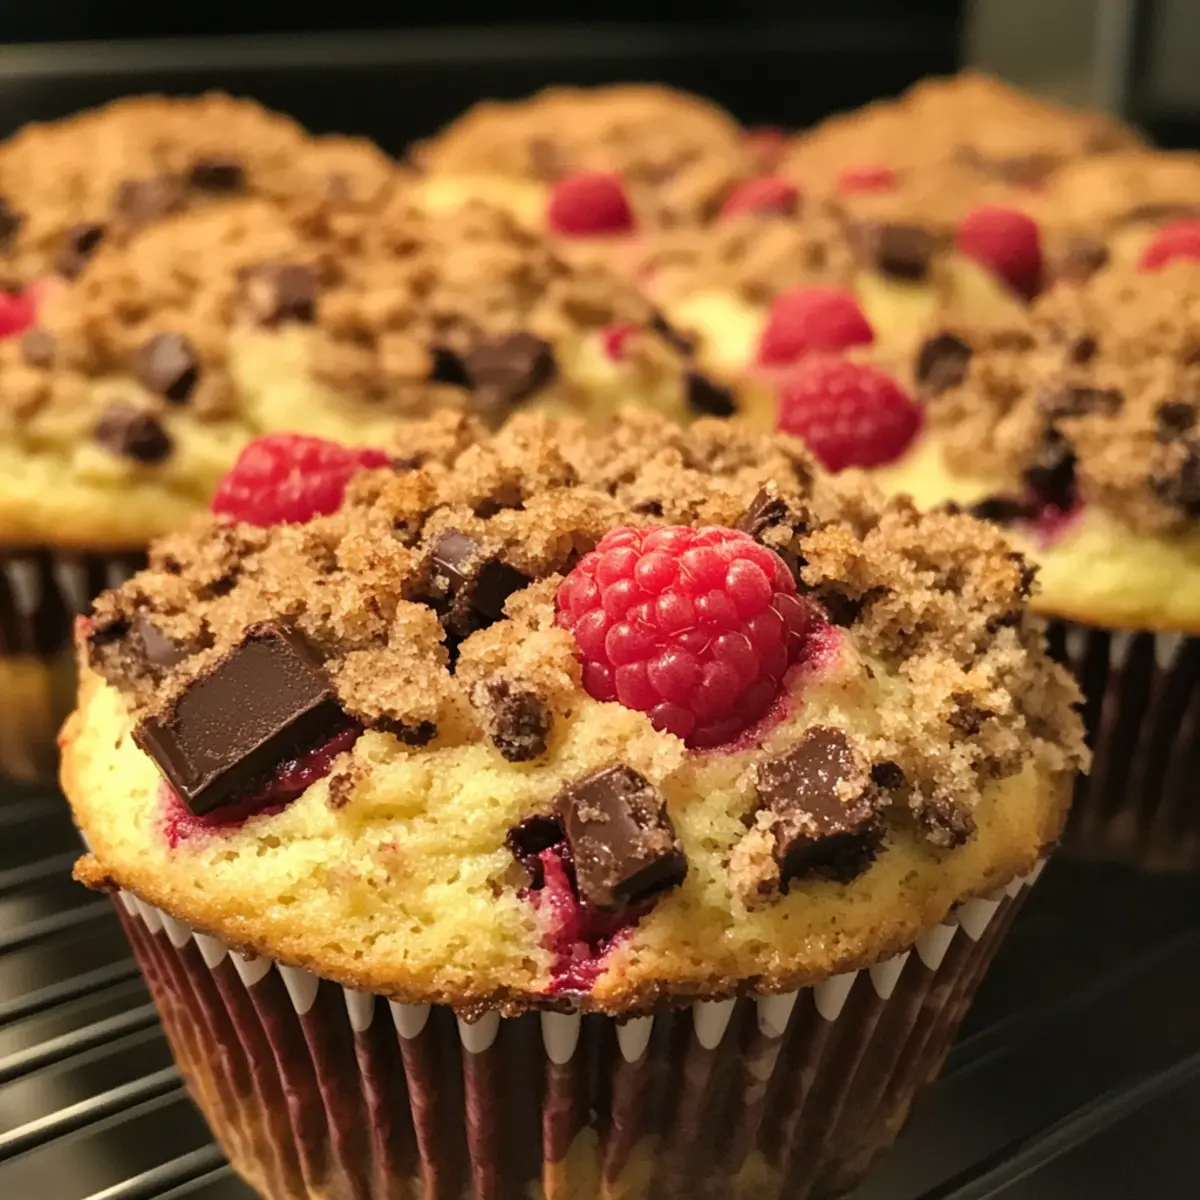
Decadent Flavor: The rich dark chocolate chunks create heavenly pockets of melt-in-your-mouth goodness, perfectly complemented by juicy raspberries.
Fluffy Texture: With a light and airy interior, these muffins are unlike any store-bought variety, ensuring a delightful bite every time.
Versatile Options: Easily swap in your favorite berries or chocolate types to customize the flavor to your preference!
Make-Ahead Convenience: Prep the batter the night before and bake fresh in the morning for a hassle-free breakfast experience.
Perfect for Gatherings: Serve these mouthwatering muffins at your next brunch, and watch them disappear. Pair them with a warm cup of coffee for an unforgettable combo!
For more delicious inspiration, check out my Homemade Bake Chocolate recipe or indulge in some Nutty Chocolate Date treats!
Dark Chocolate Chunk Raspberry Crumb Muffins Ingredients
For the Muffins
• All-Purpose Flour – Provides structure to the muffins; can be replaced with oat flour for a gluten-free version.
• Granulated Sugar – Adds sweetness; brown sugar can also be used for a richer flavor.
• Ground Cinnamon – Adds warmth; optional but recommended for enhancing taste.
• Salt – Balances flavors; use sea salt or kosher salt as alternatives.
• Unsalted Butter (Melted & Room Temperature) – Delivers richness and moisture; can substitute with coconut oil for a dairy-free option.
• Baking Powder – A leavening agent necessary for helping muffins rise; ensure it’s fresh for optimal results.
• Ground Nutmeg – Introduces a subtle nutty flavor; omit if not available.
• Orange Zest – Enriches flavor with citrus notes; lemon zest can be a good substitute.
• Large Eggs and Egg Yolk – Essential for moisture and richness; can use flax eggs as a vegan alternative.
• Vanilla Extract – Enhances flavor; high-quality extract improves overall taste.
• Whole Milk (Full-Fat) – Provides moisture and richness; a dairy-free option could be almond or oat milk.
• Dark Chocolate Chunks – Infuses decadent chocolate flavor; use chocolate chips if chunks are not available.
• Fresh or Frozen Raspberries – Contributes fruity tartness; any berry works as a substitute.
For the Crumb Topping
• All-Purpose Flour – Forms the base of the crumb topping; keep it consistent with muffin flour for a cohesive flavor.
• Granulated Sugar – Sweetens the crumb topping; brown sugar provides a deeper taste.
• Salt – Enhances the overall flavor of the crumb topping; a pinch makes a difference.
• Ground Cinnamon – Adds warm spice; optional but will elevate the topping’s flavor.
• Unsalted Butter – Binds the crumb topping together; melted butter ensures a crumbly texture.
Step‑by‑Step Instructions for Dark Chocolate Chunk Raspberry Crumb Muffins
Step 1: Prepare Crumb Topping
In a medium bowl, mix together 1 cup of all-purpose flour, ½ cup of granulated sugar, ¼ teaspoon of salt, and 1 teaspoon of ground cinnamon. Pour in 4 tablespoons of melted unsalted butter, then stir until the mixture resembles coarse crumbs. Set the crumb topping aside while you focus on the muffin batter, allowing the flavors to meld and the texture to develop.
Step 2: Preheat Oven
Preheat your oven to 400°F (204°C). While the oven heats up, line a muffin tin with paper liners to make cleanup a breeze. This step is crucial for ensuring your Dark Chocolate Chunk Raspberry Crumb Muffins bake evenly and come out perfectly fluffy, so be patient while waiting for the temperature to reach just right!
Step 3: Mix Dry Ingredients
In a large mixing bowl, whisk together 2 cups of all-purpose flour, 2 teaspoons of baking powder, ½ teaspoon of ground nutmeg, and ½ teaspoon of salt. This combination will provide the structure and rise needed for those moist muffins. Make sure the ingredients are well-integrated, as this will help achieve the perfect uniformity in texture throughout the muffins.
Step 4: Cream Butter and Sugars
Using an electric mixer, beat together ½ cup of room-temperature unsalted butter, ¾ cup of granulated sugar, and ¼ cup of brown sugar until the mixture is light and fluffy. This process should take about 3-4 minutes. Next, add in the zest of one orange, followed by 2 large eggs and 1 egg yolk one at a time, mixing well after each addition for rich, creamy batter.
Step 5: Combine Mixtures
Gradually mix in 1 teaspoon of vanilla extract and ¾ cup of whole milk to your creamy butter mixture, blending until fully incorporated. With a spatula, gently fold the dry ingredients into the wet mixture just until combined. It’s important not to overmix; you want the batter for your Dark Chocolate Chunk Raspberry Crumb Muffins to stay light and airy!
Step 6: Fold in Chocolate and Raspberries
Carefully fold in 1 cup of dark chocolate chunks and 1 cup of fresh or frozen raspberries, ensuring they are evenly distributed throughout the batter. Be gentle in this step to prevent crushing the raspberries, which will provide delightful bursts of flavor in your muffins. The anticipation of these delightful flavors coming together in your batter is truly exhilarating!
Step 7: Fill Muffin Cups
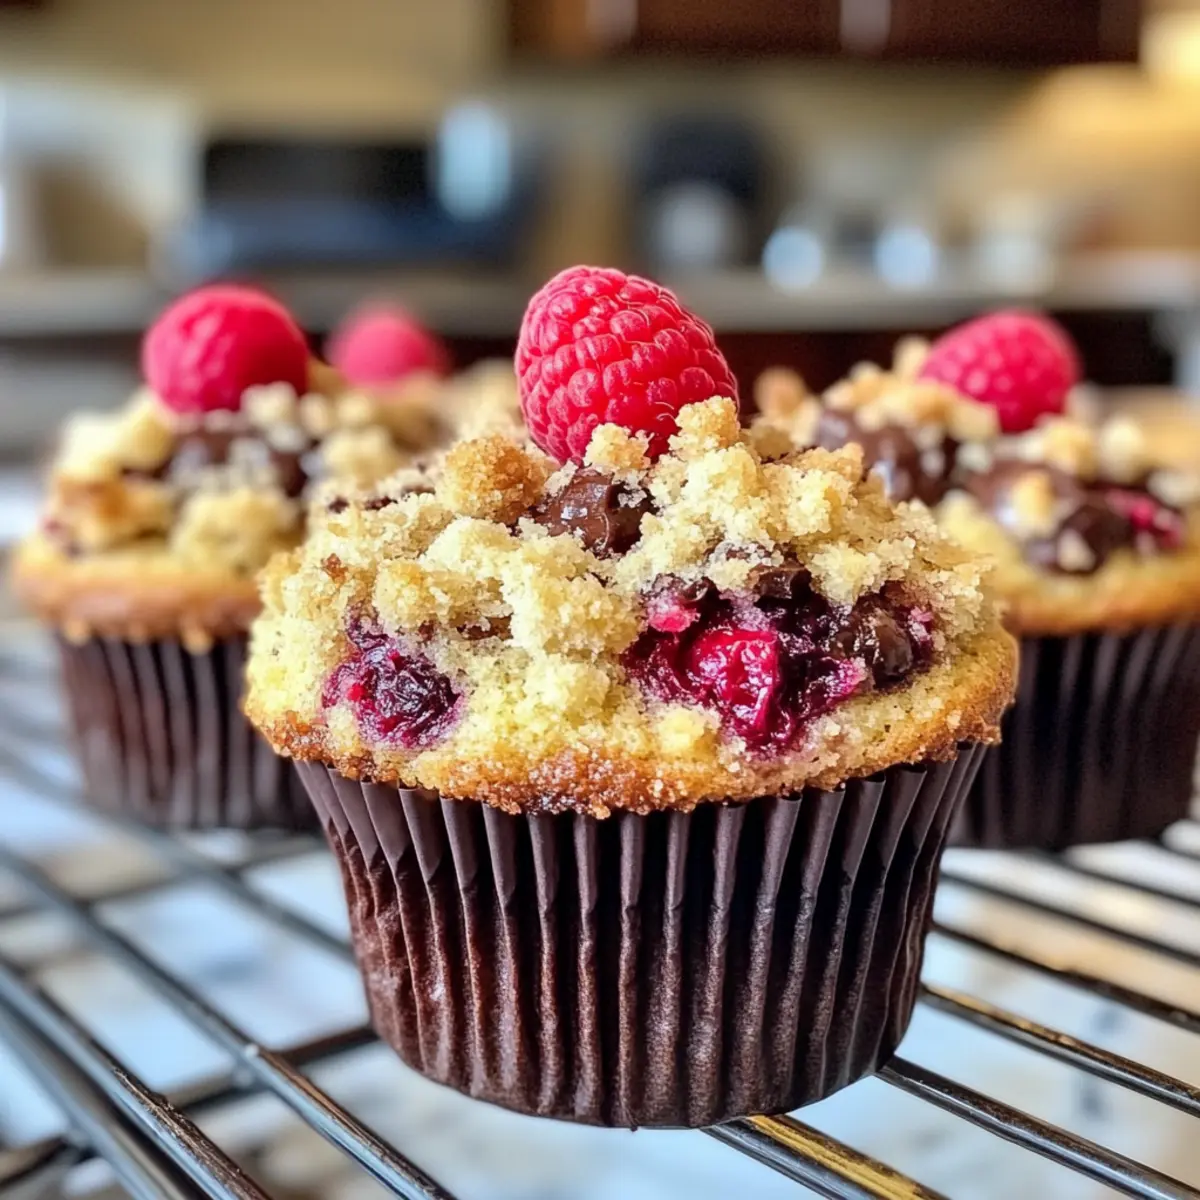
Evenly divide the batter among the muffin cups, filling them about two-thirds full to allow room for rising. Once filled, sprinkle the crumb topping generously over the center of each muffin. This will create a delicious, crispy layer that contrasts beautifully with the moist, soft interior of the muffins.
Step 8: Bake
Bake your muffins in the preheated oven for 20-22 minutes, or until the tops are golden brown and a toothpick inserted into the center comes out clean. Keep an eye on them towards the end of the baking time to prevent over-baking. The aroma of fresh Dark Chocolate Chunk Raspberry Crumb Muffins wafting through your kitchen will be simply irresistible!
Step 9: Cool and Serve
Once baked, remove the muffins from the oven and let them cool in the pan for about 5 minutes. Then, transfer them to a wire rack to cool completely. This small cooling step allows the muffins to maintain their fluffy texture and ensures the crumb topping remains crunchy. Serve them warm for the best experience!

How to Store and Freeze Dark Chocolate Chunk Raspberry Crumb Muffins
Room Temperature: Store cooled muffins in plastic wrap or an airtight container at room temperature for up to 2 days for the best flavor and texture.
Fridge: If you wish to keep the muffins for a bit longer, store them in the fridge for up to 5 days. Ensure they are wrapped to avoid drying out.
Freezer: Freeze muffins individually wrapped in plastic wrap or in a freezer-safe bag for up to 3 months. To enjoy, thaw overnight in the fridge and warm them up in the oven.
Reheating: For a delightful treat, reheat muffins in the oven at 350°F (175°C) for about 5-10 minutes until warmed through, maintaining that fresh, fluffy texture.
Expert Tips for Dark Chocolate Chunk Raspberry Crumb Muffins
-
Fresh Ingredients: Use fresh berries and good quality dark chocolate chunks to enhance the overall flavor of your muffins. Stale ingredients can lead to a lackluster taste.
-
Don’t Overmix: To maintain a light, fluffy texture, mix the batter gently just until combined. Overmixing can cause dense muffins.
-
Check Your Oven Temperature: Use an oven thermometer to ensure your oven is at the right temperature. This helps achieve the perfect rise and browning for your Dark Chocolate Chunk Raspberry Crumb Muffins.
-
Cool to Perfection: Allow the muffins to cool in the pan briefly before transferring to a wire rack. This helps the crumb topping set and prevents sogginess.
-
Storage Care: If not eaten immediately, store the muffins in an airtight container to retain their moisture, but consume within two days for optimal freshness.
Dark Chocolate Chunk Raspberry Crumb Muffins Variations
Feel free to make these scrumptious muffins your own with these delightful variations—each one brings a unique twist to the table!
-
White Chocolate Swap: Replace dark chocolate with smooth white chocolate chunks for a sweeter flavor profile. The contrast with tart raspberries is simply sublime!
-
Berry Medley: Use blueberries or sliced strawberries instead of raspberries for a new berry experience. Each fruit brings its own charm, enhancing the muffin’s freshness and flavor.
-
Nutty Crunch: Add ½ cup of chopped walnuts or pecans for a delightful crunch and deeper flavor. The nuts add a pleasant contrast to the soft muffin texture.
-
Vegan Version: Swap eggs with flax eggs (1 tablespoon of ground flaxseed mixed with 3 tablespoons of water equals one egg) and use almond milk instead of whole milk for a vegan twist.
-
Spiced Pumpkin: Add ½ cup of pumpkin puree and a little pumpkin spice to the batter for a seasonal spin that not only tastes fantastic but also adds moisture.
-
Coconut Flake Addition: Mix in ½ cup of unsweetened coconut flakes for a tropical flair. This adds subtle sweetness and a chewiness that pairs beautifully with raspberries.
-
Chili Chocolate: For a spicy kick, add a pinch of cayenne pepper to the dry ingredients. The heat beautifully complements the rich chocolate and tangy berries, creating an unexpected flavor explosion.
-
Citrus Zest Boost: Enhance the flavor with a mix of orange and lemon zest for a refreshing citrus note. It brightens every bite while balancing the sweetness of the chocolate.
And if you’re exploring more delicious chocolate recipes, try my Coffee Chocolate Truffles or indulge in Coconut Chocolate Rolls for a real treat!
Make Ahead Options
These Dark Chocolate Chunk Raspberry Crumb Muffins are perfect for busy home cooks looking to save time! You can prepare the muffin batter up to 24 hours in advance by mixing all the wet and dry ingredients together, then refrigerating it in an airtight container. Additionally, the crumb topping can be made ahead and stored in the refrigerator for up to 3 days; just make sure to keep it in a sealed bag to maintain its crumbly texture. When you’re ready to bake, simply scoop the batter into your lined muffin tins, sprinkle the crumb topping on, and pop them in a preheated oven. This method allows you to wake up and have warm, delicious muffins with minimal effort, making breakfast a delightful treat instead of a chore!
What to Serve with Dark Chocolate Chunk Raspberry Crumb Muffins
As you savor these delightful muffins, imagine a delightful spread that harmonizes and elevates each bite, creating a meal that feels both indulgent and comforting.
-
Fresh Fruit Salad: A vibrant mix of seasonal fruits adds a refreshing contrast, balancing the rich chocolate and tart raspberry flavors.
-
Pour-Over Coffee: A silky, smooth coffee pairs exquisitely with the muffins, enhancing the experience and heightening the sweetness of the dark chocolate.
-
Greek Yogurt Parfait: Layer creamy Greek yogurt, honey, and granola for a delightful crunch. This creamy addition complements the muffins’ fluffiness beautifully.
-
Nutty Granola Bars: Serve these alongside for an added crunch factor, making your breakfast or snack not just delicious but also satisfying and wholesome.
-
Cinnamon Honey Butter: Spread a dollop on warm muffins for an indulgent twist. The creamy, spiced butter melds naturally with the chocolate and fruit.
-
Mimosa: Sparkling orange juice with champagne provides effervescence and brightness, perfectly balancing the muffins’ richness during a brunch gathering.
-
Vanilla Ice Cream: For a decadent dessert, serve warm muffins with a scoop of vanilla ice cream. The creaminess contrasts beautifully with the chocolate and raspberries.
Imagine these delightful pairings creating a cozy atmosphere, inviting laughter and memories to be made over every bite of your Dark Chocolate Chunk Raspberry Crumb Muffins.
Dark Chocolate Chunk Raspberry Crumb Muffins Recipe FAQs
How do I choose ripe raspberries for my muffins?
Absolutely! For your Dark Chocolate Chunk Raspberry Crumb Muffins, look for raspberries that are plump, firm, and deep in color without any dark spots or mold. Fresh raspberries should have a sweet aroma and give slightly when pressed, indicating ripeness. If you can’t find fresh, frozen berries also work wonderfully; just make sure to thaw and drain any excess moisture before adding them to the batter.
What’s the best way to store these muffins?
Very simple! To keep your muffins fresh, store cooled Dark Chocolate Chunk Raspberry Crumb Muffins in an airtight container at room temperature for up to 2 days. If you need them to last longer, you can refrigerate them for up to 5 days but be sure they are wrapped properly to prevent drying out.
Can I freeze the muffins for later?
Of course! To freeze your muffins, wrap each one tightly in plastic wrap or place them in a freezer-safe bag. They’ll keep well for up to 3 months. When you’re ready to enjoy, simply thaw them overnight in the fridge. To regain their fluffy texture, warm them in the oven at 350°F (175°C) for about 5-10 minutes before serving.
What if my muffins turn out dense?
No worries! Dense muffins can often result from overmixing the batter. To combat this, mix your ingredients gently until just combined, ensuring you don’t overwork the batter. Additionally, always use fresh baking powder, as it’s crucial for a good rise. If your muffins are still dense, check that you’re measuring your flour correctly—spoon into your measuring cup rather than scooping directly from the bag.
Are there any dietary considerations for these muffins?
Absolutely! If you have dietary preferences or restrictions, you can easily adapt the recipe. For a dairy-free version, substitute the unsalted butter with coconut oil and use almond or oat milk instead of whole milk. If you’re looking for a vegan option, replace the eggs with flax eggs (1 tablespoon of ground flaxseed mixed with 2.5 tablespoons of water = 1 egg) and choose dairy-free chocolate chunks. Always check the labels of other ingredients for allergens as well.
Decadent Dark Chocolate Chunk Raspberry Crumb Muffins to Indulge in
Ingredients
Equipment
Method
- In a medium bowl, mix together 1 cup of all-purpose flour, ½ cup of granulated sugar, ¼ teaspoon of salt, and 1 teaspoon of ground cinnamon. Pour in 4 tablespoons of melted unsalted butter, then stir until the mixture resembles coarse crumbs. Set aside.
- Preheat your oven to 400°F (204°C). Line a muffin tin with paper liners.
- In a large bowl, whisk together 2 cups of all-purpose flour, 2 teaspoons of baking powder, ½ teaspoon of ground nutmeg, and ½ teaspoon of salt.
- Using an electric mixer, beat ½ cup of unsalted butter, ¾ cup of granulated sugar, and ¼ cup of brown sugar until light and fluffy. Add orange zest, then mix in 2 large eggs and 1 egg yolk one at a time.
- Gradually add 1 teaspoon of vanilla extract and ¾ cup of whole milk to the mixture, blending until fully incorporated. Fold in the dry ingredients just until combined.
- Gently fold in 1 cup of dark chocolate chunks and 1 cup of raspberries being careful not to crush the raspberries.
- Divide the batter among the muffin cups, filling each two-thirds full, and sprinkle the crumb topping generously over each muffin.
- Bake for 20-22 minutes until the tops are golden brown and a toothpick comes out clean.
- Let the muffins cool in the pan for about 5 minutes, then transfer to a wire rack to cool completely.